¶ Software Installation and Registration (Windows Version)
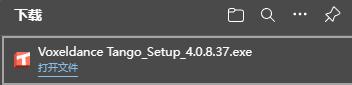
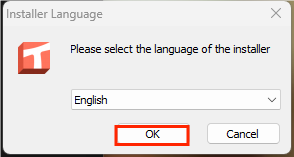
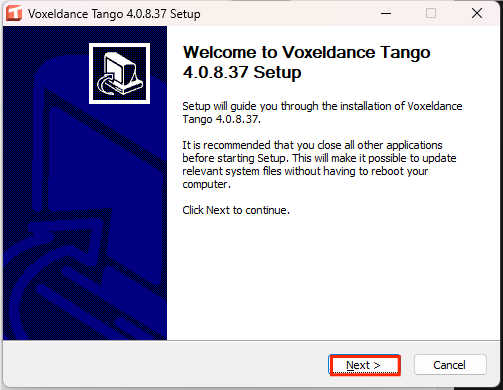
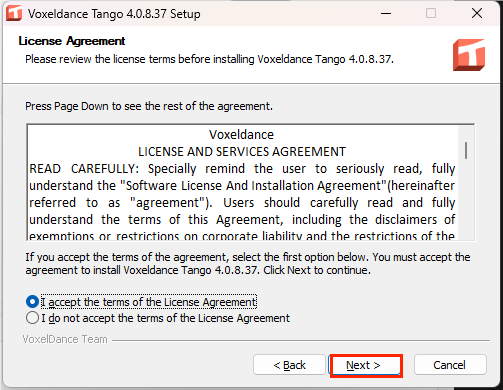
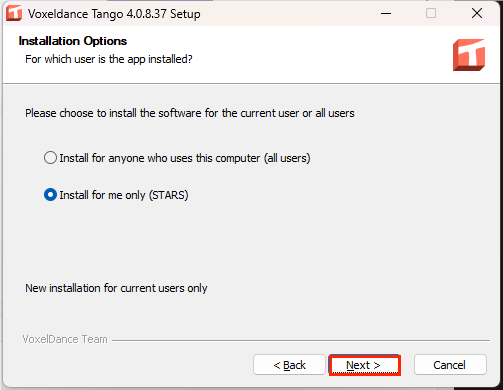
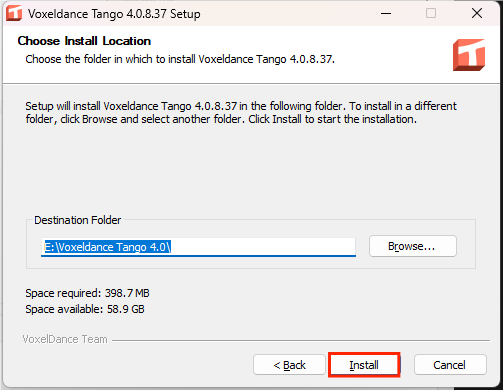
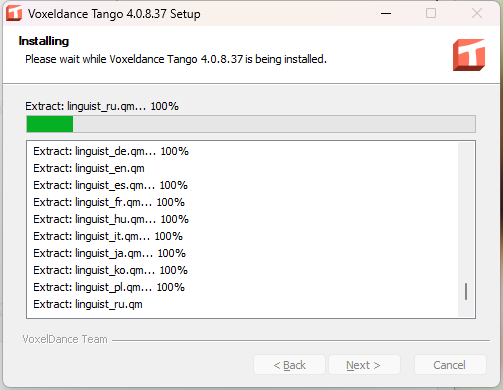
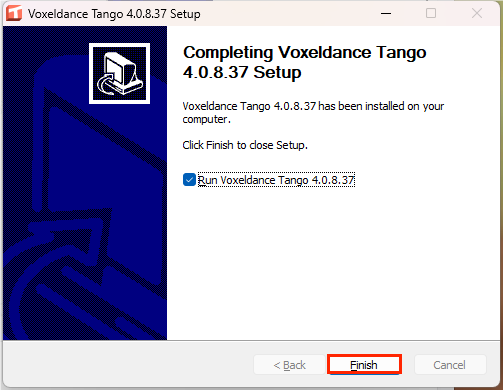
- Download and open the Tango installer. The downloaded file is located in Browser - Downloads folder. Locate the Voxeldance Tango icon, double-click to open the installer, and follow the on-screen steps to complete installation.
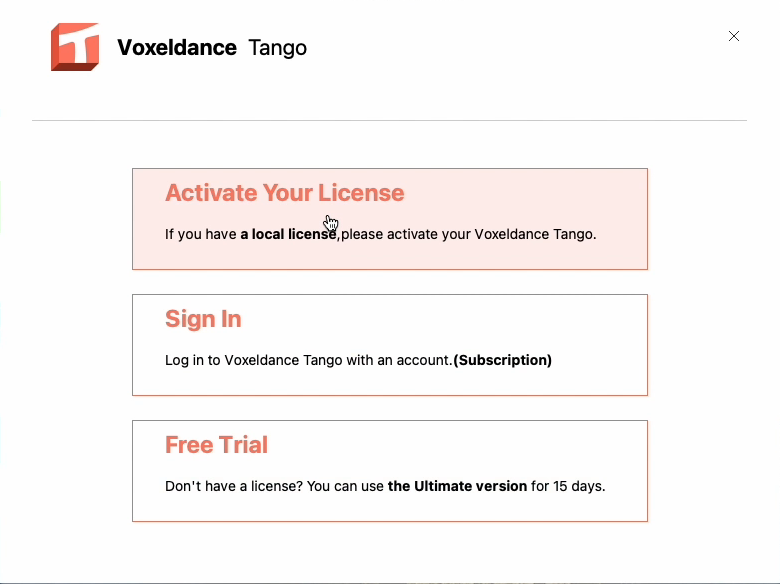
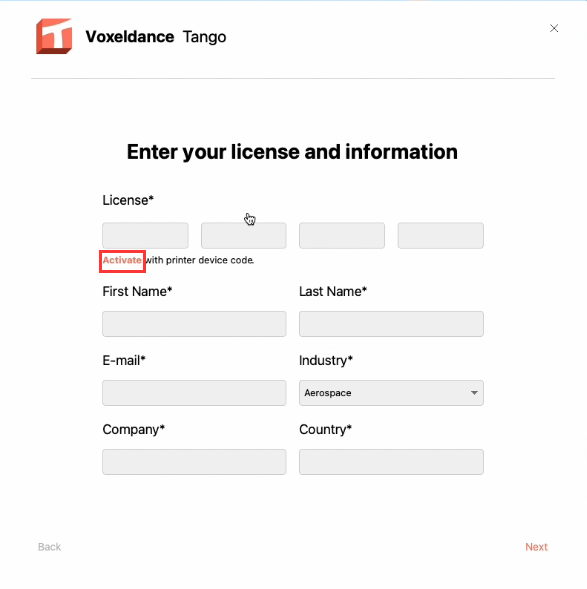
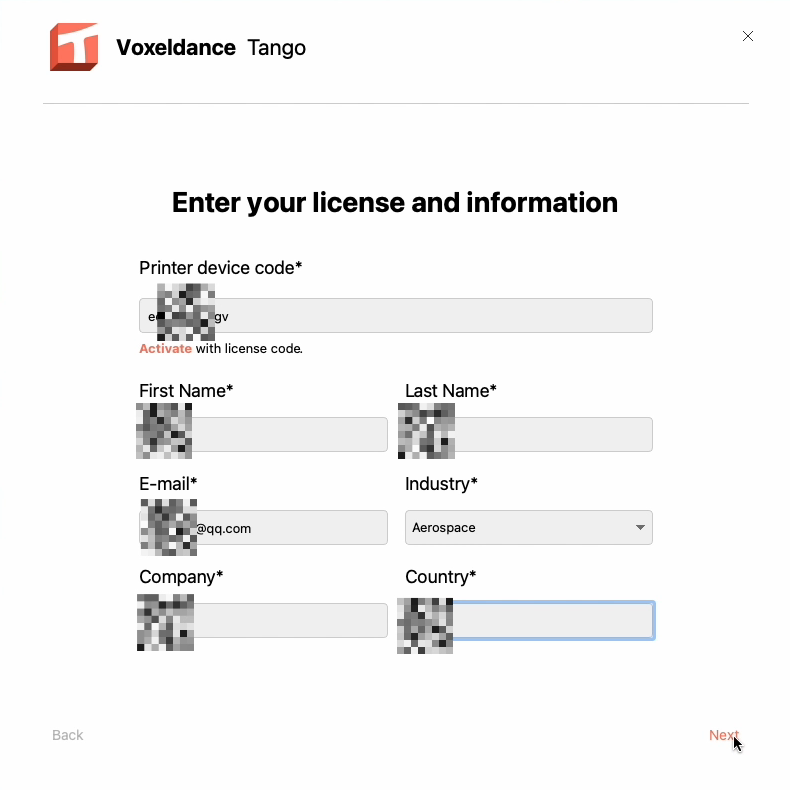
- Proceed to register your account.
Note: In the activation code field, select Activate with printer device code.

¶ Software Installation and Registration (Mac Version)
-
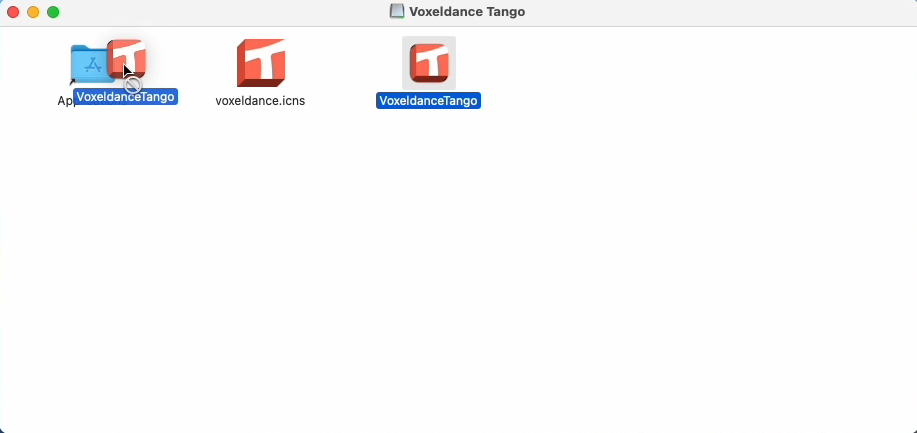
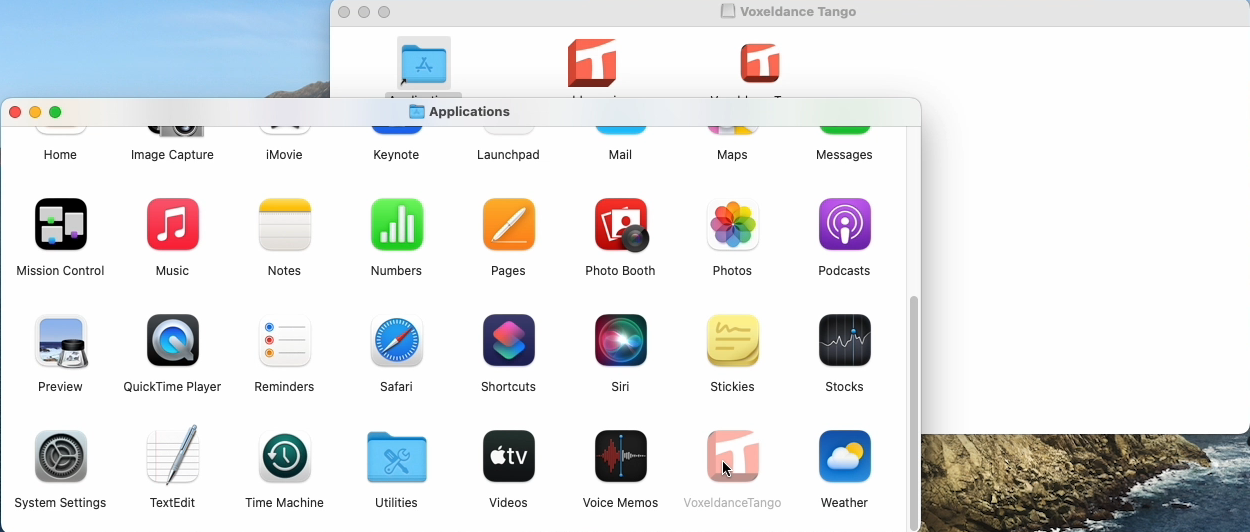
Install and open Tango. The downloaded file is in Finder - Downloads. In the installation prompt, drag the Voxeldance Tango icon into the Applications folder. Locate and launch Voxeldance Tango from Applications.

-
Follow the prompts to complete registration.
Note: In the activation code field, select Activate with printer device code.
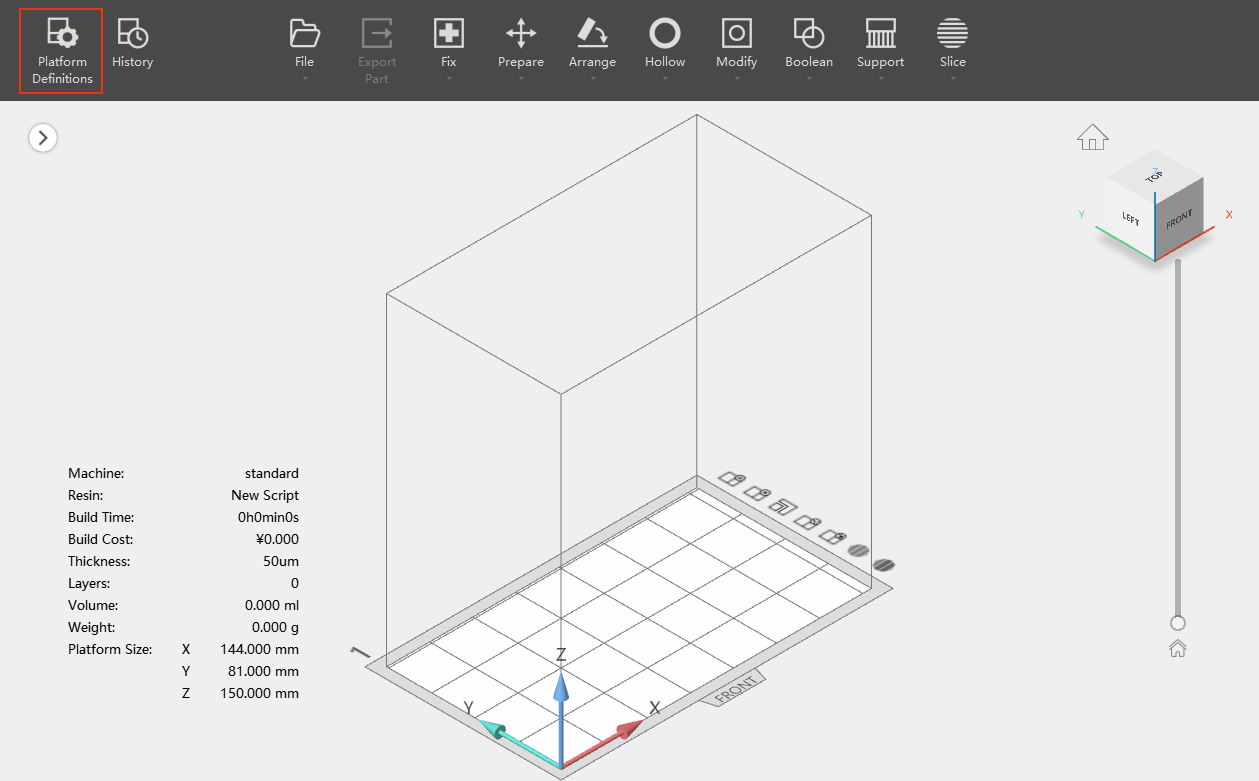
¶ Software Operation
-
Click Platform Definitions.
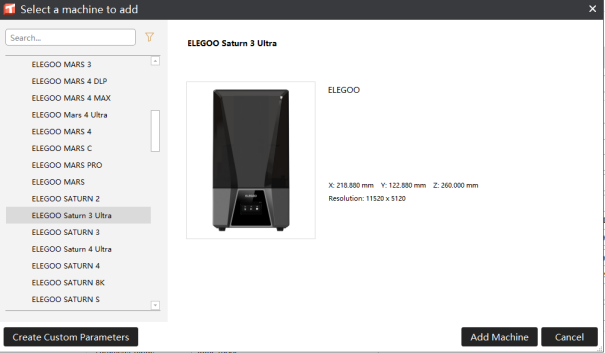
-
In the pop-up window, click + in the lower-left corner to select your printer.
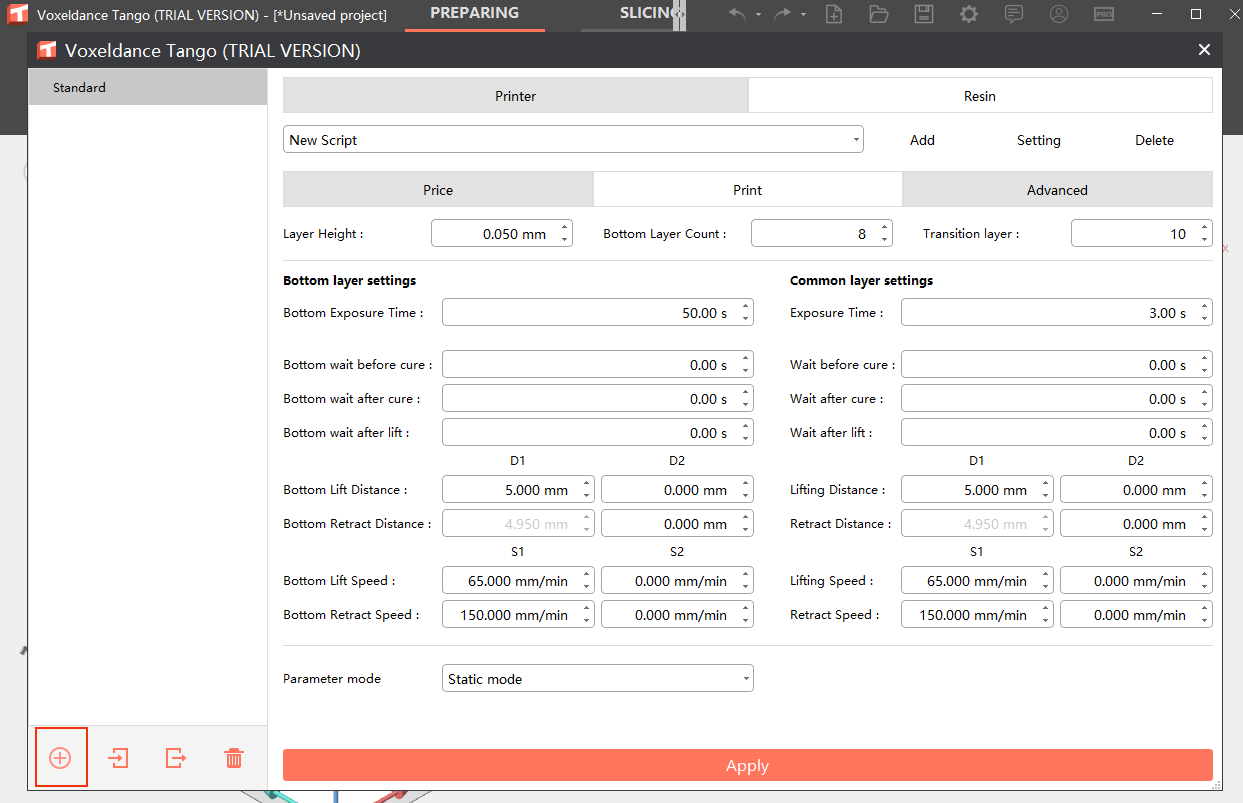
-
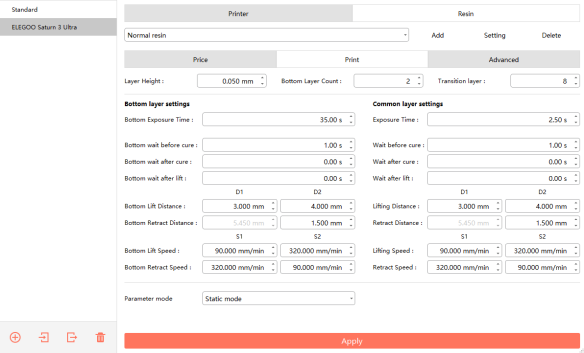
After selection, click Add Machine and you will be redirected to the parameter screen, which includes Printer and Resin settings. Click Apply to finish adding the machine.
-
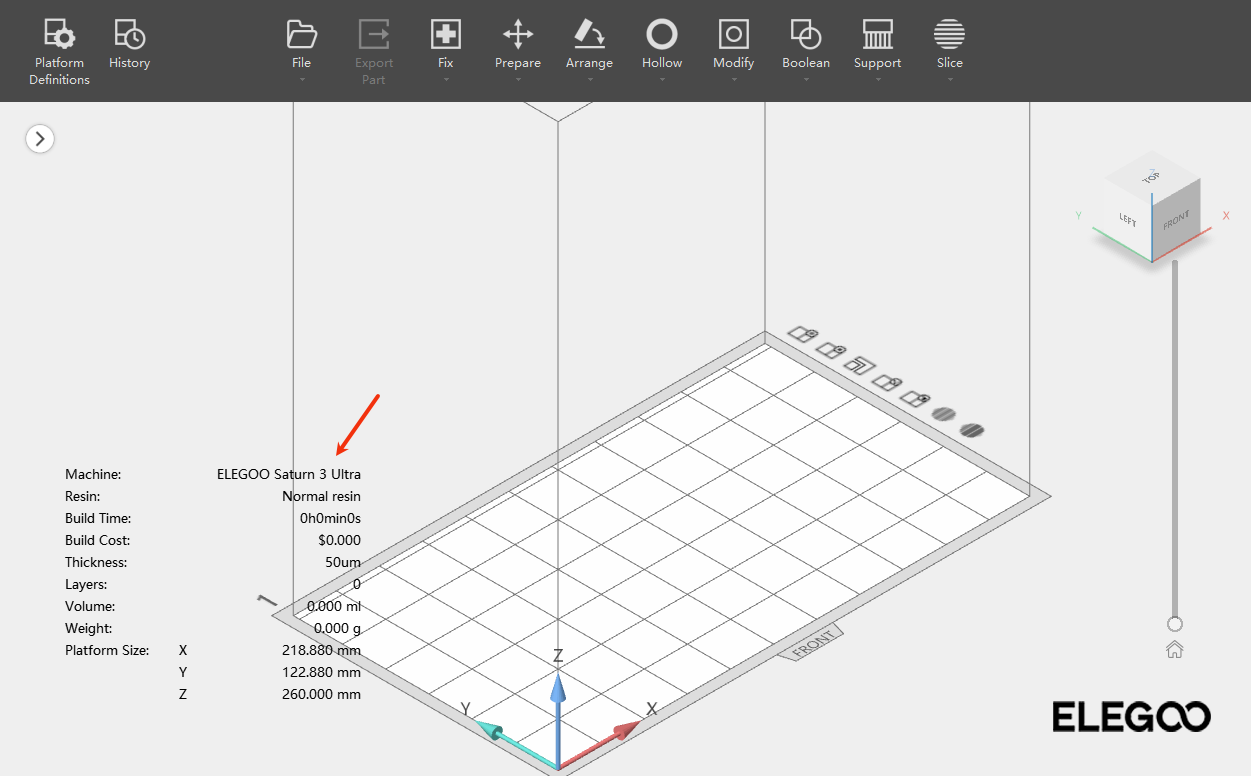
After successful addition, the printer name will appear in the lower‑left corner of the main screen.
-
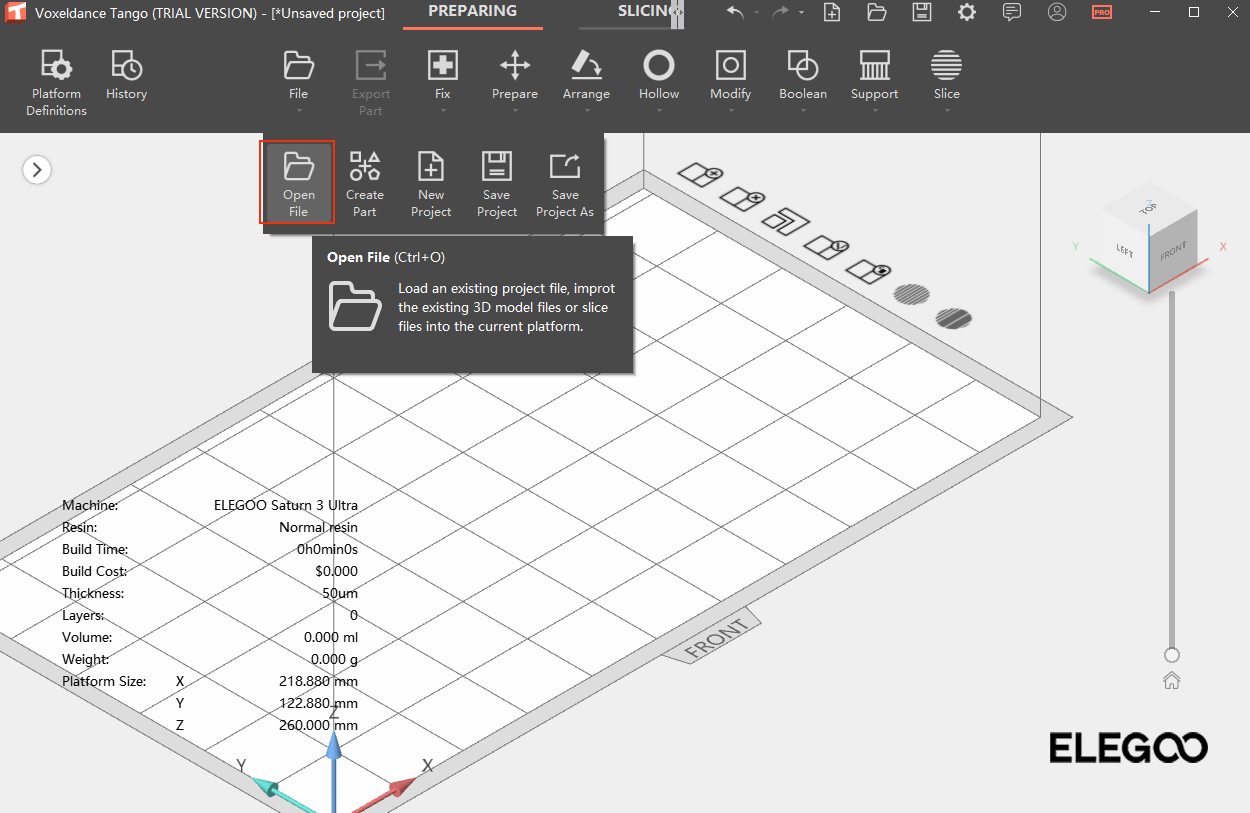
In the Toolbar, click File - Open File import a 3D model file.
¶ Toolbar
-
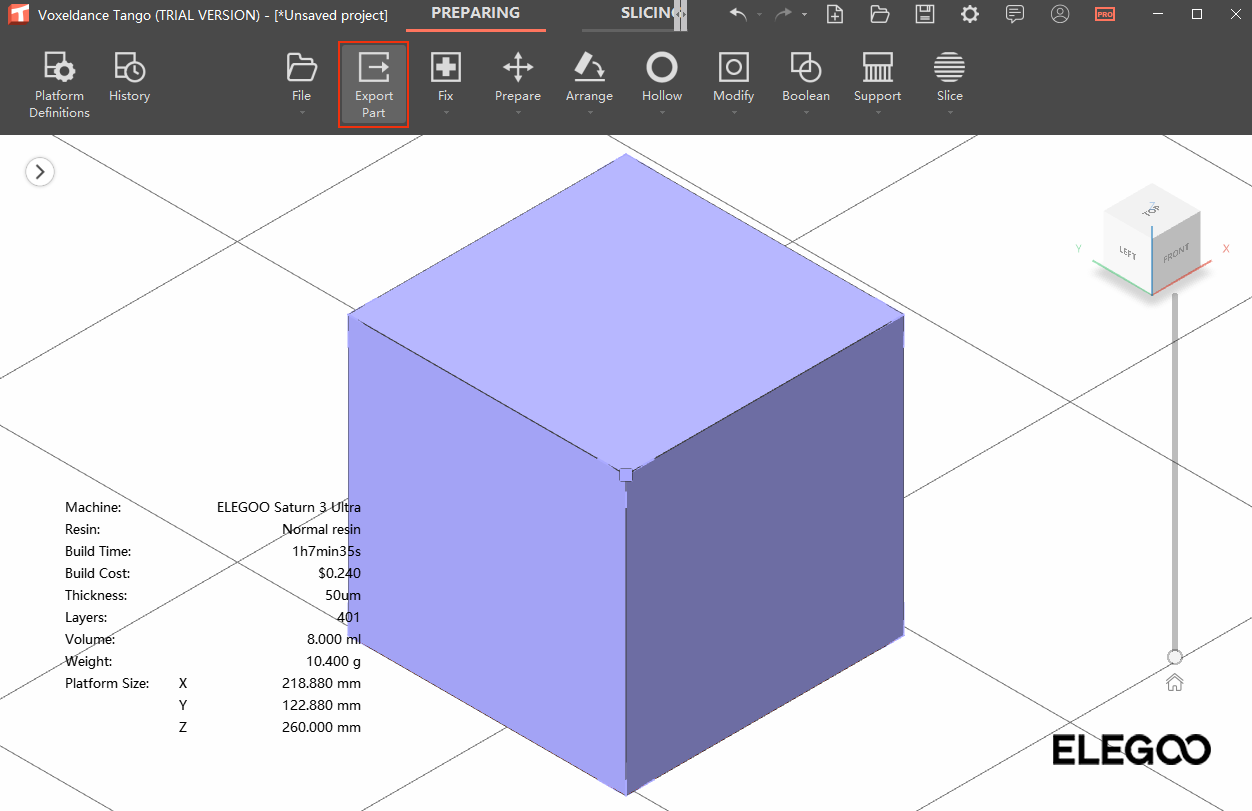
Export Part
Export models in various formats.
-
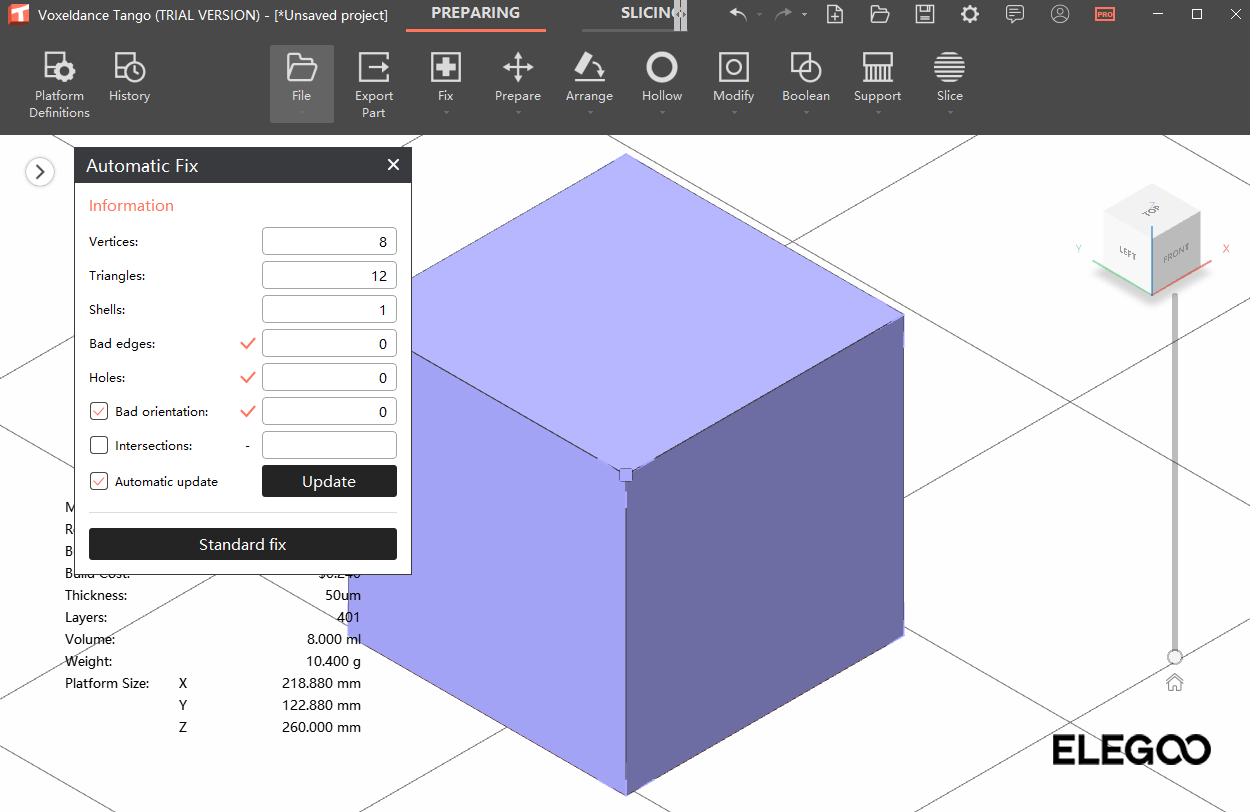
Automatic Fix
Repair selected models.
Note: Some .stl files may have missing geometry or incorrect orientation.
-
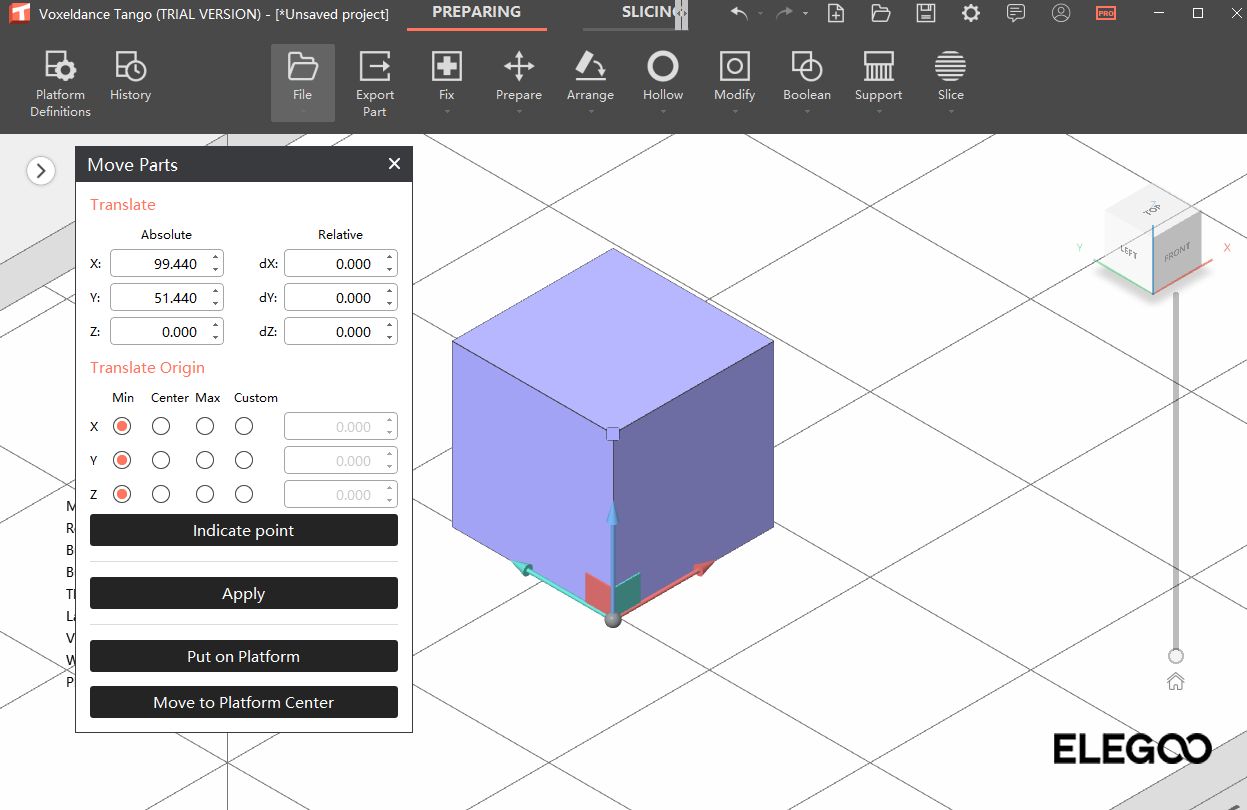
Move
Left-click and hold to drag the model to reposition it.
-
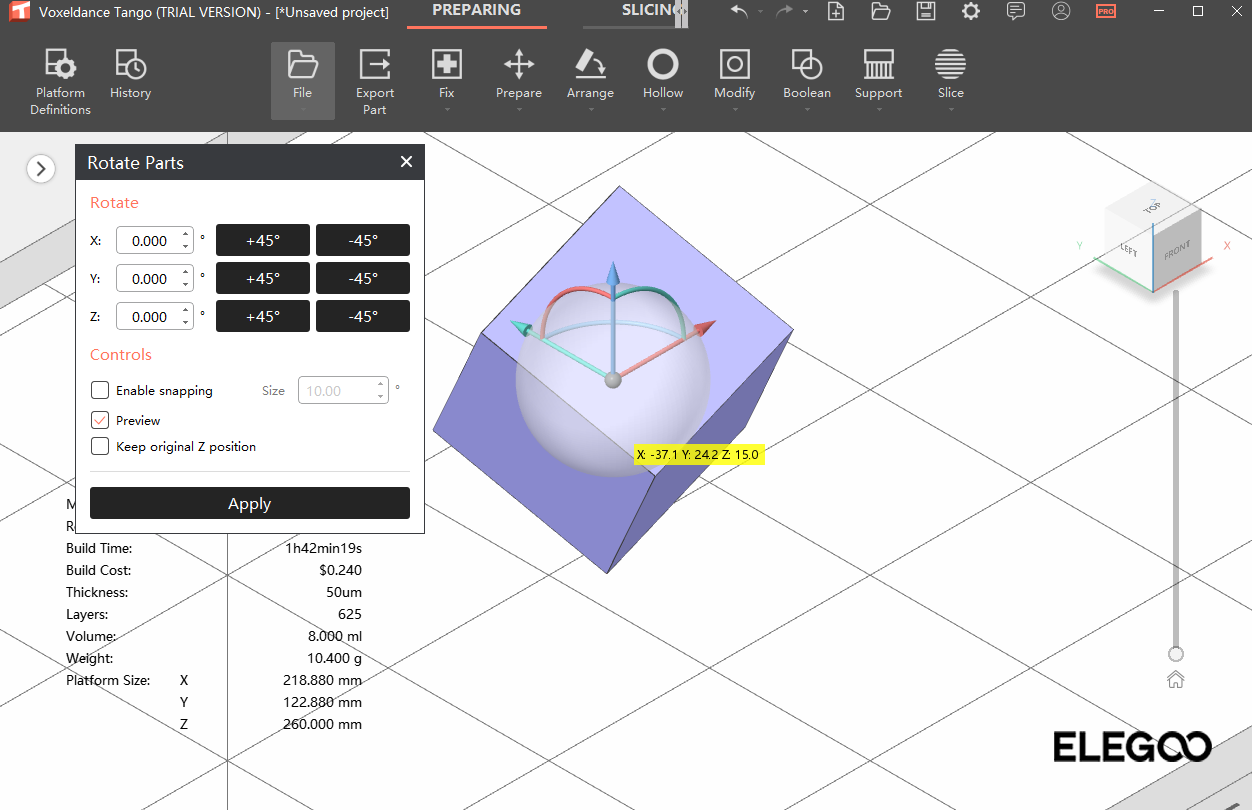
Rotate
Drag the on-screen circular controls to rotate the model, or enter precise rotation angles.
-
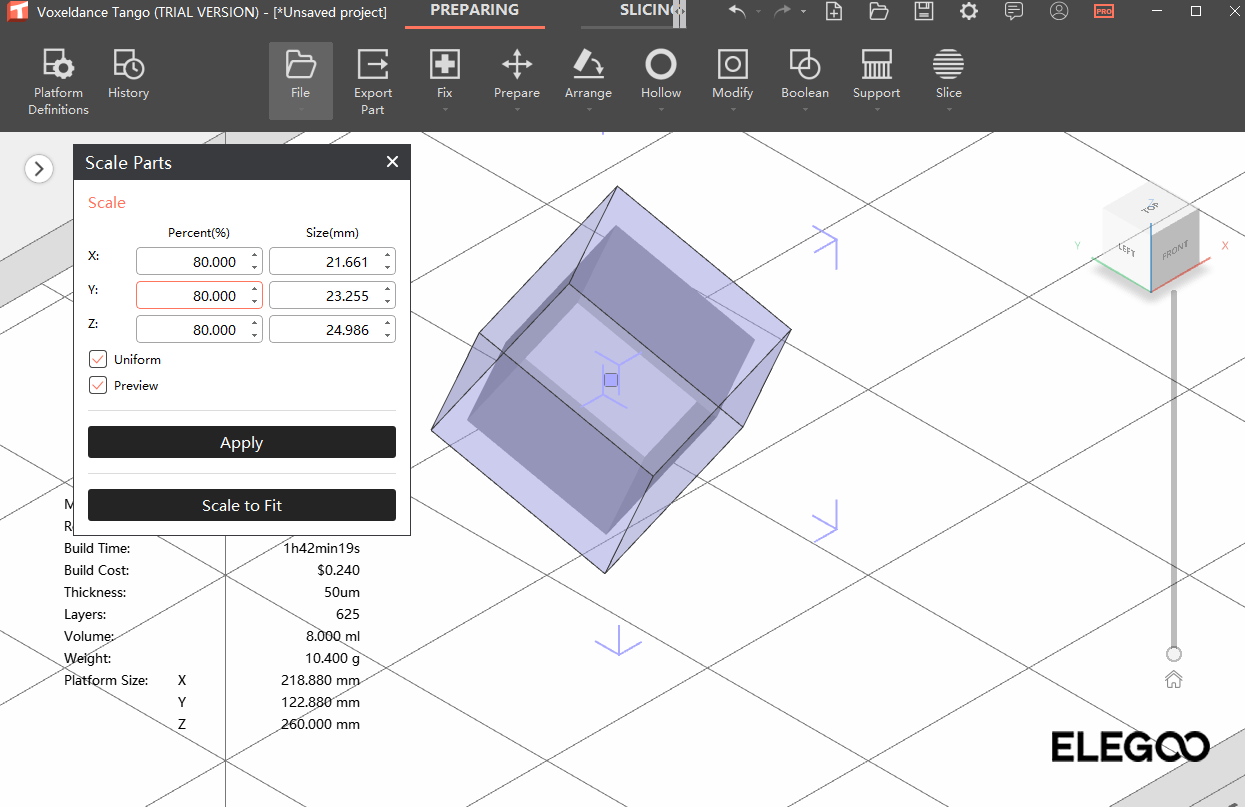
Scale
Resize the model proportionally or along individual axes.
-
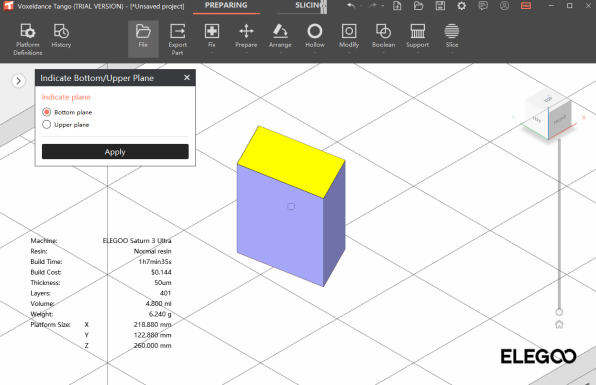
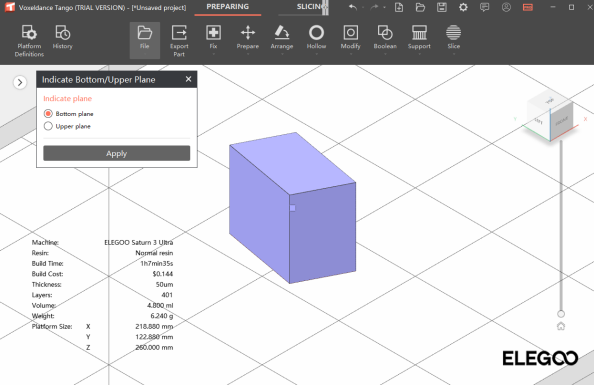
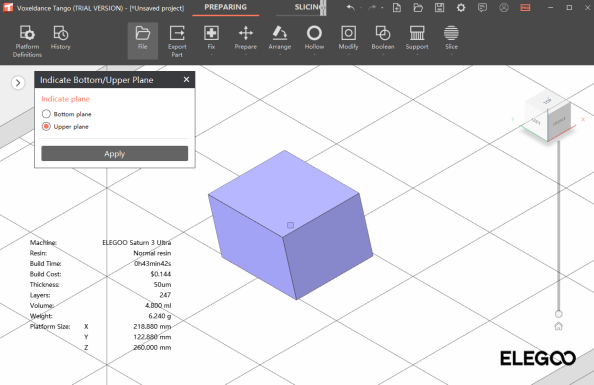
On Plate
-
Select Bottom plane, select a face to place on the platform, and click Apply.
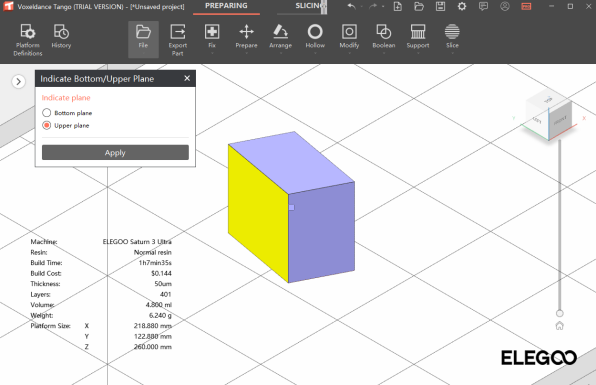
-
Select Upper plane to align the selected face parallel to the platform.
-
Orientation
Auto-calculates the optimal printing angle. For beginners, Auto Orientation is recommended. It automatically places the model in a suitable position and orientation based on its size and shape.

-
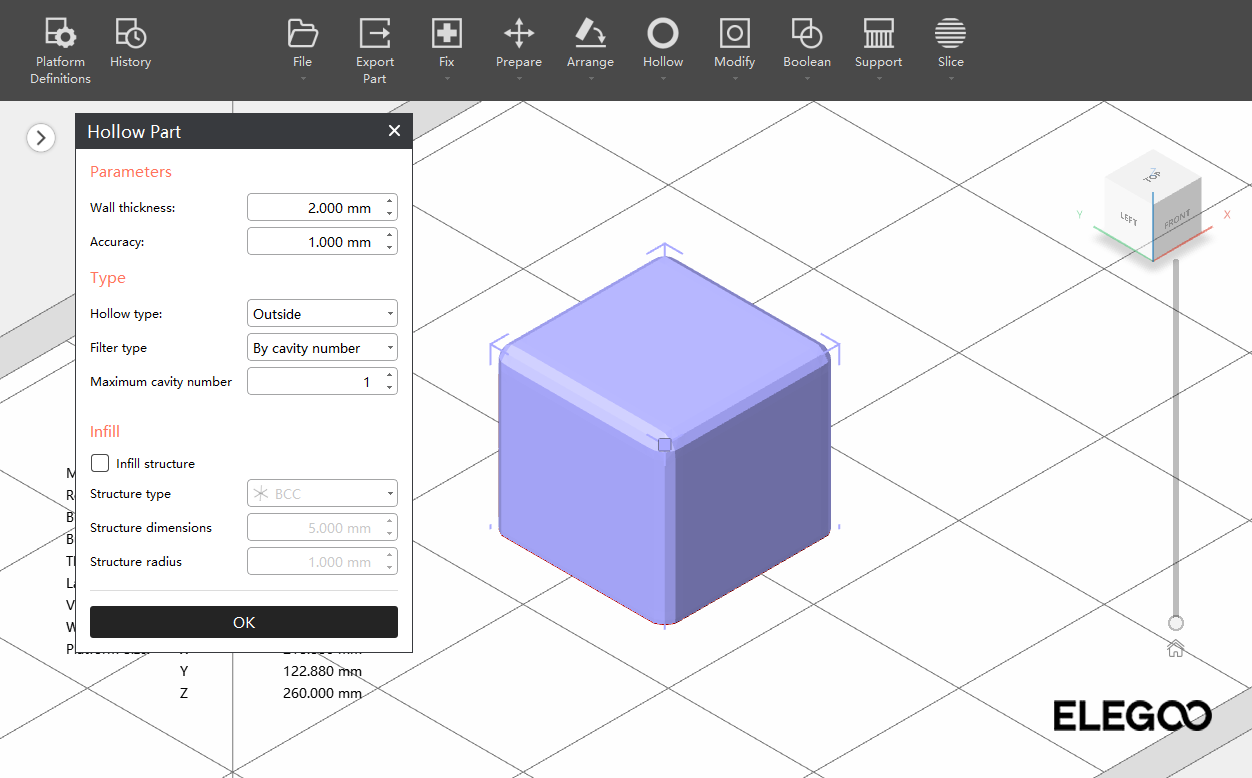
Hollow
Hollowing reduces resin usage and improves print success.
Recommended wall thickness: 2.0 - 4.0 mm.
-
Perforr
After hollowing the model, you need to drill holes.
Dril one hole at the bottom of the model to break the vacuum effect during bottom-layer printing and improve success rate.
Dril 1or 2 additional holes elsewhere to allow cleaning solution to enter and clean the interior.
Recommended hole size: 2.0 mm--5.0 mm

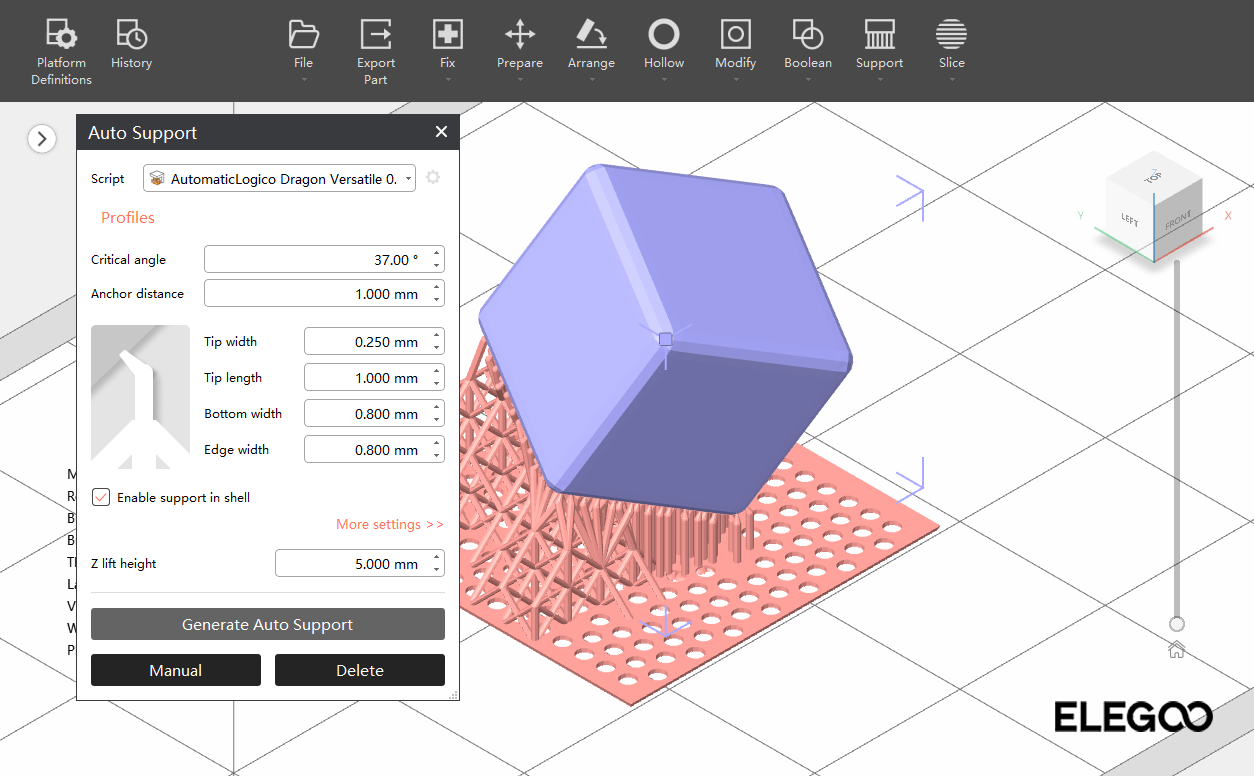
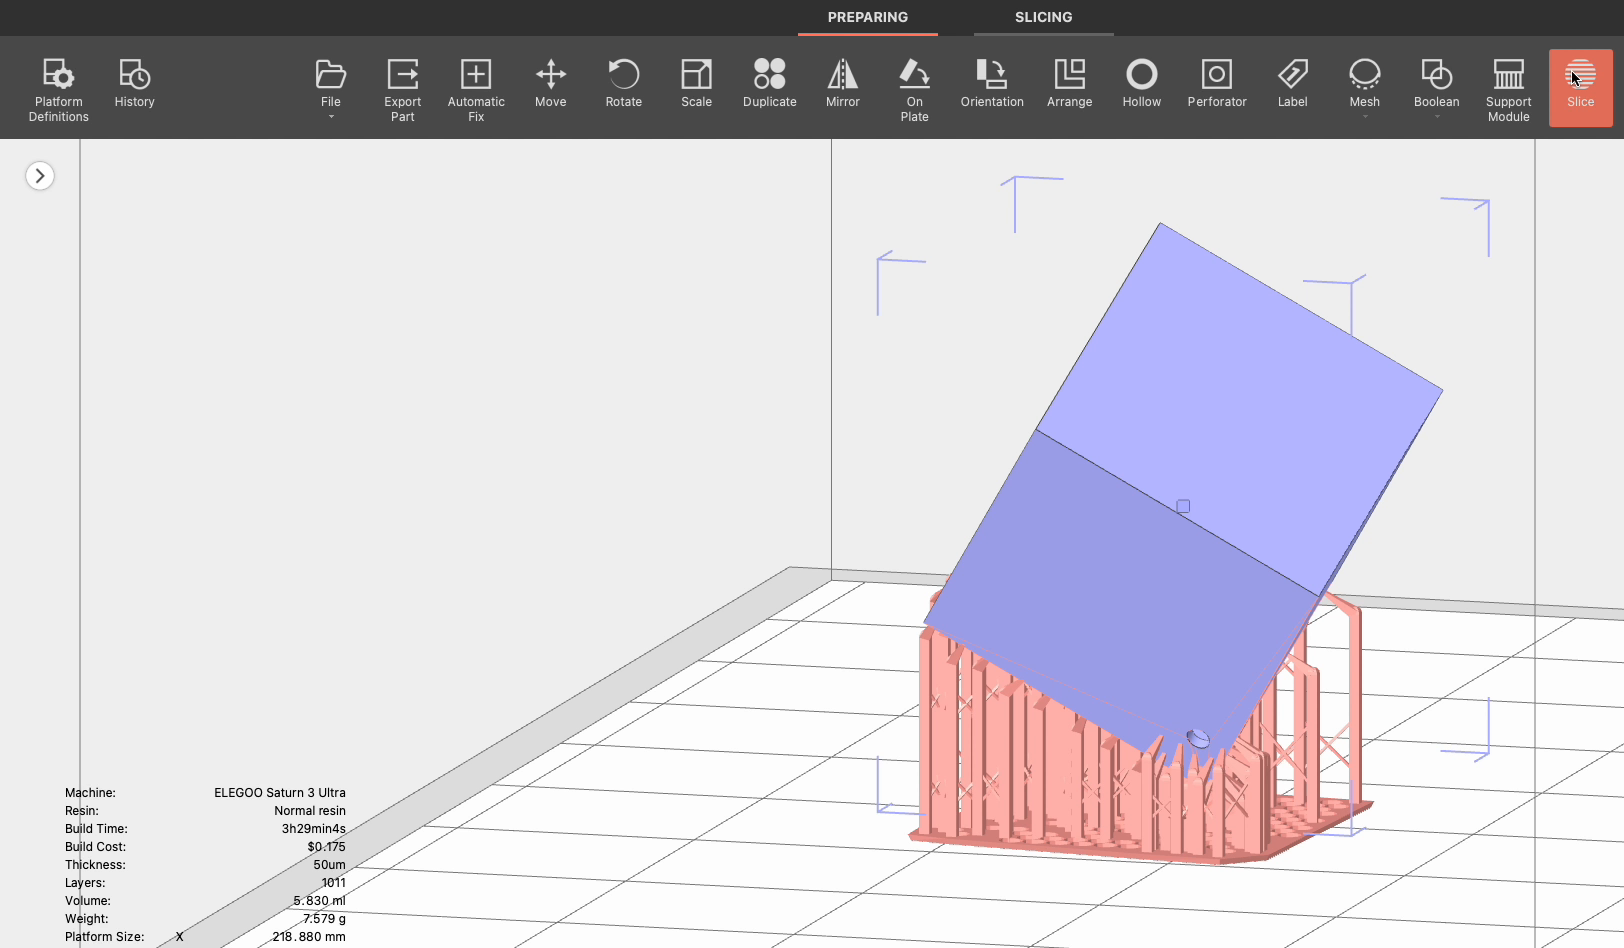
- Support Module
Overhangs on the model require supports to be printed successfully.
Choose auto-generate supports. The software will automatically calculate where supports are needed using its algorithm. After auto-support generation, you may manually add or remove supports based on your experience.
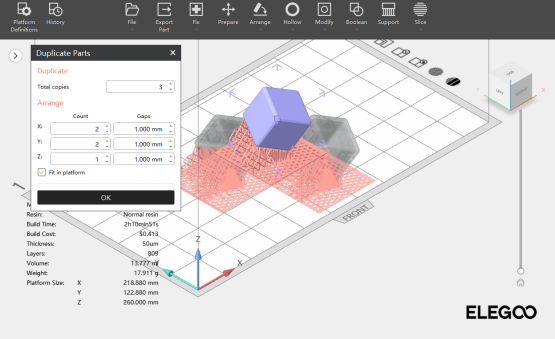
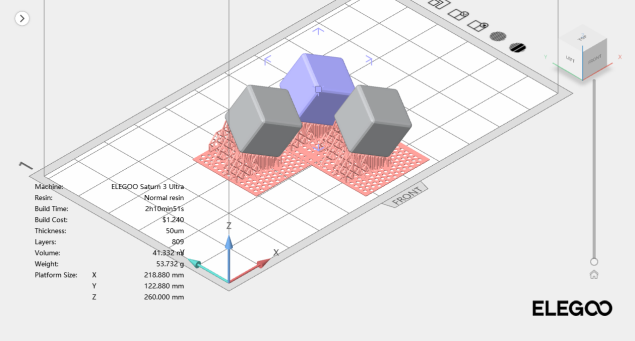
- Duplicate
When multiple copies of the model need to be printed, use the Duplicate function.
Enter the desired quantity in Total Number, then set the placement direction and spacing along the X / Y / Z axes below.
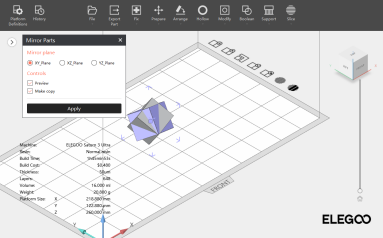
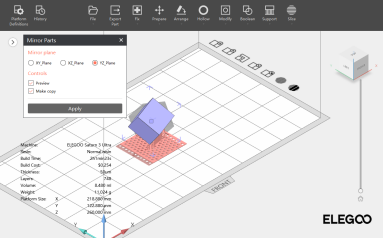
12. Mirror
Mirror the model across XY-plane, XZ-plane, or YZ-plane.
Mirror function uses the part center as the origin.
You can refer to the X, Y, Z coordinate system in the lower-left corner of the platform.
Select your desired mirror direction: XY-plane, XZ-plane, or YZ-plane. After mirroring, the original model will be replaced by the mirrored one at the preview position.
¶ Slicing
-
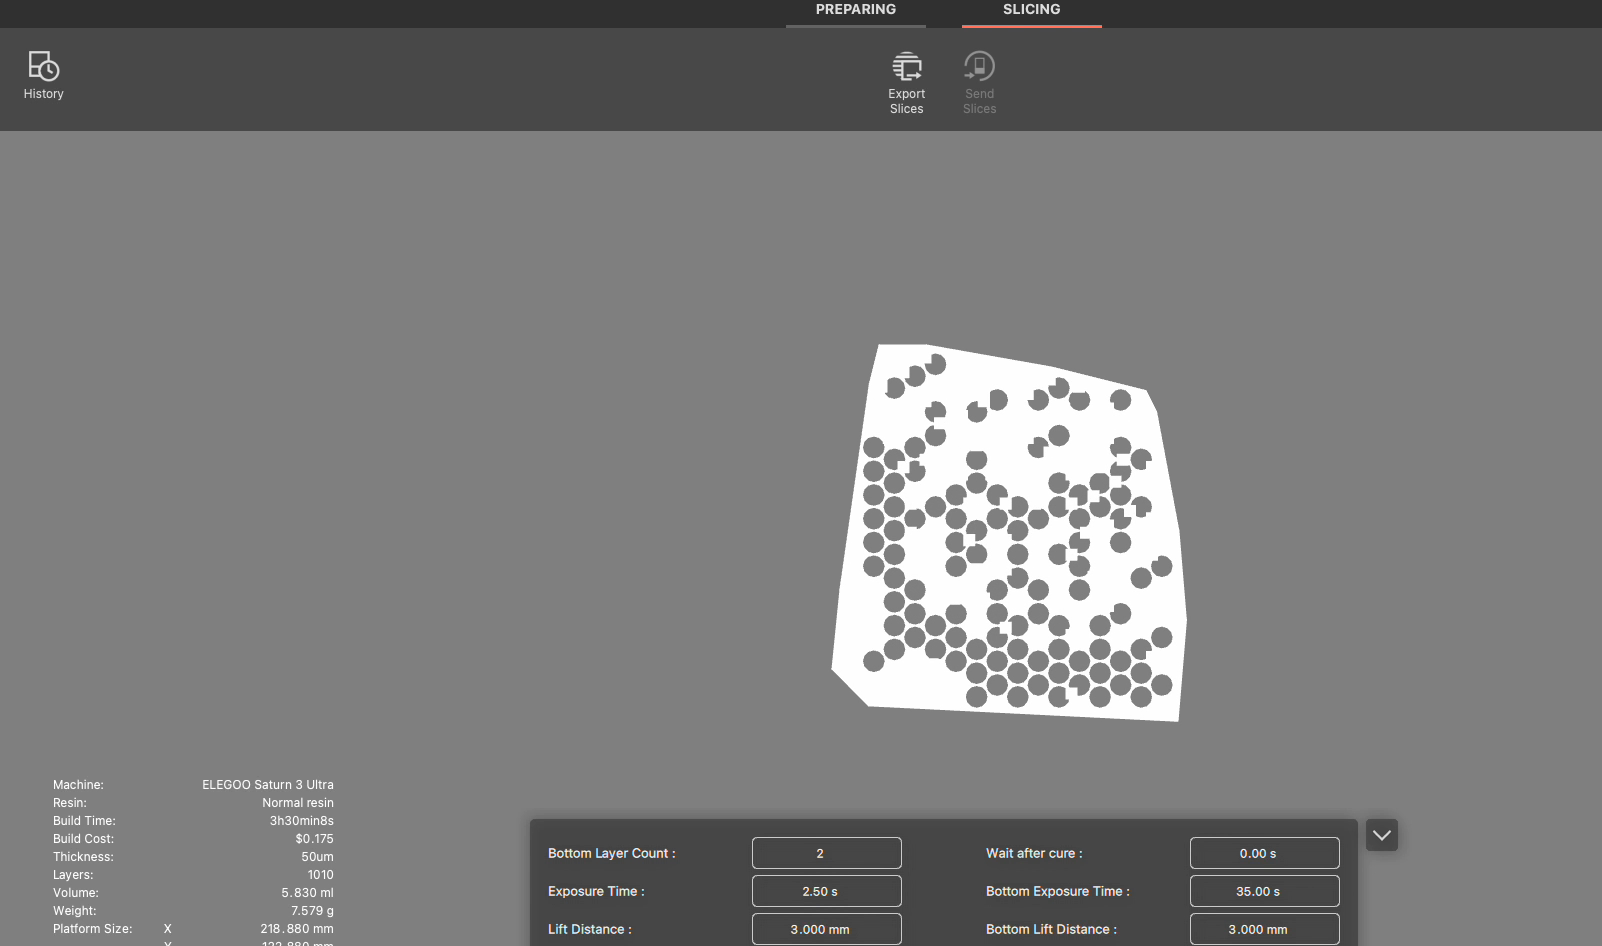
After adding supports, click the Slice to start slicing.
-
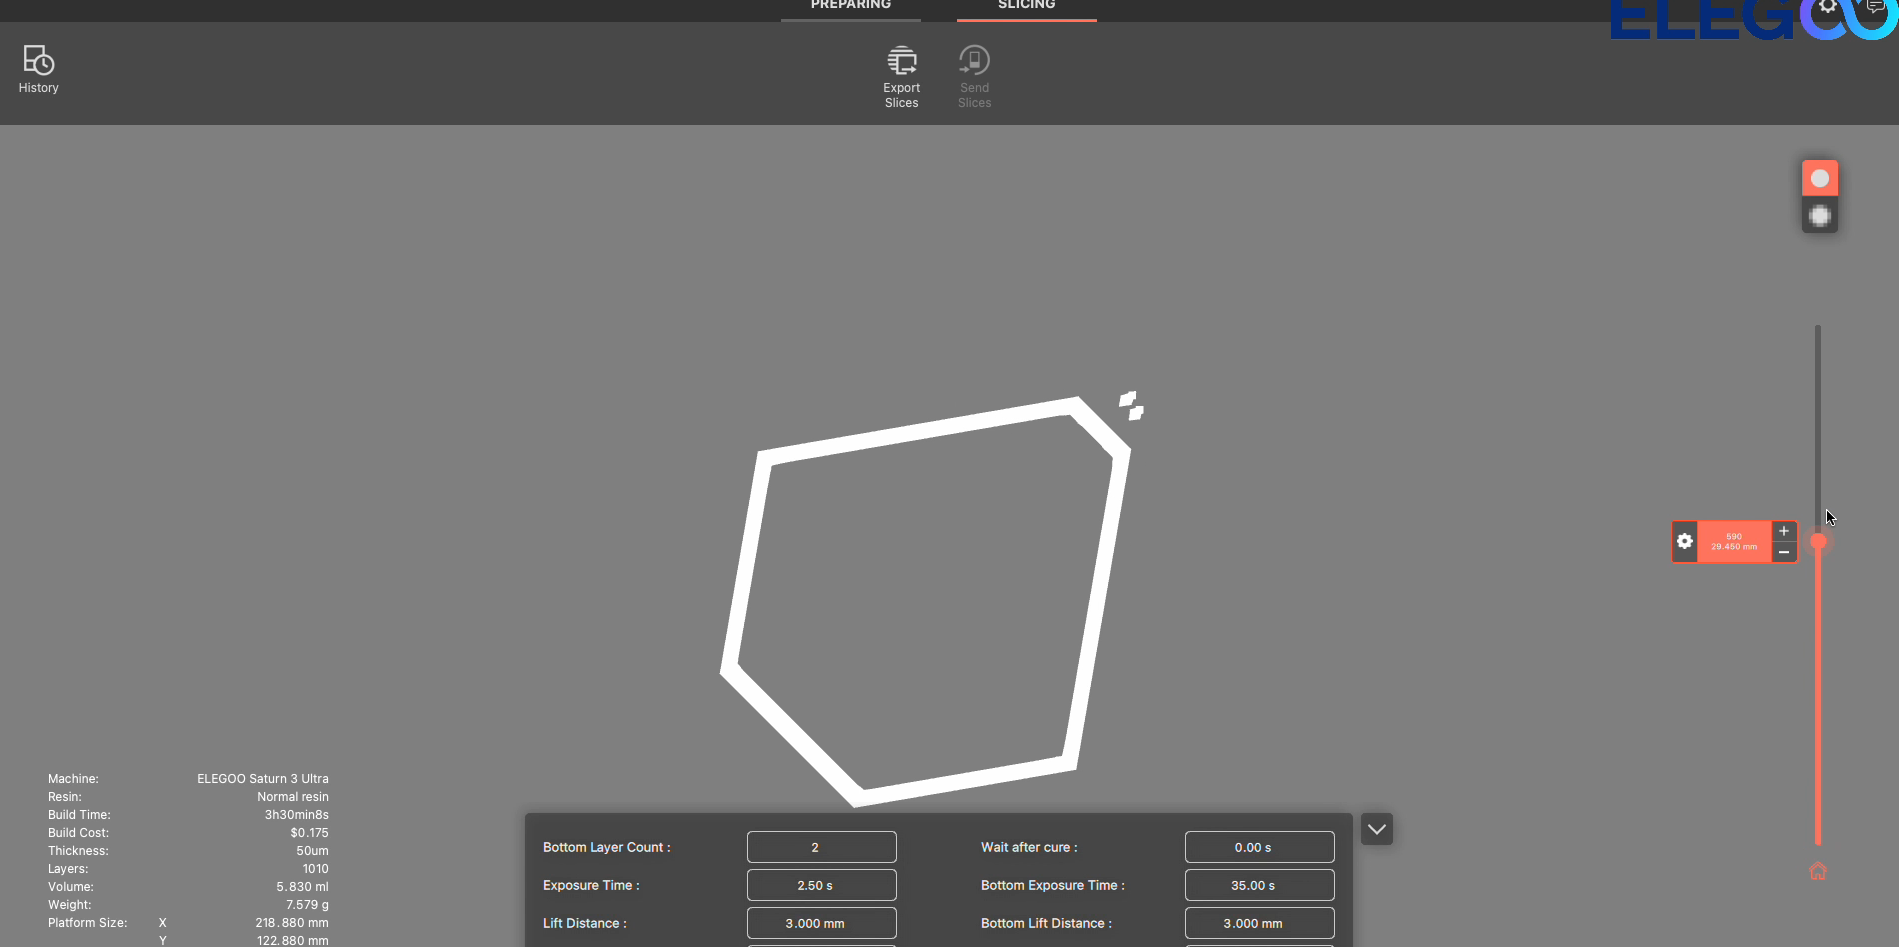
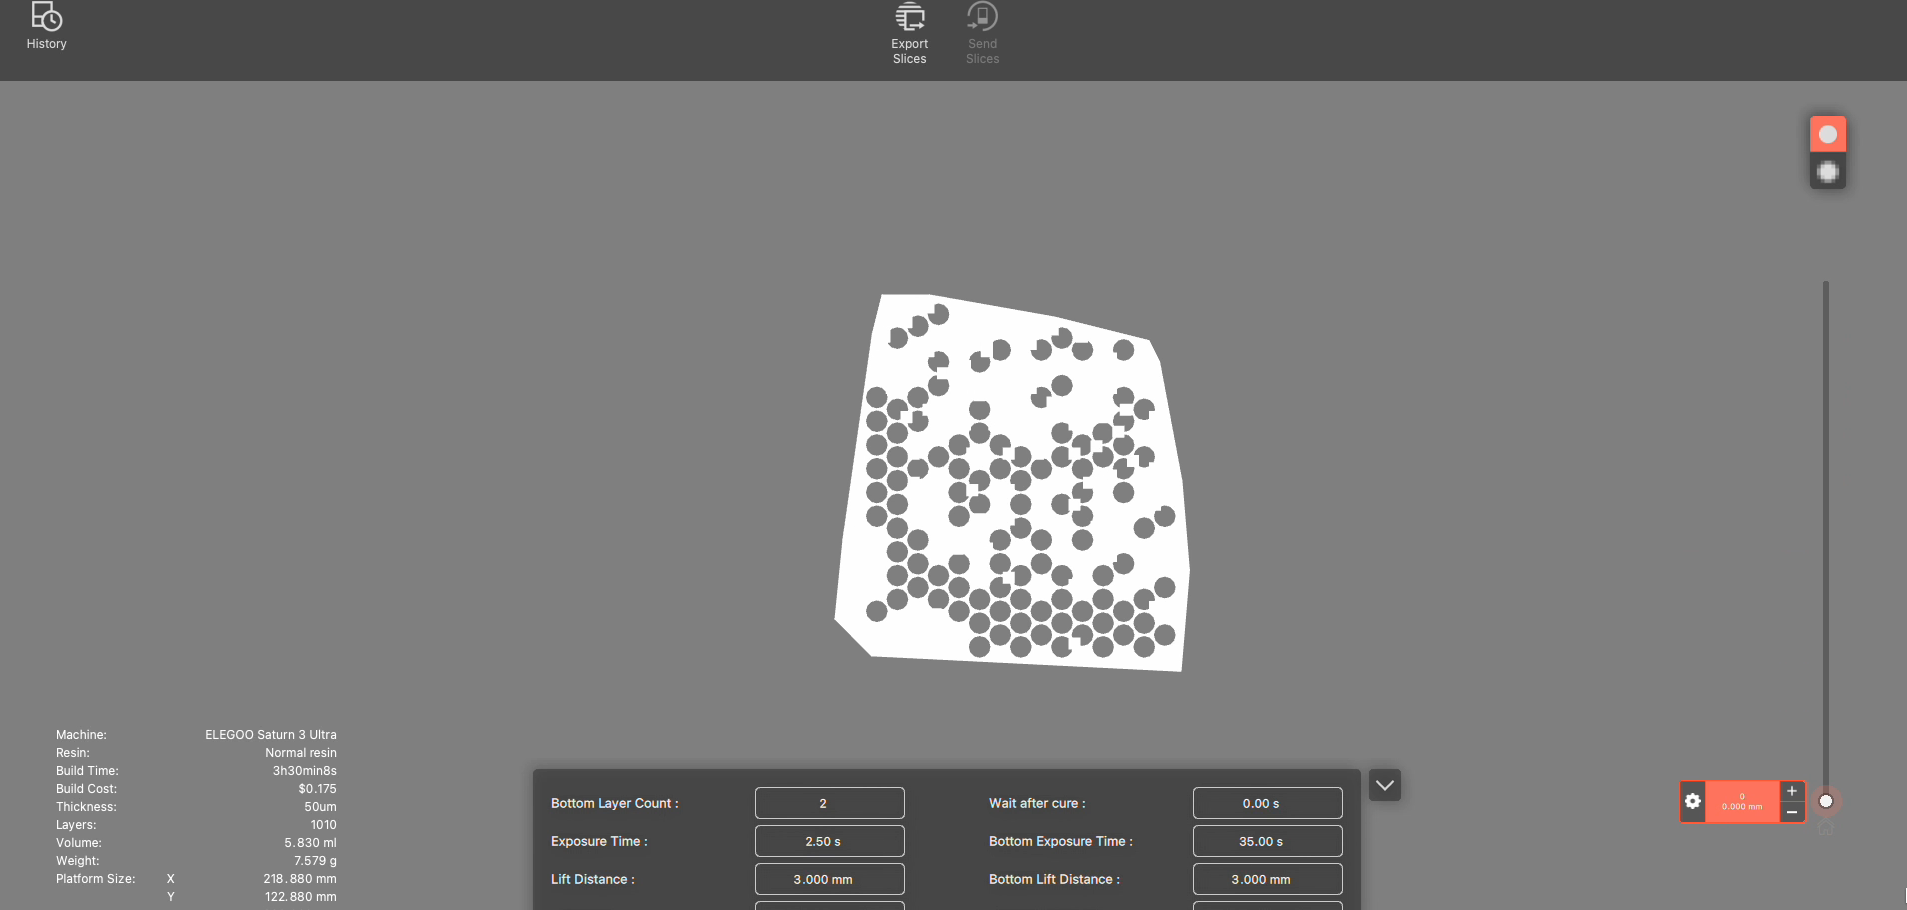
Use the right-ide slider to preview individual layers.
-
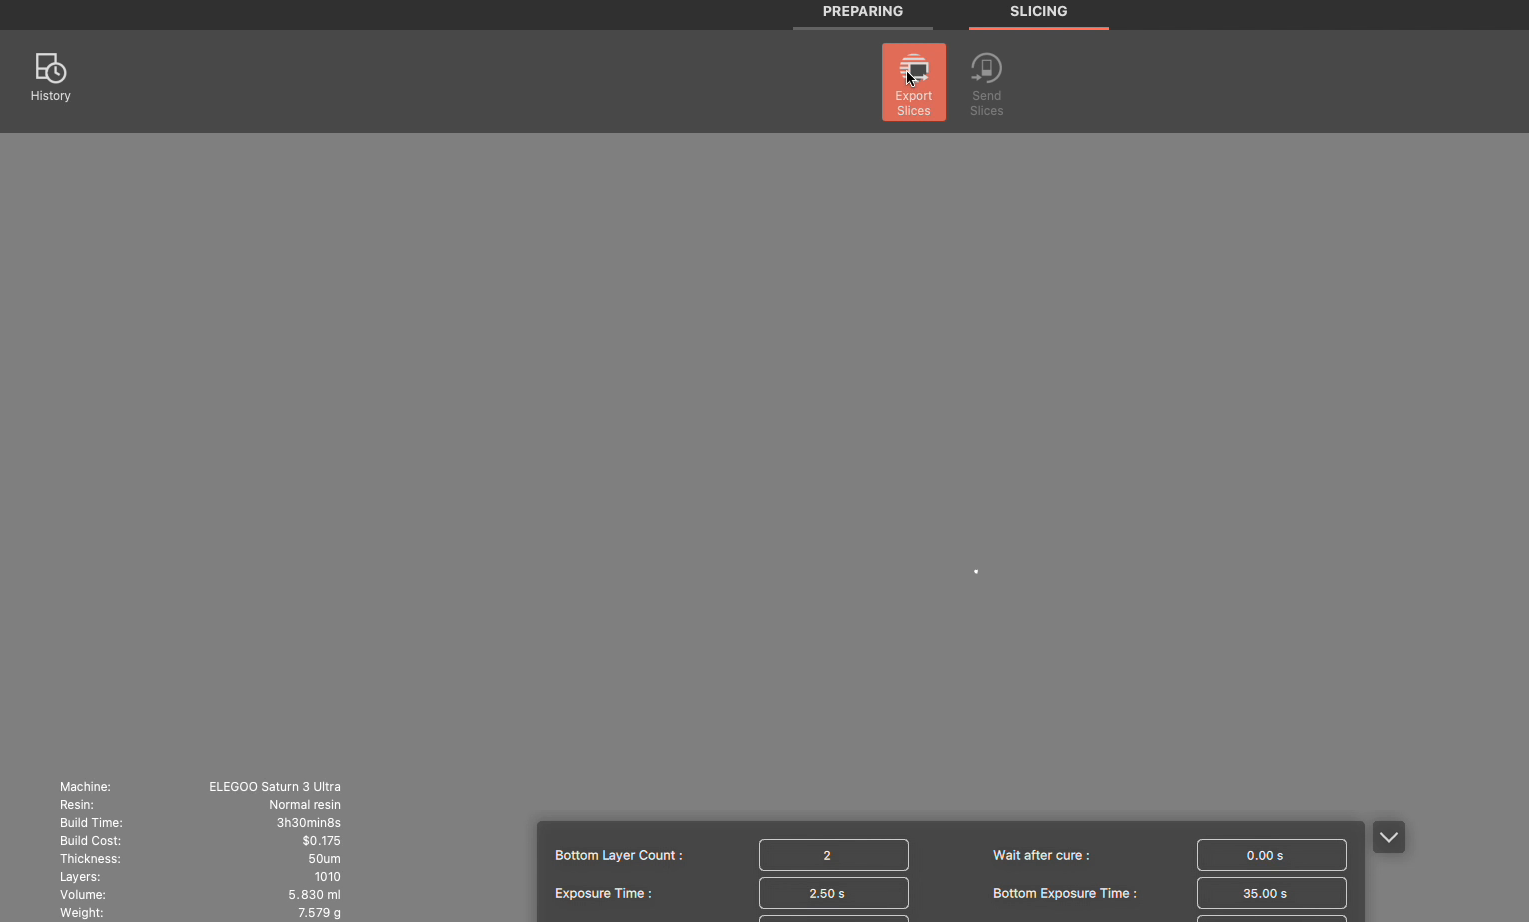
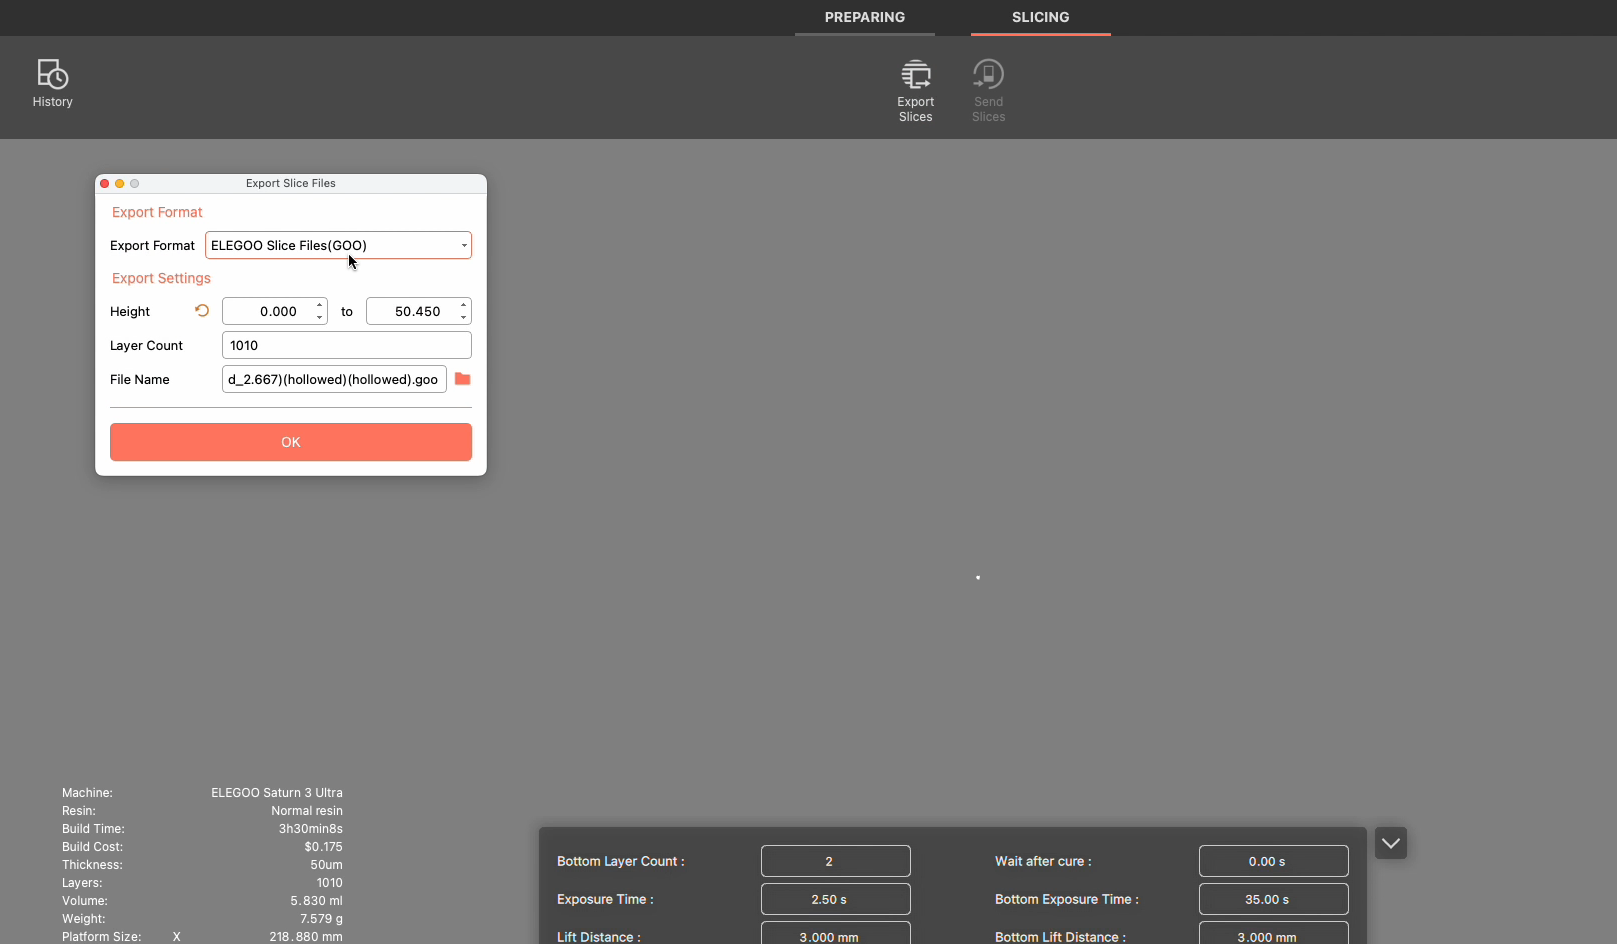
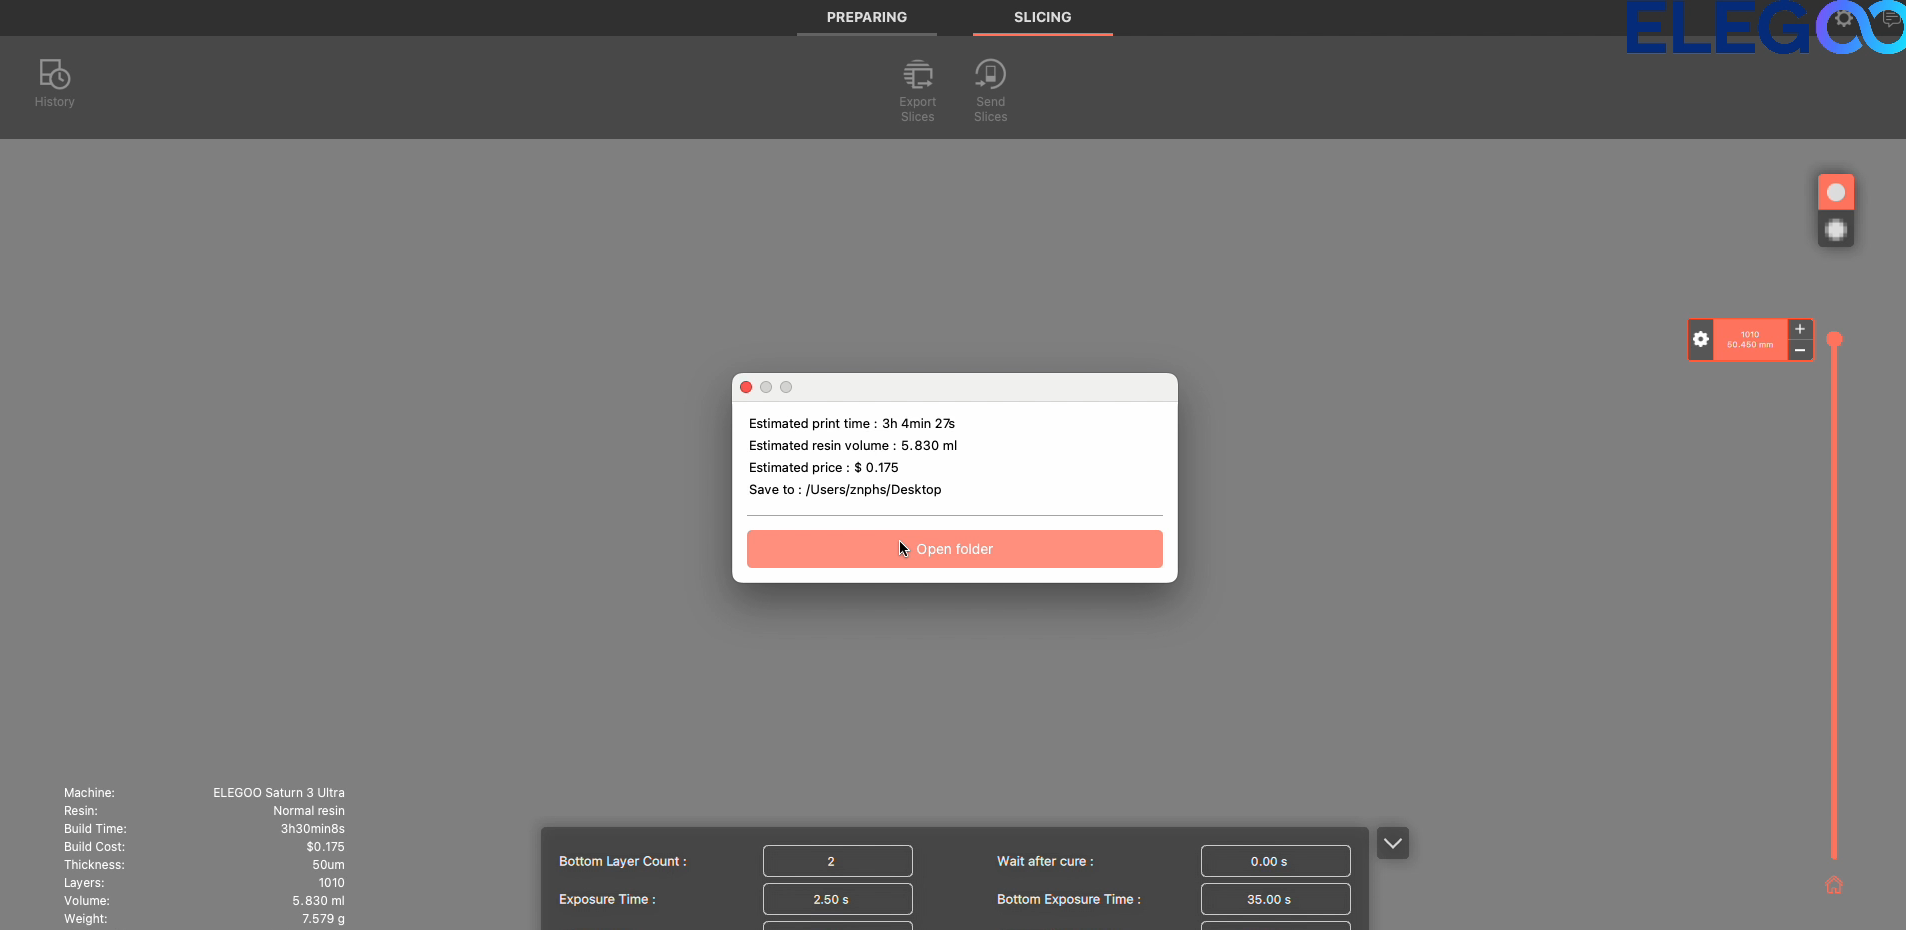
Export Slices.
When preview looks correct, click Export Slices. Select .goo format, name the file, and save to your computer. Copy the file to a USB drive for printing.
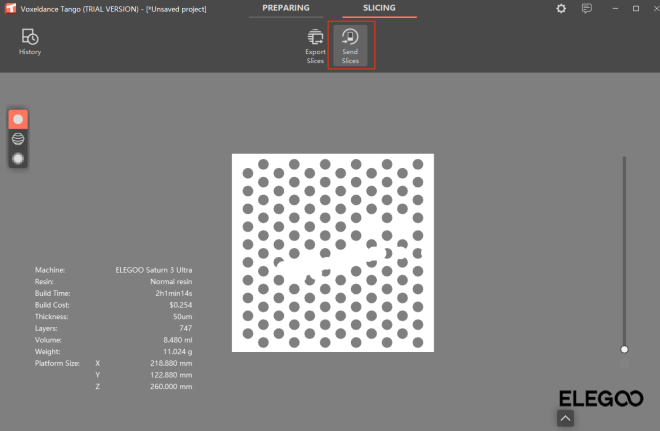
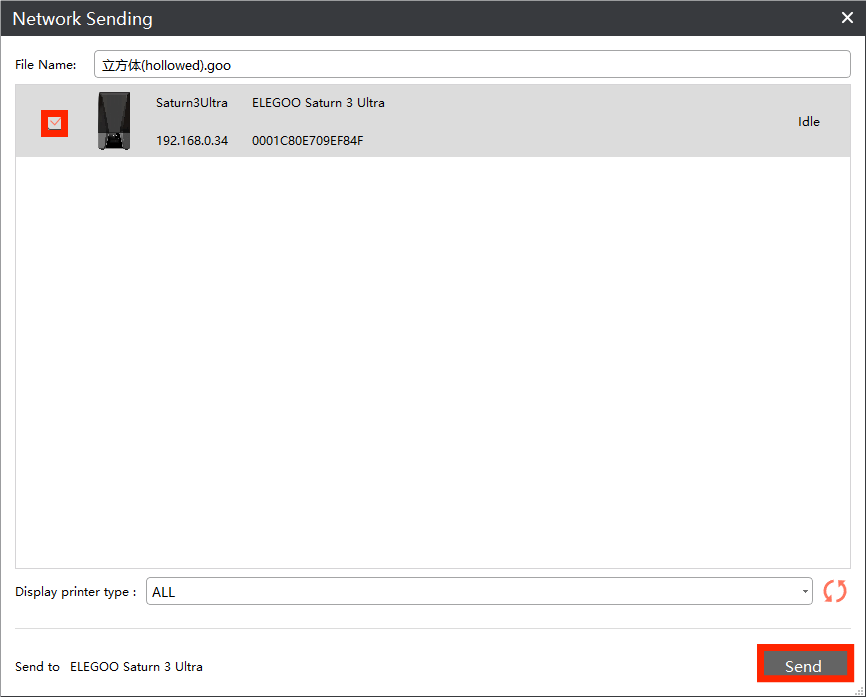
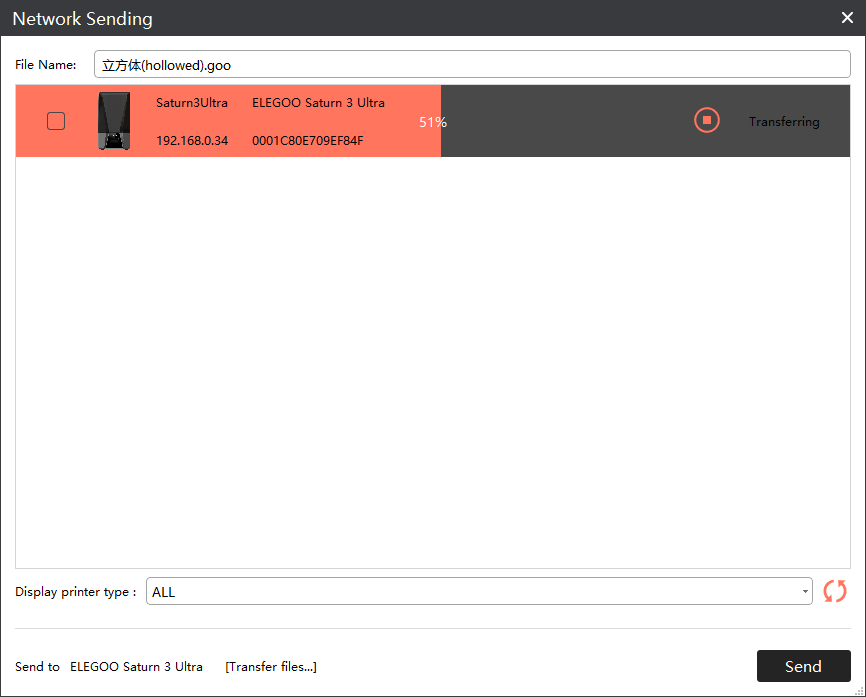
¶ Network Sending (Send Slices)
After slicing, click Send Slices. Ensure your computer and printer are on the same local network. Verify the printer IP address, select the printer, and click Send to transfer the file wirelessly.