¶ Tools and Materials
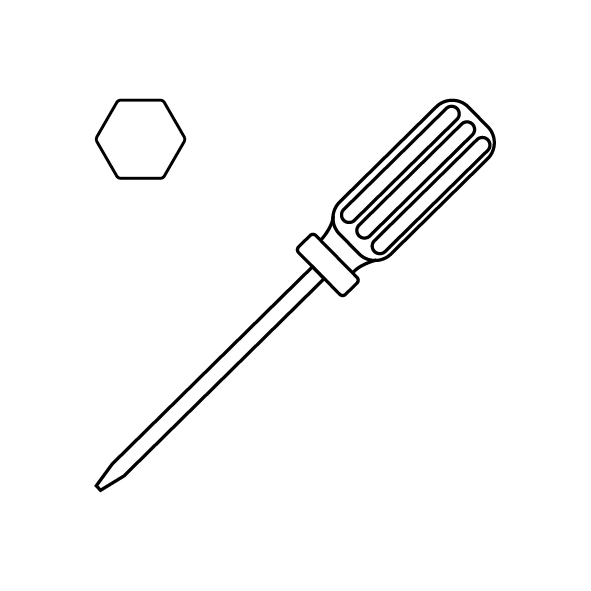
- A 3.0 mm Allen key
¶ Tutorial Video
https://www.youtube.com/watch?v=eUFnPV5au6k
¶ Instruction
¶ Preparation
Plug in the power supply cable and turn the power switch ON (symbol "|").
¶ Leveling
-
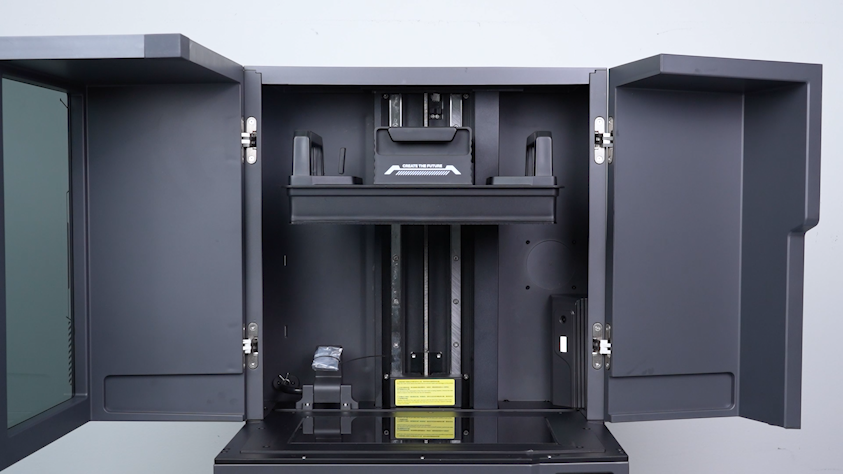
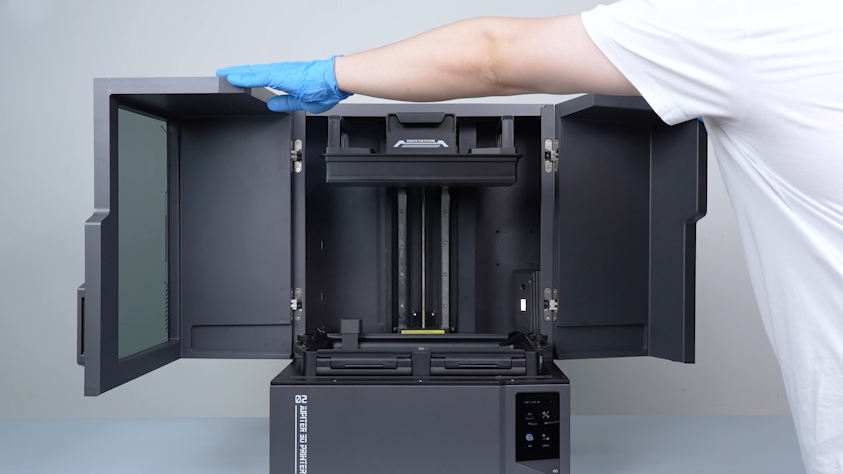
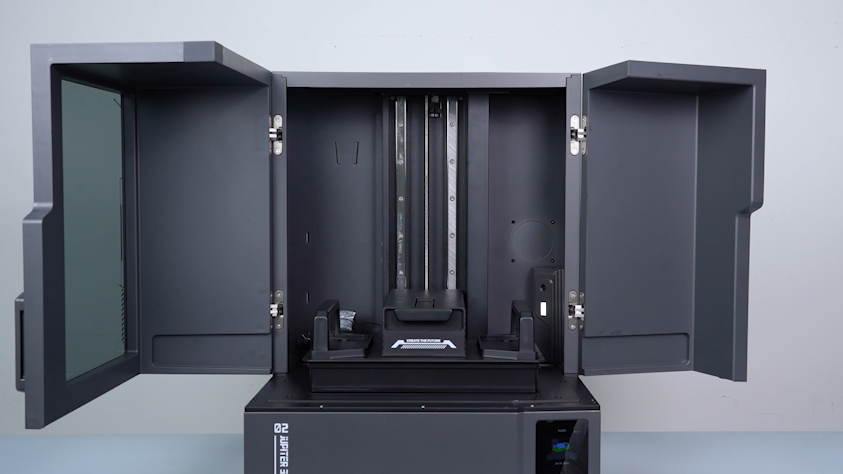
Open the front door.
-
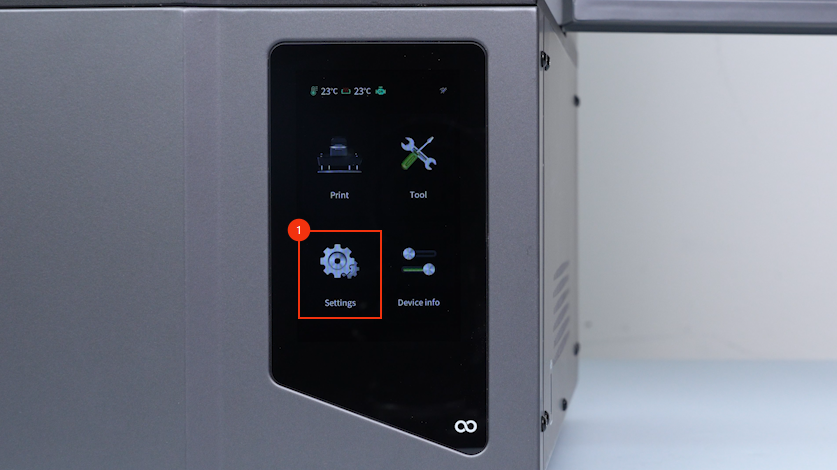
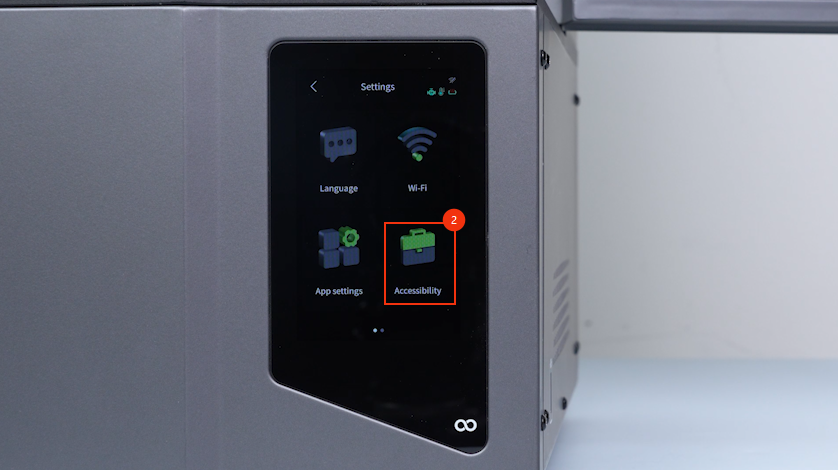
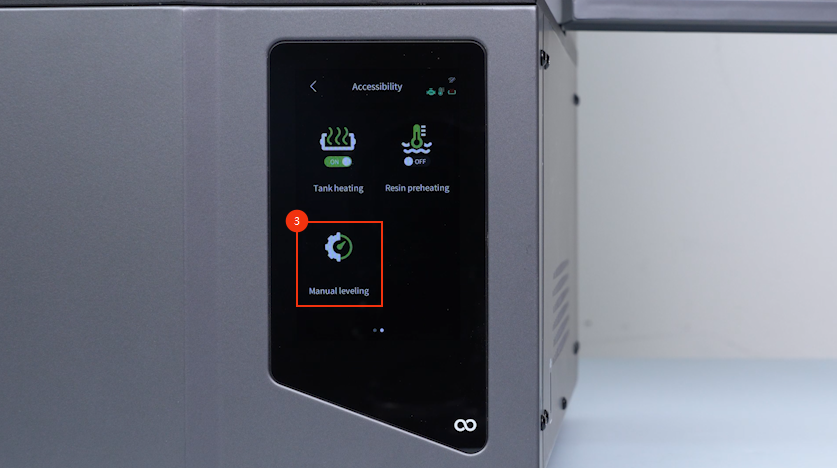
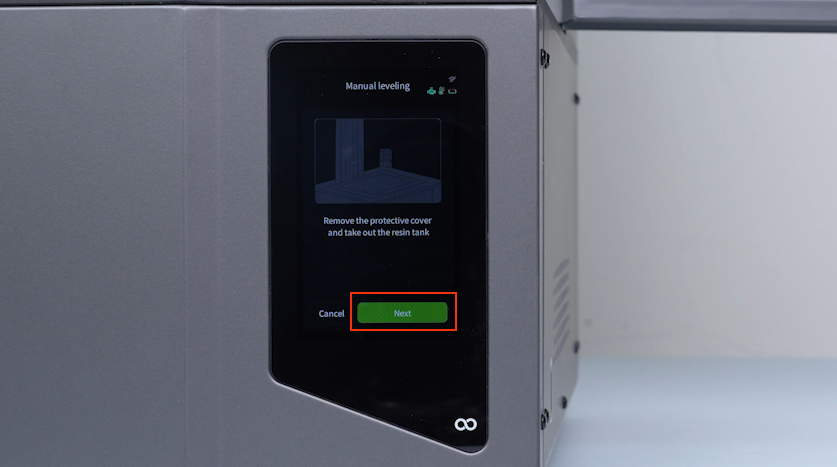
On the touch screen, select Settings - Accessibility - Manual leveling.
-
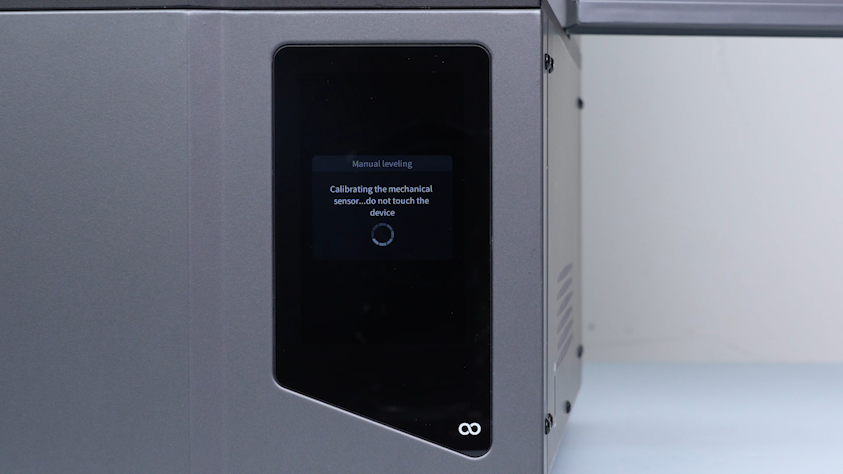
Wait for the homing process to complete.
-
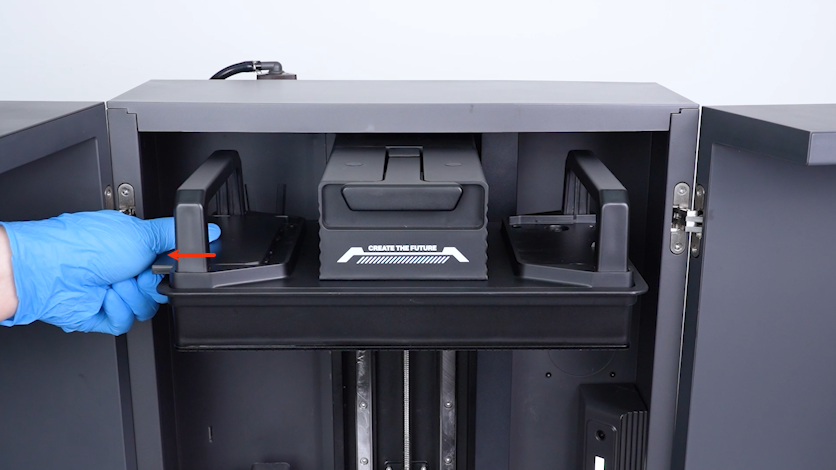
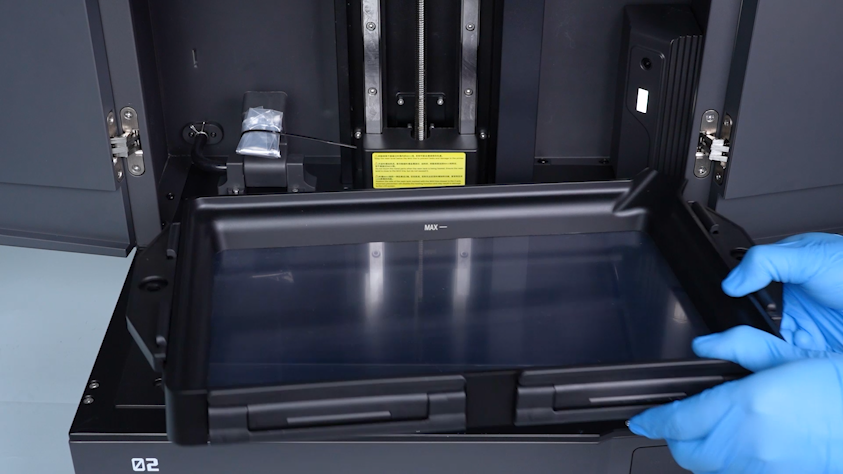
Remove the two build plate covers.
-
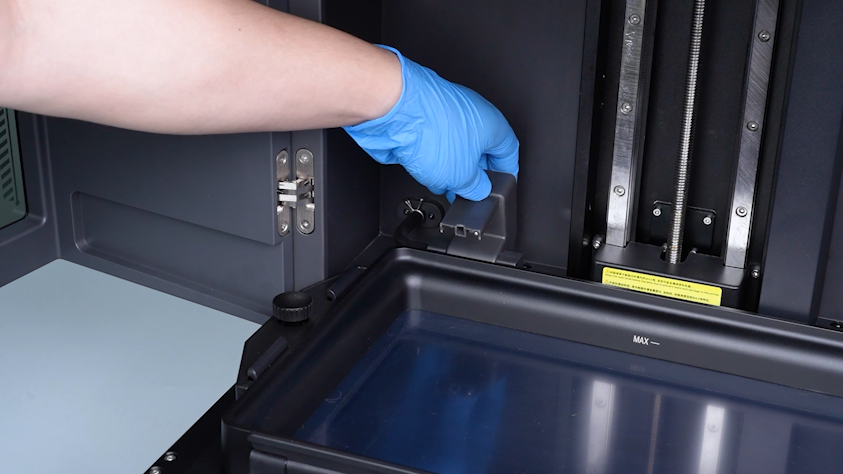
Lift the automatic resin feeding inlet.
-
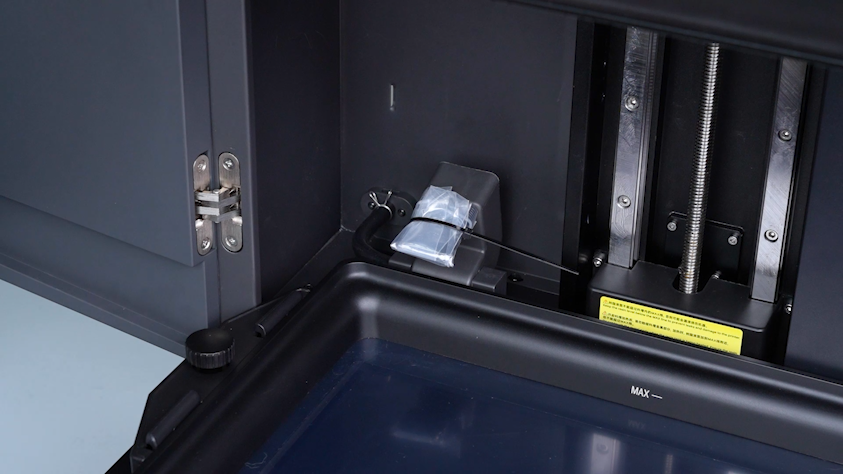
Seal the inlet with a bag and a cable tie to avoid the resin drips.
-
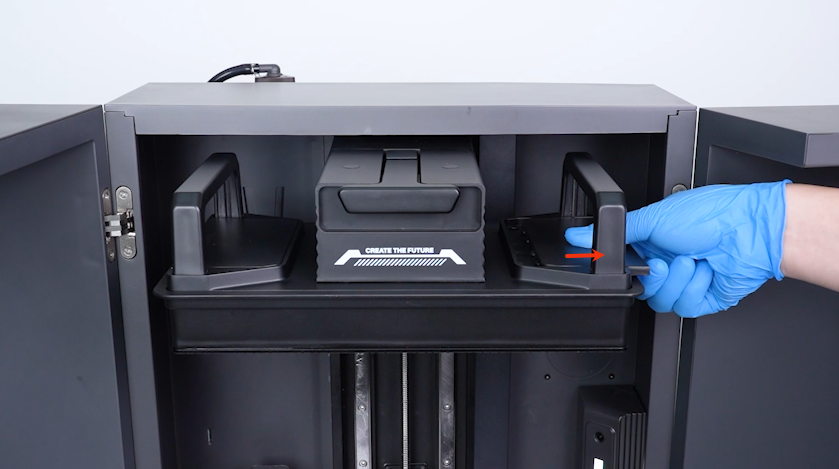
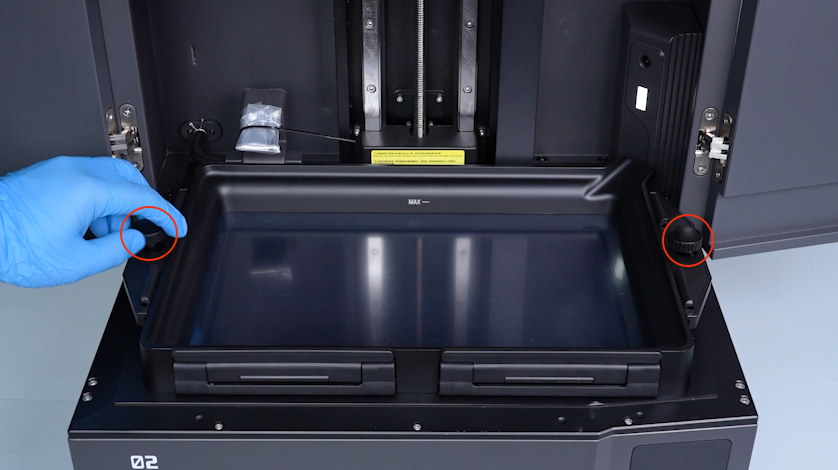
Remove the two knob screws and remove the resin tank.
-
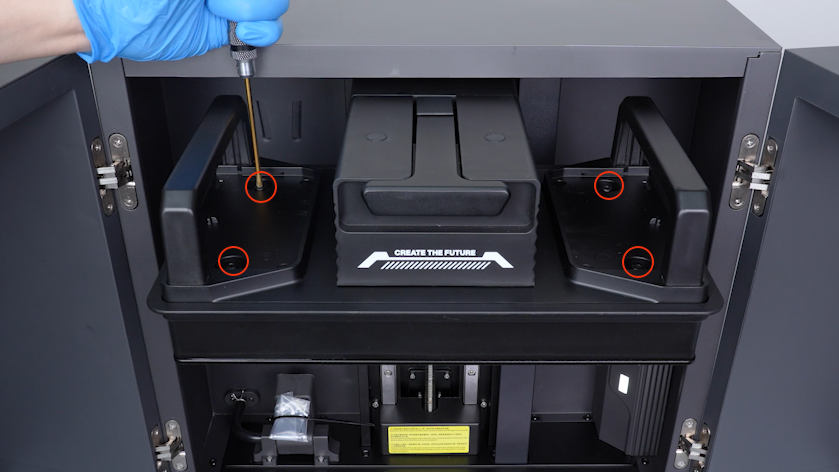
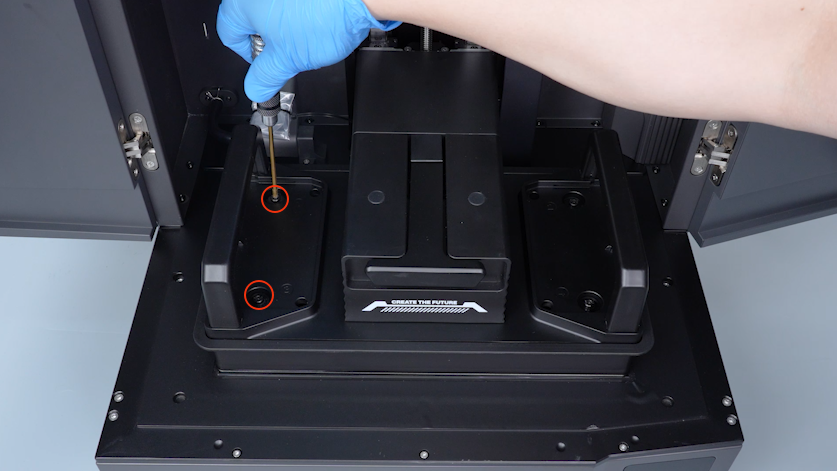
Before proceeding to the next calibration step, turn the screws clockwise to tighten the four screws on the top of the mechanical sensor completely with a 3.0 mm Allen key.
-
Click Next.
-
Wait for the build plate to lower to the bottom.
-
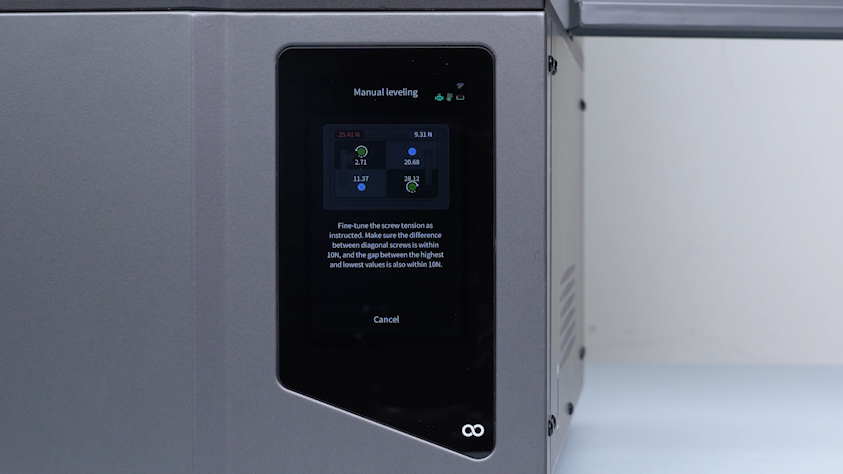
Adjust the tightness of the screws on the top of the mechanical sensor according to the values on the touch screen.
Note:
1. Do not adjust the maximum value.
2. Turn the screw anticlockwise to increase the value, and turn it clockwise to decrease the value.
3. Prioritize adjusting the number diagonally opposite the maximum value.
4. Ensure the four values are as close to each other as possible.
5. The difference between the maximum and minimum of the four values shall be less than 10 N.
-
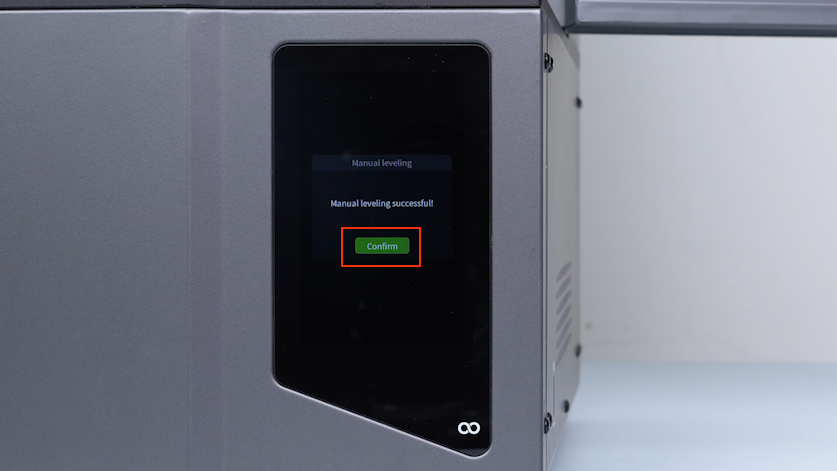
Confirm that all values on the touch screen have turned blue and the prompt "Manual levelling complete" appears underneath.
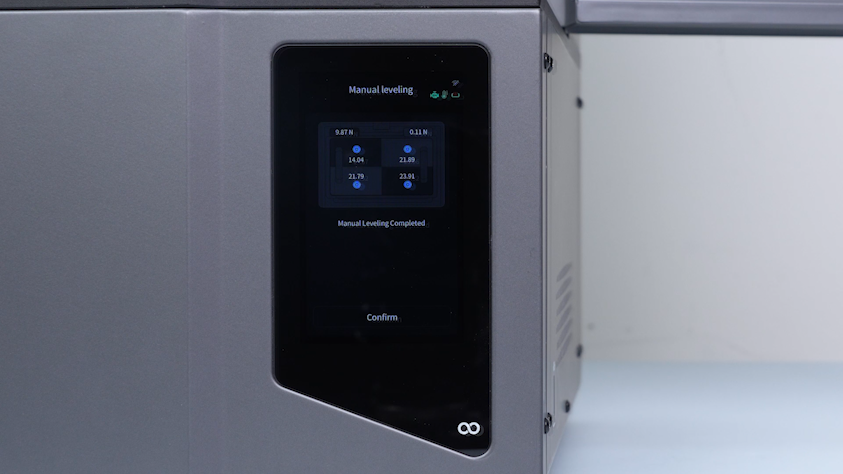
-
Click Confirm.

-
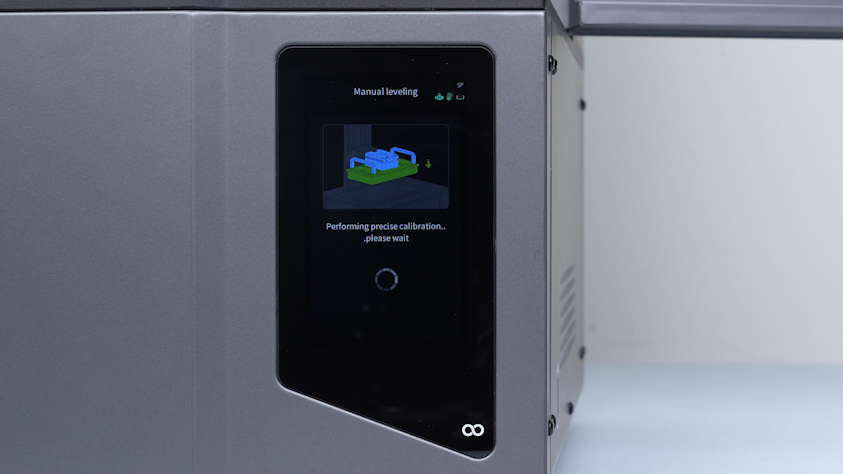
Wait for the printer to complete calibration.
-
Click Confirm.
-
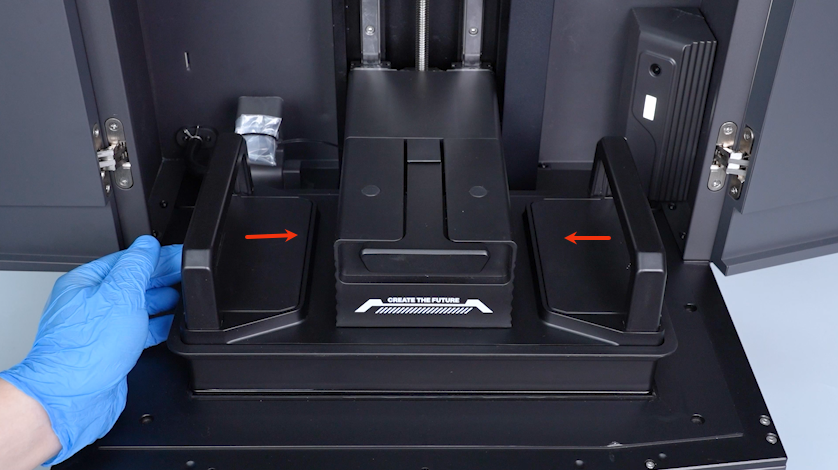
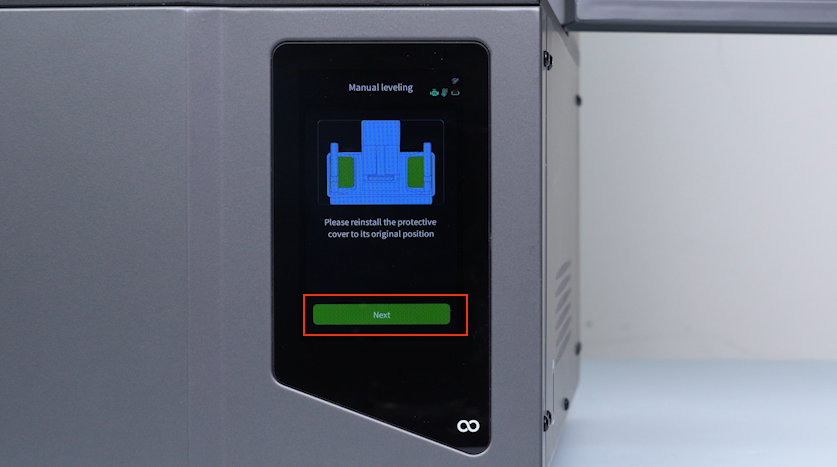
Put the build plate covers in the installation positions.
-
Click Next.
-
Wait for the homing process to complete and the manual leveling completes successfully.