¶ Tools and Materials
-
A 2.0 mm Allen key
-
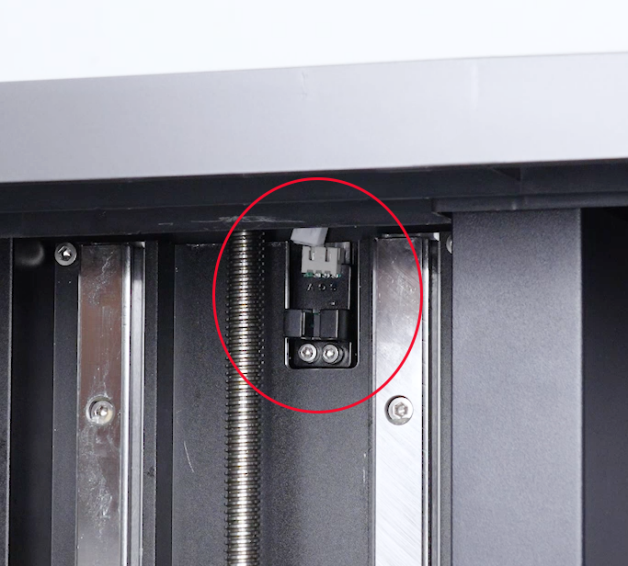
A new Z-axis limit switch
¶ Tutorial Video
¶ Instruction
¶ Preparation
Plug in the power supply cable and turn the power switch ON (symbol "|").
¶ Remove the old Z-axis limit switch
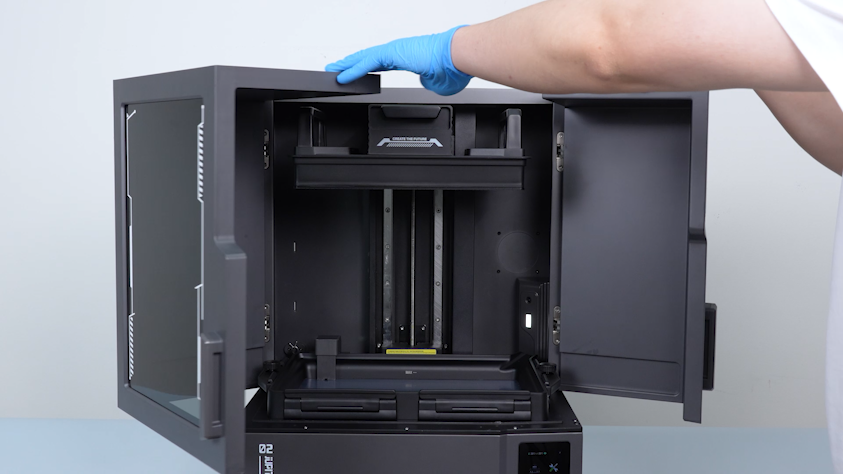
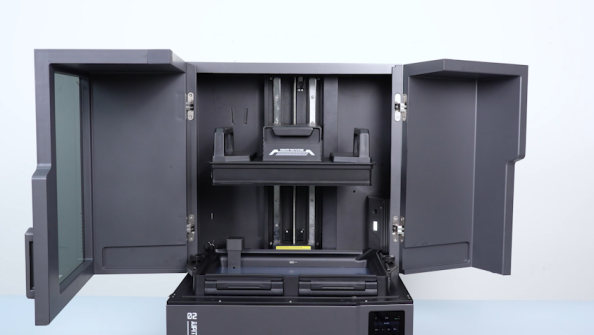
- Open the front door.
-
On the touch screen, select Tool - Manual and lower the Z axis by 100 mm.
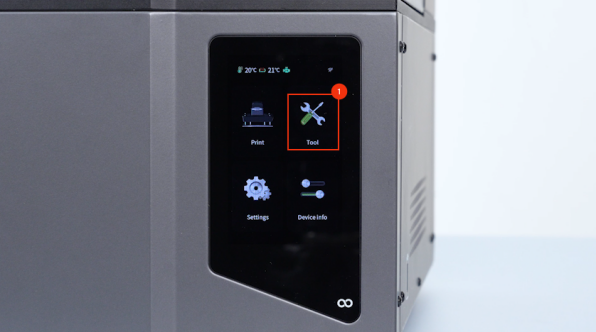
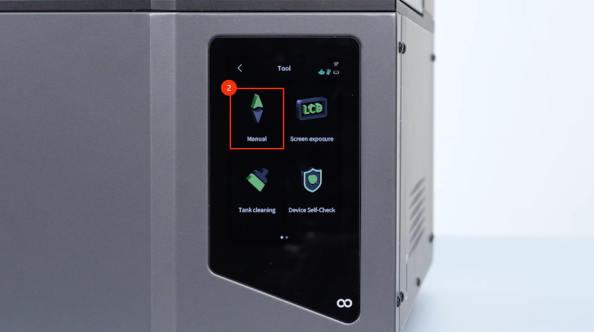
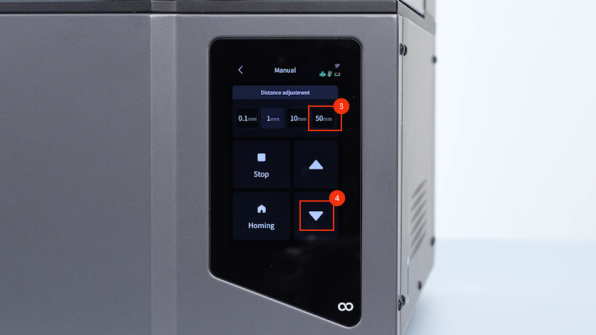
-
Turn the power switch OFF (symbol "〇") and unplug the power supply cable.
-
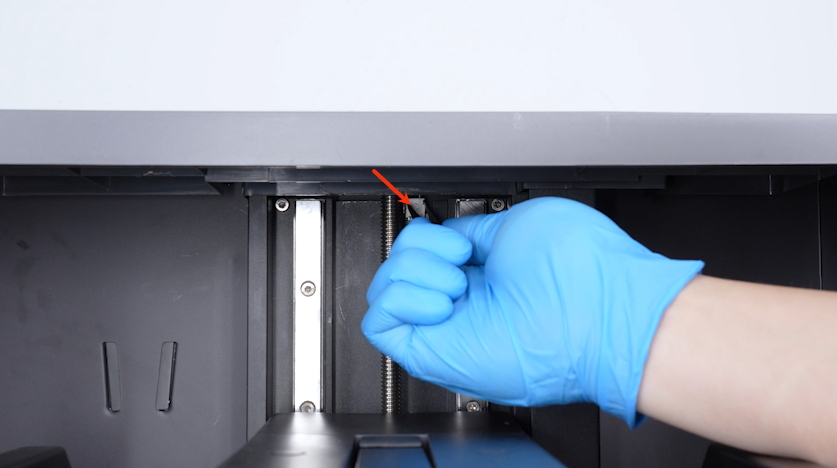
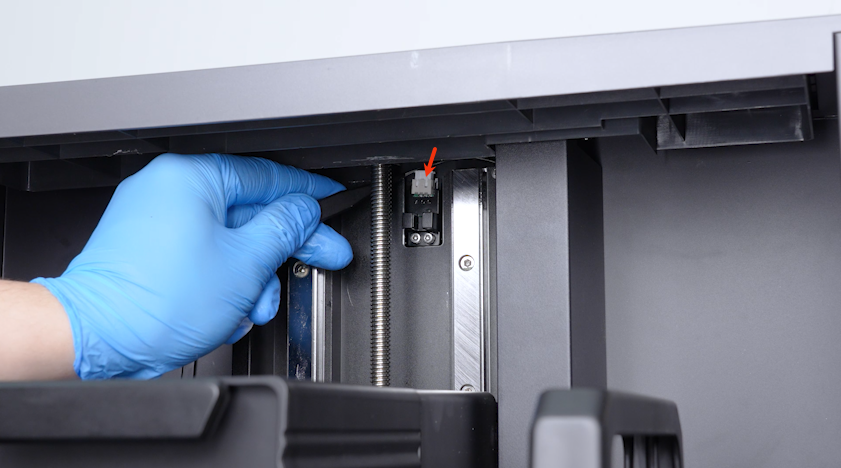
Remove the Z-axis limit switch plug with a pair of tweezers.
-
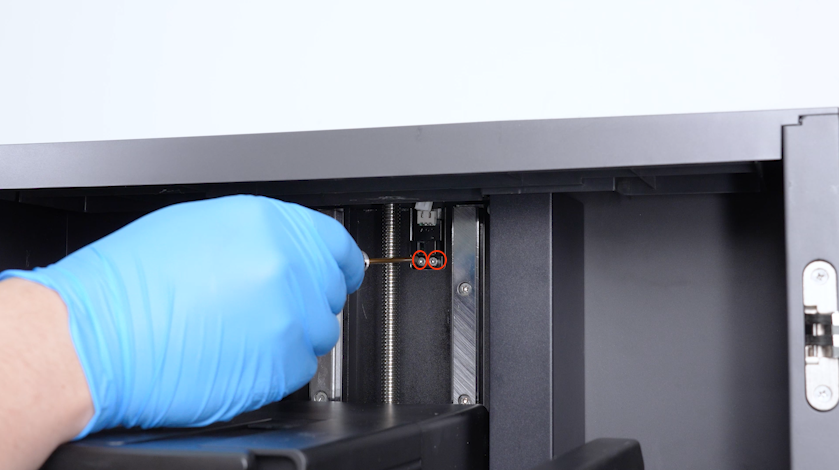
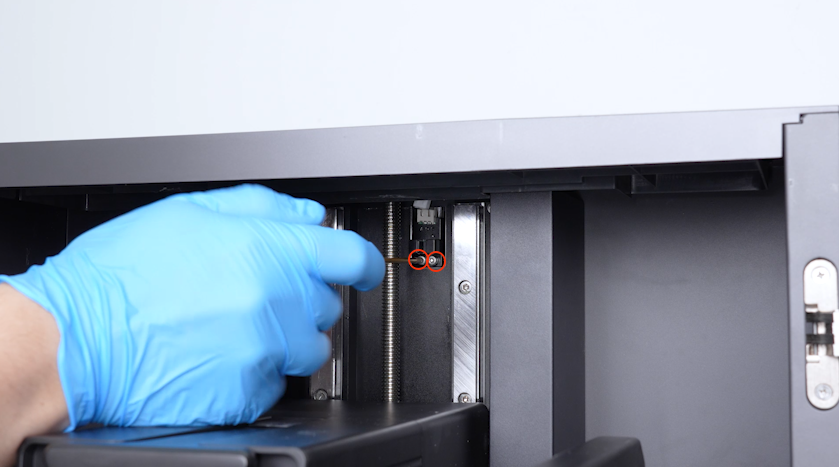
Release and remove the two screws securing the Z-axis limit switch with a 2.0 mm Allen key.
Note: Hold the Z-axis limit switch when removing the last screw.
-
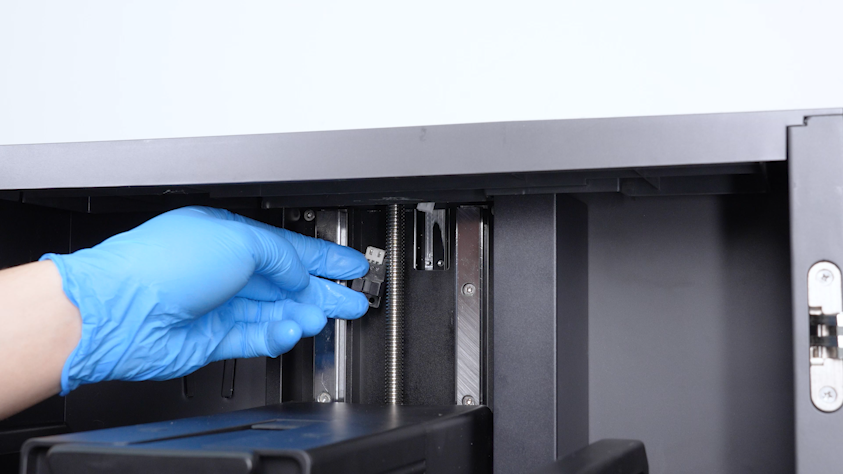
Remove the old Z-axis limit switch.
¶ Install the new Z-axis limit switch
-
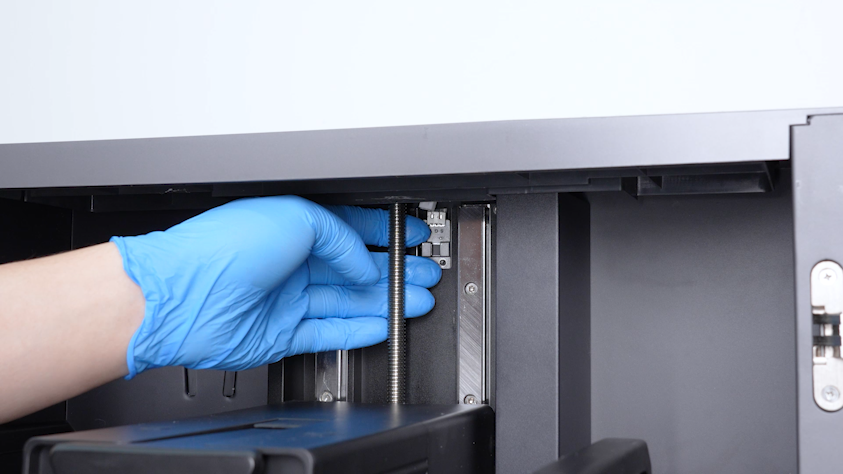
Put the new Z-axis limit switch in the installation position.
-
Tighten the two screws securing the Z-axis limit switch.
-
Insert the plug of the Z-axis limit switch.
-
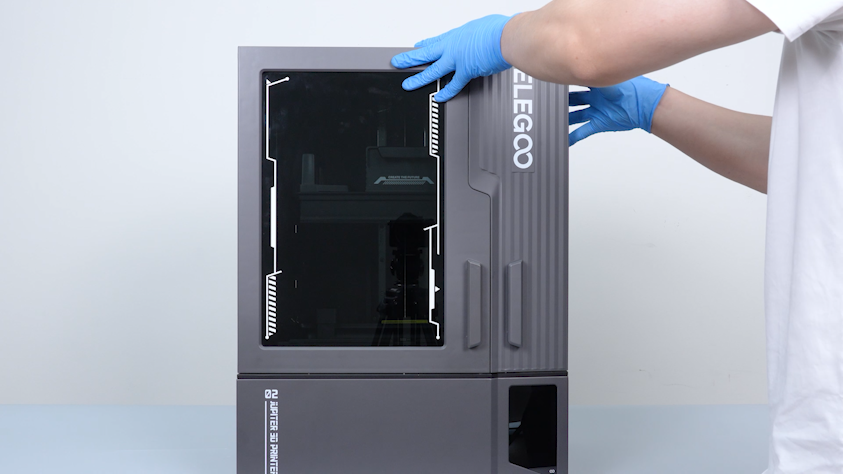
Close the front door.
¶ Verification
-
Plug in the power supply cable and turn the power switch ON (symbol "|").
-
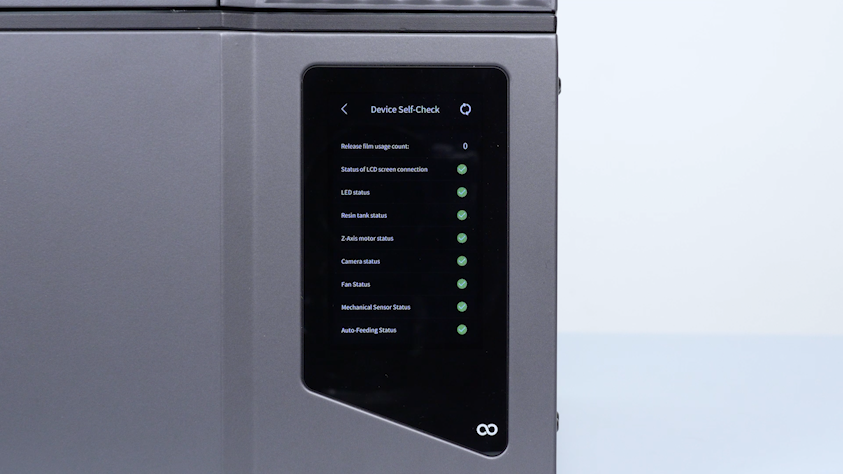
The printer is ready for use after the self check.