¶ Tools and Materials
-
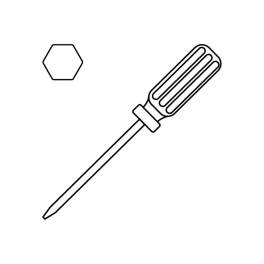
A 3.0 mm Allen key
-
A 2.0 mm Allen key
-
A pair of tweezers
-
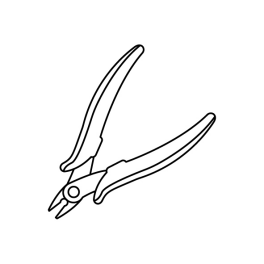
A pair of pliers
-
New pressure sensors


¶ Tutorial Video
¶ Instruction
Turn the power switch OFF (symbol "〇") and unplug the power supply cable.
¶ Remove the old pressure sensors
-
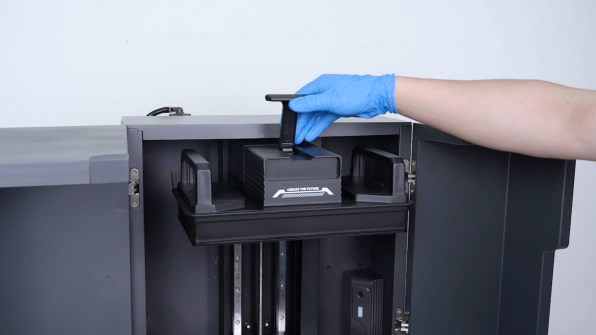
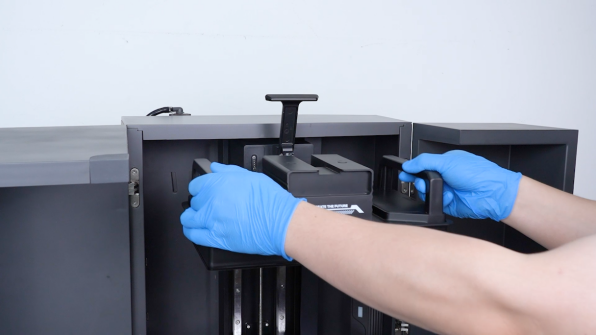
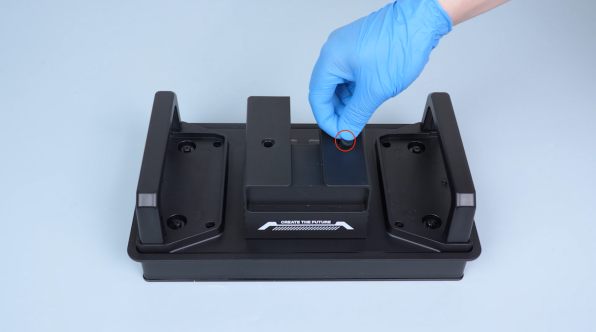
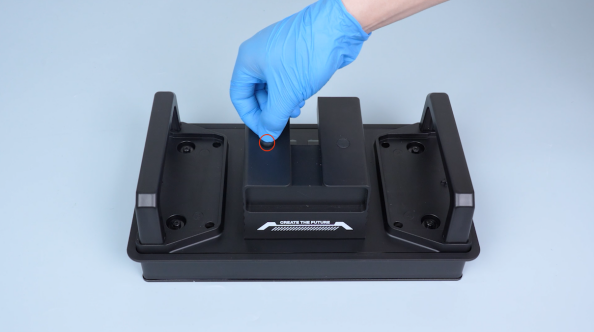
Unfasten the snap of the build plate and remove the build plate.
-
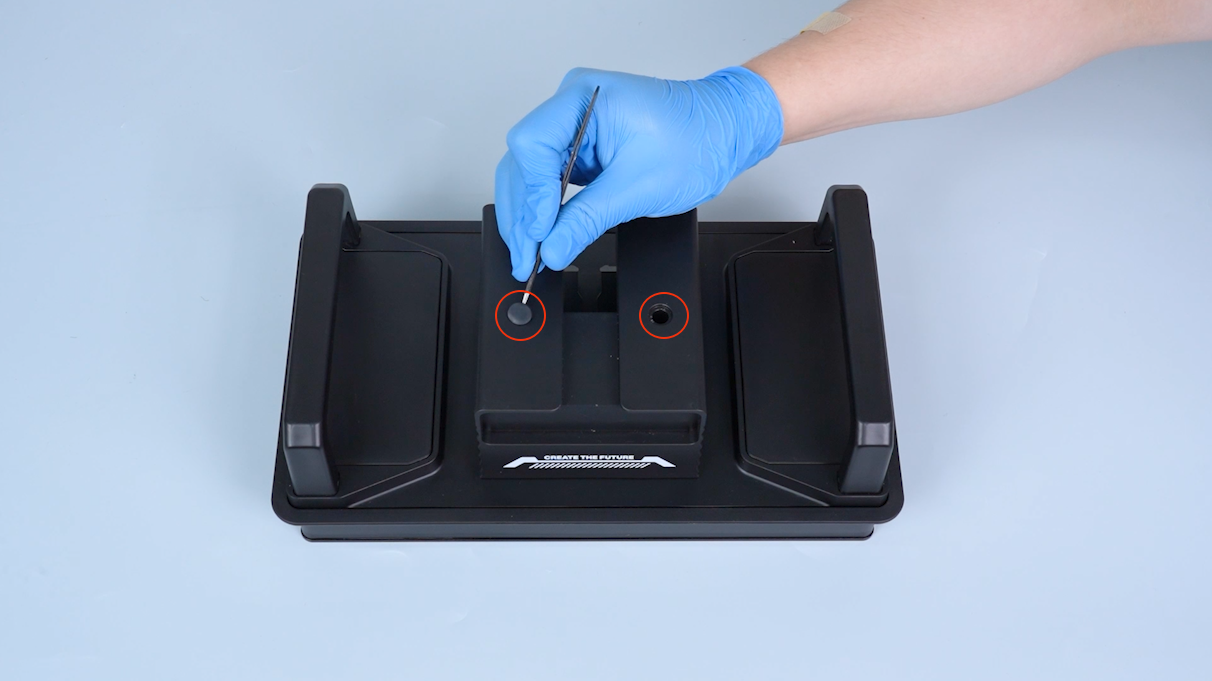
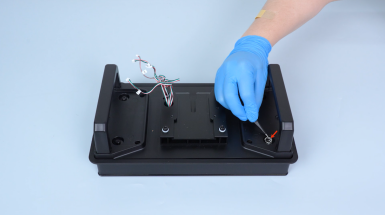
Remove the caps on the upper side of the build plate housing with a pair of tweezers and remove the caps.
-
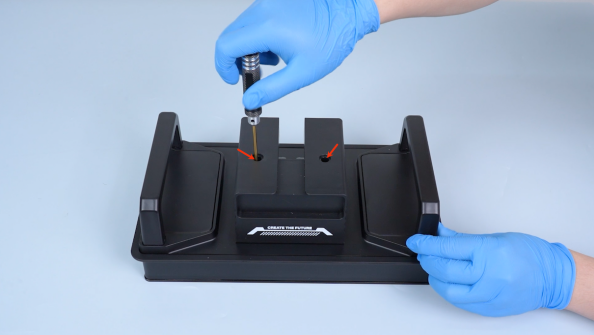
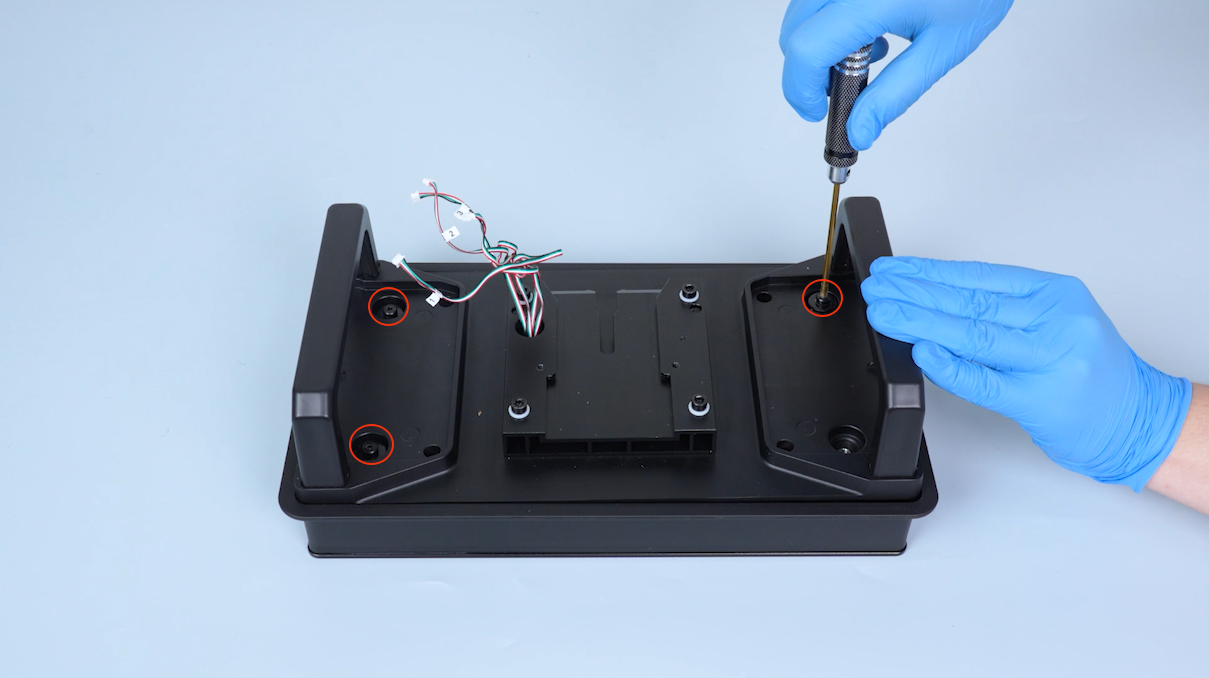
Release and remove the two screws securing the build plate housing with a 3.0 mm Allen key and remove the build plate housing.
-
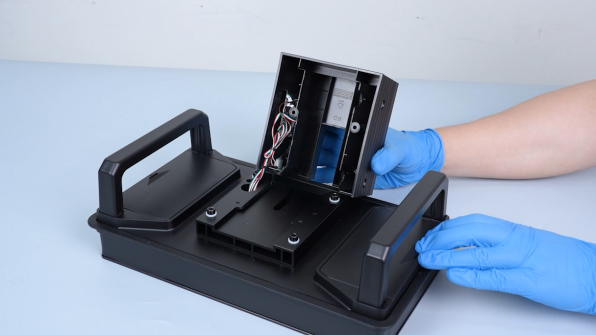
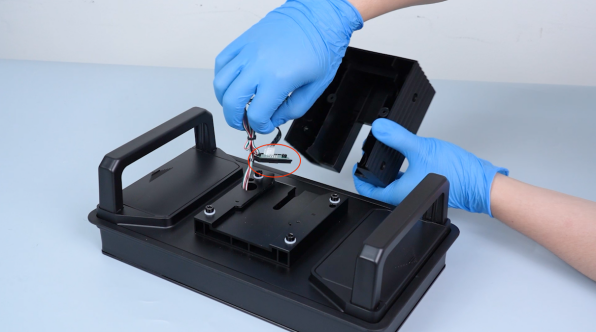
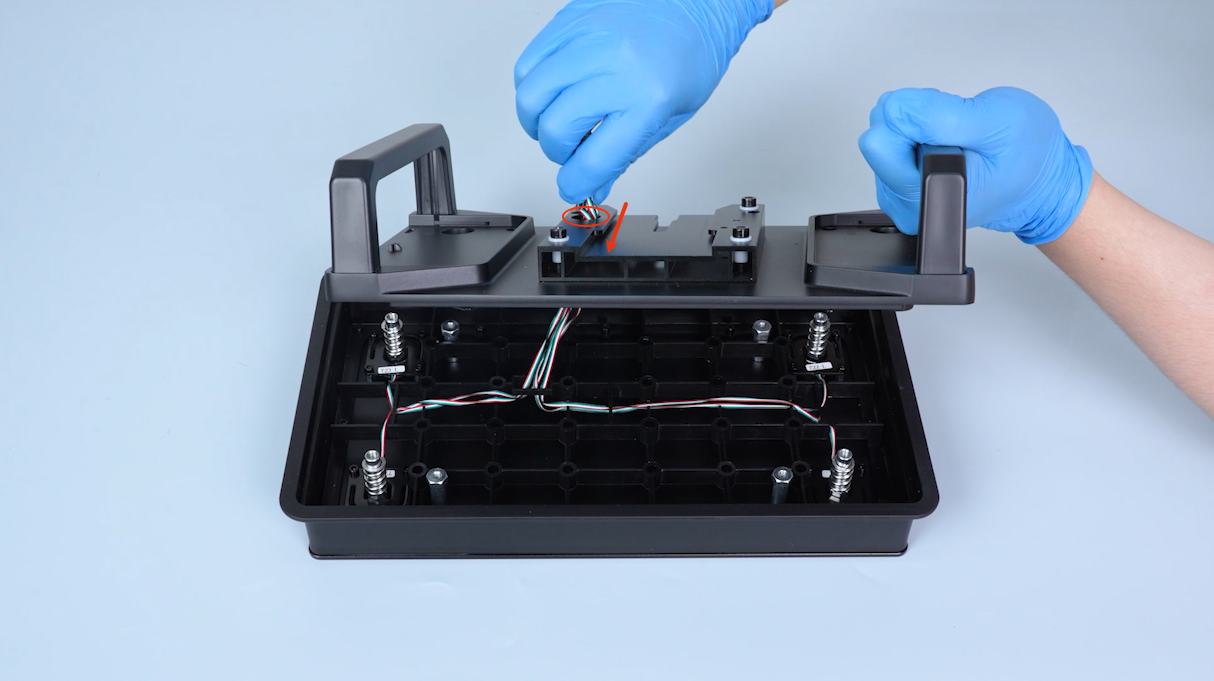
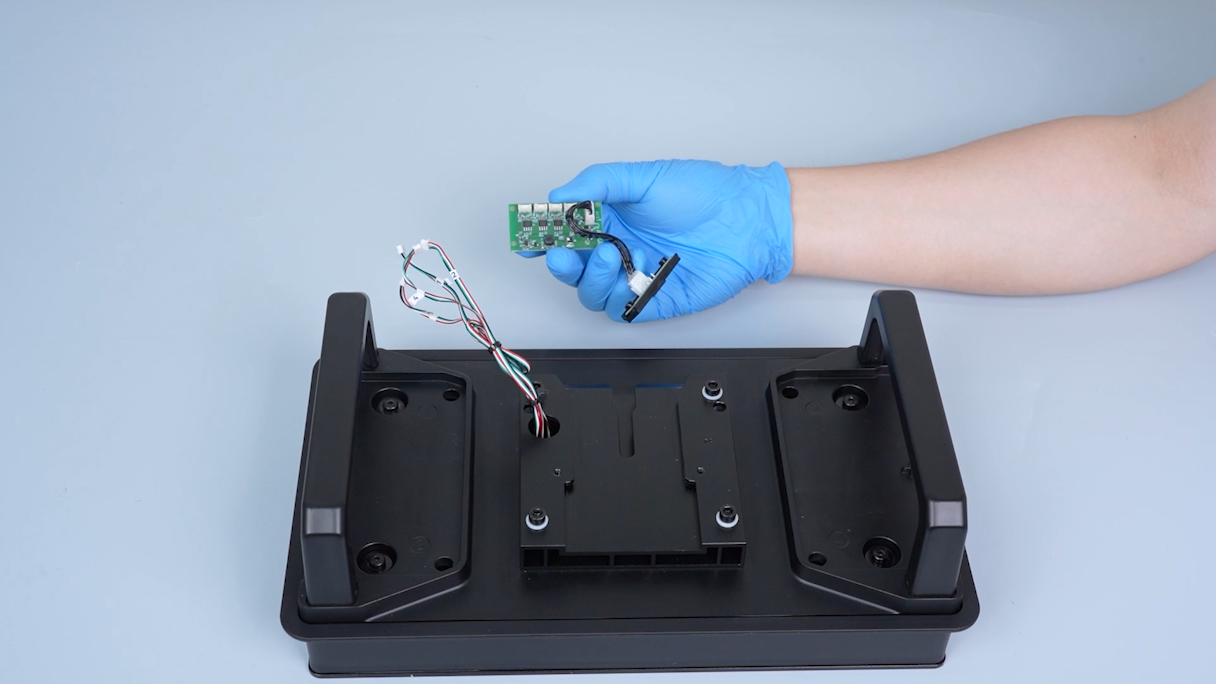
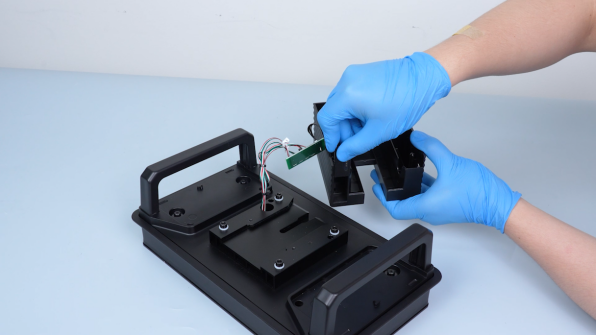
Pull out the pressure sensors adapter board and the magnetic fixing part.
-
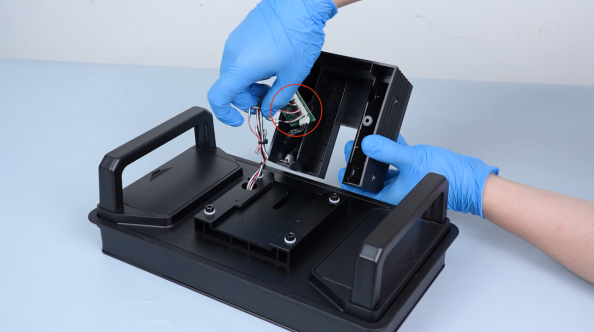
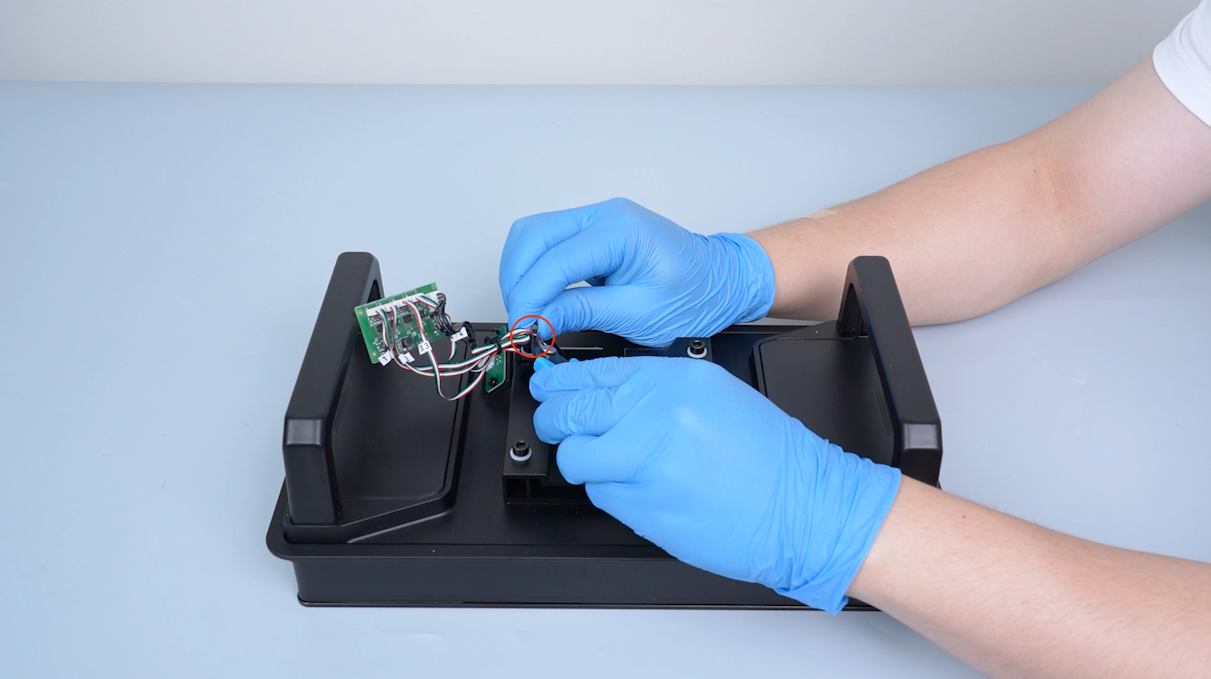
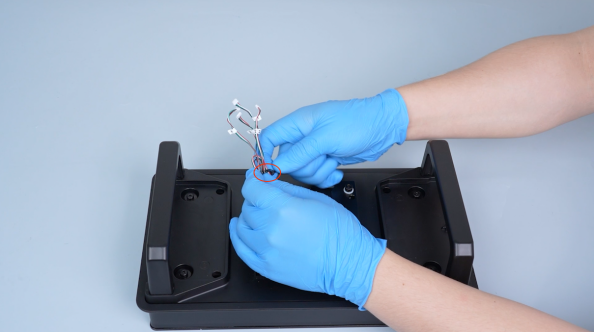
Cut off the cable ties with a pair of pliers.
-
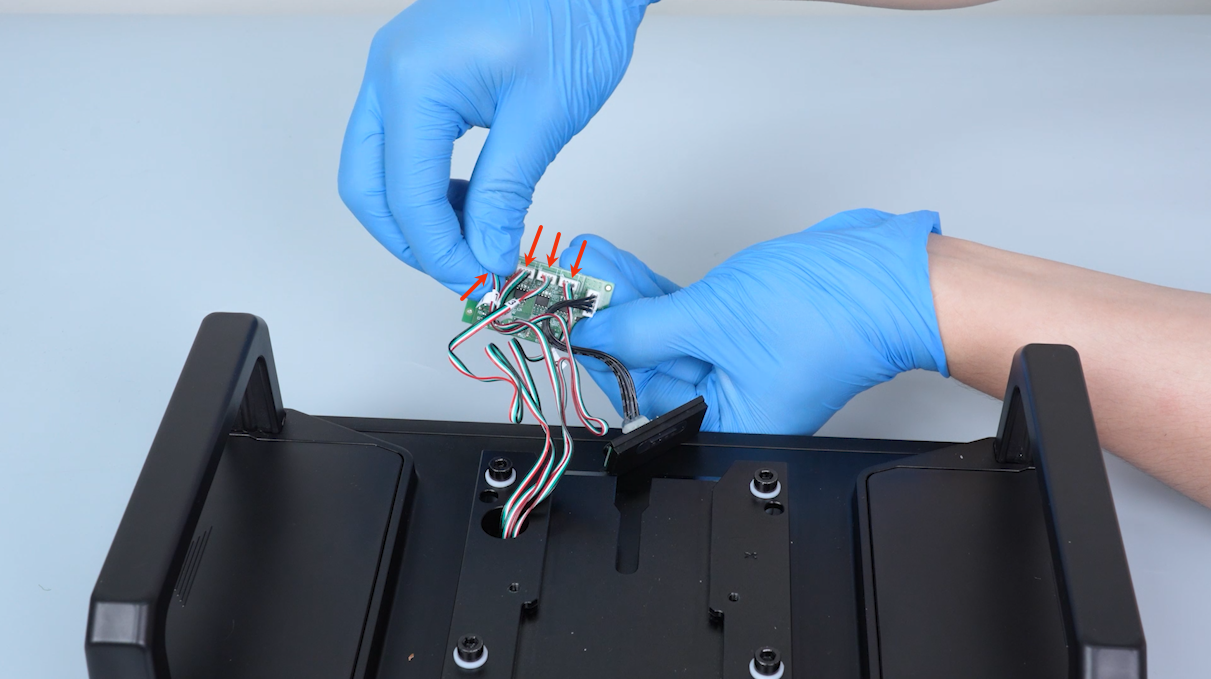
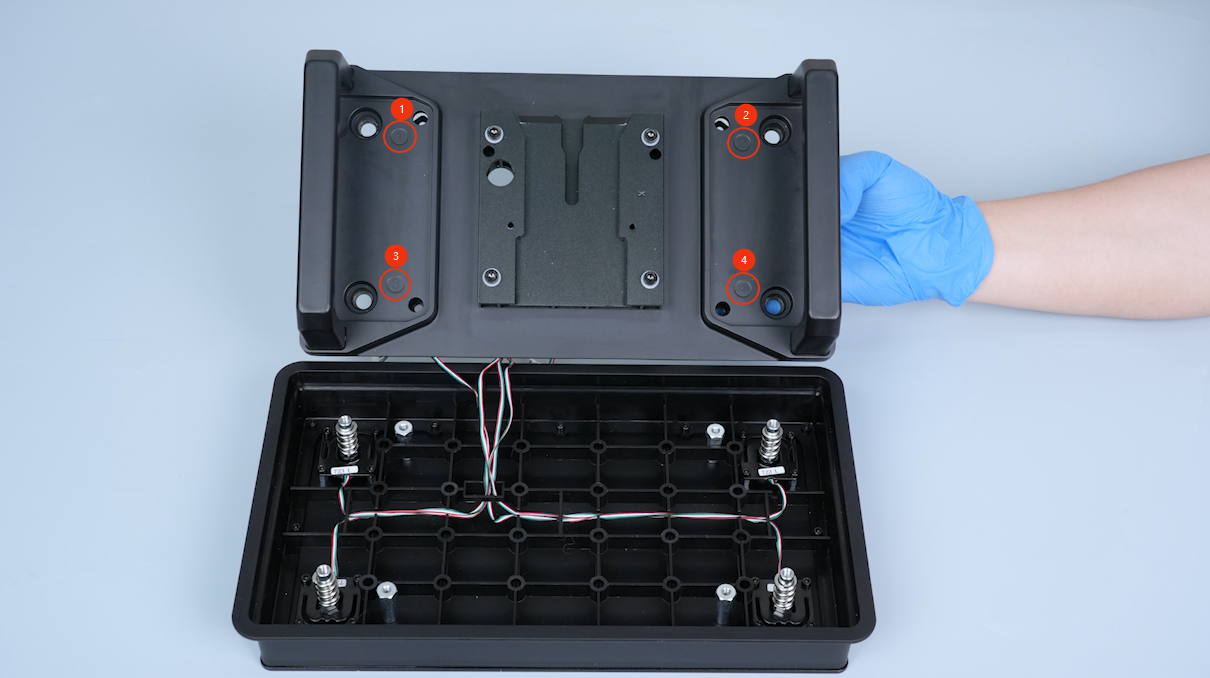
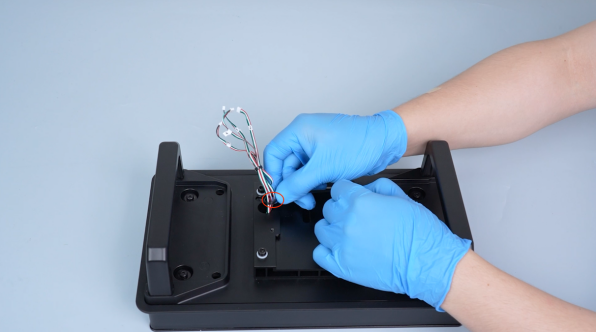
Remove the four plugs of the pressure sensors.
-
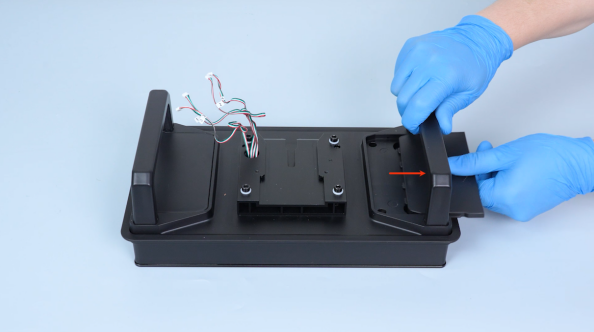
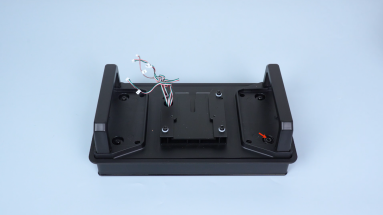
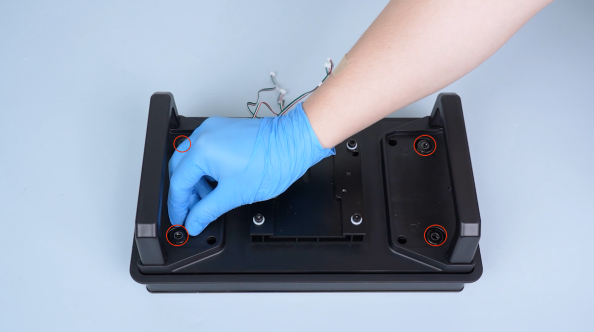
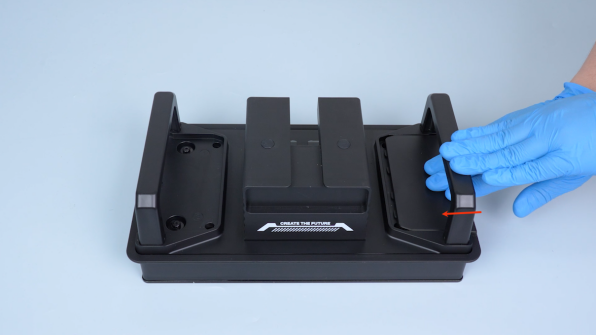
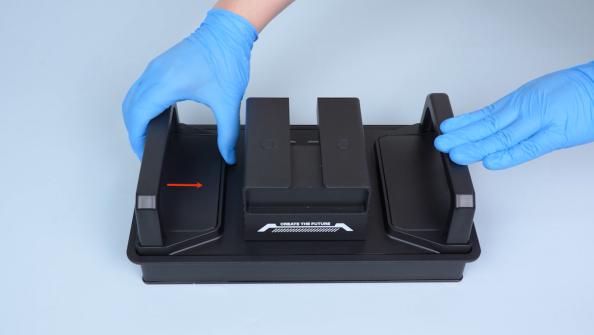
Remove the two build plate covers.
-
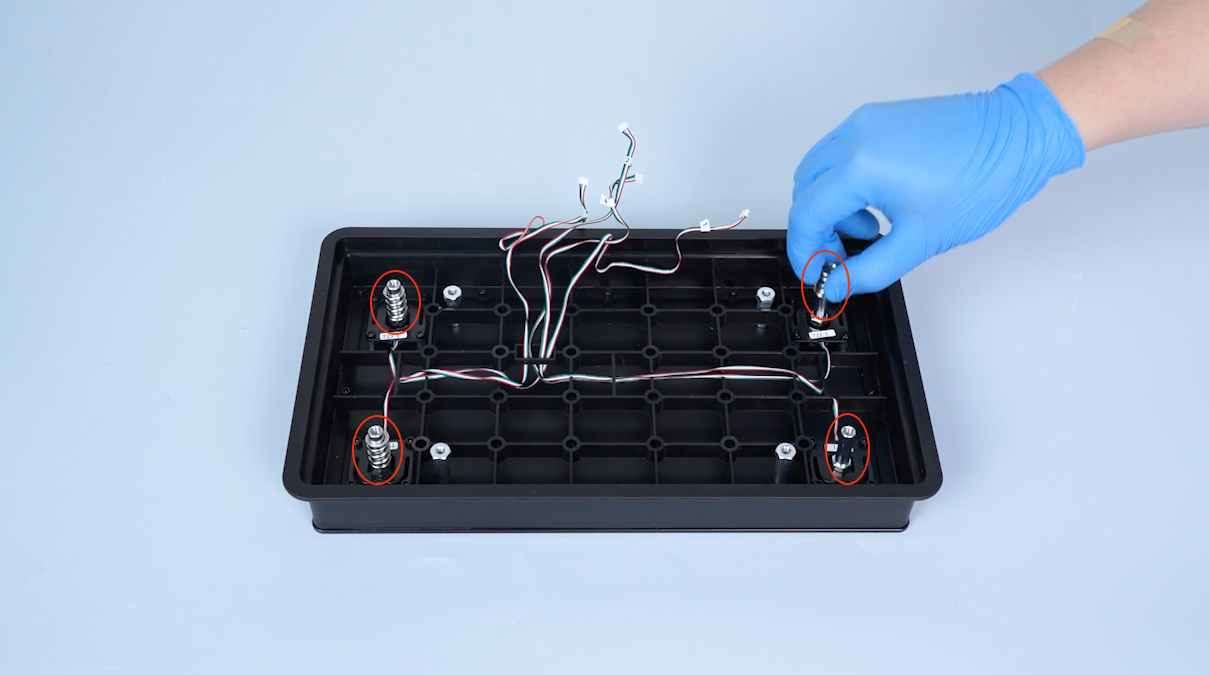
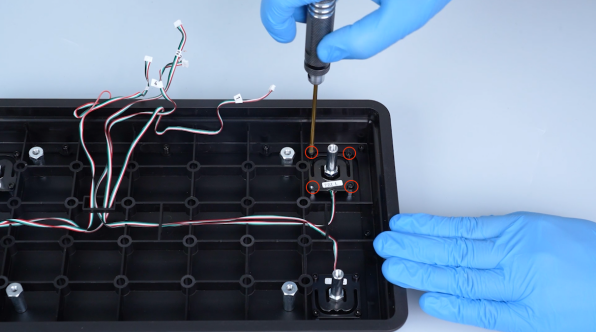
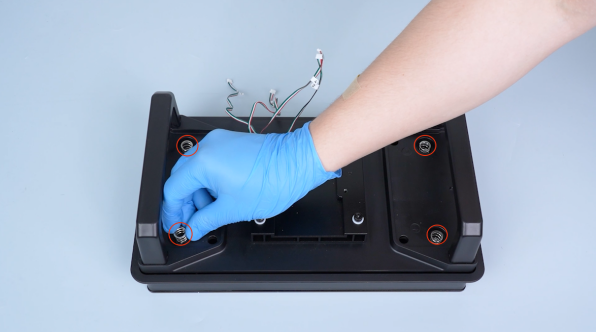
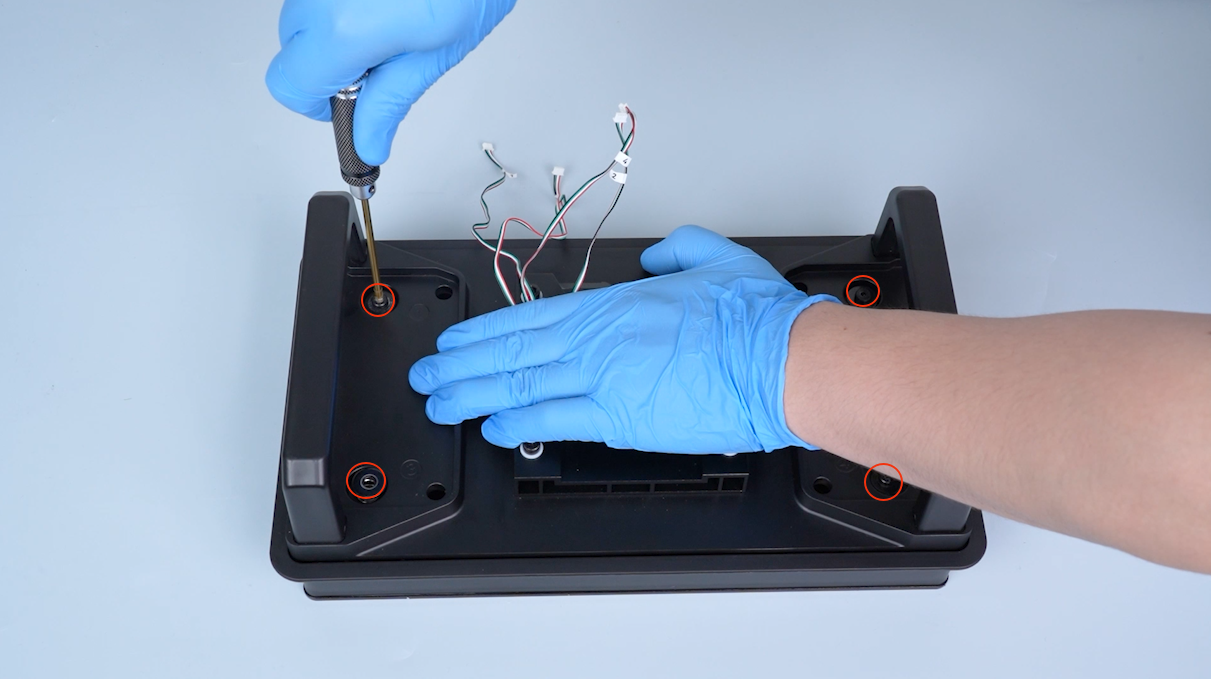
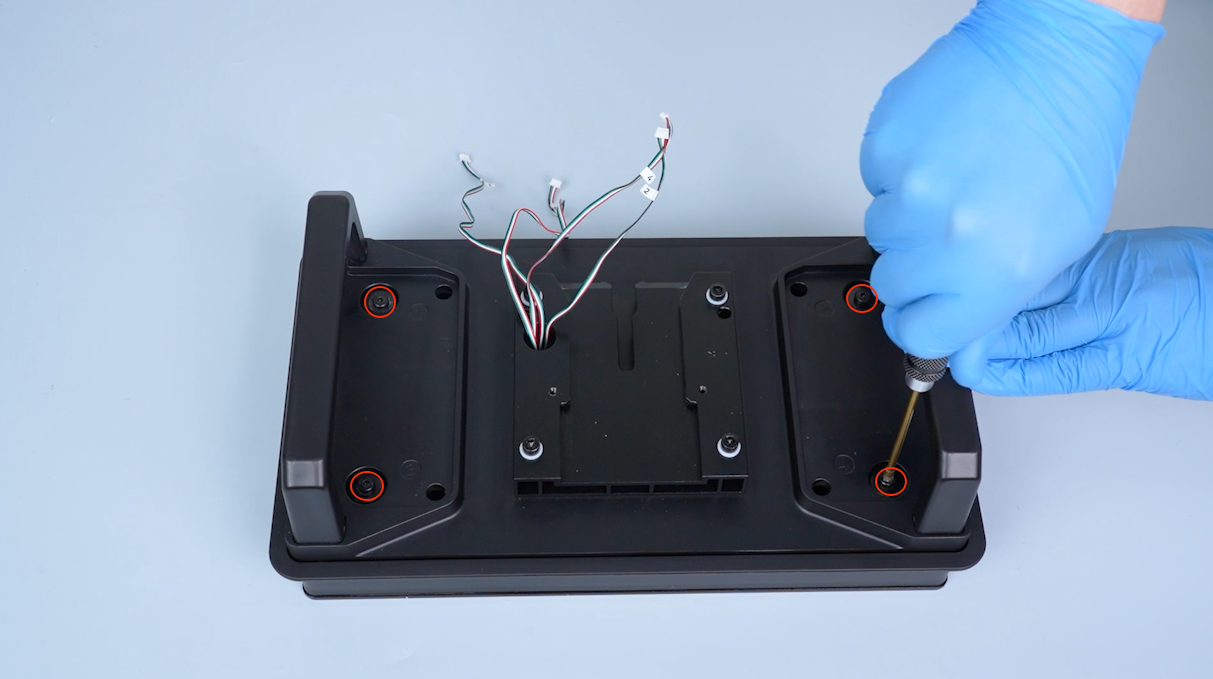
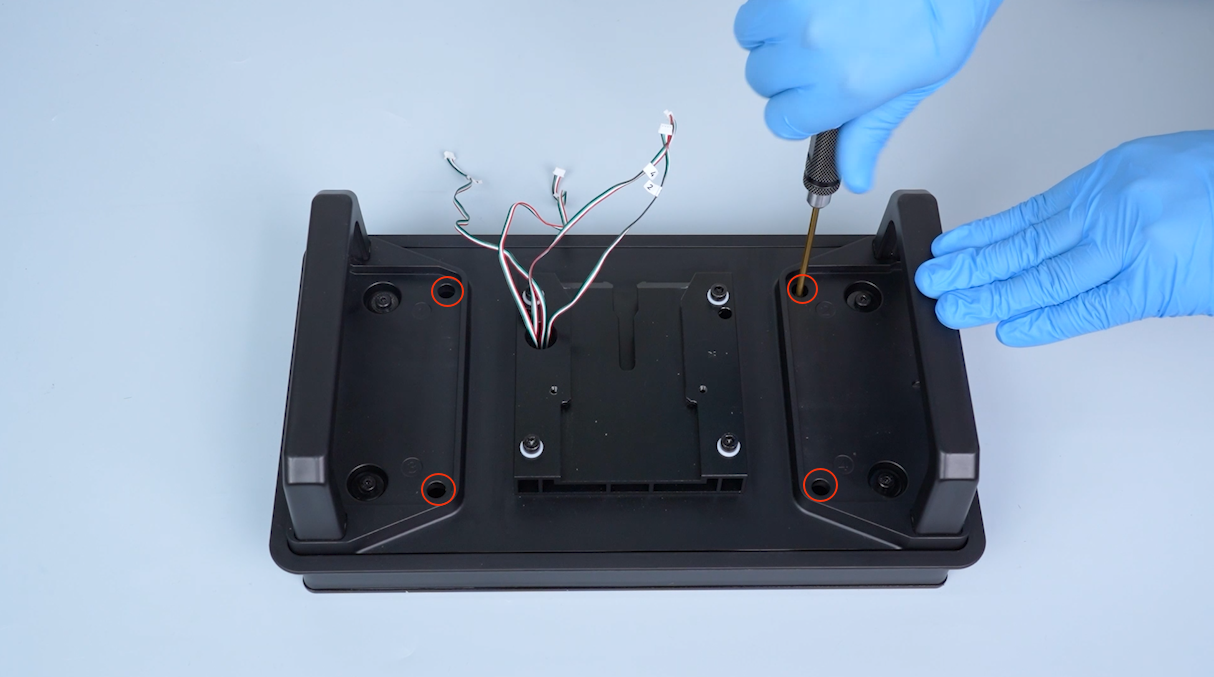
Release and remove the four screws securing the build plate board with a 3.0 mm Allen key.
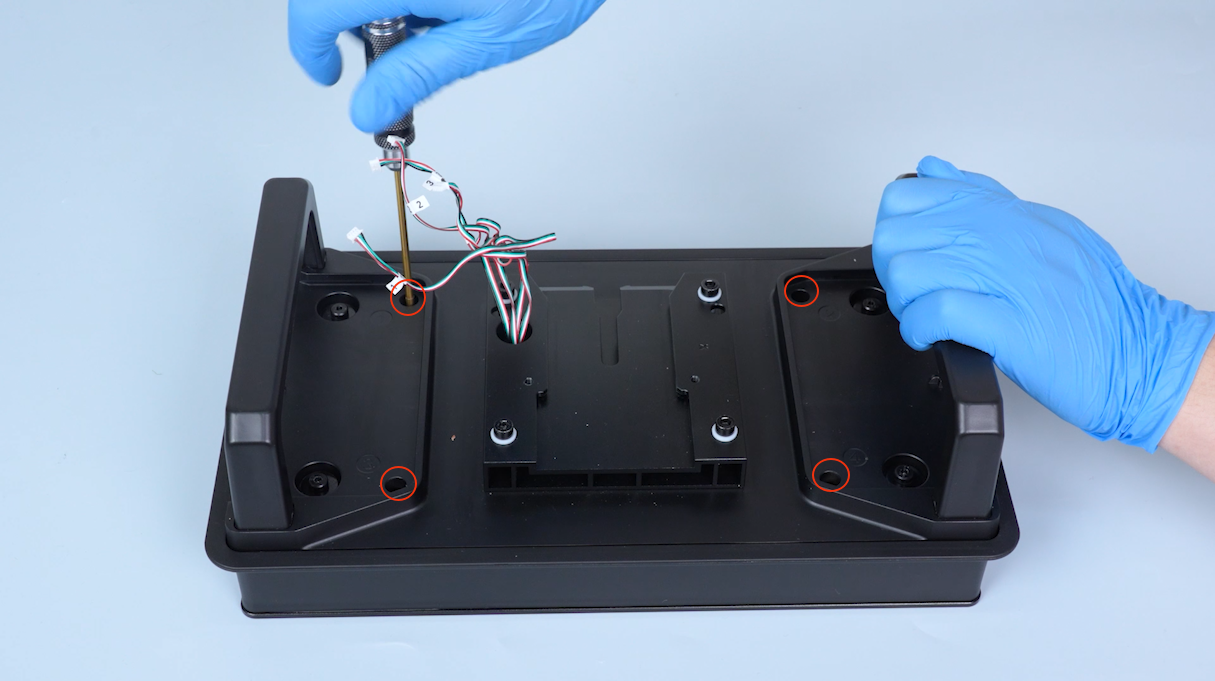
-
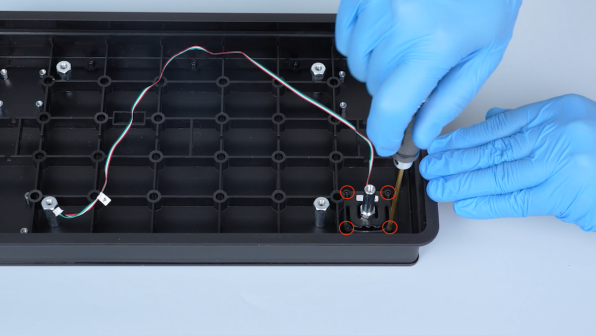
Release and remove the screw on the upper of the pressure sensors with a 3.0 mm Allen key and remove the washer and the spring.
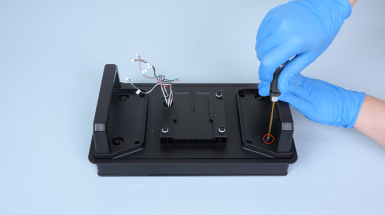
-
Remove the other three screws in the same way.
-
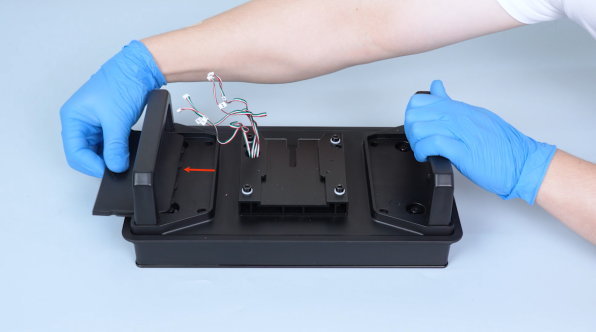
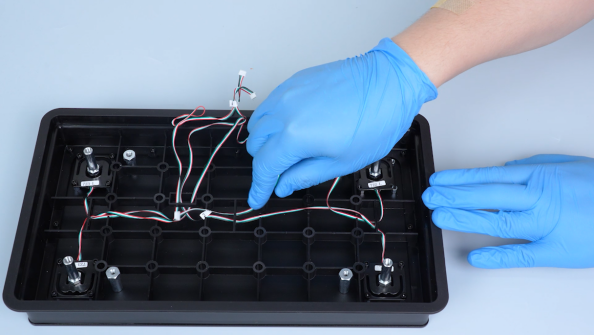
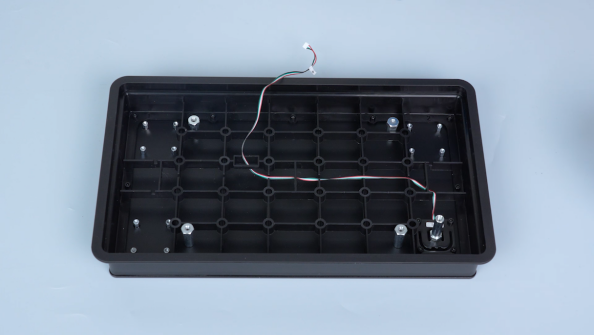
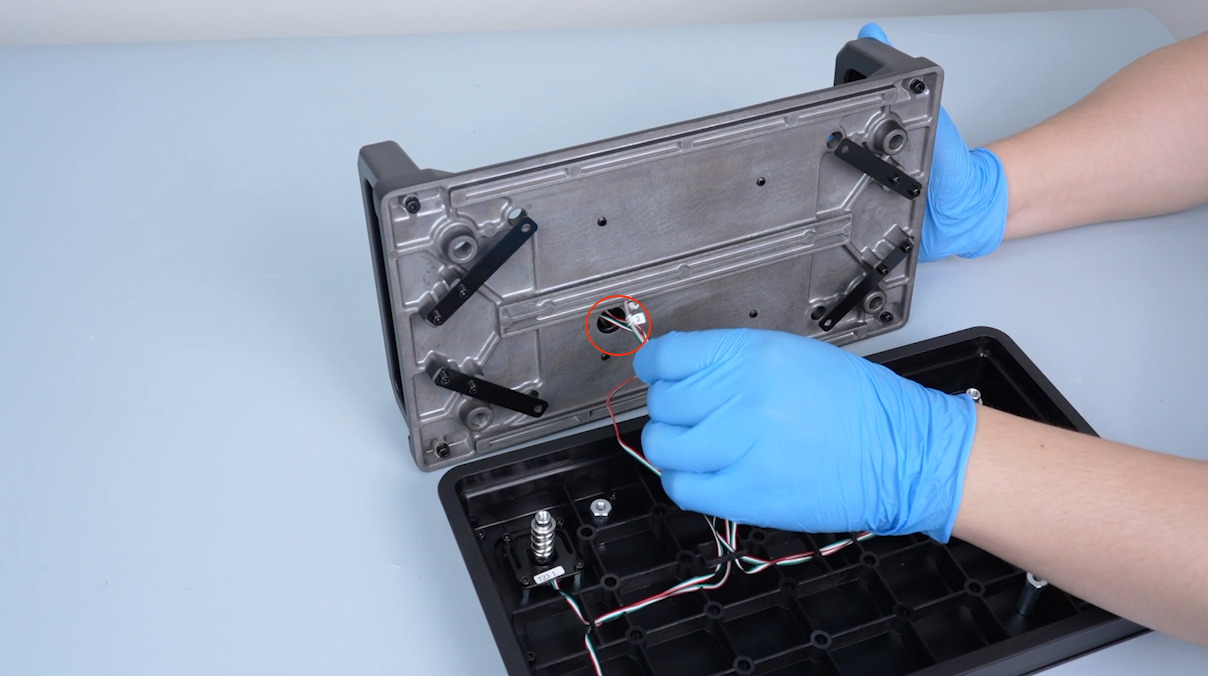
Lift the build plate board.

-
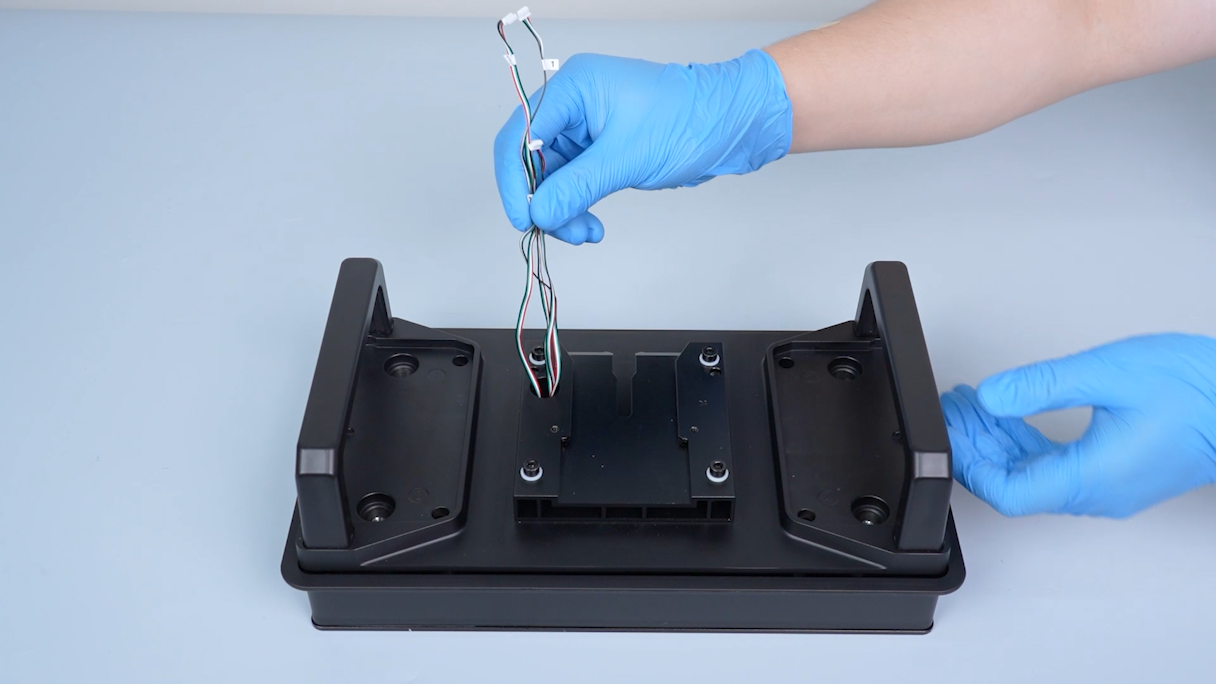
Pull the pressure sensors wire out from the slot and remove the build plate board.
-
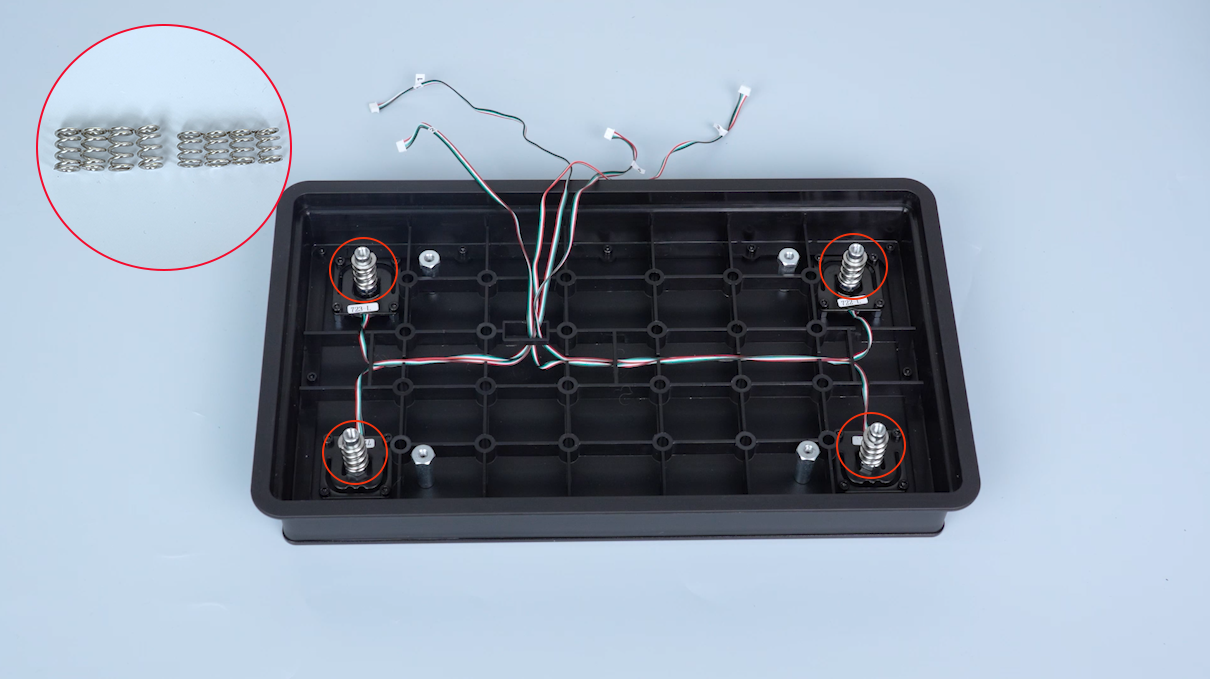
Remove the four springs.
-
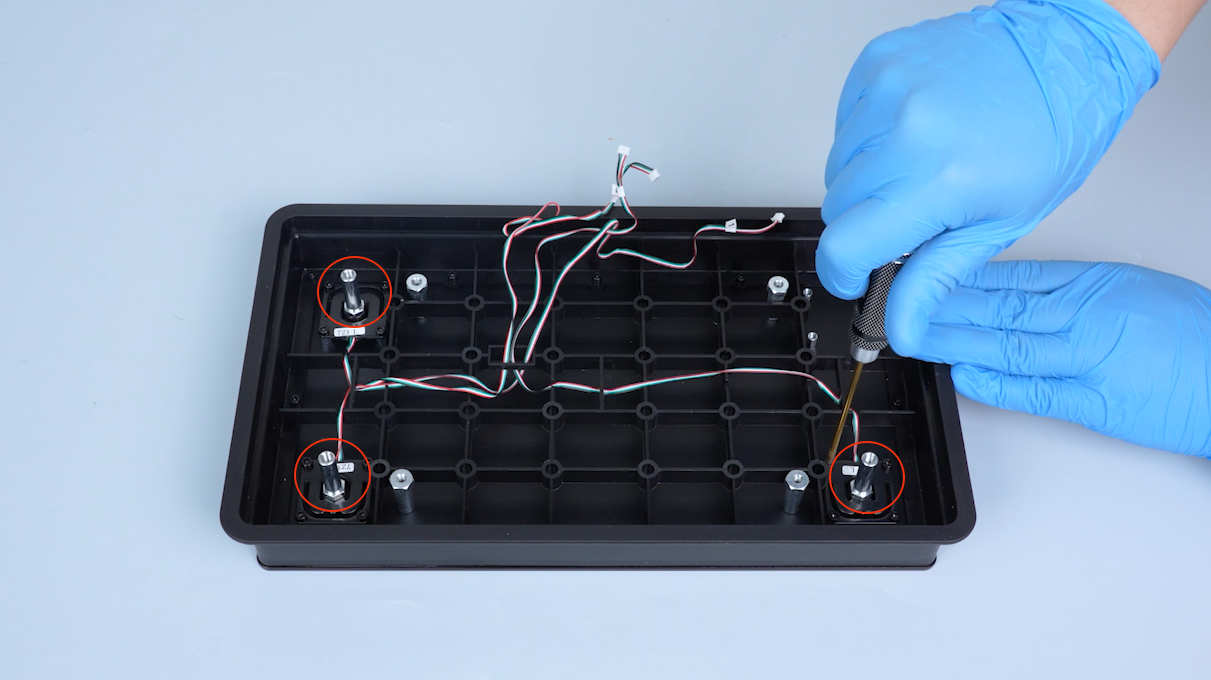
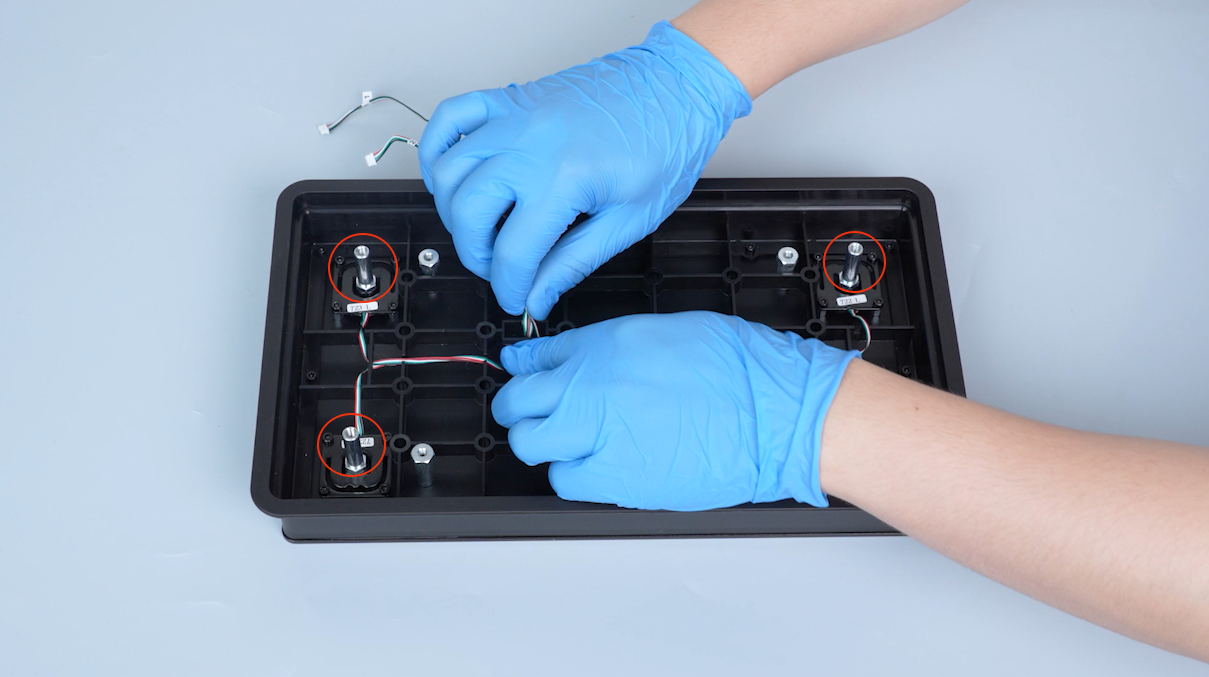
Release and remove the four screws securing the pressure sensors with a 2.0 mm Allen key and unplug the wires from the slot.
-
Remove the other three pressure sensors in the same way.
¶ Install the new pressure sensors
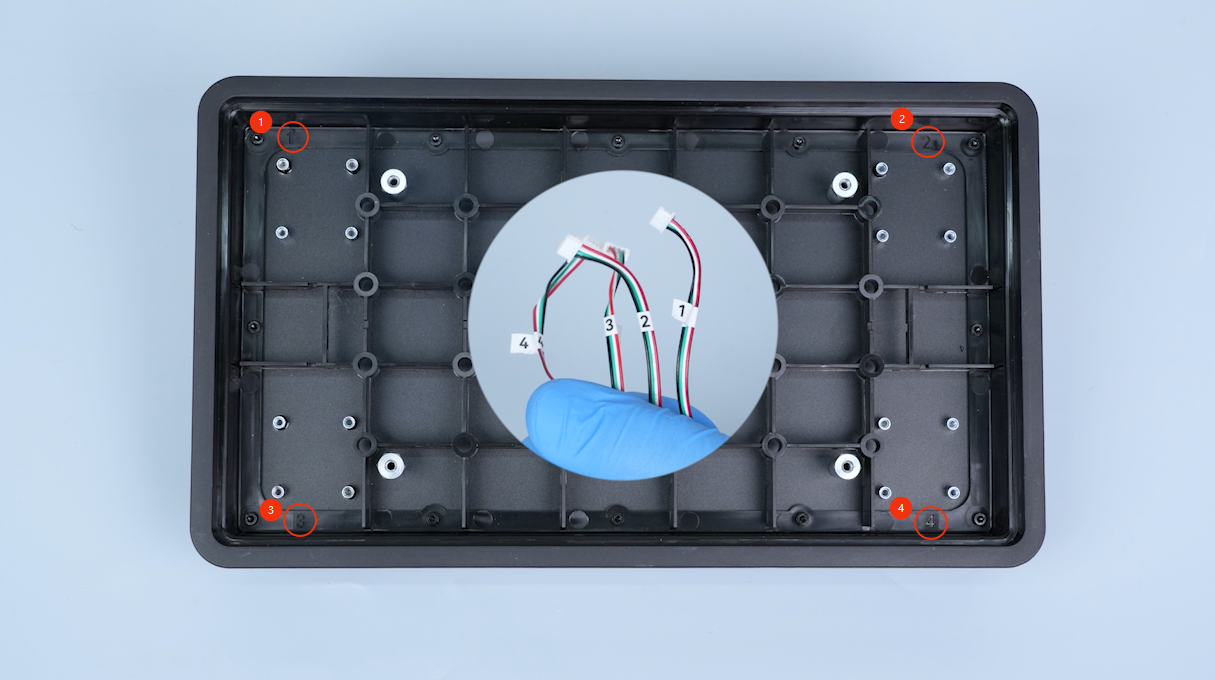
Note: The four pressure sensors are installed at different positions. Distinguish their locations according to the labels near their plugs.
-
Tighten the four screws securing the pressure sensors and pass the pressure sensors wire through the slot.
-
Install the other three pressure sensors in the same way.
-
Put the springs in the installation position.
Note: Springs vary in length. A longer spring should be placed above the pressure sensors.
-
Get the build plate board.
Note: The numbers on the build plate board must correspond to those of the pressure sensors.
-
Pass the pressure sensors wires through the slot on the build plate board.
-
Put the build plate board in the installation position.
-
Put the short spring and the washer in the installation position.
-
Install the four screws on the upper side of the pressure sensors.
Note: Do not tighten the screws at this time.
-
Tighten the four screws on the upper side of the pressure sensors.
-
Tighten the four screws securing the build plate board.
-
Organize the pressure sensors wires and secure the wires with cable ties.
-
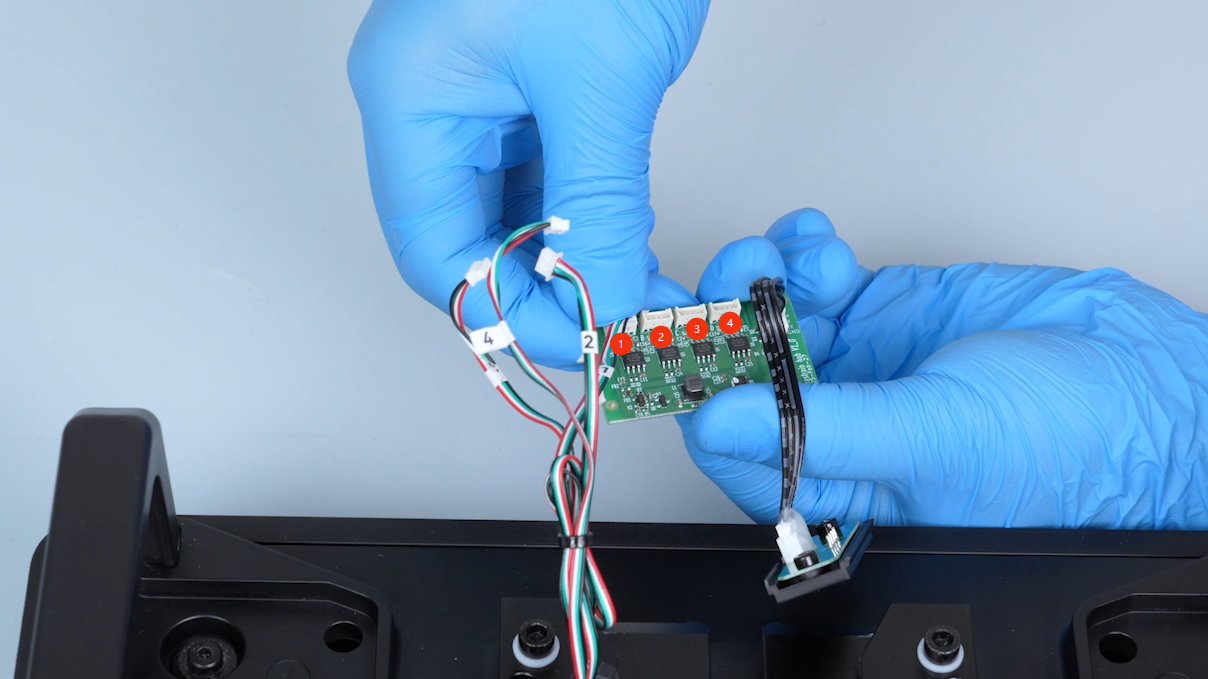
Get the adapter board of the pressure sensors.
Note: The pressure sensors plug must match the number on the adapter board.
-
Insert plug 1 into the port A; insert plug 2 into the port B; insert plug 3 into the port C; insert plug 4 into the port D.
-
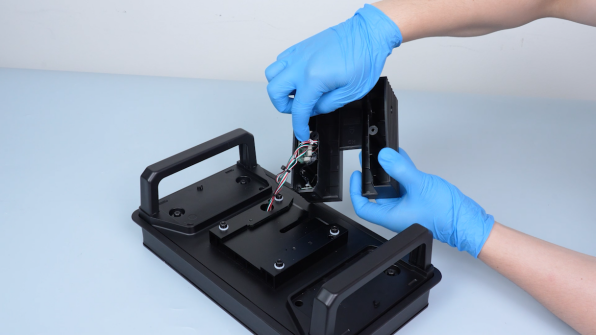
Restore the magnetic fixing part and the pressure sensors adapter board.
-
Tighten the two screws securing the build plate housing.

-
Put the caps in the installation position.
-
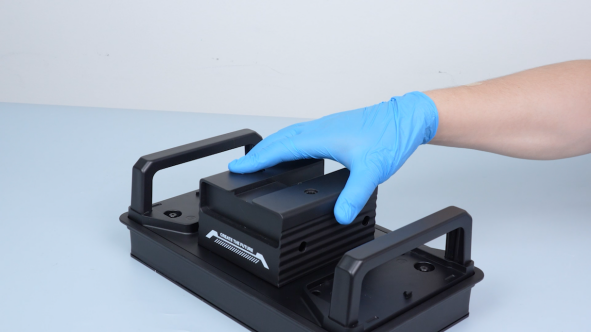
Restore the two build plate covers.
-
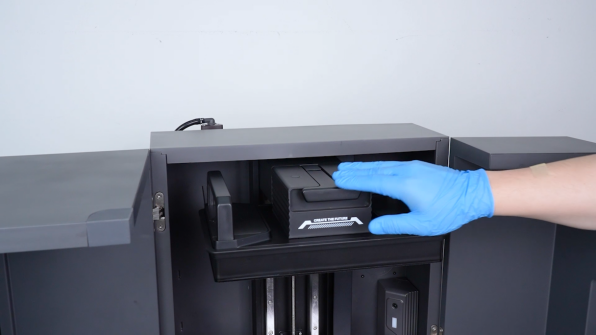
Restore the build plate and fasten the snap.

-
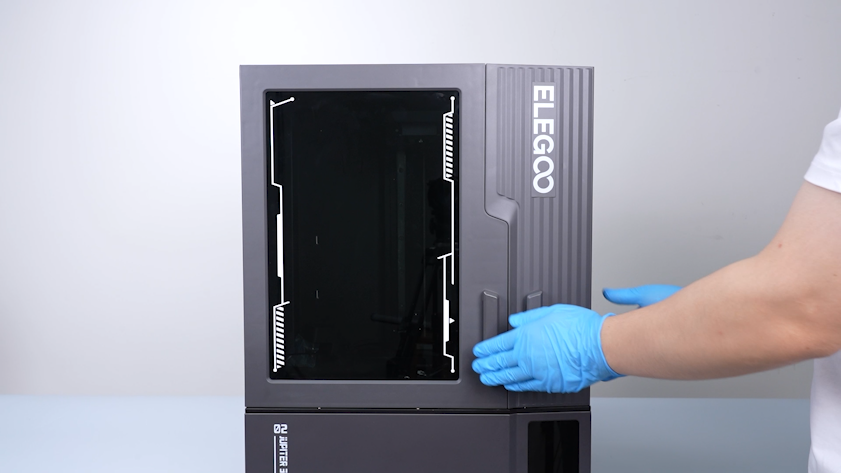
Close the front door.
¶ Verification
-
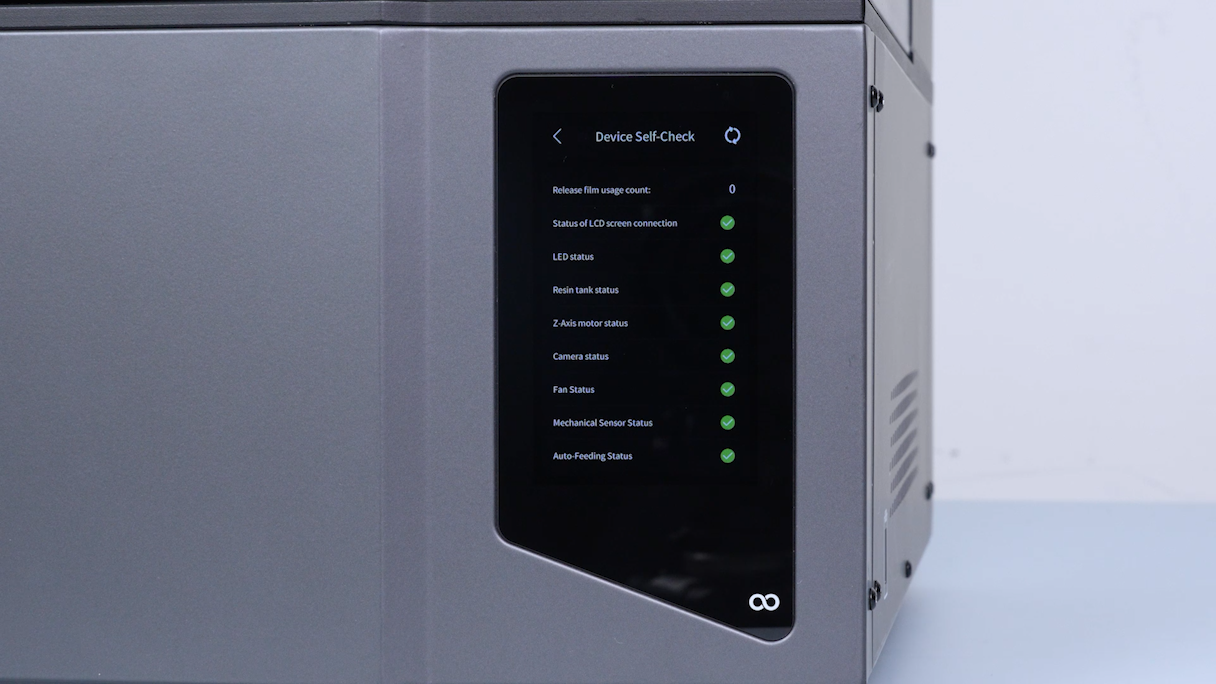
Plug in the power supply cable and turn the power switch ON (symbol "|").
-
Wait for the printer to complete the self-check process. The pressure sensors is replaced successfully.
-
After re-leveling the printer manually, it is ready for use.