¶ Tools and Materials
-
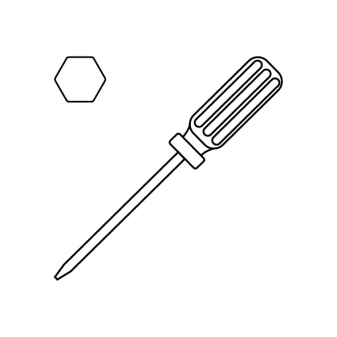
A 2.0 mm Allen key
-
A 2.5 mm Allen key
-
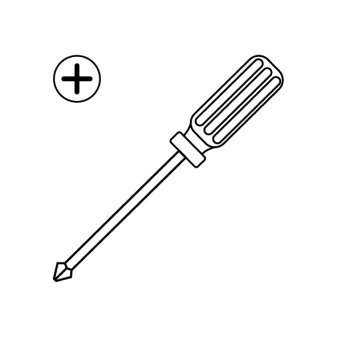
A Phillips screwdriver
-
A pair of pliers
-
A new power supply
¶ Tutorial Video
¶ Instruction
¶ Preparation
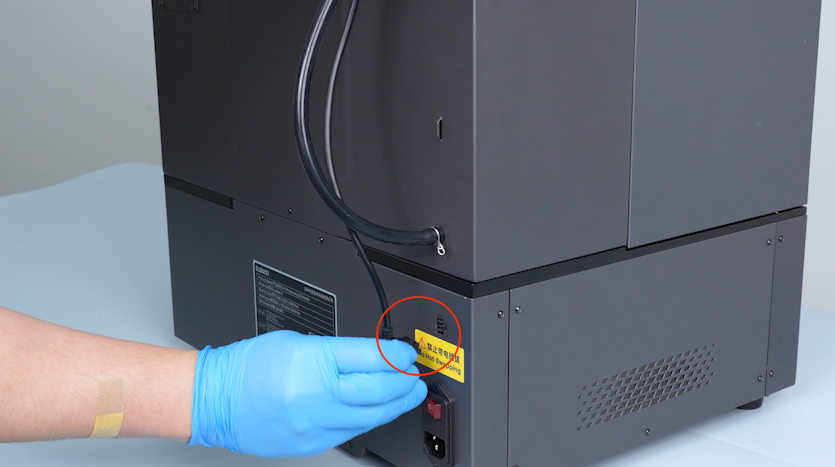
Turn the power switch OFF (symbol "〇"). Unplug the power supply cable.
¶ Remove the old power supply
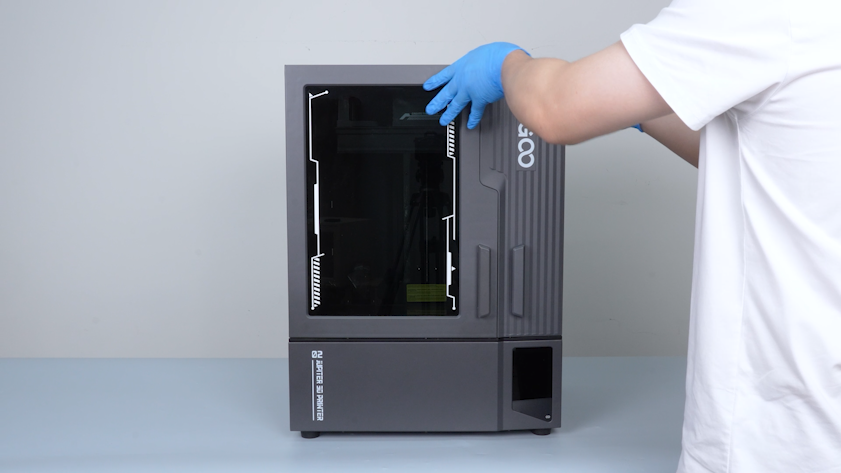
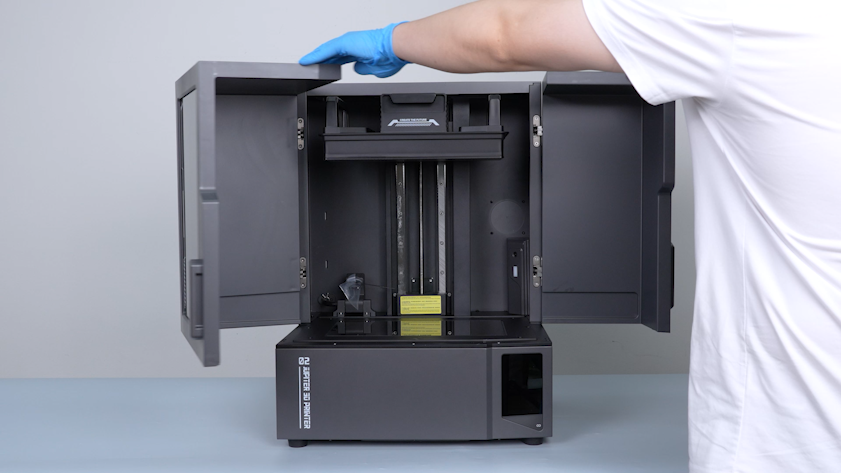
- Open the front door.
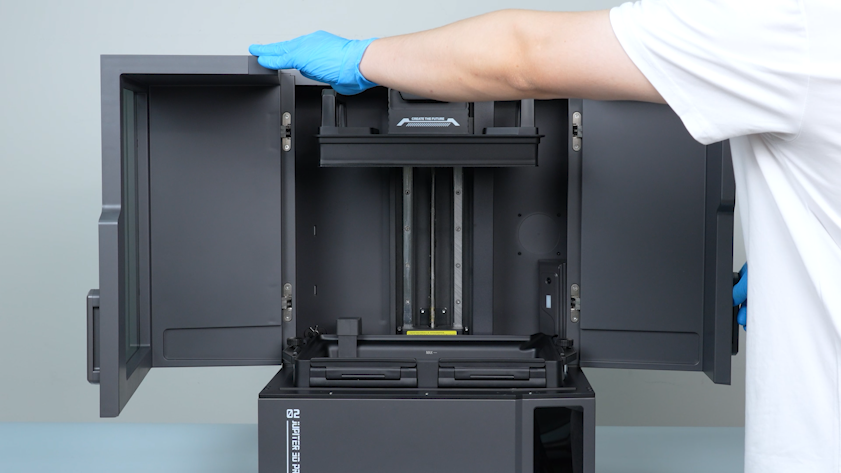
- Lift the automatic resin feeding inlet.
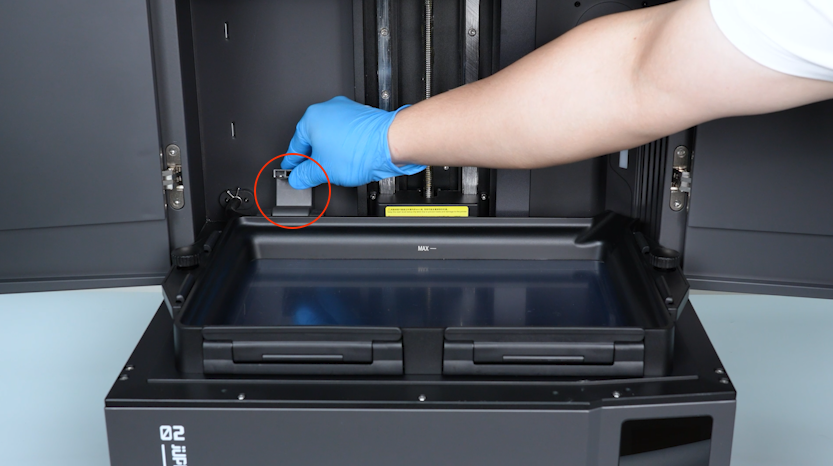
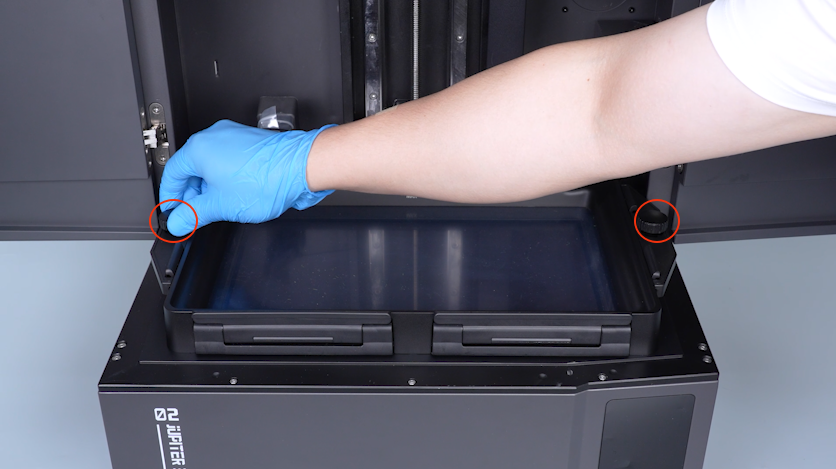
- Remove the two knob screws.
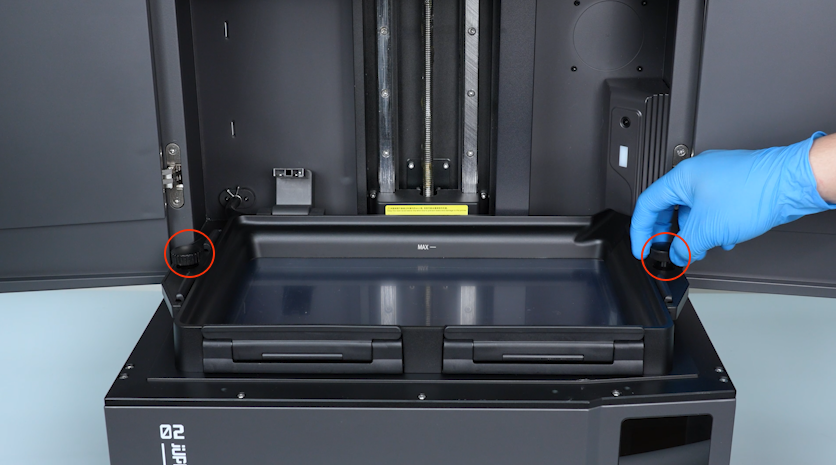
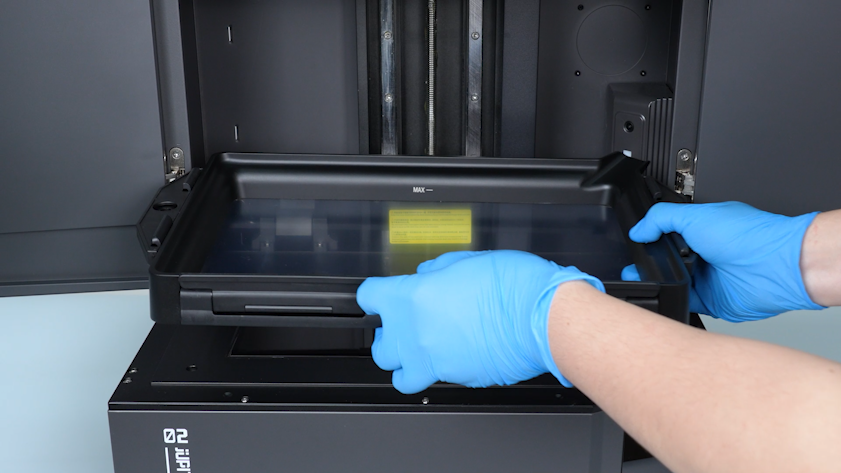
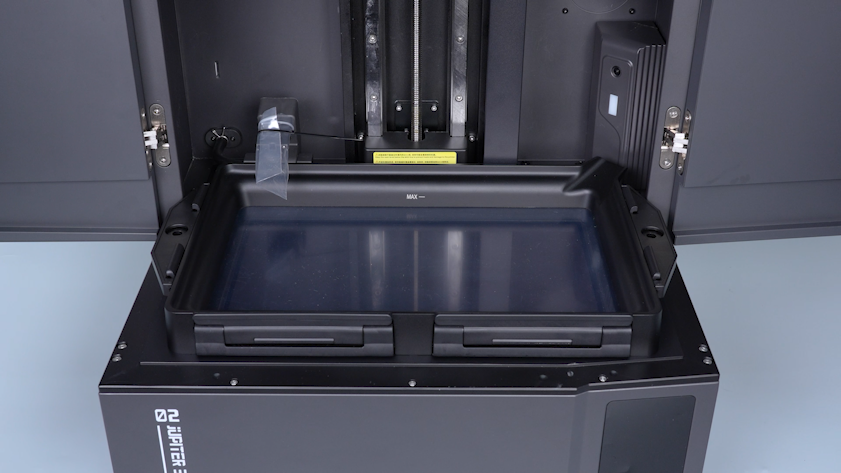
- Remove the resin tank.
- Seal the inlet with a bag and a cable tie to avoid the resin drips.

- Close the front door.
-
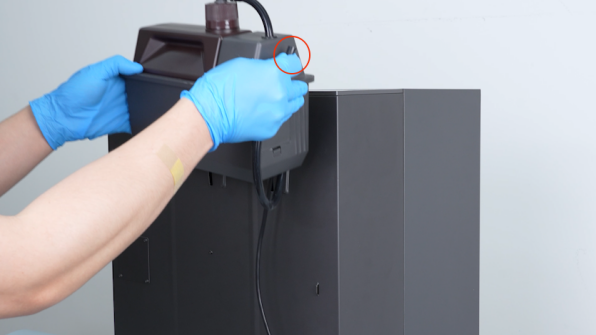
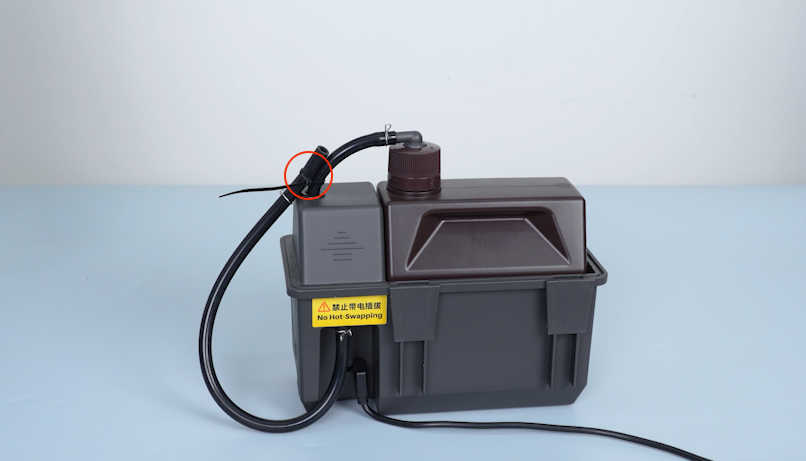
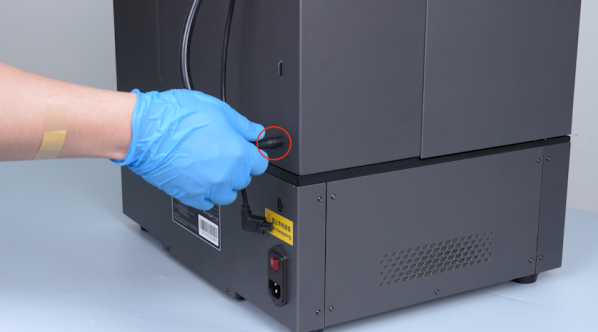
Unplug the cable of the automatic resin feeding inlet and the automatic resin feeding tube.
-
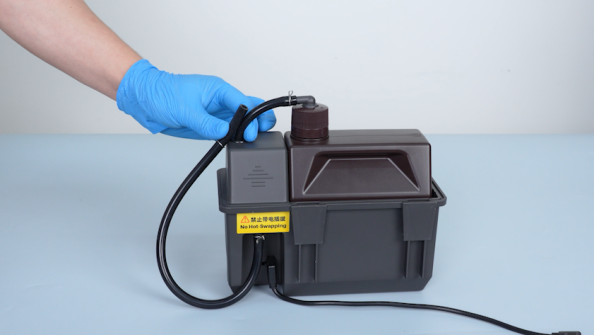
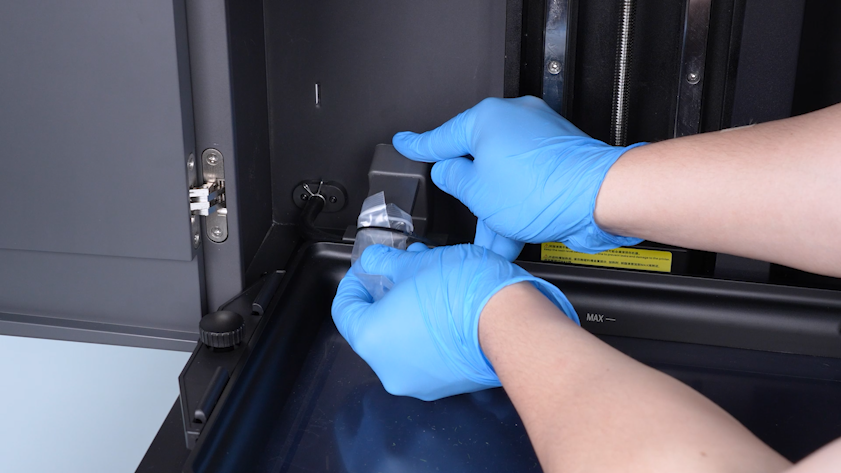
Remove the automatic resin feeding bottle and put it on the table temporarily.
Note: Hold the automatic resin feeding tube and keep the tube upward to prevent the resin from dripping.
-
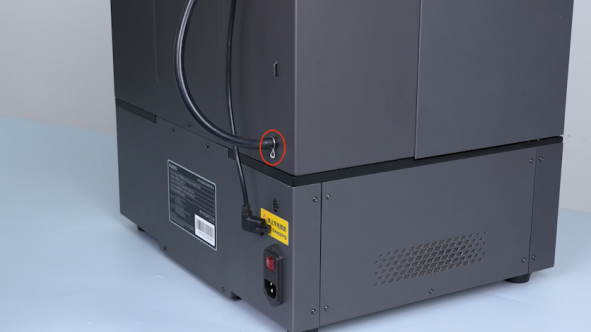
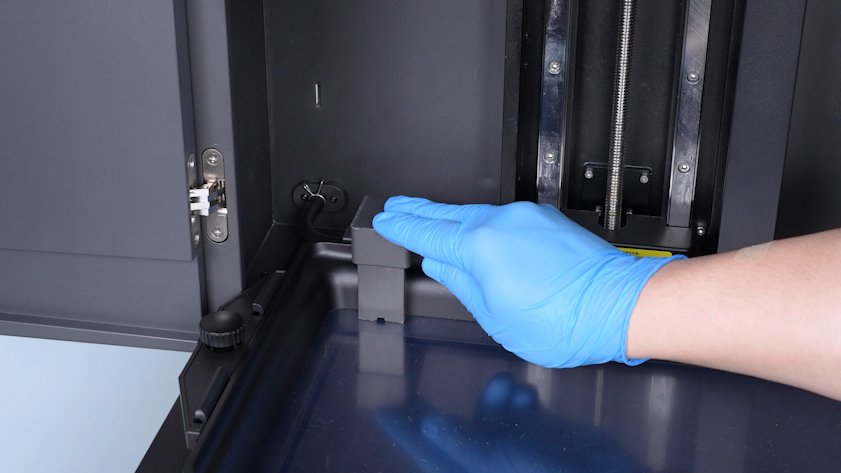
Seal the inlet with a bag and a cable tie to avoid the resin drips.
-
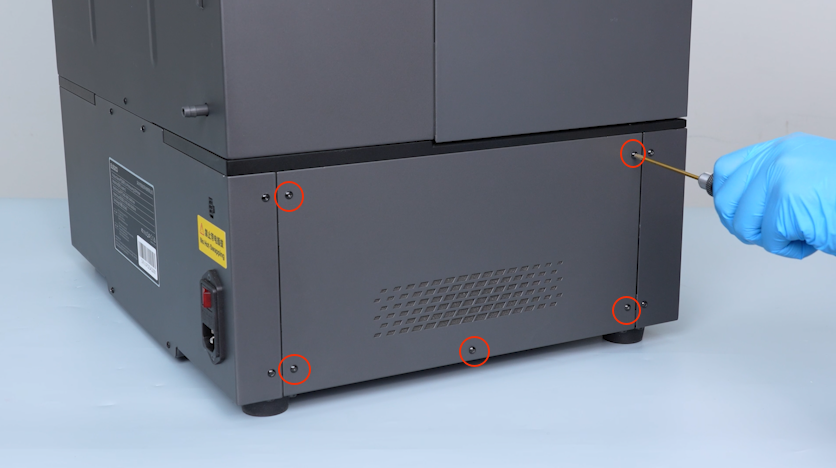
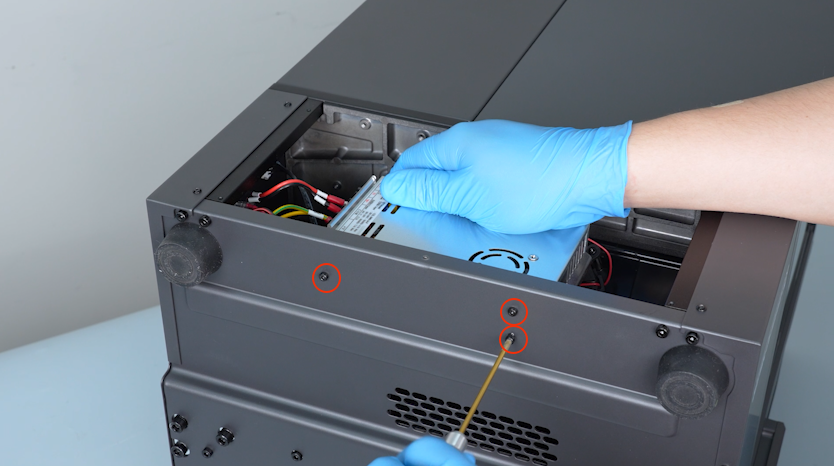
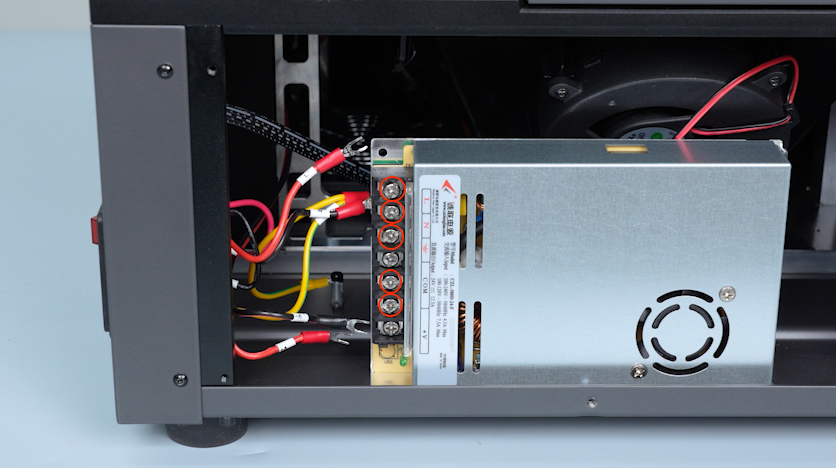
Release and remove the five screws securing the right cover with a 2.0 mm Allen key.
-
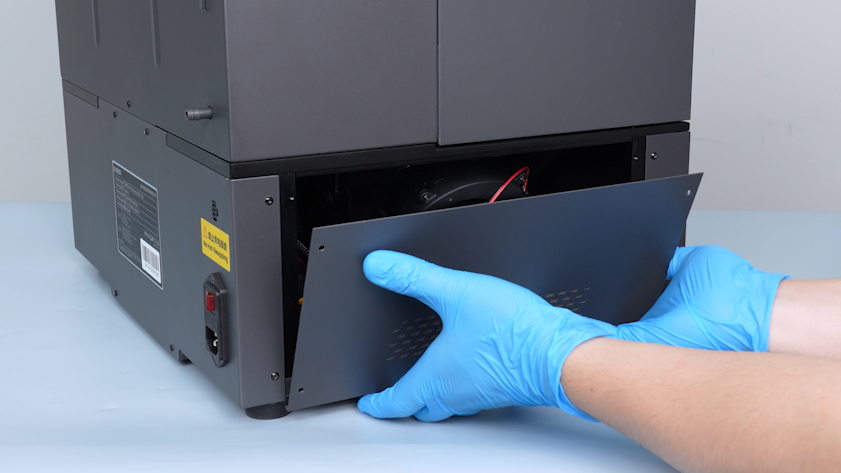
Remove the right cover.
-
Lift the cover of the power supply cable.
-
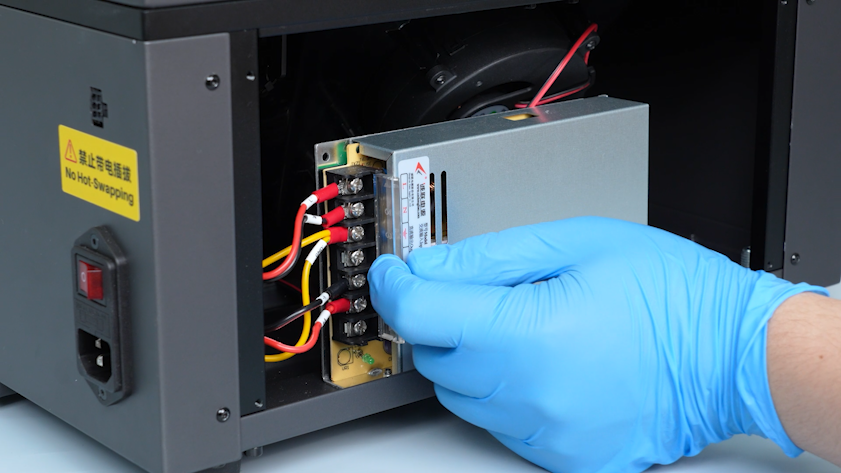
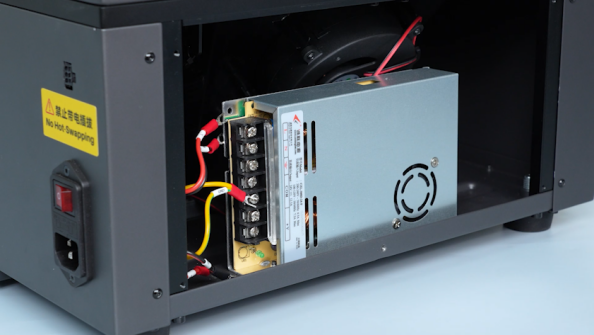
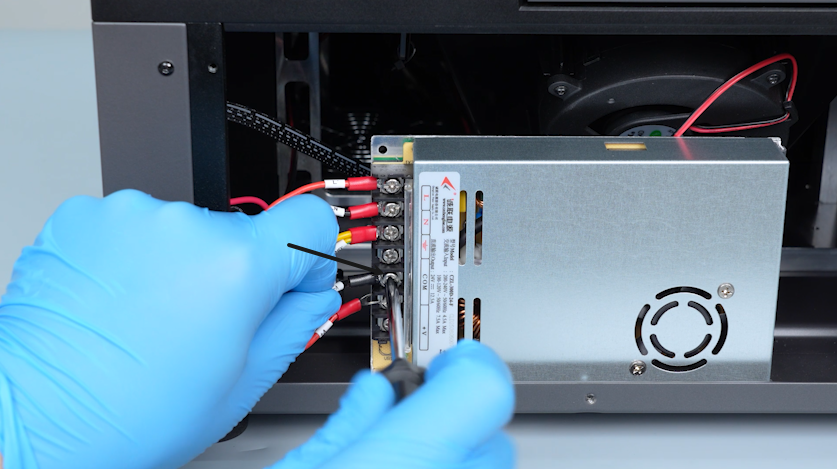
Loosen the five screws securing the power supply cables with a Phillips screwdriver and unplug the power supply cables.

-
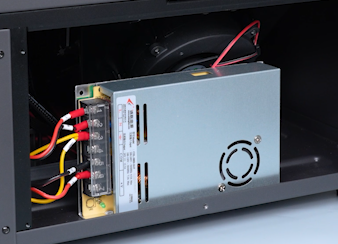
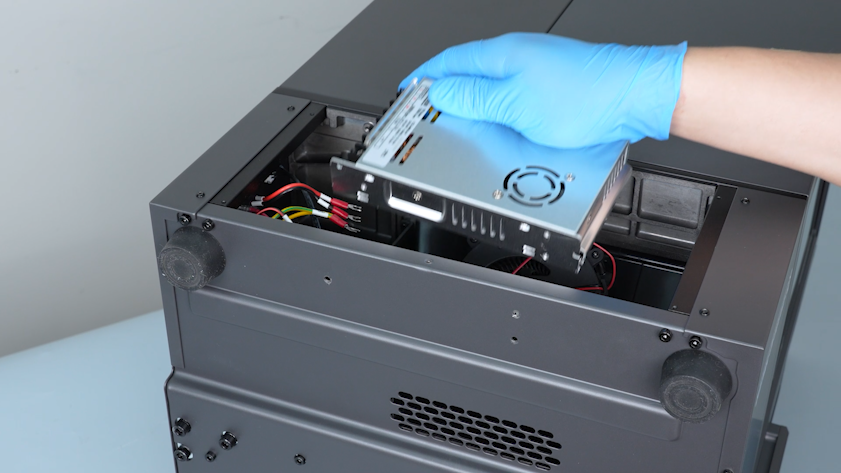
Hold the power supply and remove the three screws securing the power supply with a 2.5 mm Allen key.
-
Remove the old power supply.
¶ Install the new power supply
-
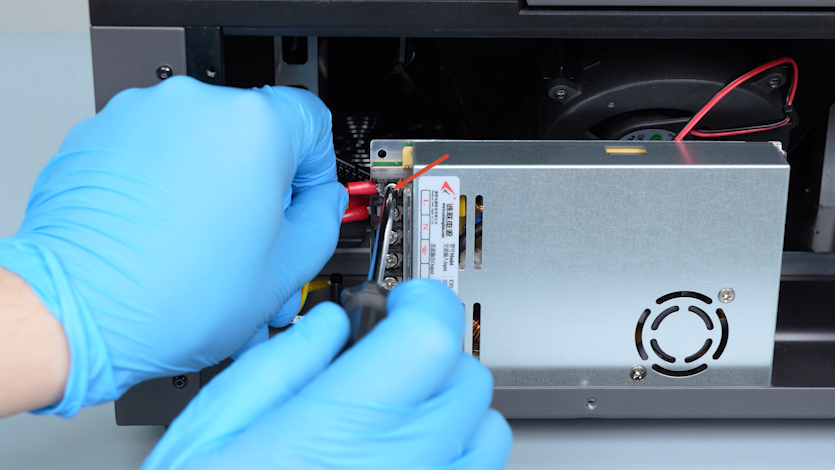
Get the new power supply and put it in the installation position. Tighten the three screws securing the power supply.
-
Lift the cover of the power supply cable and loosen the screws securing the power supply cables.
-
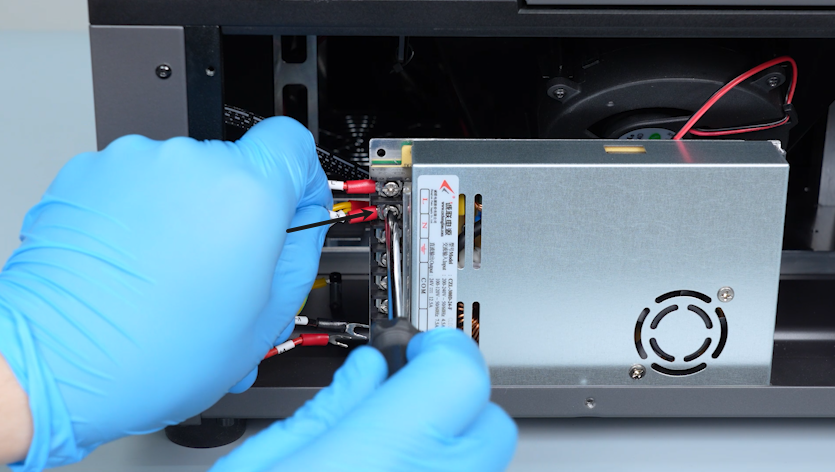
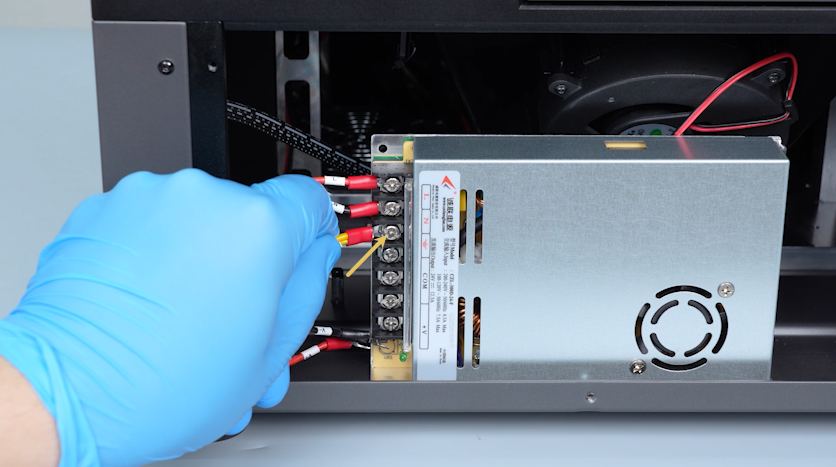
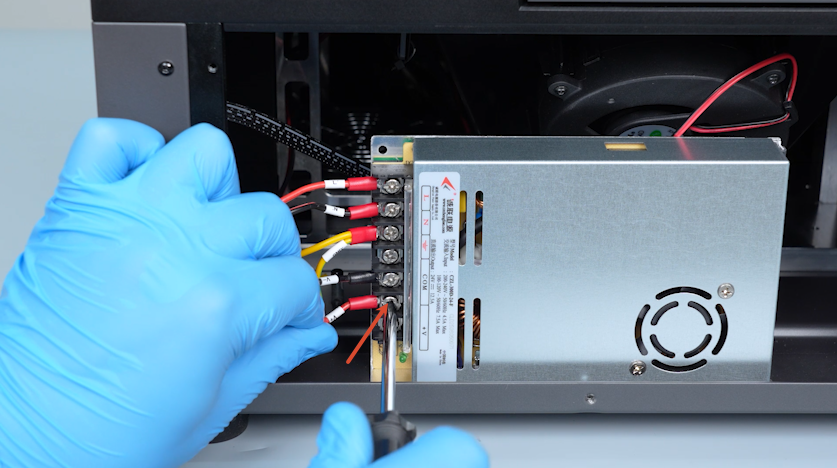
Connect the red wire labelled L to the L port.
-
Connect the black wire labelled N to the N port.
-
Connect the yellow wire labelled GND to the grounding port (⏚).
-
Connect the black wire labelled V- to the COM port.
-
Connect the red wire labelled V+ to the V+ port.
-
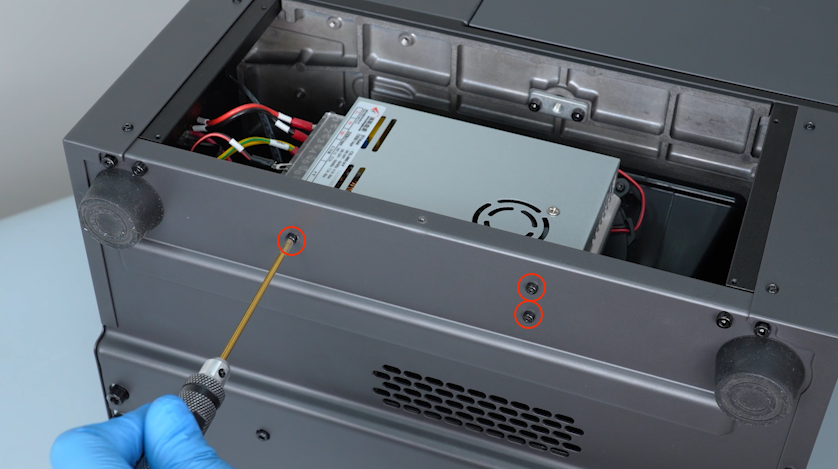
Put the right cover in the installation position and tighten the five screws securing the right cover.

-
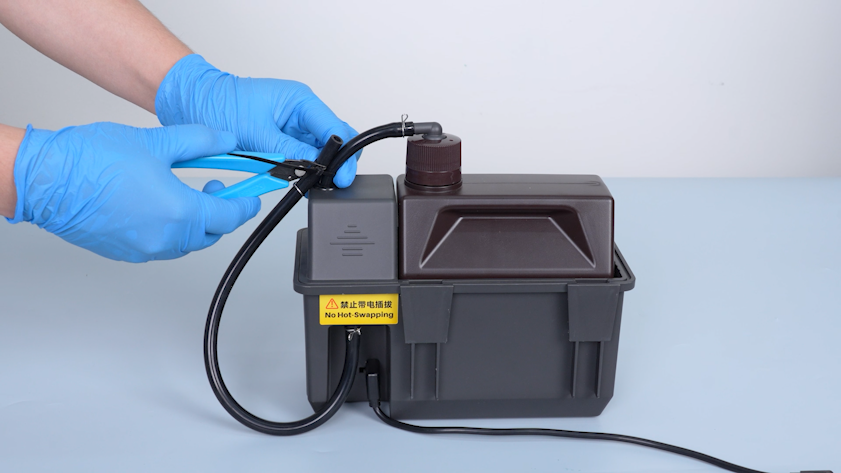
Cut off the cable tie securing the automatic resin feeding tube with a pair of pliers.
-
Restore the automatic resin feeding bottle.
Note: Hold the automatic resin feeding tube and keep the tube upward to prevent the resin from dripping.
-
Insert the automatic resin feeding tube and secure the end of the tube with a clamp.
-
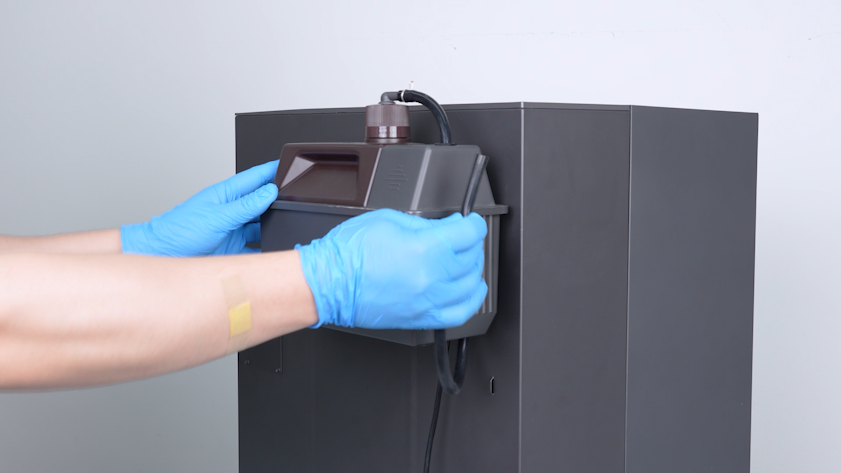
Plug in the cable of the automatic resin feeding inlet.

-
Open the front door.
-
Get the resin tank and put it in the installation position.
-
Tighten the two knob screws.
-
Remove the bag and the cable tie secured at the opening of the automatic resin feeding inlet.
-
Restore the automatic resin feeding inlet.
-
Close the front door.
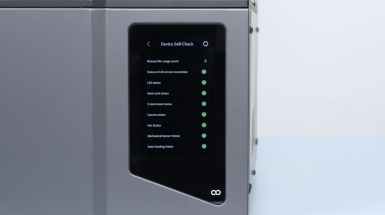
¶ Verification
-
Plug in the power supply cable and turn the power switch ON (symbol "|").
-
Confirm that the touch screen can be enabled and the printer is ready for use after the self check.