¶ Tools and Materials
-
A 2.0 mm Allen key
-
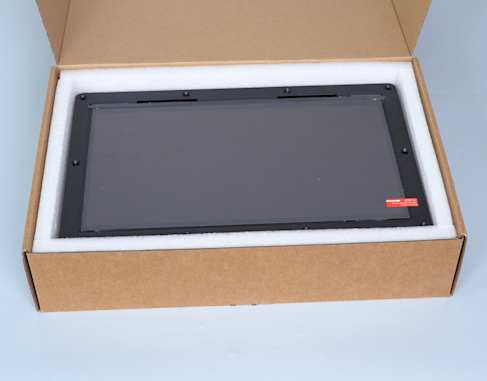
A new LCD screen
¶ Tutorial Video
¶ Instruction
¶ Preparation
Turn the power switch OFF (symbol "〇") and unplug the power supply cable.
¶ Remove the old LCD screen
-
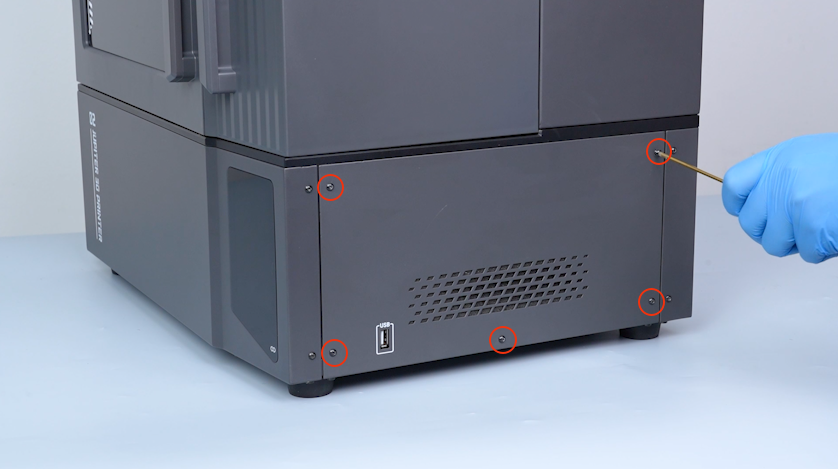
Release and remove the five screws securing the right cover with a 2.0 mm Allen key and remove the right cover
Note: Hold the right cover when releasing the last screw.
-
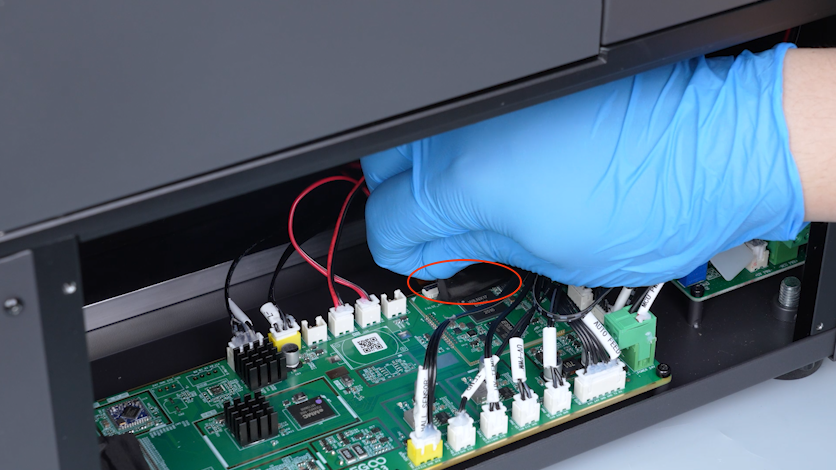
Peel off the tape securing the LCD screen ribbon cable.
-
Lift the clip and unplug the LCD screen ribbon cable.
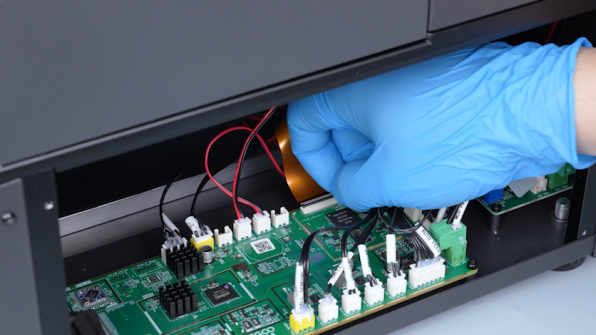
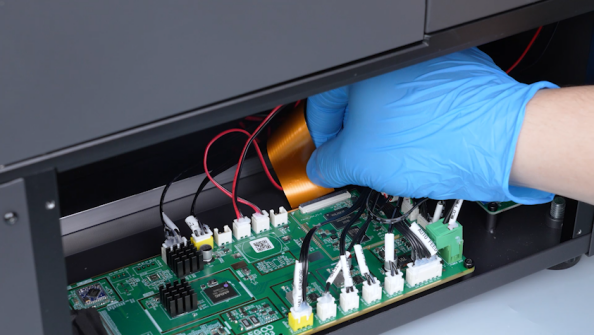
-
Open the front door.
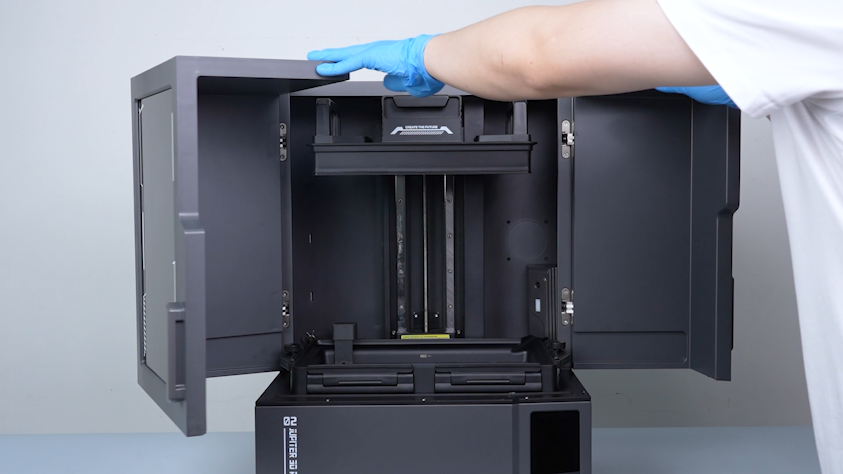
-
Lift the automatic resin feeding inlet.
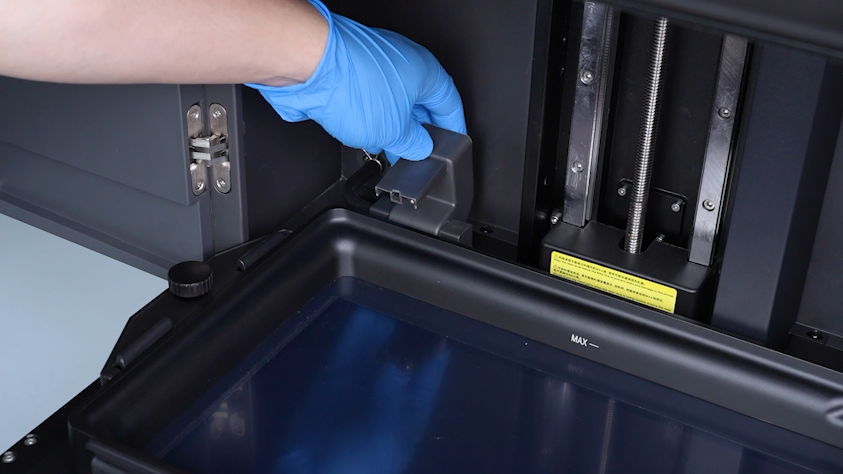
-
Seal the inlet with a bag and a cable tie to avoid the resin drips.
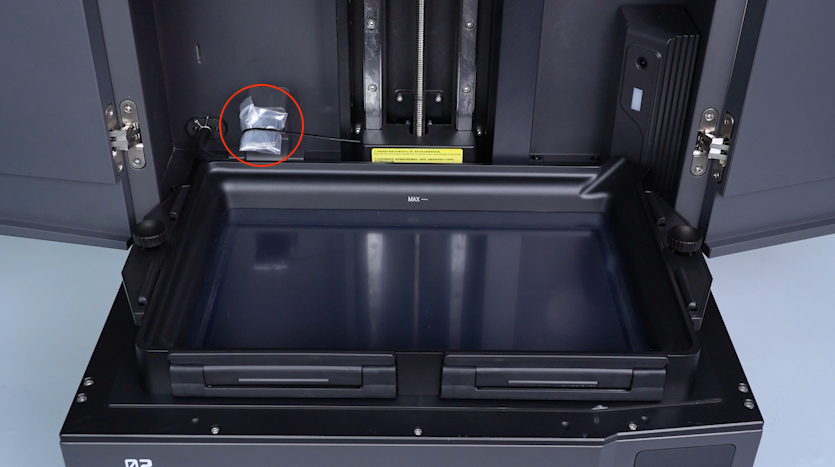
-
Remove the two knob screws.
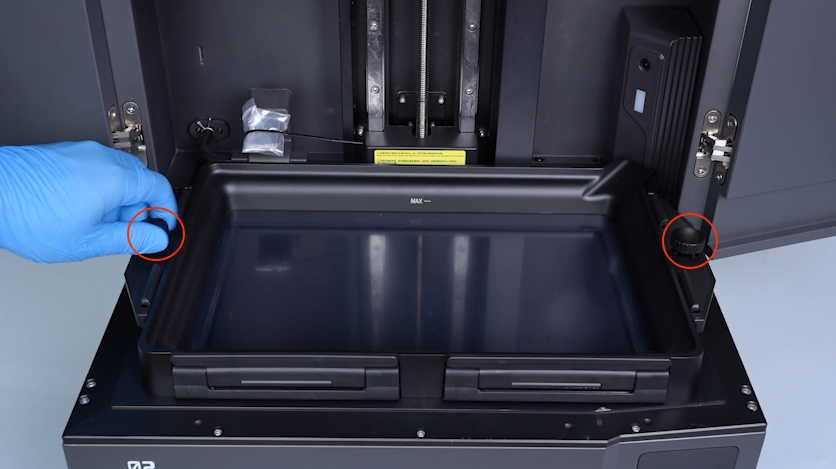
-
Remove the resin tank.
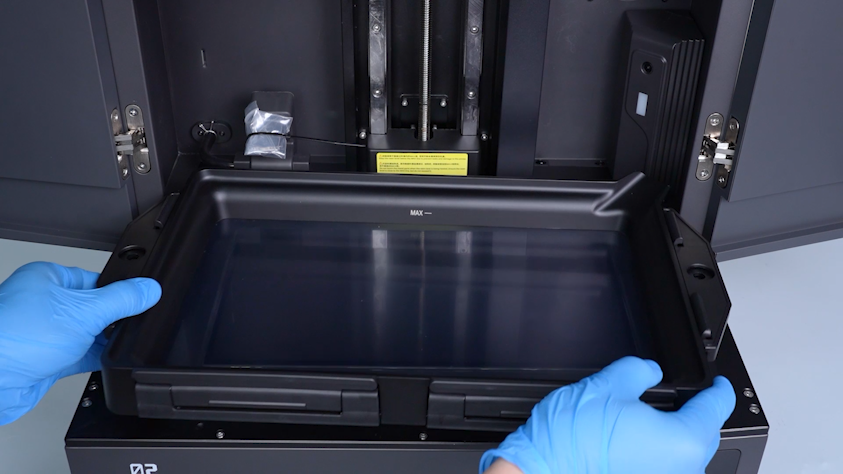
-
Remove the PET insulation film.
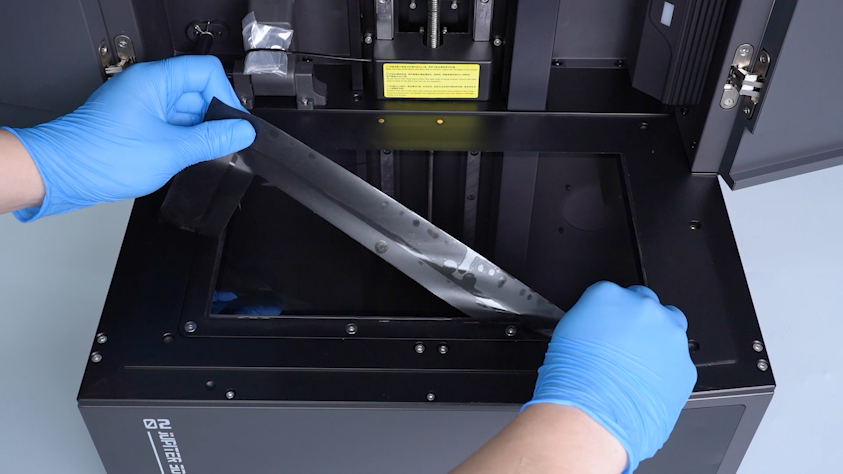
-
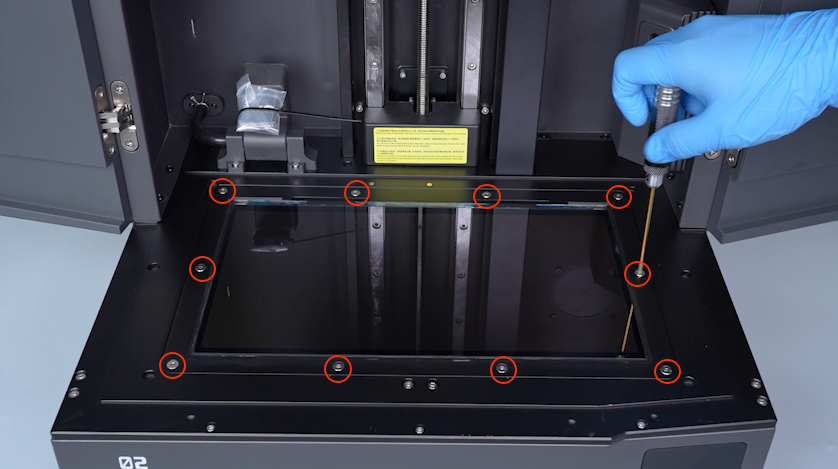
Release and remove the ten screws securing the LCD screen with a 2.0 mm Allen key.
-
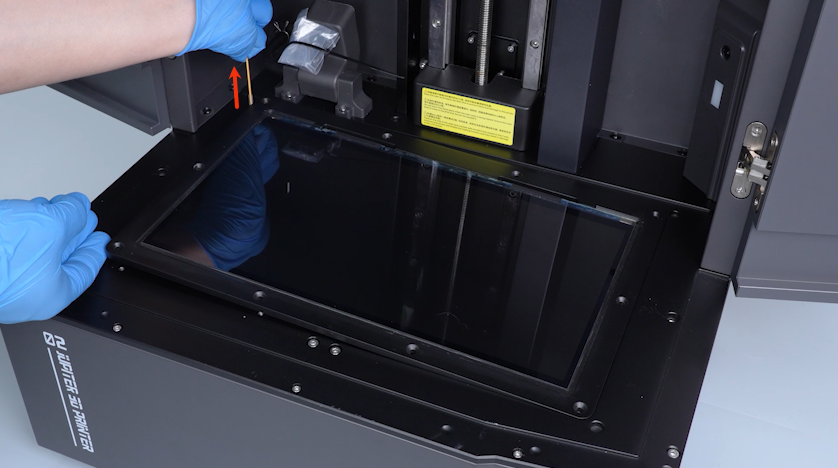
Lift the LCD screen from the top-left corner.
-
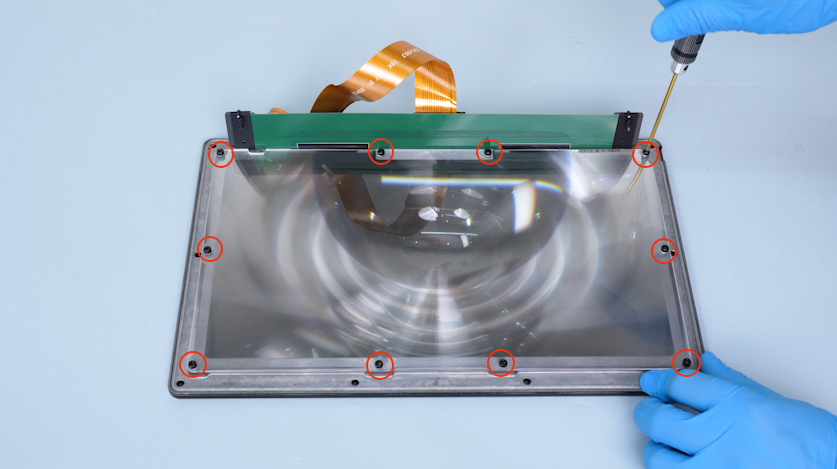
Release and remove the ten screws securing the Fresnel lens with a 2.0 mm Allen key.
-
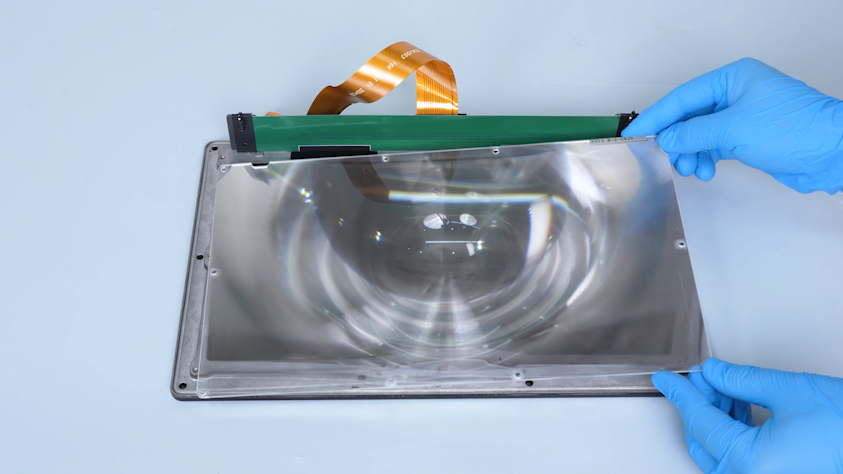
Remove Fresnel lens.
-
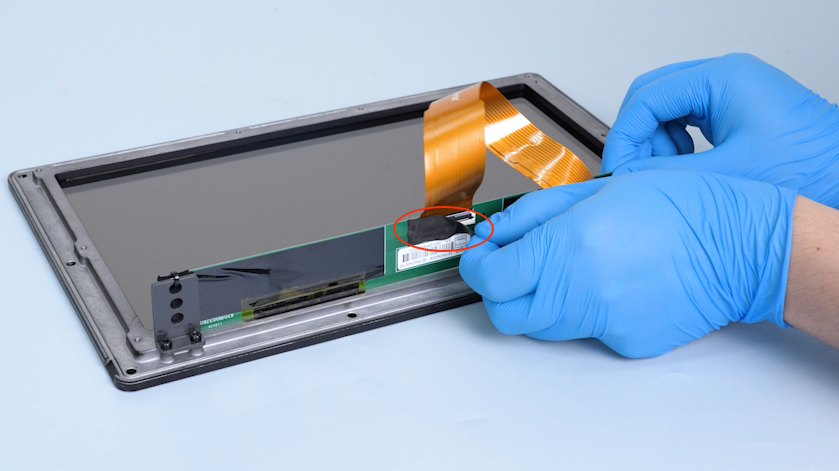
Peel off the tape securing the LCD screen ribbon cable.
-
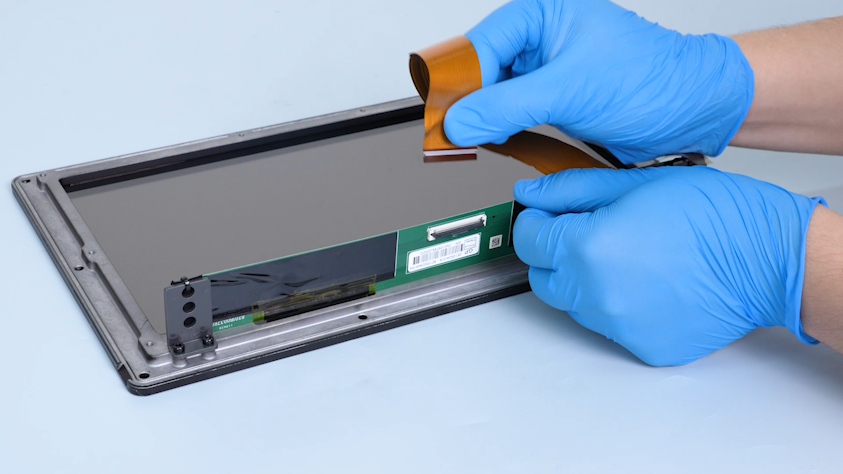
Unplug the LCD screen ribbon cable.
¶ Install the new LCD screen
-
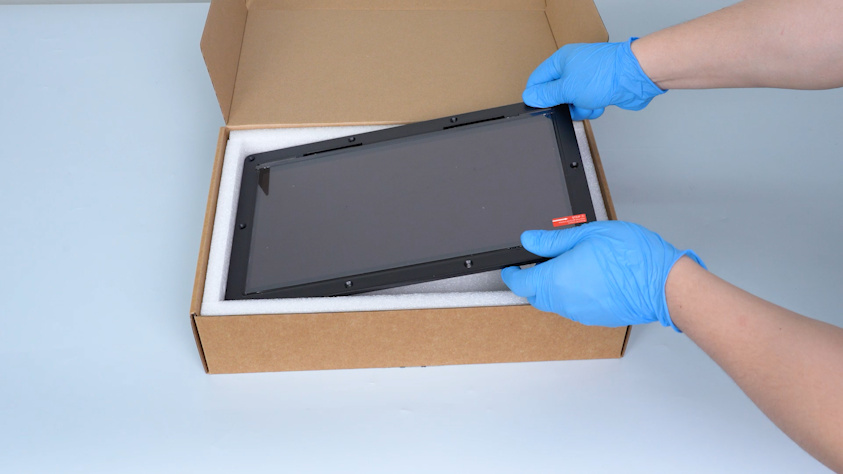
Prepare the new LCD screen.
-
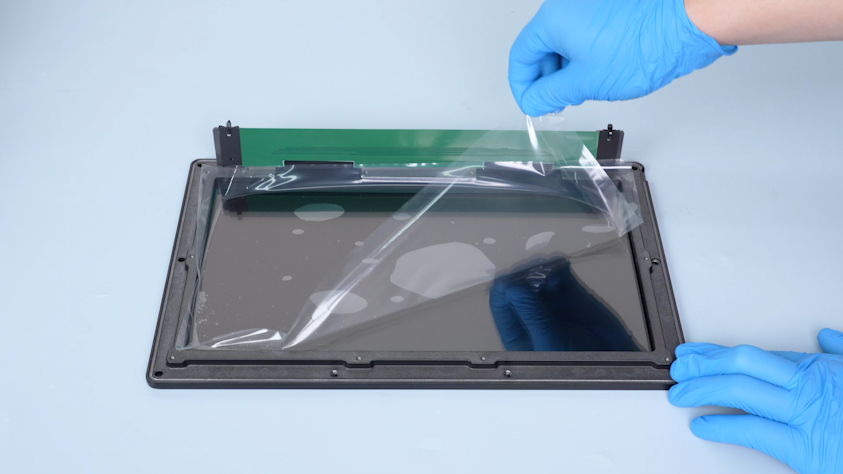
Peel off the protective films on both sides of the release film.
-
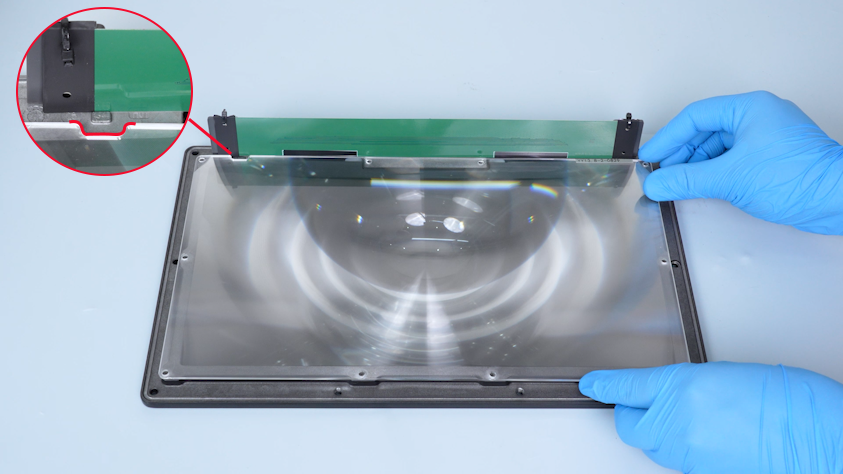
Put the Fresnel lens in the installation position.
Note: The notch in the top-left corner must align with the protrusion on the LCD screen frame.
-
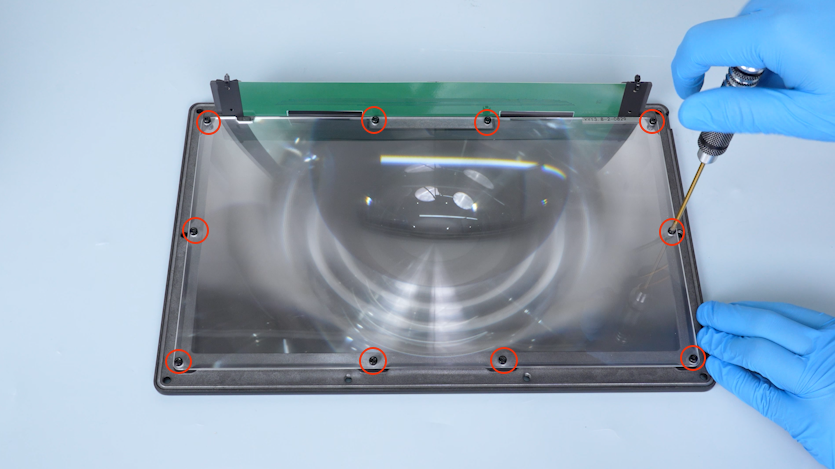
Tighten the ten screws securing Fresnel lens.
-
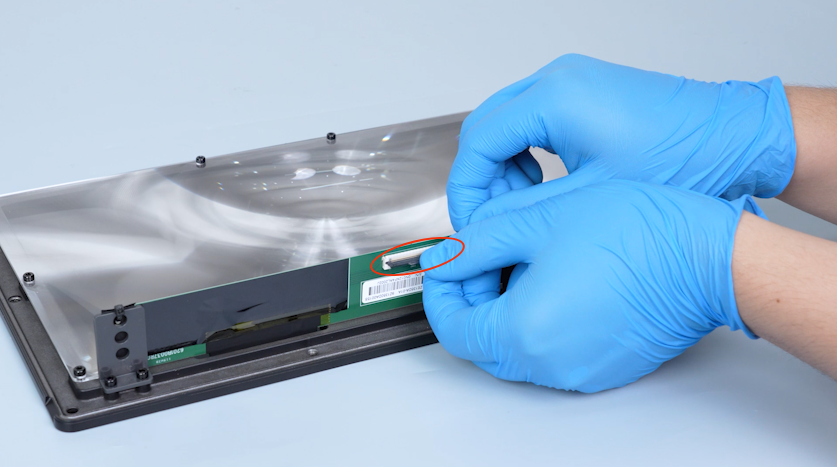
Lift the clip.
-
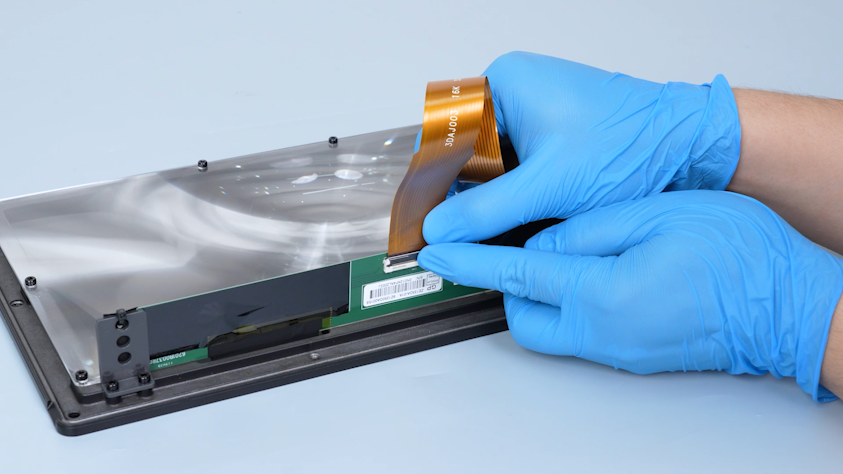
Plug in the LCD screen ribbon cable and press the clip.
-
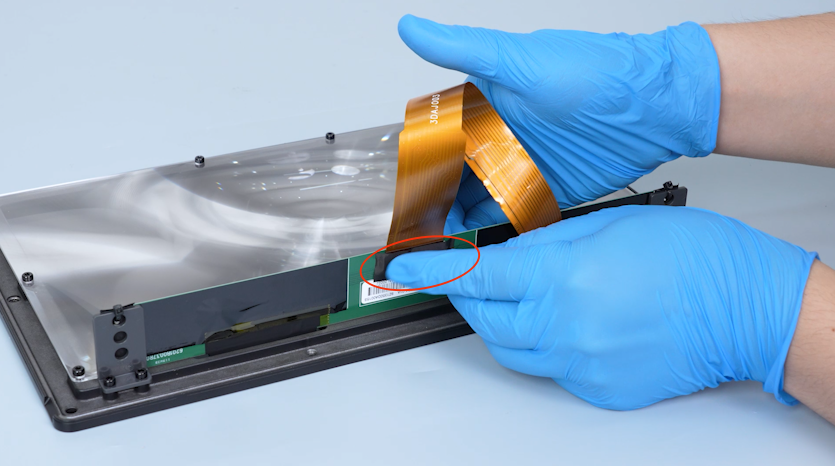
Secure the LCD screen ribbon cable with tape.
-
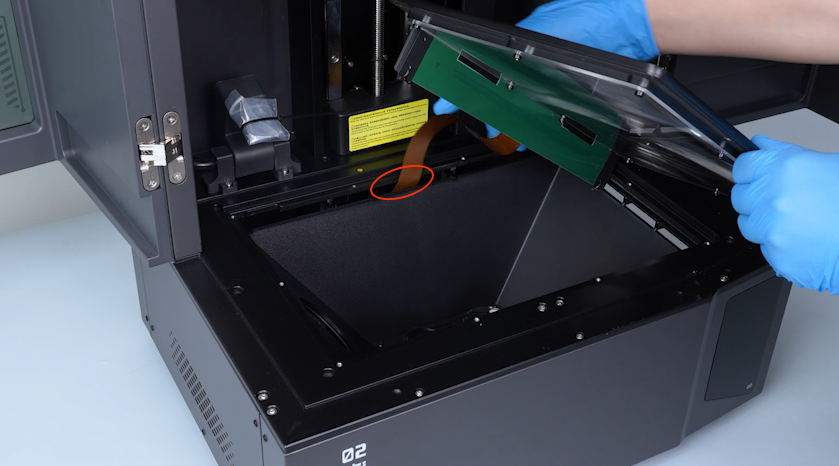
Pass the LCD ribbon cable through the gap beside the light shield.
-
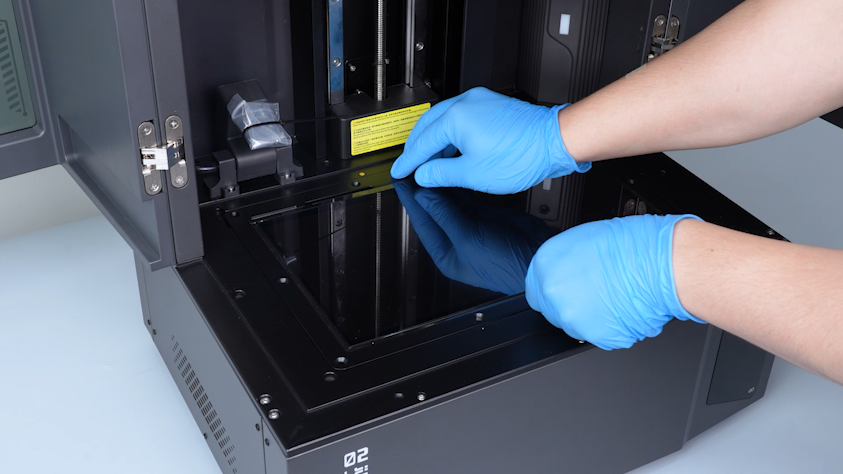
Put the LCD screen in the installation position.
-
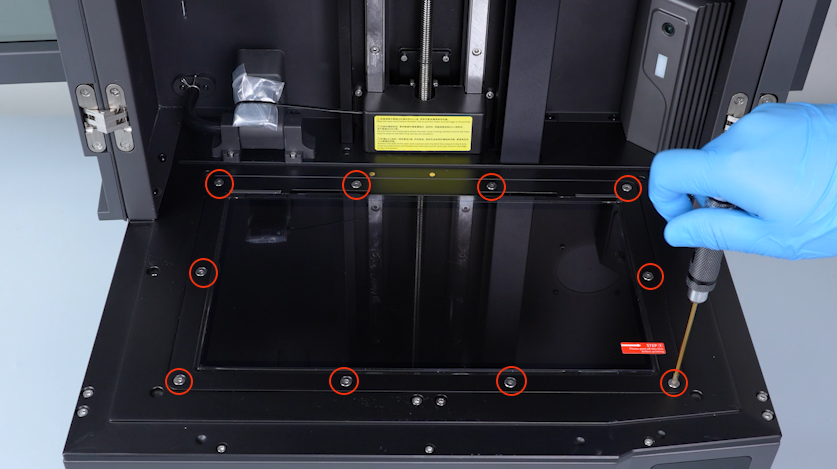
Tighten the ten screws securing the LCD screen.
-
Remove the protective cover of the LCD screen.
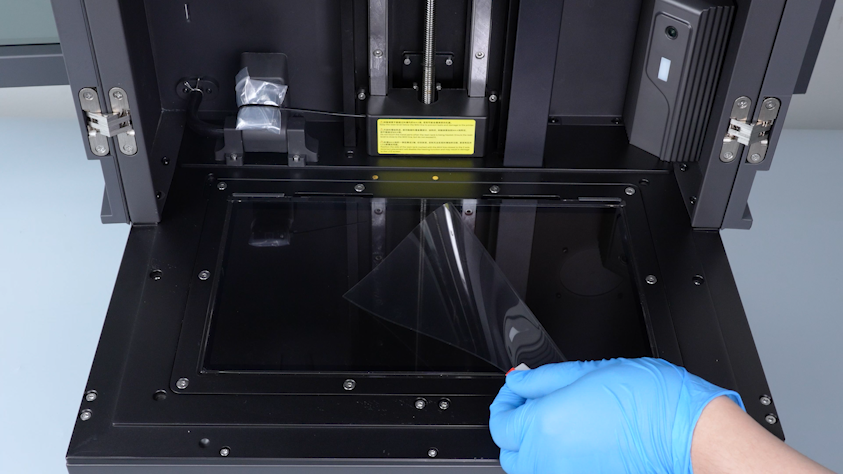
-
Remove the unnecessary part of the PET insulation film.
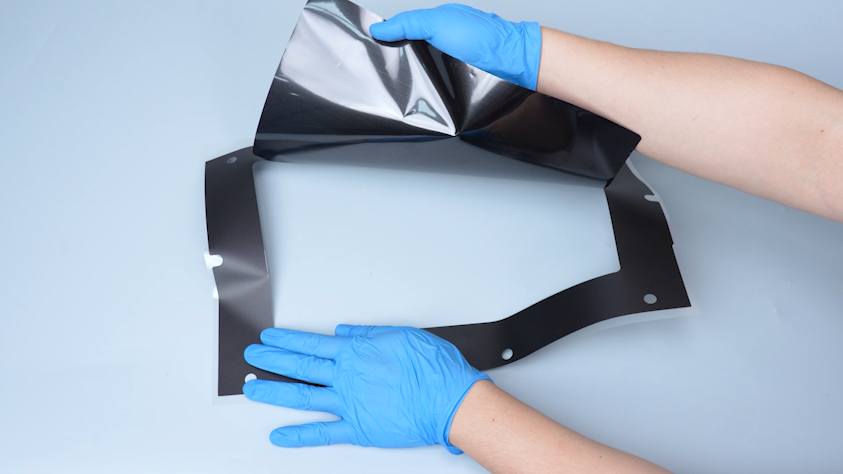
-
Remove the back film of the PET insulation film.
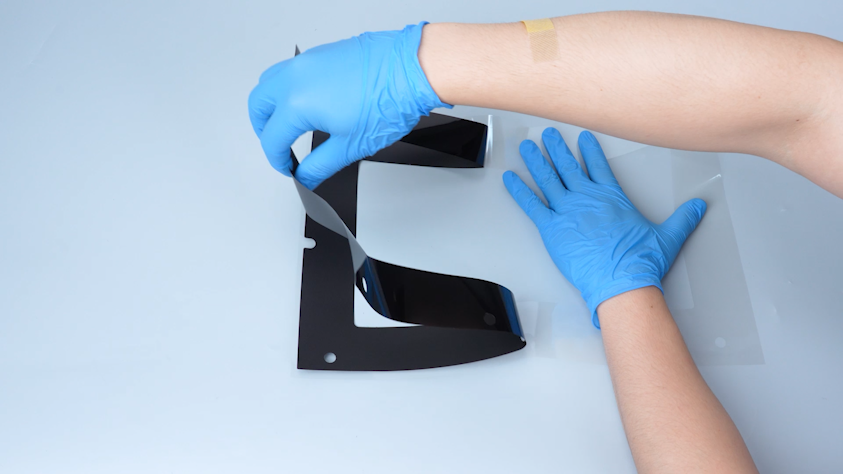
-
Apply the PET insulation film to the edges of the LCD screen and press the PET insulation film.
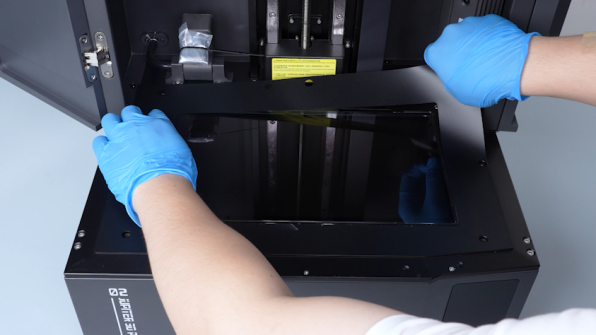
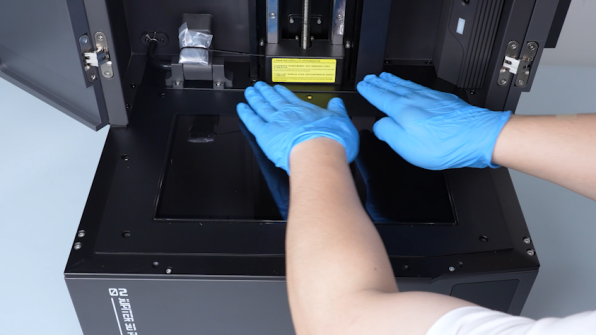
-
Connect the LCD screen ribbon cable to the port on the motherboard and press the clip.
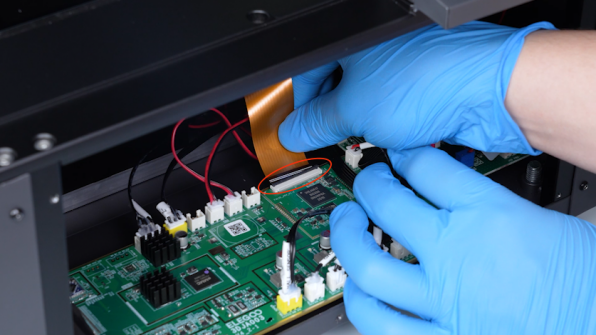
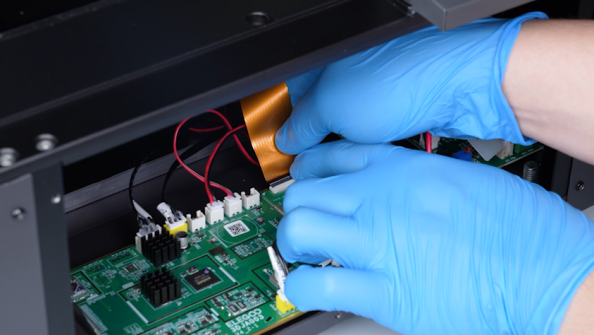
-
Secure the LCD screen ribbon cable with tape.
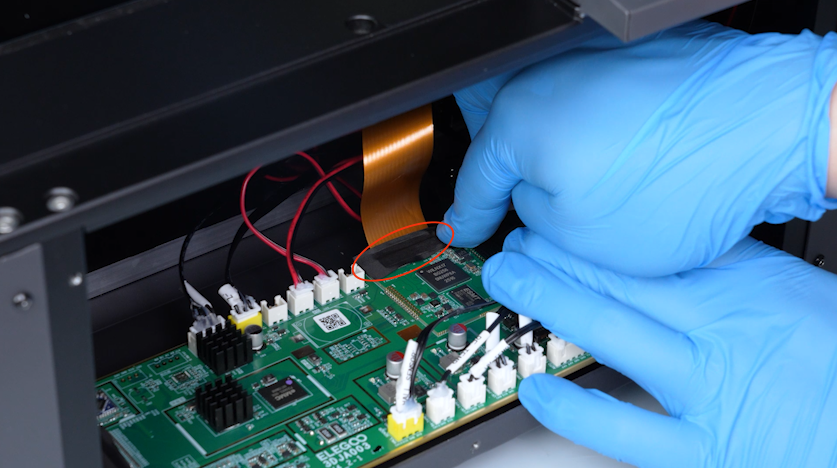
-
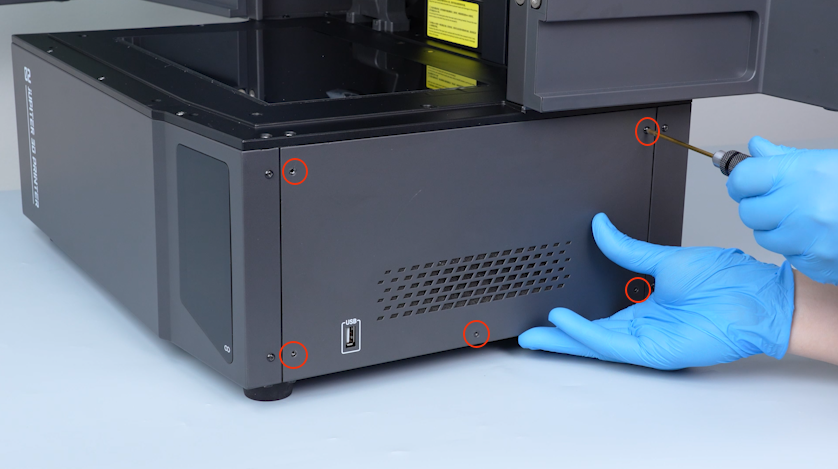
Put the right cover in the installation position and tighten the five screws securing the right cover.
¶ Verification
-
Plug in the power supply cable and turn the power switch ON (symbol "|").
-
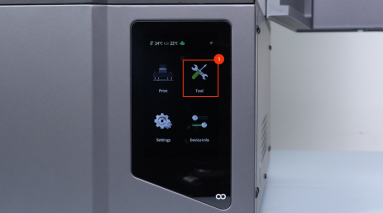
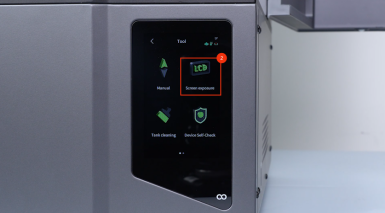
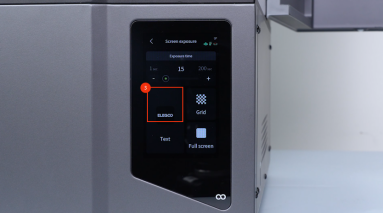
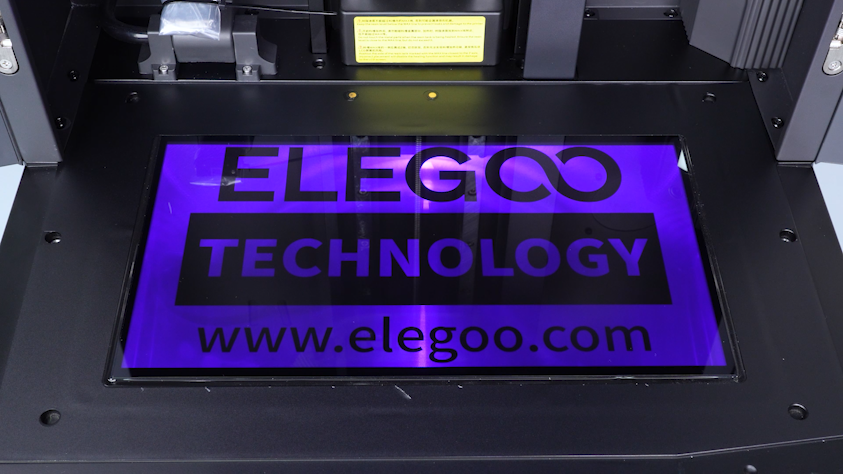
On the touch screen, select Tool - Screen Exposure - ELEGOO.
-
Confirm that the ELEGOO logo displays normally and the LCD screen is successfully replaced.
-
The printer is ready for use once it is re-levelled.