¶ Required Tools
Tweezers or a metal pry tool
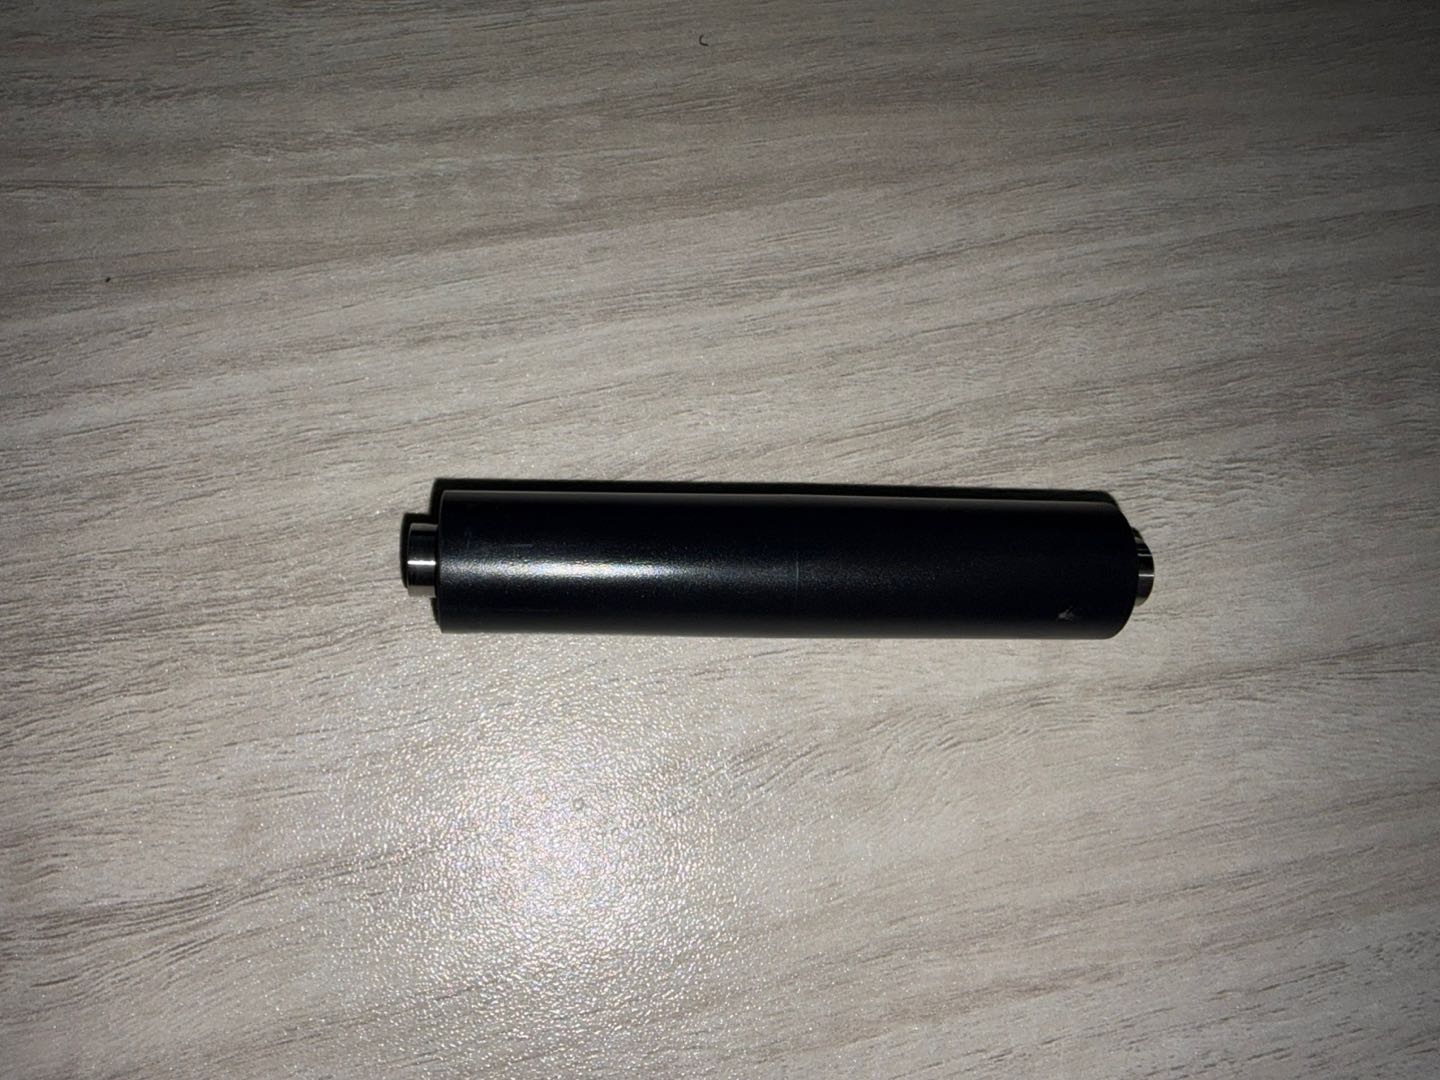
New Rear Roller Assembly
¶ Disassembly Steps
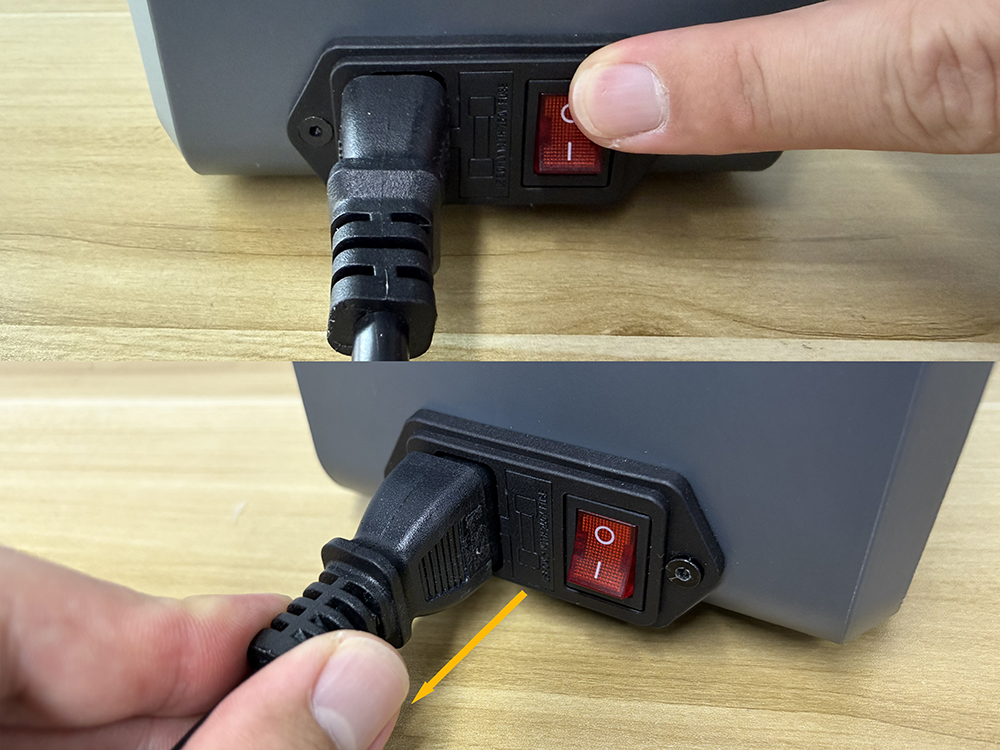
Reminder: Before starting the operation, turn off the H1 HT power switch and unplug the power cord.
¶ Remove the Filament
- Open the top cover.
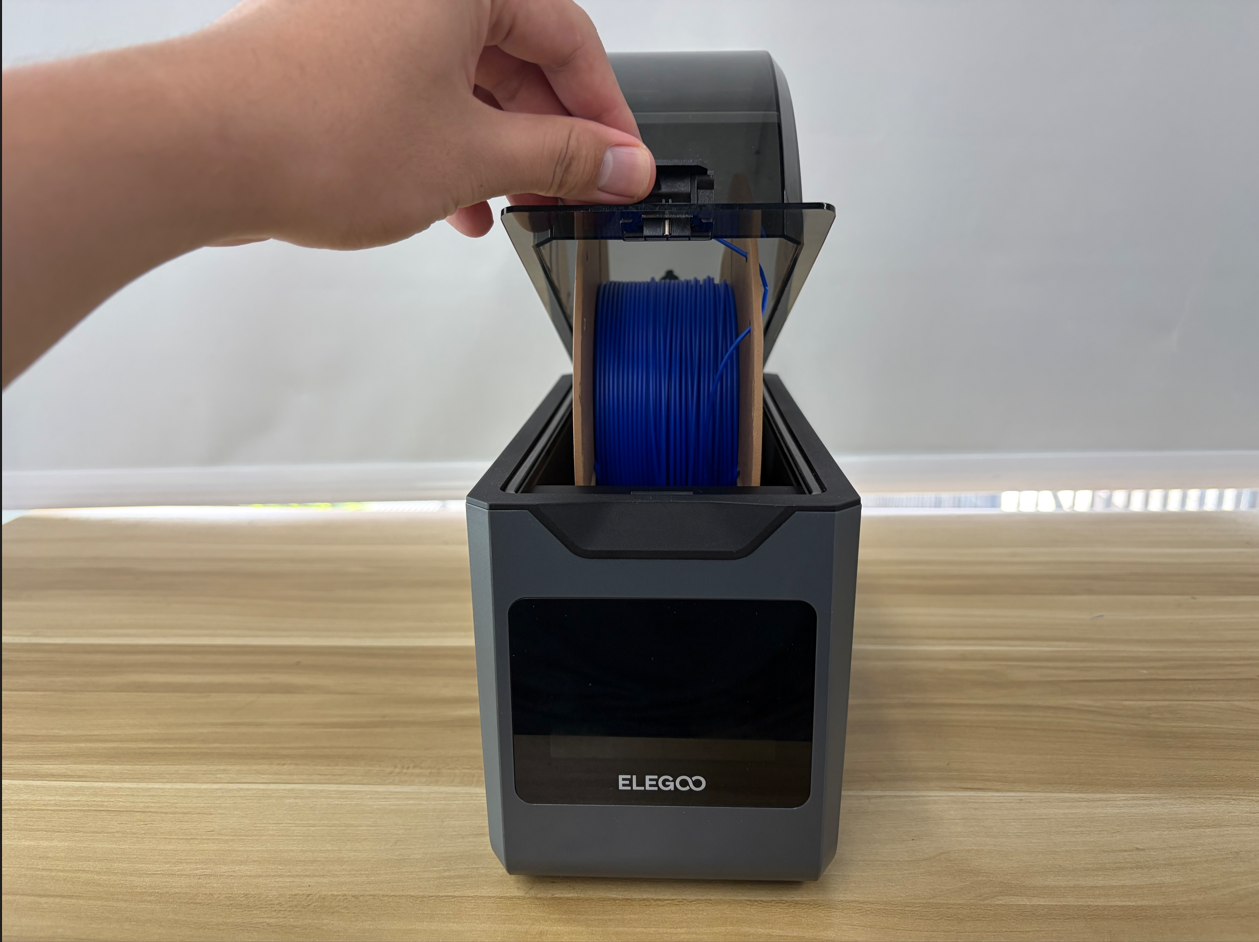
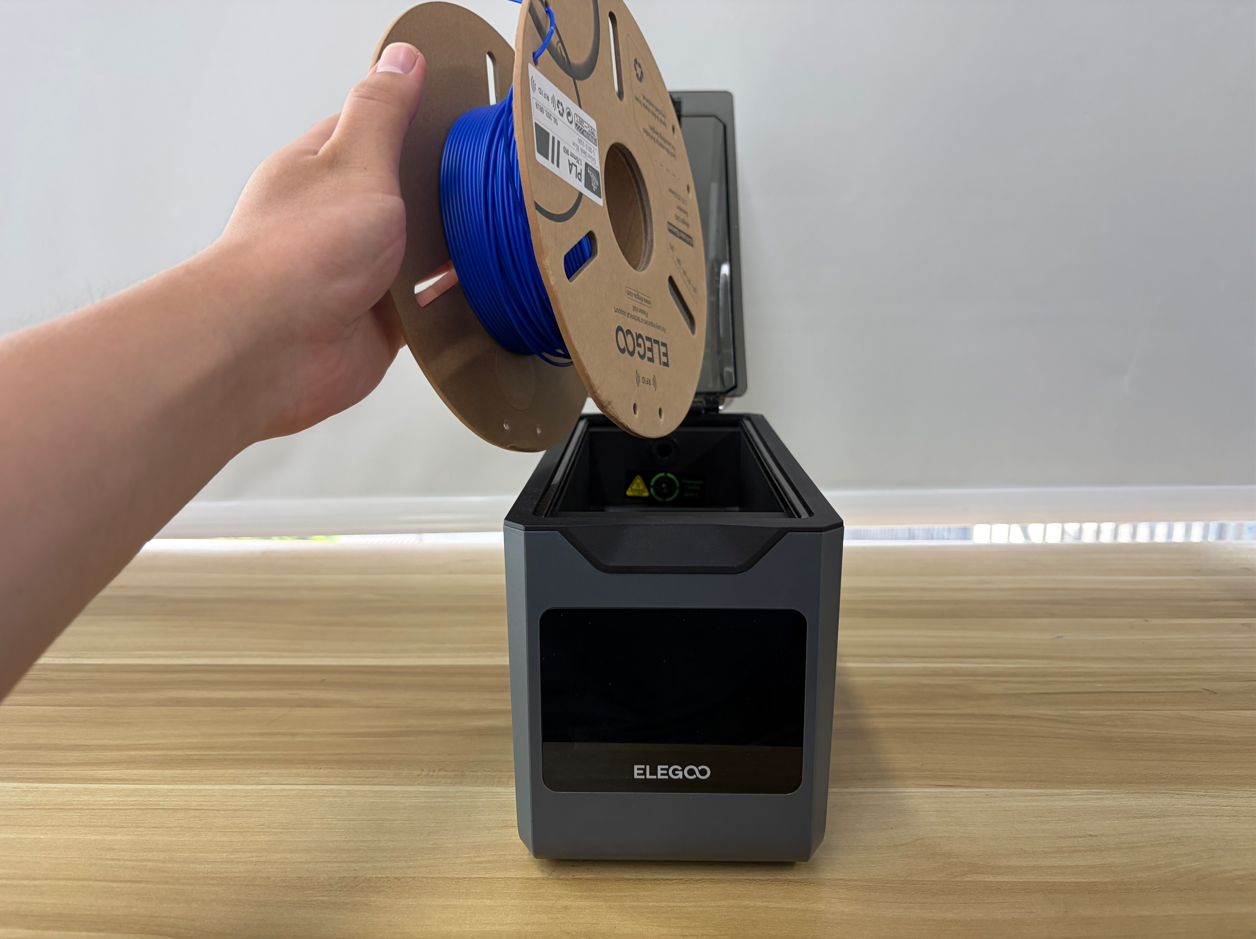
- Remove the filament.
¶ Remove the Rear Roller
Note: Before removing the rear roller, record its installation direction.
- Use tweezers or a metal pry tool to carefully pry upward from the edge of the rear roller to release the roller assembly from the installation groove.
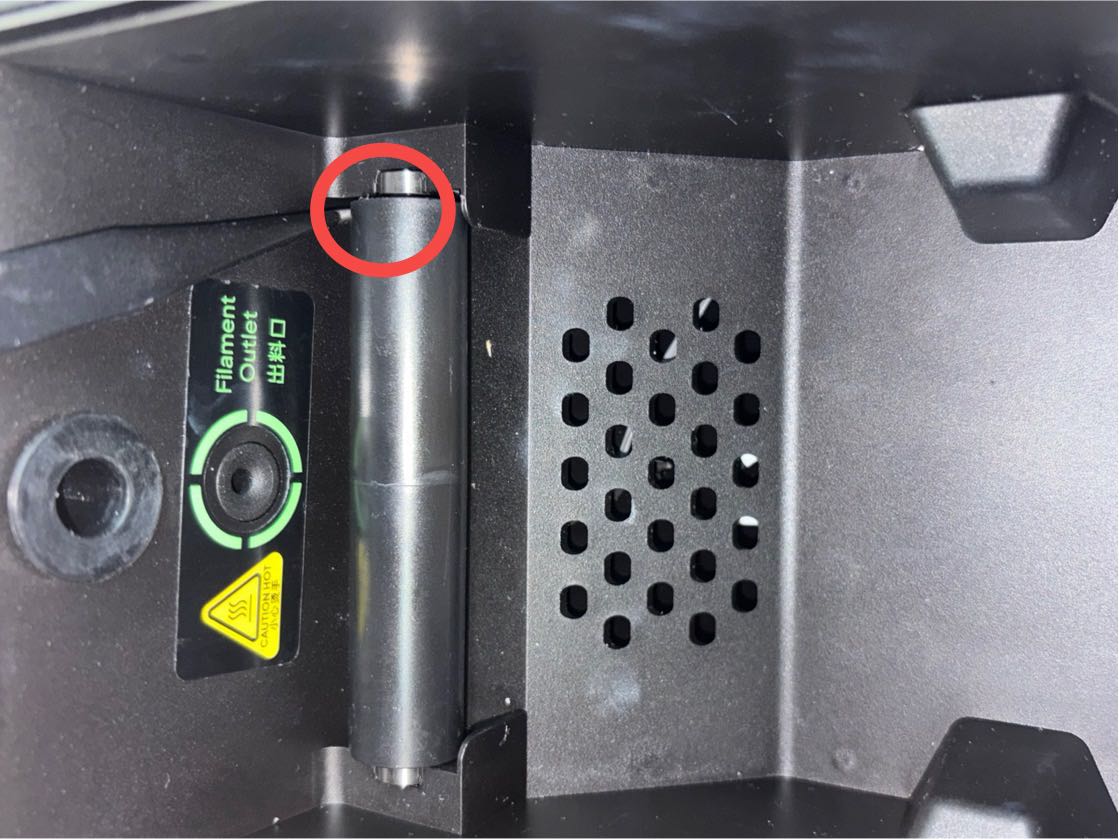
- Remove the rear roller.
¶ Installation Steps
¶ Install the Rear Roller
- Install the new rear roller assembly into the installation groove on the inner tray assembly.
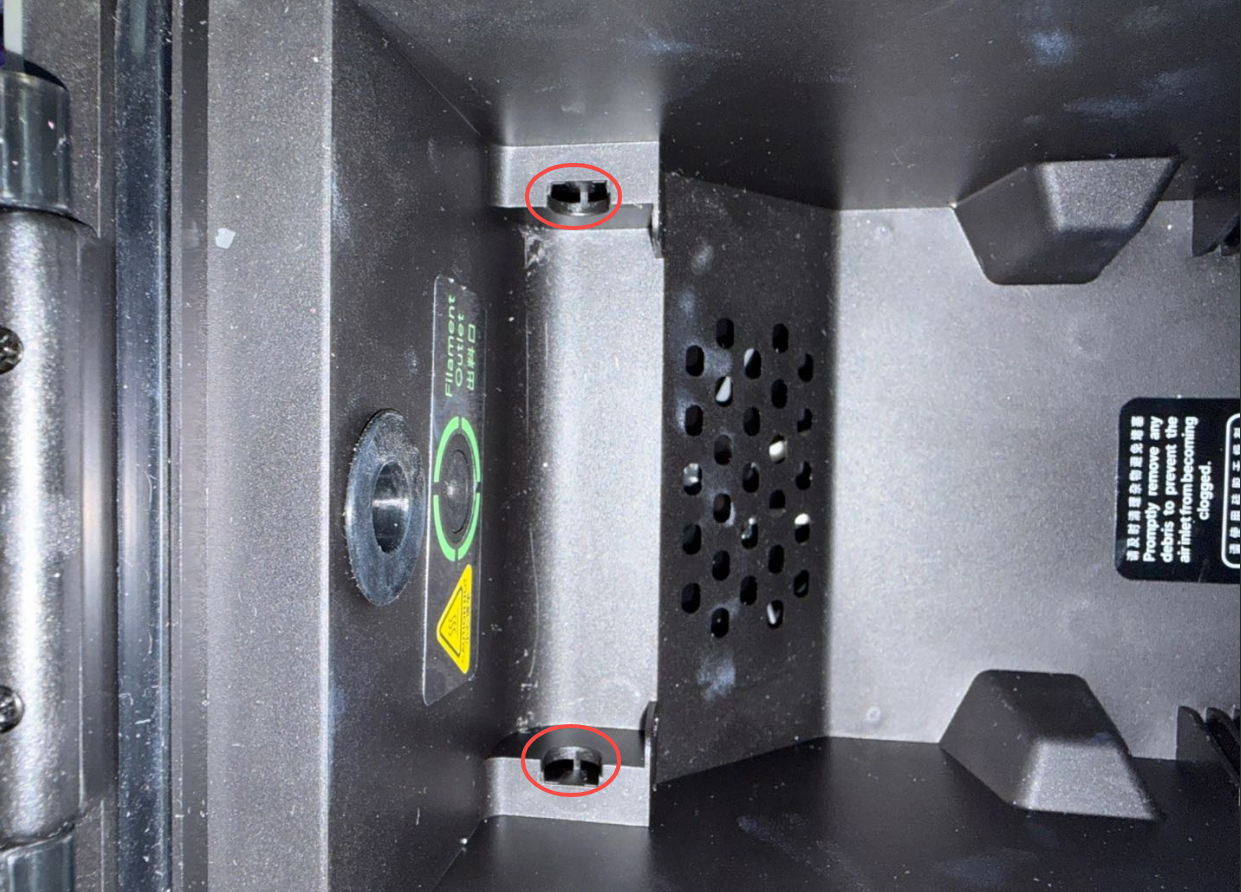
Note: When installing the rear roller, make sure that the roller is installed into the corresponding groove. Improper installation may prevent the filament from rotating properly.
- Press down on the rear roller until it is fully secured in the installation groove.
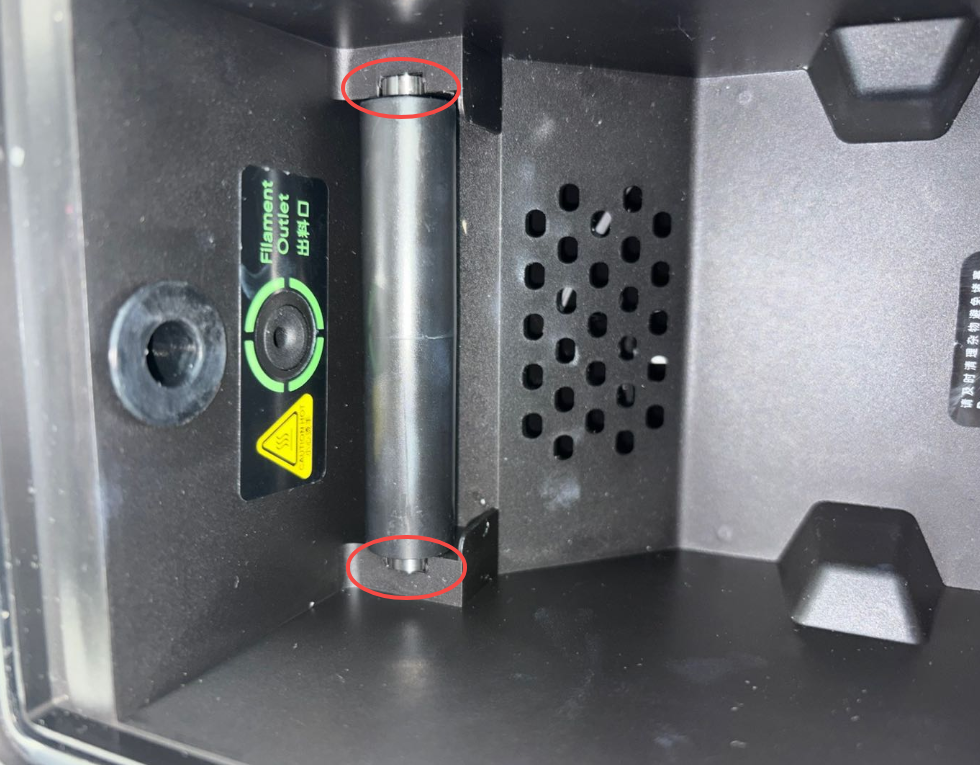
- Manually rotate the rear roller to confirm that it rotates smoothly without jamming or abnormal resistance.
¶ Verification
-
Place the H1 HT upright.
-
Connect the power cord and turn on the power switch.
-
Enter the main interface.
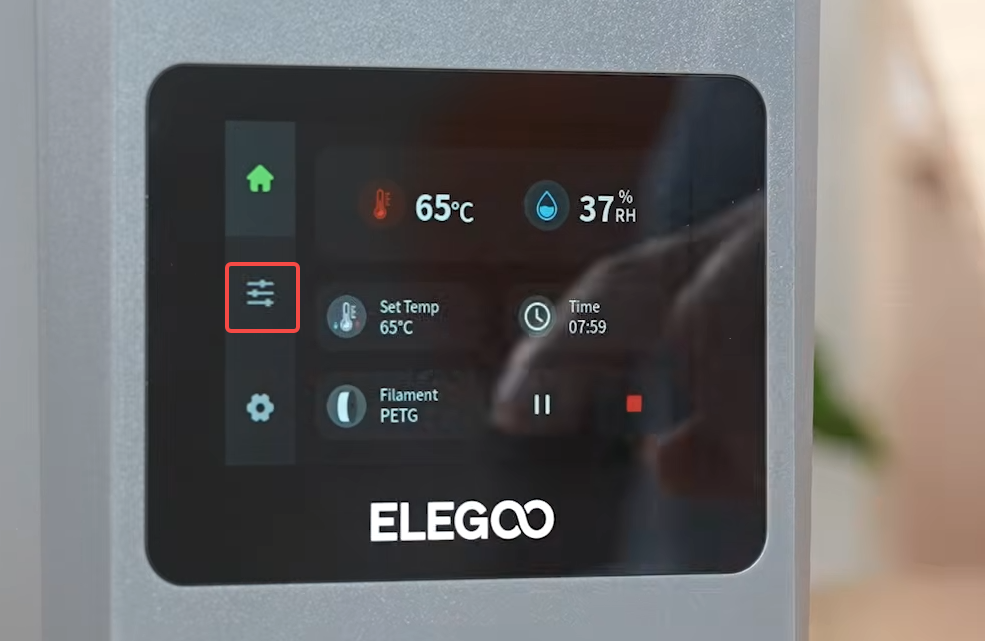
- Select the corresponding filament type and load the filament.
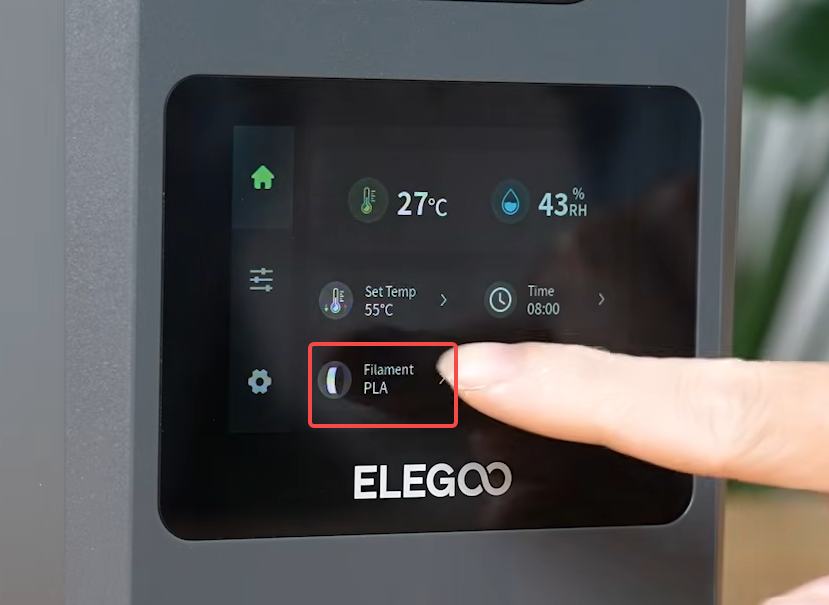
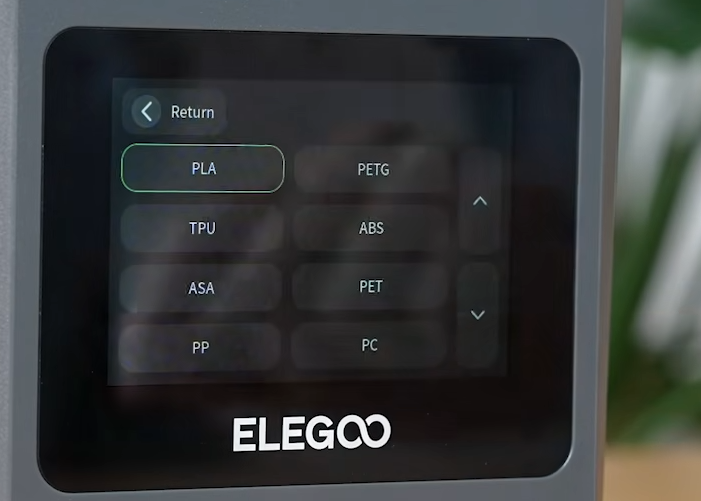
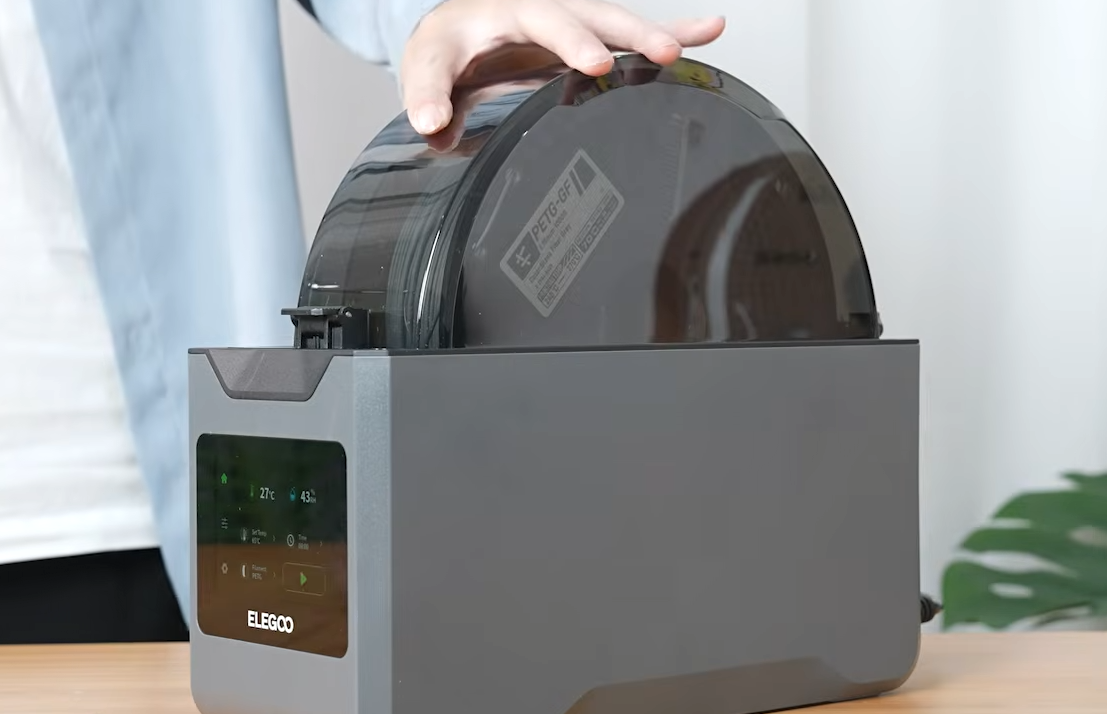
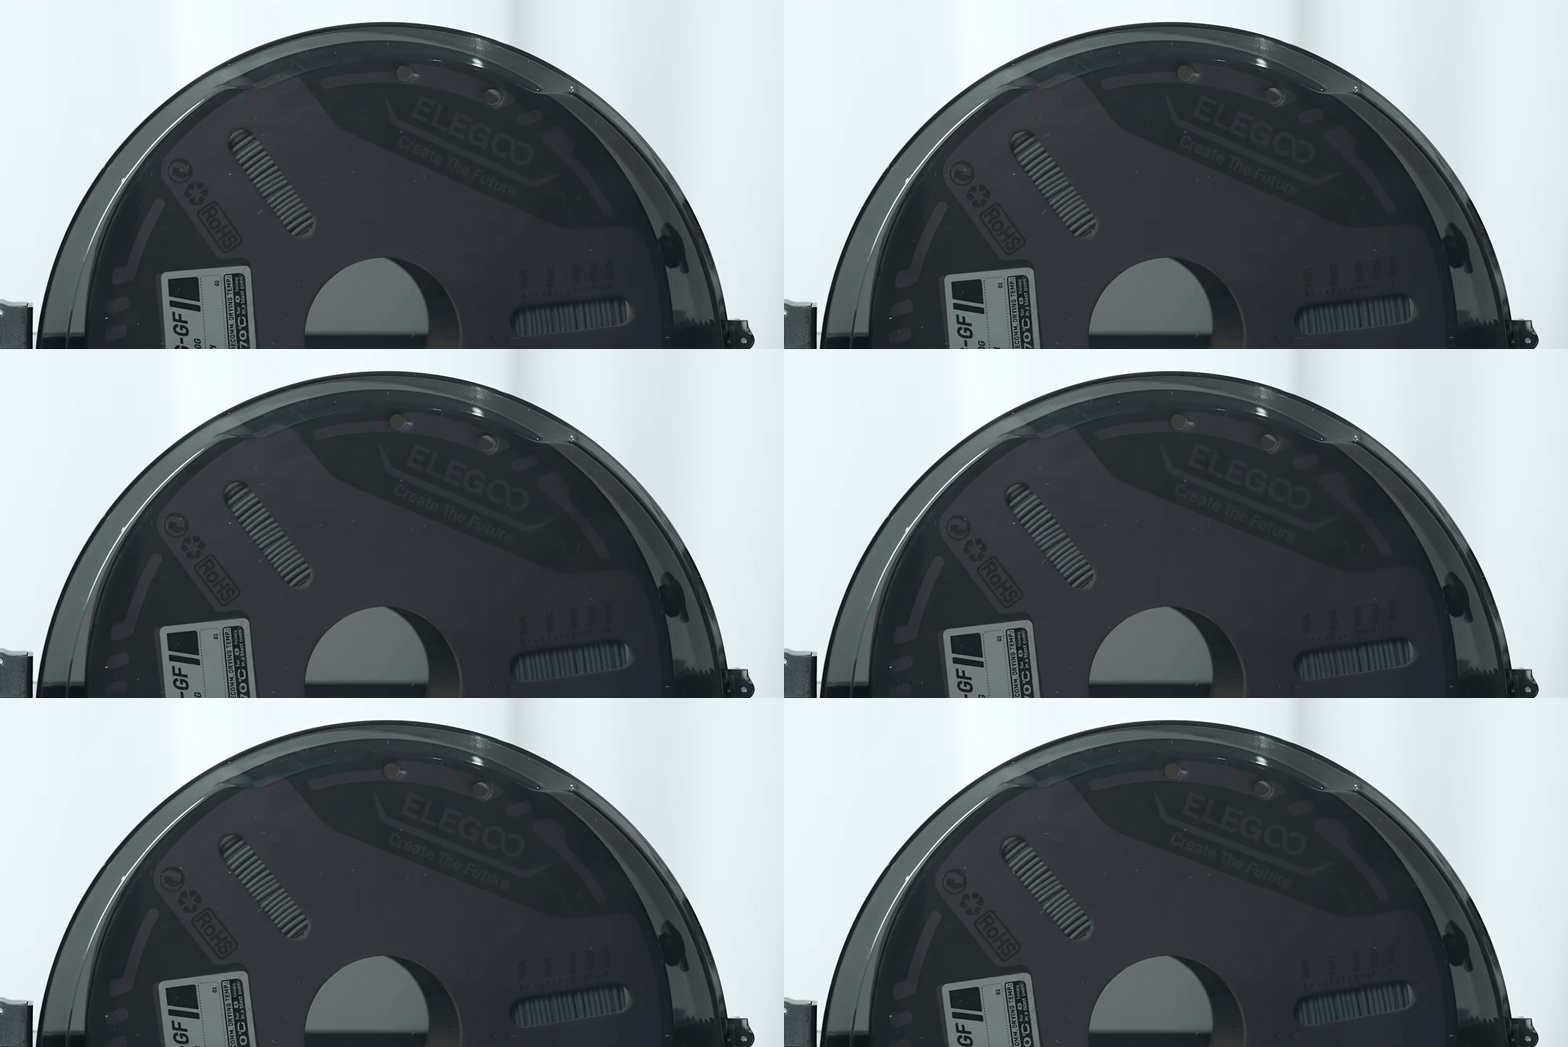
- Enable the rotation function during the filament drying process.
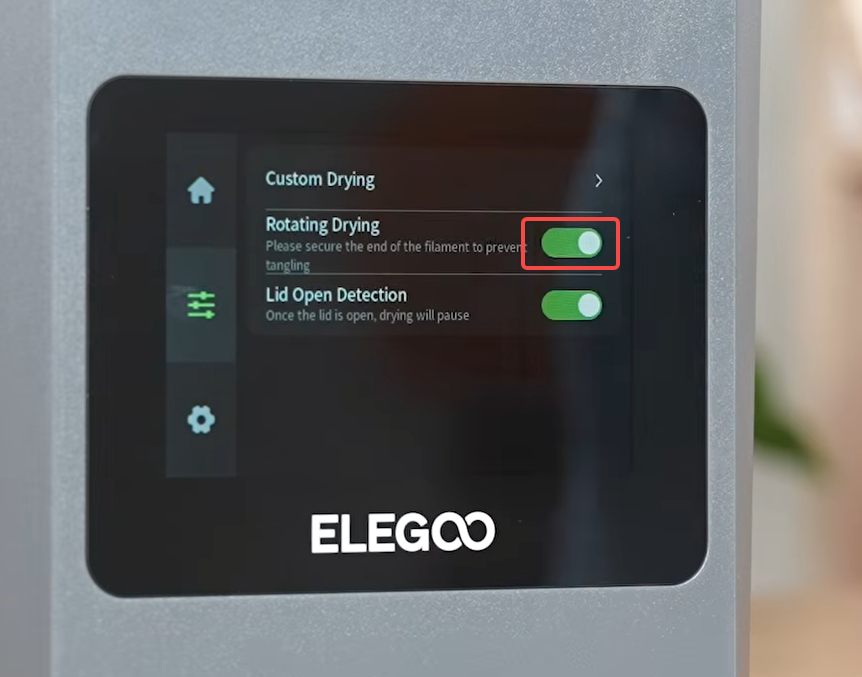
- Observe whether the filament rotates properly during the drying process.
Note: Runs for 1 min every 5 min.
¶ Help us improve
If you have any ideas about the wiki pages, please let us know via ELEGOO official feedback channel.