¶ Required Tools
2.5mm Allen key
Phillips screwdriver
New Motor Compartment Assembly ×1
Cable Tie ×2
Scissors
¶ Disassembly Steps
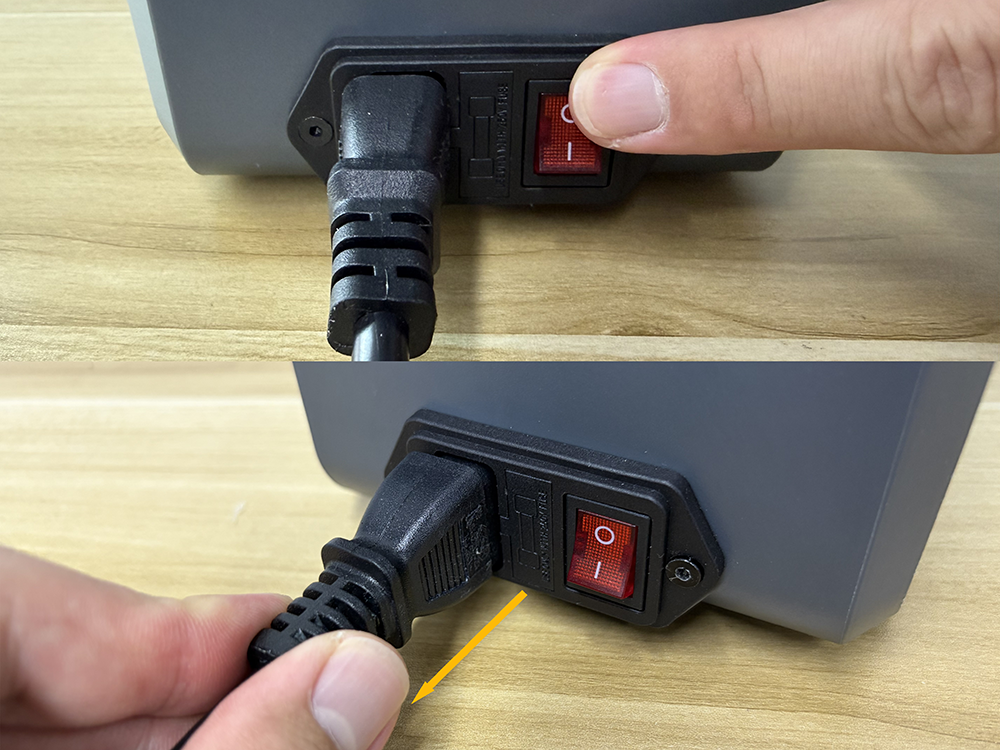
Reminder: Before starting the operation, turn off the H1 HT power switch and unplug the power cord. Make sure the device is completely powered off before proceeding.
¶ Removing the Filament
- Open the top cover.
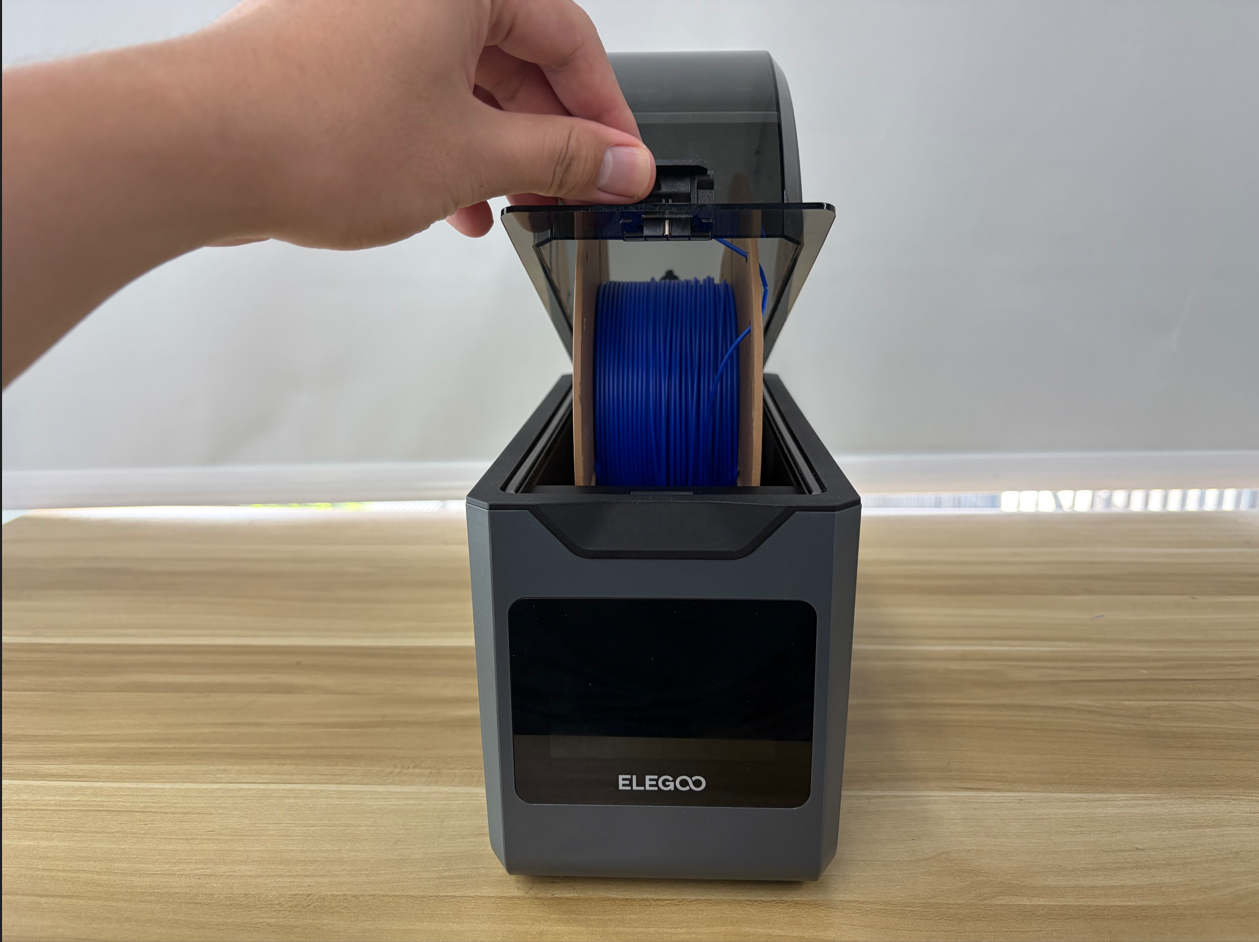
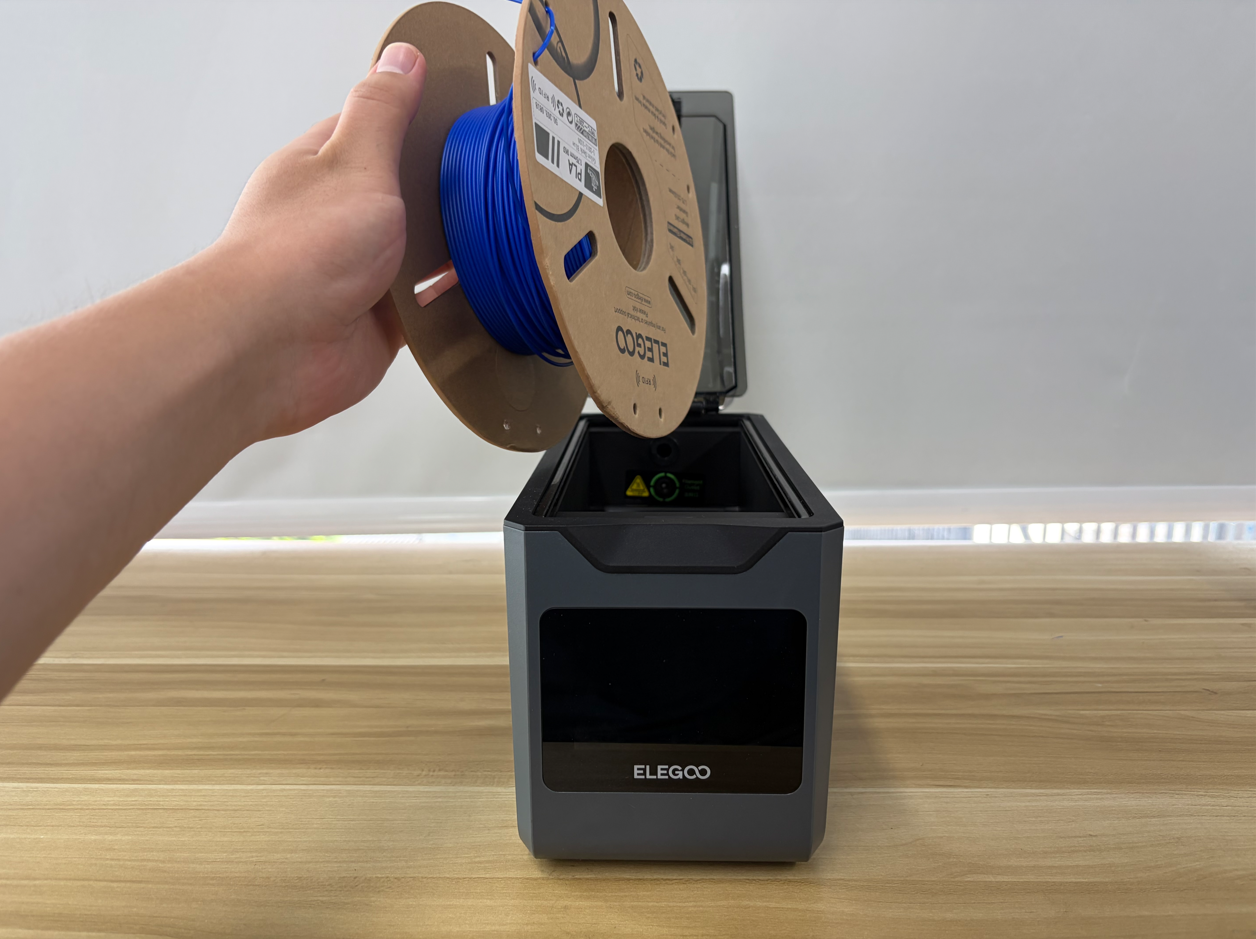
- Remove the filament.
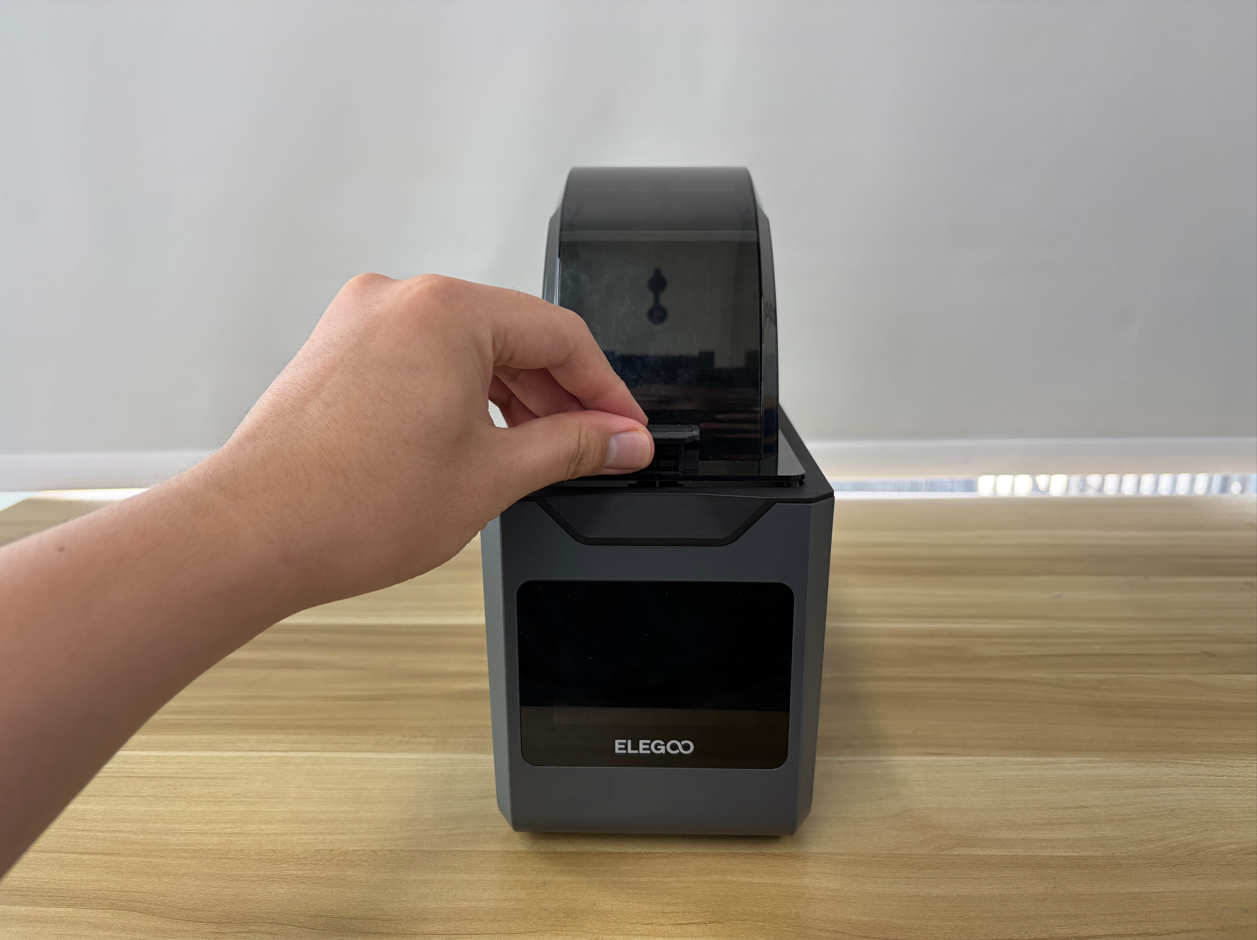
- Close the top cover.

¶ Opening the Bottom Cover
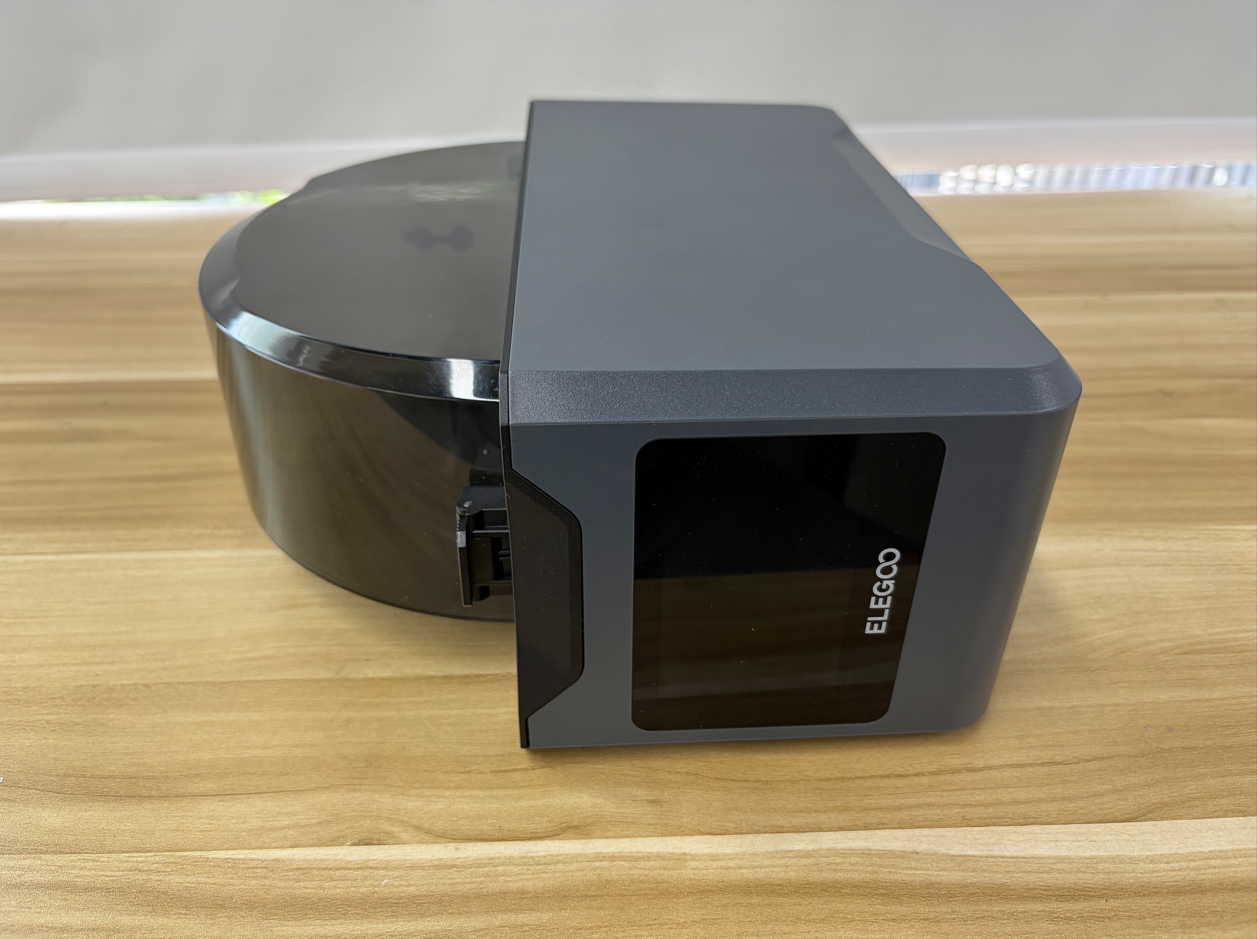
- Place the H1 HT on its side on a level surface.
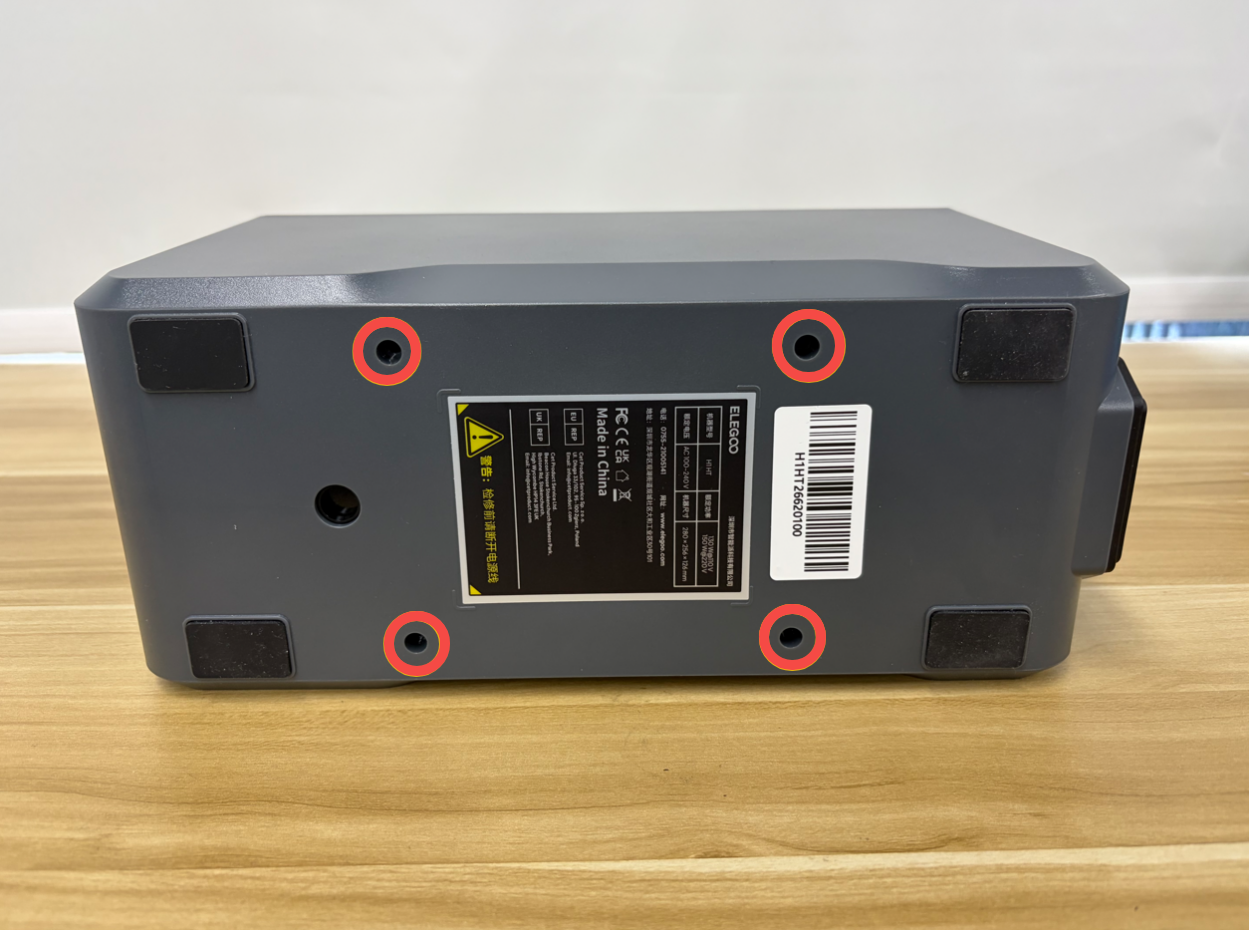
- Use a 2.5 mm Allen key to remove the four screws securing the bottom cover.
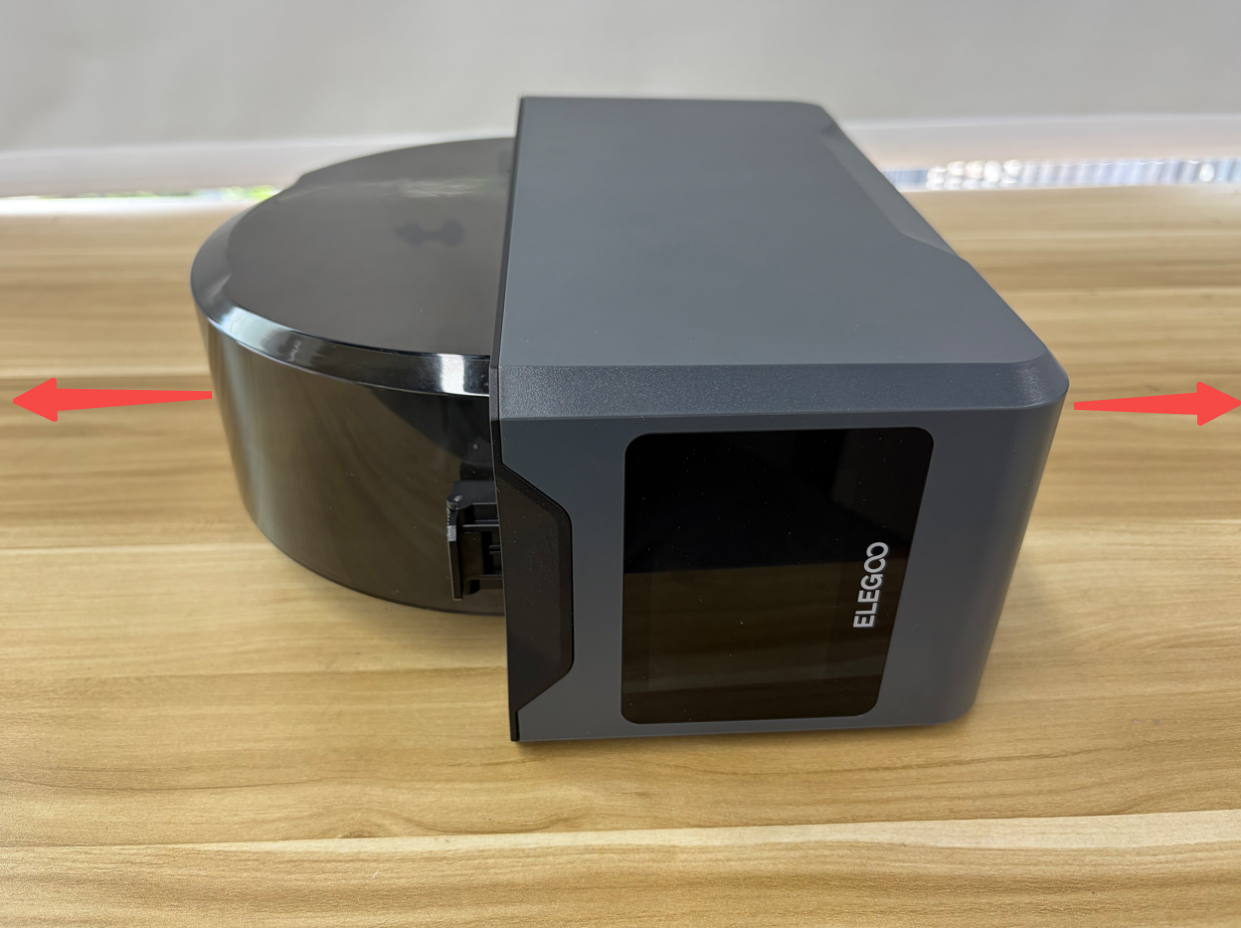
- Slowly open the bottom cover. Be careful not to pull on or damage the internal cable harnesses.
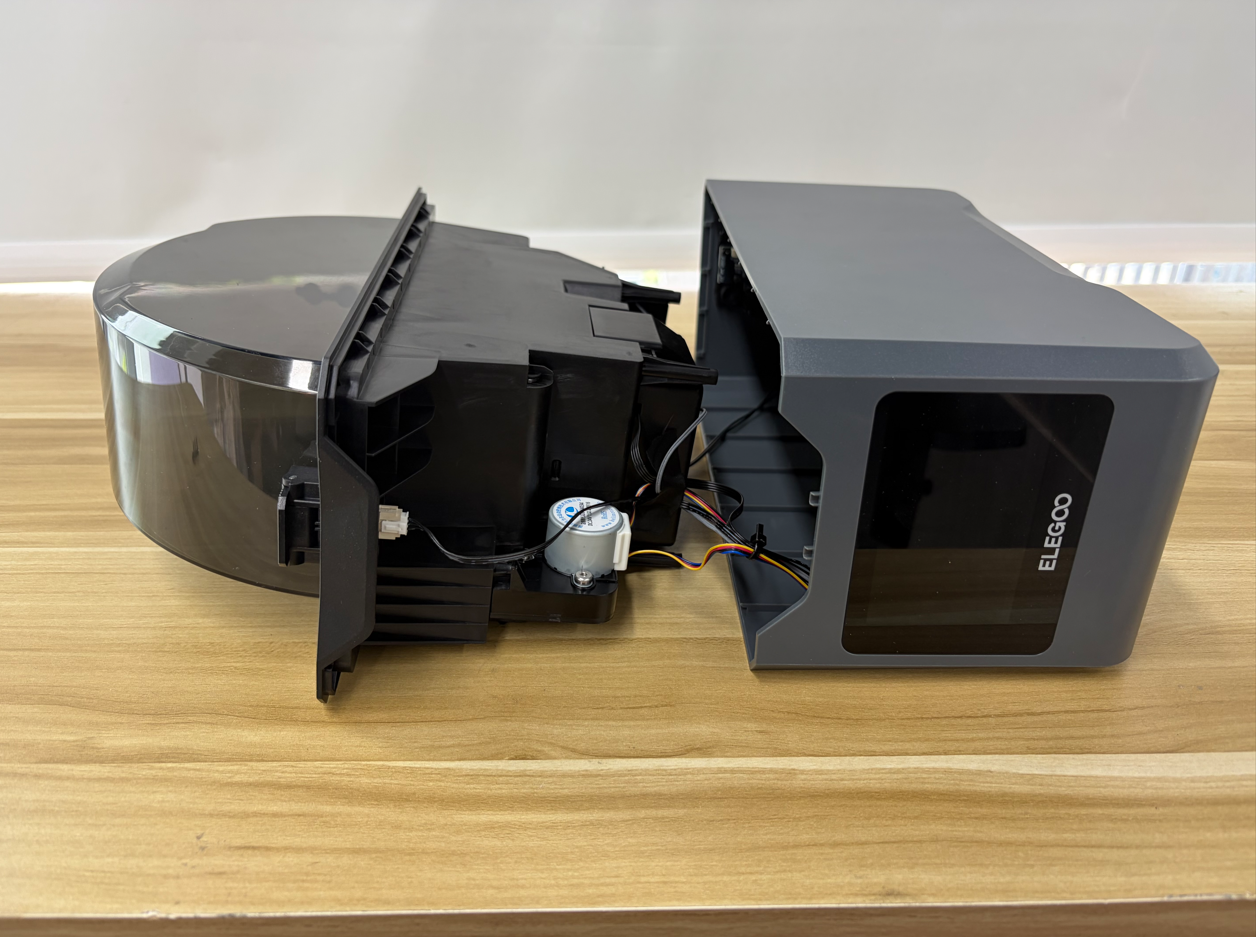
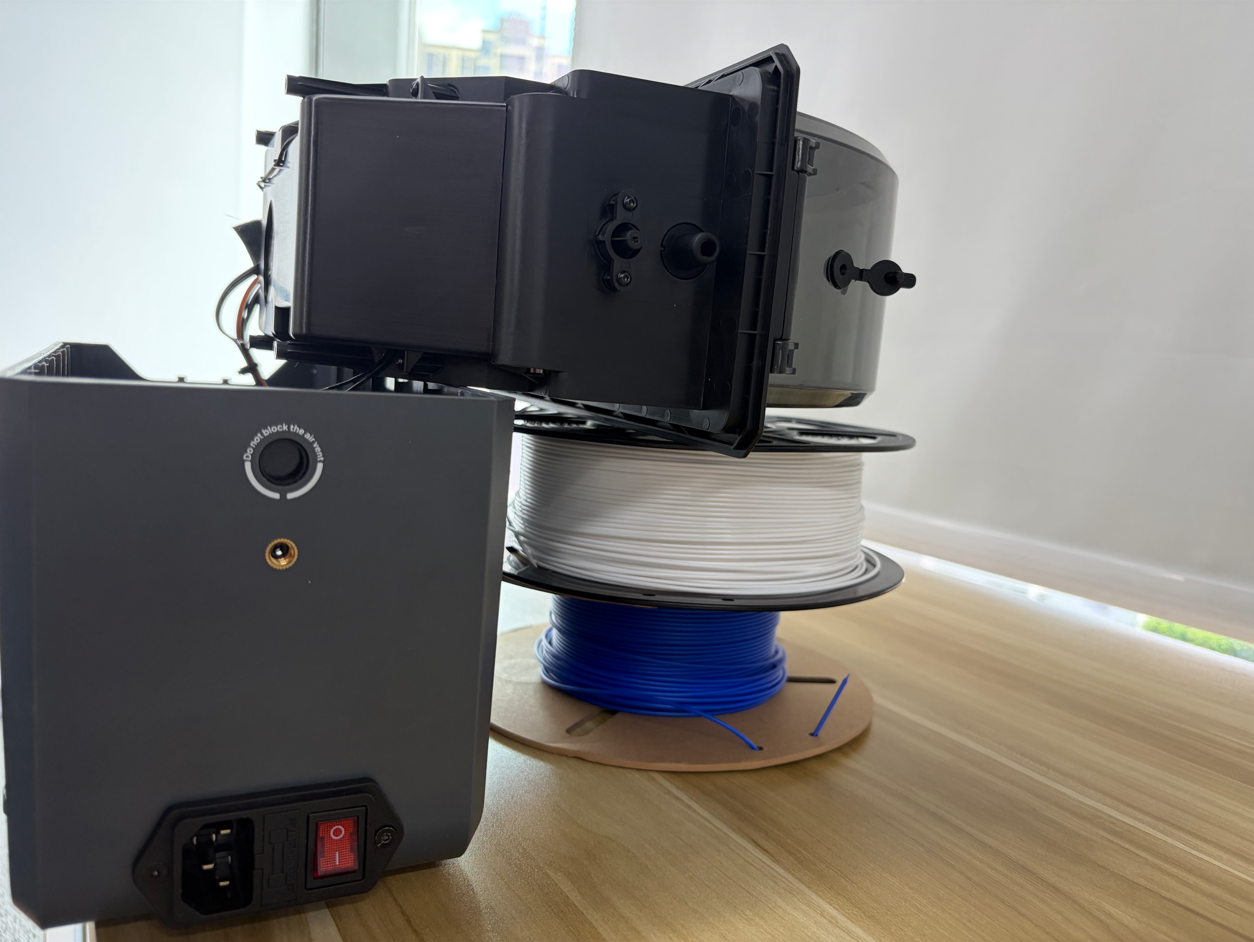
- Place the machine with the bottom side facing downward on a level surface.
Reminder: To facilitate subsequent operations, place the two filament spools under the inner tray assembly and the top cover as supports.
¶ Disconnecting the Motor Compartment Assembly Cable
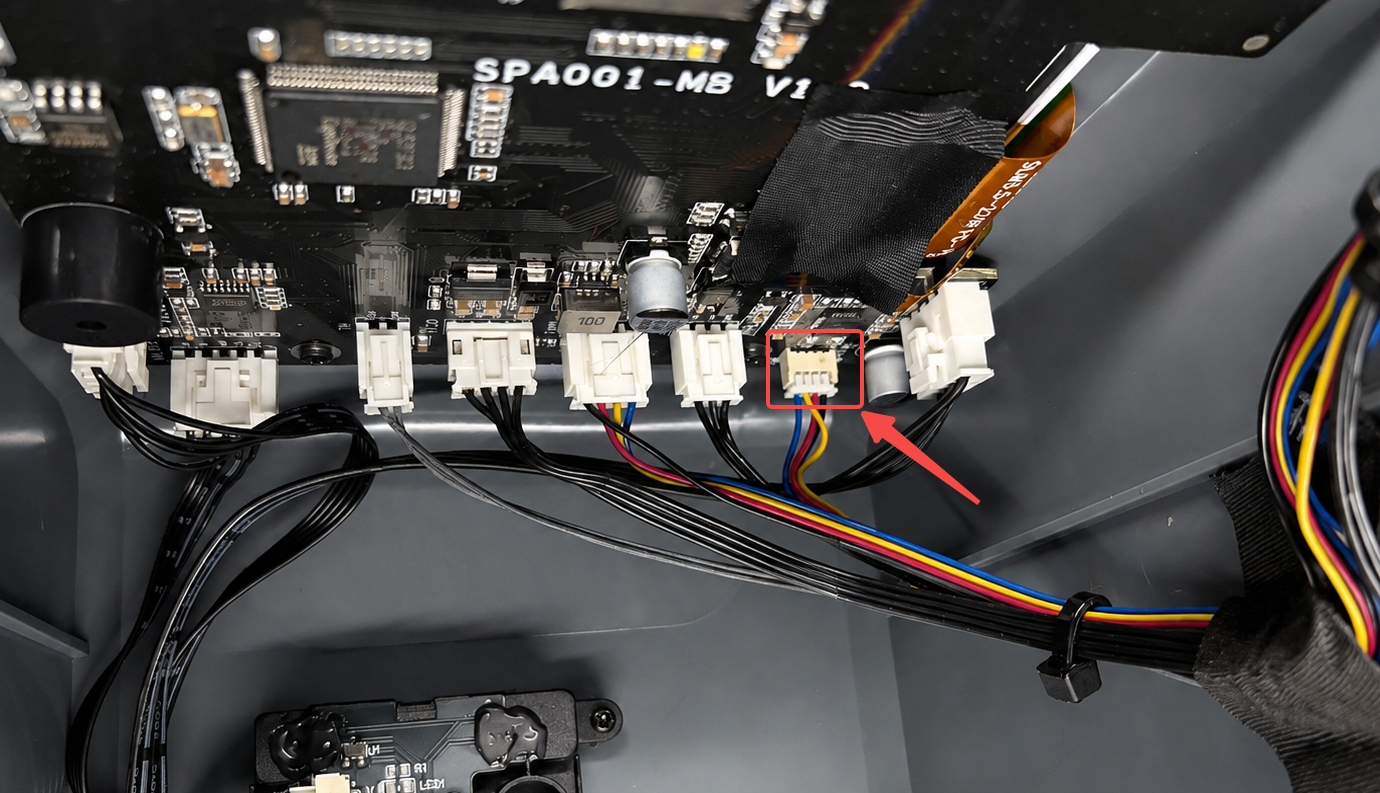
- Locate the DRIVE port on the mainboard according to the port label, and disconnect the motor compartment assembly cable.
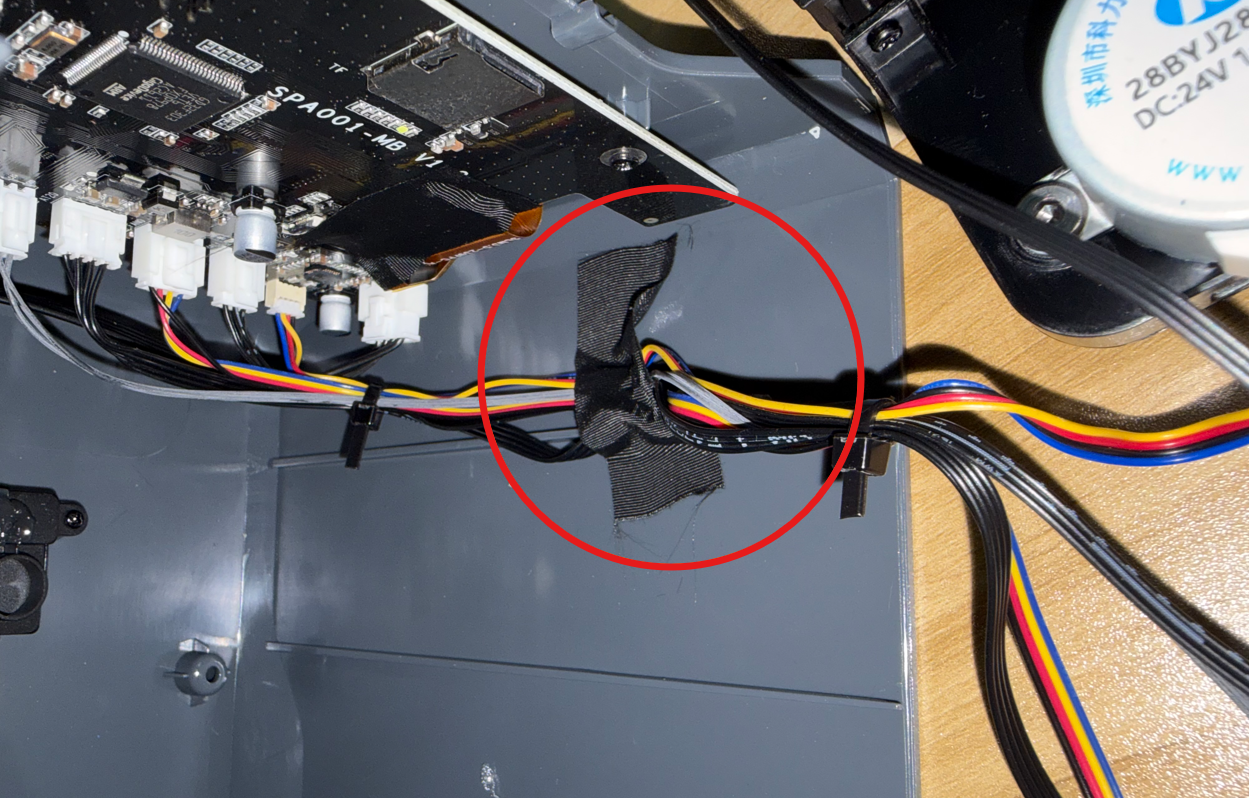
- Remove the tape securing the cable along the edge of the bottom cover. Keep the tape for reinstallation, as it will be needed to secure the cable and prevent interference.
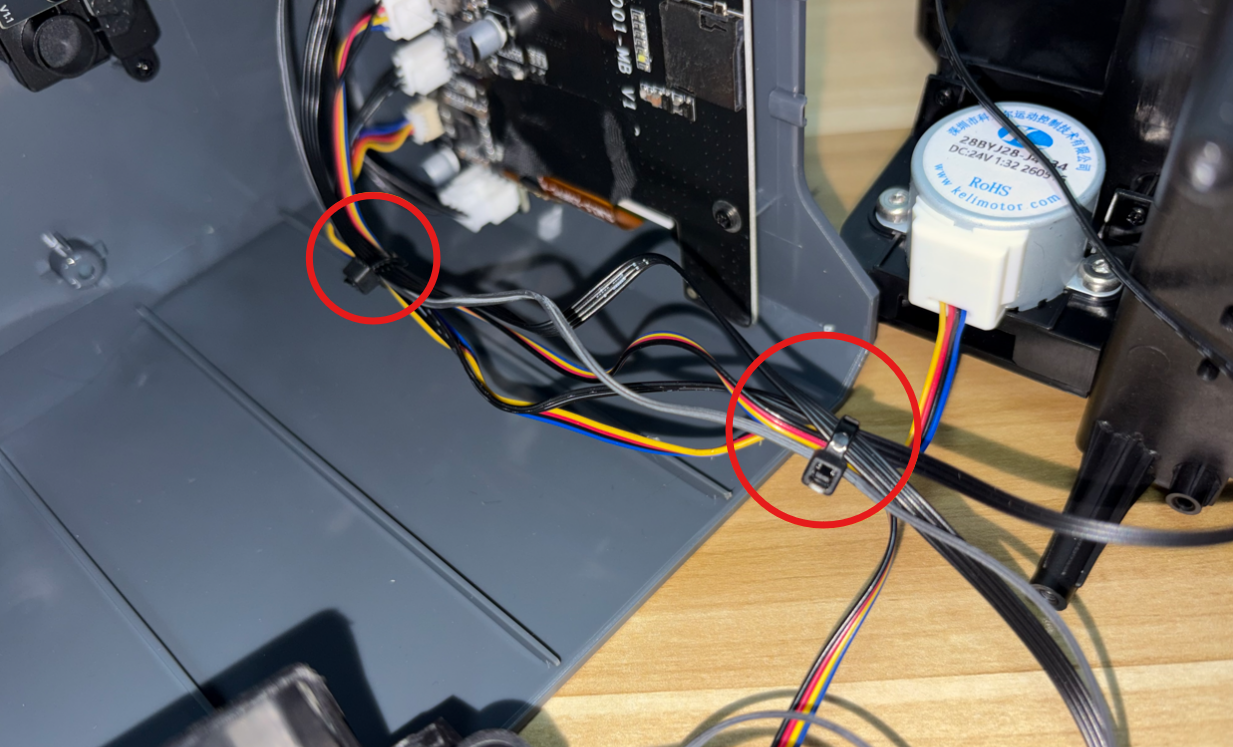
- Cut the two cable ties securing the motor compartment assembly cable, and remove the cable.
Note: When cutting the cable ties, be careful not to damage the cable harness with the scissors.
¶ Removing the Motor Compartment Assembly
- Use a Phillips screwdriver to loosen the three screws securing the motor compartment assembly.
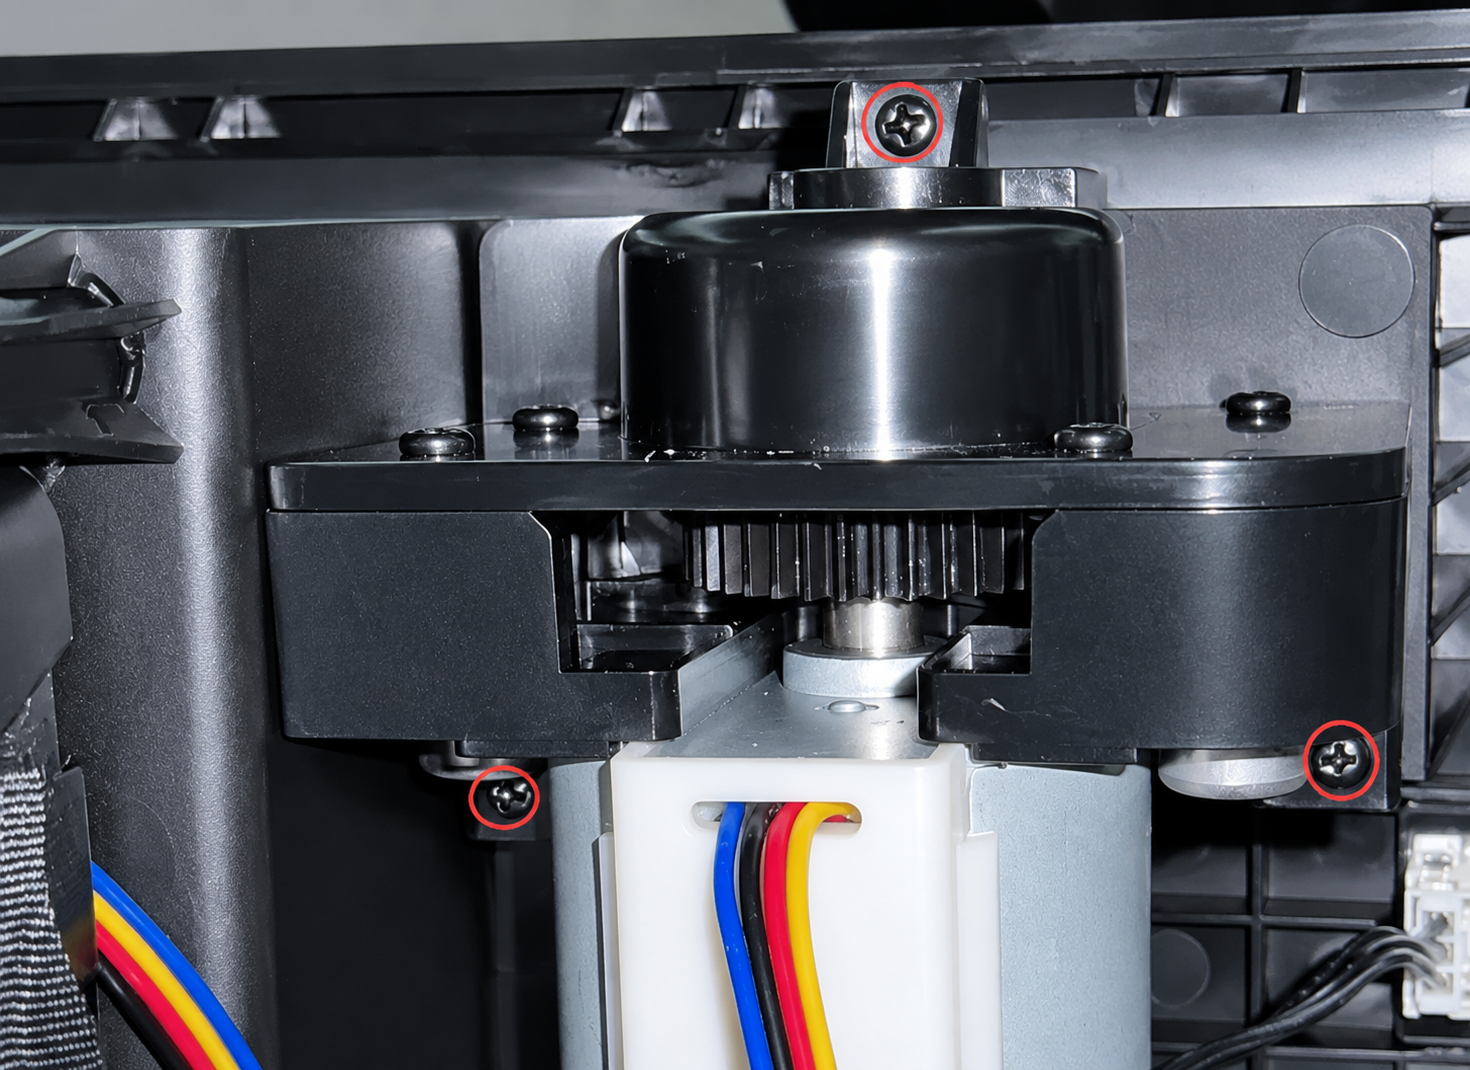
- Remove the motor compartment housing by pulling it horizontally.
Note: The internal bearing and gear assembly may fall off during removal. Remove the housing slowly and keep all components properly stored to prevent loss.
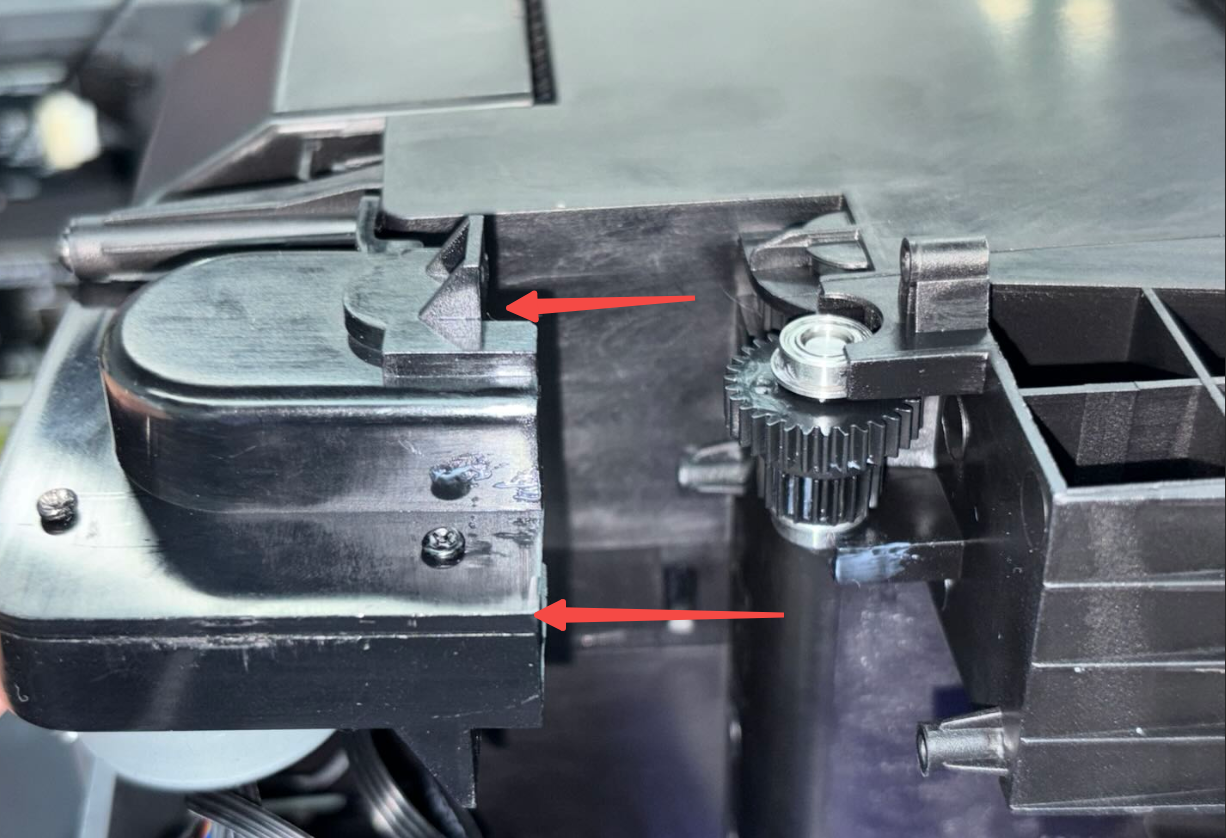
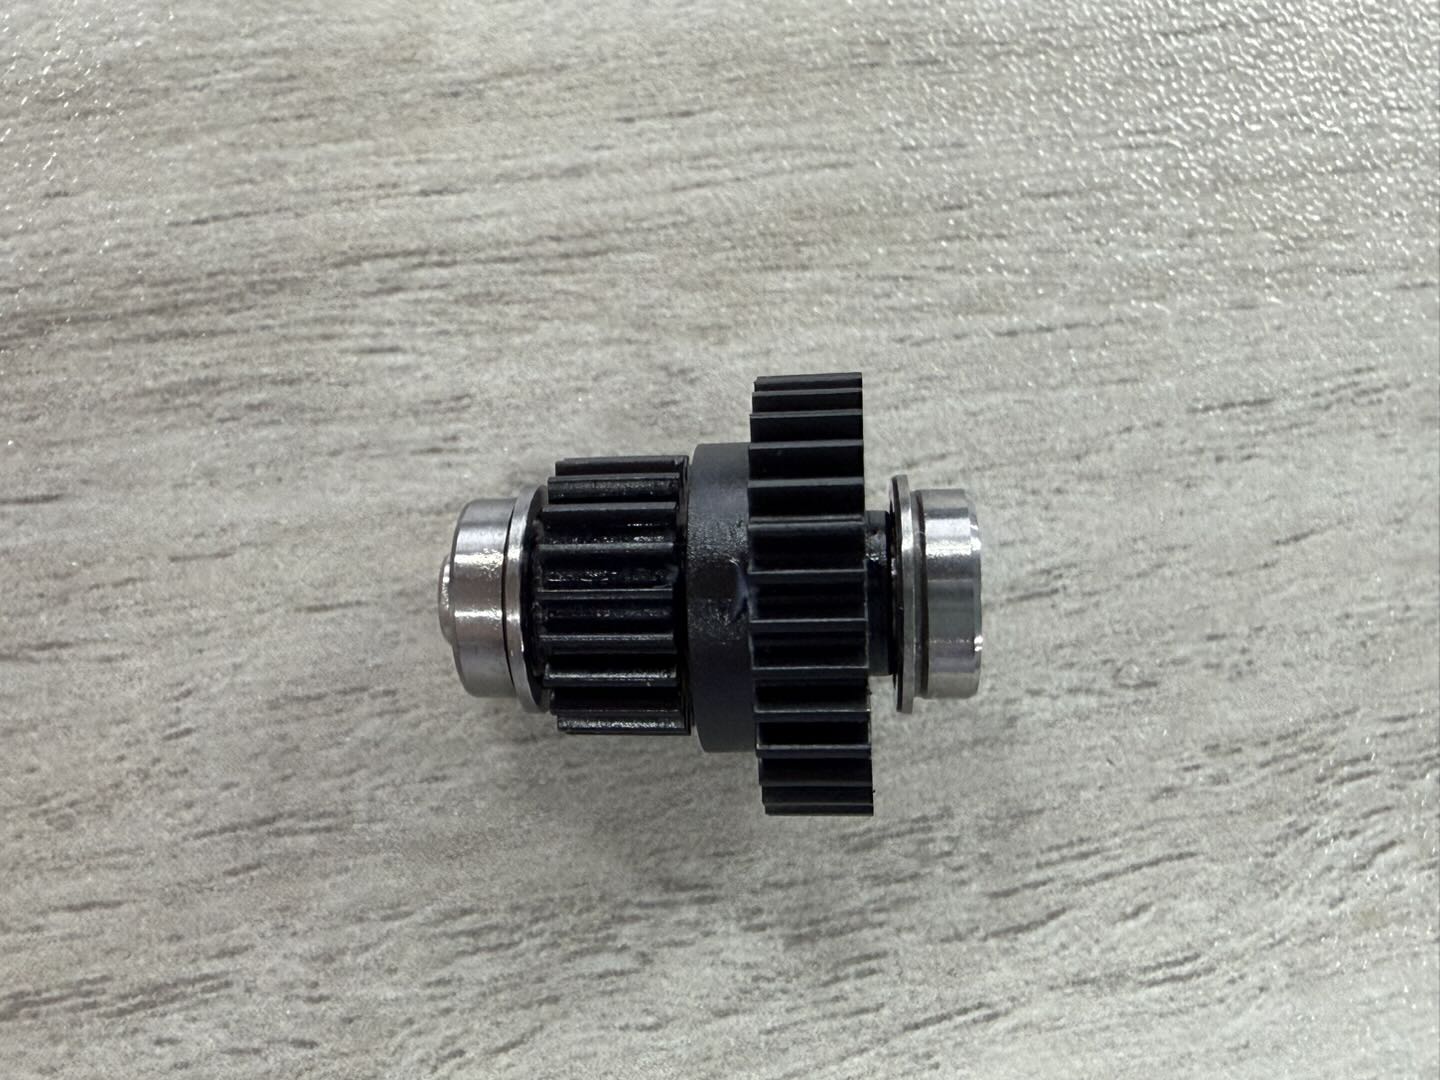
- Remove the internal bearing and gear assembly, and record its installation direction for reassembly.
¶ Installation Steps
¶ Installing the Motor Compartment Assembly
- Prepare the new motor compartment assembly.
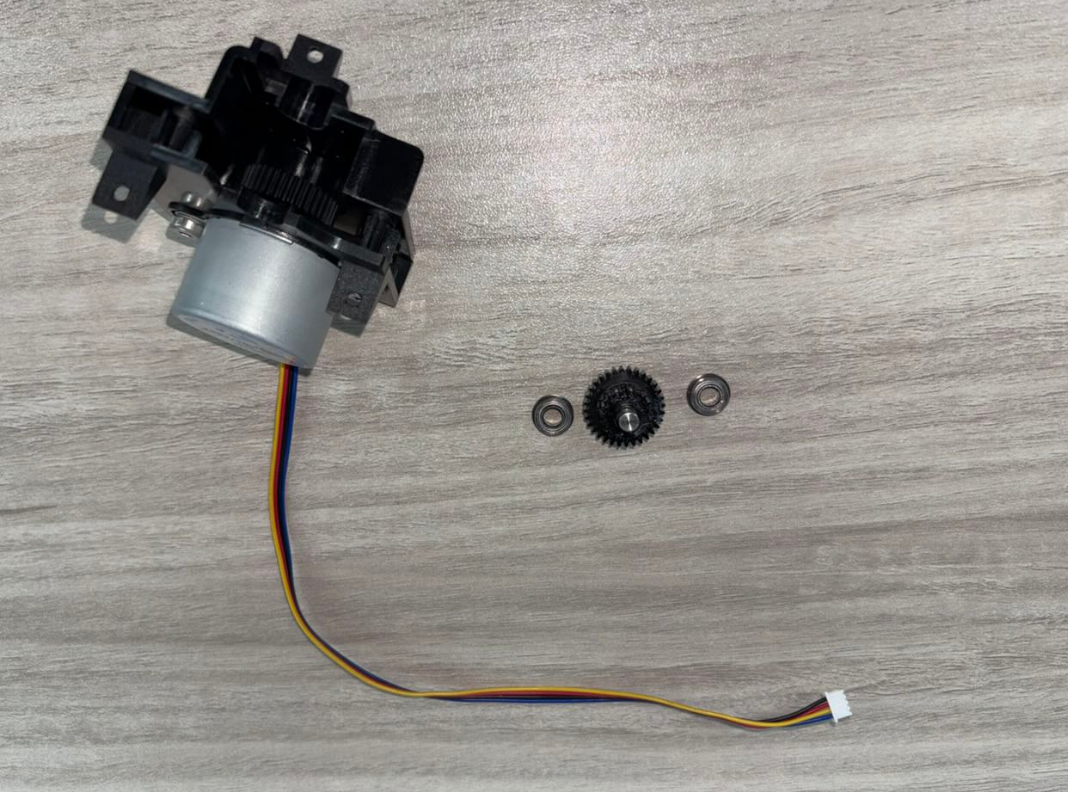
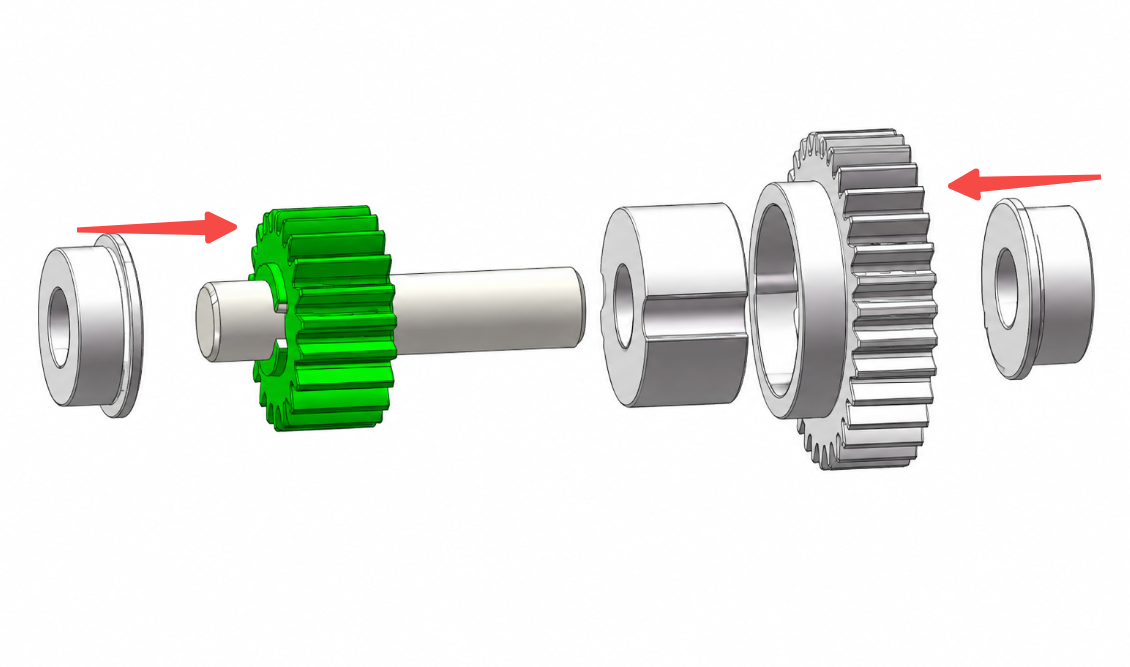
- Refer to the figure below to assemble the internal bearing and gear assembly.
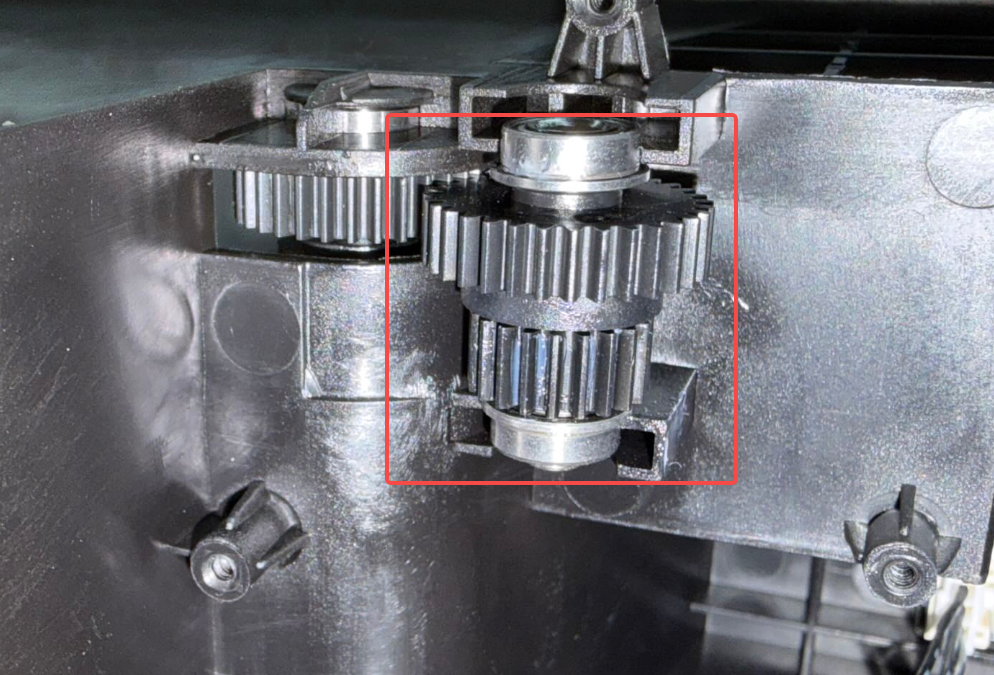
- Install the assembled internal bearing and gear assembly back into its original position.
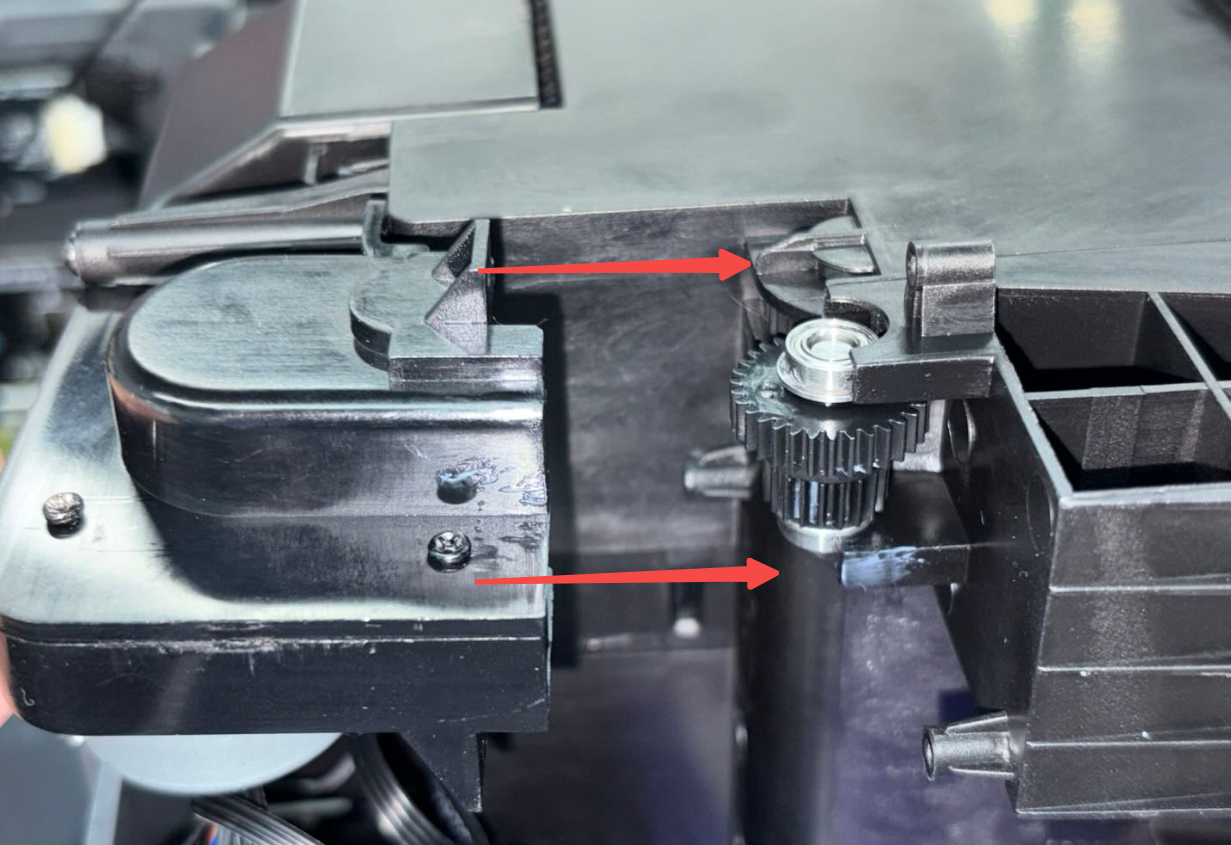
- Reinstall the motor compartment housing by pushing it horizontally into position.
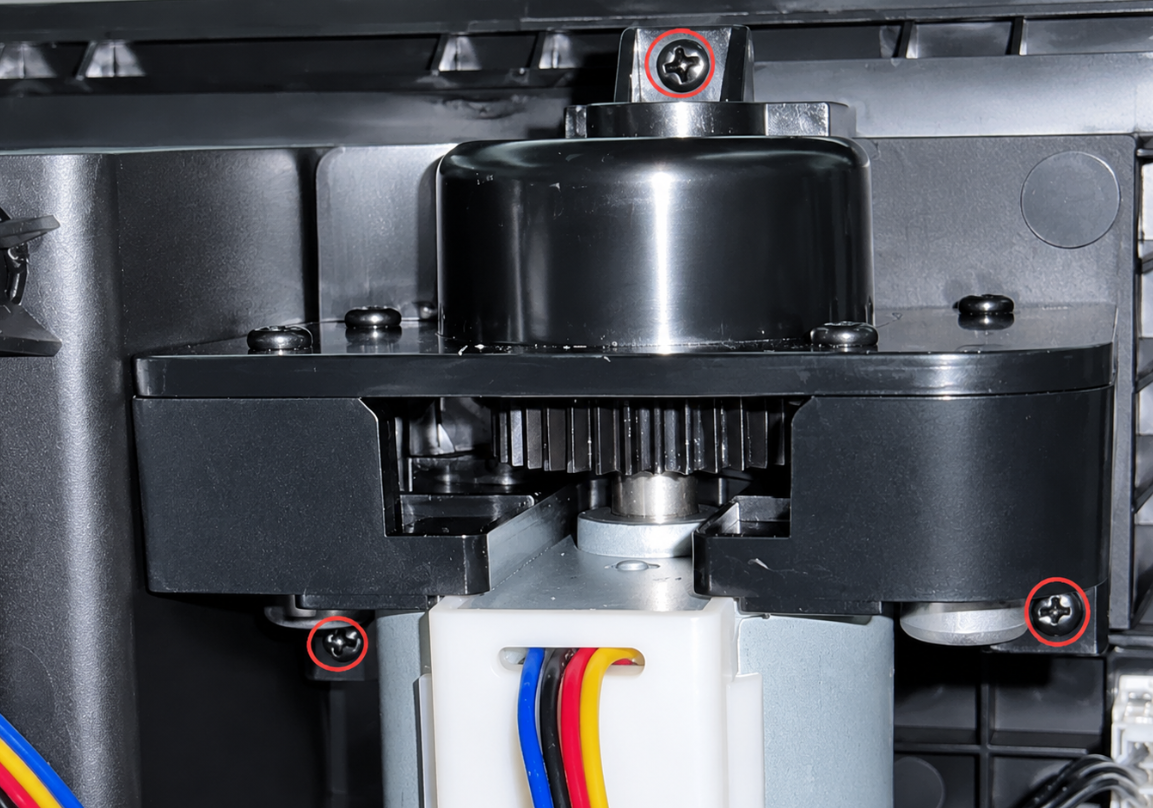
- Use a Phillips screwdriver to tighten the three screws securing the motor compartment assembly.
¶ Installing the Motor Compartment Assembly Cable
- Locate the DRIVE port on the mainboard and reconnect the cable.
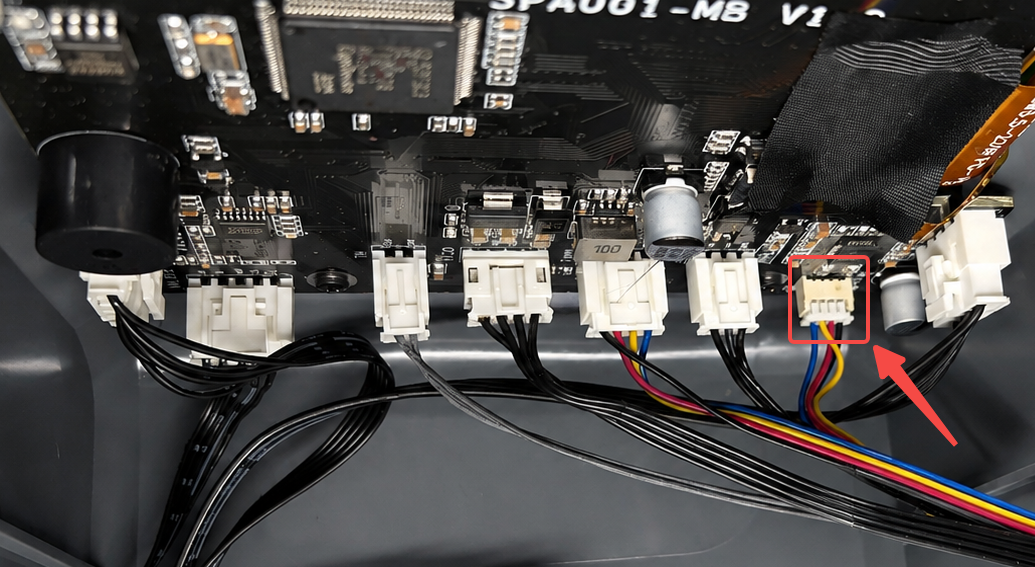
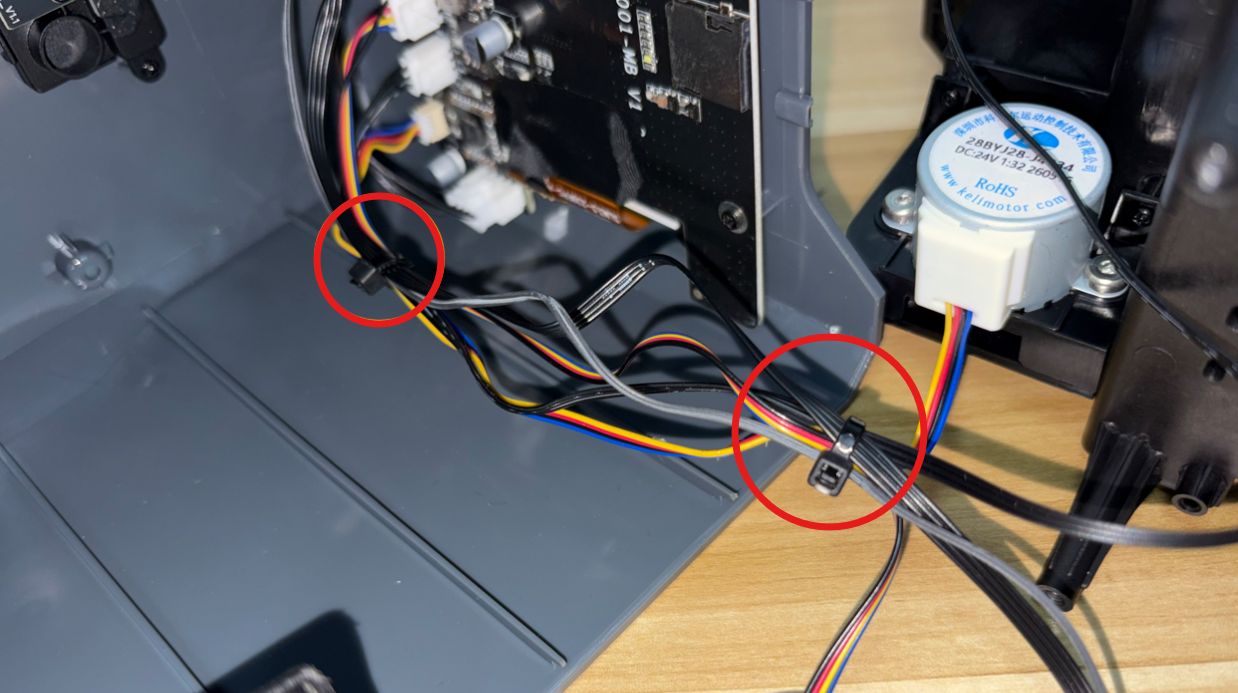
- Secure the motor compartment assembly cable with the new cable ties and trim off the excess cable tie sections.
Ensure that the cable routing is correct to prevent the cable from being pinched or interfering with the installation of the bottom cover.
- Reattach the removed tape to the edge of the bottom cover and ensure that the tape is securely attached.
¶ Installing the Bottom Cover
- Align the inner tray assembly with the positioning points on the bottom cover, and place it back inside the bottom cover.
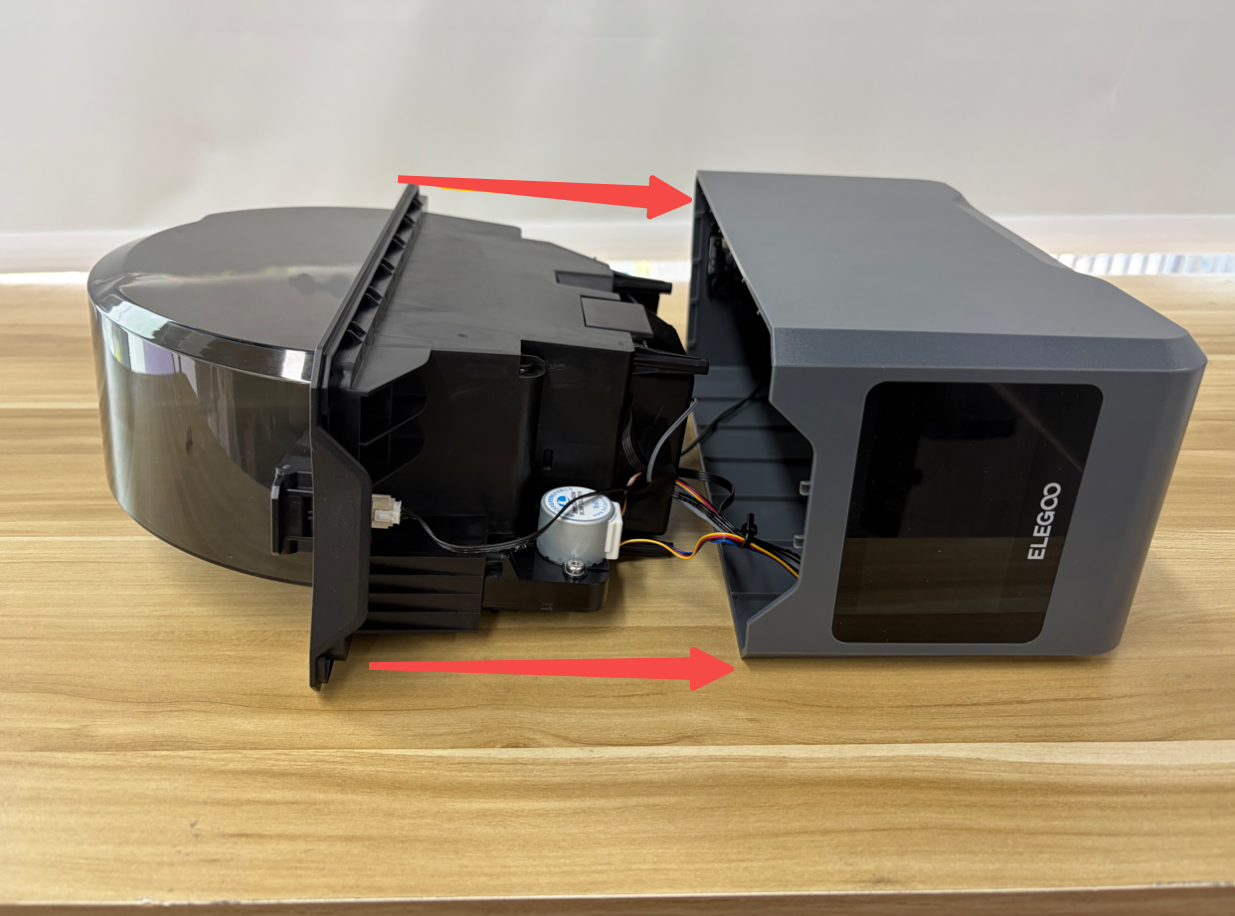
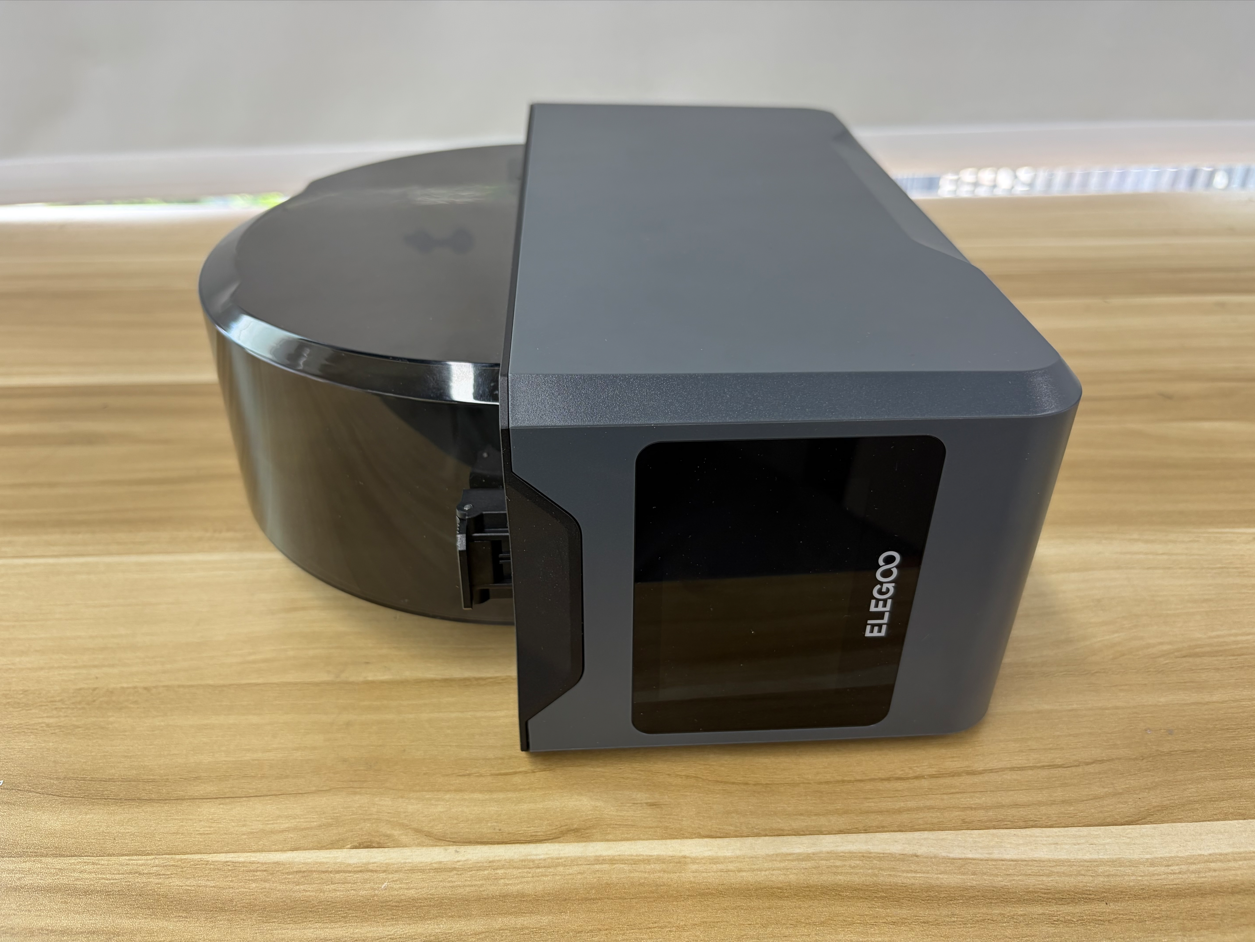
- Tighten the four screws, securing the bottom cover.
¶ Verification
-
Place the H1 HT upright.
-
Connect the power cord and turn on the power switch.
-
Enter the main interface.
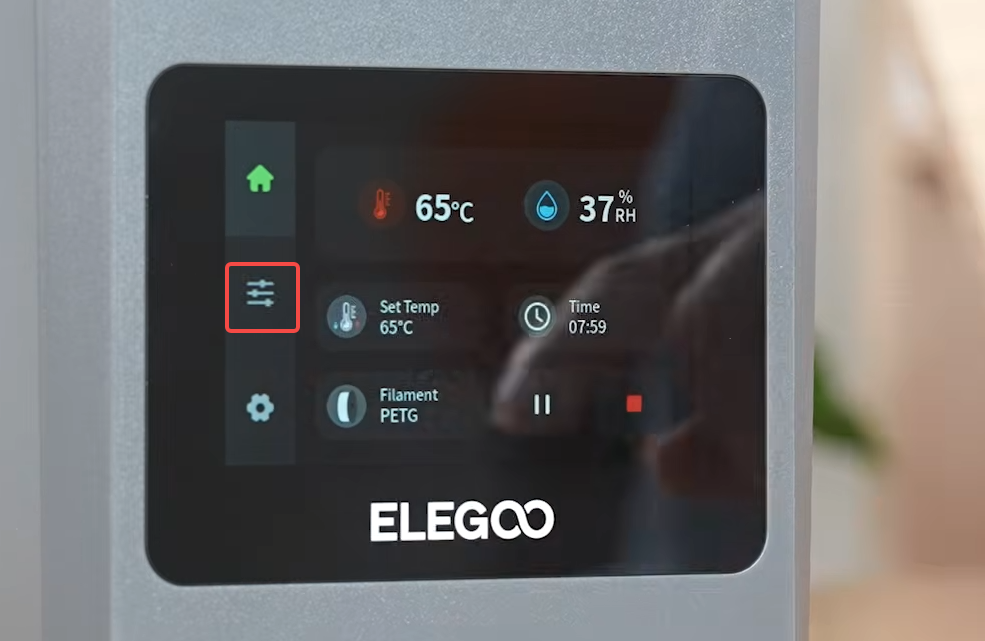
- Select the corresponding filament type and load the filament.
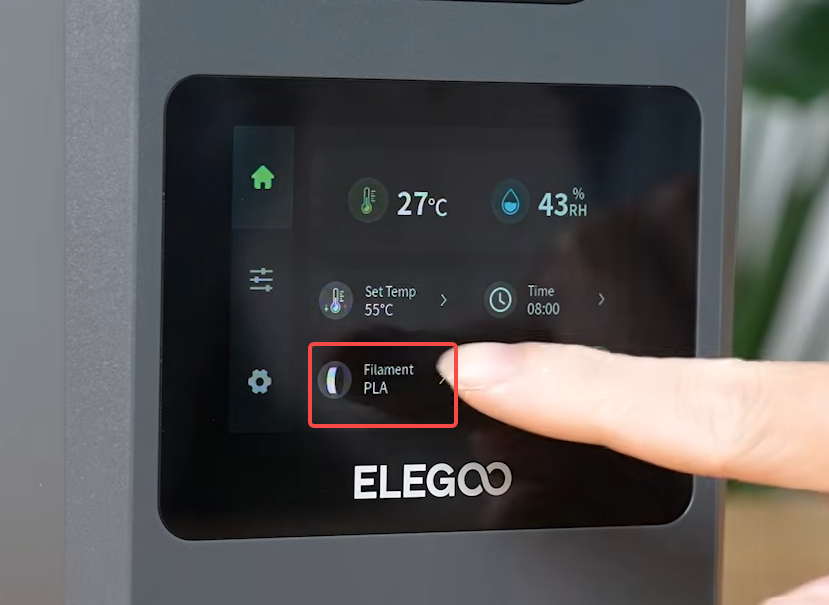
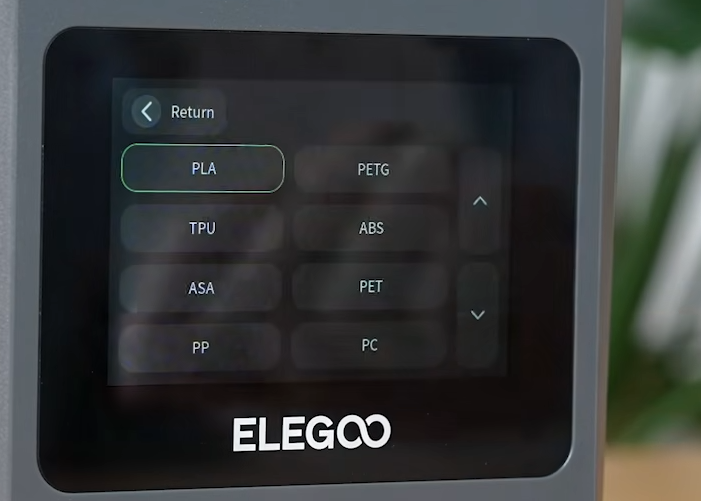
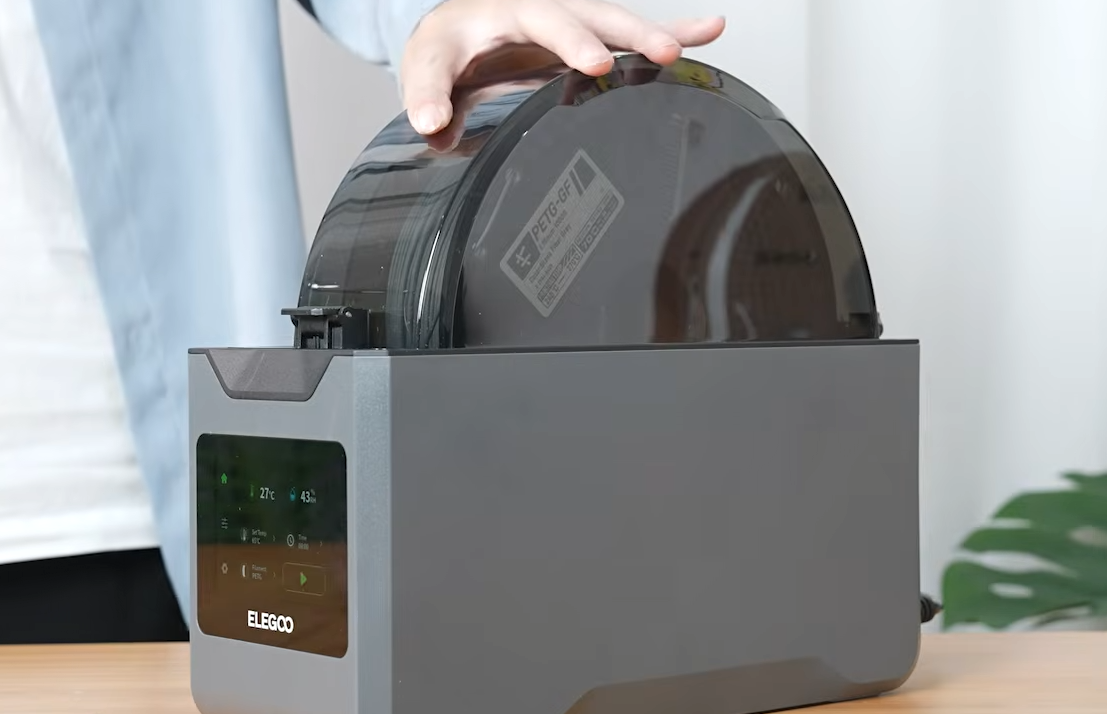
- Enable the rotation function during the filament drying process.
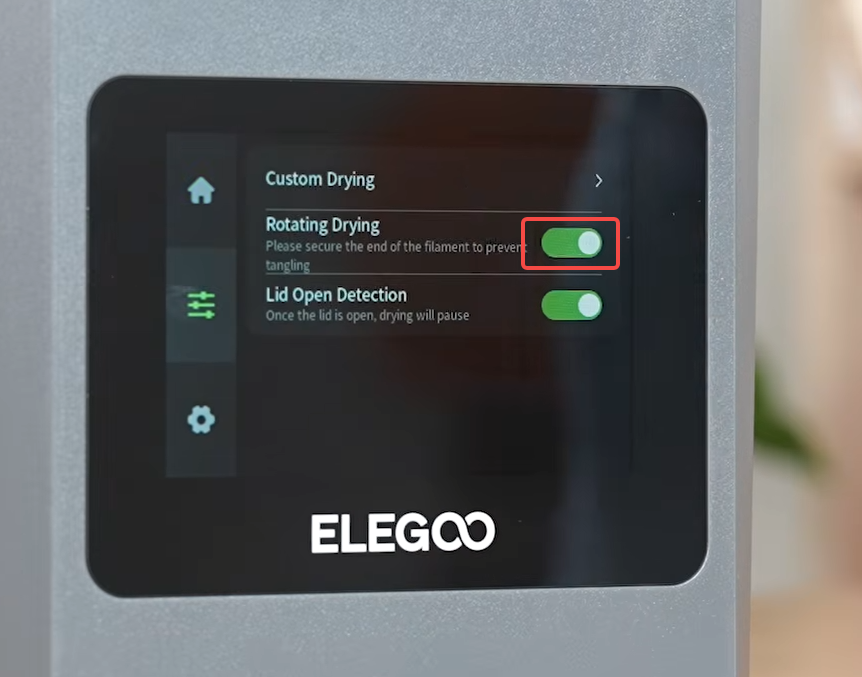
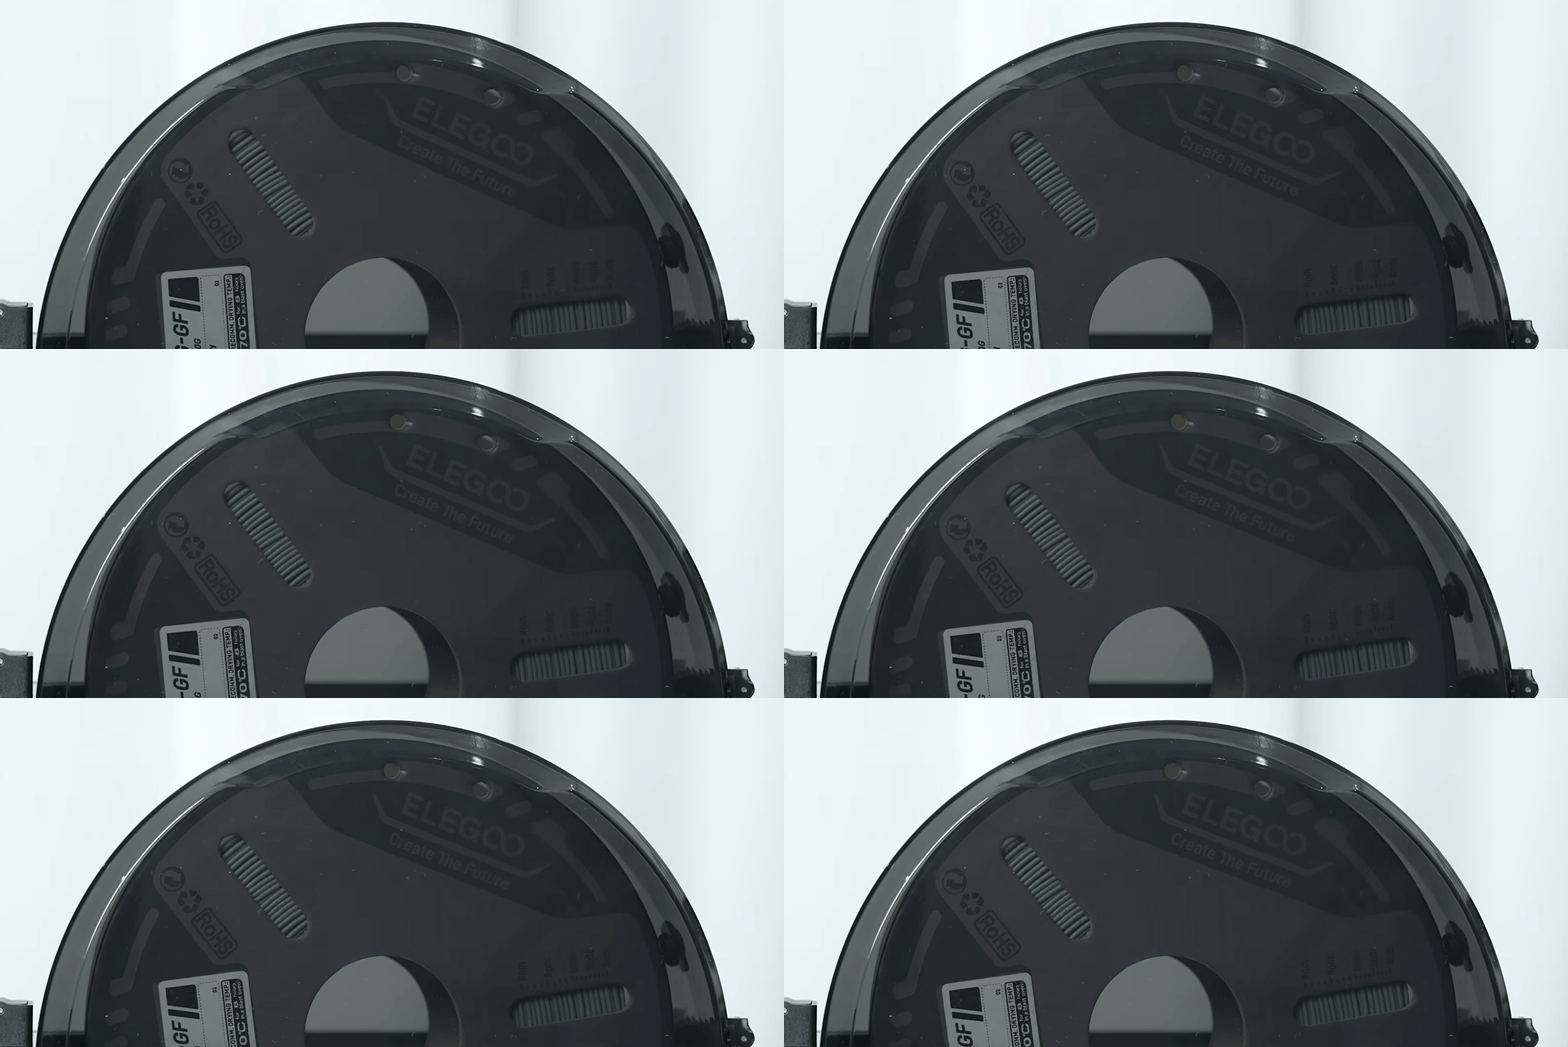
- Observe whether the filament can rotate normally during the drying process.
Note: Runs for 1 min every 5 min.
¶ Help us improve
If you have any ideas about the wiki pages, please let us know via ELEGOO official feedback channel