¶ Document Description
This tutorial guides users through upgrading the firmware of the H1 HT printer using a TF card.
Before the upgrade, the bottom cover needs to be removed to expose the TF card slot on the mainboard. After inserting the TF card with the firmware files prepared in advance, reconnect the power cord and turn on the device. The device will automatically detect the firmware files and start the upgrade process.
Note: Please follow the steps in this document carefully. Make sure the device is completely powered off before disassembly and TF card installation to prevent equipment damage or personal injury.
¶ Required Tools
- TF card (microSD card)
- Card reader / computer
- 2.5 mm Allen Key
¶ Safety Precautions
- Before starting disassembly, turn off the H1 HT power switch and unplug the power cord. Make sure the device is completely powered off before proceeding.
- Do not pull or damage any internal cables during disassembly or TF card installation to avoid damaging the cables or connectors.
- Do not disconnect the power or remove the TF card during the firmware upgrade process. Otherwise, the device may fail to start.
¶ Upgrade Steps
¶ 1. Download Firmware
- Please download the firmware below.
- Download the firmware package and save it to your computer. (It is recommended to remember the download location for easier extraction later.)
¶ 2. Format the TF Card and Prepare Firmware Files
Note: To reduce the possibility of firmware upgrade failure, it is recommended to format the TF card before use.
¶ 2.1 Format the TF Card
- Connect the TF card to the computer using a card reader.
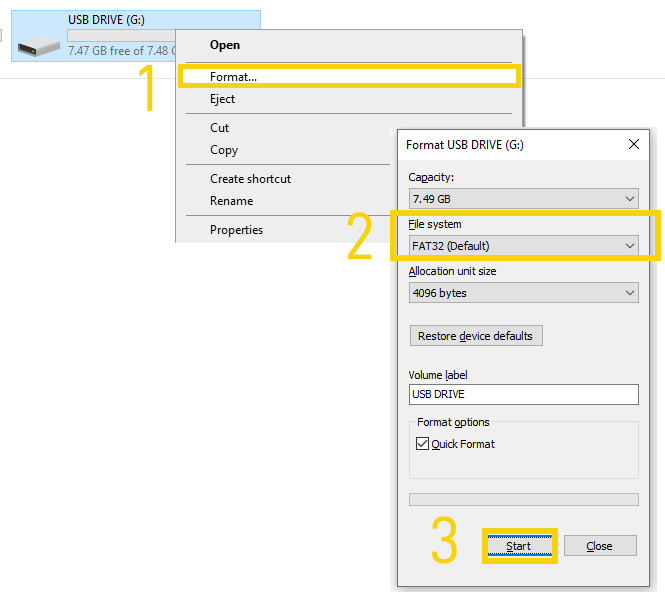
- Format the TF card on the computer. Select FAT32 as the file system.
Note: Before formatting, make sure there is no important data stored on the TF card. Formatting will erase all data on the card.
Windows:
macOS:
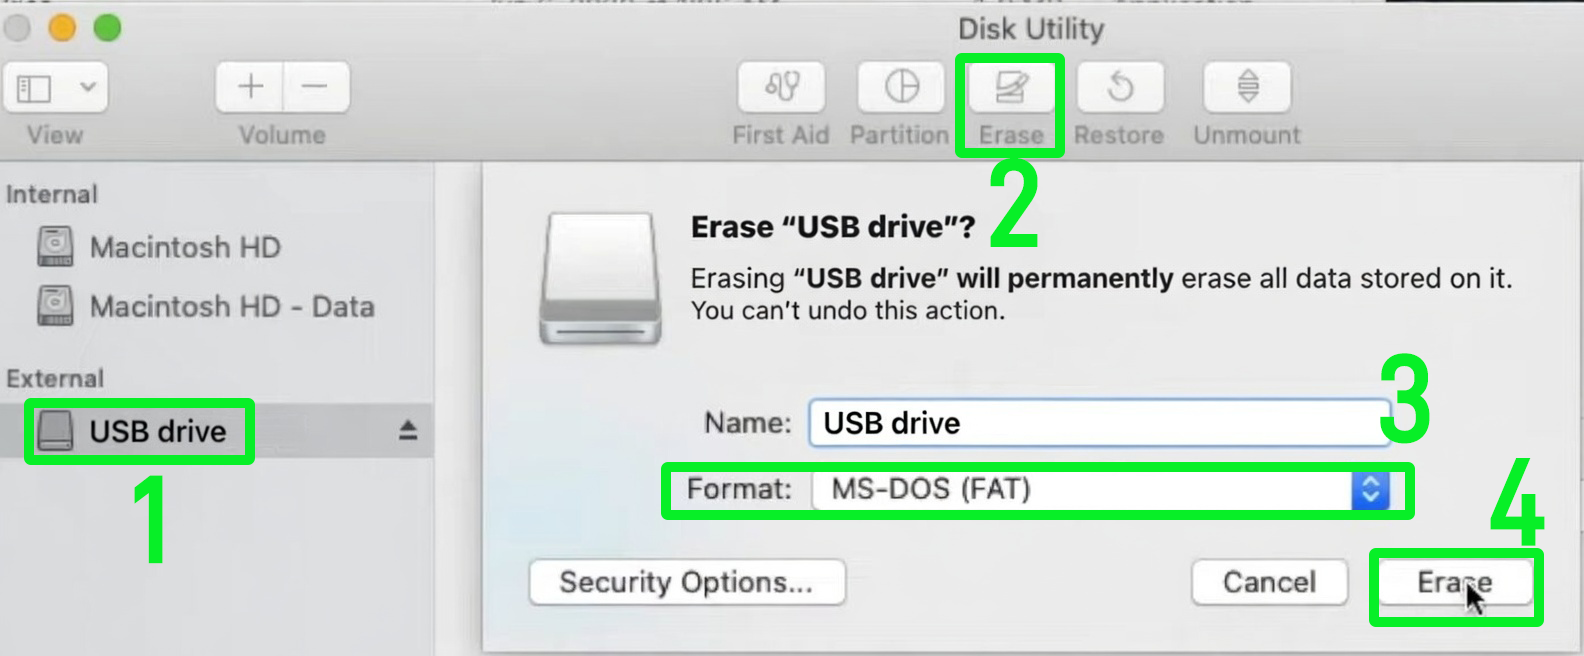
¶ 2.2 Extract Firmware Files and Copy Them to the TF Card Root Directory
- Extract the downloaded firmware package and copy the extracted firmware files to the root directory of the TF card.
(The TF card root directory refers to the location directly visible after opening the TF card. Do not place the files inside any subfolders.)
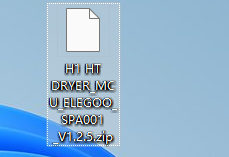
- Locate the downloaded firmware package on your computer.
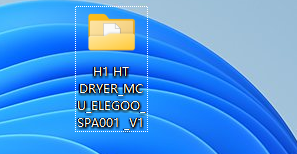
- Extract the firmware package.
- Copy the extracted firmware files (usually two items inside the firmware folder):
- The pic folder
- The firmware file with the .bin extension
to the root directory of the TF card.
Note: Make sure the firmware file names and directory structure in the TF card root directory remain the same as those in the official firmware package. Do not rename any files manually.
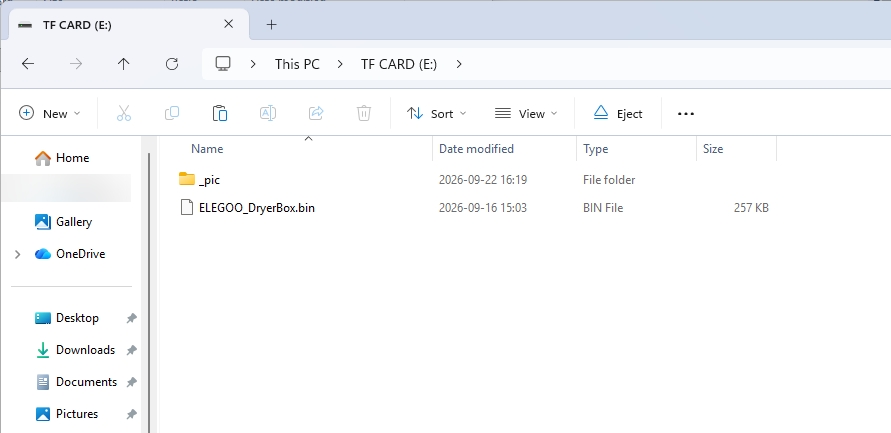
Tip: The same set of firmware files usually supports only one upgrade. After the upgrade is completed, related firmware files on the TF card may be modified by the device. If another upgrade is required, delete the old firmware files from the TF card and copy a complete set of firmware files to the TF card root directory again.
¶ 3. Remove the Bottom Cover and Access the TF Card Slot
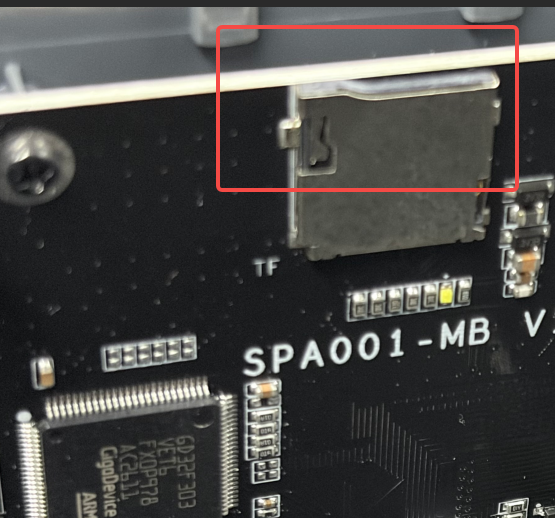
Note: The TF card slot is located on the mainboard. The bottom cover needs to be removed first, and the front part of the inner tray assembly needs to be lifted to access the TF card slot.
¶ 3.1 Power Off the Device and Remove the Filament
- Turn off the H1 HT power switch and unplug the power cord. Make sure the device is completely powered off.
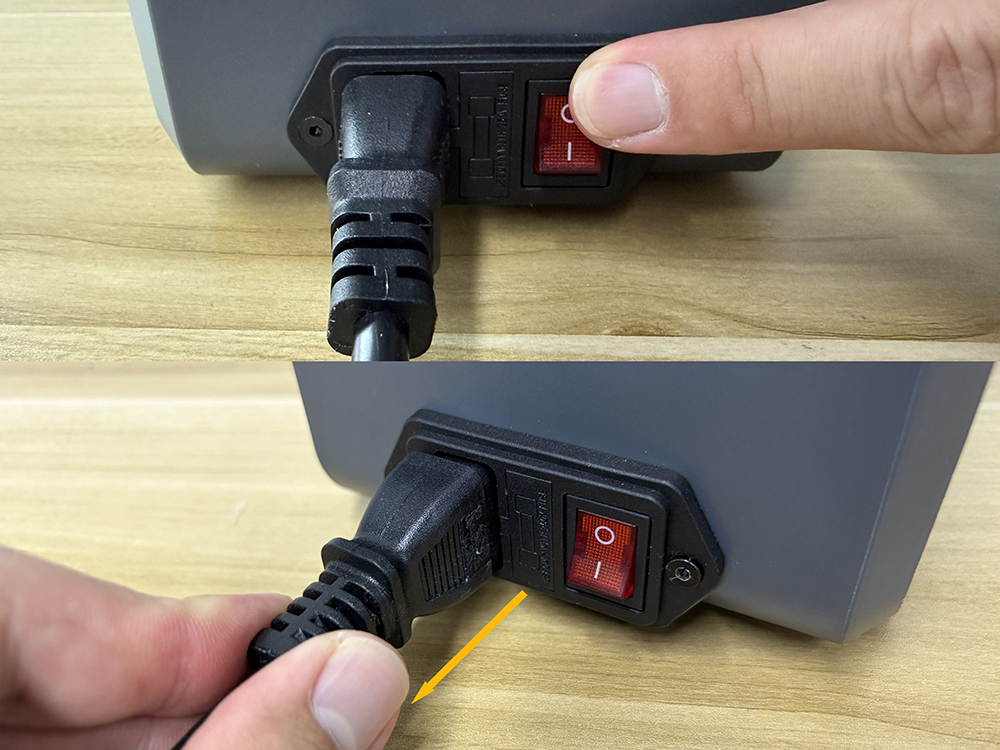
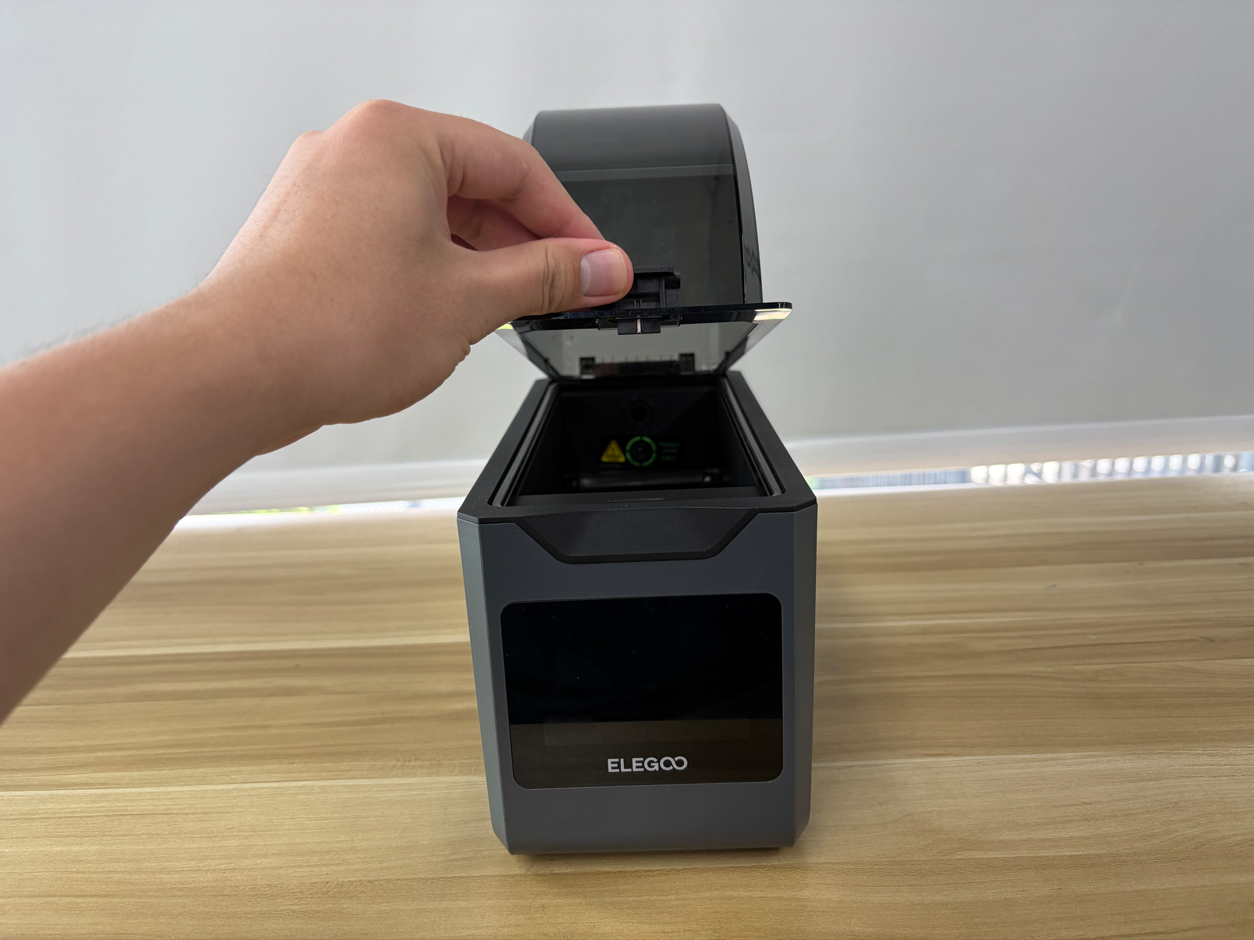
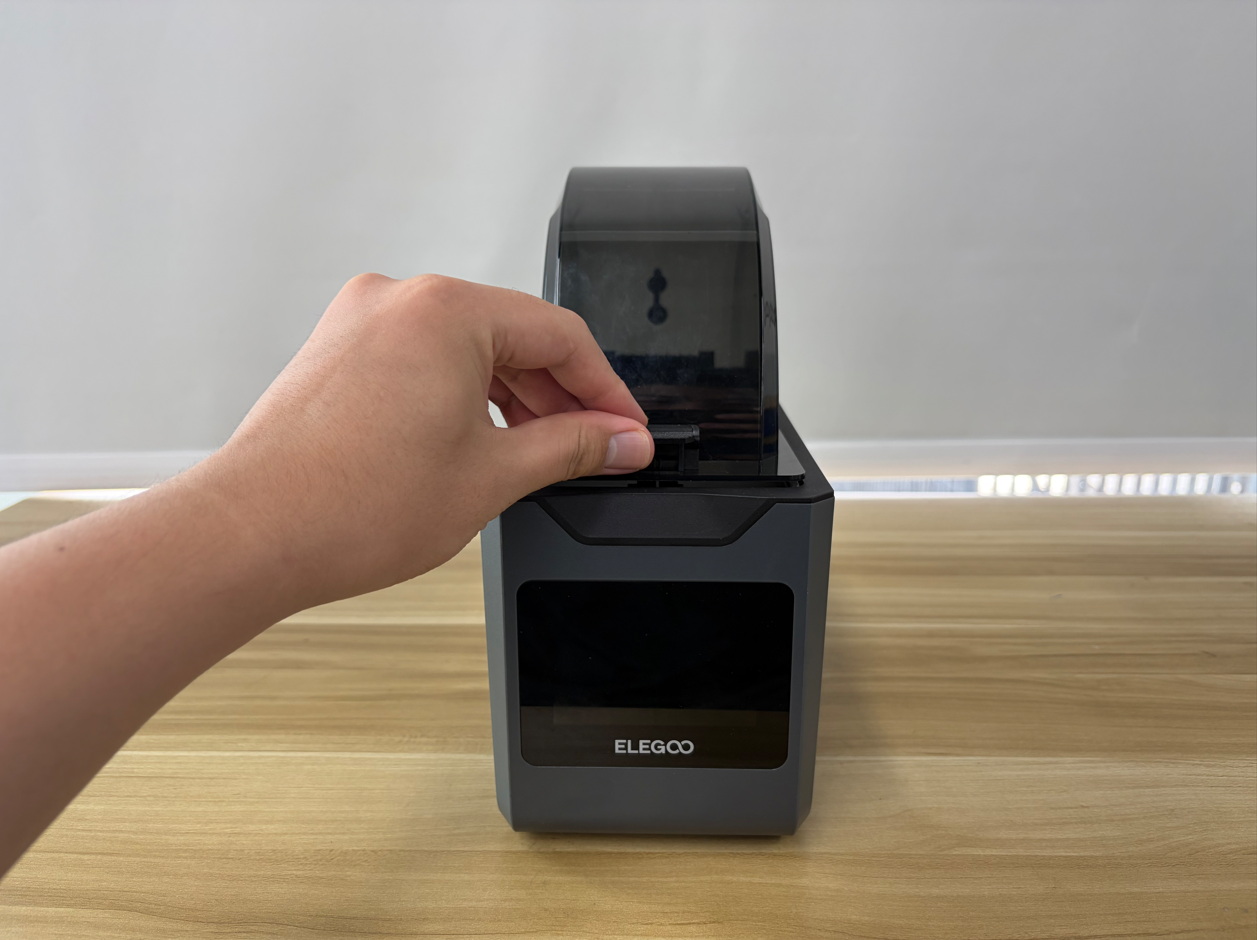
- Open the top cover.
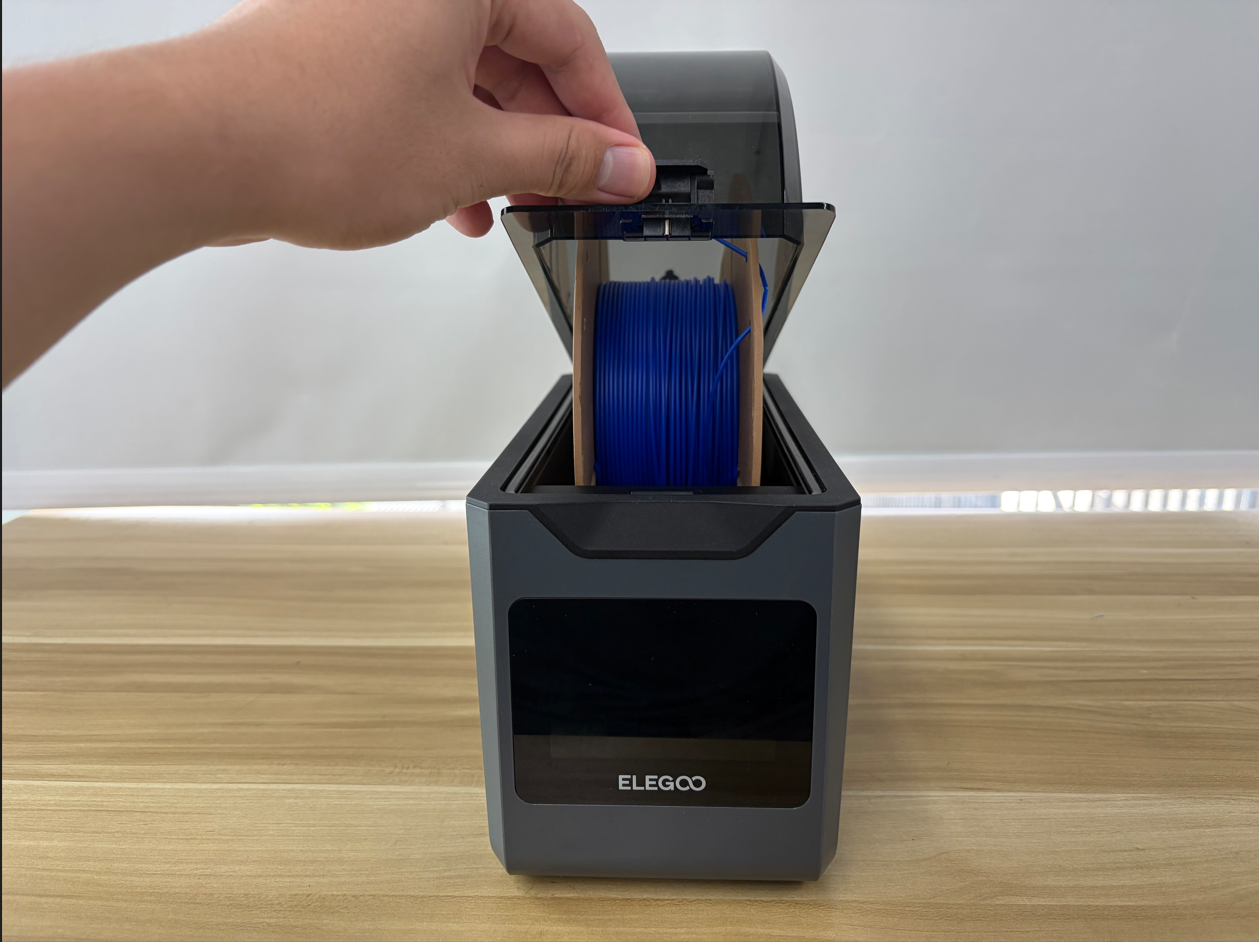
- Remove the filament.
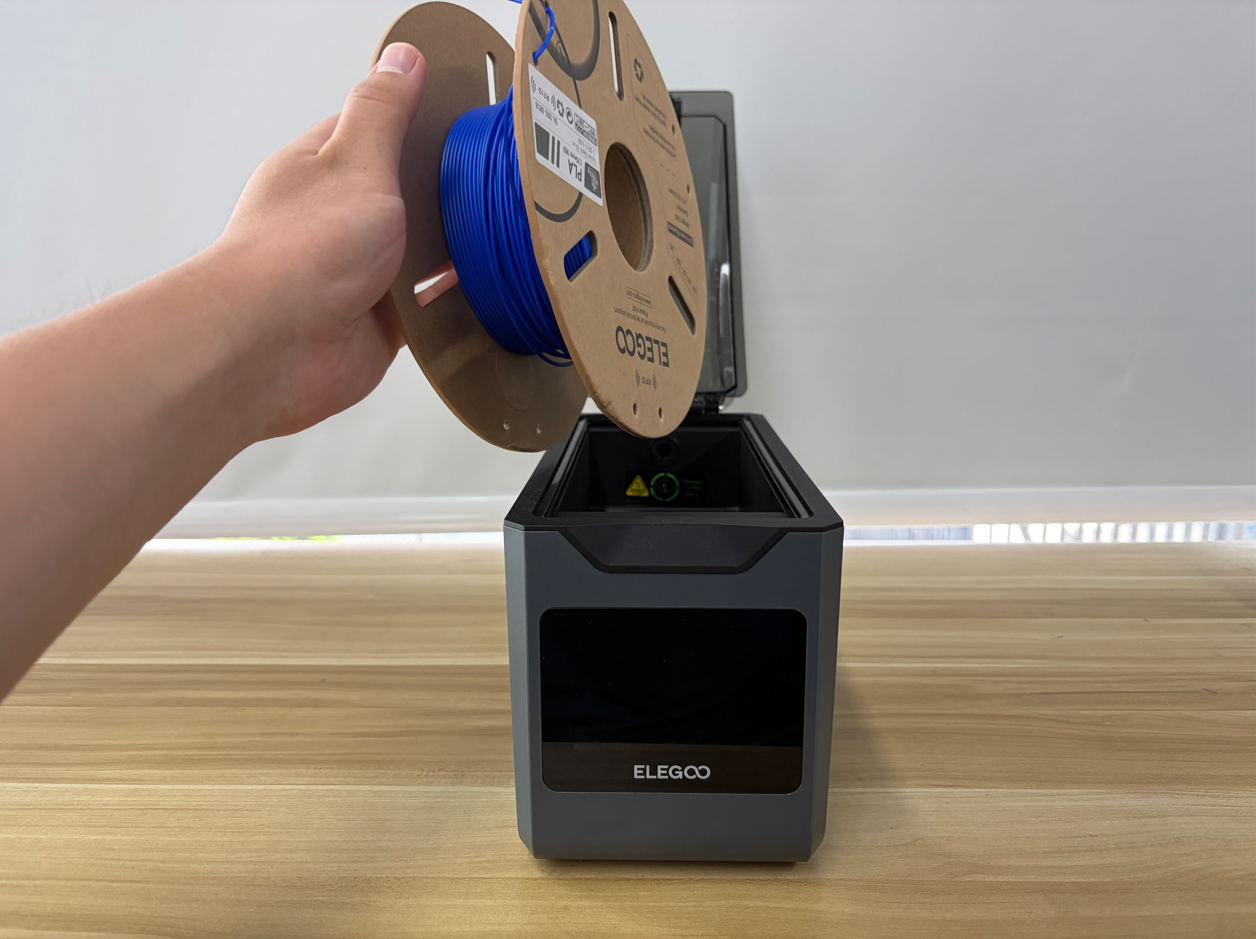
- Close the top cover.
¶ 3.2 Open the Bottom Cover
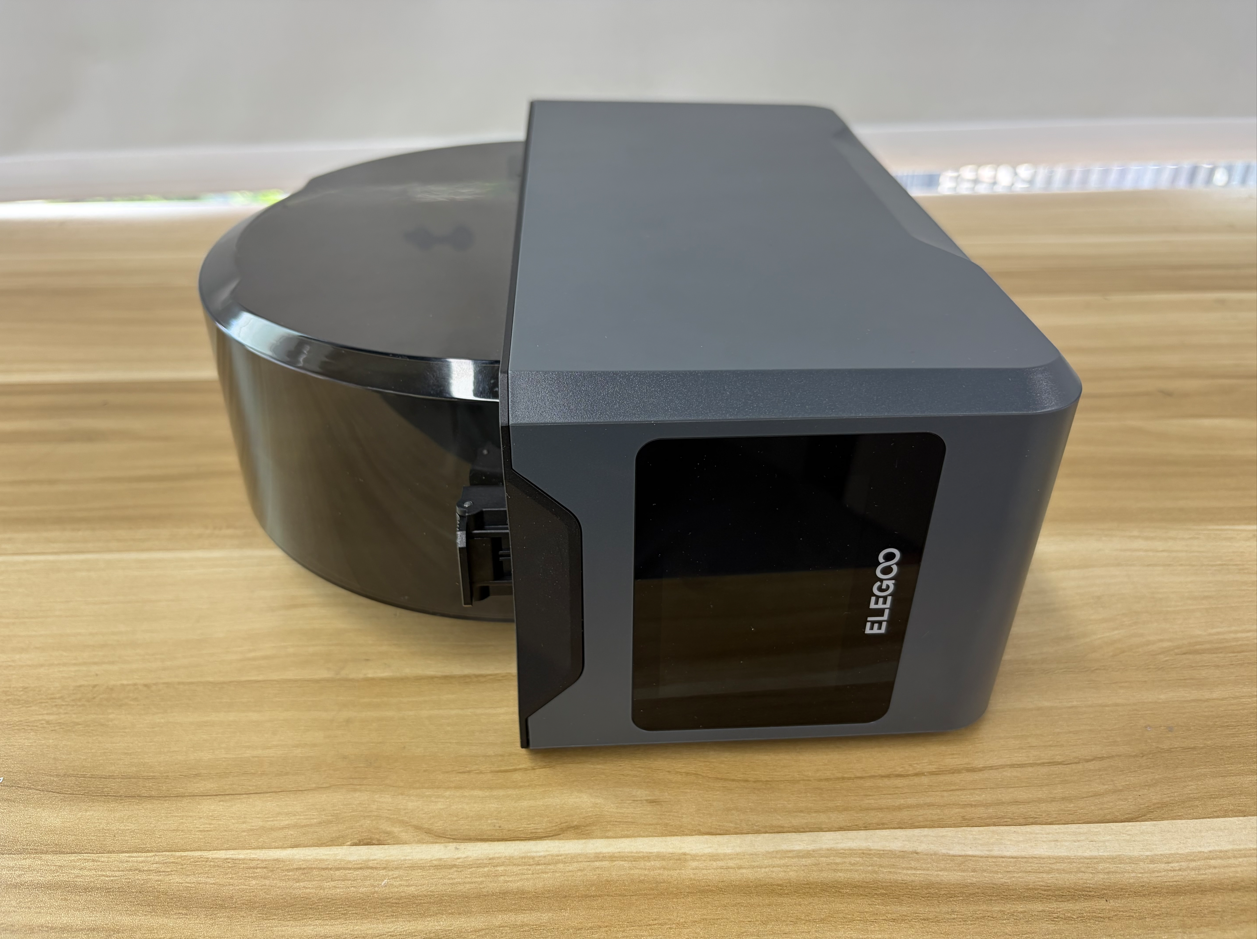
- Place the H1 HT on its side on a stable, flat surface.
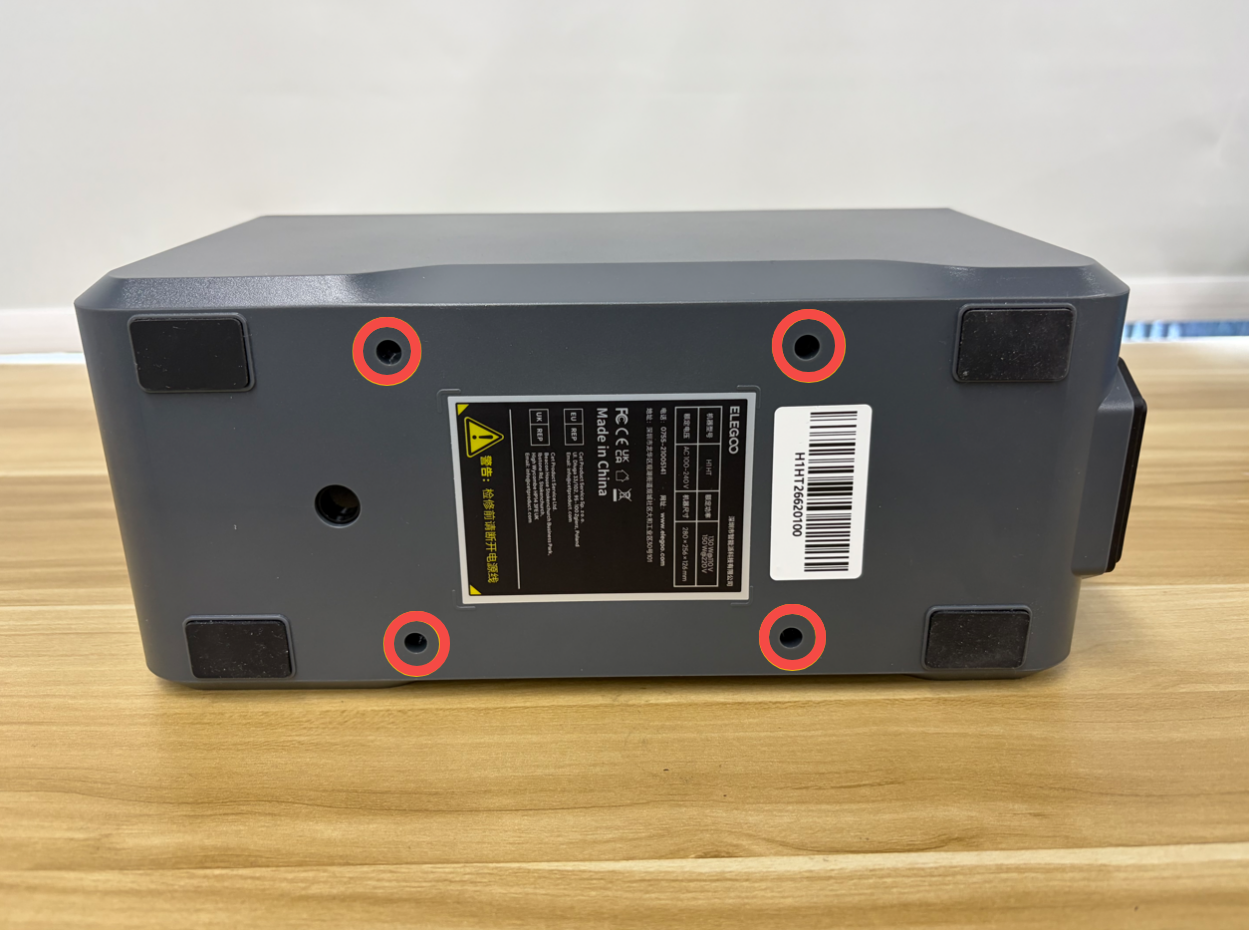
- Use a 2.5 mm Allen Key to remove the four screws securing the bottom cover.
- Slowly open the bottom cover. Be careful not to pull or damage the internal cables.
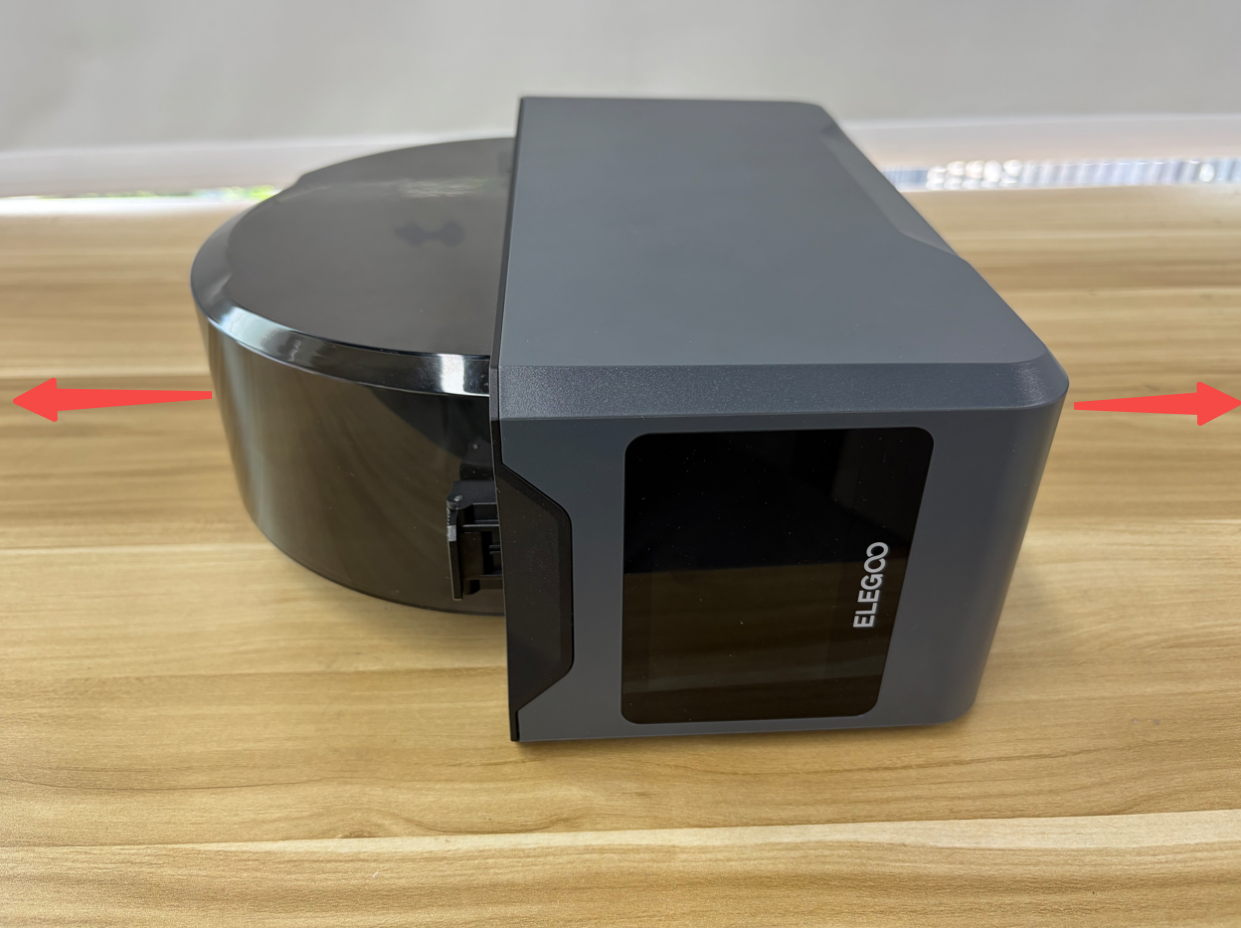
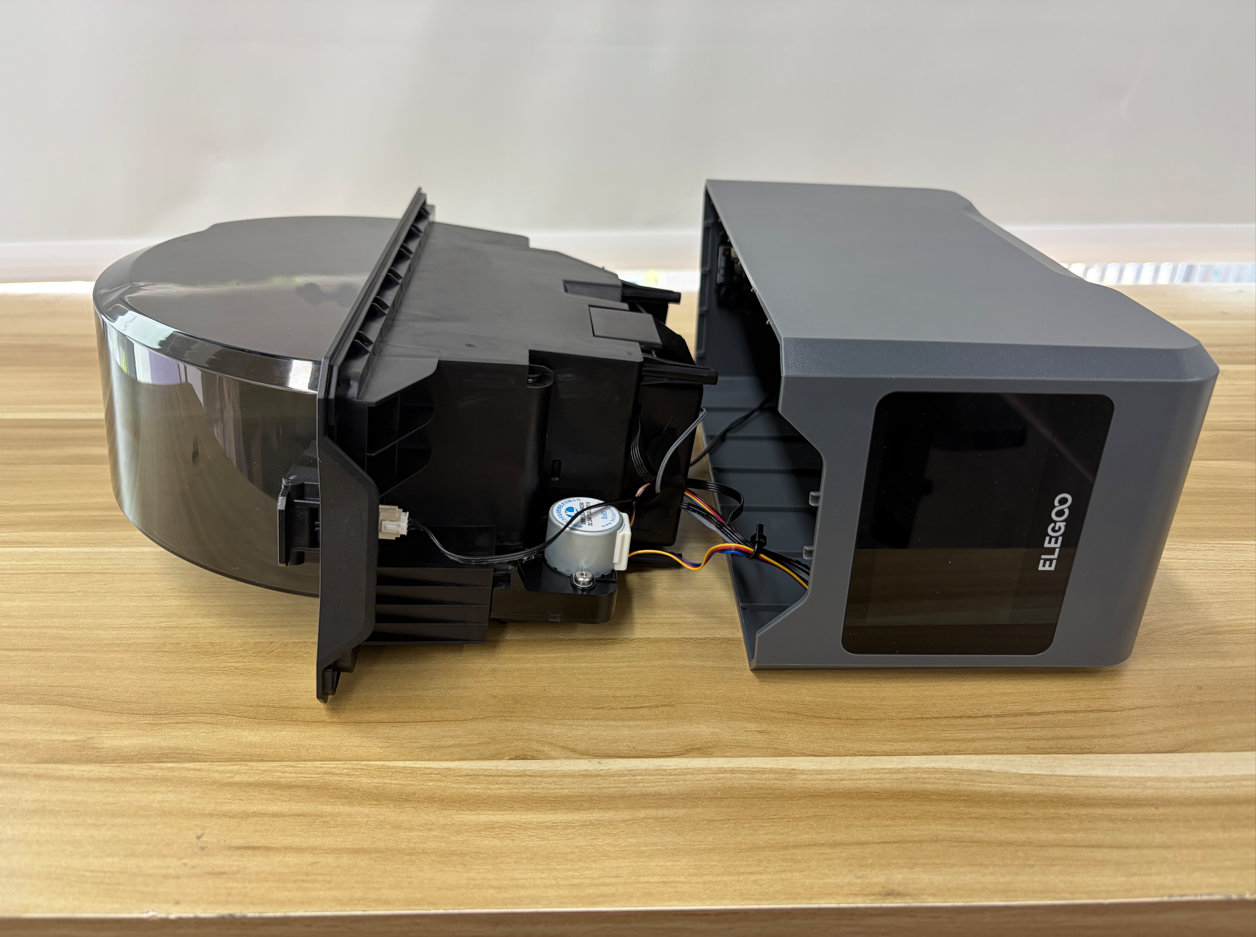
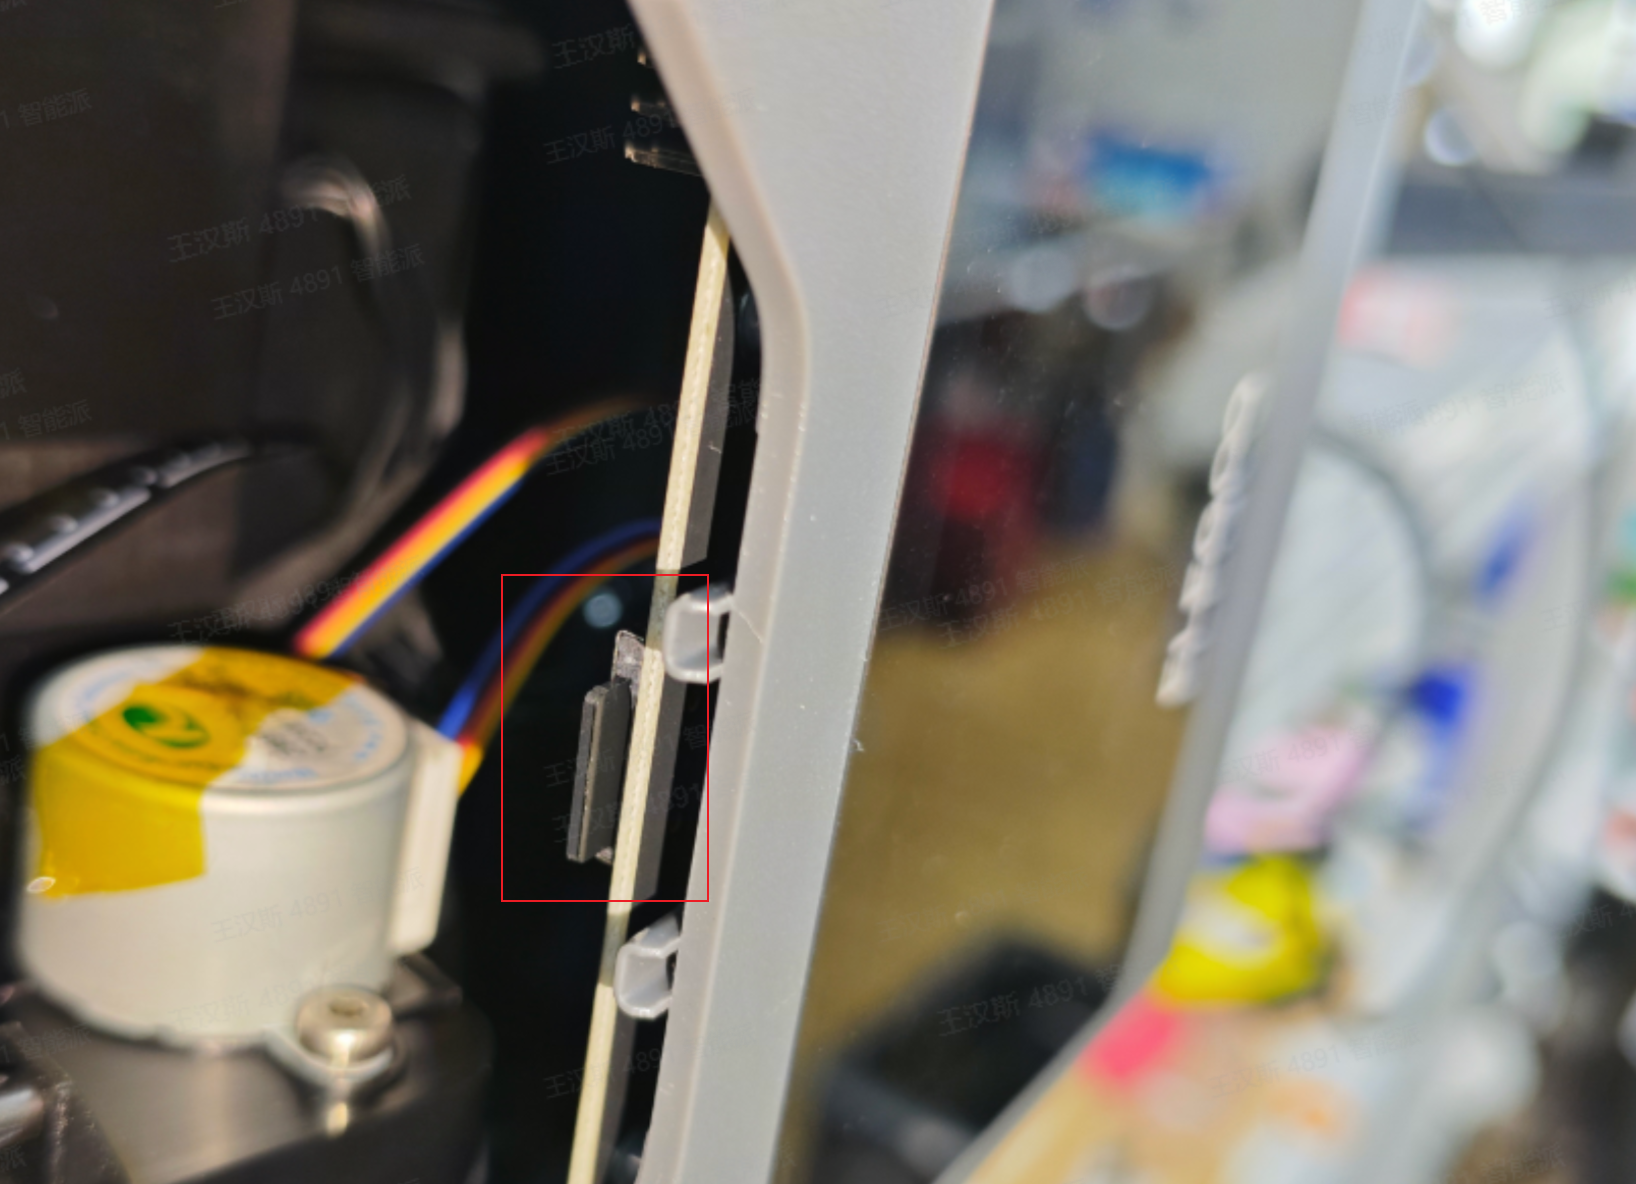
- Lift the inner tray assembly to expose the TF card slot. Slowly lift the front part of the inner tray assembly to locate the TF card slot, which is located at the upper part behind the touchscreen.
¶ 4. Perform TF Card Firmware Upgrade
¶ 4.1 Install the TF Card
- Confirm that the TF card contains the correct firmware files and that the TF card slot is exposed.
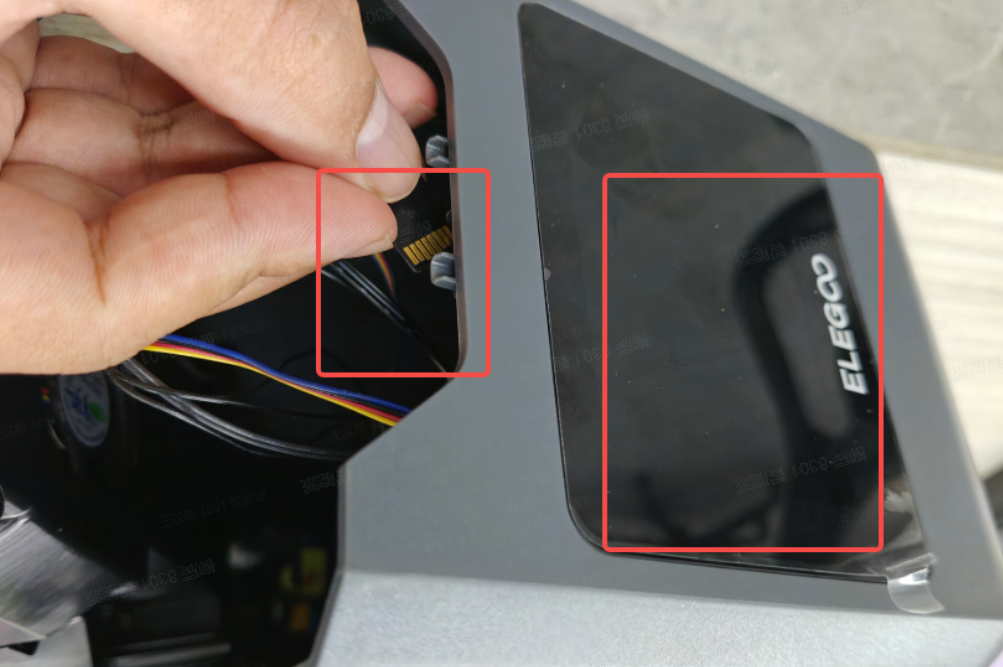
- Insert the TF card with the firmware files into the TF card slot on the mainboard. Make sure the gold contacts of the TF card face toward the touchscreen, and push the card fully into the slot until it is properly installed (until a slight “click” is heard).
¶ 4.2 Reinstall the Bottom Cover
- Align the inner tray assembly with the positioning points of the bottom cover and place it back into position.
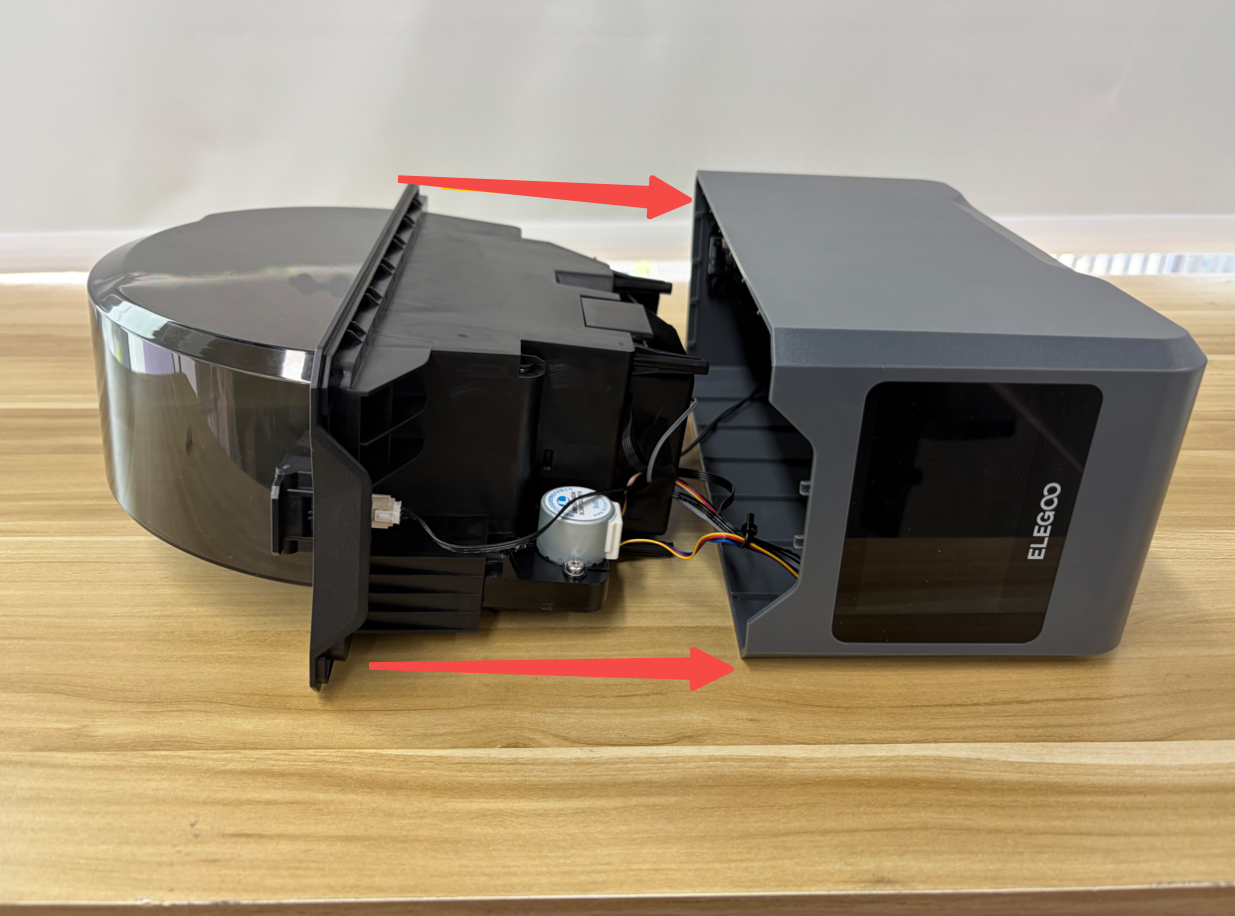
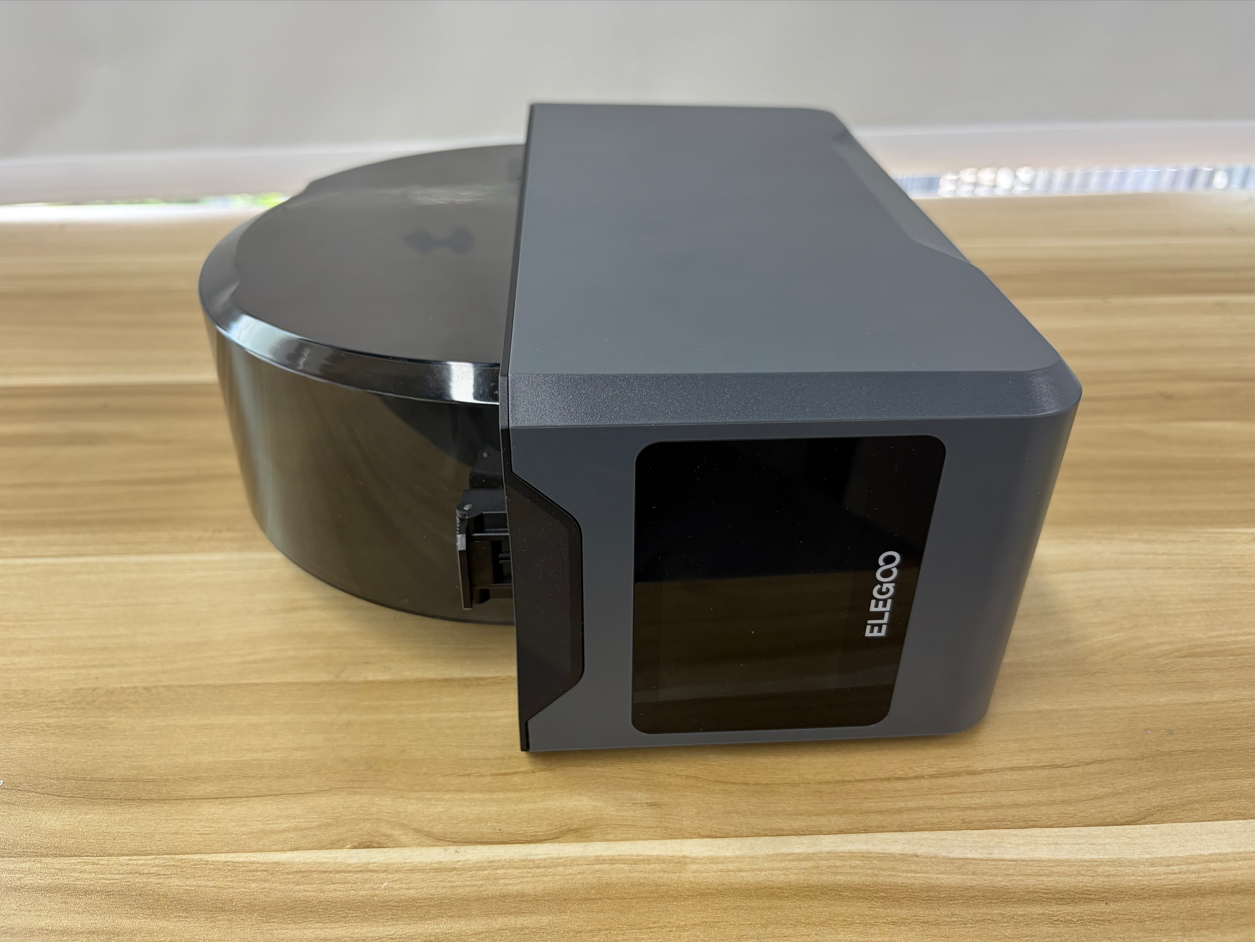
- Tighten the four screws, securing the bottom cover.
¶ 4.3 Firmware Upgrade
- Place the H1 HT back into its normal upright position.
- Connect the power cord and turn on the power switch.
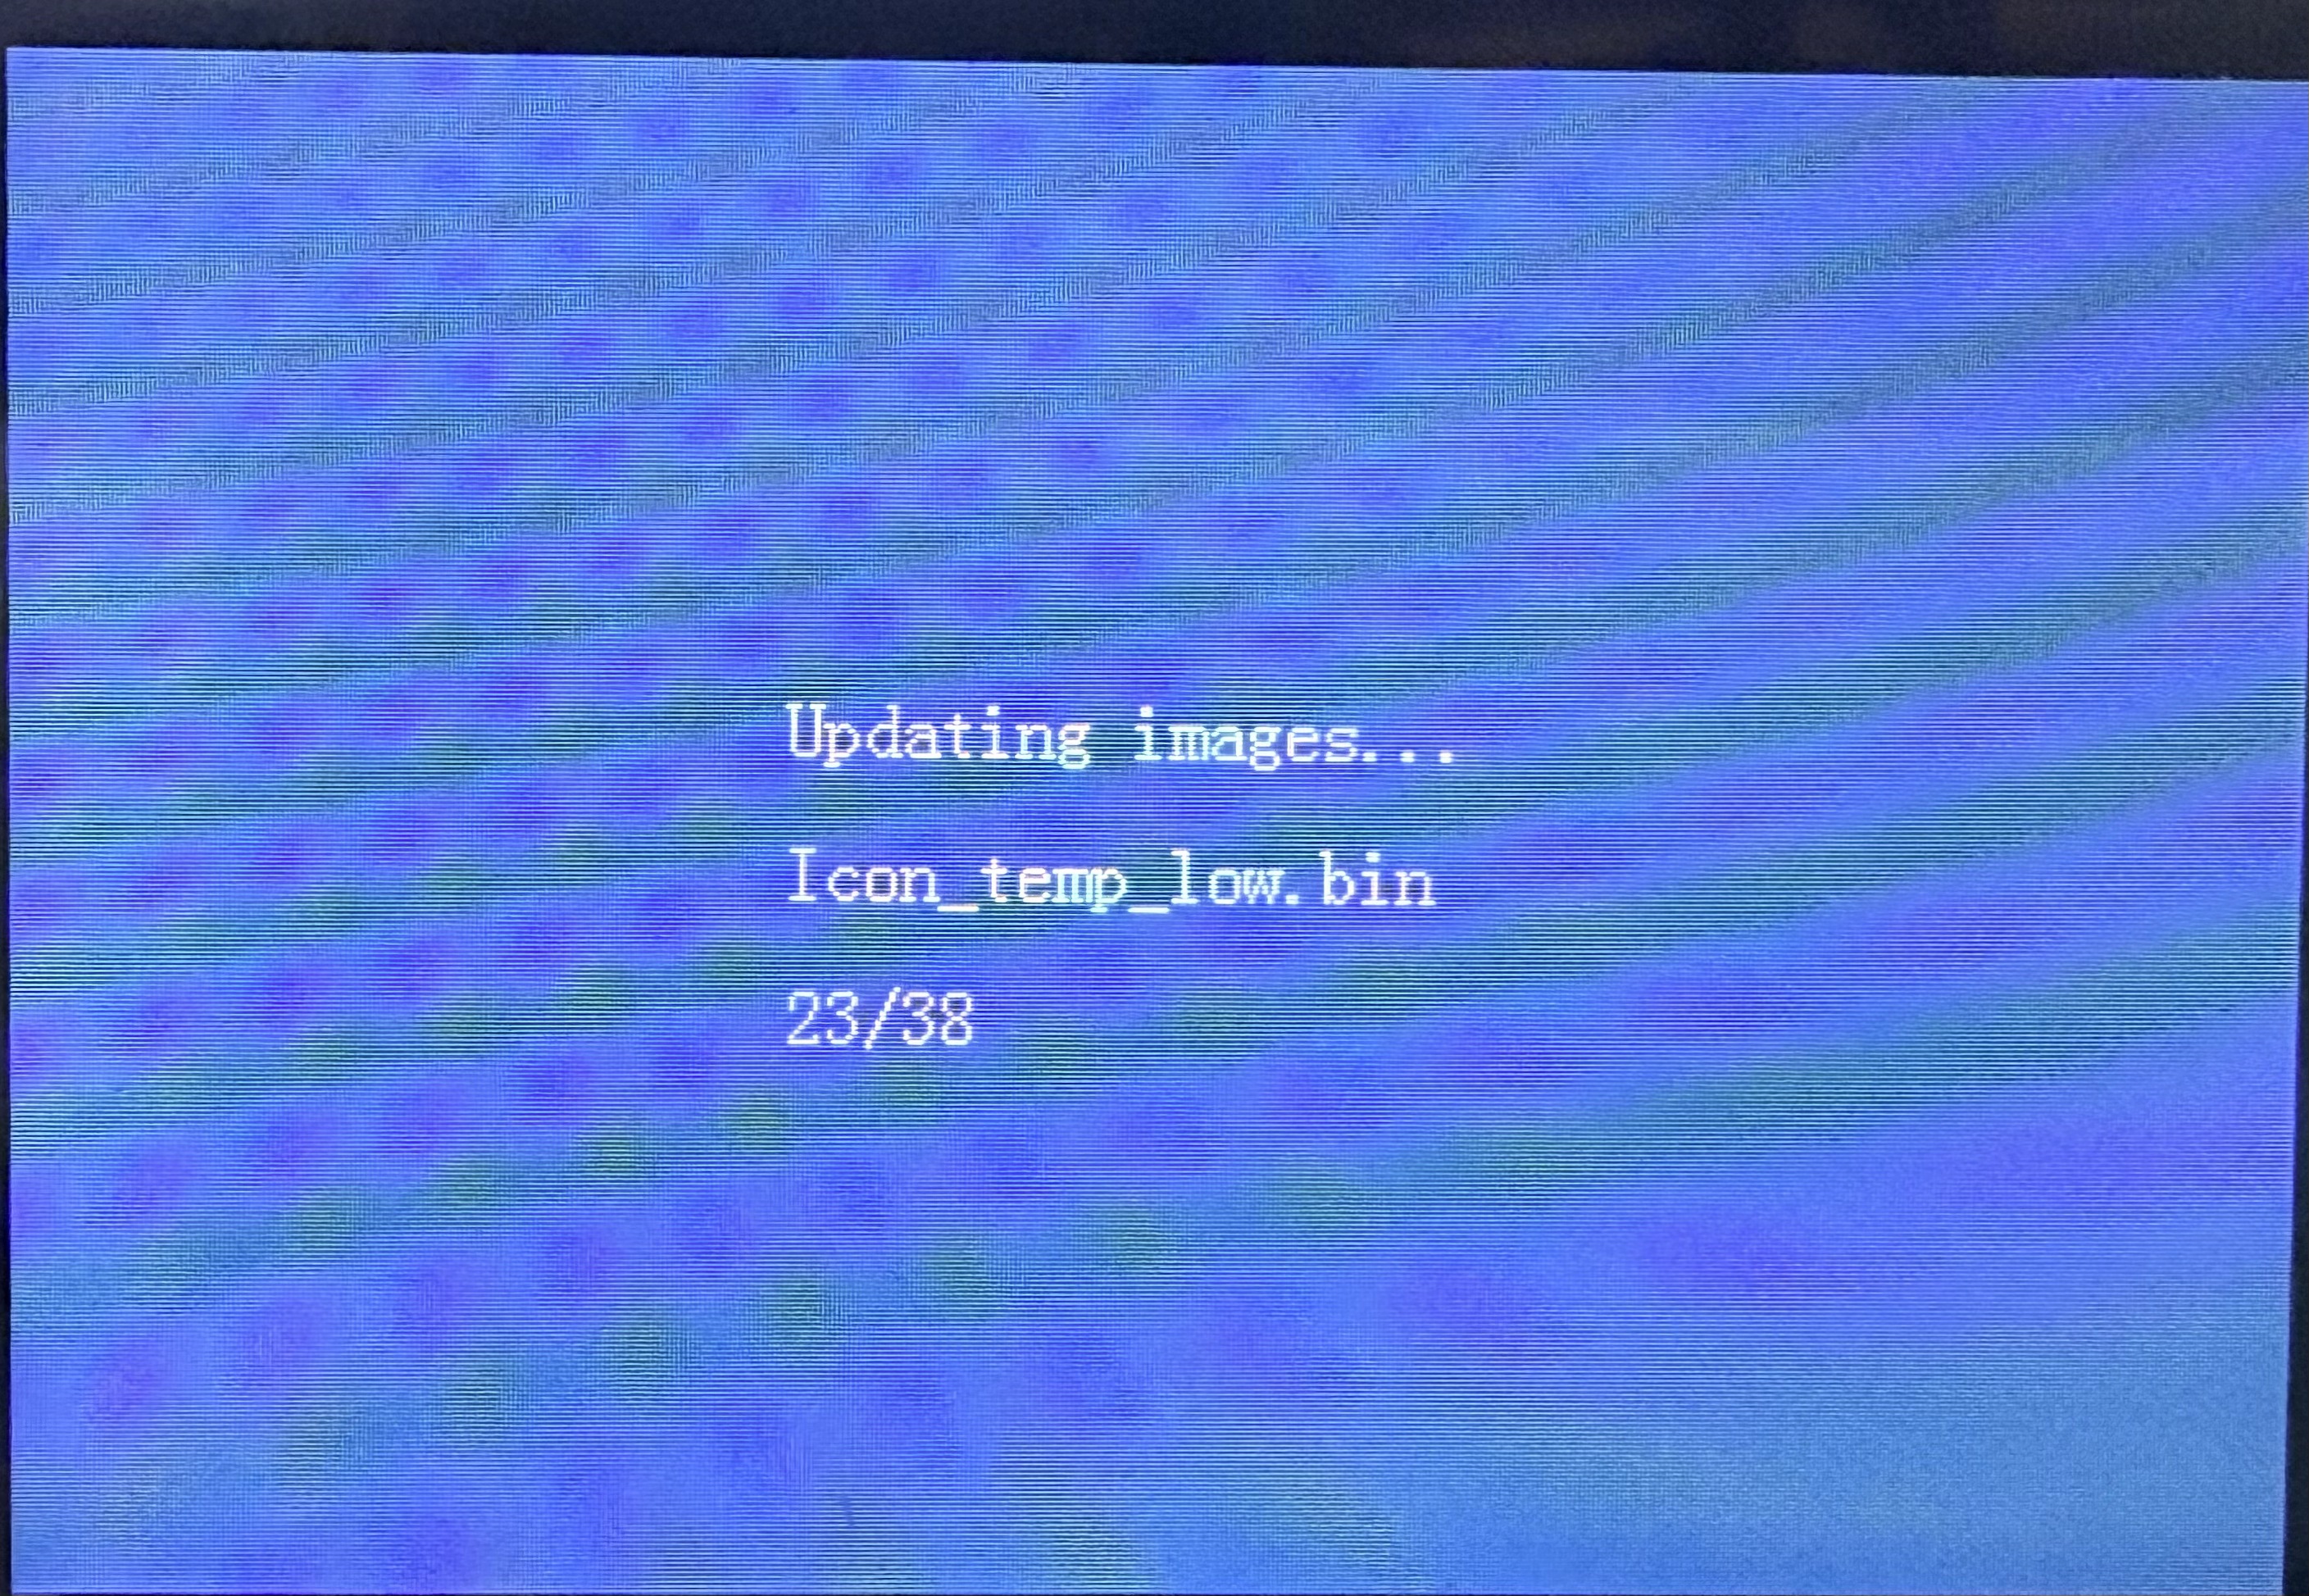
- When the device detects the firmware files in the TF card root directory during startup, it will automatically begin the firmware upgrade process. Do not disconnect the power, remove the TF card, or perform any other operations during the upgrade.
- Wait for the upgrade to complete automatically. The upgrade progress will be displayed during the process. After completion, the system will automatically restart.
Tip: If the device starts normally after powering on and does not enter the upgrade process, and the firmware version has not changed, please check the following:
- Whether the TF card is inserted correctly.
- Whether the firmware files are located in the TF card root directory.
- Whether the firmware file names are correct.
- Whether the TF card has been formatted.
¶ Upgrade Completion and Verification
- After the upgrade is completed, the device will usually restart automatically or display a completion message. (The buzzer may emit a short beep.)
- After the device becomes stable, turn off the power, remove the four screws on the bottom cover again, and remove the TF card (required).
- Reinstall the bottom cover:
- Align the bottom cover with the locating clips, close it, and use a 2.5 mm Allen Key to reinstall and tighten the four screws.
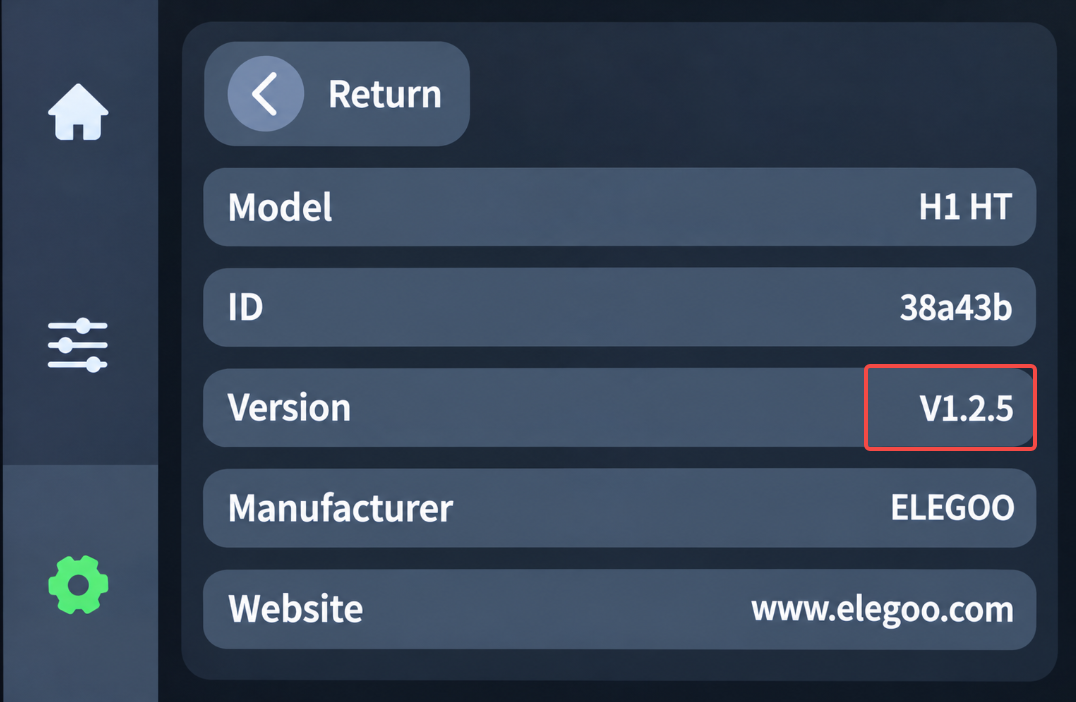
- Reinstall the filament and close the top cover. Connect the power cord and turn on the device. Confirm that the device operates normally and check whether the firmware version shown on the settings page matches the updated firmware version.
¶ Frequently Asked Questions (FAQ)
Q1: What should I do if the upgrade does not start after inserting the TF card and restarting the device?
A1: Please check the following items in order:
- Whether the TF card is inserted correctly.
- Whether the firmware files are located in the TF card root directory.
- Whether the firmware files have been renamed.
- Whether the TF card has been formatted to FAT32.
Q2: Can I disconnect the power or remove the TF card during the upgrade process?
A2: No. Disconnecting the power or removing the TF card during the upgrade process may cause incomplete firmware writing and prevent the device from starting properly.
Q3: What capacity TF card is required?
A3: The TF card capacity should be smaller than 32 GB and only needs to have enough space for the firmware files. The key requirement is that the TF card is formatted using a compatible file system.
¶ Help Us Improve
If you have any ideas about the wiki pages, please let us know via ELEGOO official feedback channel.