¶ Tools and Materials
- A 2.0 mm Allen wrench
- The new camera ribbon cables
¶ Tutorial Video
https://www.youtube.com/watch?v=0jD5LzFFXKY
¶ Instruction
- Power off the printer and unplug the power cord.
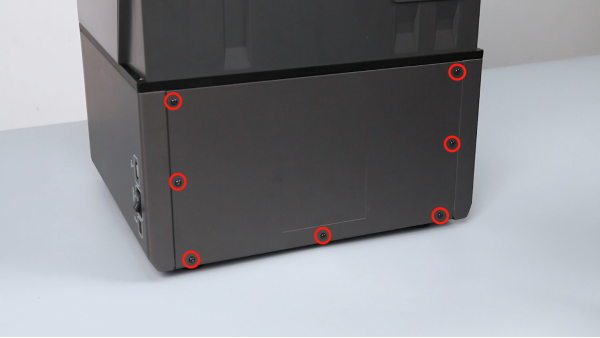
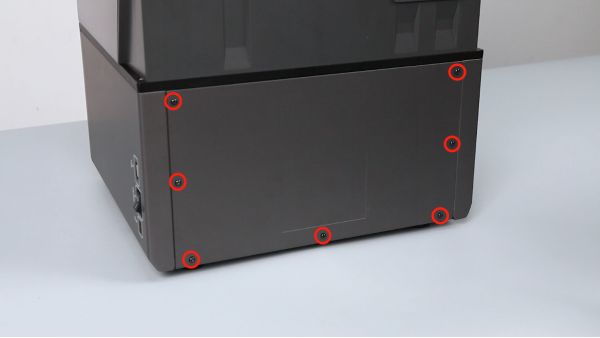
- Use a 2.0 mm Allen wrench to loosen the 7 screws securing the back cover of the printer, then remove the back cover.
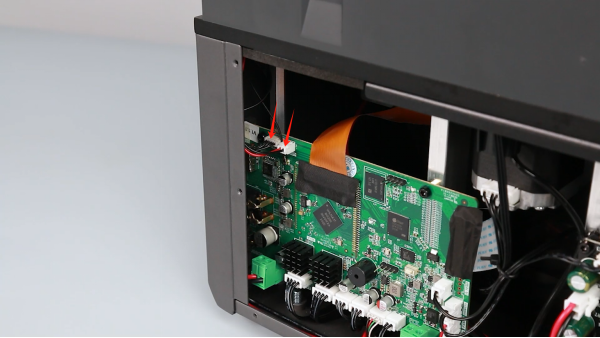
- Unplug the ribbon cable ports of the illuminator and camera on the motherboard.
- Open the front cover of the illuminator. Use a 2.0 mm Allen wrench to loosen the screw securing the camera.
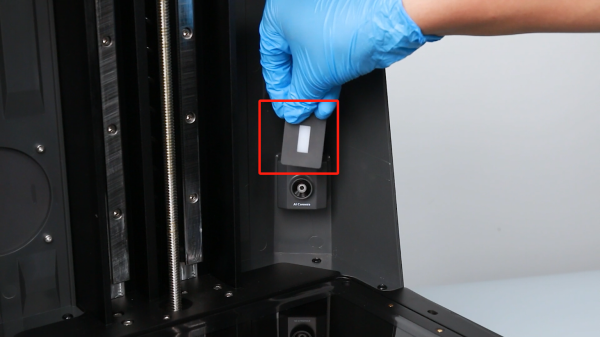
- Lift up the illuminator assembly.
Note: Tidy up ribbon cables of the illuminator and the camera.
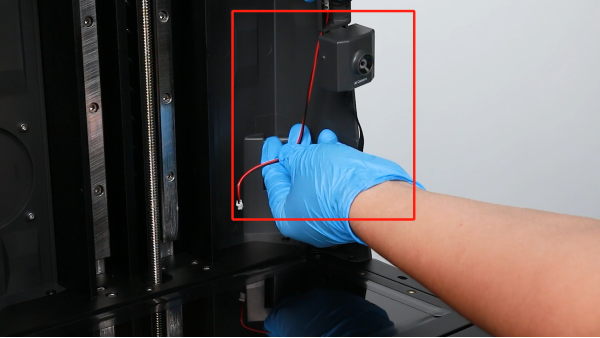
- Unplug the old camera ribbon cables.
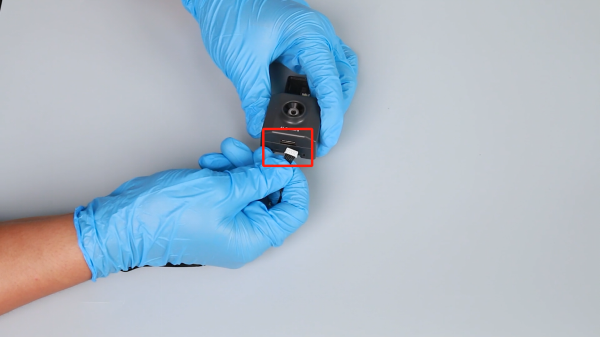
- Prepare the new camera ribbon cables and insert them into the camera port.
Note: The port of the ribbon cables has its fixed insertion direction.
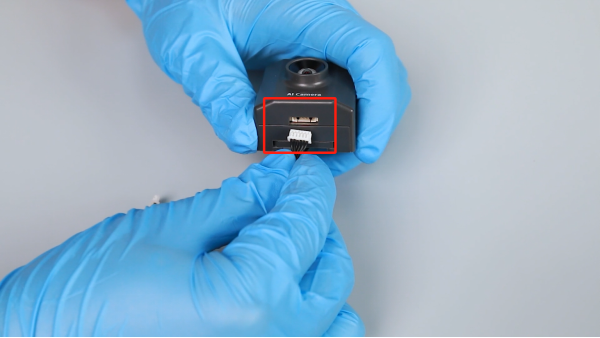
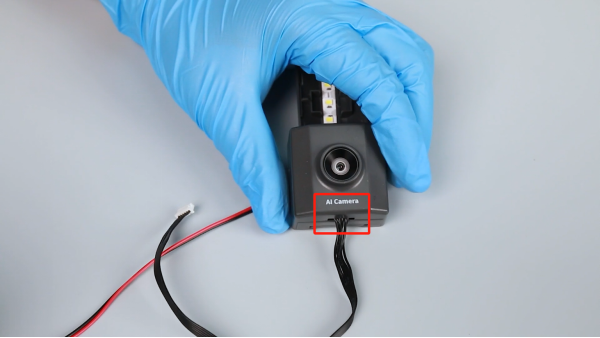
- Prepare the camera assembly and insert the ribbon cables of the illuminator and the camera into the base through the reserved holes.
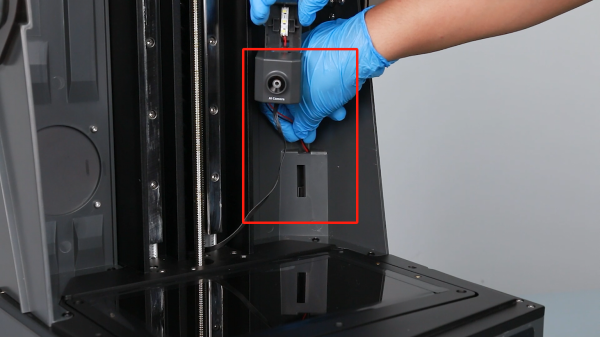
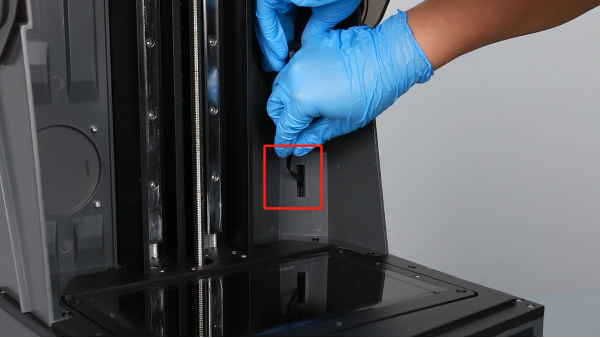
- Put the camera assembly in the installation position by aligning it with the screw holes. Use a 2.0 mm Allen wrench to tighten the screw.
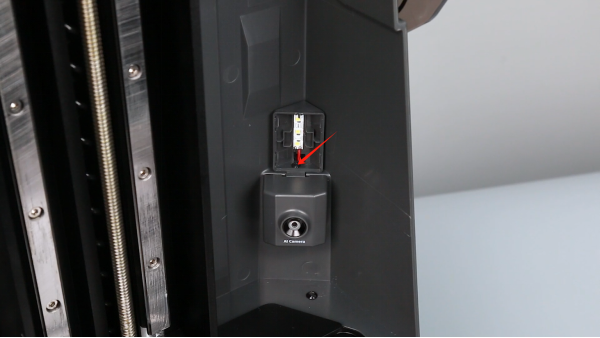
- Install the front cover of the illuminator by aligning it with the clip.
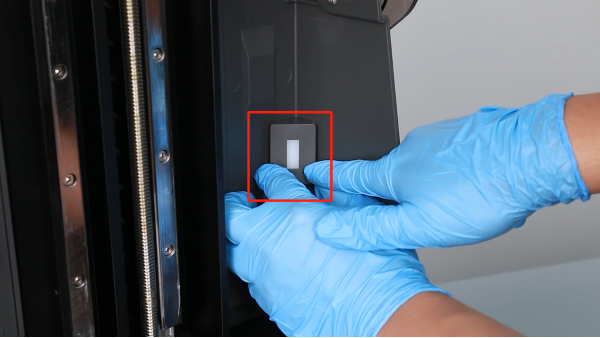
- Plug the ribbon cables of the camera and illuminator into the ports on the motherboard.
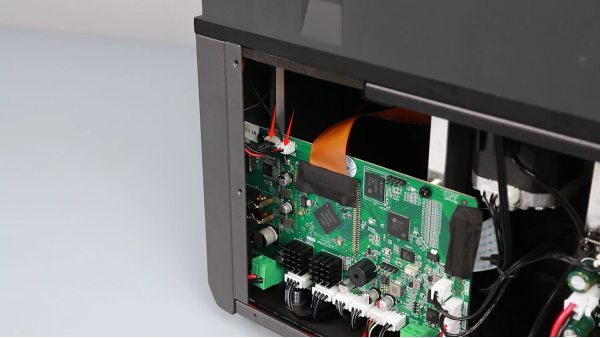
- Prepare the back cover of the printer. Use a 2.0 mm Allen wrench to tighten the 7 screws securing the back cover of the printer.
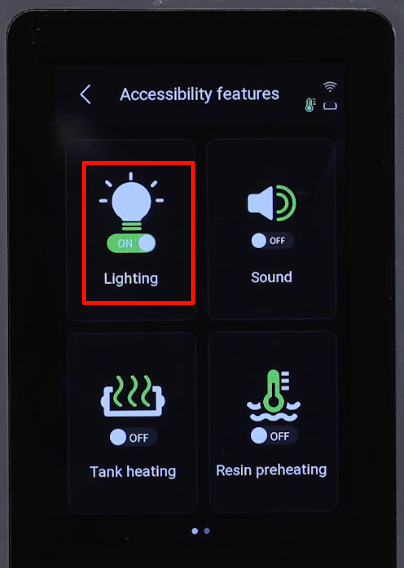
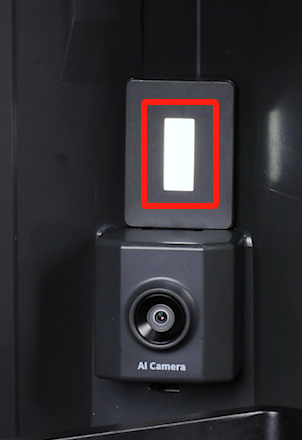
- Power on the printer. Touch "Settings - Auxiliary Function - Illuminator" on the touchscreen and the illuminator above the camera lights up.
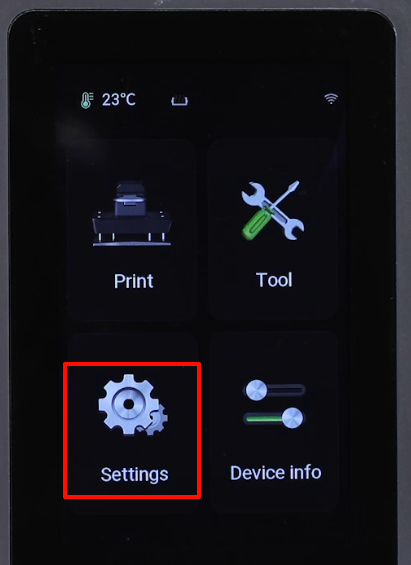
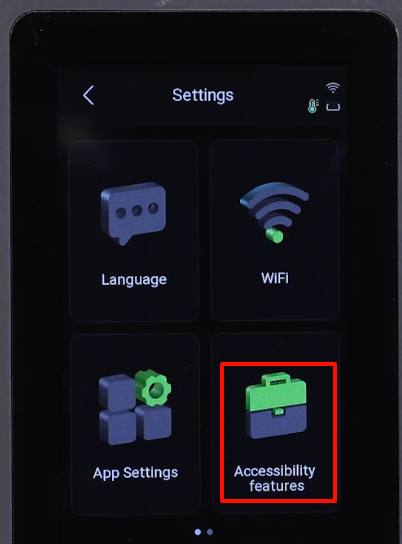
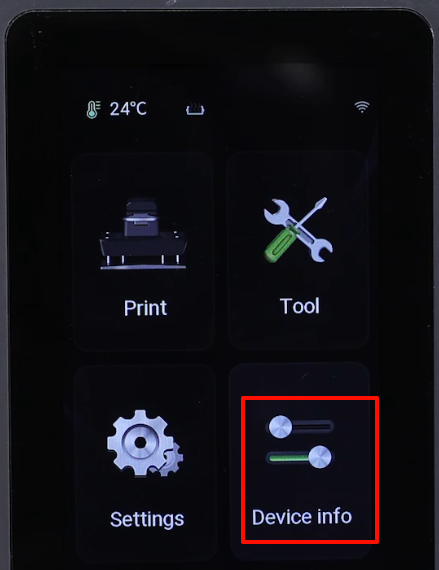
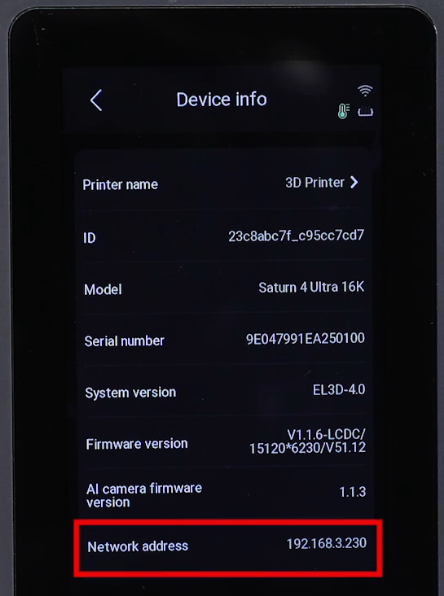
- Connect the printer to Wi-Fi. Touch "Information" on the touchscreen to record the IP address of the printer.
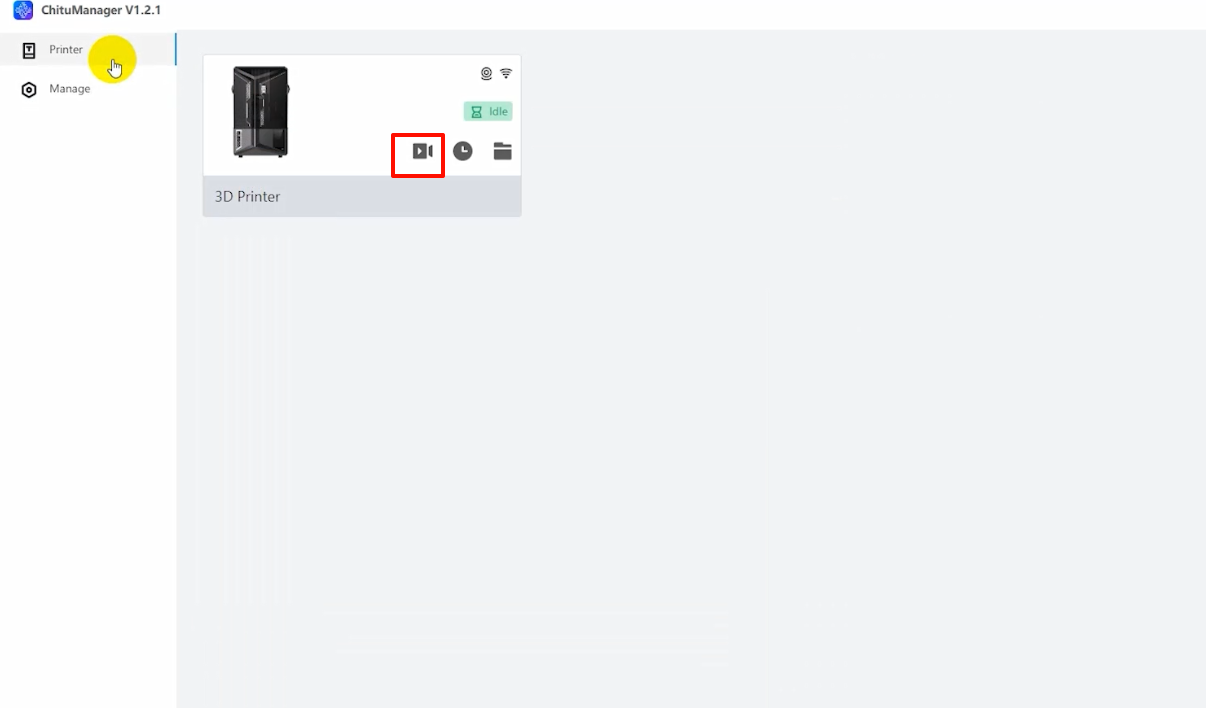
- Connect to the same LAN network as the printer via the computer, and then click "ChituManager" of Chitu software to add the printer.
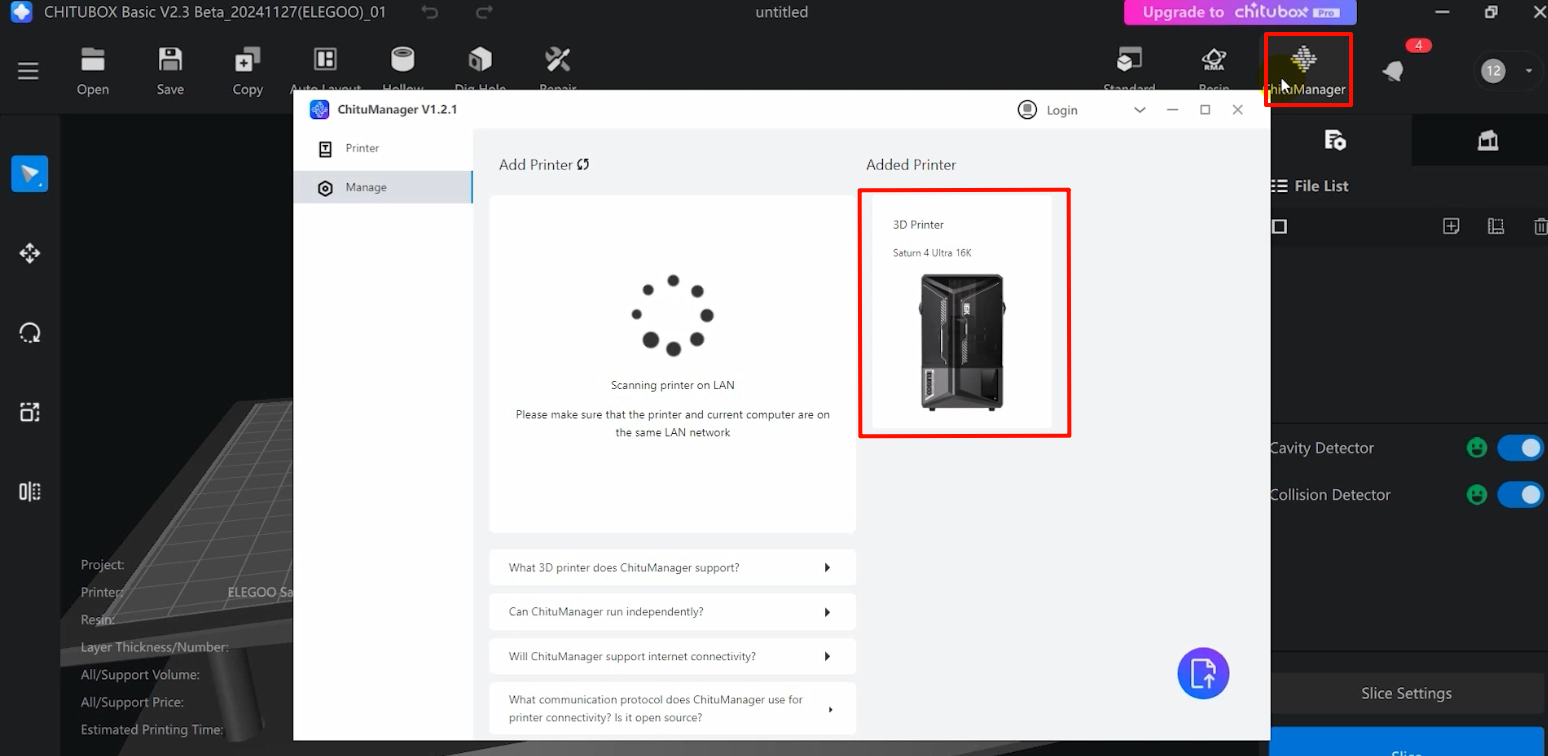
- The printer is ready for use after the camera works normally in the "Printer" interface.