¶ Issue Description
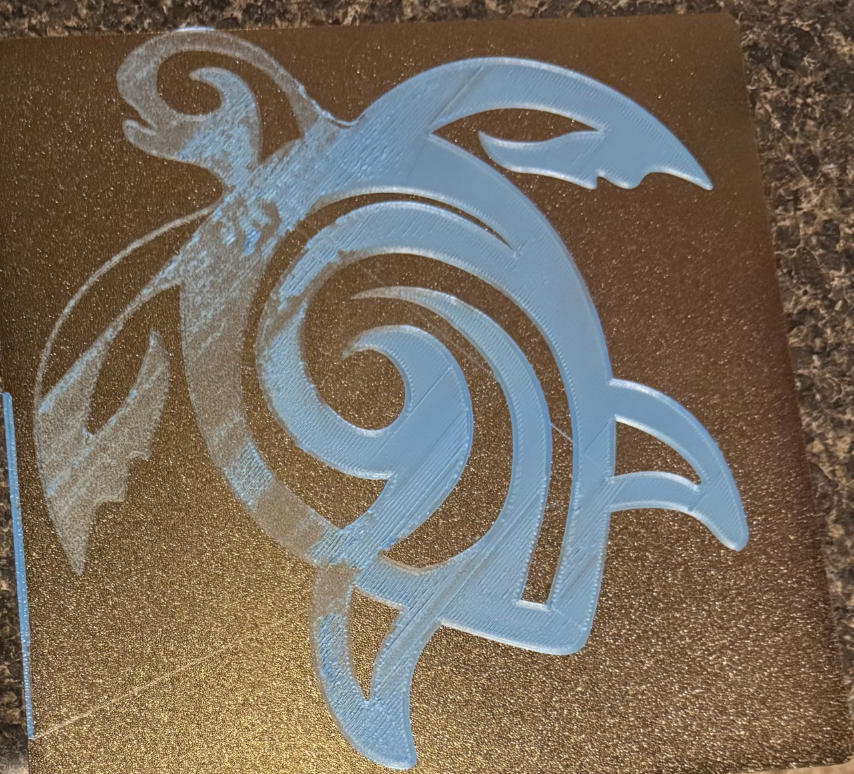
The first layer is uneven or does not stick to the heated bed.
¶ Reasons
-
The X or Y axis is unstable.
-
The extruder or heated bed is unstable.
-
The screws securing the heated bed are loose.
-
The proximity switch is loose.
-
The screws securing the brass nut are over-tightened.
-
The heated bed and the X-axis are not parallel.
¶ Troubleshooting Steps
¶ Tools needed for troubleshooting
-
A 2.0 mm Allen key
-
A 4 paper
-
A spanner
¶ Step 1 Load the latest firmware.
-
Click the link below to download the latest firmware and instructions.
https://github.com/NARUTOfzr/Neptune_3_Pro_Plus_Max -
After loading the firmware, refer to the video below to reset the Z offset value and re-level the printer.
Note: The instructions start at 3:50.
https://www.youtube.com/watch?v=HgaOU9uEyWc
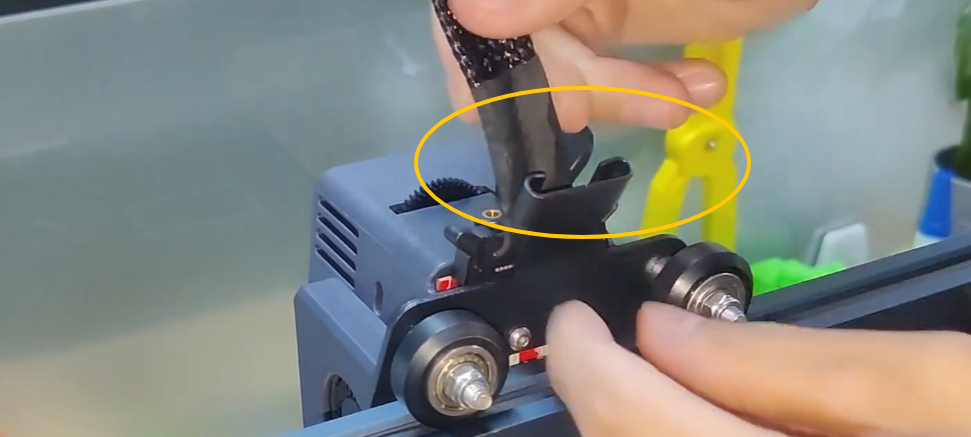
¶ Step 2 Check whether the X or Y axis is unstable.
- Shake the X and Y axes and check whether the extruder and heated bed are unstable and wobble.
- If the X and Y axes wobble, tighten the eccentric nuts of the X and Y axes with a spanner.
- If the X and Y axes are stable, refer to Step 2 for further troubleshooting.
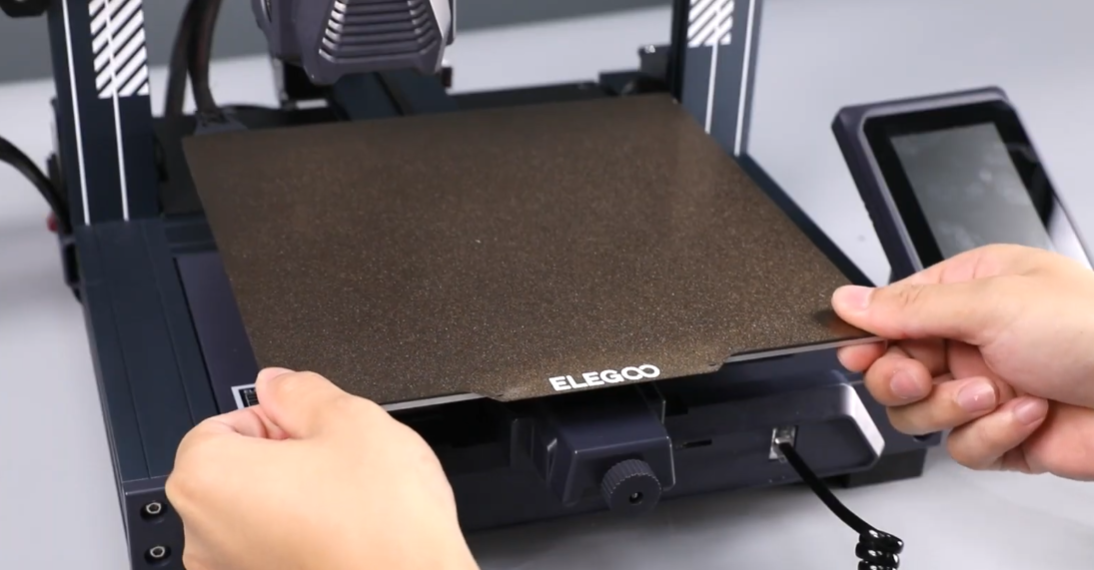
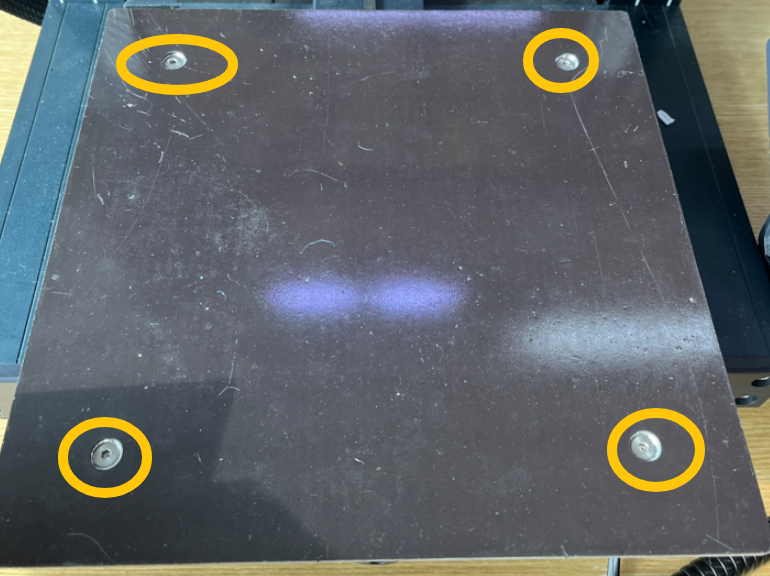
¶ Step 3 Check whether the screws securing the heated bed are loose.
-
Remove the PEI plate.
-
Check whether the four screws securing the heated bed are loose.
-
If the screws are loose, tighten them.
-
If the screws are tight, refer to Step 4 for further troubleshooting.
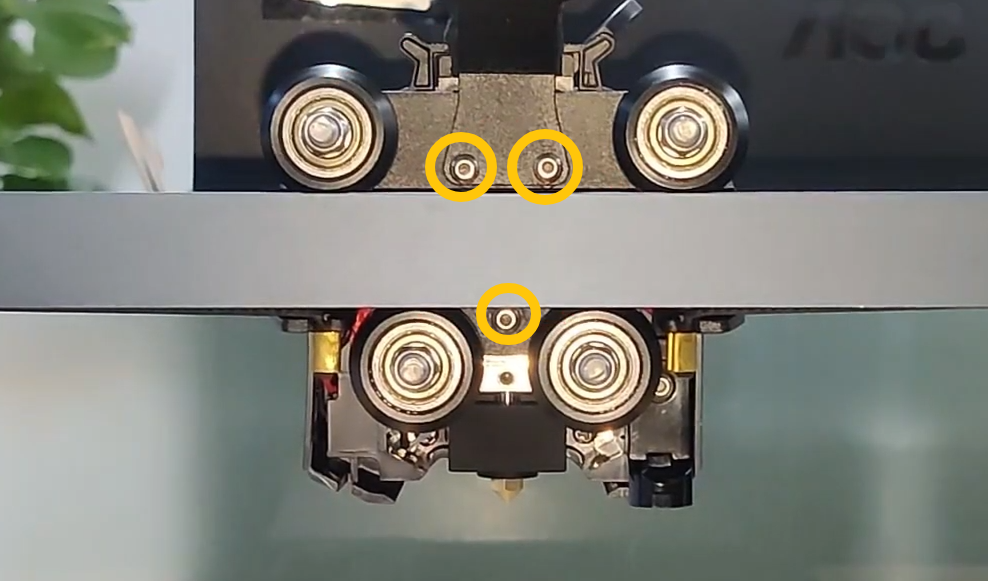
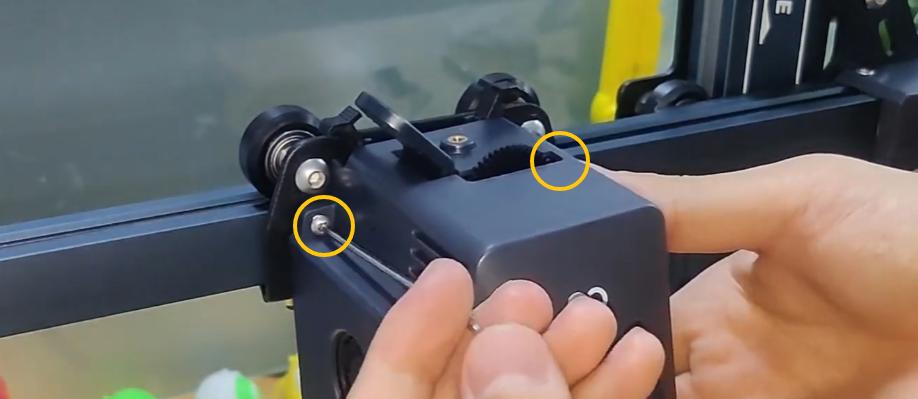
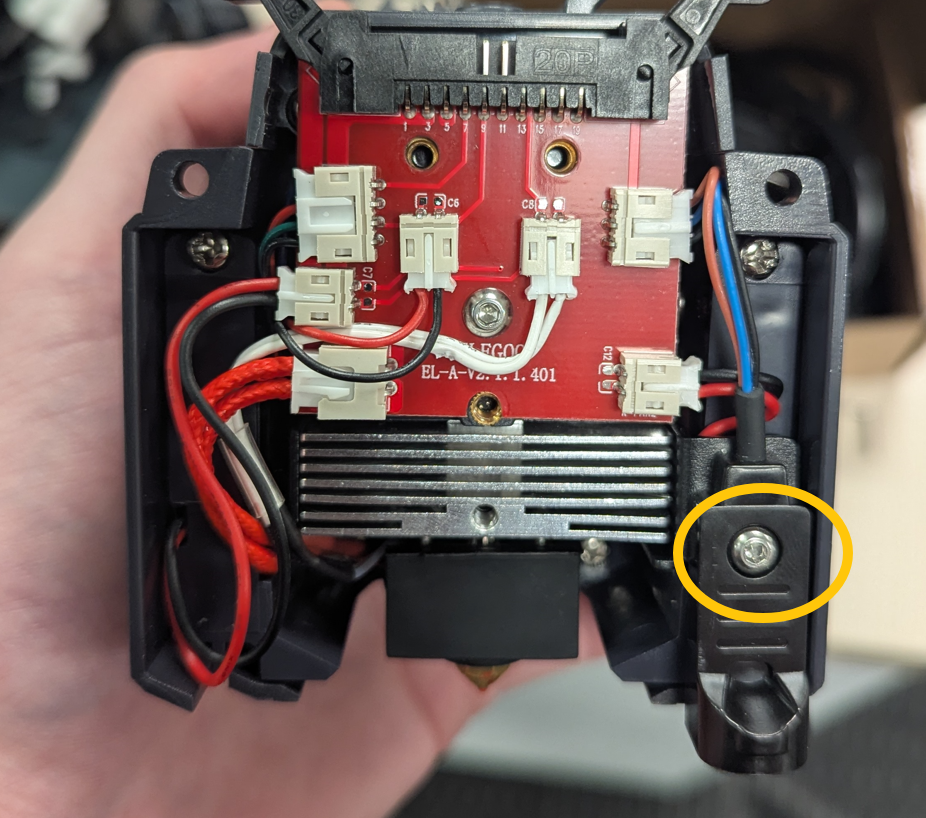
¶ Step 4 Check whether the proximity switch is loose.
-
Turn the power switch OFF (symbol "〇") and unplug the power supply cable.
-
Remove the cable.
-
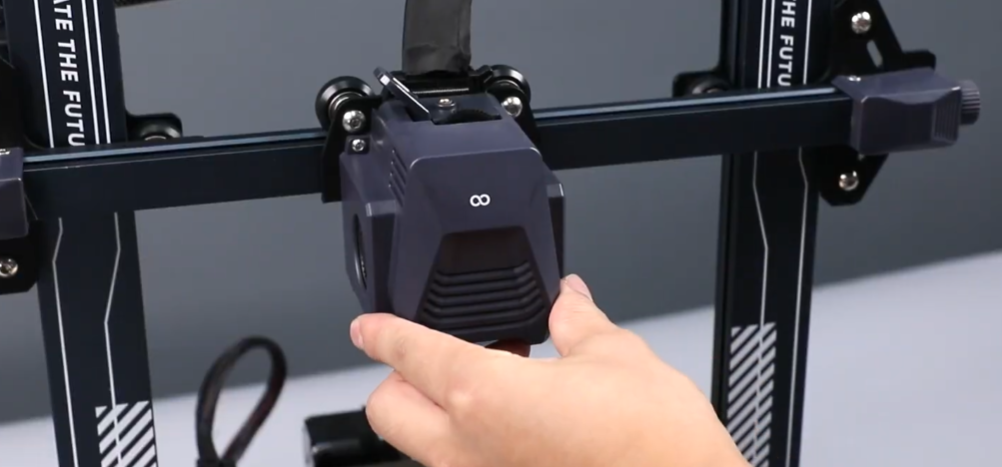
Remove the screws securing the extruder and remove the extruder.
-
Check whether the screws securing the proximity switch are loose.
-
If the screw is loose, secure the screw.
-
If the screw is secured, refer to Step 5 for further troubleshooting.
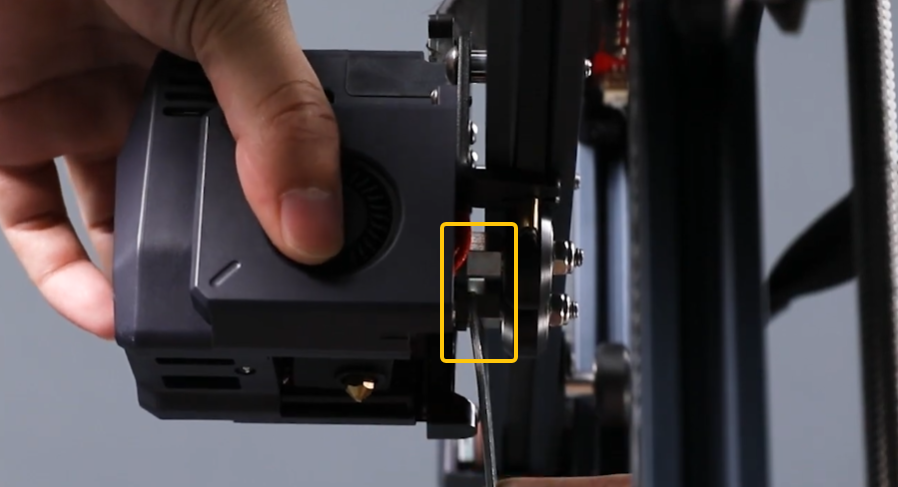
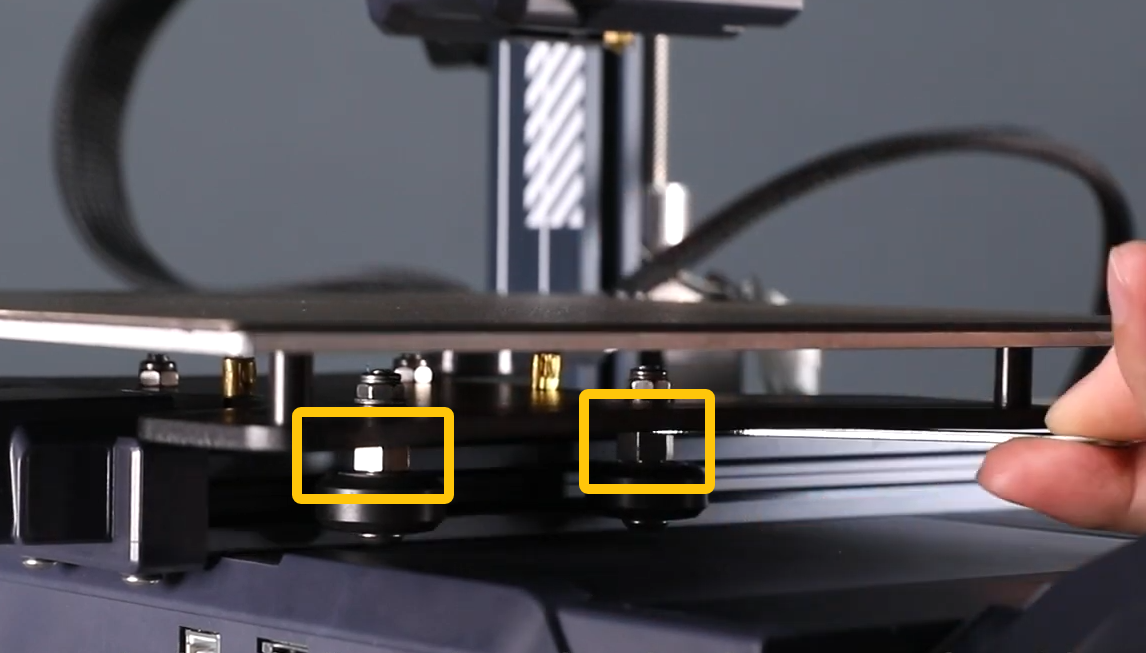
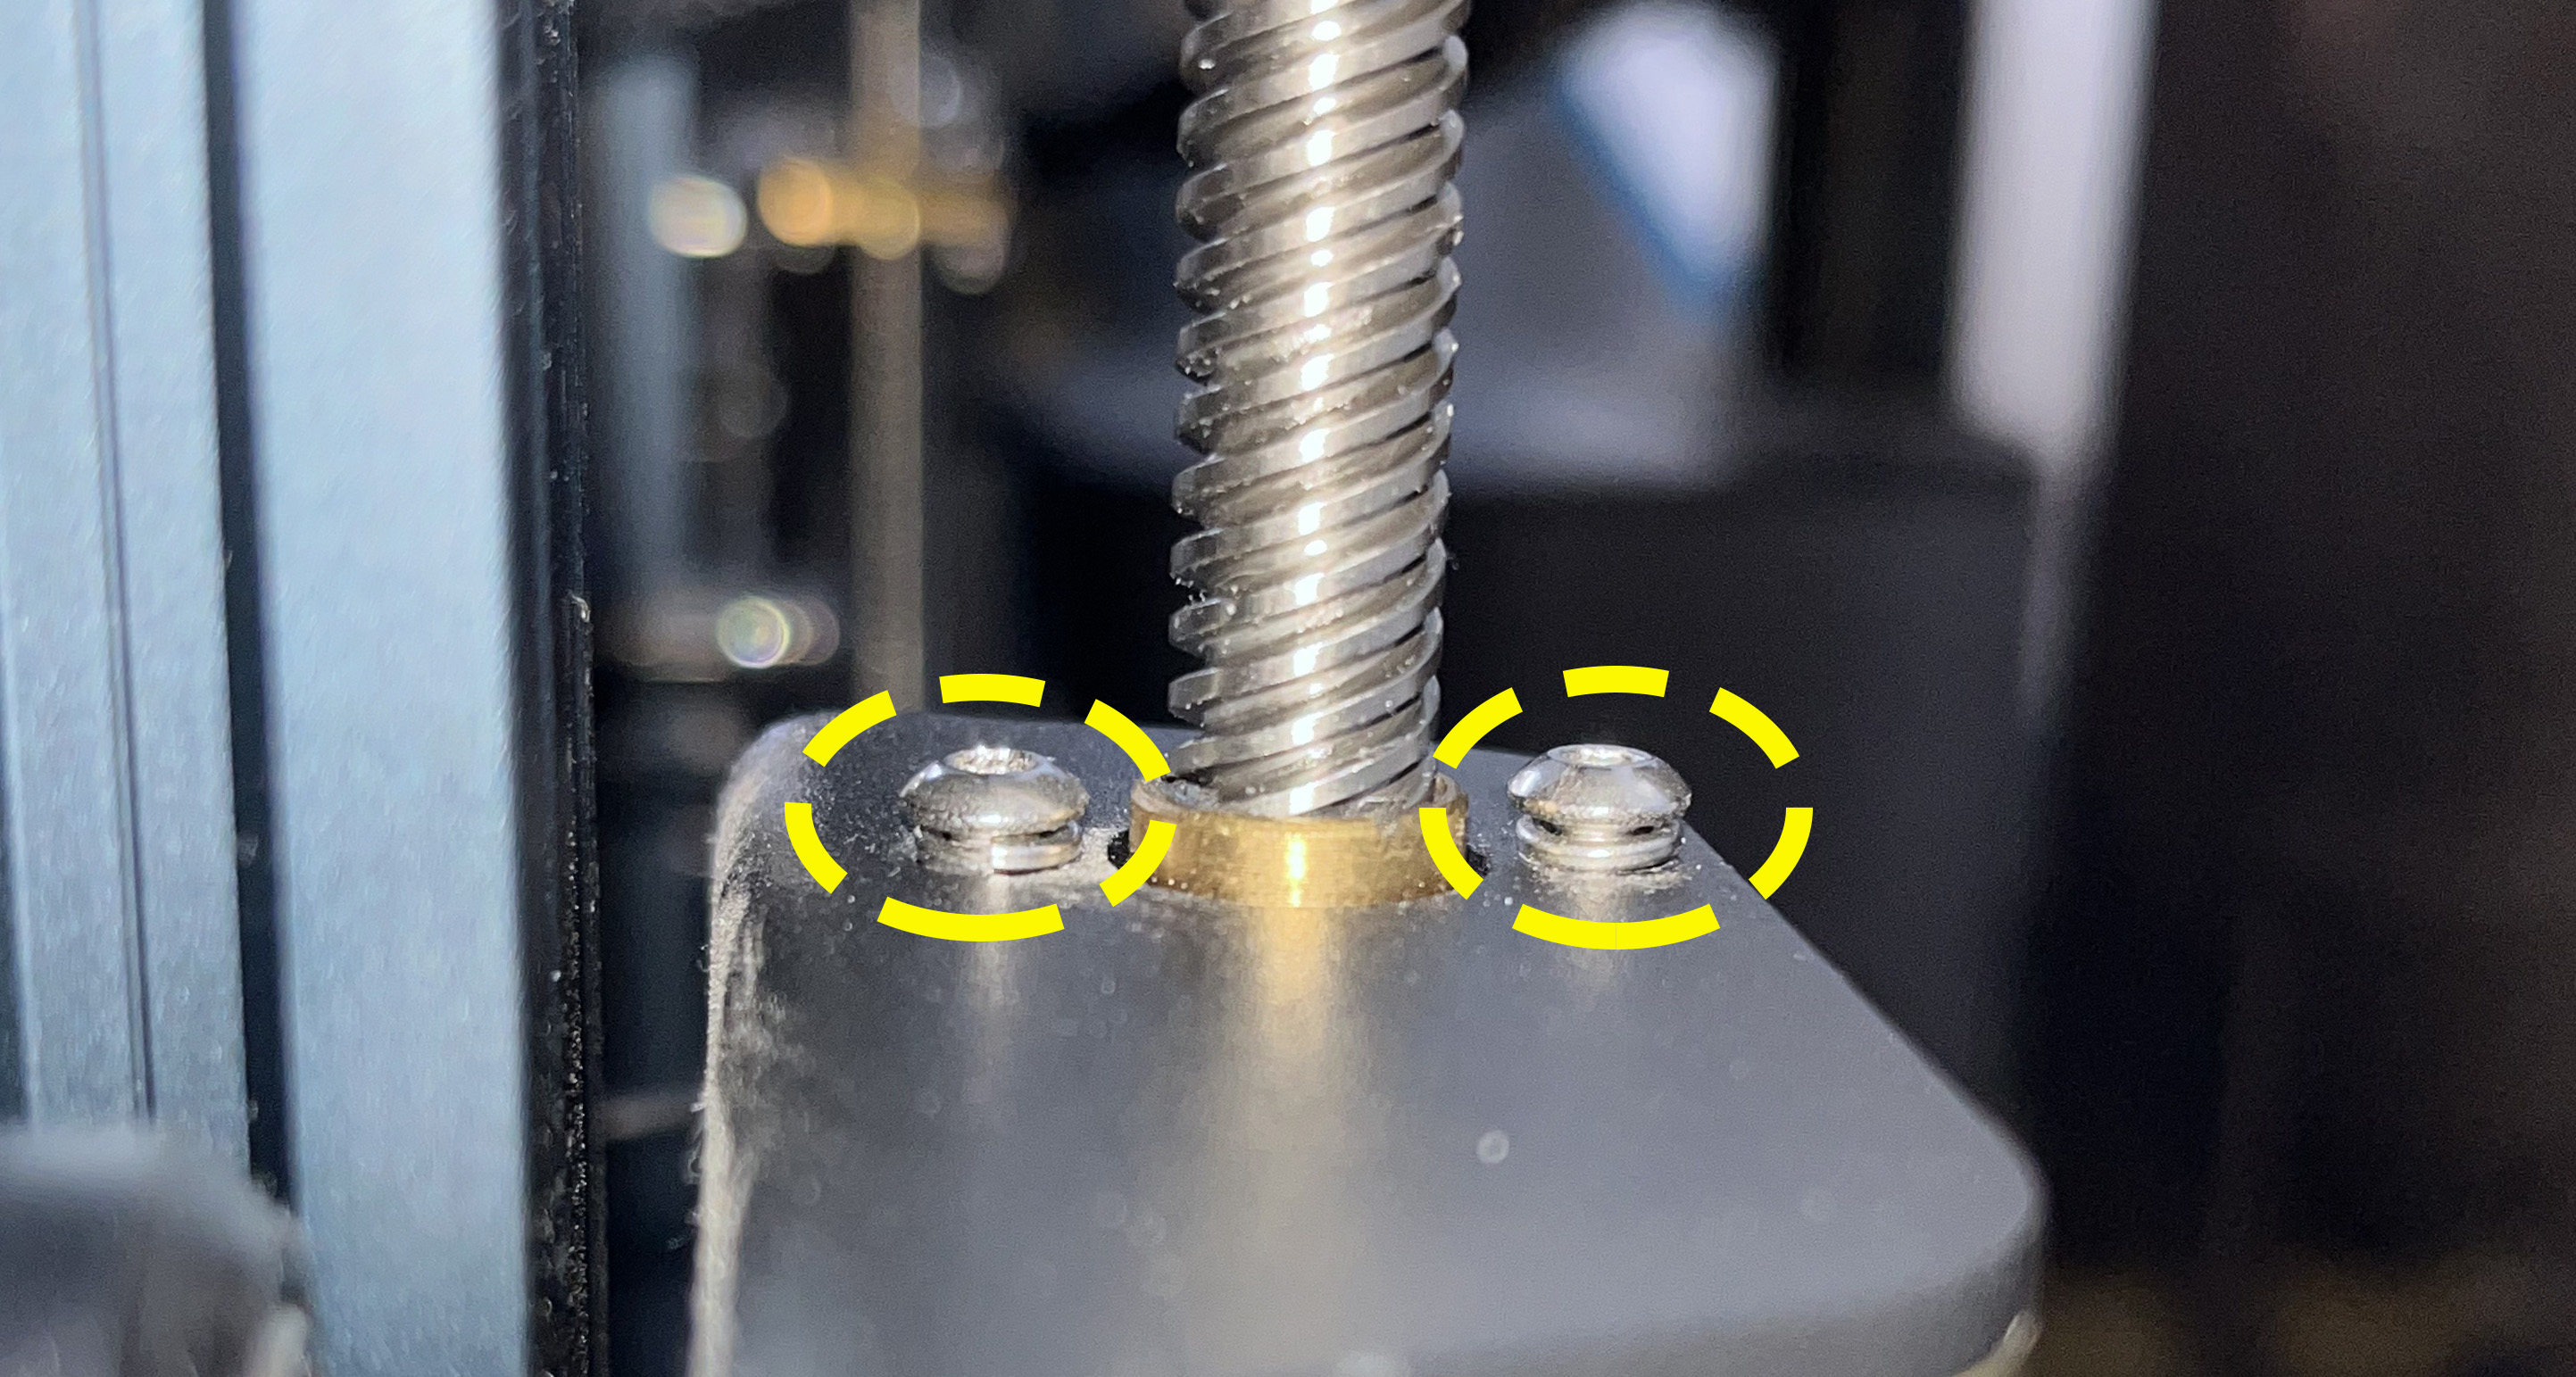
¶ Step 5 Check whether the two screws securing the brass nut are over-tightened.
The two screws securing the brass nut of the Z-axis need to remain loose. If they are completely tightened, the Z axis may become stuck during ascent, resulting in leveling issues.
- Refer to the picture below for the normal situation.
-
If the screws are secured, loosen the screws.
-
If the screws are loose, refer to Step 6 for further troubleshooting.
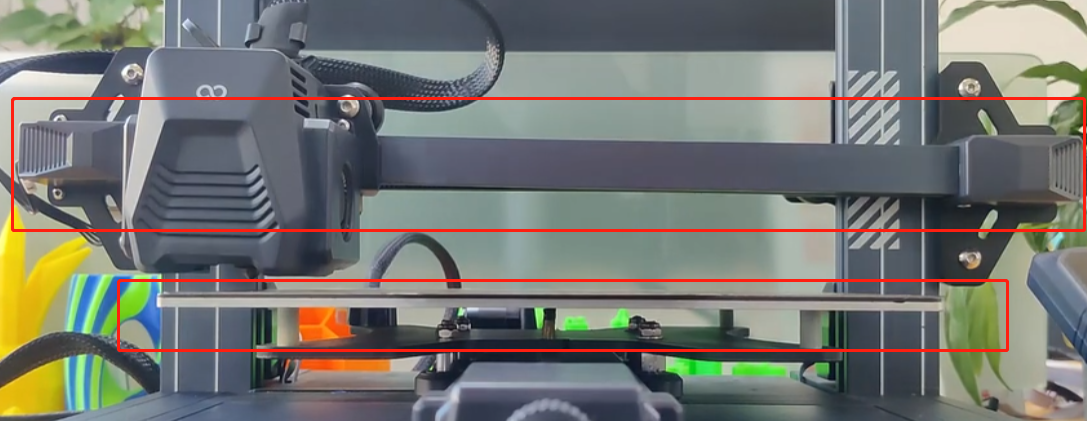
¶ Step 6 Check whether the heated bed and the X axis are parallel.
-
Turn the power switch OFF (symbol "〇") and unplug the power supply cable.
-
Observe whether the heated bed and the X axis are parallel.

-
If visual inspection is inaccurate, measure the distance from either end of the X axis to the heated bed with a ruler.
-
Refer to the video below to adjust the parallelism with the X-axis.
https://youtu.be/lbeevQxRwlI
After completing the above steps, reset the Z offset value and re-level the printer.
¶ Still Have Issues?
If the issue still occurs, contact the ELEGOO technical support team via 3dp@elegoo.com and provide the following information to us:
-
The serial number (SN) of your printer, which can be found on the white sticker on the left-hand side of the heated bed bottom. The format is: NEP XXXX XXX.
-
The firmware version of your printer. On the touch screen, select Settings - About Machine and photograph the leveling grid data on the touch screen.
-
Print a cuboid of 200 x 200 x 0.2 mm and take a photo of it.