¶ Notice
-
Neptune 4 and Neptune 4 Pro support wired networks.
-
Neptune 4 Plus and Neptune 4 Max support wired network and wireless WIFI functions.
-
It is recommended to connect to router. The mobile phone hotspot may not be available due to compatibility issues.
-
If the router turns on the Wi-Fi dual-band function (2.4G band and 5G band integrated Wi-Fi), the printer may not be able to search. It needs to be set to two independent Wi-Fi with a 2.4g band and a 5g band. The printer only supports connecting to the 2.4g band of Wi-Fi.
-
It is recommended to set the wifi channel of the 2.4g frequency band to 1-8 signals. The printer may not be able to search other channels (log in to the URL on the back of the router to enter the management background interface and change the wifi channel settings).
¶ Reference video
https://www.youtube.com/watch?v=z_RYmpIIvIc
¶ Operation steps
¶ Preparation
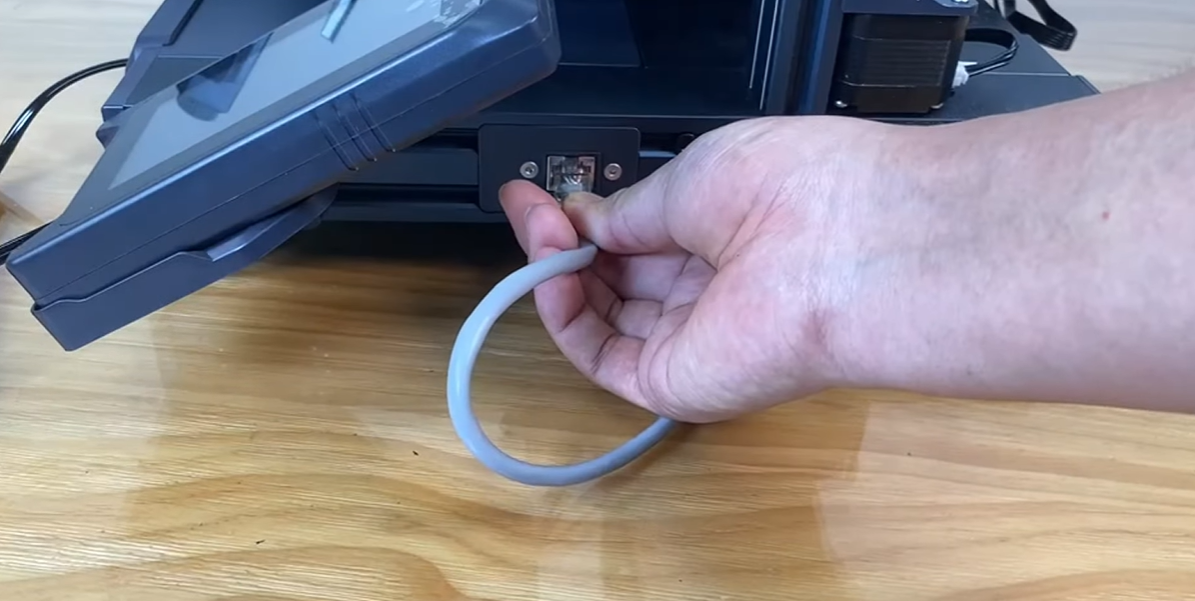
For Neptune 4 and 4 Pro:
-
Insert the network cable port into the printer's transmission port.
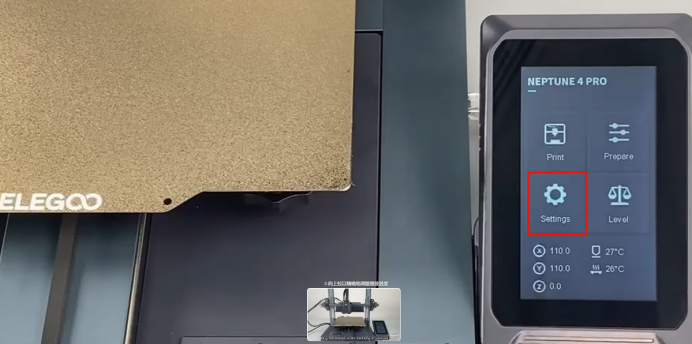
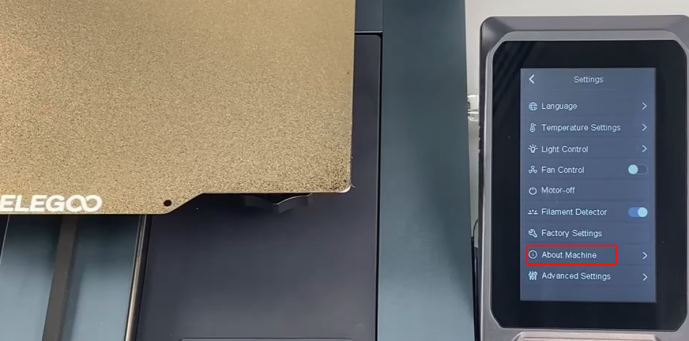
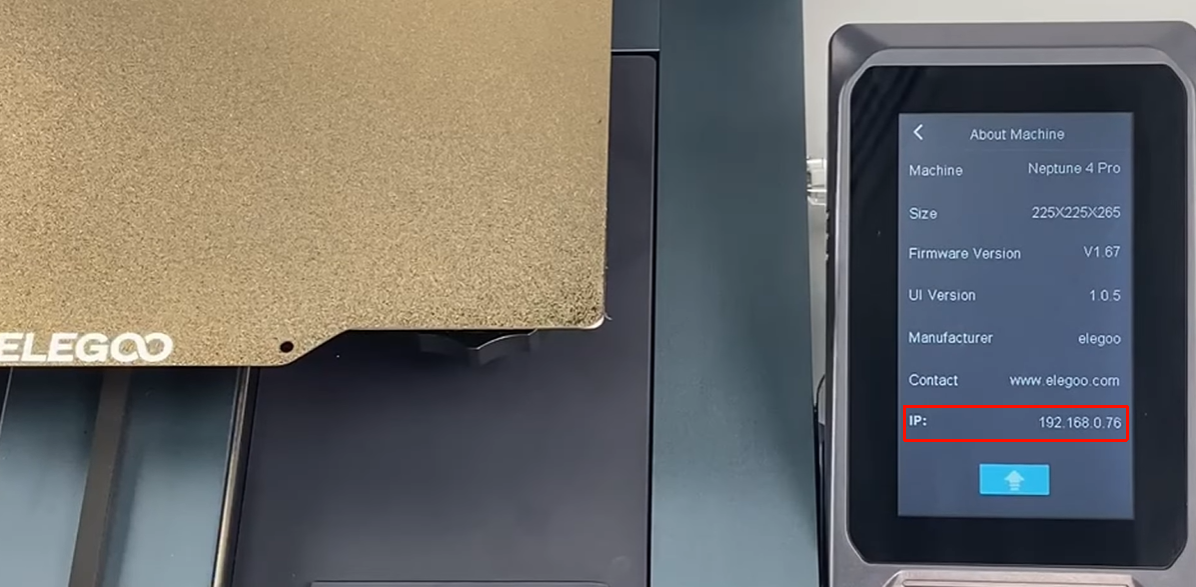
-
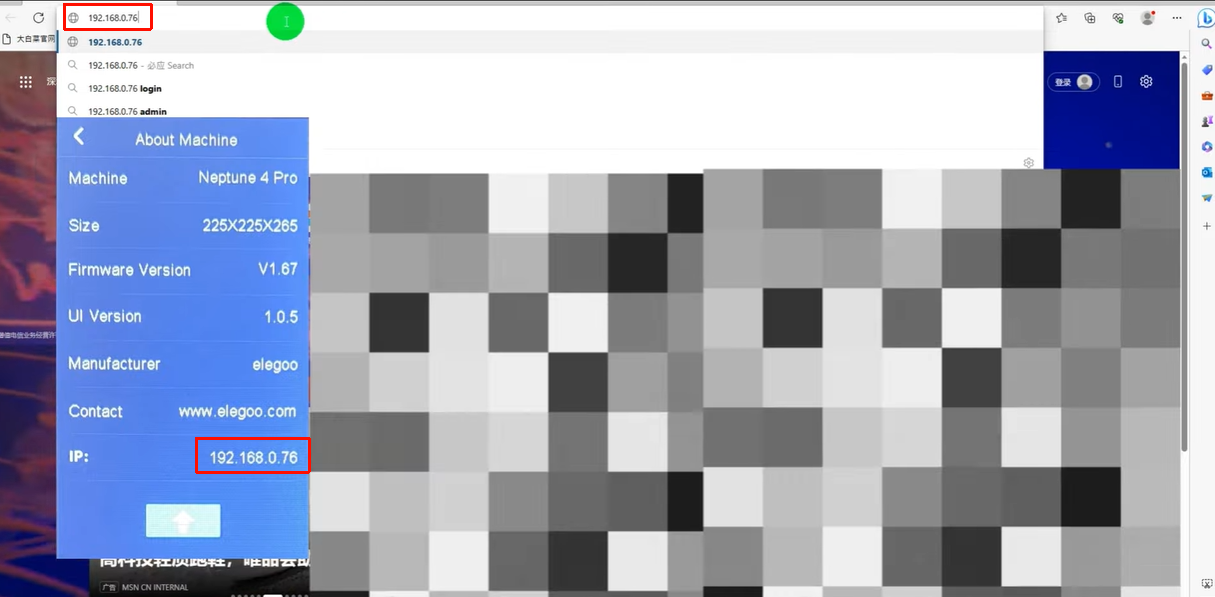
Power on the printer and obtain the printer's IP address in the Settings - About Machine interface of the printer touch screen.
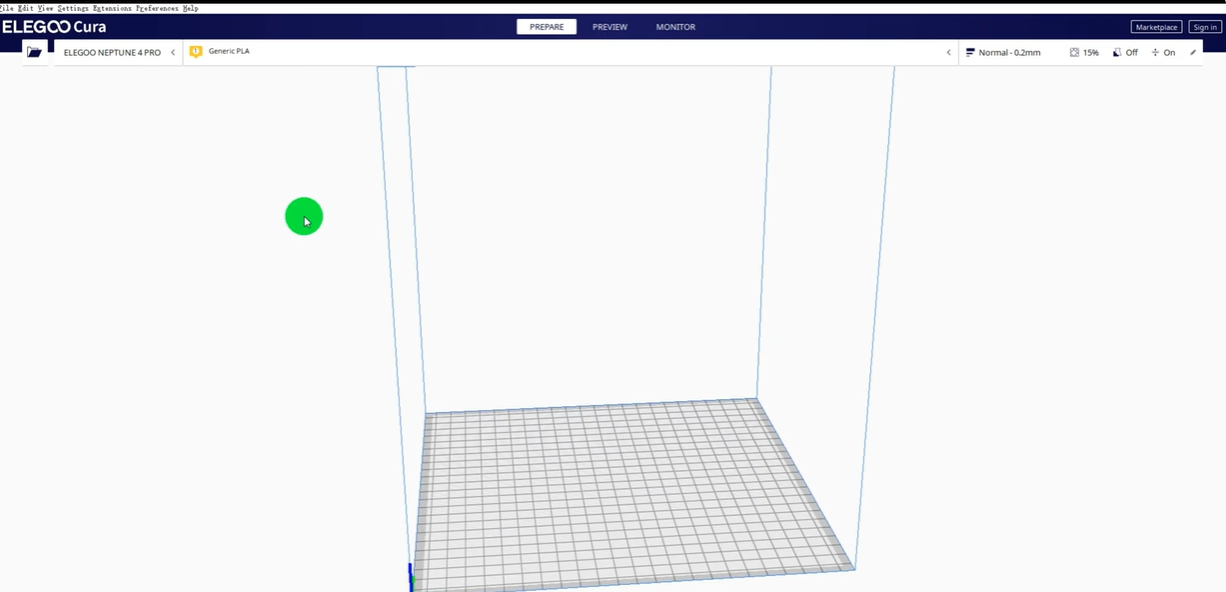
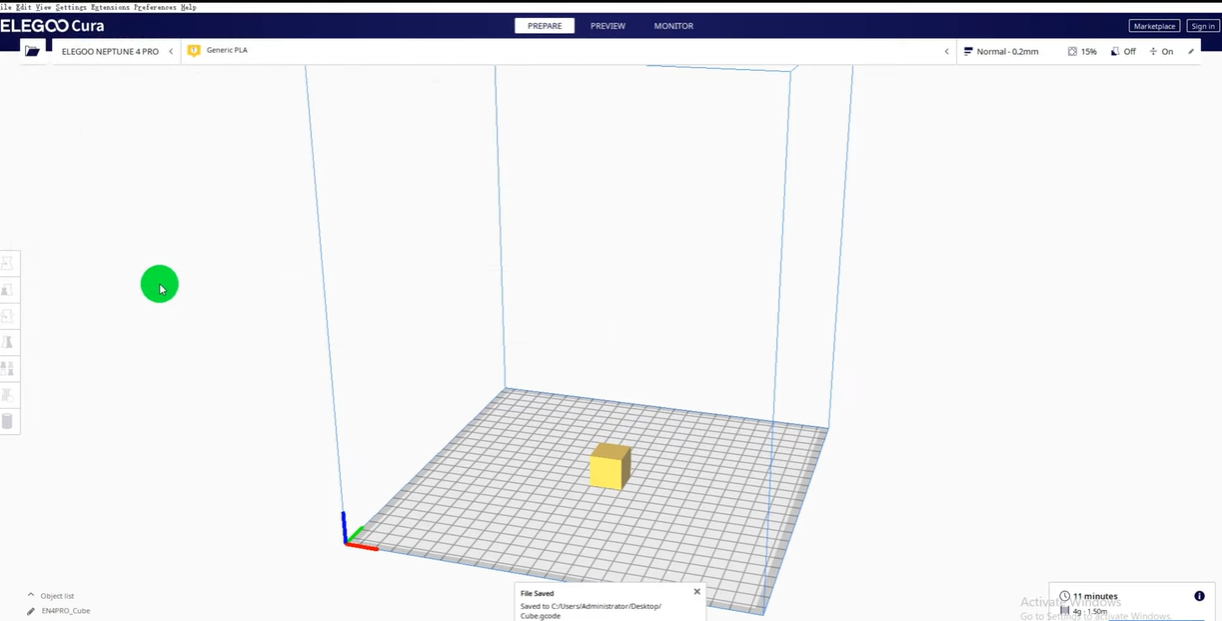
¶ Slice the model to be printed
- Use slicing software to process the model you want to print (the model settings and parameters of the slicing software need to be set to a state suitable for the printer), slice and save the model.
¶ Upload the model via Wi-Fi
-
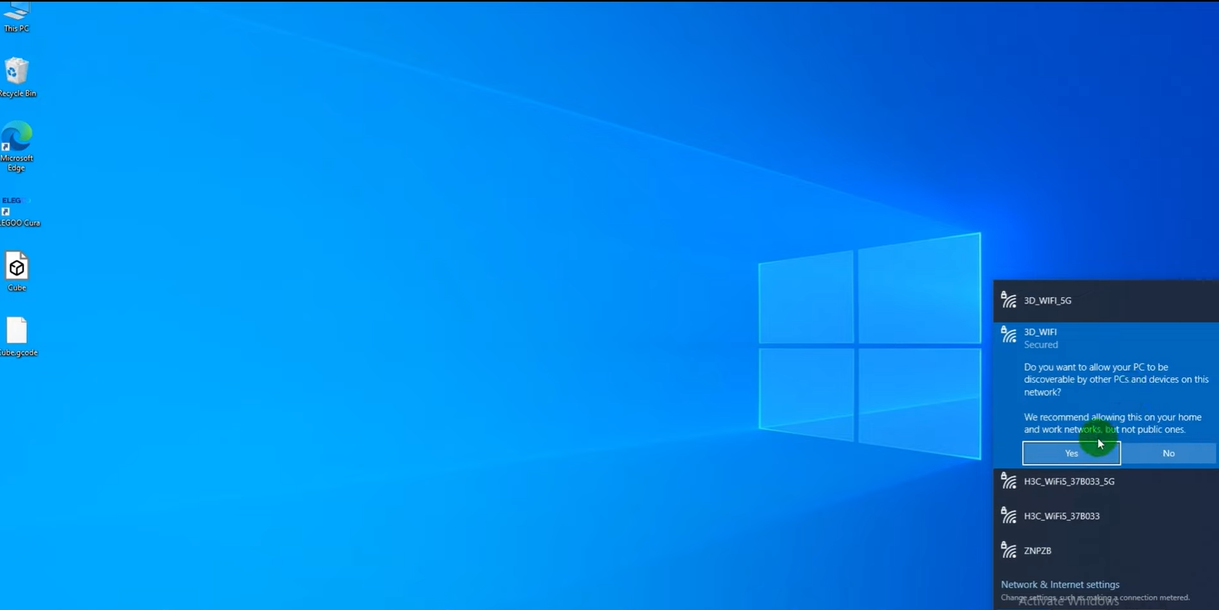
Connect the computer to the same LAN as the printer.
-
Open the browser and enter the IP address displayed on the printer's touch screen in the URL box, and enter the background main control interface of the printer.
-
After entering the main control interface, it is mainly divided into the following versions.
Mobile control
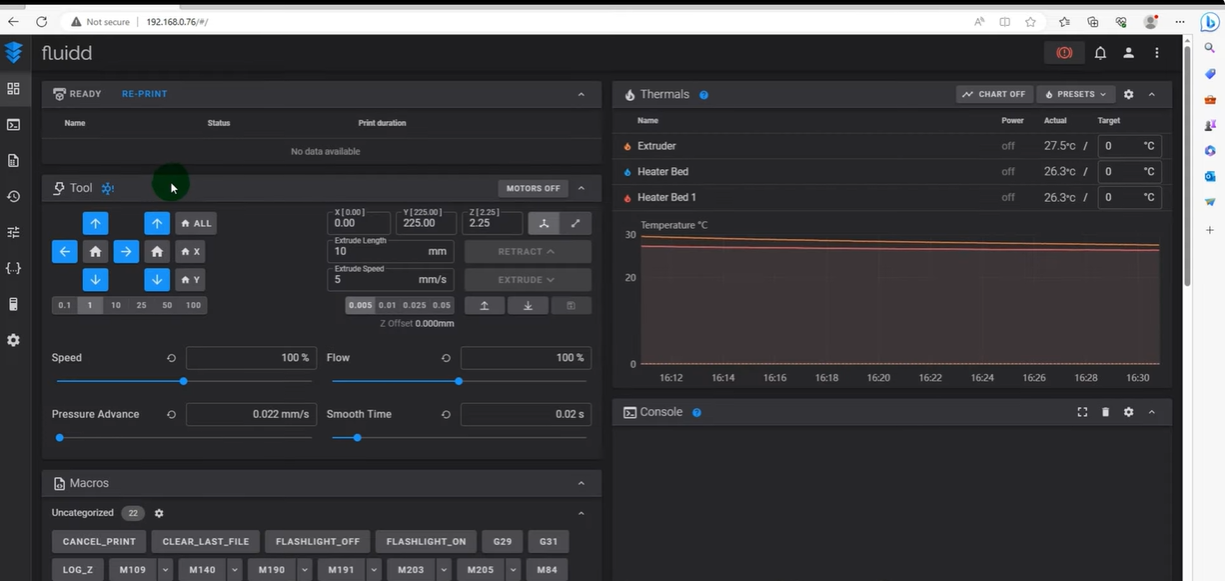
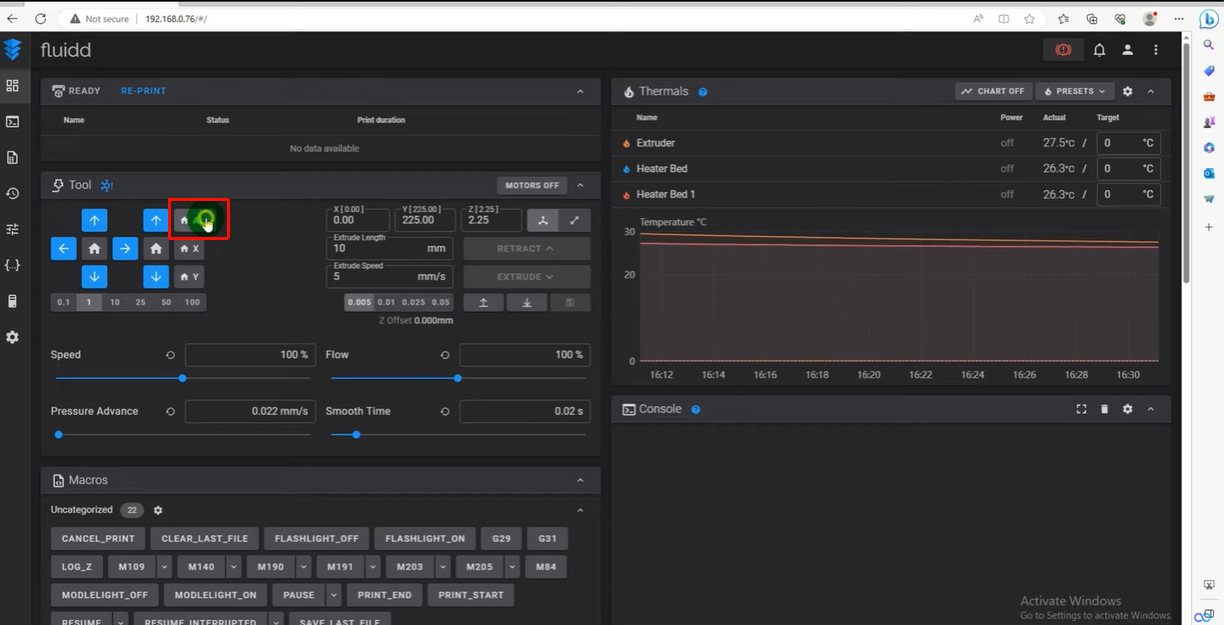
Click the "Home All" icon on the main page, and the printer will execute the "Home" command.
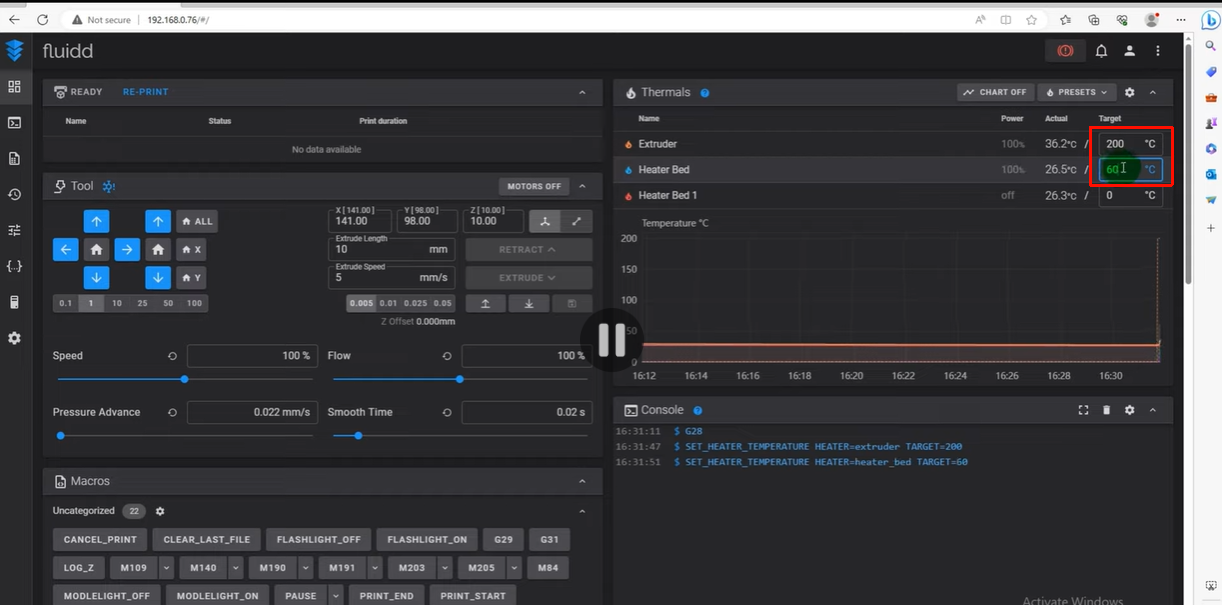
Temperature
Control the nozzle and hot bed heating on the main page, the printer will execute the "Heat" command.
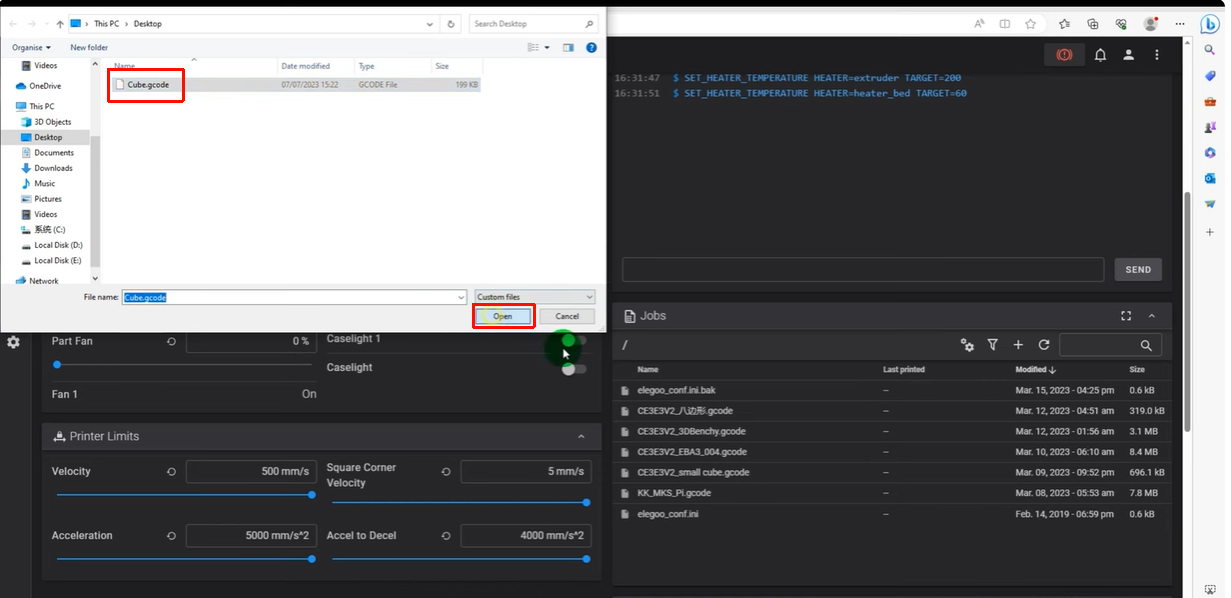
Task list
Click the "+" icon, select "Upload", find the sliced model and upload it.
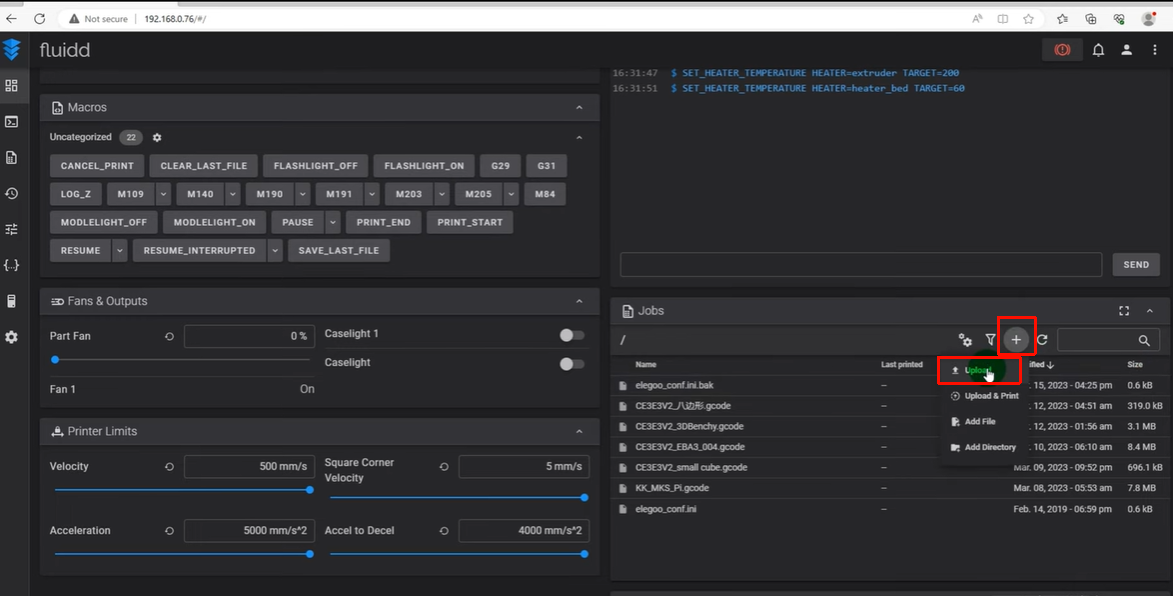
- After the upload is successful, you can find the model by its file name in the list, right-click on the selected model file, and then select "Print" to print the model.
The printer will prepare for preheating after receiving the command, and start printing after preheating is completed.