¶ Tools and Materials
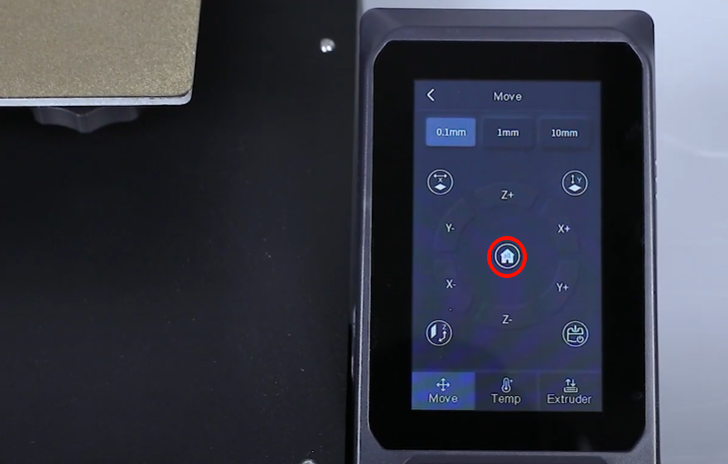
- A H2.0 Allen key
- A H3.0 Allen key
¶ Tutorial Video
¶ Precautions
Before operation, power off the printer.
¶ Instruction
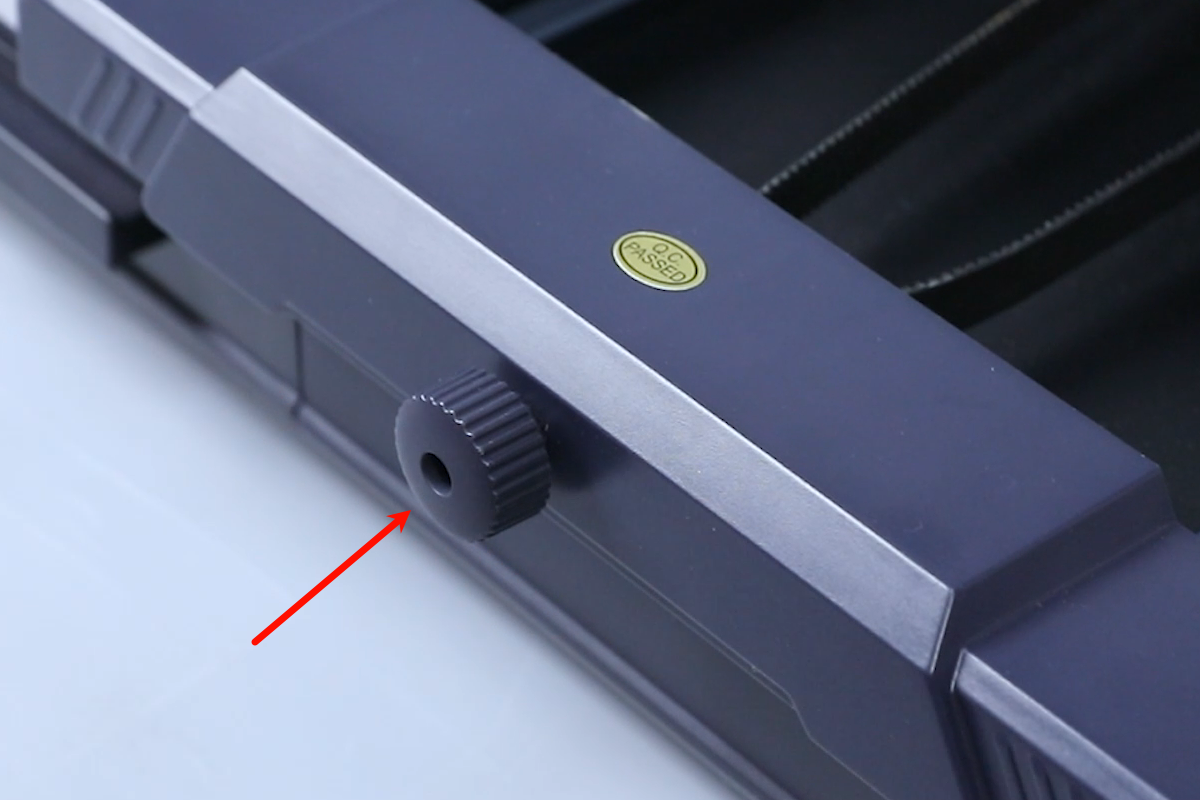
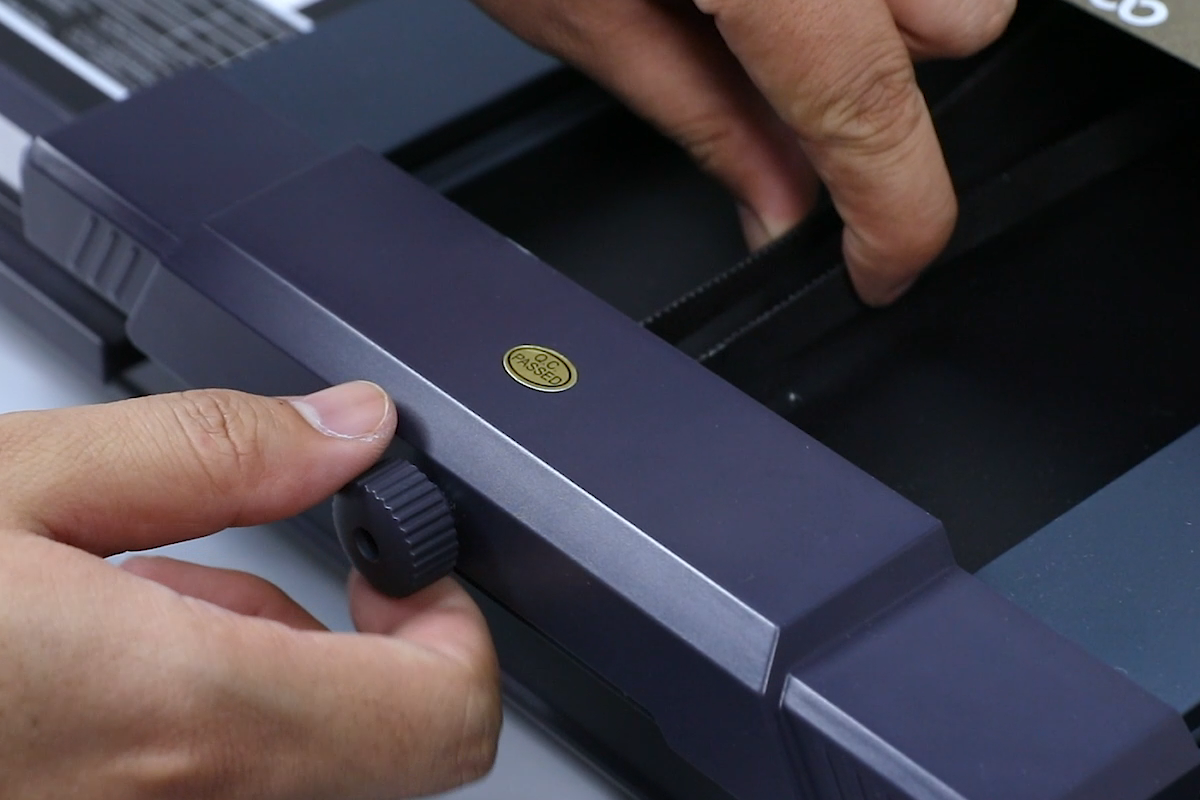
- Loosen the hand screw nut of the Y-axis belt tensioner.
- Loosen the screws above the Y-axis plate behind the heated bed using an H2.0 Allen key.
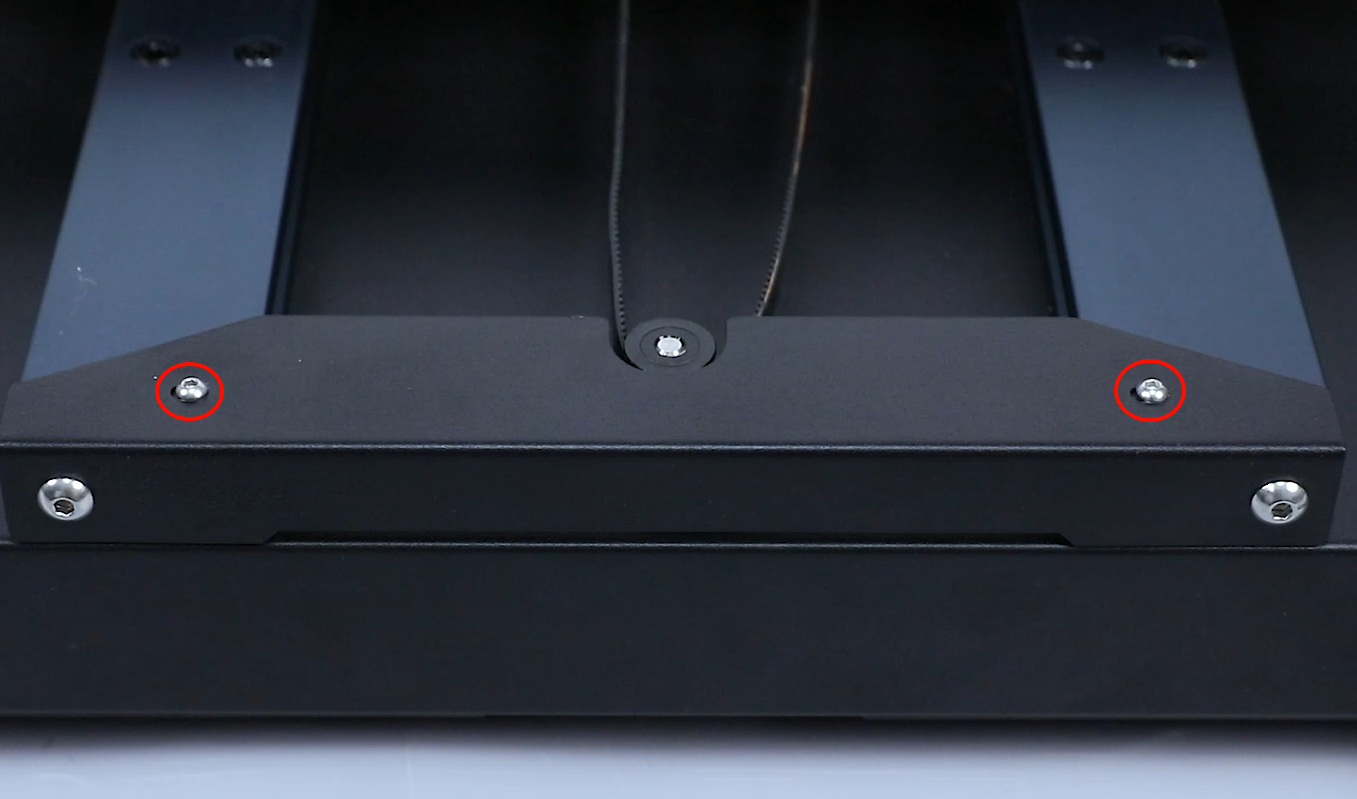
- Loosen the 2 screws securing the plate on the bottom of the Y-axis using a 3.0 mm Allen key.
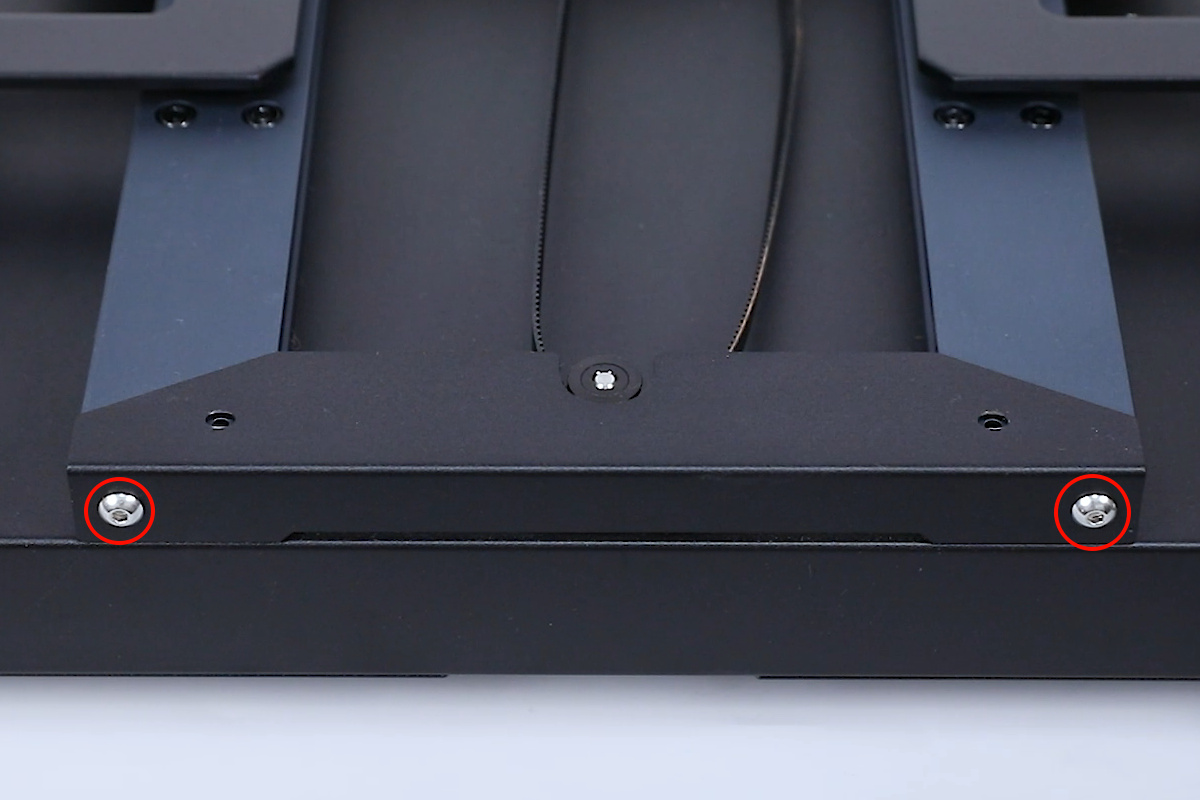
- Remove the Y-axis bottom plate and put the printer on its side.
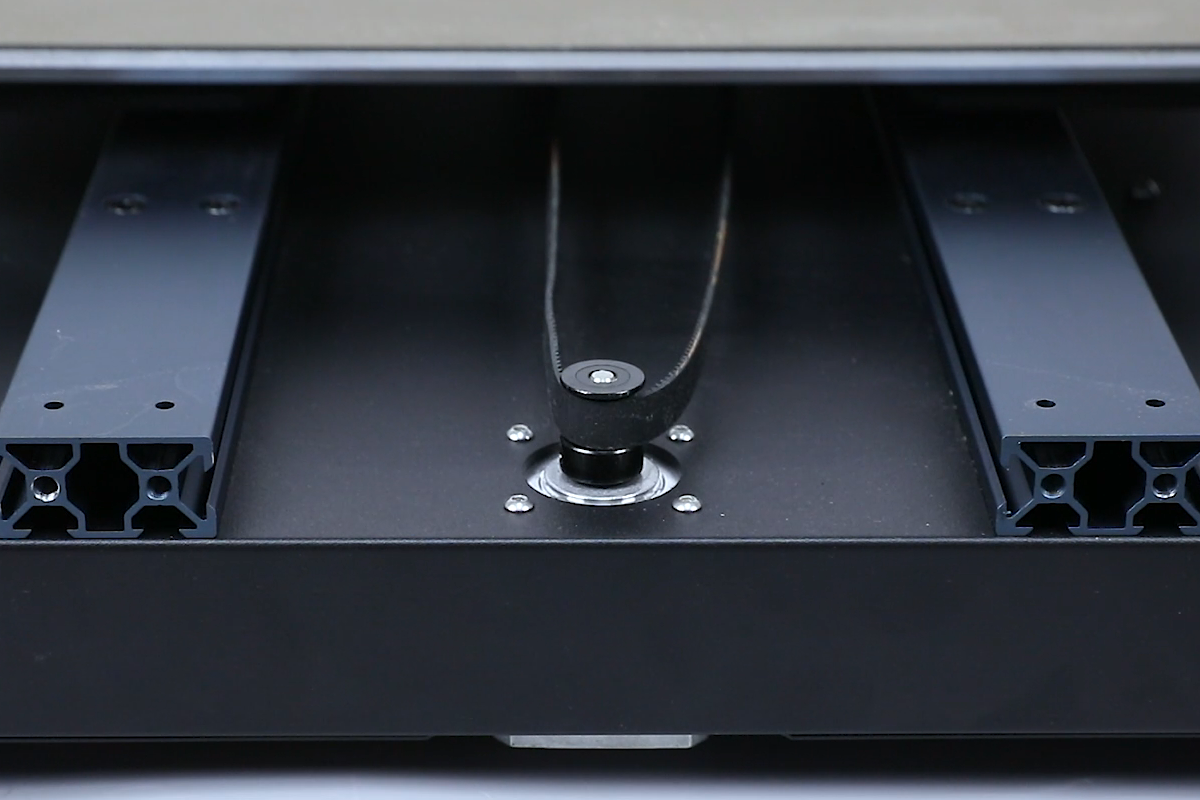
- Loosen the 4 screws securing the motor using a 2.5 mm Allen key.
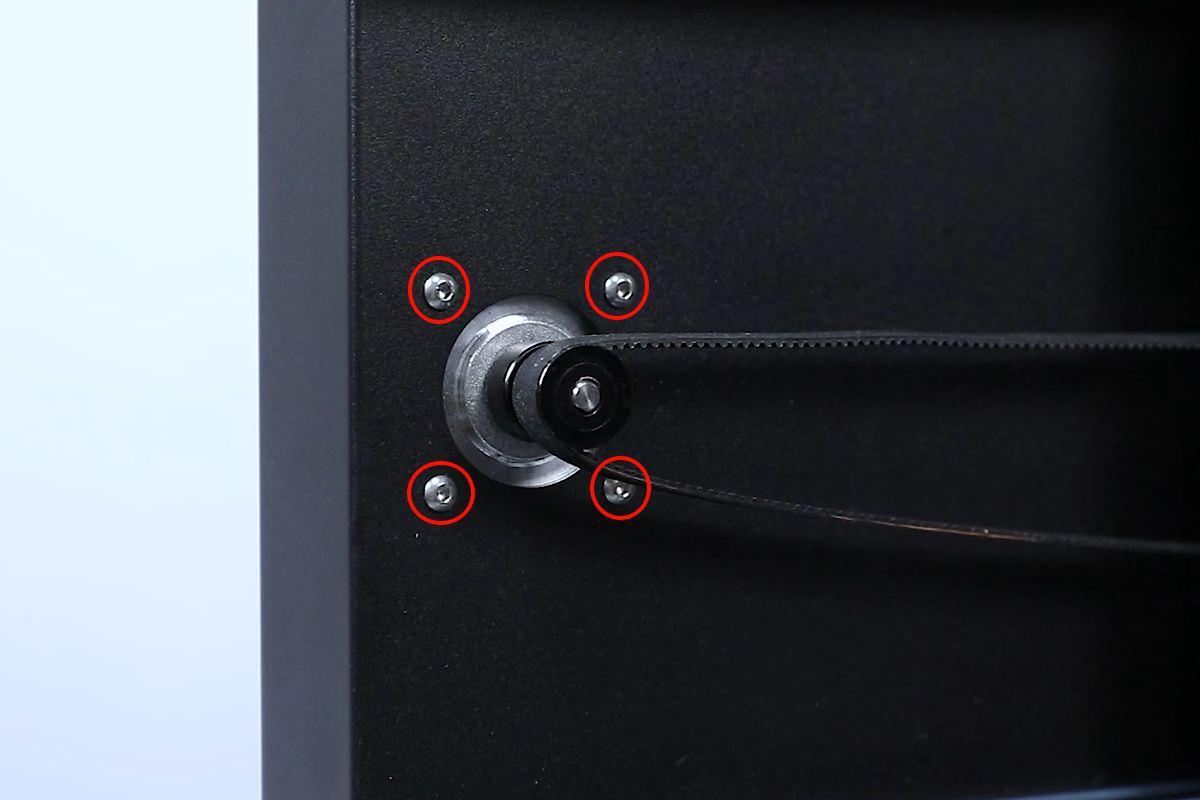
- Remove the belt from the motor synchronous wheel, take out the motor from the back side, and pull out the Y-axis motor cable.
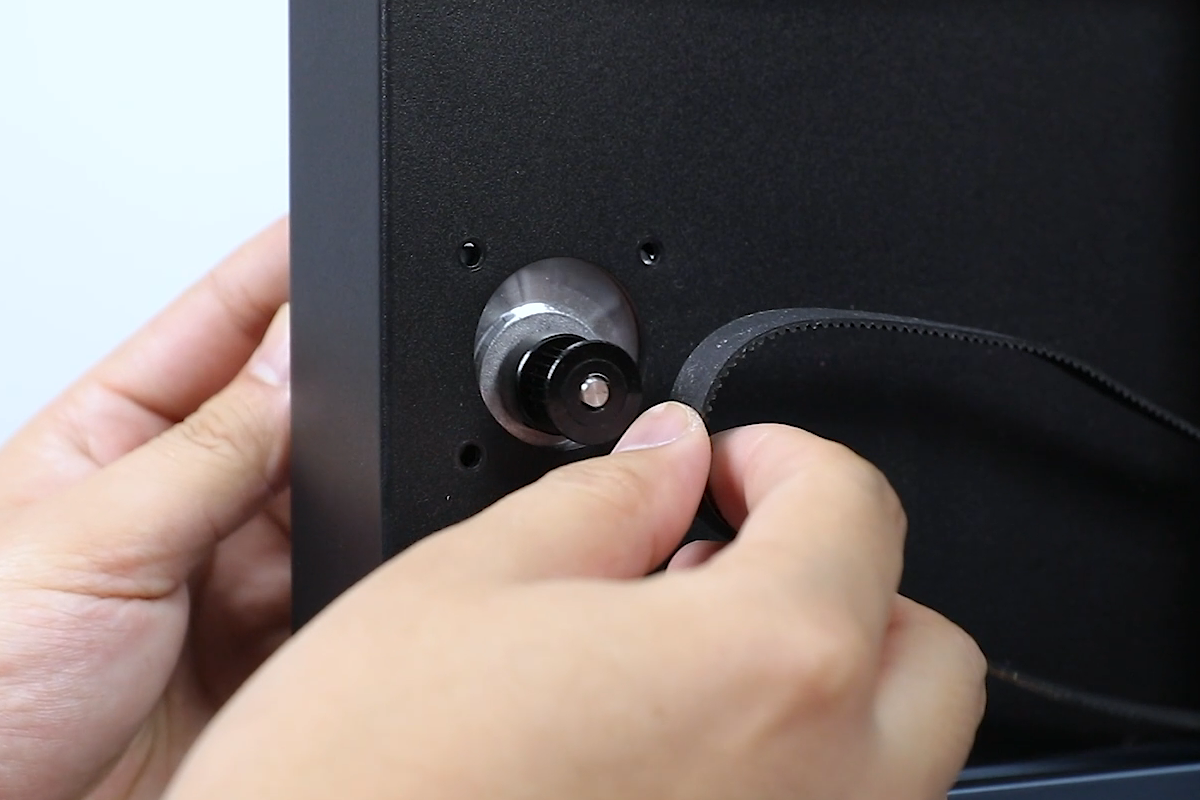
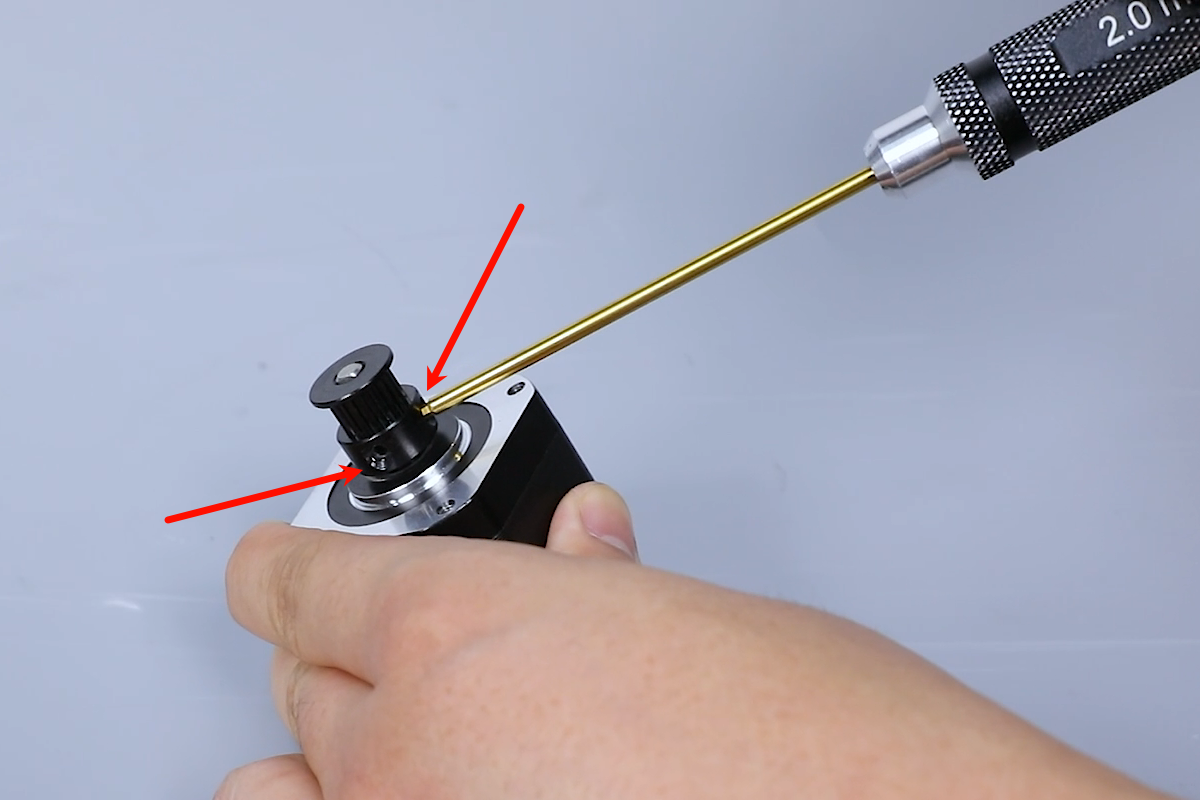
- Loosen the 2 screws securing the timing pulley using a 2.0 mm Allen key. Remove the timing pulley.
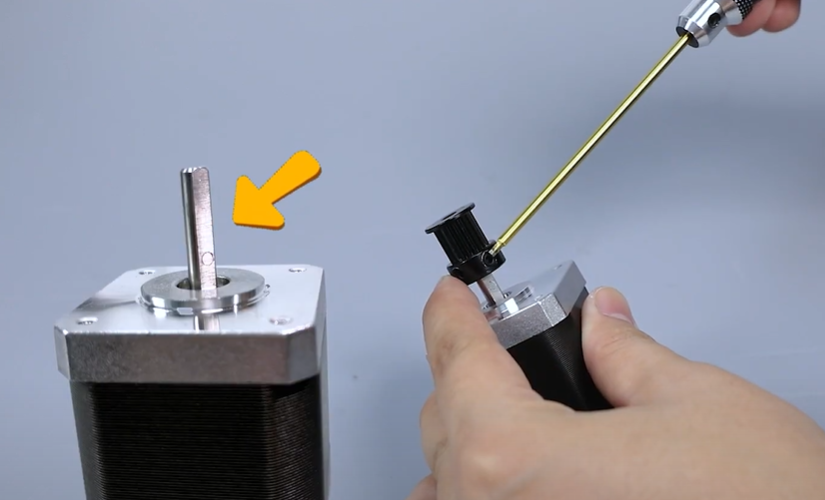
- Install the timing pulley in the mounting position of the motor pole of the new motor (one of the screws of the timing pulley should be fixed to the cross-section of the motor rod)
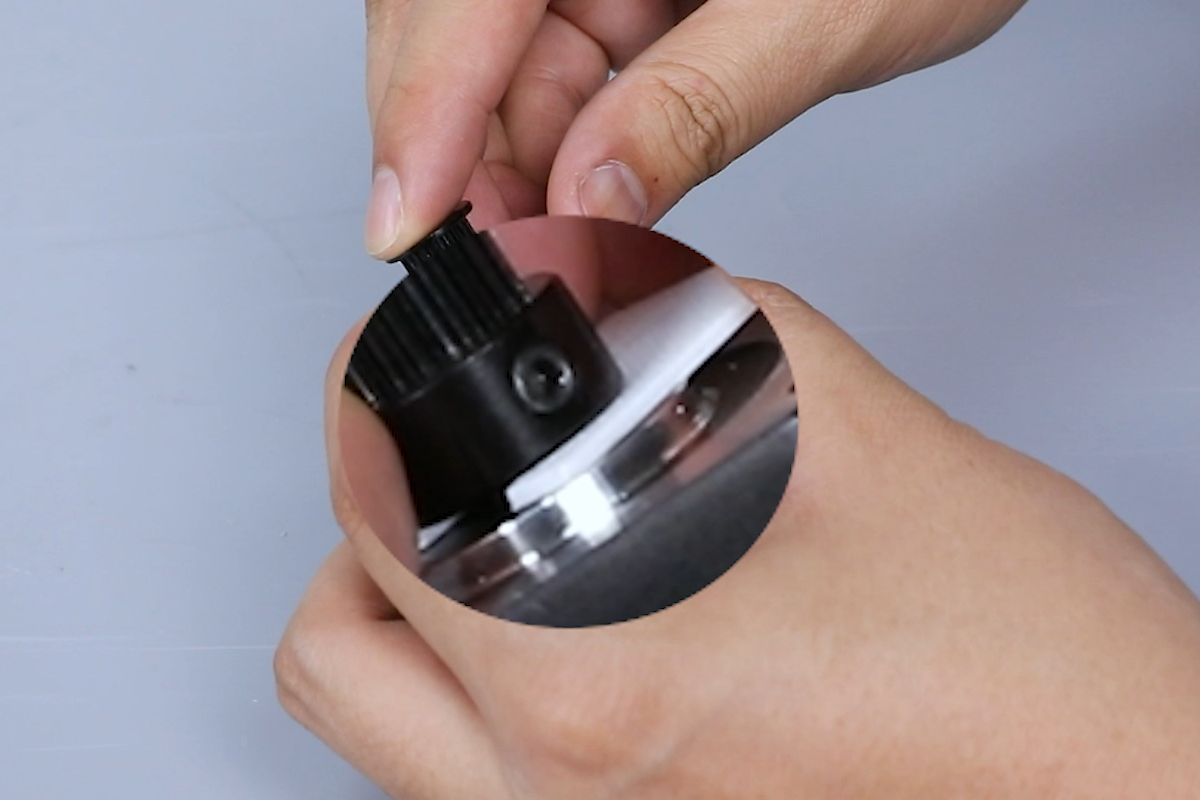
- Prepare the spacer with a thickness of 1mm. Put it between the timing pulley and the motor. Tighten the two screws that hold the timing pulley using an H2.0 Allen key. Remove the spacer.
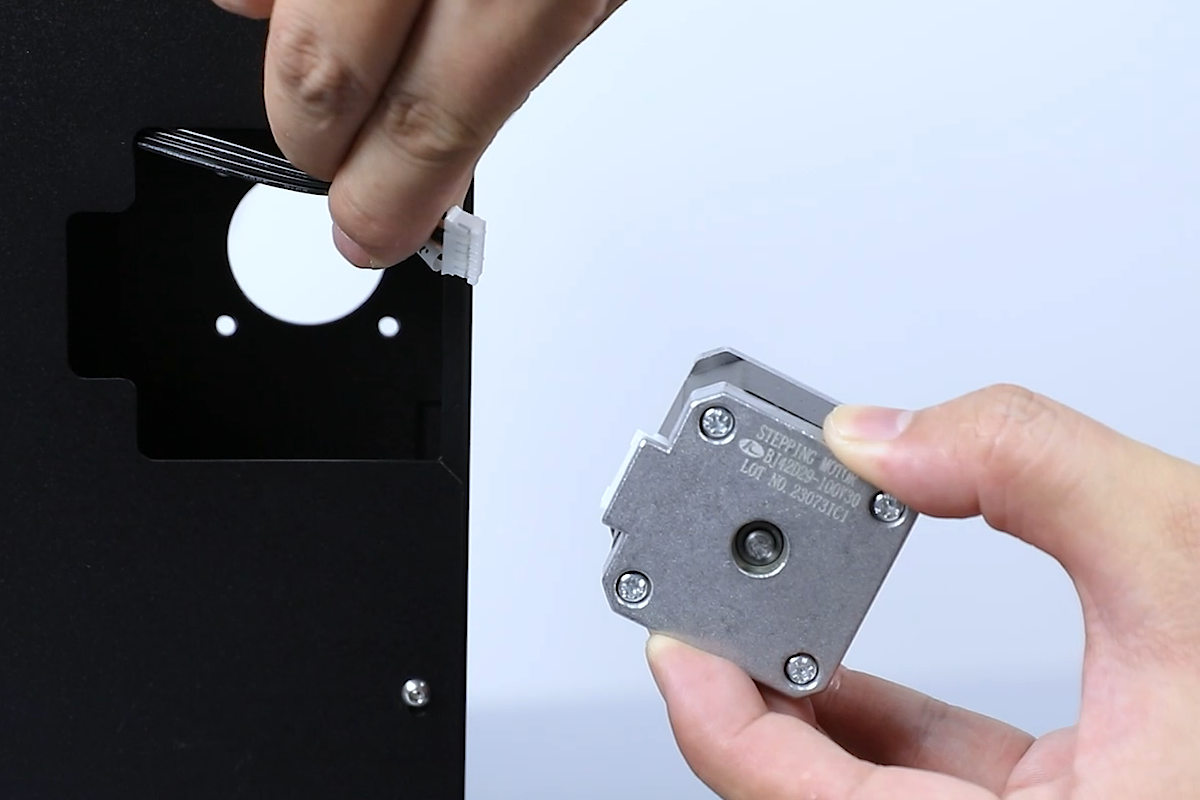
- Insert the Y-axis motor cable into the motor port and put the Y-axis belt on the motor timing pulley.
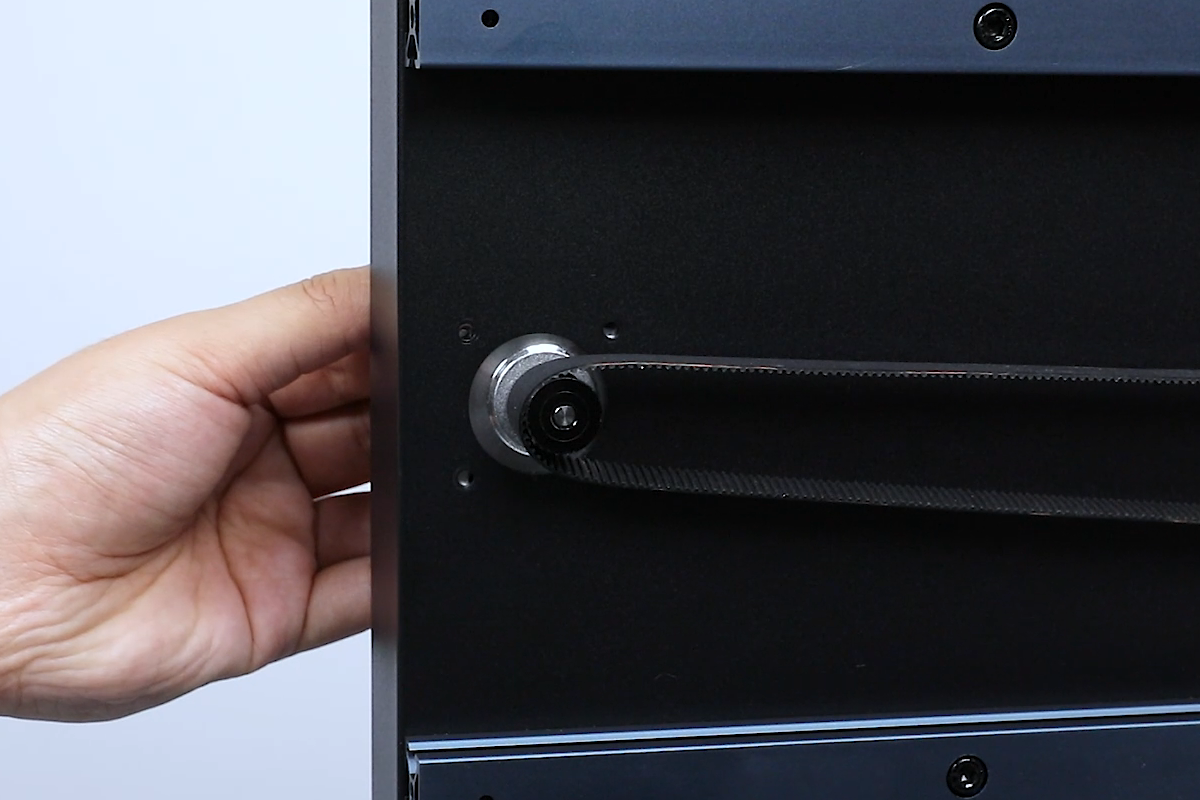
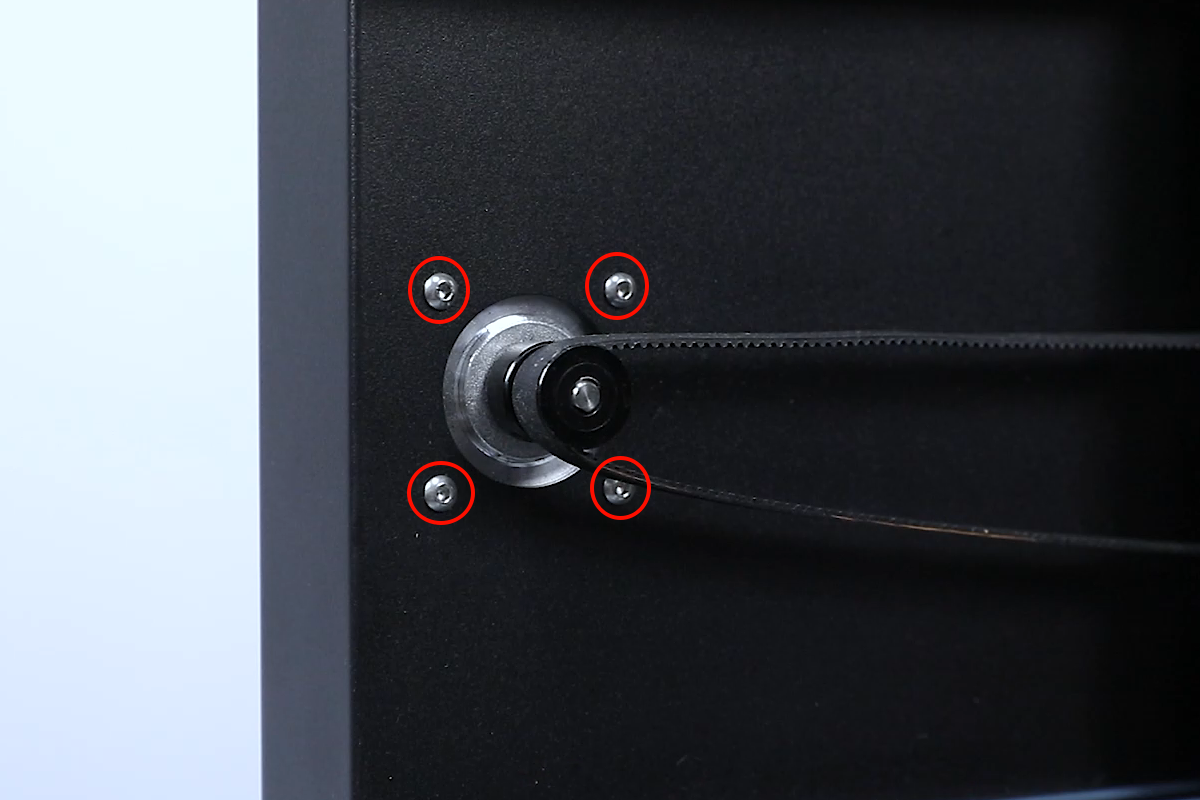
- Tighten the 4 screws securing the motor using a 2.5 mm Allen key.
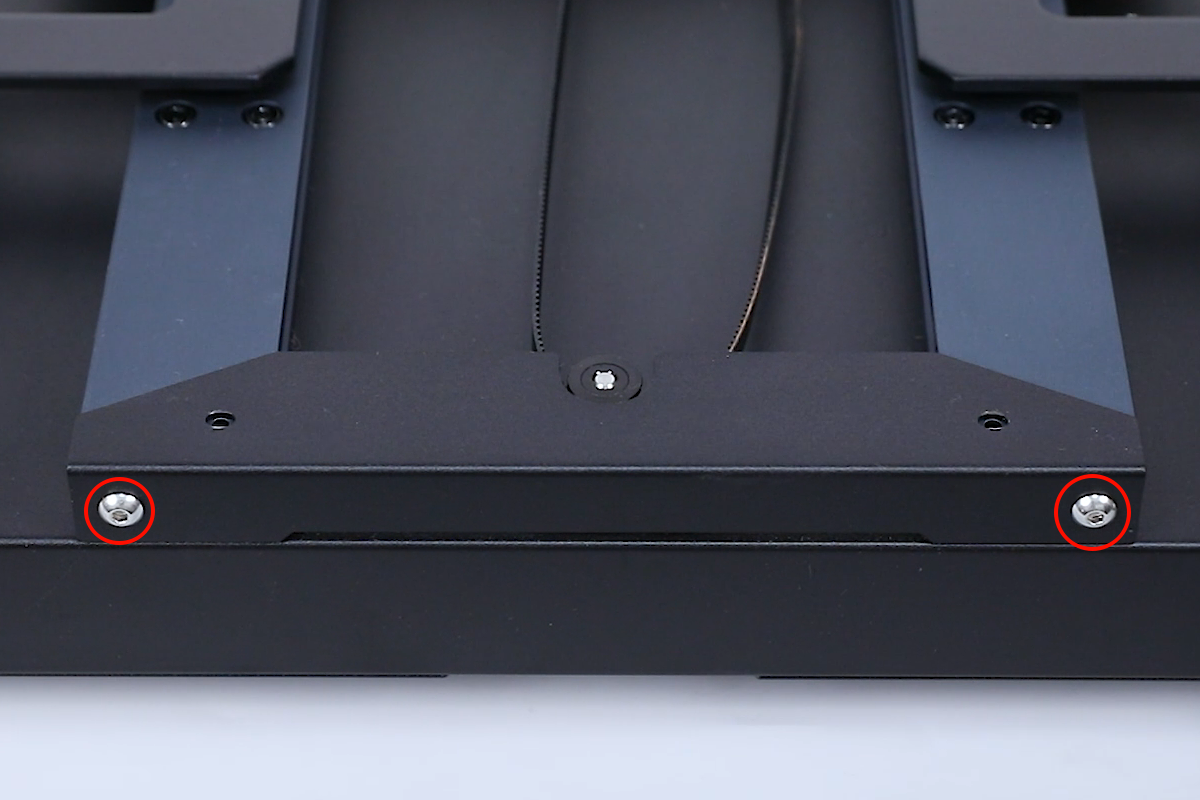
- Tighten the 2 screws securing the plate on the bottom of the Y-axis using a 3.0 mm Allen key.
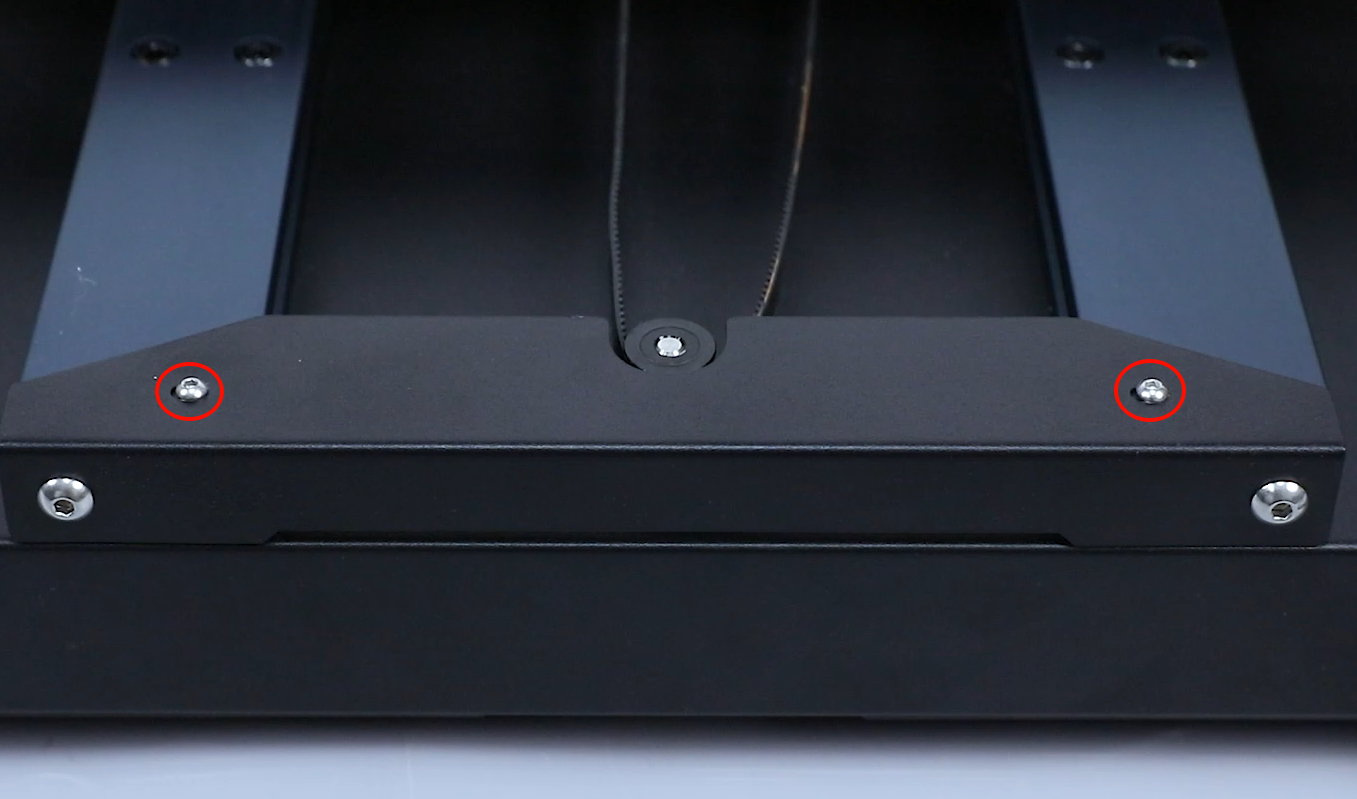
- Tighten the screws above the Y-axis plate behind the heated bed using an H2.0 Allen key.
- Rotate the Y-axis belt tensioner knob to adjust the belt tension to moderate, not too loose or too tight.
- Power on the printer. After the homing process, the printer is ready for use.