¶ Fault Symptoms
During the self-test process, the Build Plate continues moving upward and collides with the top of the Z Axis without stopping.
¶ Possible Causes
- Dust or cured resin in the Z Axis limit switch trigger area
- Loose Z Axis limit switch connector
- Faulty Z Axis limit switch or limit switch cable
- Mainboard failure
¶ Required Tools and Materials
- 2.0 mm Allen key
- 2.5 mm Allen key
- 3.0 mm Allen key
- 75% medical Isopropyl Alcohol (IPA)
- Lint-free cloth
- Nitrile gloves
¶ Preparation Before Troubleshooting
- Remove the UV Cover, Build Plate, and Resin Tank in advance.
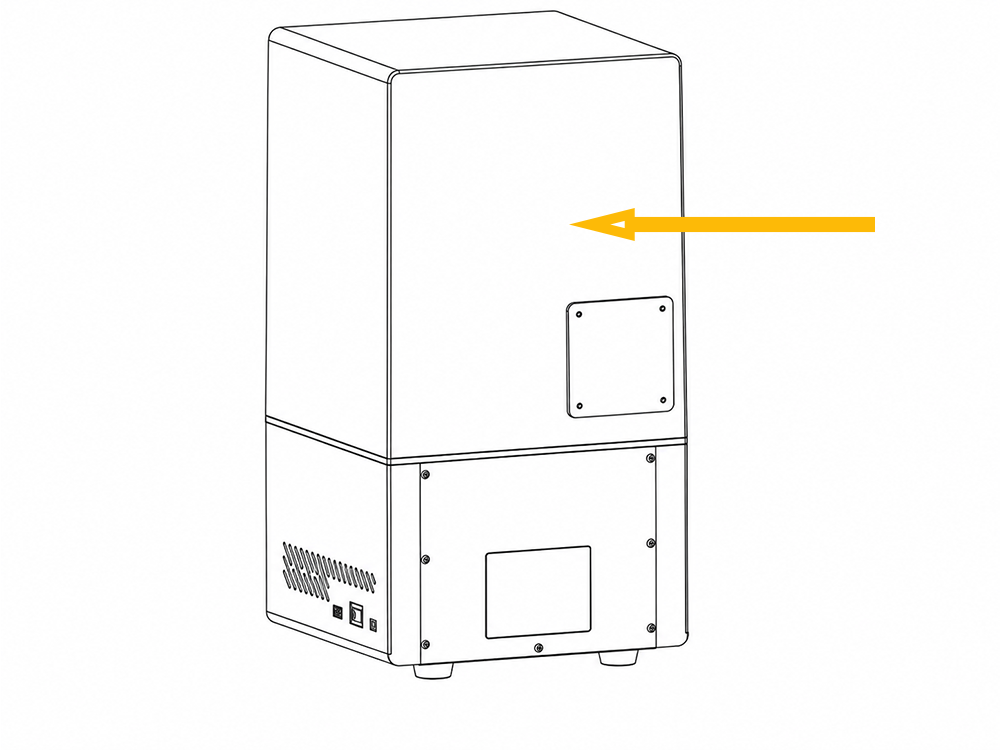
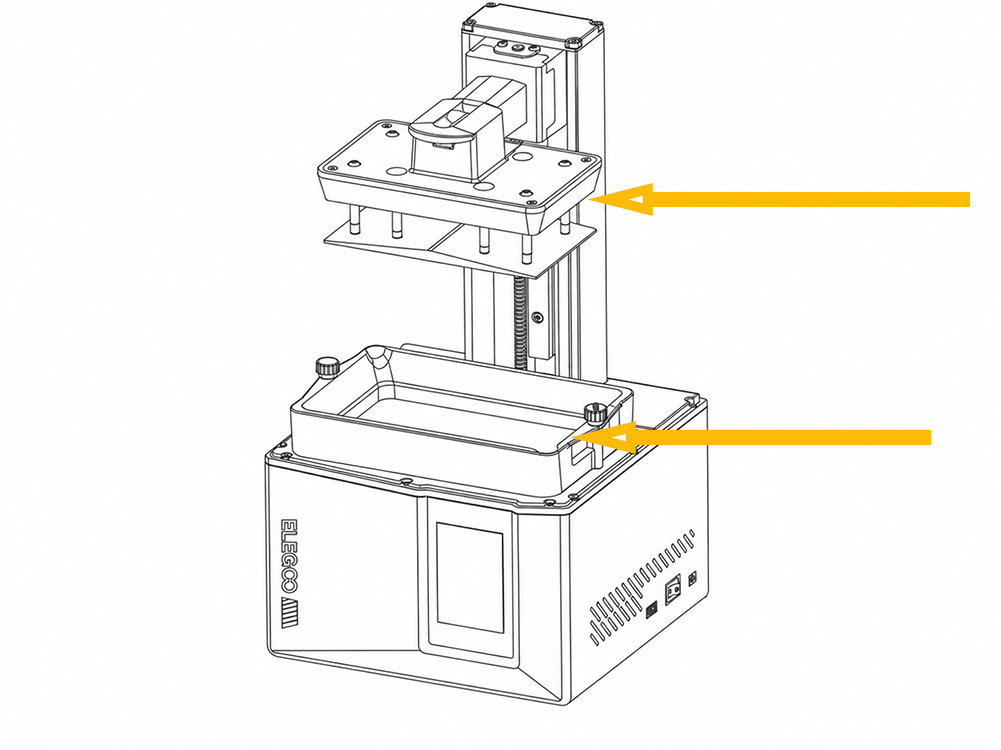
- Manually rotate the Lead Screw to lower the Z Axis arm to the bottom position.
Note: The surface of the Lead Screw is coated with grease. Before operation, wrap the Lead Screw with a lint-free cloth or wear gloves to avoid direct contact.
¶ Troubleshooting Steps
¶ 1. Check the Z Axis Limit Switch Assembly
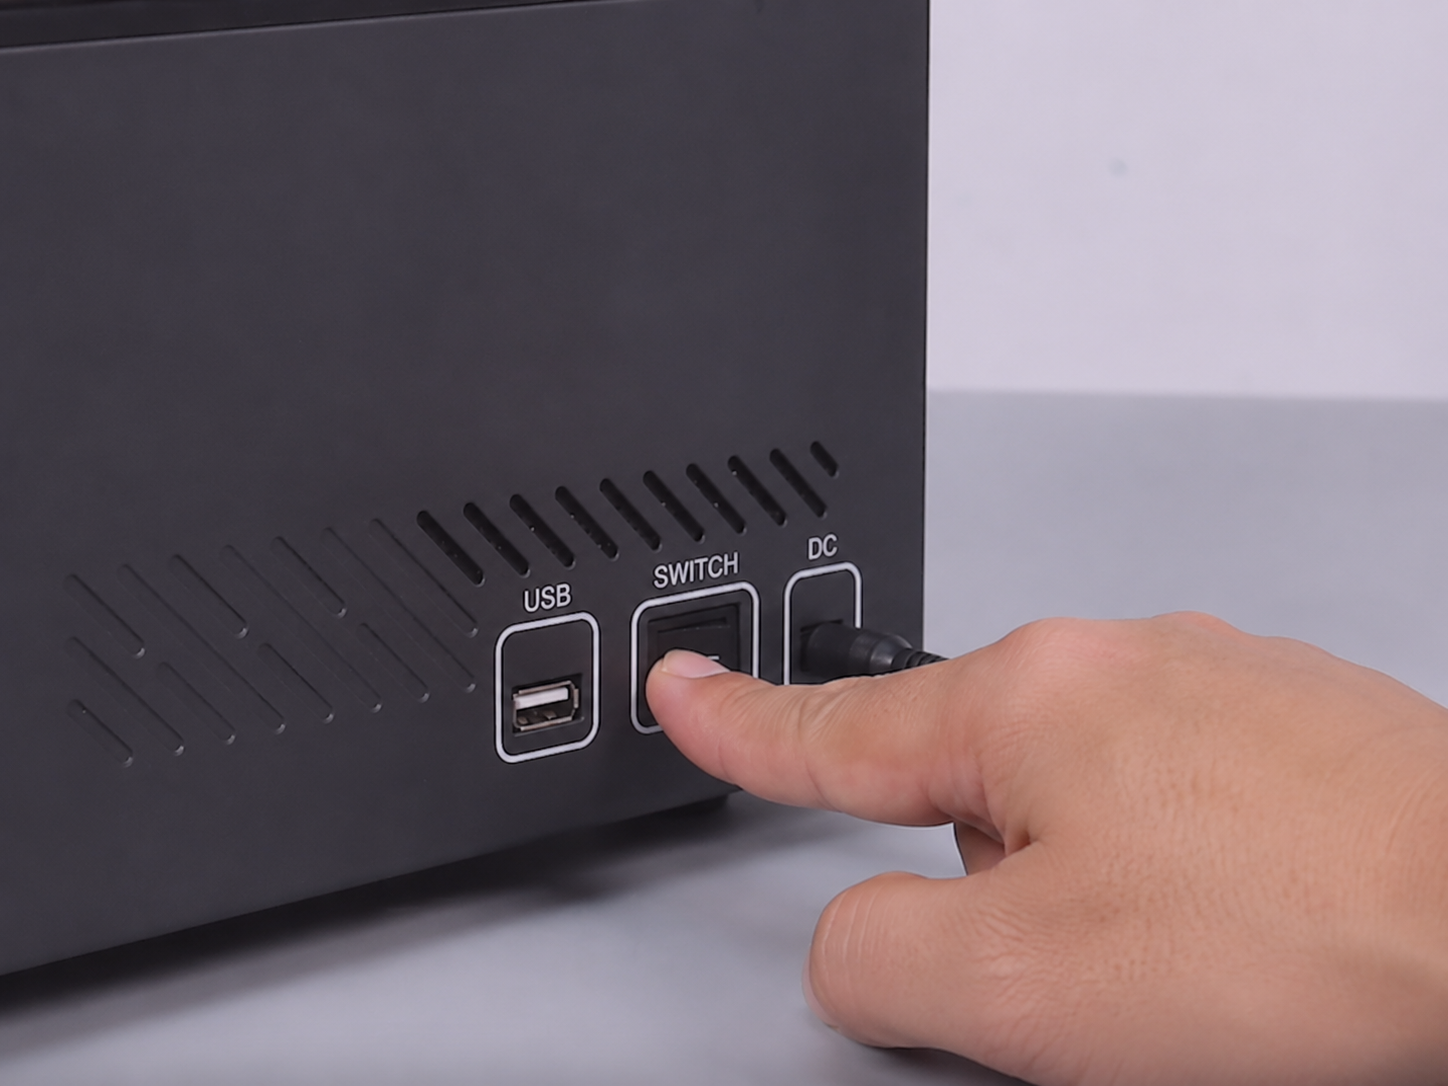
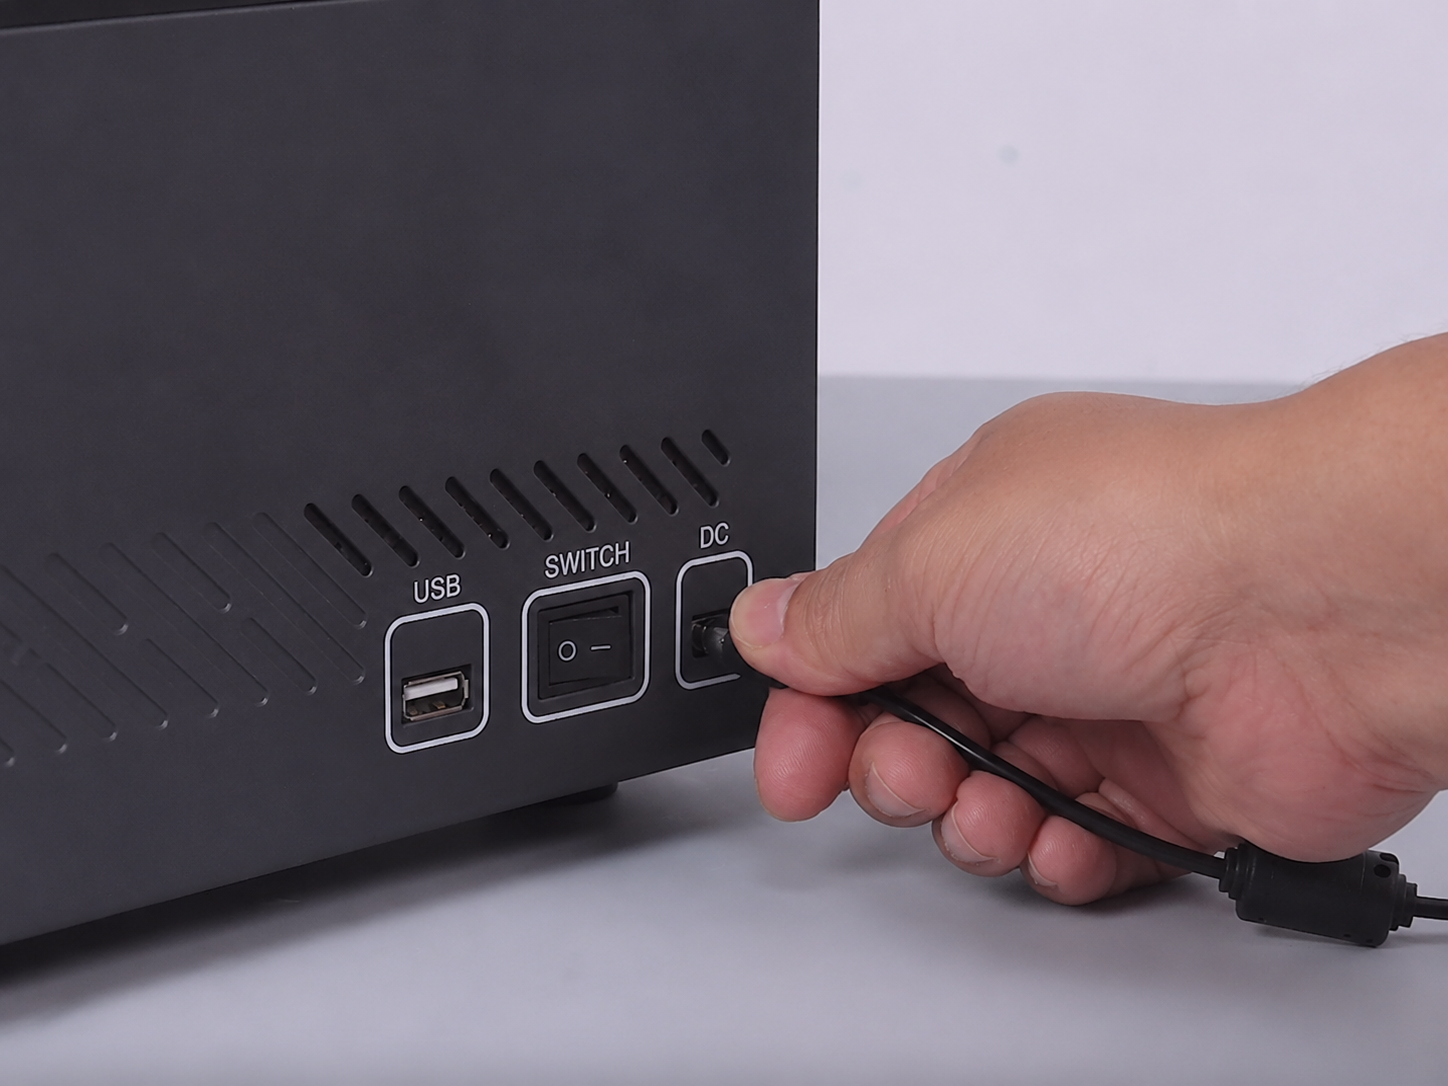
- Turn off the Power Switch and unplug the DC adapter.
- Place the printer on its side.
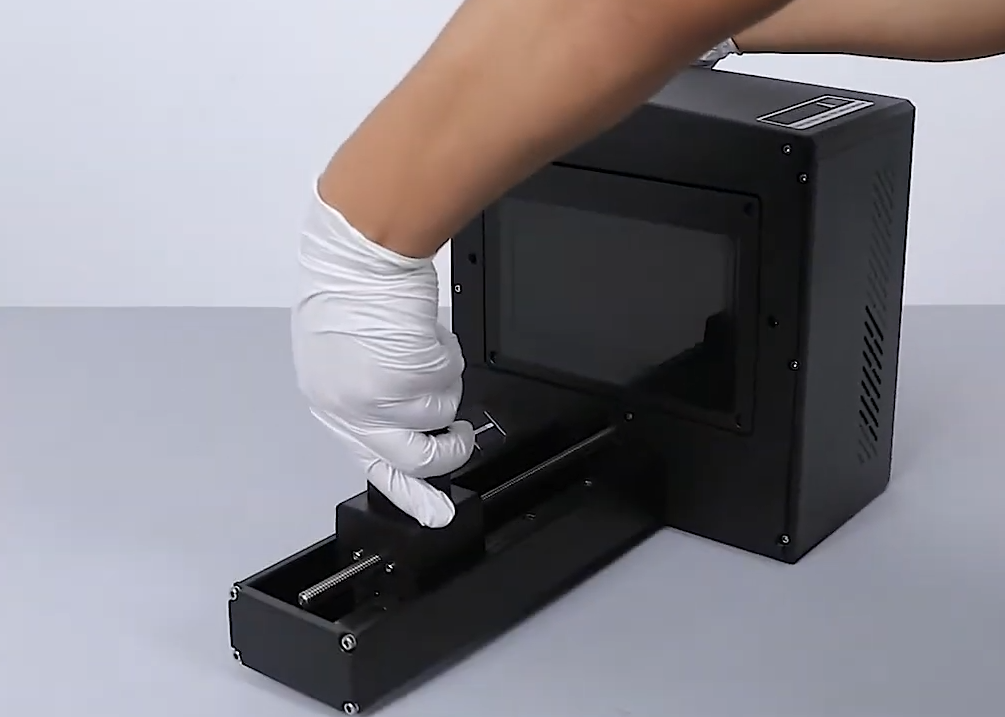
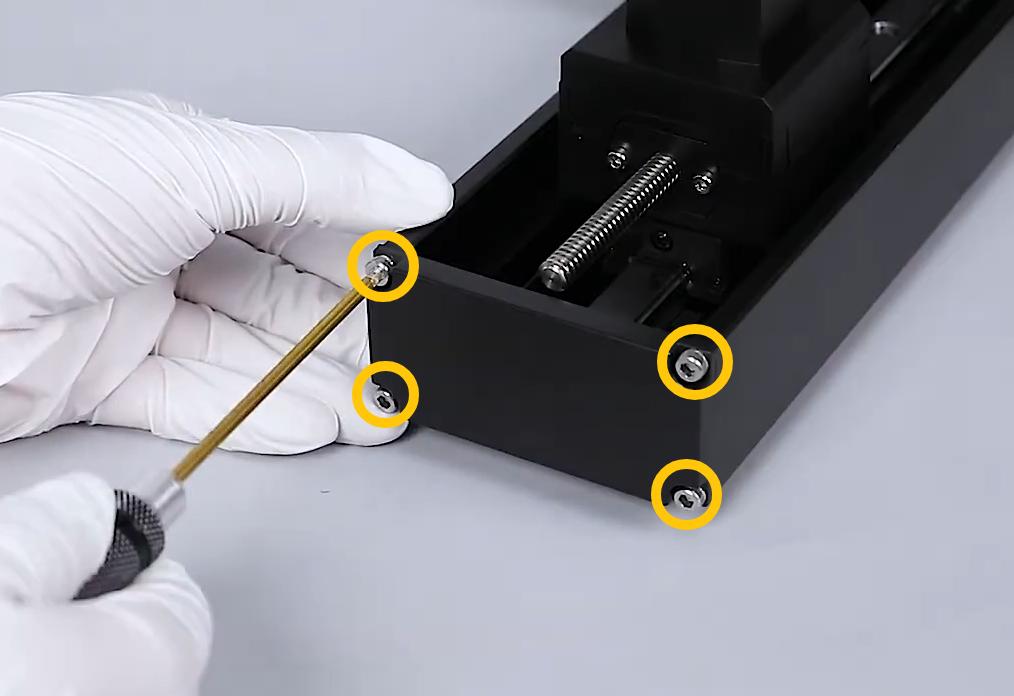
- Use a 3.0 mm Allen key to remove the four screws securing the top cover, then remove the top cover.
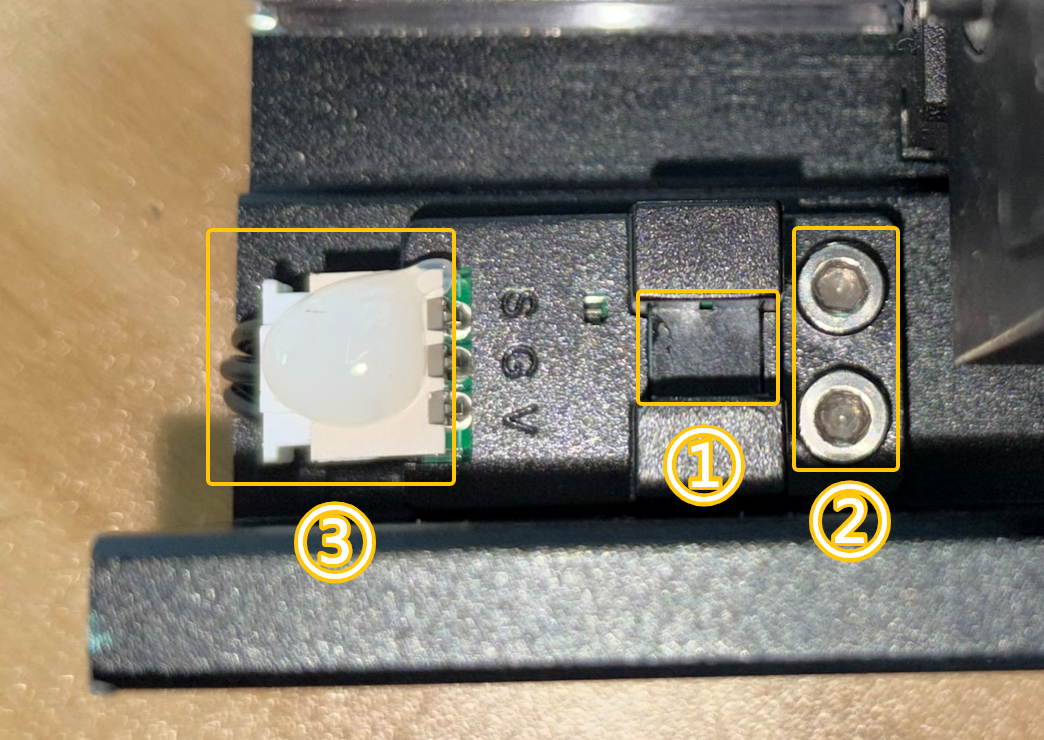
4. Check the Z Axis limit switch.
- Check whether there is dust or cured resin in the Z Axis limit switch trigger area ①. If dust or resin is found, use a lint-free cloth moistened with a small amount of Isopropyl Alcohol (IPA) to clean the surface of the limit switch.
- Check whether the screws securing the Z Axis limit switch ② are loose. If loose, tighten them using a 2.5 mm Allen key.
- Check whether the Z Axis limit switch connector ③ is damaged, loose, burnt, or discolored. If the connector is loose, reconnect it securely. If the connector is damaged, burnt, or discolored, take photos and contact Technical Support. Do not use the printer temporarily and keep the Power Switch turned off.
Note: To prevent the limit switch connector from becoming loose, hot glue has been applied to secure it. If the connector is not damaged or loose, do not remove the hot glue.
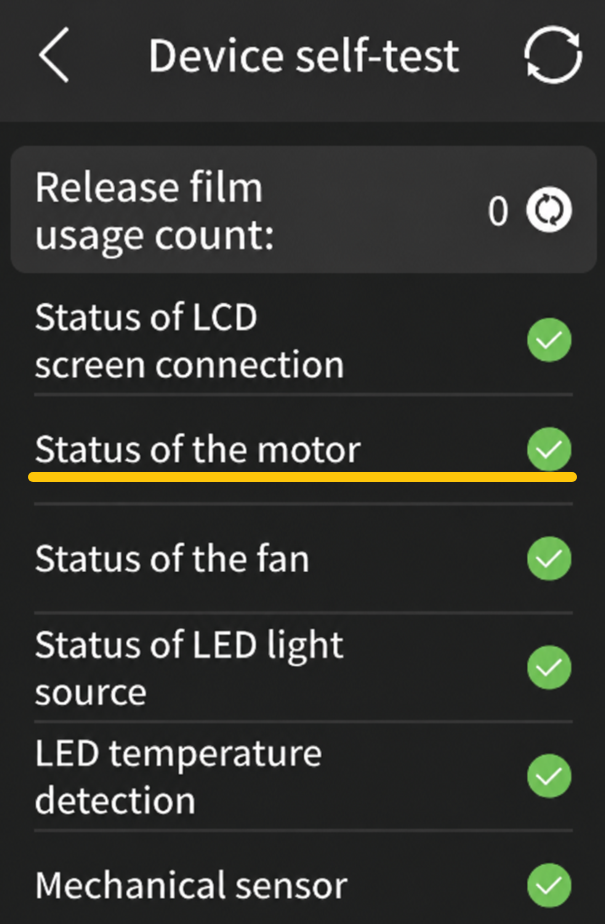
- After completing the above steps, reconnect the power and enter the self-test interface to test the printer.
Note: To prevent damage caused by continuous Z Axis movement, before the self-test reaches "Z-Axis-motor-status", place an object in the Z Axis limit switch trigger area to manually trigger the limit switch. Check whether the Z Axis can stop normally.
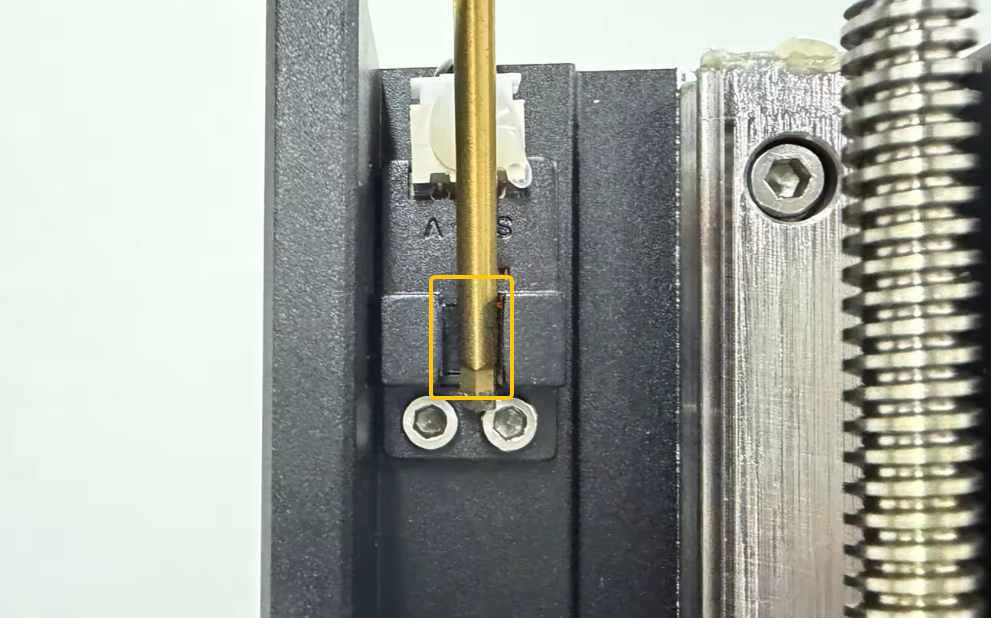
- If the Z Axis still does not stop when the Z Axis limit switch is manually triggered, immediately turn off the Power Switch and unplug the DC adapter. Proceed with further troubleshooting according to Step 2.
¶ 2. Check the Z Axis Limit Switch Connector on the Mainboard Side
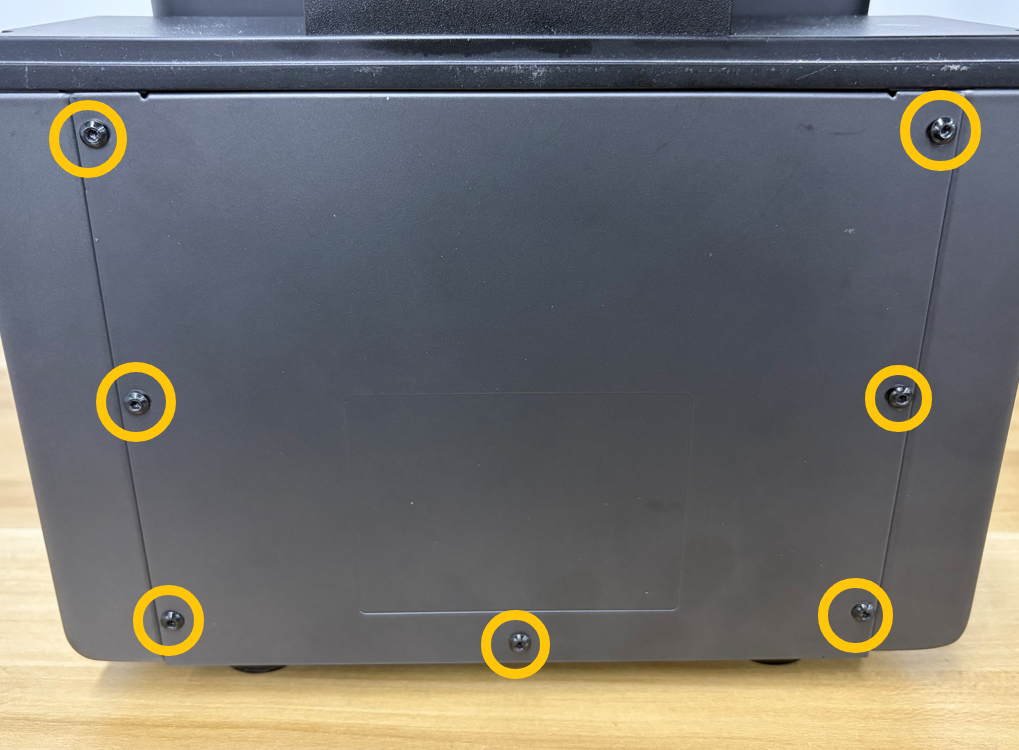
- Use a 2.0 mm Allen key to remove the seven screws securing the rear panel, then remove the rear panel.
- Check whether the Z Axis limit switch connector is loose.
If the connector is not loose, continue with further troubleshooting steps.
Note: To prevent the limit switch connector from becoming loose, hot glue has been applied to secure it. If the connector is not damaged or loose, do not remove the hot glue.
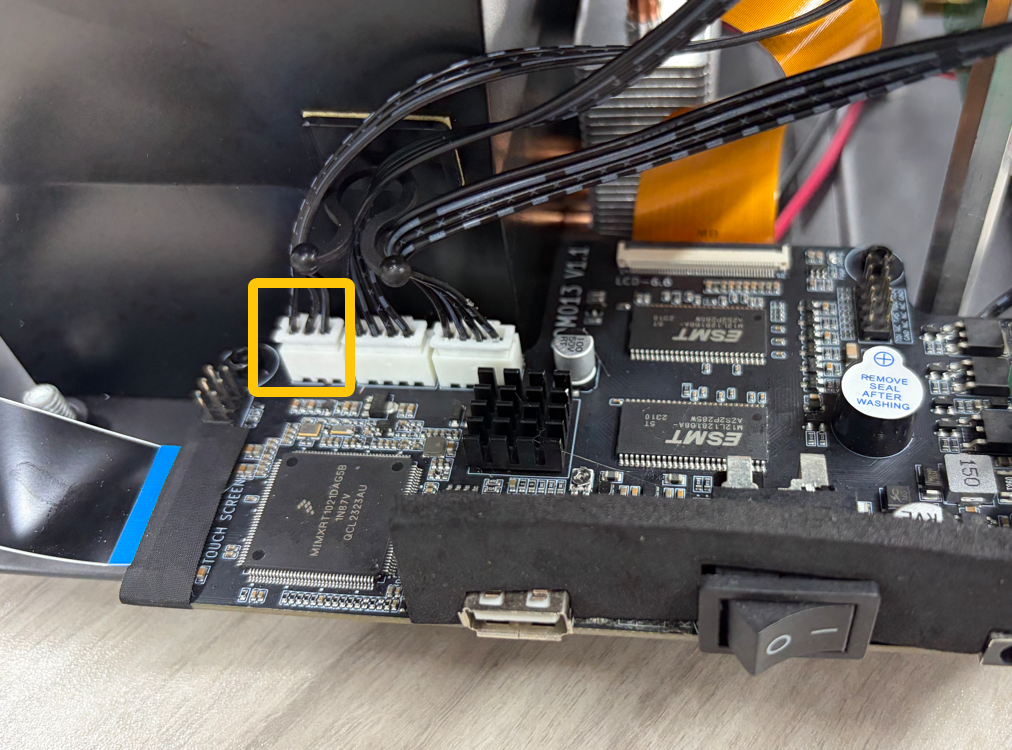
- If the connector is burnt, discolored, or has Photopolymer resin residue on its surface, stop using the printer temporarily. Turn off the Power Switch and unplug the DC adapter. Take photos and contact Technical Support.
¶ Contact Technical Support
If the issue remains unresolved after completing the troubleshooting steps, please provide the following information when contacting Technical Support:
Email: 3dp@elegoo.com
- Test result: When manually triggering the Z Axis limit switch, can the Z Axis stop moving?
- Photos of both sides of the Z Axis limit switch connectors. The photos should clearly show:
- Z Axis limit switch fixing screws
- Trigger area
- Connectors
¶ Help us improve
If you have any ideas about the wiki pages, please let us know via ELEGOO official feedback channel