¶ Required Tools
2.5mm Allen Key
Phillips Screwdriver
New Touch Screen Assembly
Electronic Adhesive
Tweezers
Hair Dryer (used to soften the electronic adhesive)
¶ Disassembly Steps
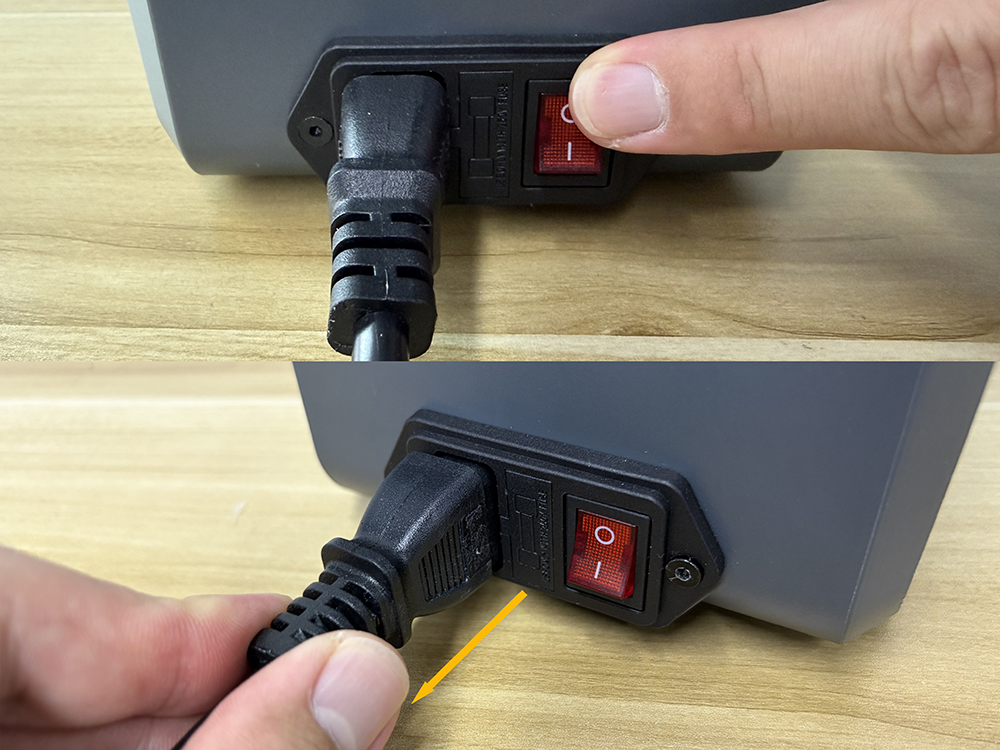
Note: Before starting the operation, turn off the H1 HT power switch and unplug the power cord. Ensure that the device is completely powered off before proceeding.
¶ Remove the Filament
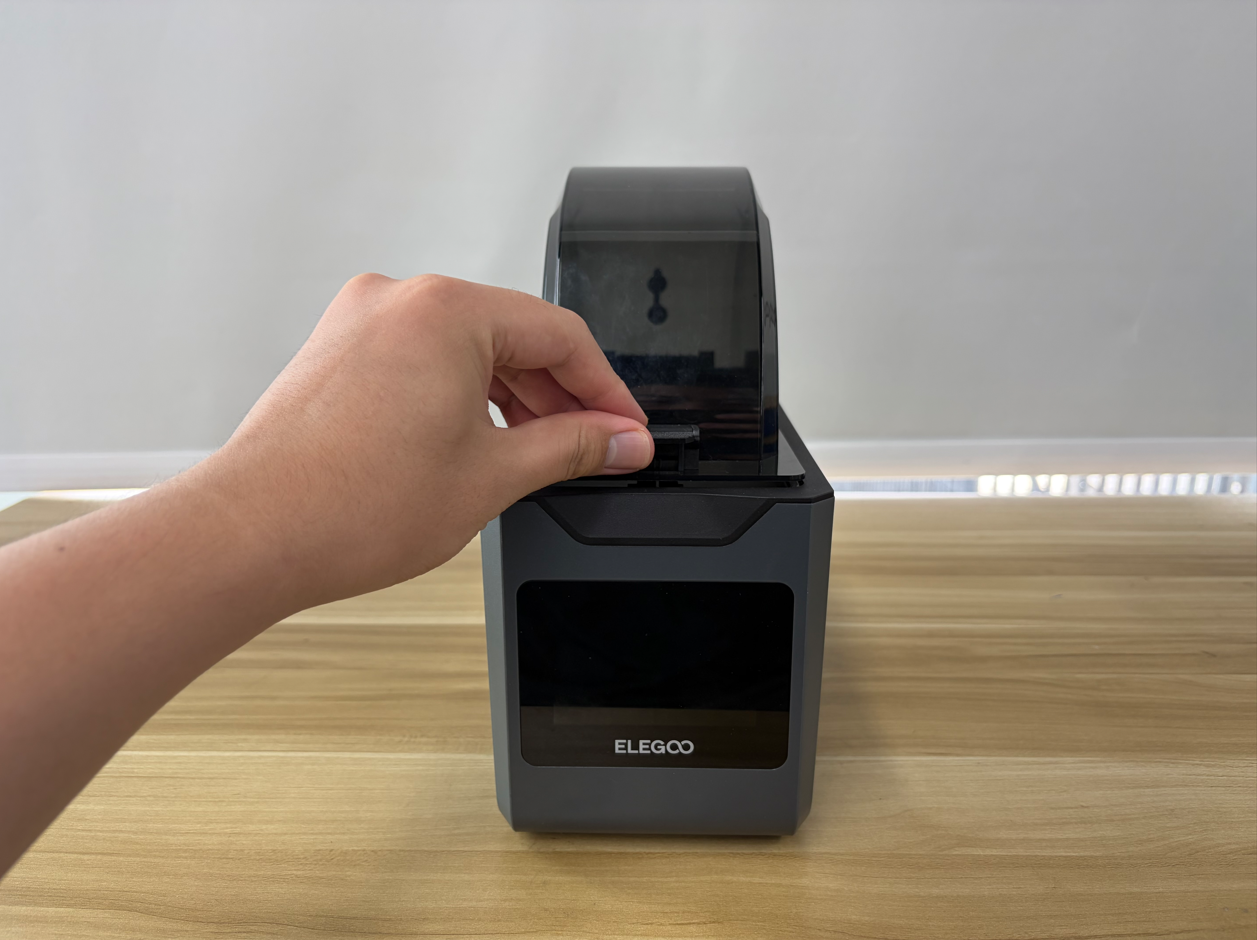
- Open the top cover.
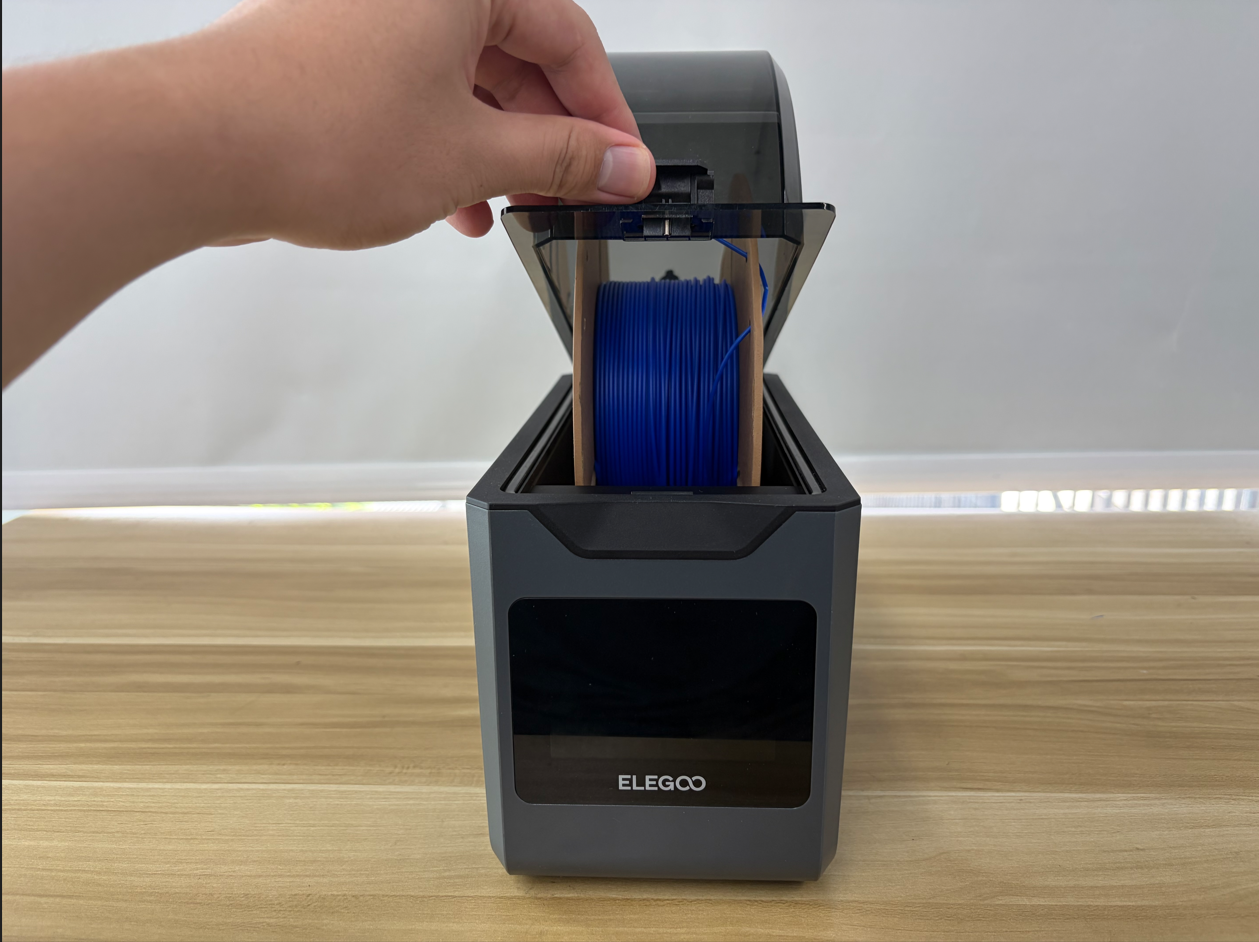
- Remove the filament.
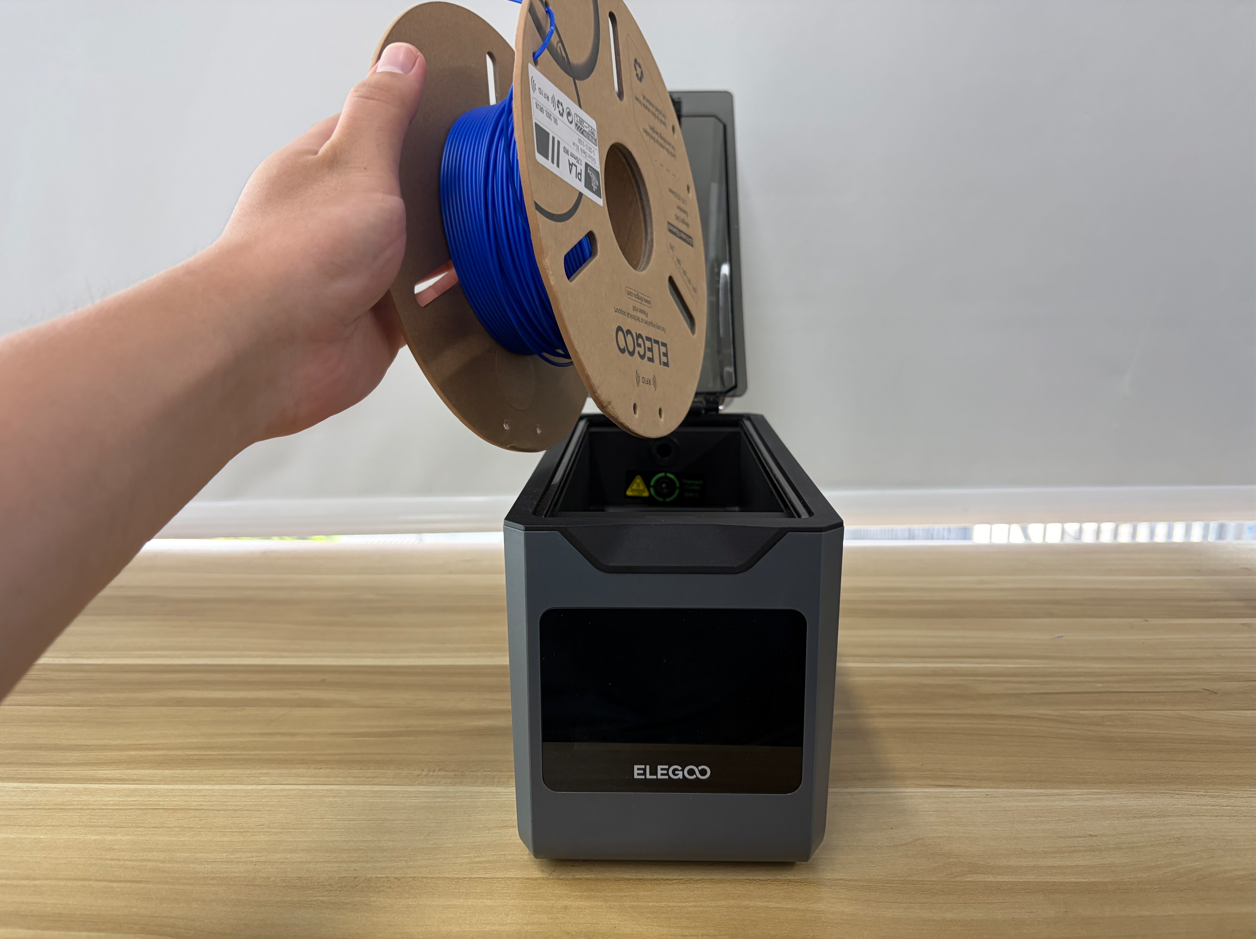
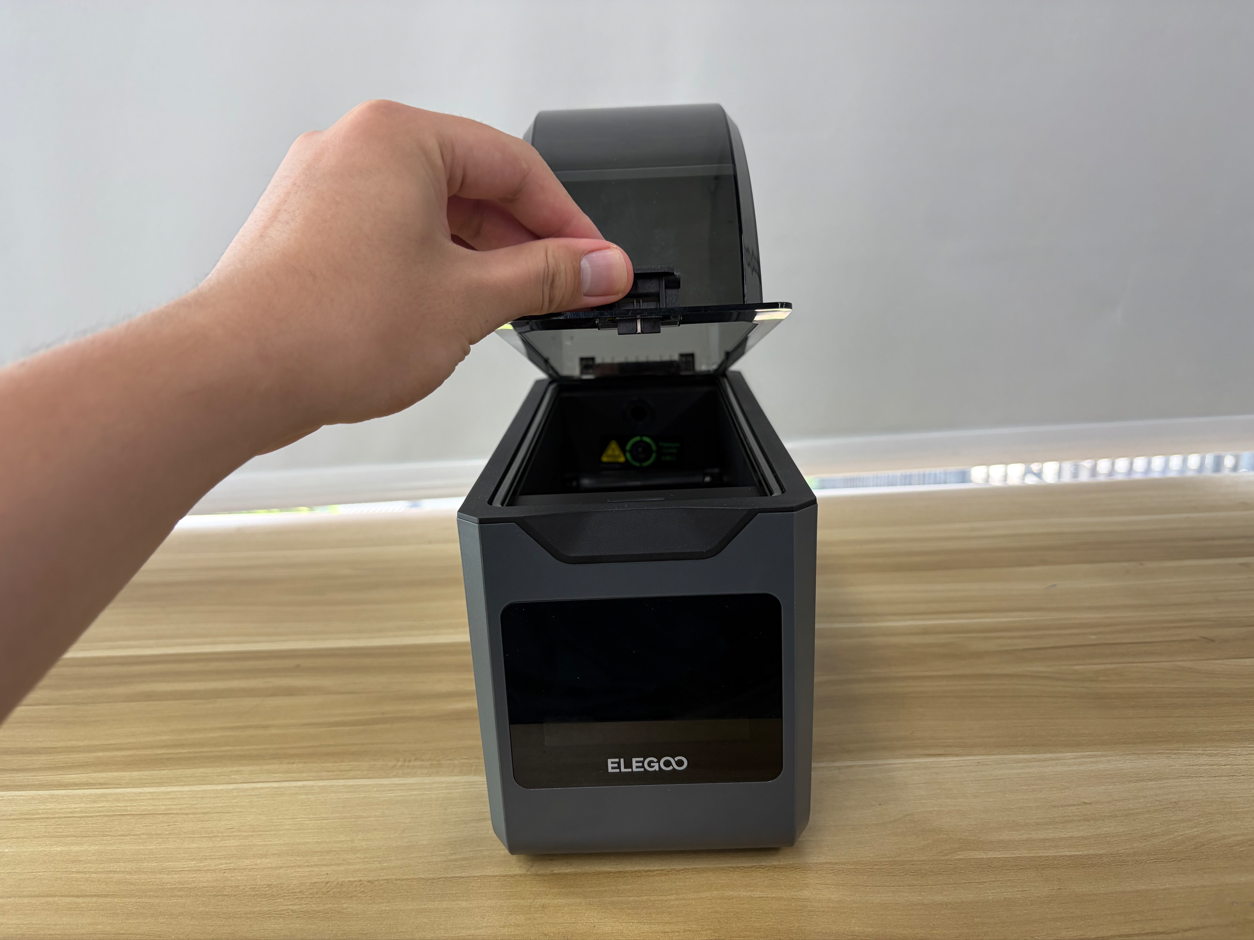
- Close the top cover.
¶ Open the Bottom Cover
- Place the H1 HT on its side on a flat surface to facilitate bottom cover removal.
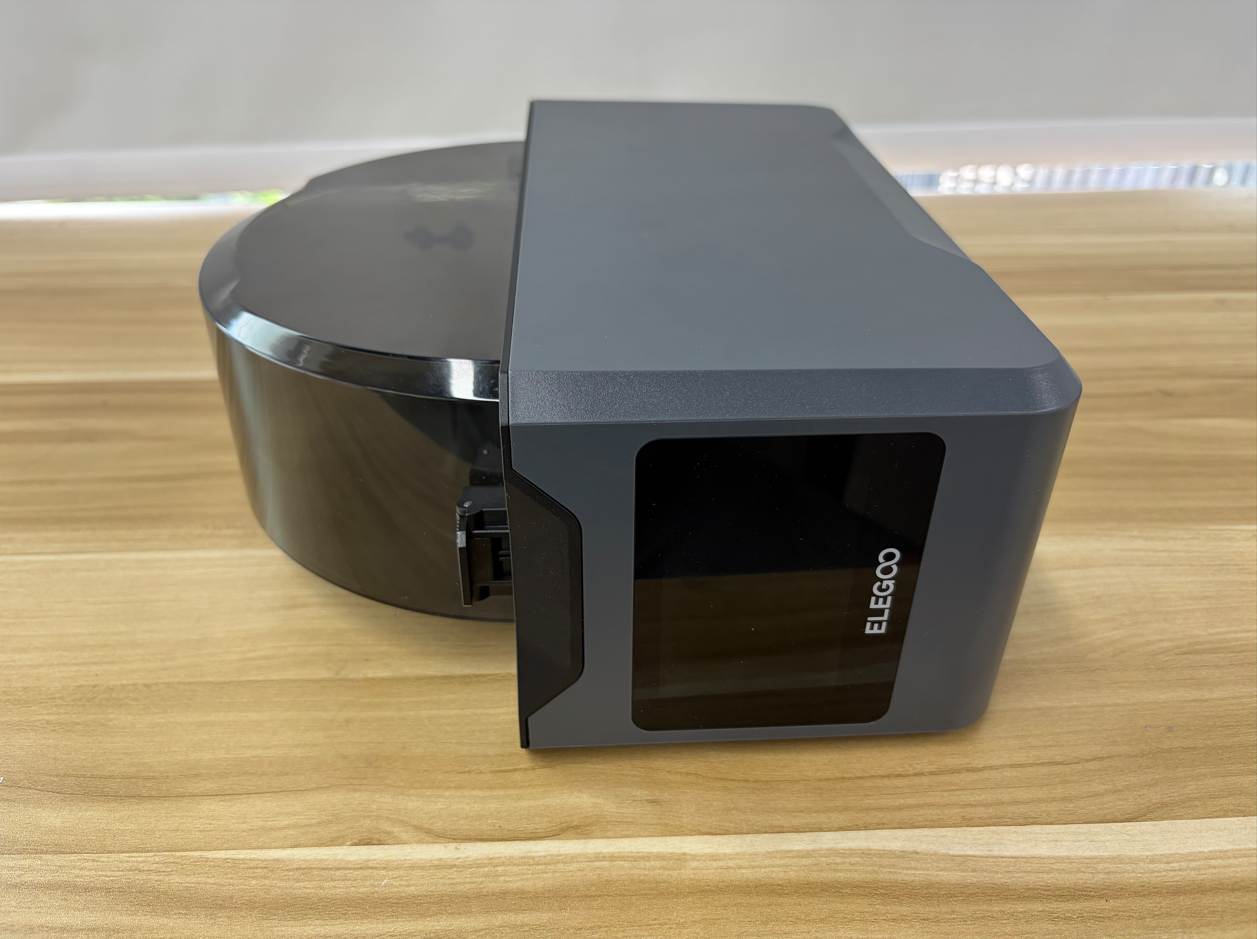
- Use a 2.5 mm Allen Key to remove the 4 screws securing the bottom cover.
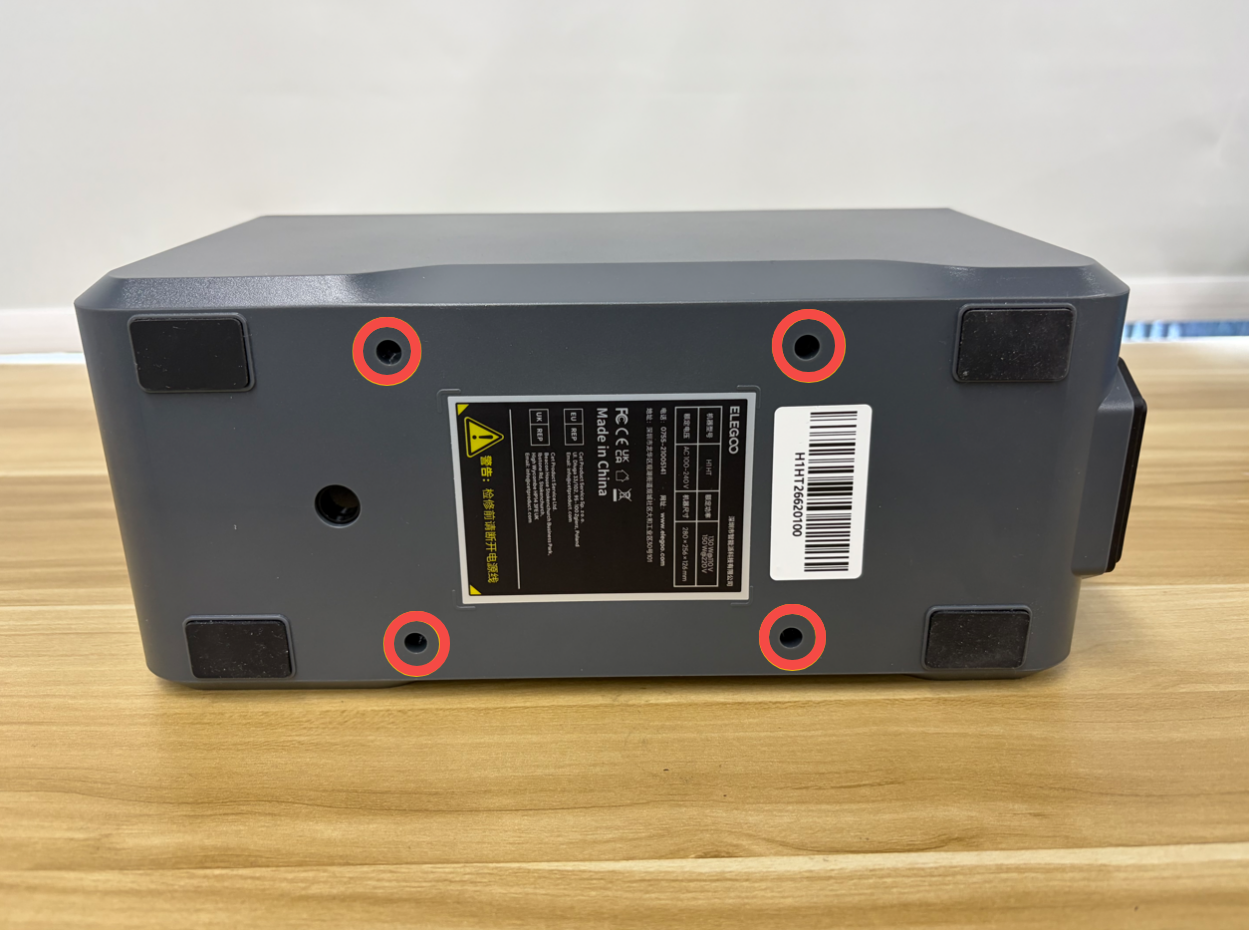
- Slowly open the bottom cover and pay attention to the internal cable connections to avoid pulling or damaging the cables.
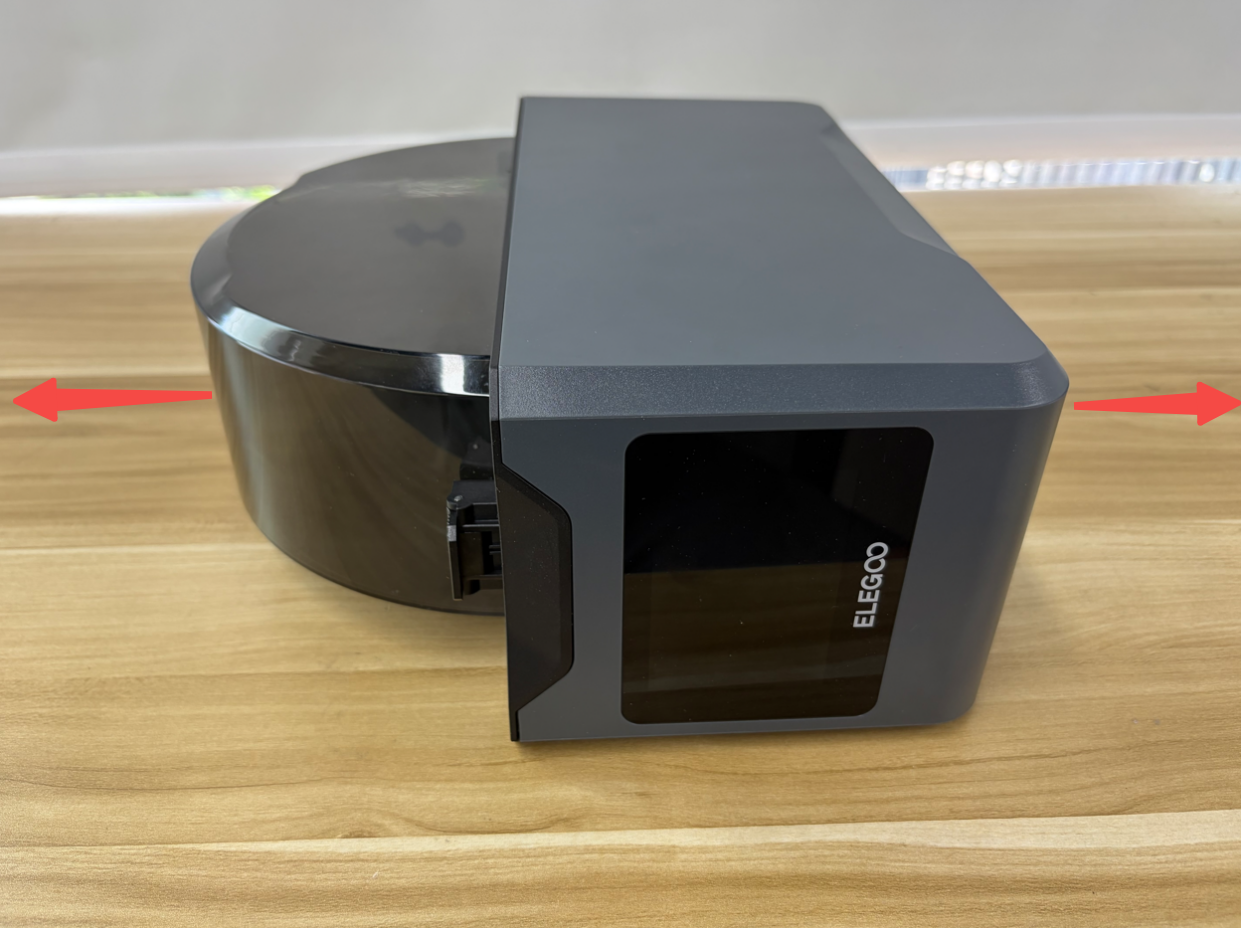
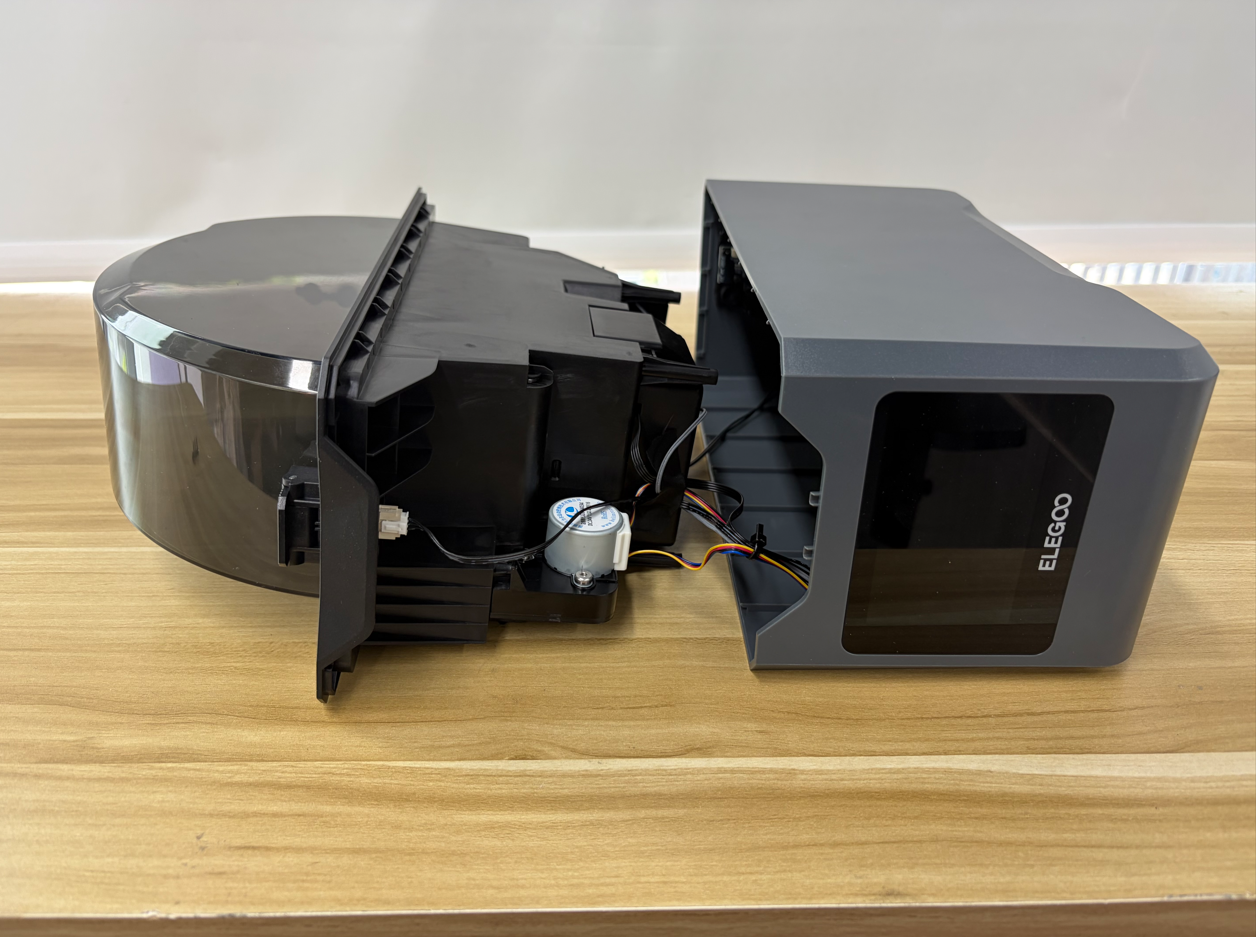
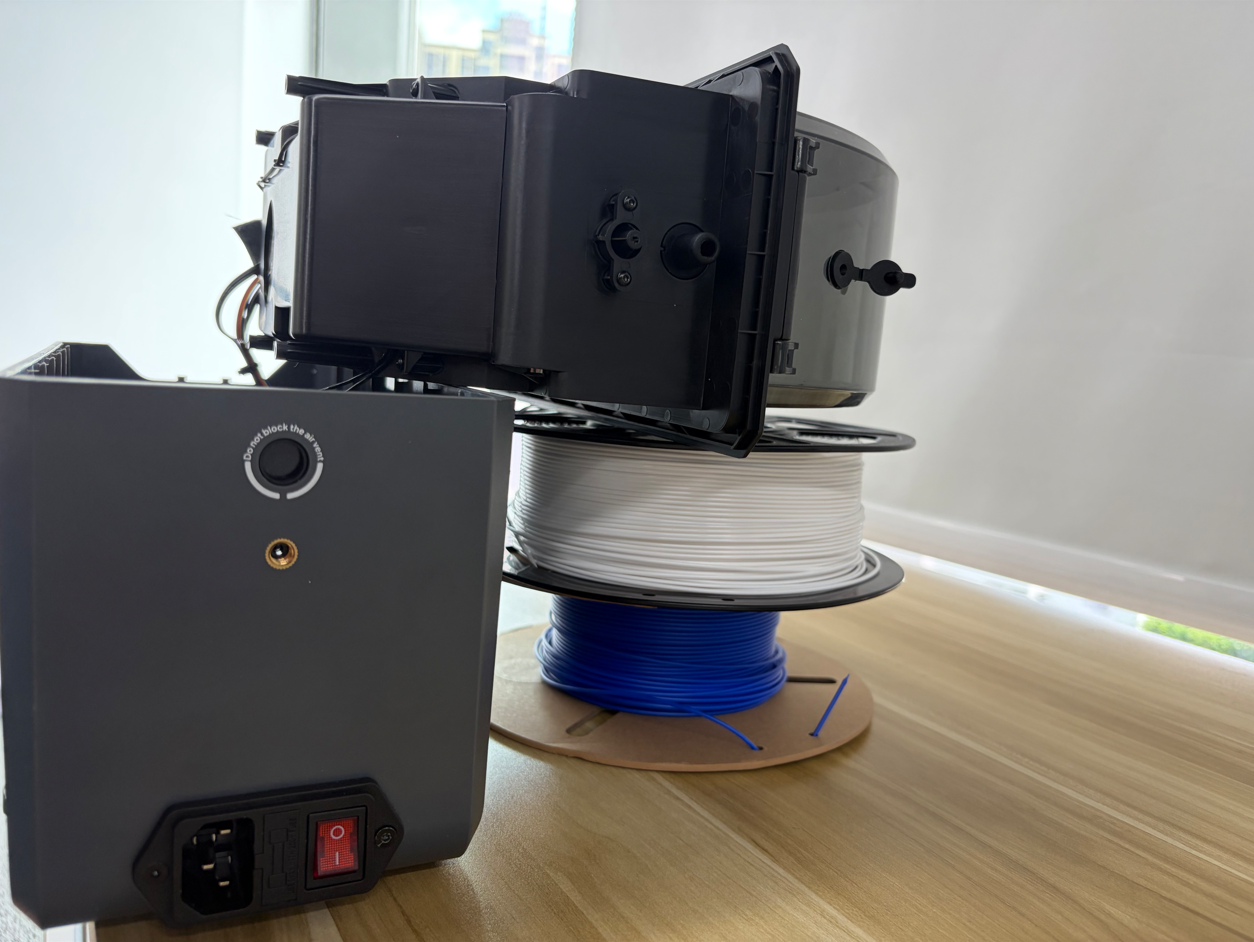
- Adjust the machine so that the bottom cover is facing downward, and ensure that the internal components are placed securely.
Reminder: To facilitate subsequent operations, place two filament rolls between the inner tray assembly and the top cover as supports to prevent the inner tray assembly from hanging.
¶ Remove the Display Cable and Touch Screen Cable
Reminder: Do not remove or install any cables while the device is powered on. When disconnecting cables, avoid touching the component contacts on the mainboard to prevent damage caused by static electricity.
- Locate the mainboard.
Tip: After locating the mainboard, avoid touching the electronic components on the mainboard.
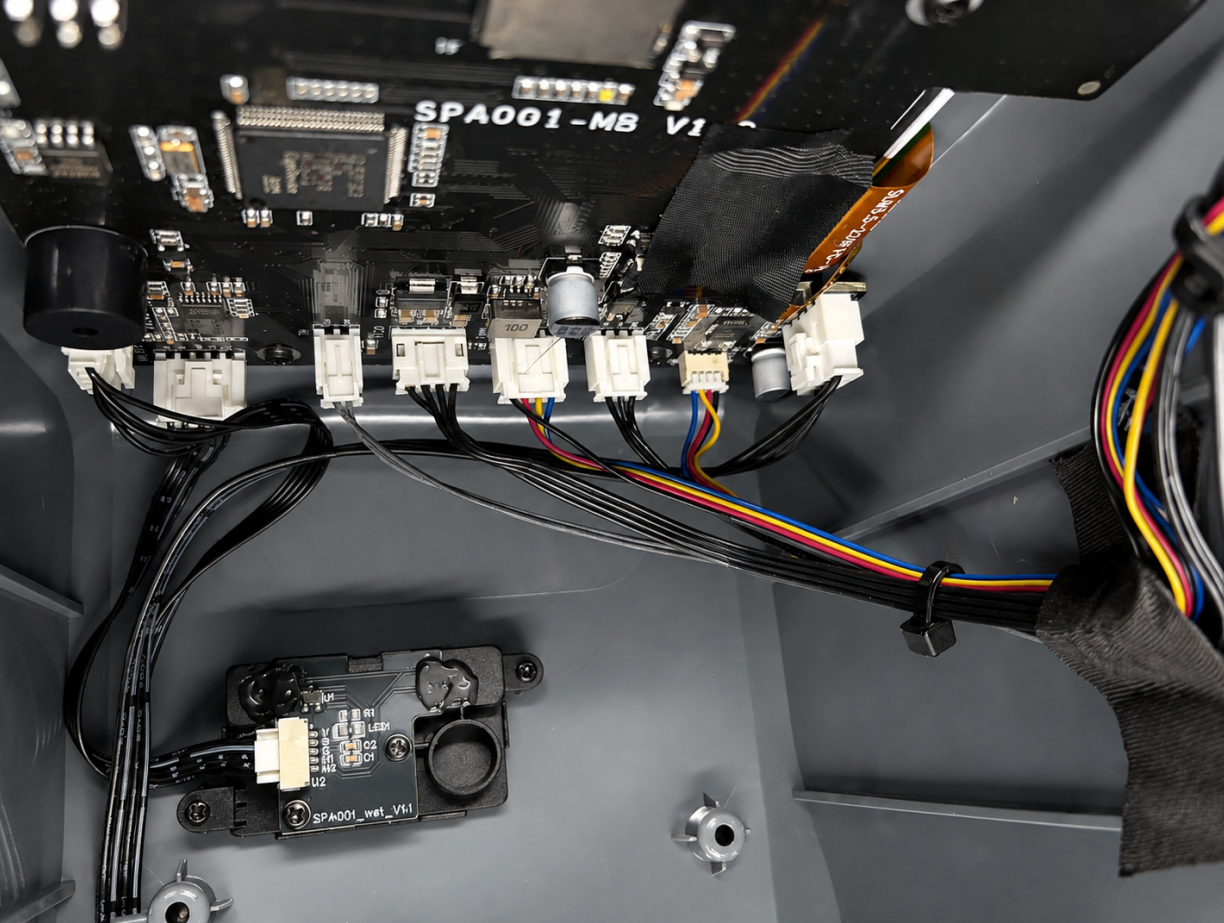
- Carefully peel off the acetate tape securing the cables.
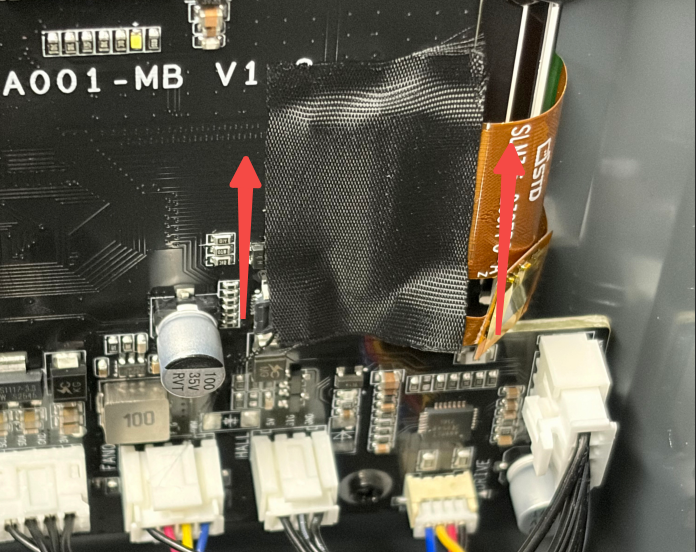
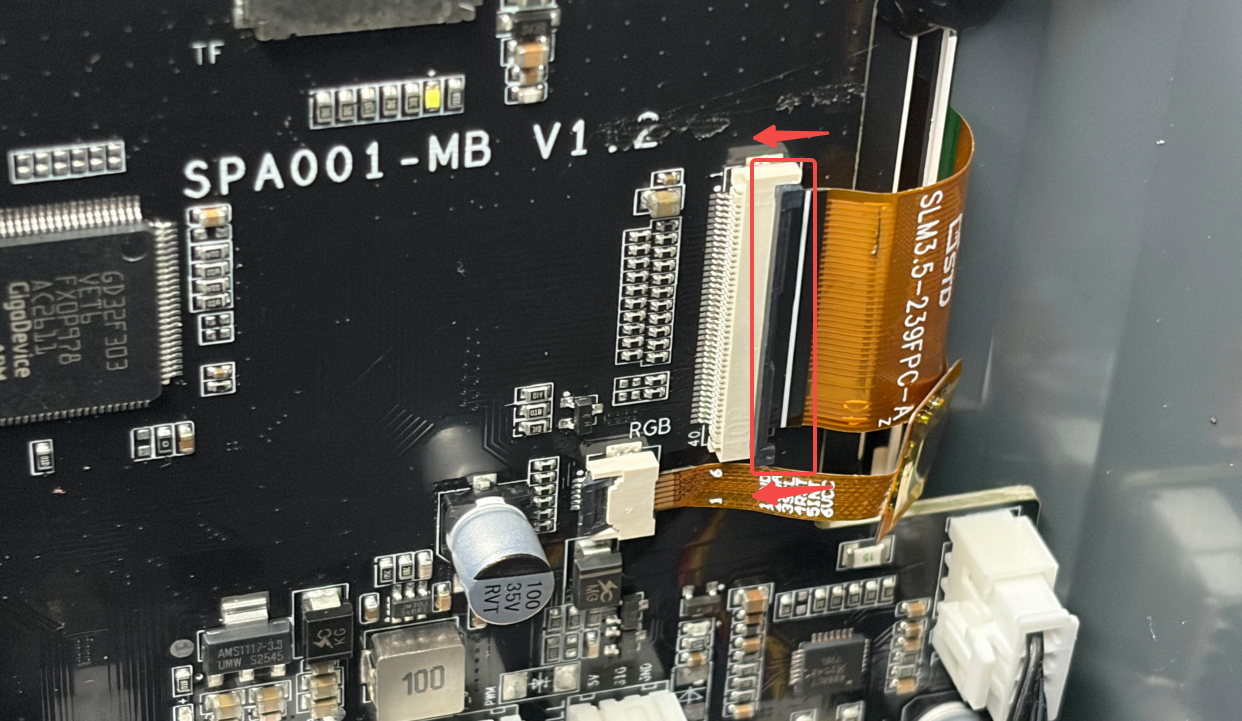
- Lift the lock on the display cable connector and remove the display cable.
Note: When removing the cable, pull it straight out along the direction of the connector to avoid damaging the connector caused by side-to-side movement.

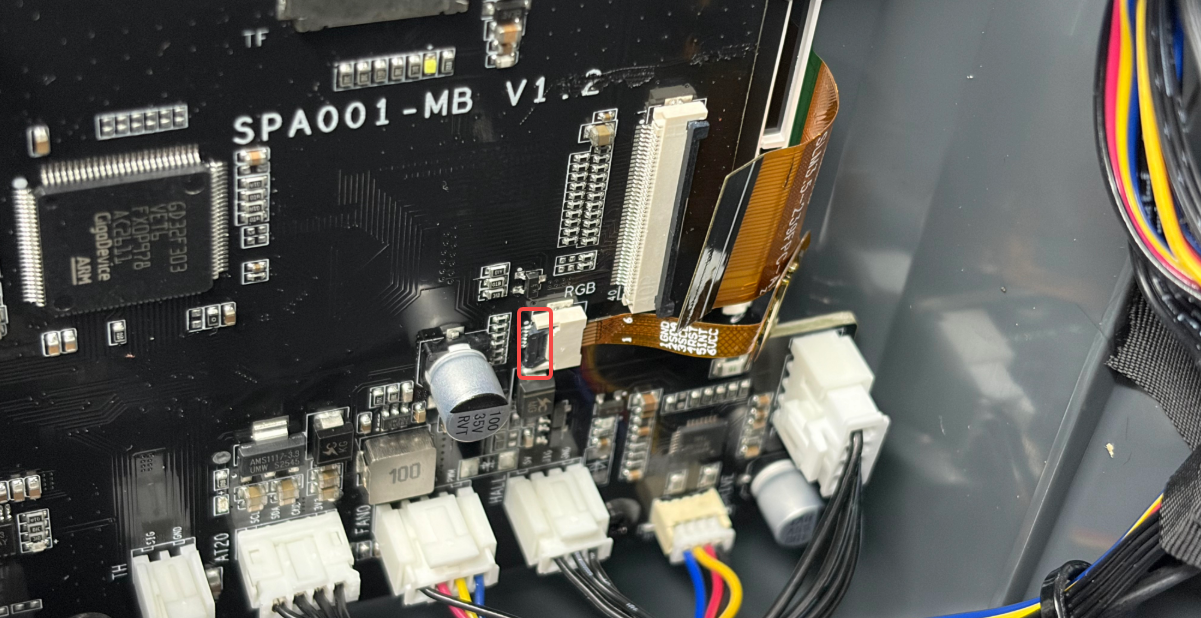
- Open the touch screen cable connector lock and gently pull out the touch screen cable along the connector direction.
¶ Remove the Mainboard
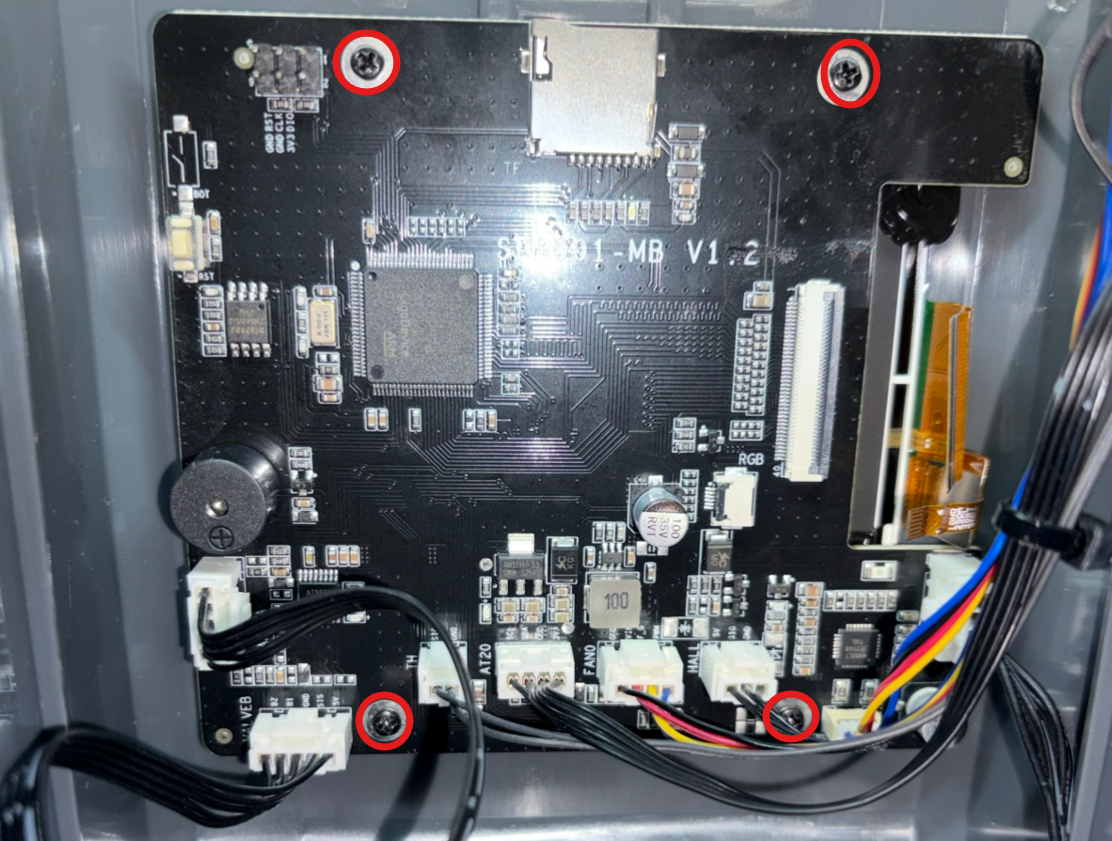
Use a Phillips screwdriver to remove the four screws securing the mainboard, then remove the mainboard.
Tip: The cables connected to the mainboard do not need to be disconnected.
¶ Remove the Touch Screen
- Use a hair dryer to heat the electronic adhesive and soften it.
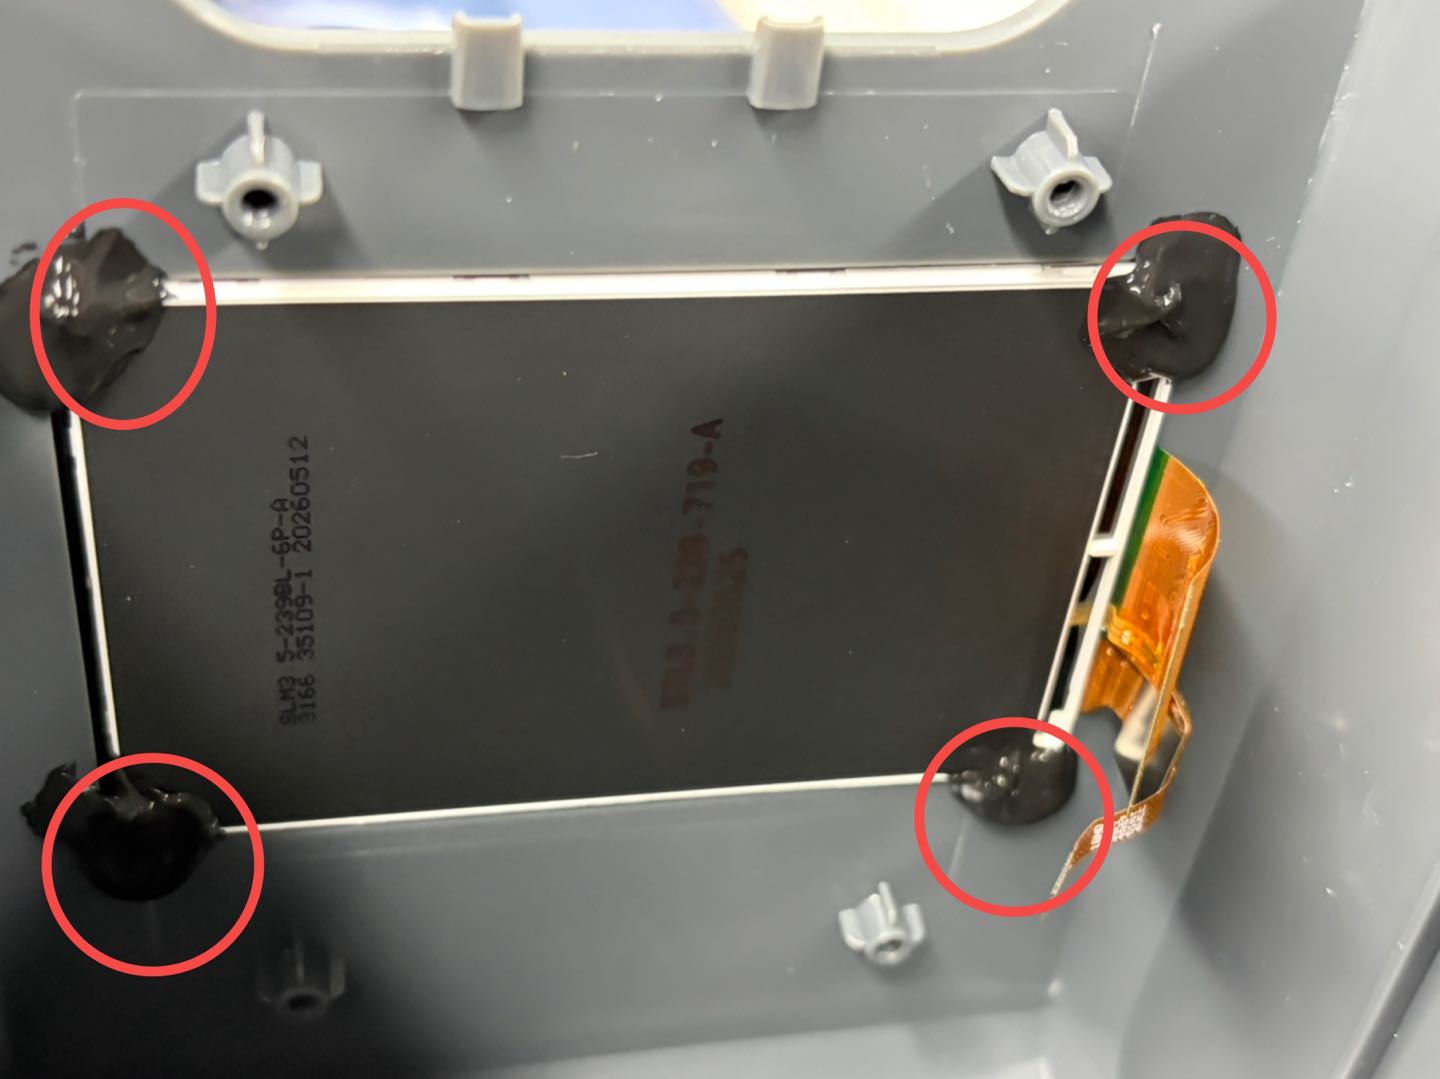
- Use tweezers to carefully and gradually remove the adhesive from the four corners of the touch screen. Avoid applying excessive heat to prevent damage to the bottom cover assembly.
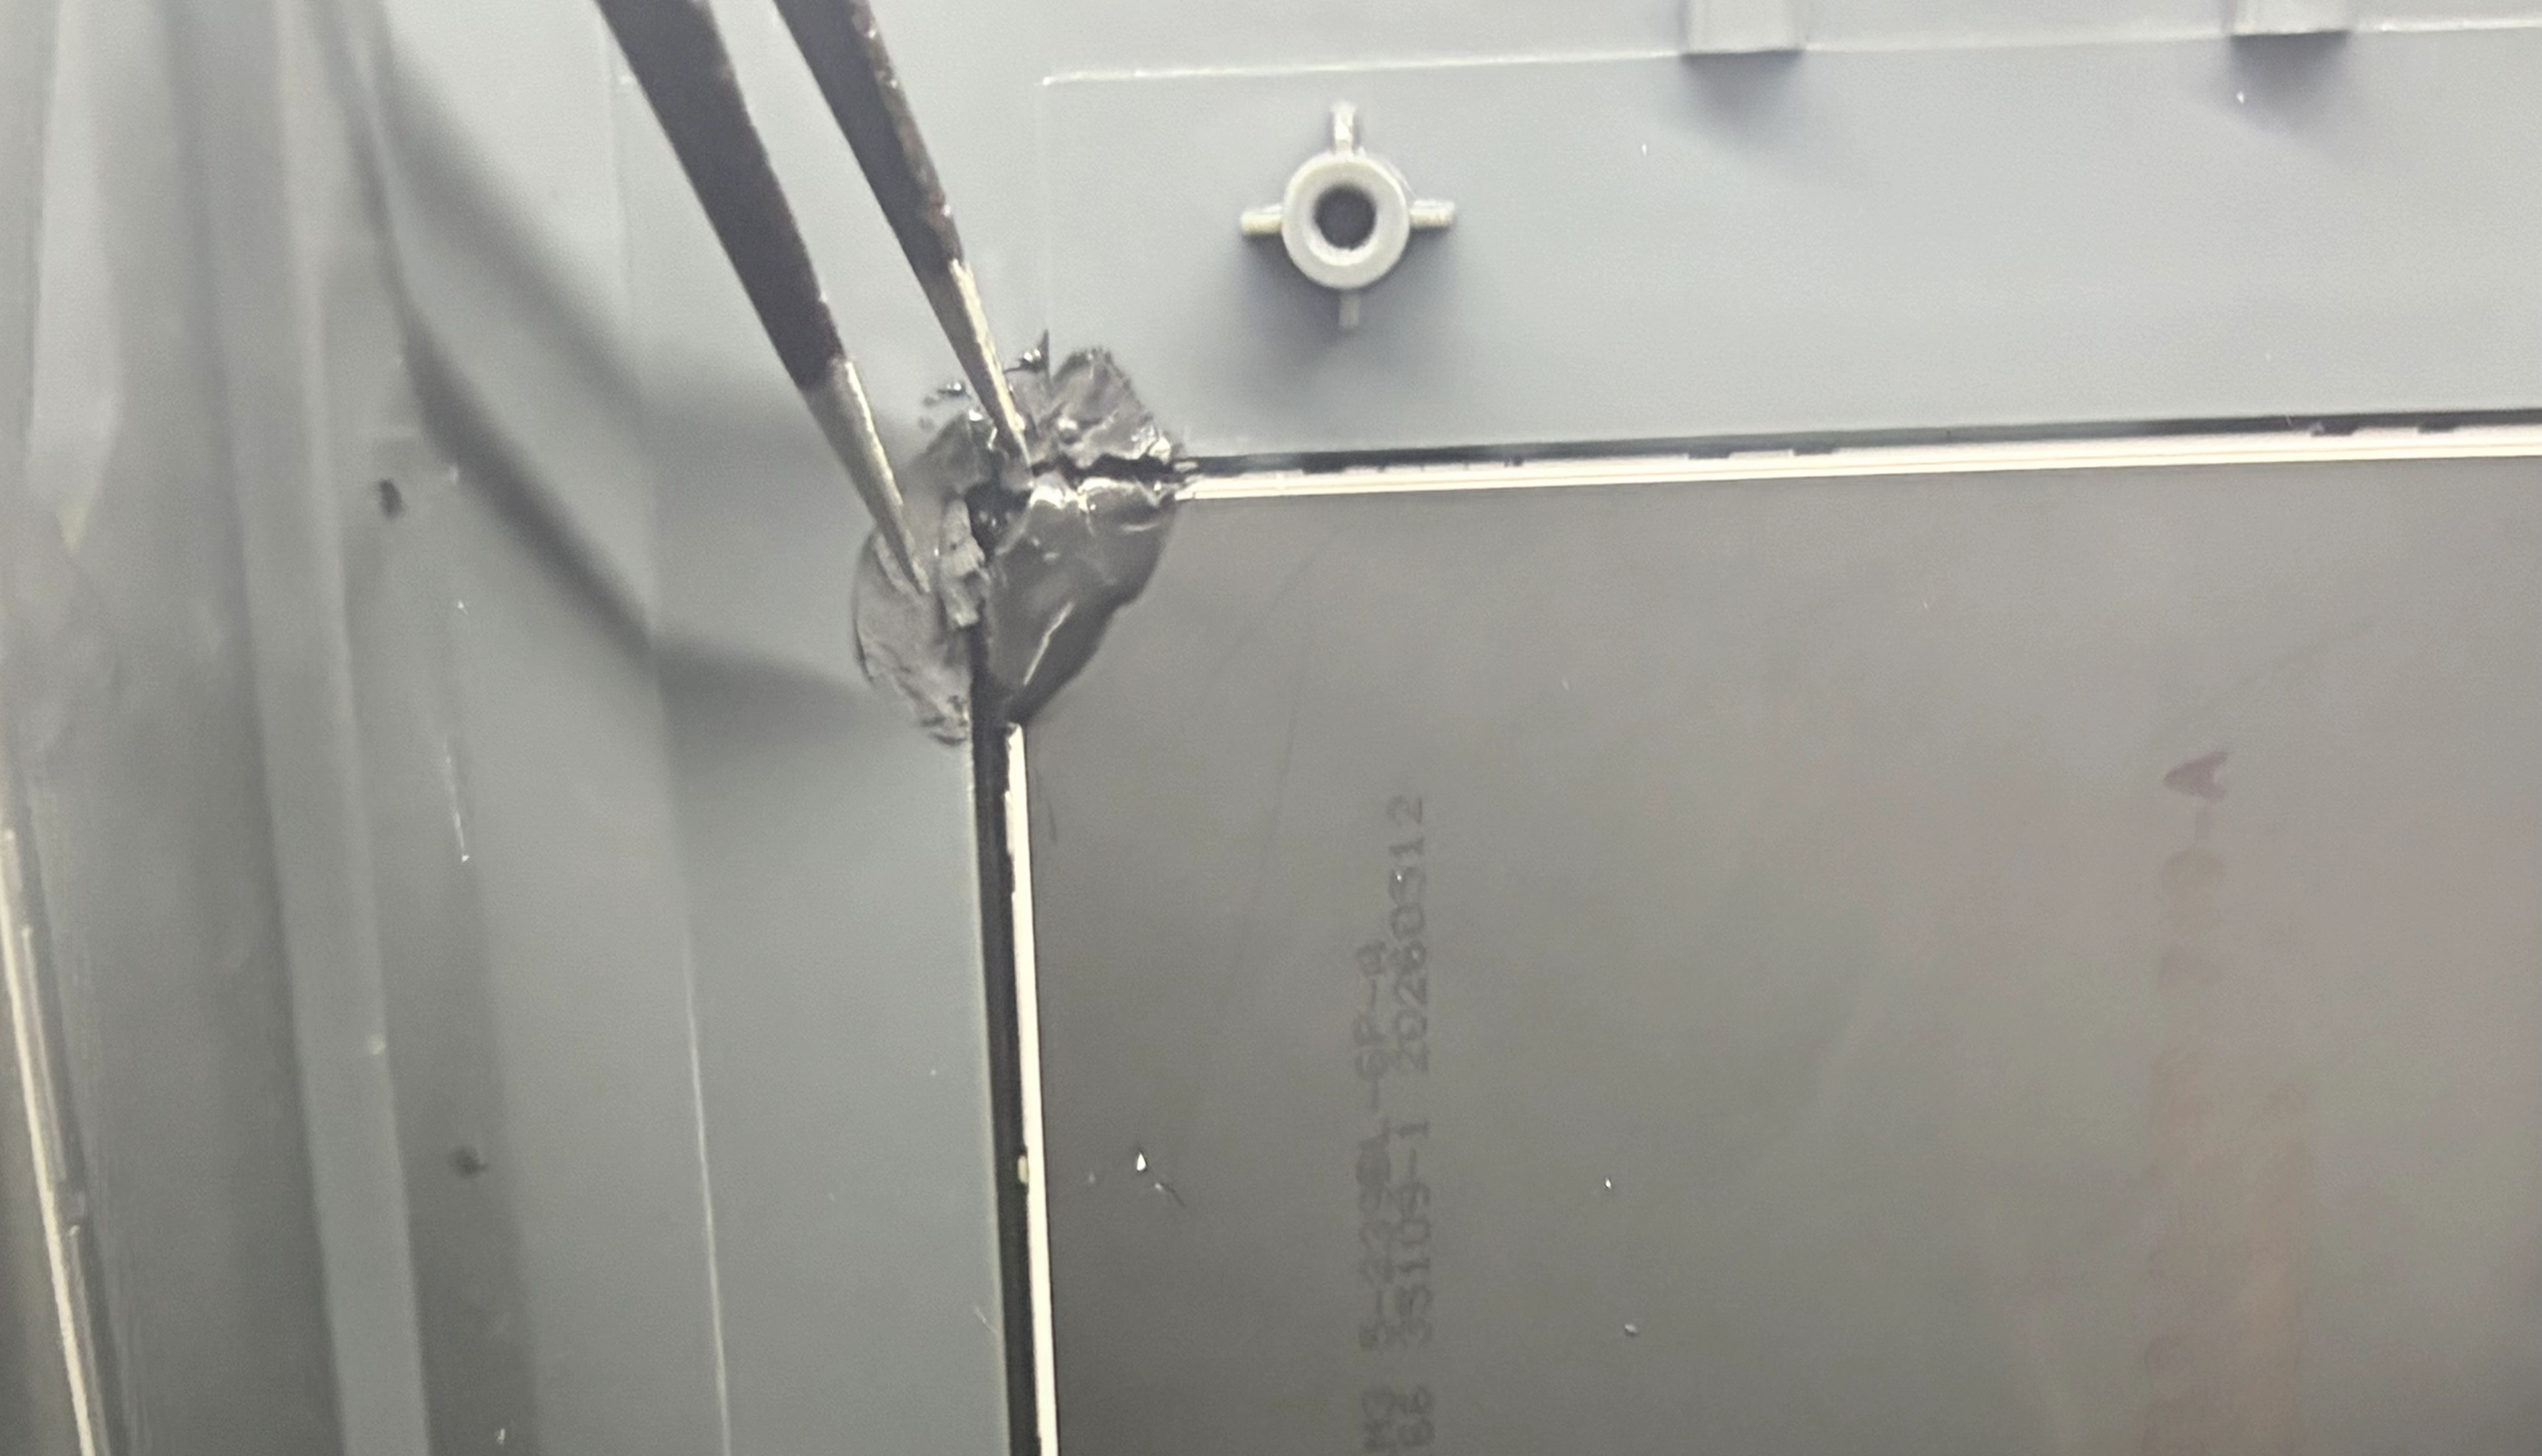
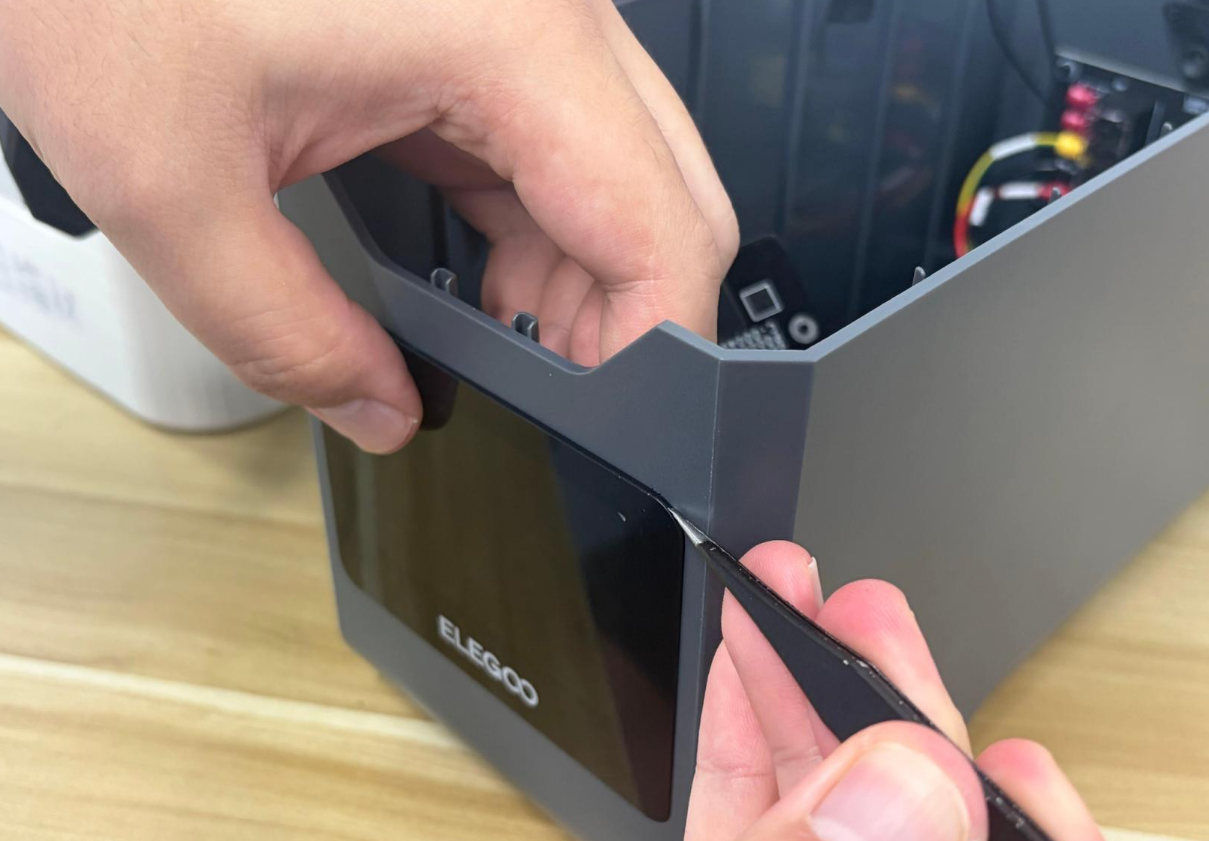
- Use tweezers to gently lift the touch screen from one corner.
Note: When using tweezers for removal, operate carefully to avoid scratching or damaging the touch screen with the tip of the tweezers.
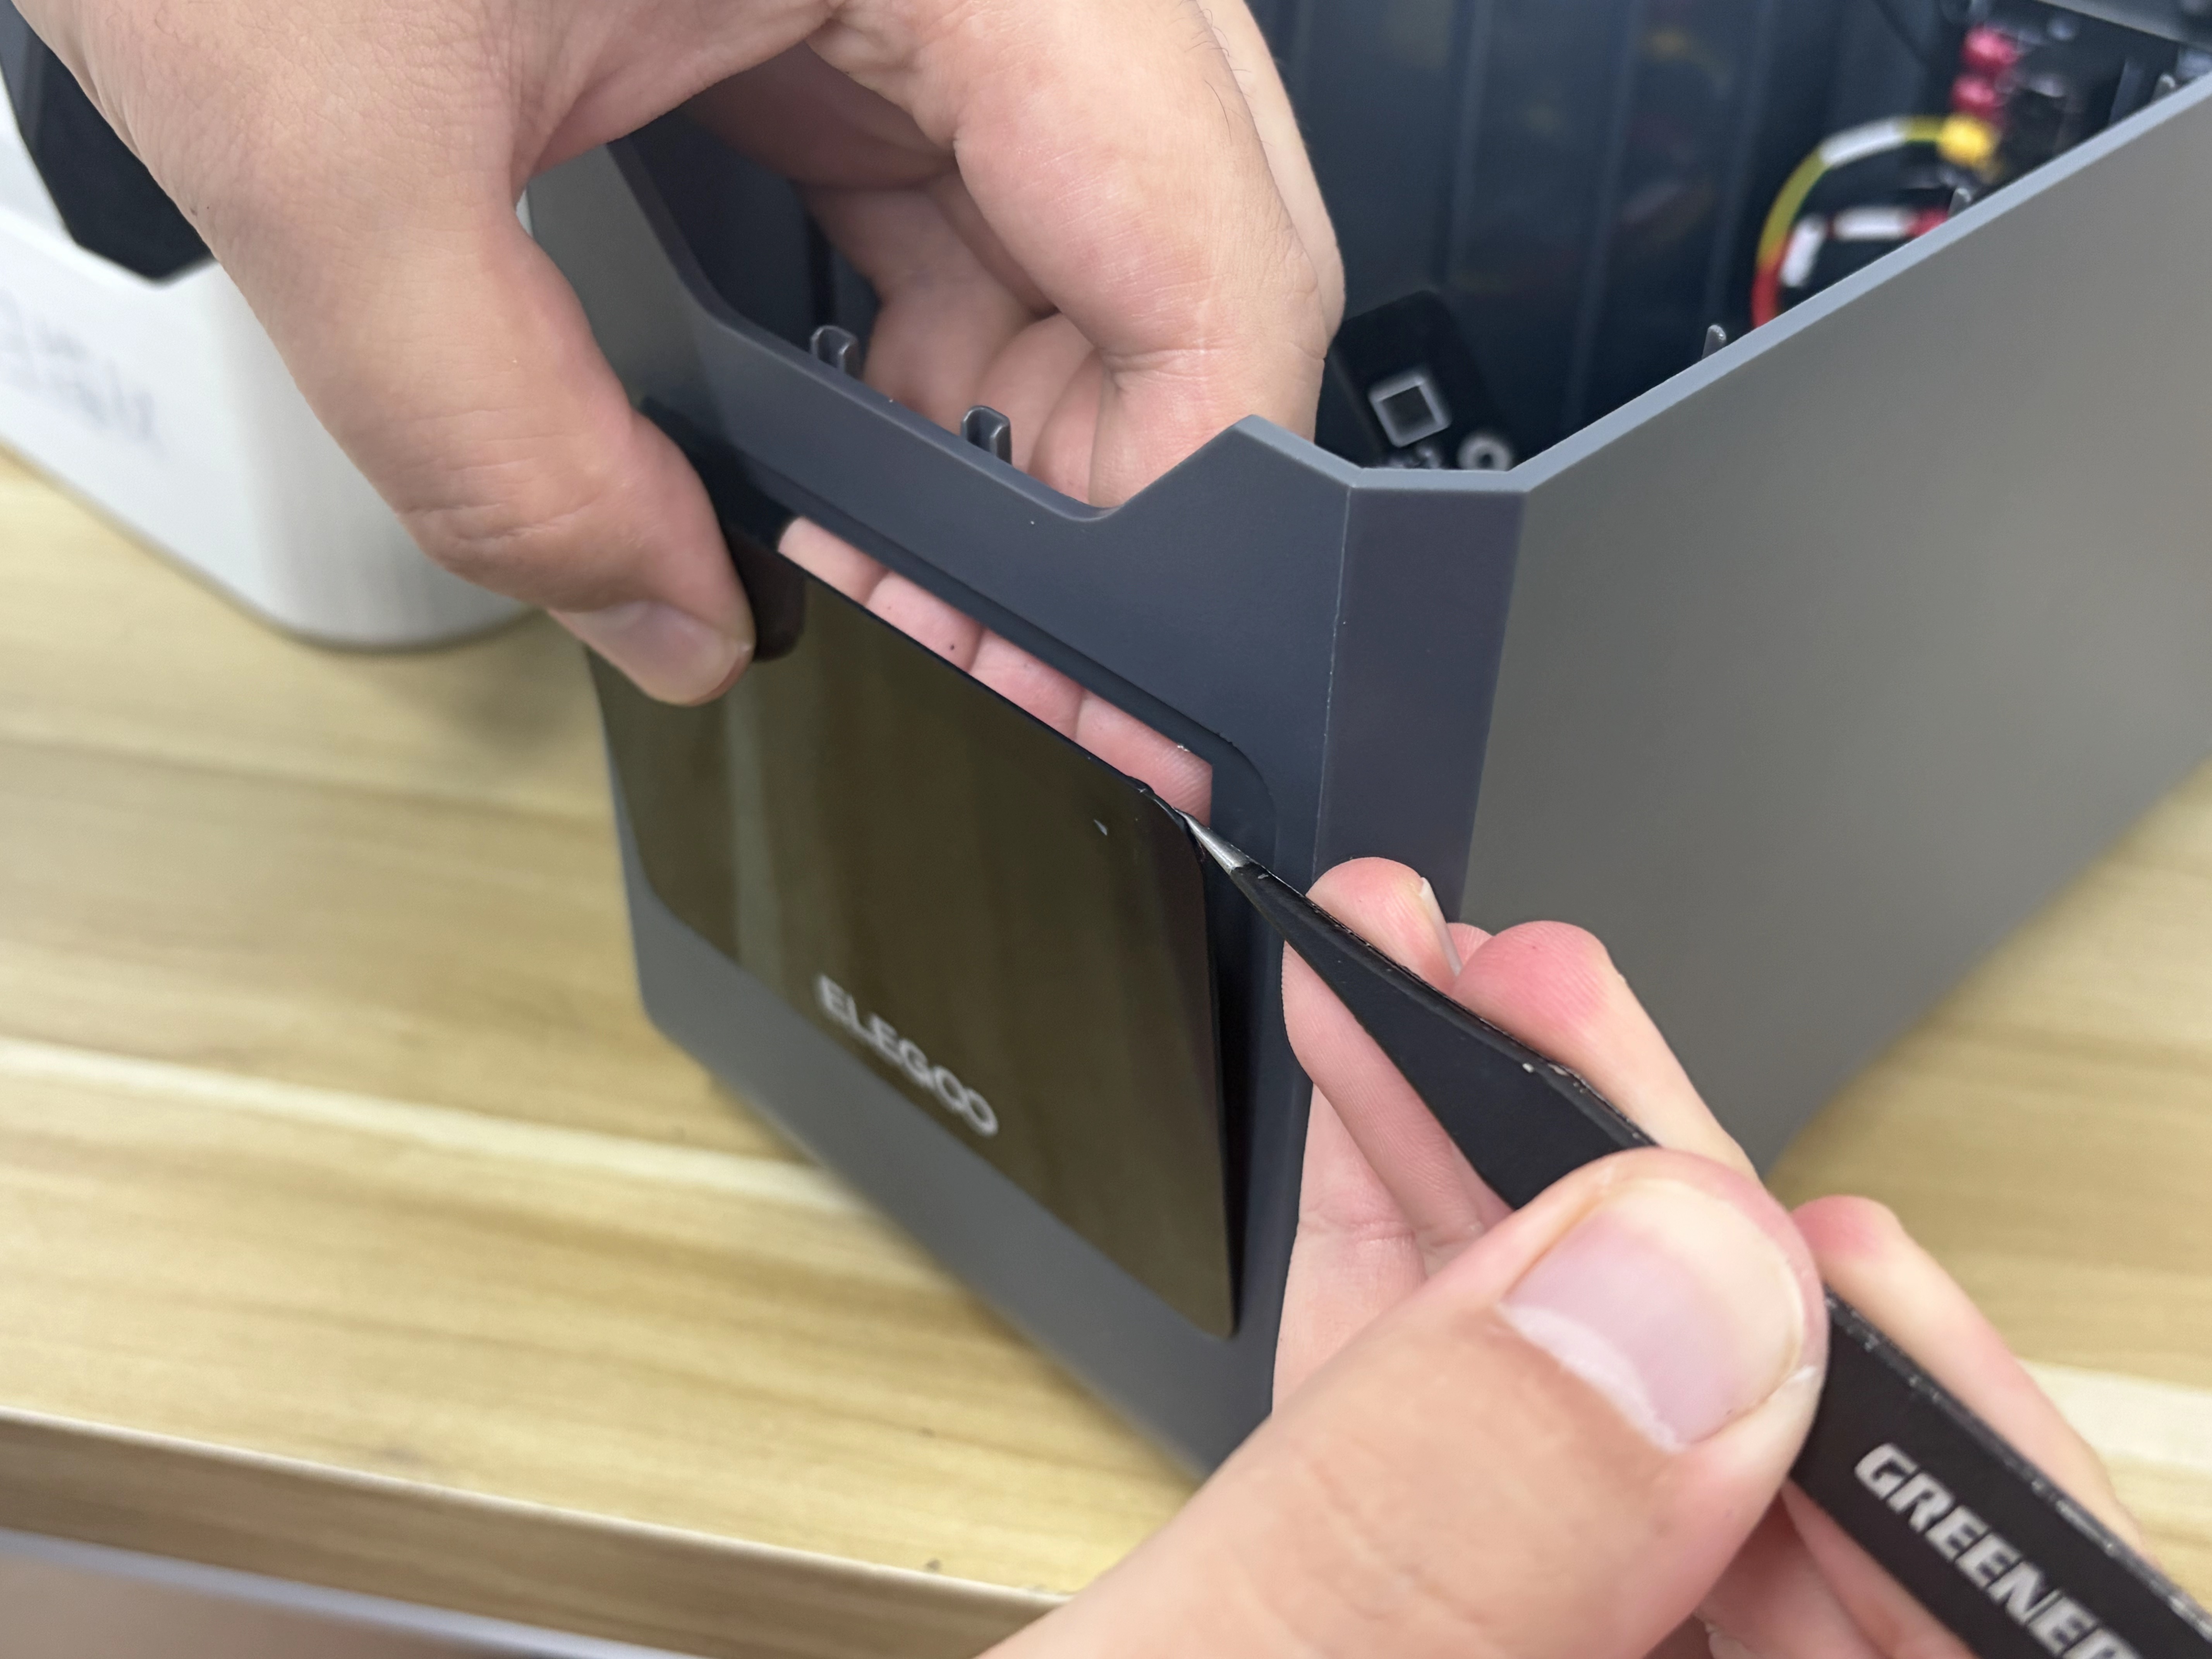
- Slowly push the touch screen out from the inside by hand, then remove the touch screen.
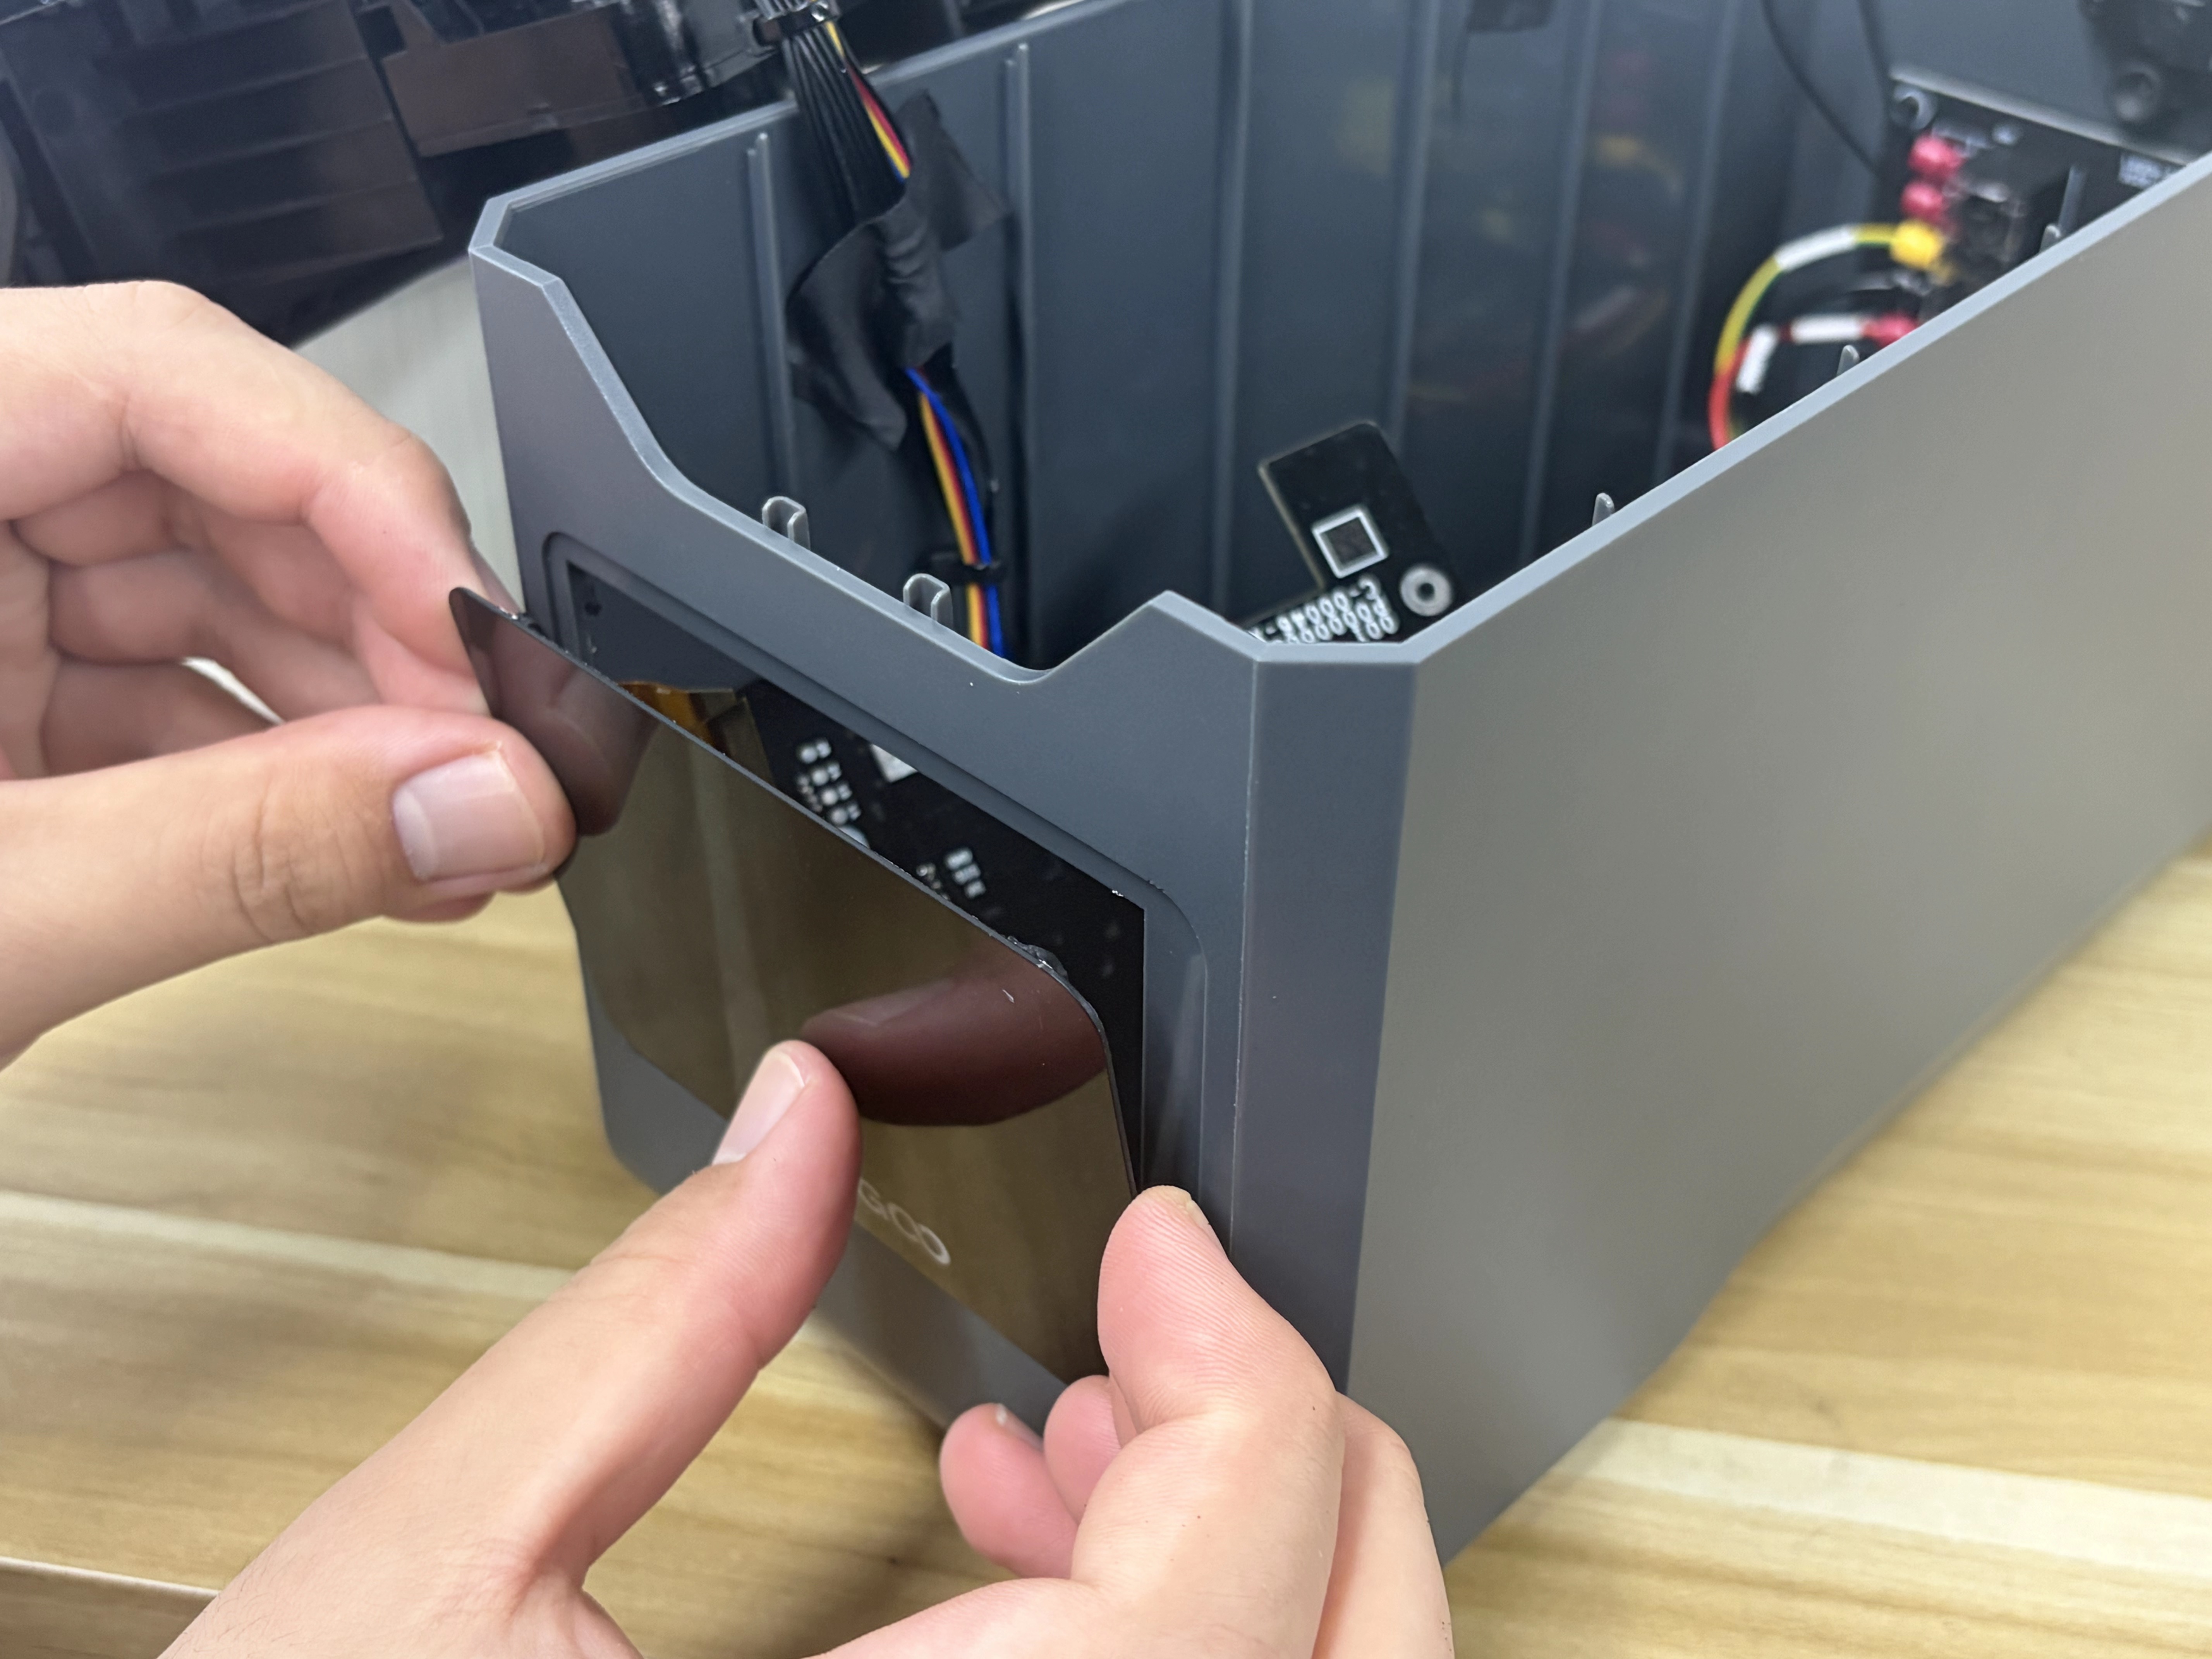
- Clean any remaining electronic adhesive from the touch screen installation area as much as possible to ensure that the installation surface is flat.
¶ Installation Steps
¶ Install the Touch Screen
- Remove the new touch screen and peel off the protective film from the adhesive backing.
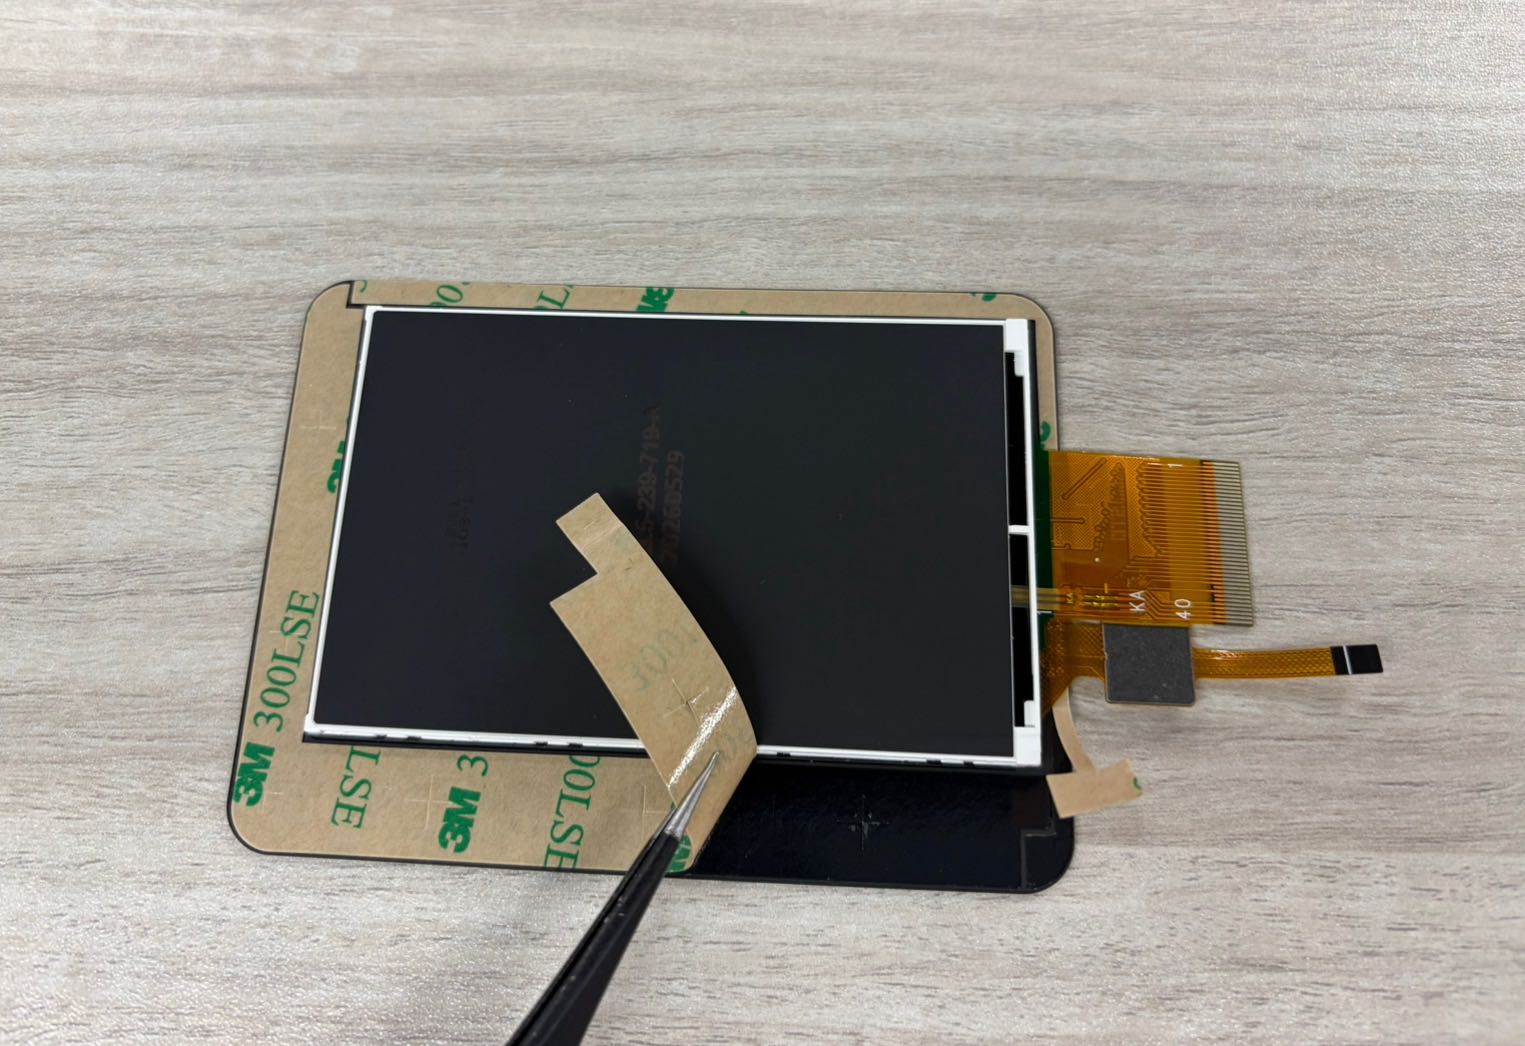
- Attach the touch screen to the touch screen installation area on the bottom cover assembly.
Note: When installing the touch screen, ensure that the ELEGOO logo is oriented correctly. The ELEGOO logo should face downward.
Note: Confirm that the touch screen is installed in the correct direction and fully fits into the installation groove.
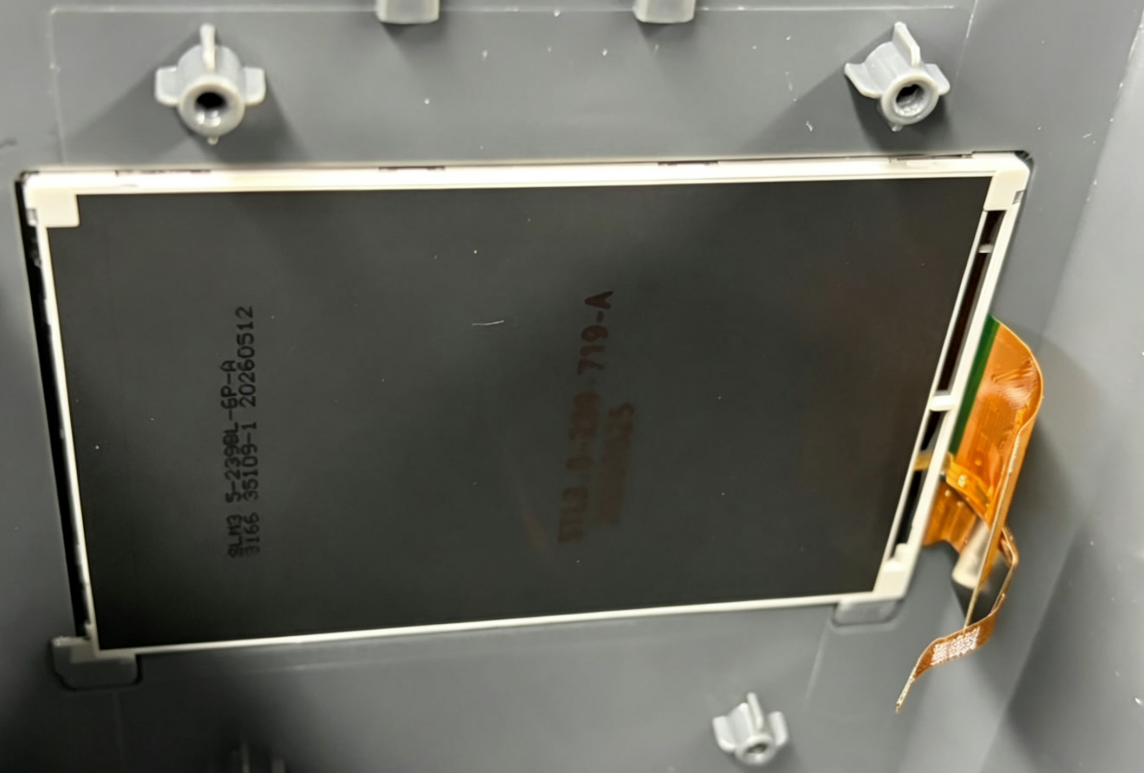
- Apply an appropriate amount of electronic adhesive evenly along the edge of the touch screen. Avoid allowing the adhesive to enter the inside of the touch screen.
¶ Install the Mainboard
Use a Phillips screwdriver to install the four screws securing the mainboard.
¶ Install the Display Cable and Touch Screen Cable
- Open the touch screen cable connector lock, insert the touch screen cable into the corresponding port, and secure the lock.
- Insert the display cable into the corresponding port and push down the connector lock to secure it.
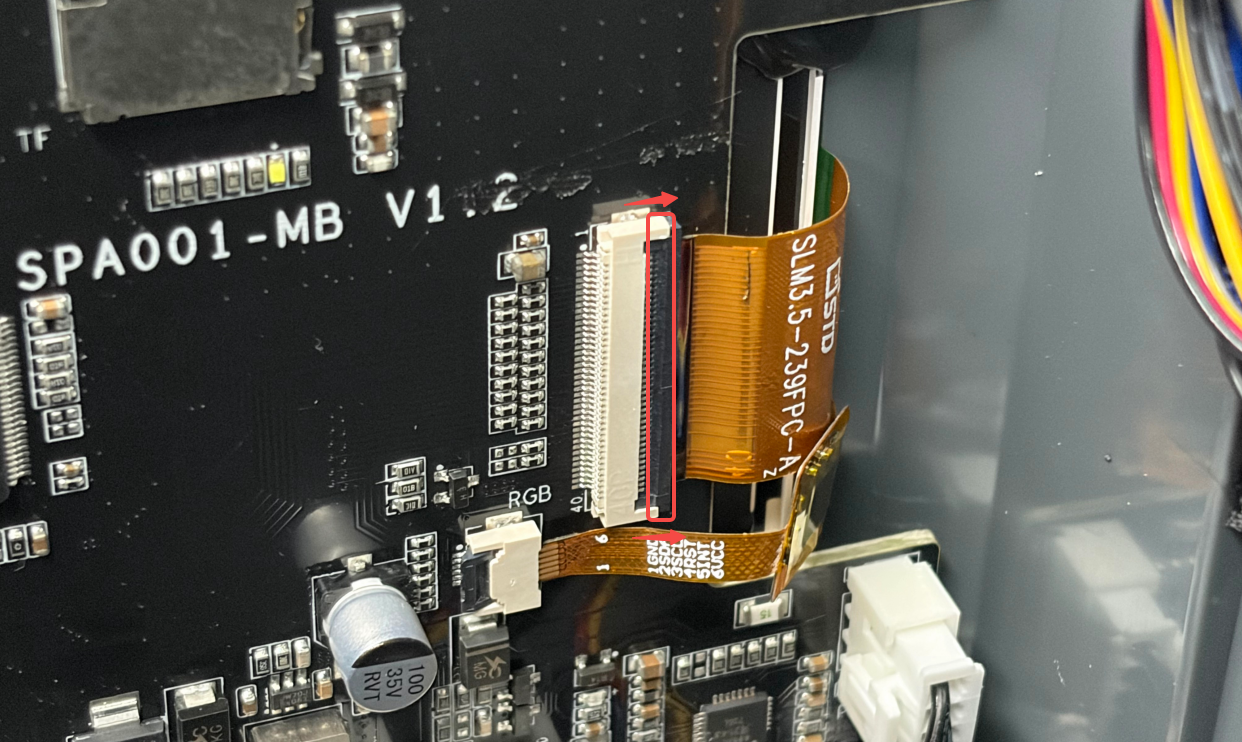
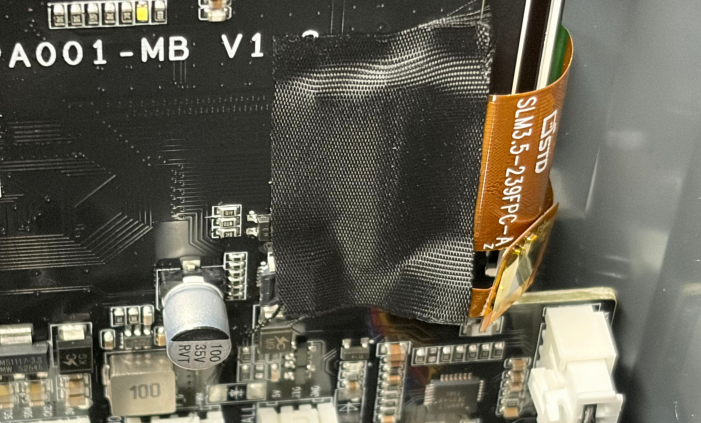
- Reattach the tape to the display cable and touch screen cable connectors.
¶ Install the Bottom Cover
- Align the inner tray assembly with the positioning points on the bottom cover and place it back inside the bottom cover.
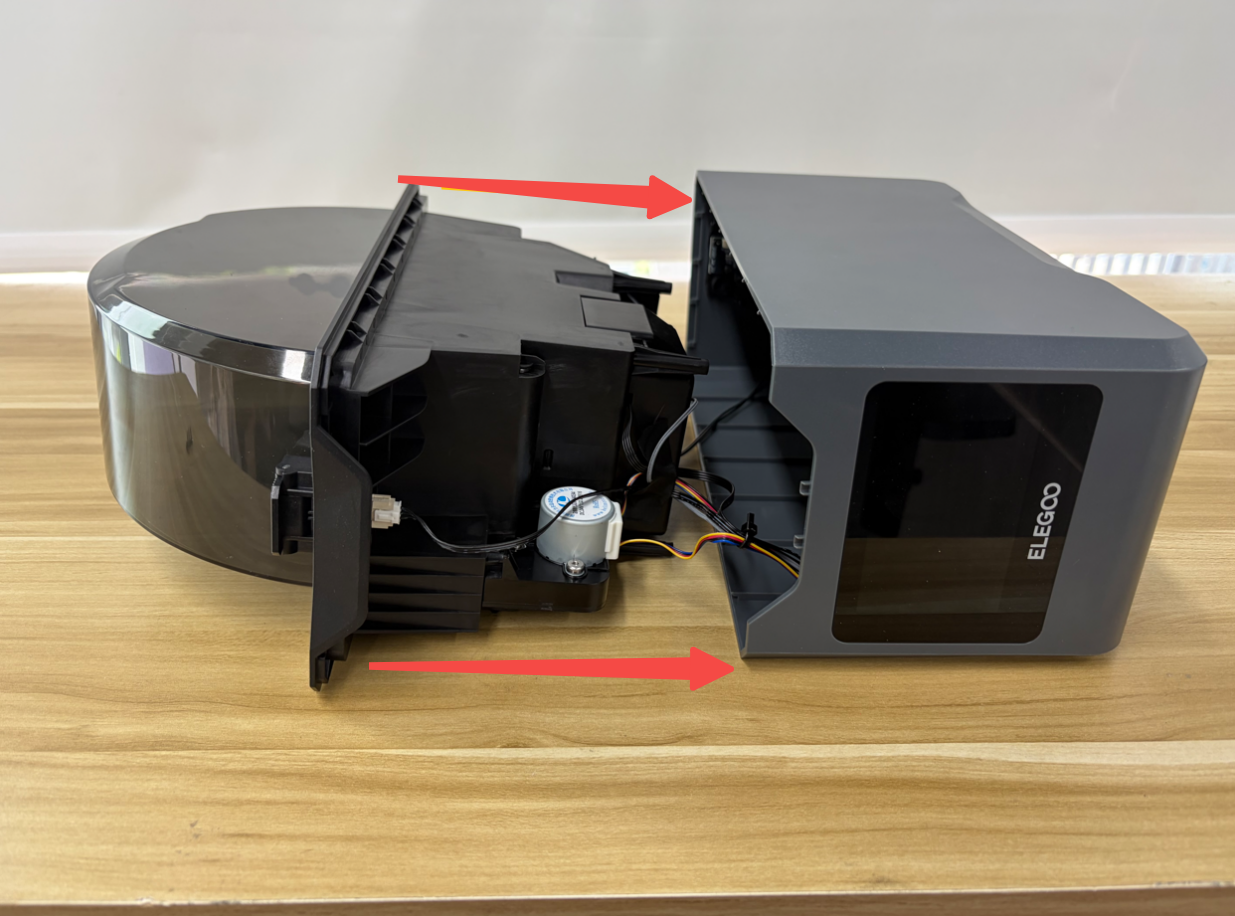
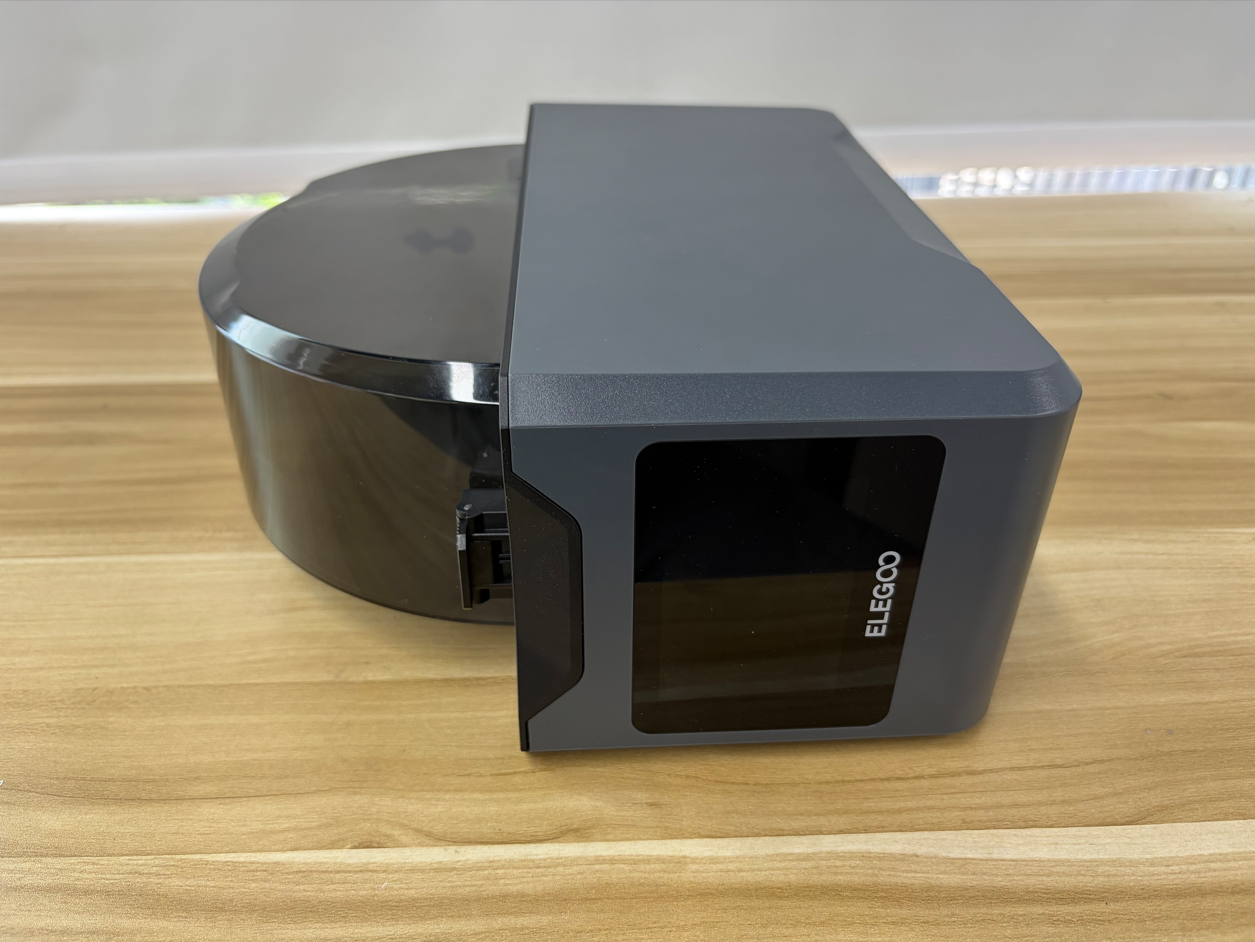
2. Tighten the 4 screws, securing the bottom cover.
¶ Verification
- Place the H1 HT upright.
- Connect the power cord and turn on the power switch.
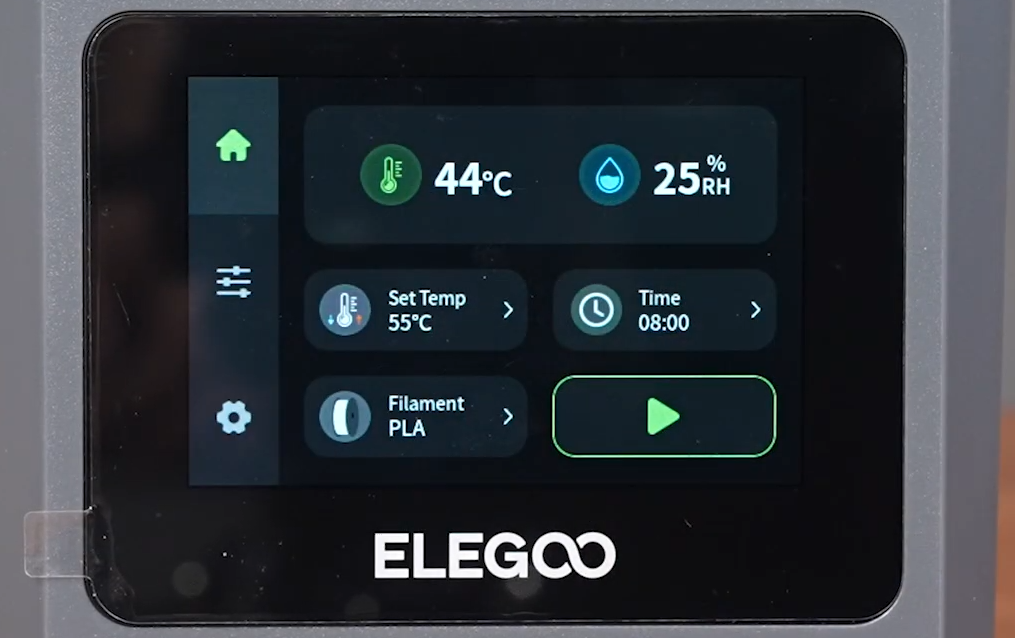
- Wait for the touch screen to start up and confirm that the display functions normally.
- Confirm that the touch screen function works properly and that no abnormal messages are displayed on the device. The touch screen replacement is complete.
¶ Help us improve
If you have any ideas about the wiki pages, please let us know via ELEGOO official feedback channel