¶ Operation Steps for Each Model
The steps below are based on Centauri Carbon 2 Combo. For other models, skip the steps related to parts that are not installed.
| Model | Action | Steps to Skip |
|---|---|---|
| Centauri Carbon 2 Combo | Follow all steps | None |
| Centauri Carbon 2 | Not Applicable | None |
| Centauri 2 Combo | Skip enclosure-related steps |
|
| Centauri 2 | Not Applicable | None |
If your printer has optional accessories installed, such as CANVAS or an enclosure, follow the steps related to those parts.
¶ Tools and Materials
-
A 2.0 mm Allen key
-
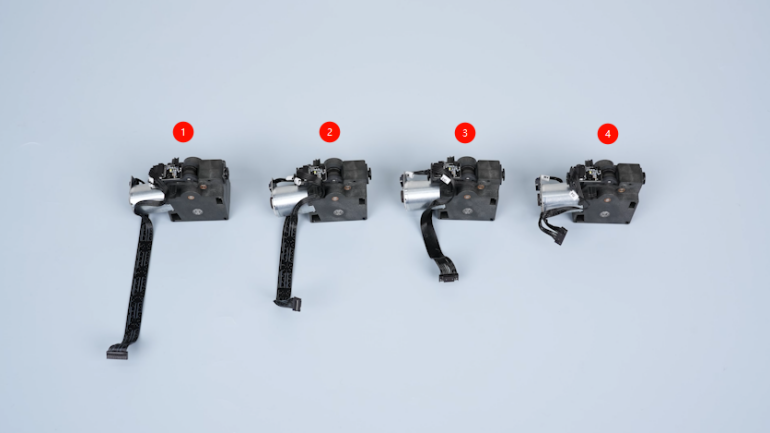
New feeder motors
¶ Tutorial Video
¶ Instruction
¶ Instruction
¶ Preparation Before Replacement
Turn the power switch OFF (symbol "〇"). Unplug the power supply cable.
¶ Remove the CANVAS Module
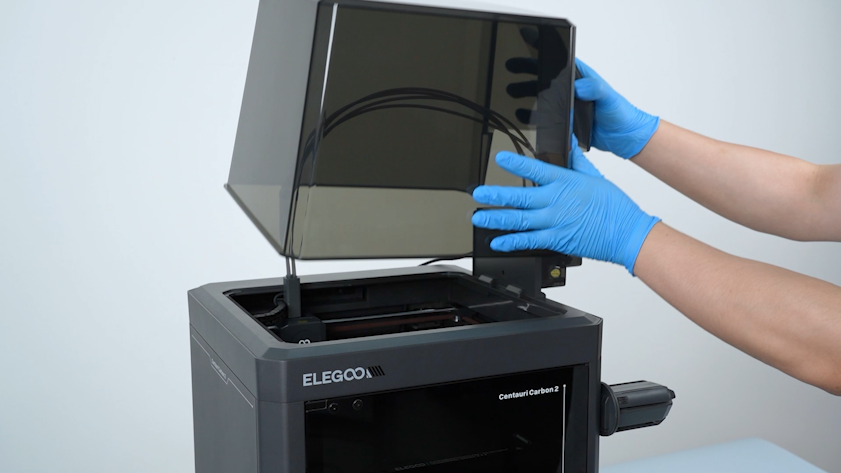
- Remove the lid.
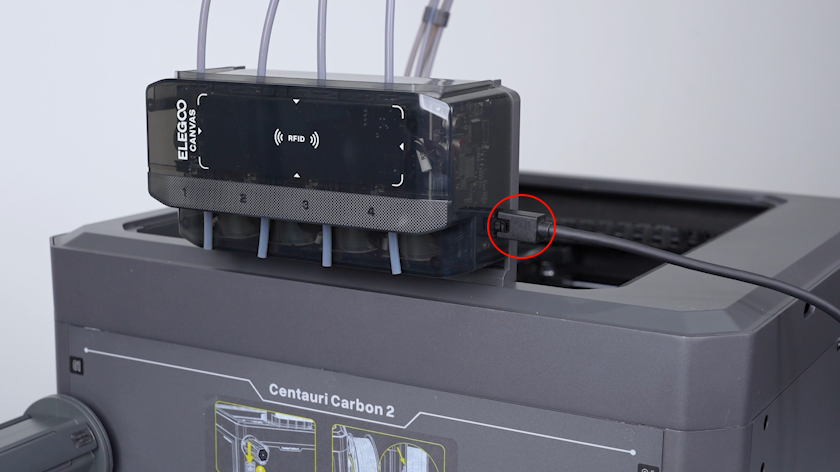
- Unplug the communication cable of the CANVAS.
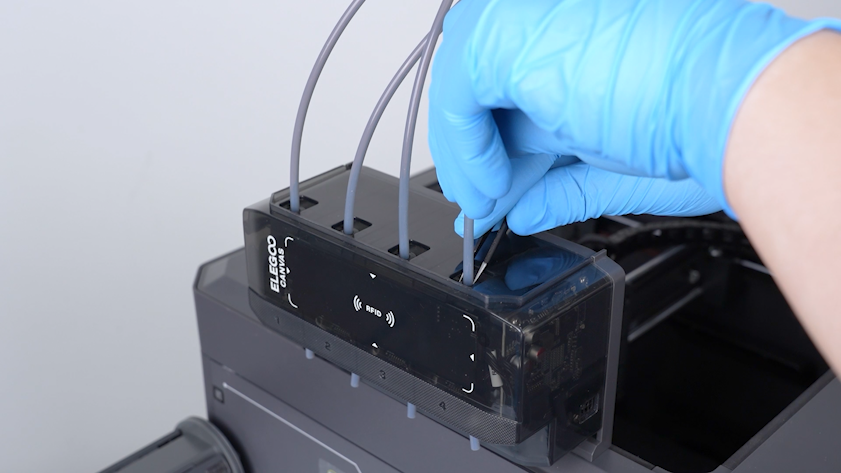
- Press the top of the PTFE tube connector with a pair of tweezers and unplug the PTFE tube.
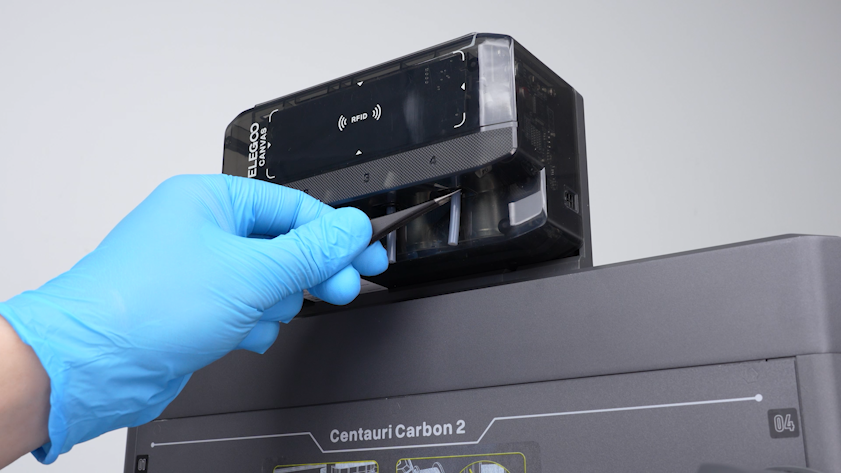
- Unplug the PTFE tubes on the bottom of the CANVAS in the same way.
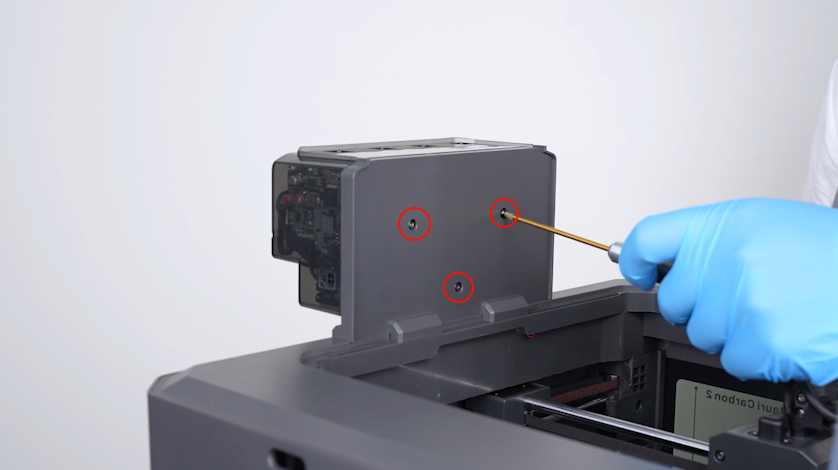
- Remove the three screws securing the CANVAS.
Note: Hold the CANVAS when removing the last screw.
¶ Open the CANVAS Housing
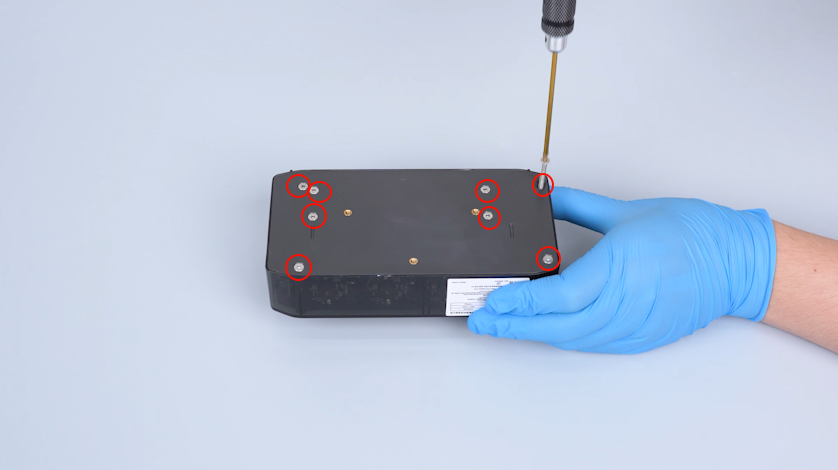
- Remove the CANVAS and lay it flat on the table. Release and remove the eight screws securing the housing of the CANVAS with a 2.0 mm Allen key.
- Open the housing of CANVAS.
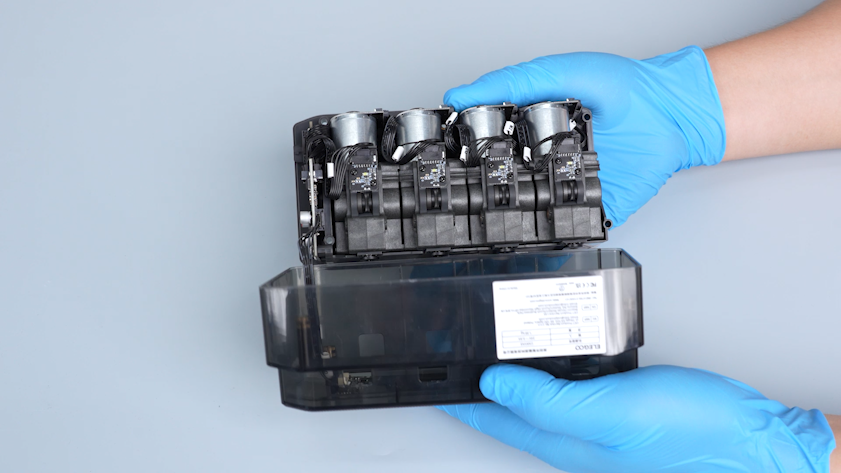
- Unplug the connection wire of the RFID antenna board. Remove the housing of the CANVAS.
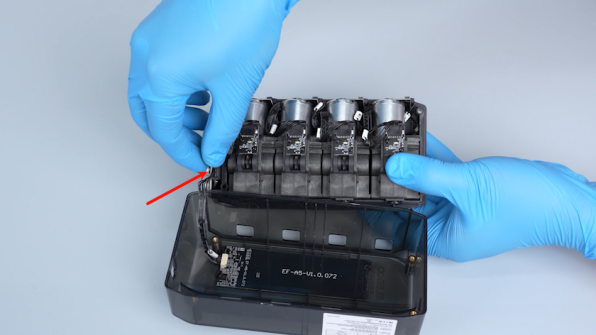
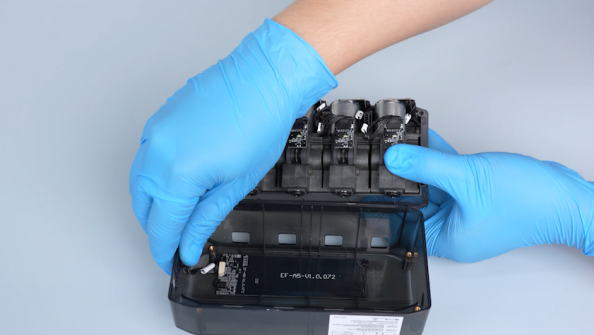
¶ Remove the Feeder Motors
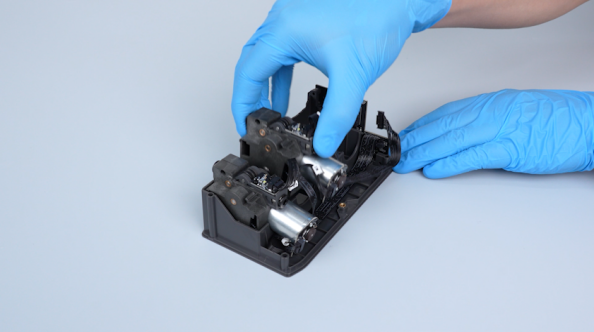
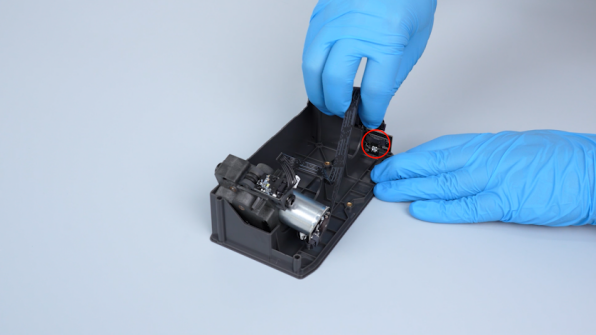
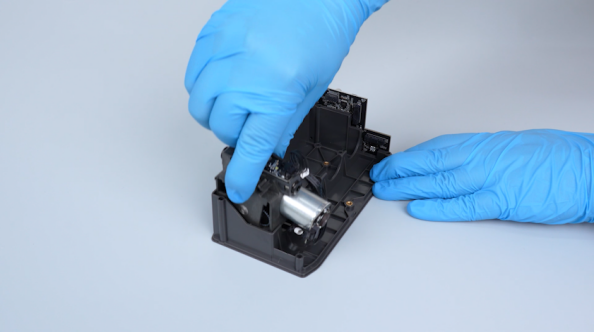
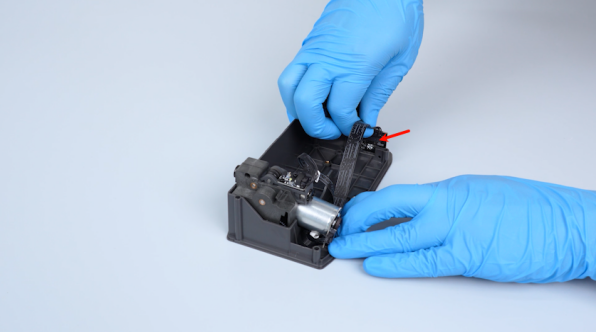
- Unplug the 4th feeder motor cable and remove the 4th feeder motor.
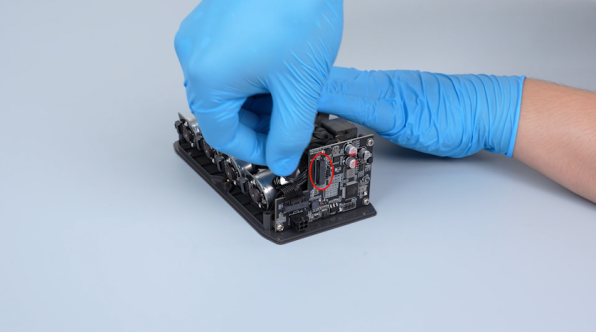
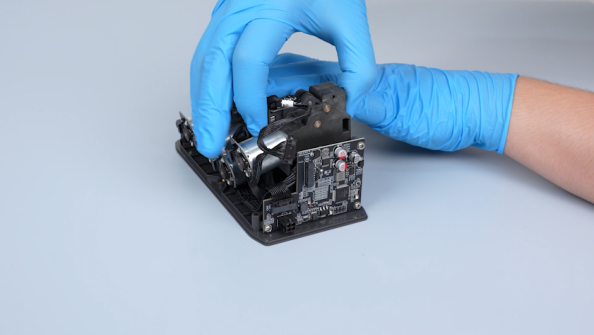
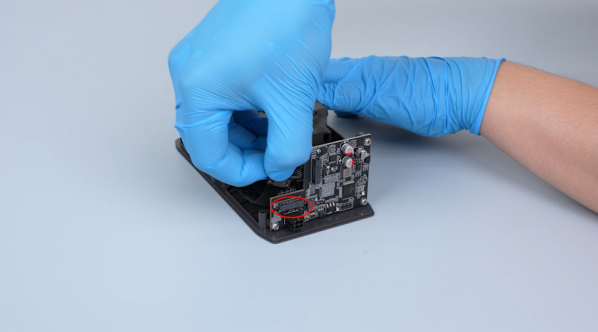
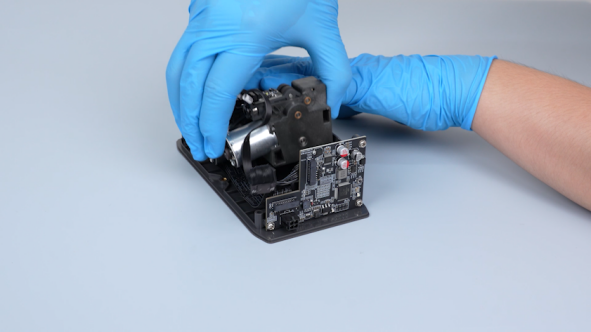
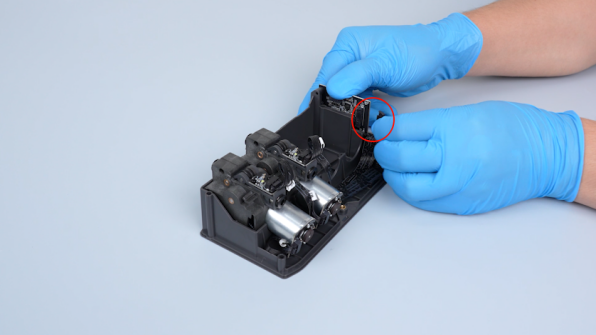
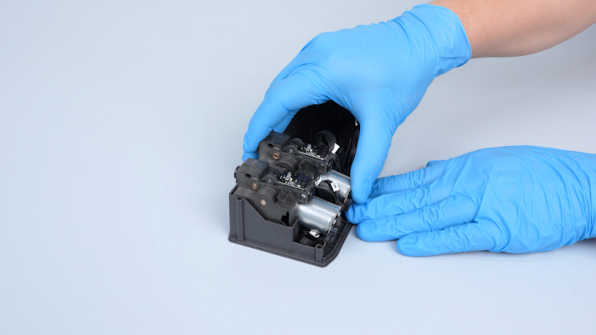
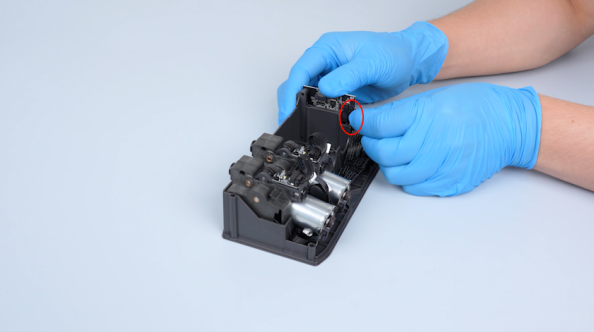
- Unplug the 3rd, 2nd and 1st feeder motor cables. Remove the three feeder motors.
¶ Install the New Feeder Motors
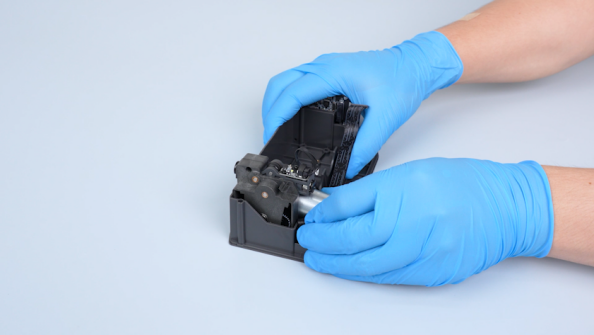
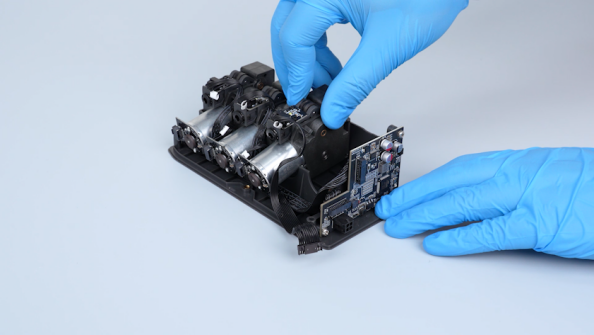
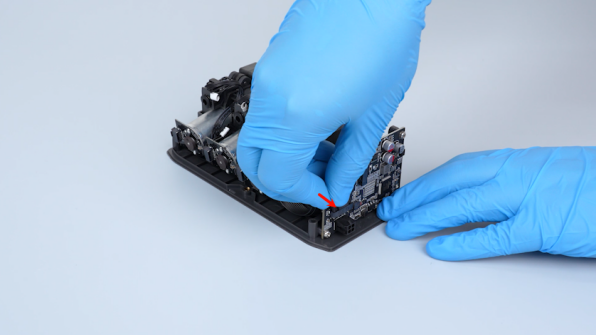
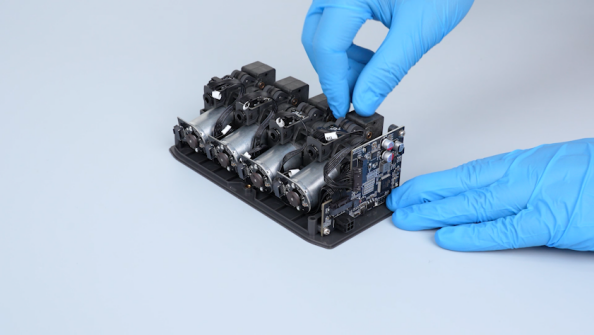
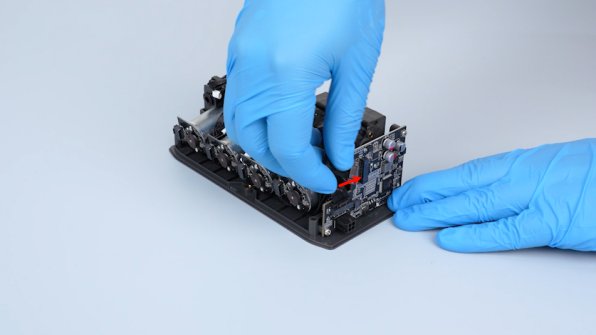
- Prepare the new feeder motors. Plug the feeder motor cables into the corresponding positions in the order of 1, 2, 3, 4. Install the feeder motors in place.
¶ Reinstall the CANVAS Housing
- Plug in the connection wire of the RFID antenna board.
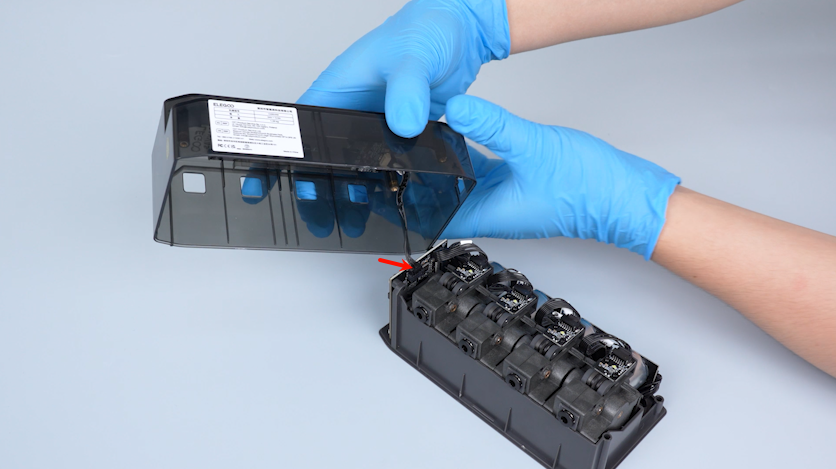
- Install the housing of the CANVAS.
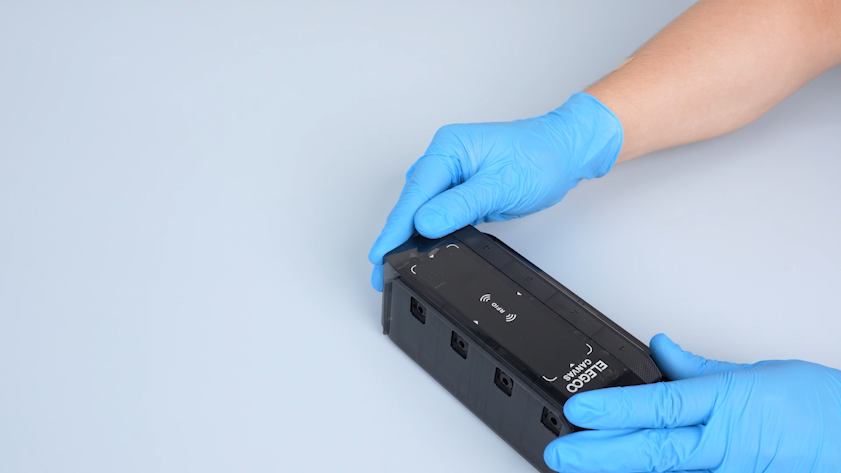
- Turn the CANVAS over.
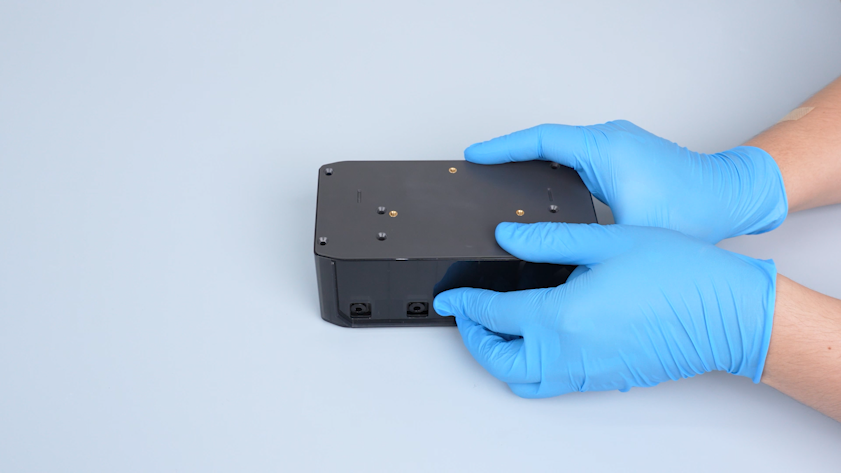
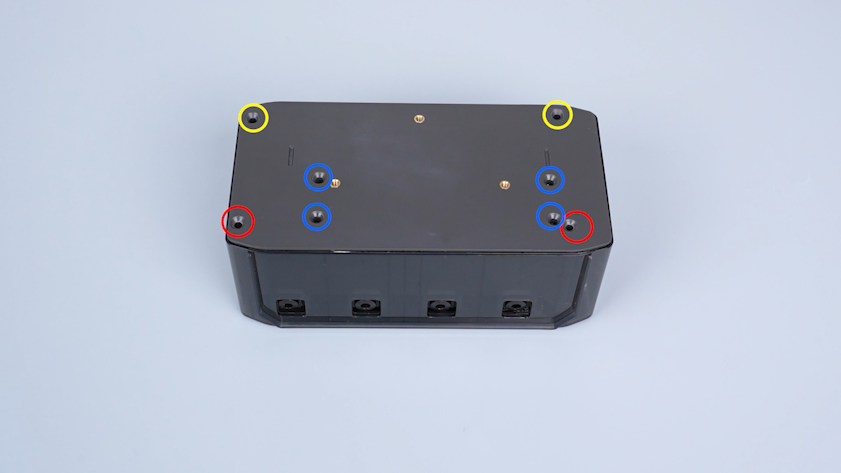
- Tighten the eight screws securing the housing of the CANVAS.
Note: Screws labeled by the red circle are M3 x 45; screws labeled by the yellow circle are M3 x 18; screws labeled by the blue circle are M3 x 8.
¶ Reinstall the CANVAS and Connect the Tubes
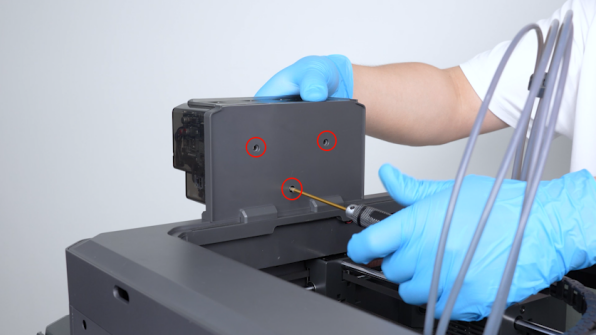
- Put the CANVAS in the installation position and tighten the three screws.
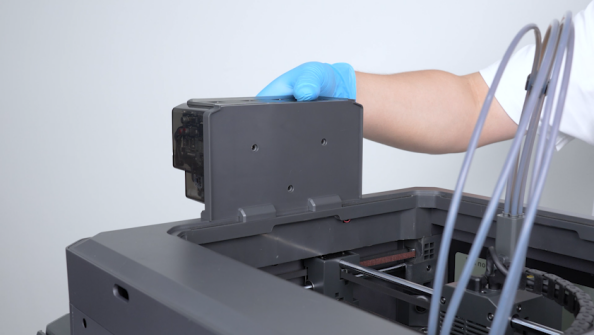
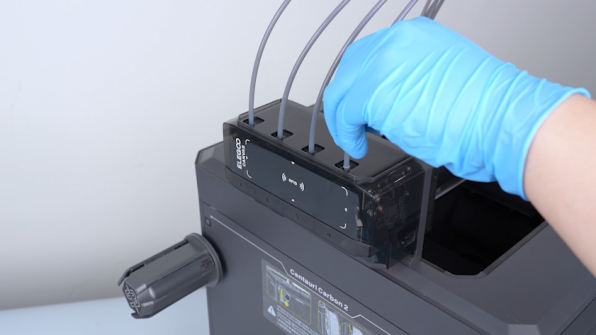
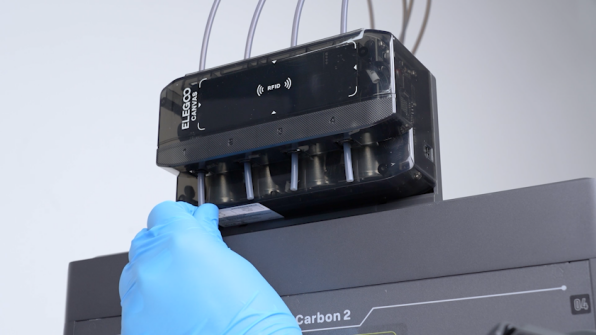
- Plug in the PTFE tubes.
Note: It is unnecessary to distinguish the numbers of PTFE tubes.
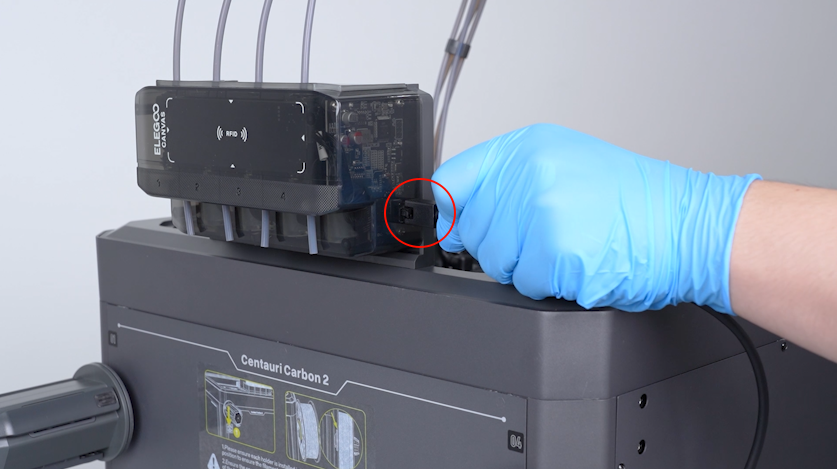
- Plug in the communication cable of CANVAS.
¶ Test the Feeder Motors After Replacement
-
Plug in the power supply cable. Turn the power switch ON (symbol "|").
-
Check if the indicators on the feeder motors can function normally.
Note: The indicators will light up in order after entering the menu interface on the touch screen.
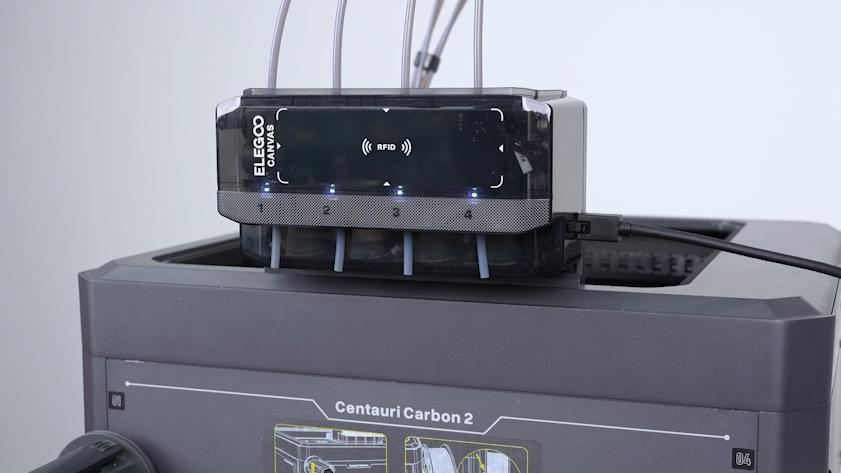
- Load the filaments.
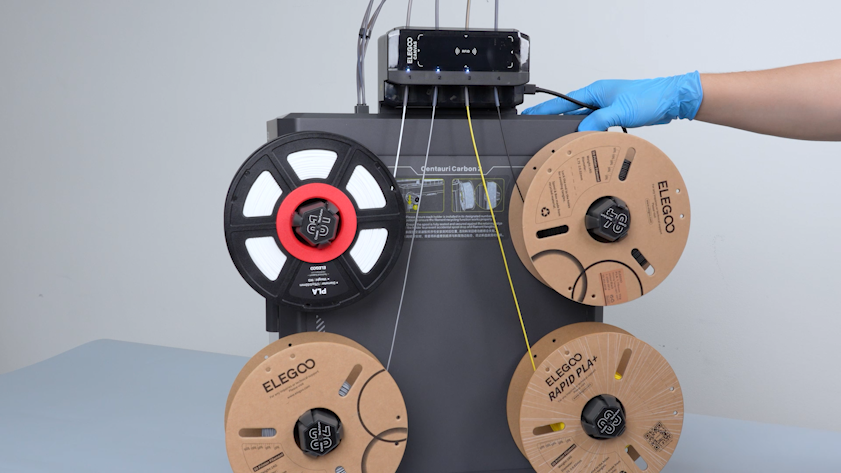
- Print a small multi-color model for testing.
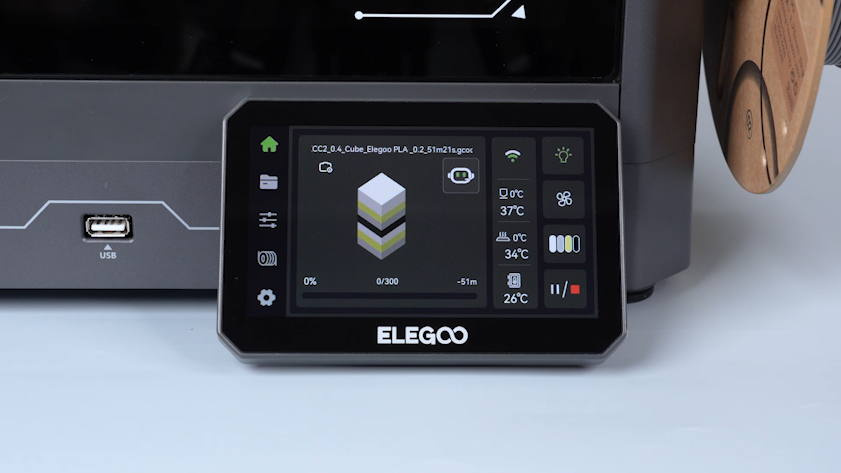
- After the printing completes successfully, the printer is ready for use.
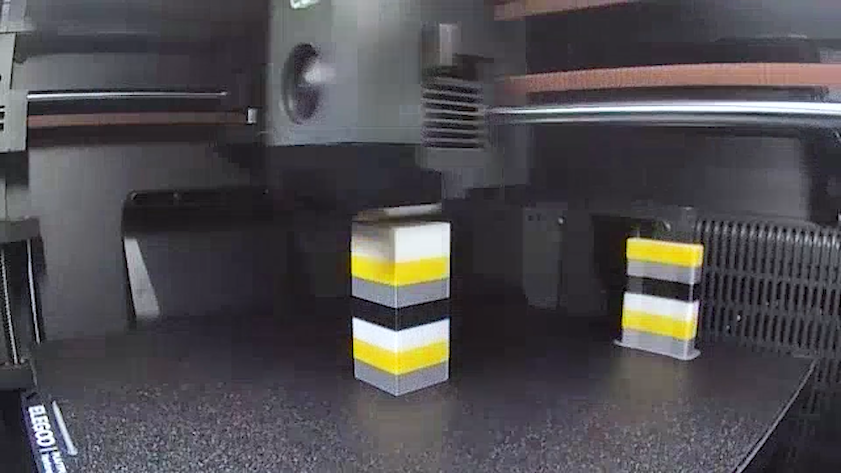
¶ Help us improve
If you have any ideas about the wiki pages, please let us know via ELEGOO official feedback channel