¶ Issue Description
Z axis homing process is abnormal.
¶ Reasons
-
The Z-axis motor cable is loosely connected or has poor contact.
-
The Z-axis motor has a malfunction or the motherboard fails to drive the Z-axis normally.
-
The photoelectric switch is abnormal.
¶ Troubleshooting Steps
¶ Tools needed for troubleshooting
- A 2.0 mm Allen key
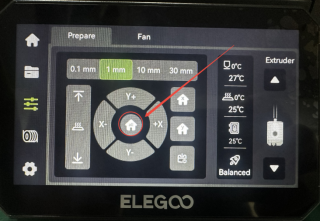
- Control the printer to homing position and check the homing process.
-
If the nozzle keeps striking the build plate during homing, it indicates that the photoelectric limit switch or its port on the motherboard is damaged. Refer to Step 2 for further troubleshooting.
-
If the Z-axis continues to jam or fails to rotate during homing, it indicates that the motor, driver board or Z-axis motor cable is abnormal. Refer to Step 5 for further troubleshooting.
-
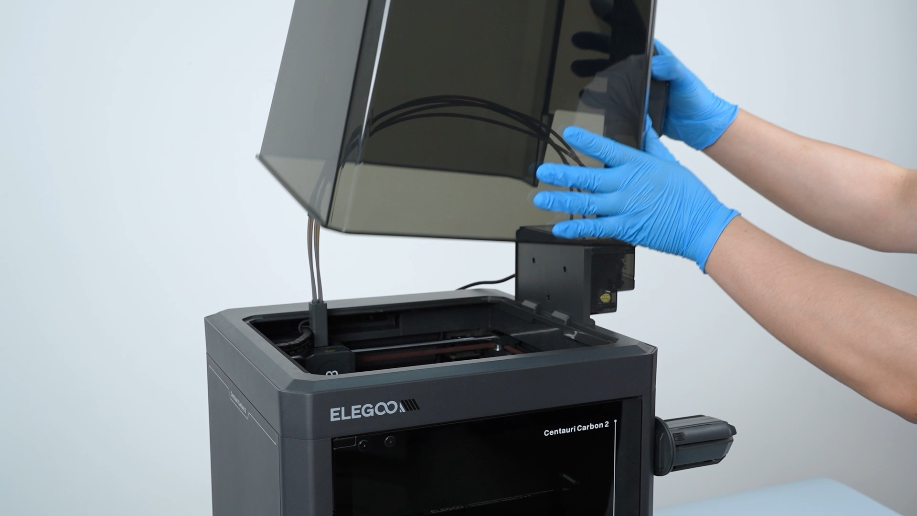
Remove the lid.
-
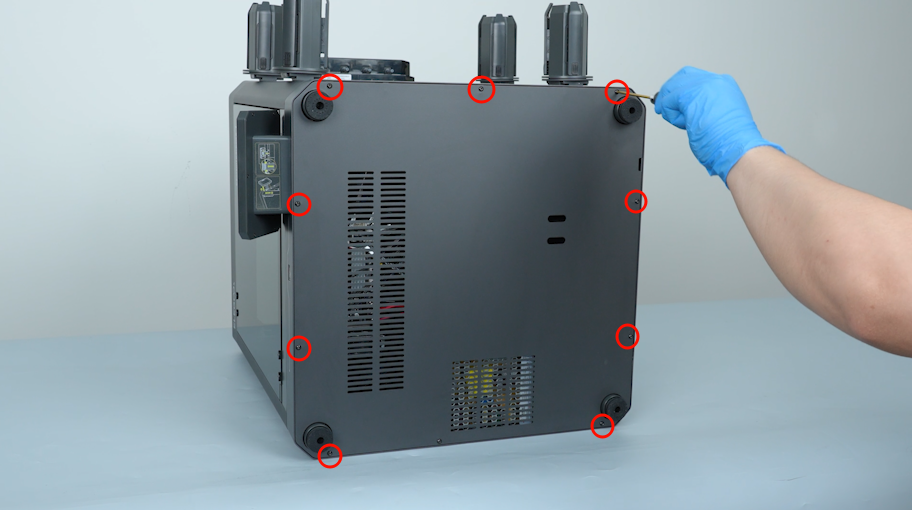
Remove the ten screws securing the bottom cover with a 2.0 mm Allen key and remove the bottom cover.
-
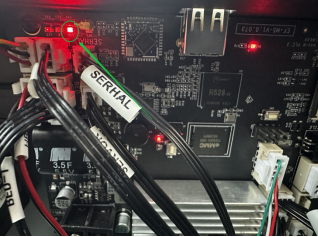
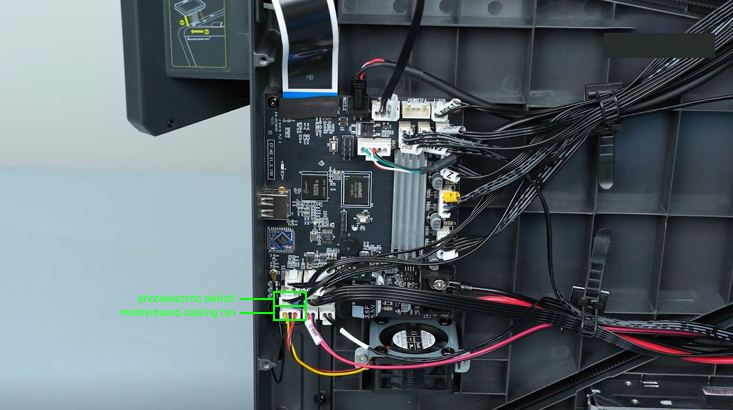
Check whether the indicator light on the motherboard can illuminate.
-
If the indicator light illuminates, it indicates that the photoelectric limit switch port on the motherboard is normal. It is necessary to replace the photoelectric limit switch and its cable.
-
If the indicator light cannot illuminate normally, plug in the motherboard cooling fan cable into the photoelectric limit switch port
and check the indicator light again.-
If the indicator light is still off, it indicates that the motherboard needs to be replaced.
-
If the indicator light is on, it indicates that the photoelectric limit switch and its cable need to be replaced.
-
-
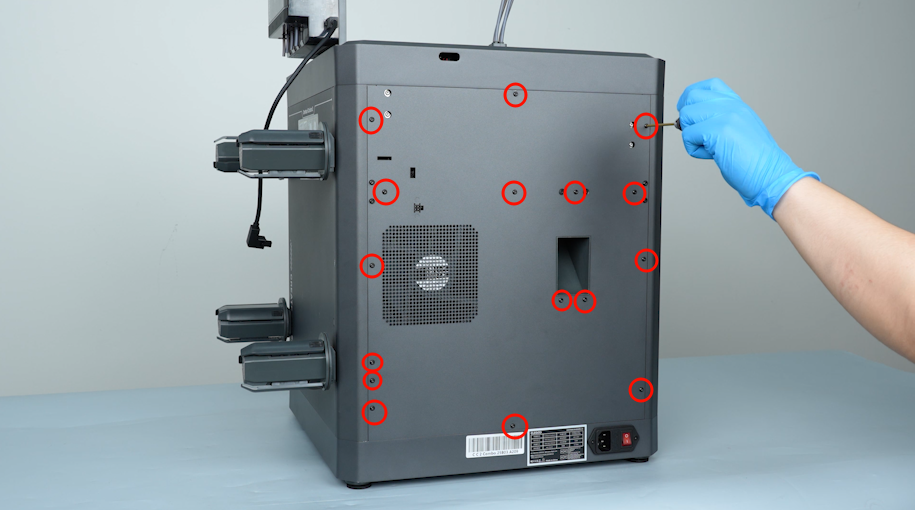
Turn the power switch OFF (symbol "|"). Remove the sixteen screws securing the back cover with a 2.0 mm Allen key. Remove the back cover.
-
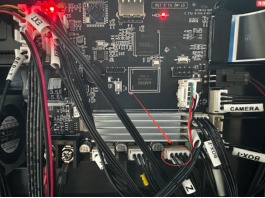
Re-plug the Z-axis port and the Z-axis motor cable on the motherboard.
-
If the Z-axis still jams during homing, it indicates that the motor and its cable are abnormal and need to be replaced.
-
If the Z-axis still fails to rotate, swap the Y-axis and Z-axis ports on the motherboard and home the printer again.
-
If the Z-axis rotates, it indicates that the motherboard needs to be replaced.
-
If the Z-axis still does not rotate, it indicates that the Z-axis motor and its cable need to be replaced.
-