¶ Issue Description
The cutter fails to cut off the filament.
¶ Reasons
-
The filament cutter stopper is not installed correctly.
-
The cutter sensor is damaged.
¶ Troubleshooting Steps
¶ Tools needed for troubleshooting
-
A 1.5 mm Allen key
-
A 2.0 mm Allen key
-
A 2.5 mm Allen key
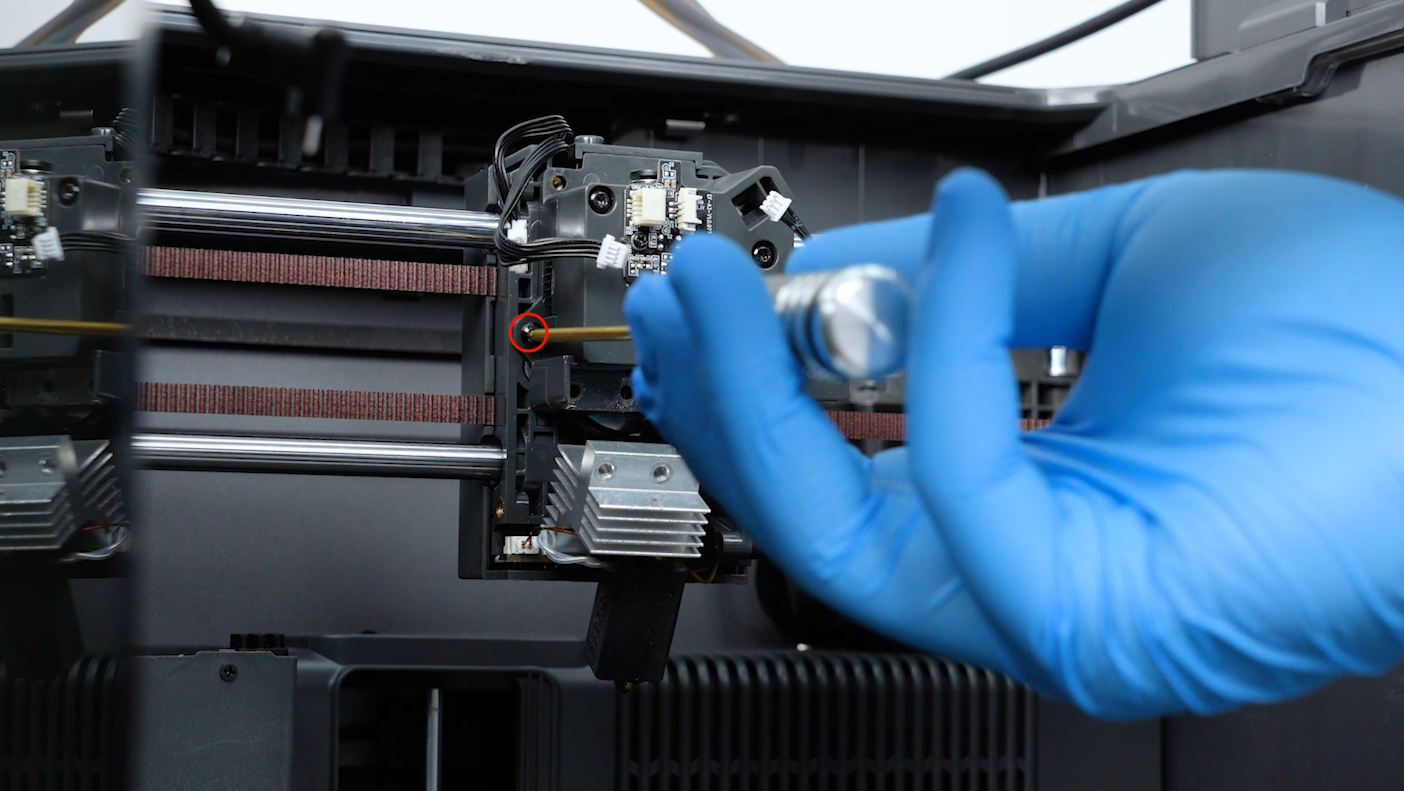
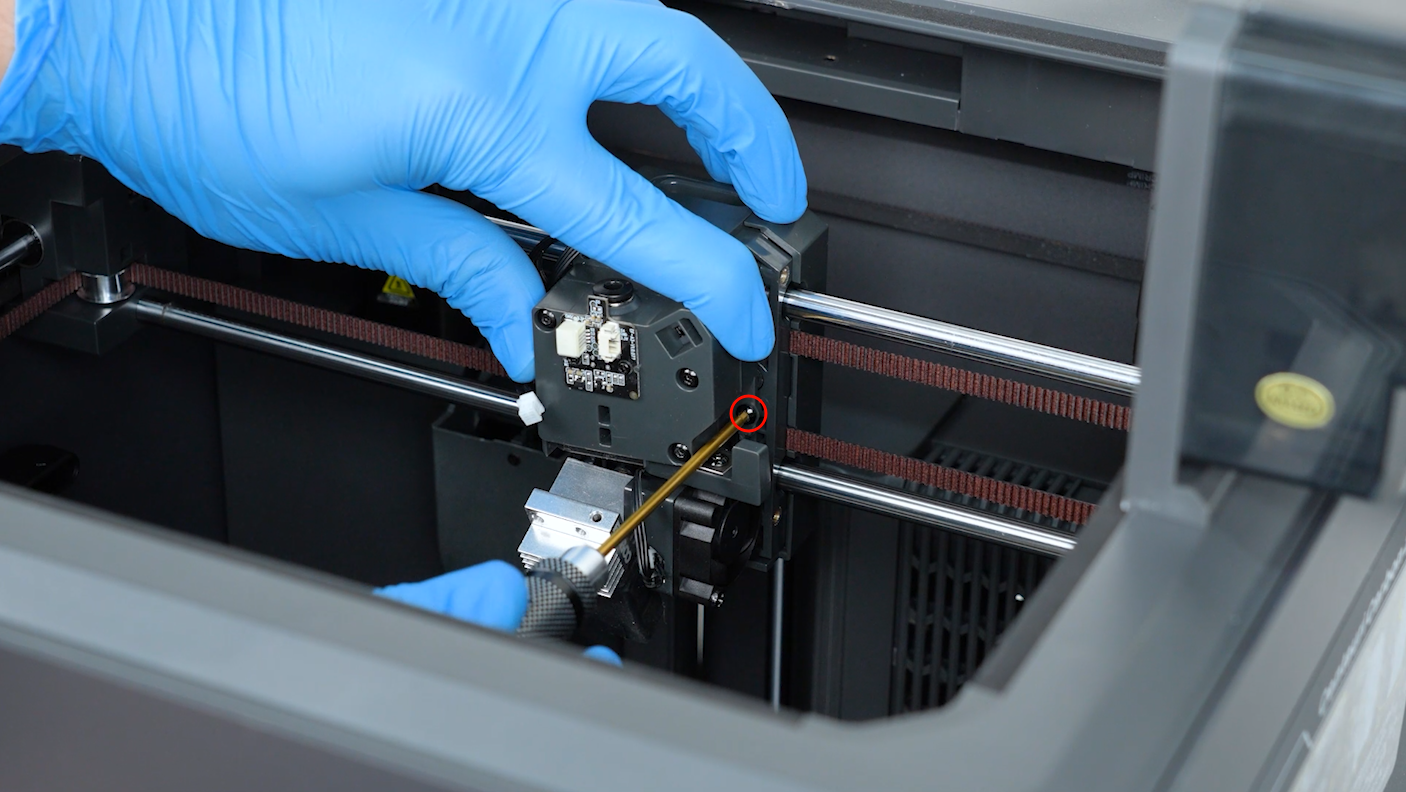
¶ Step 1 Check whether the cutter stopper located at the right corner is installed correctly.
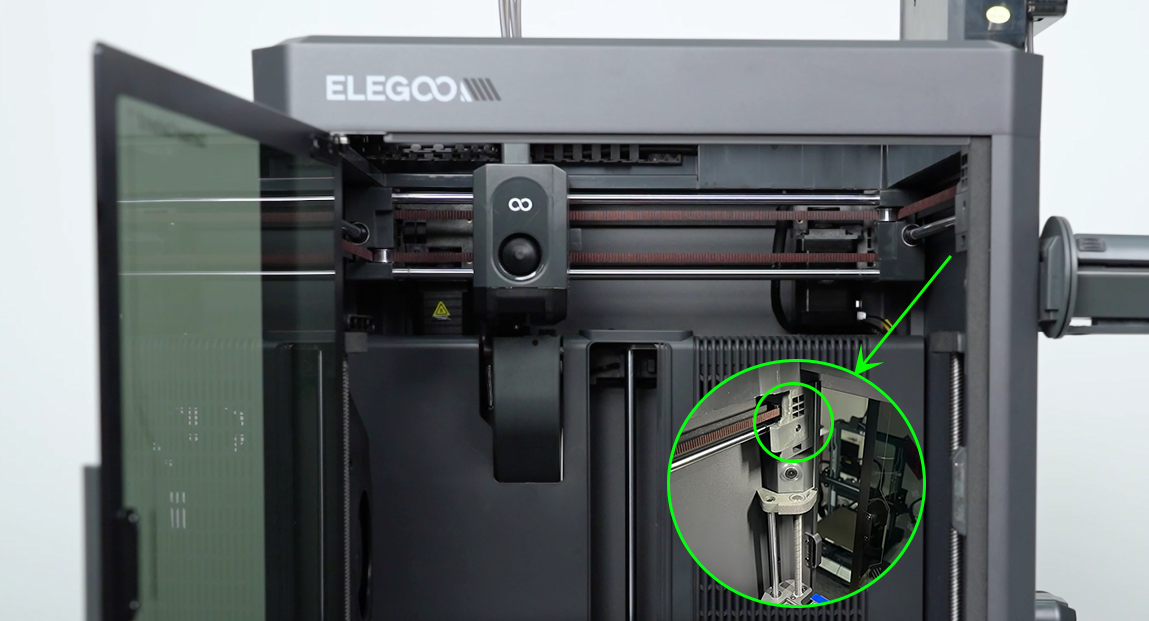
If the cutter stopper is installed correctly, refer to Step 2 for further troubleshooting.
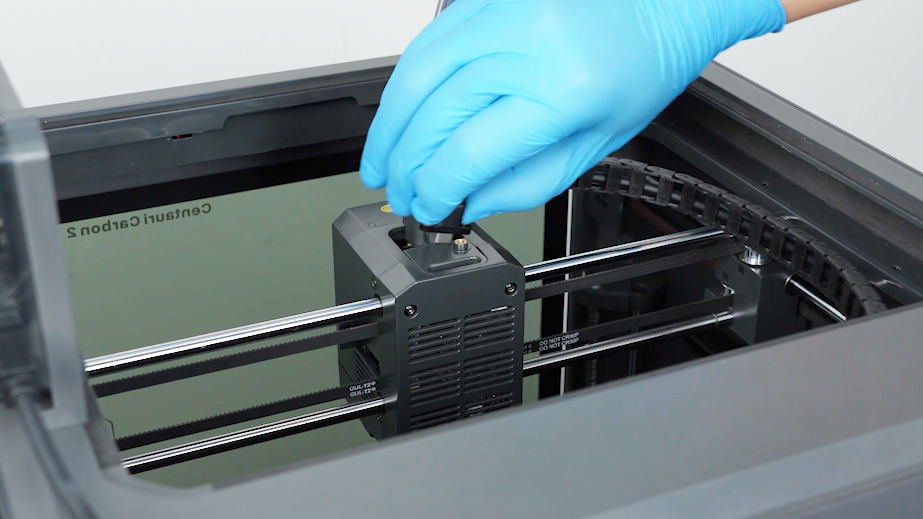
¶ Step 2 Check whether the cutter handle on the print head can retract to its normal position by pressing it.
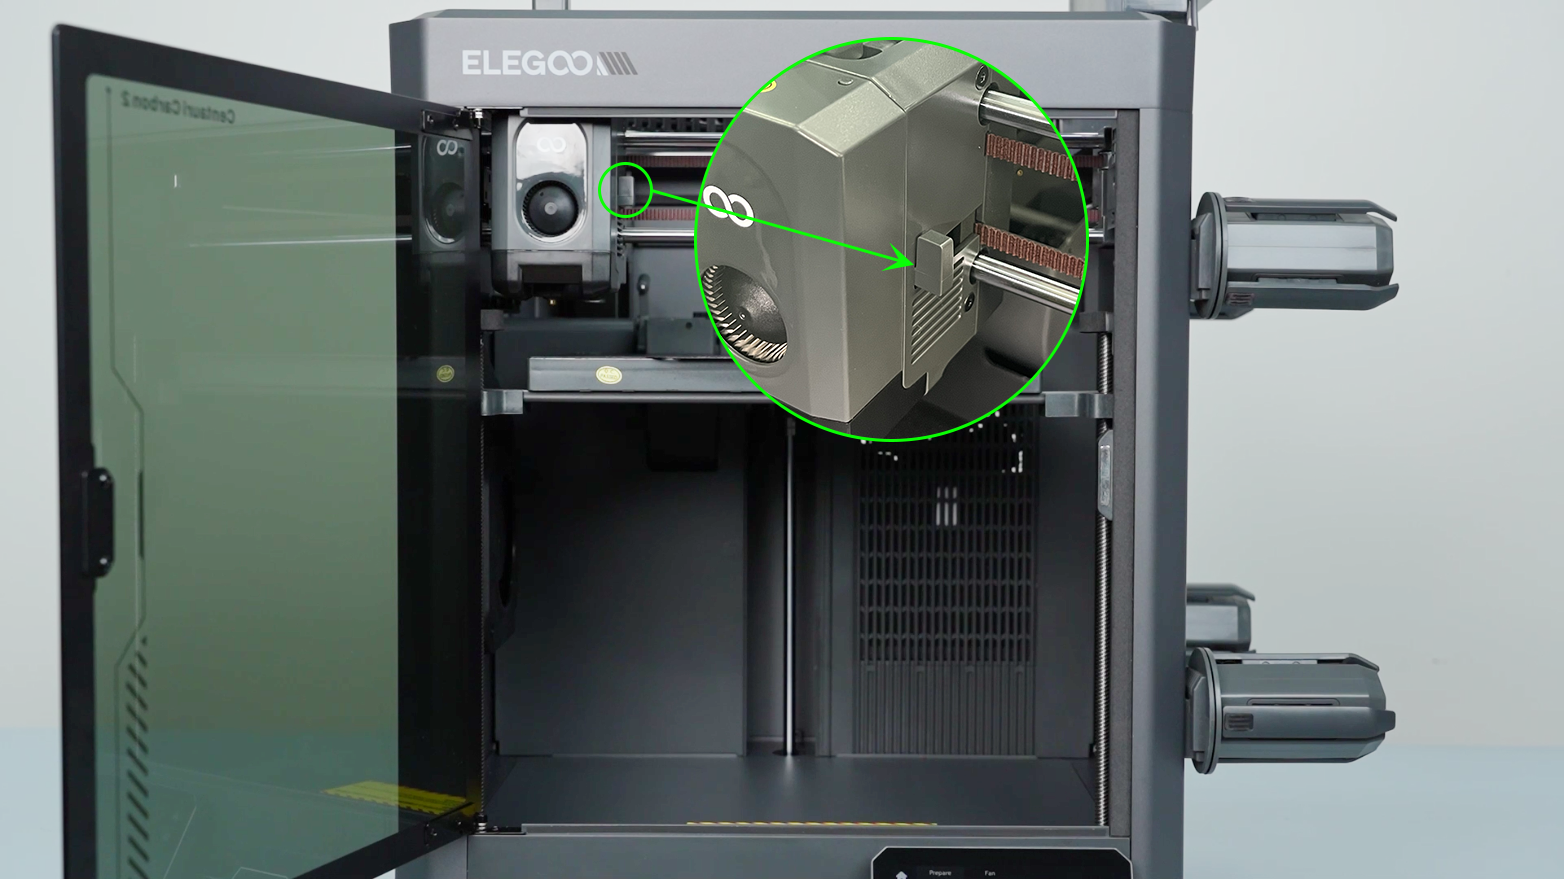
-
If the cutter handle fails to retract properly, it indicates that the cutter is damaged. Refer to Step 3 for further troubleshooting.
-
If the cutter handle retracts normally, it indicates that the cutter sensor is damaged and needs to be replaced with a new one.
¶ Step 3 Check the cutter.
-
Turn the power switch OFF (symbol "〇") and unplug the power supply cable.
-
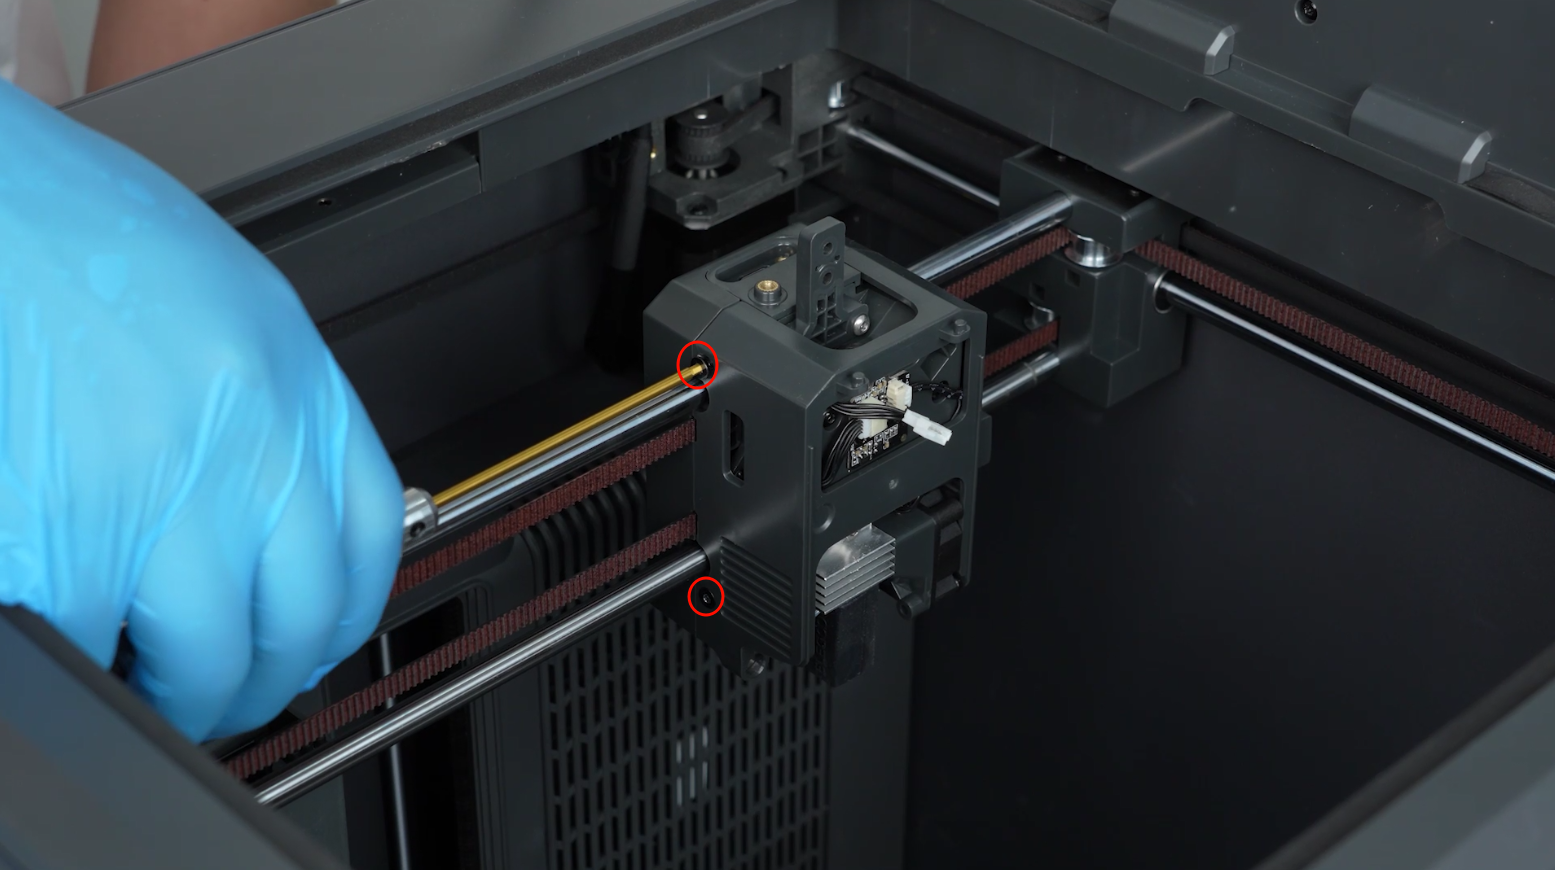
Loosen the two screws securing the extruder communication cable with a 1.5 mm Allen key.

-
Loosen the screws securing the cable chain with a 2.5 mm Allen key and remove the extruder communication cable.
-
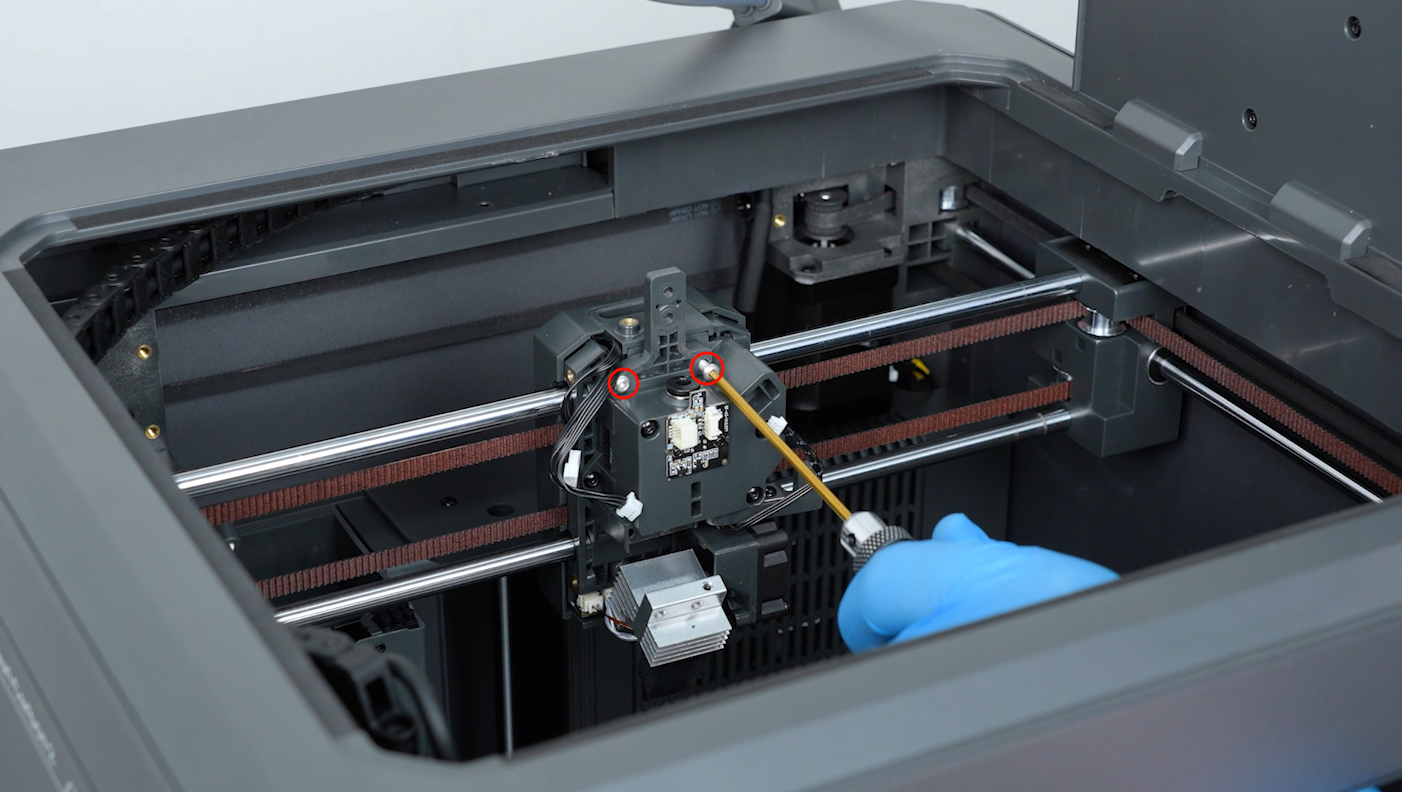
Loosen the two screws securing the 4-in-1 hub and remove the 4-in-1 hub with a 2.0 mm Allen key
-
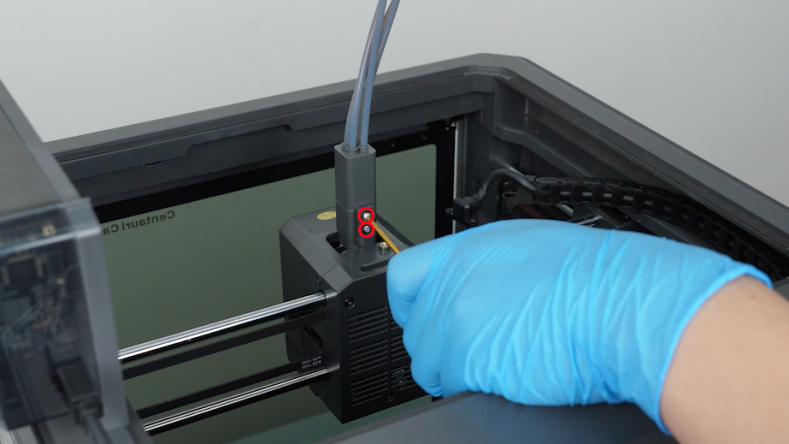
Open the front cover of the tool head and unplug the model cooling fan cable. Remove the front cover.
-
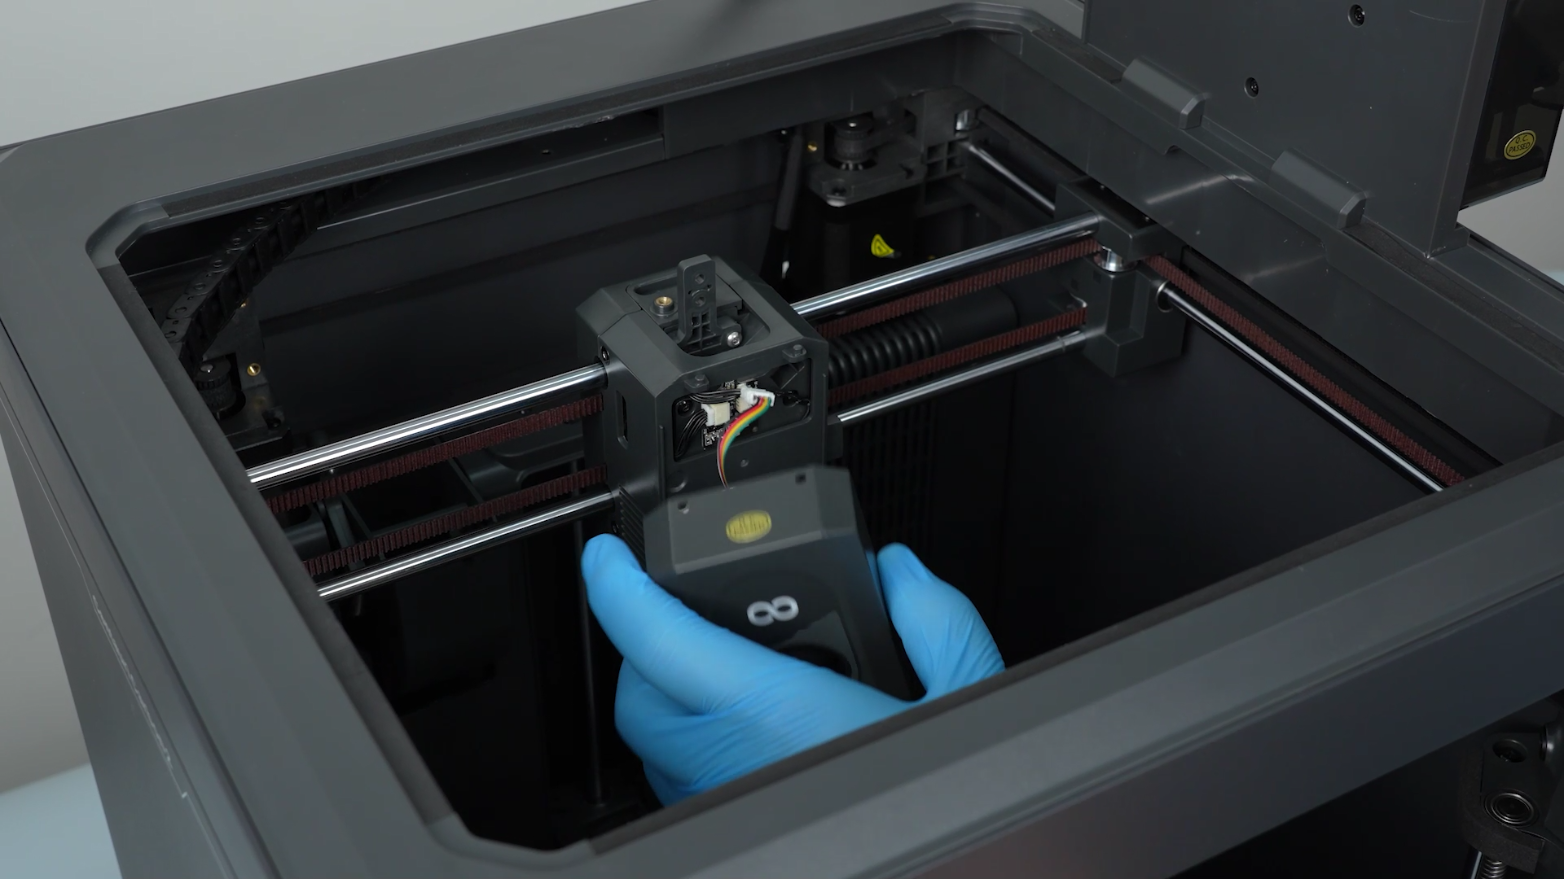
Release and remove the four screws securing the tool head housing with a 2.0 mm Allen key. Remove the tool head housing.

-
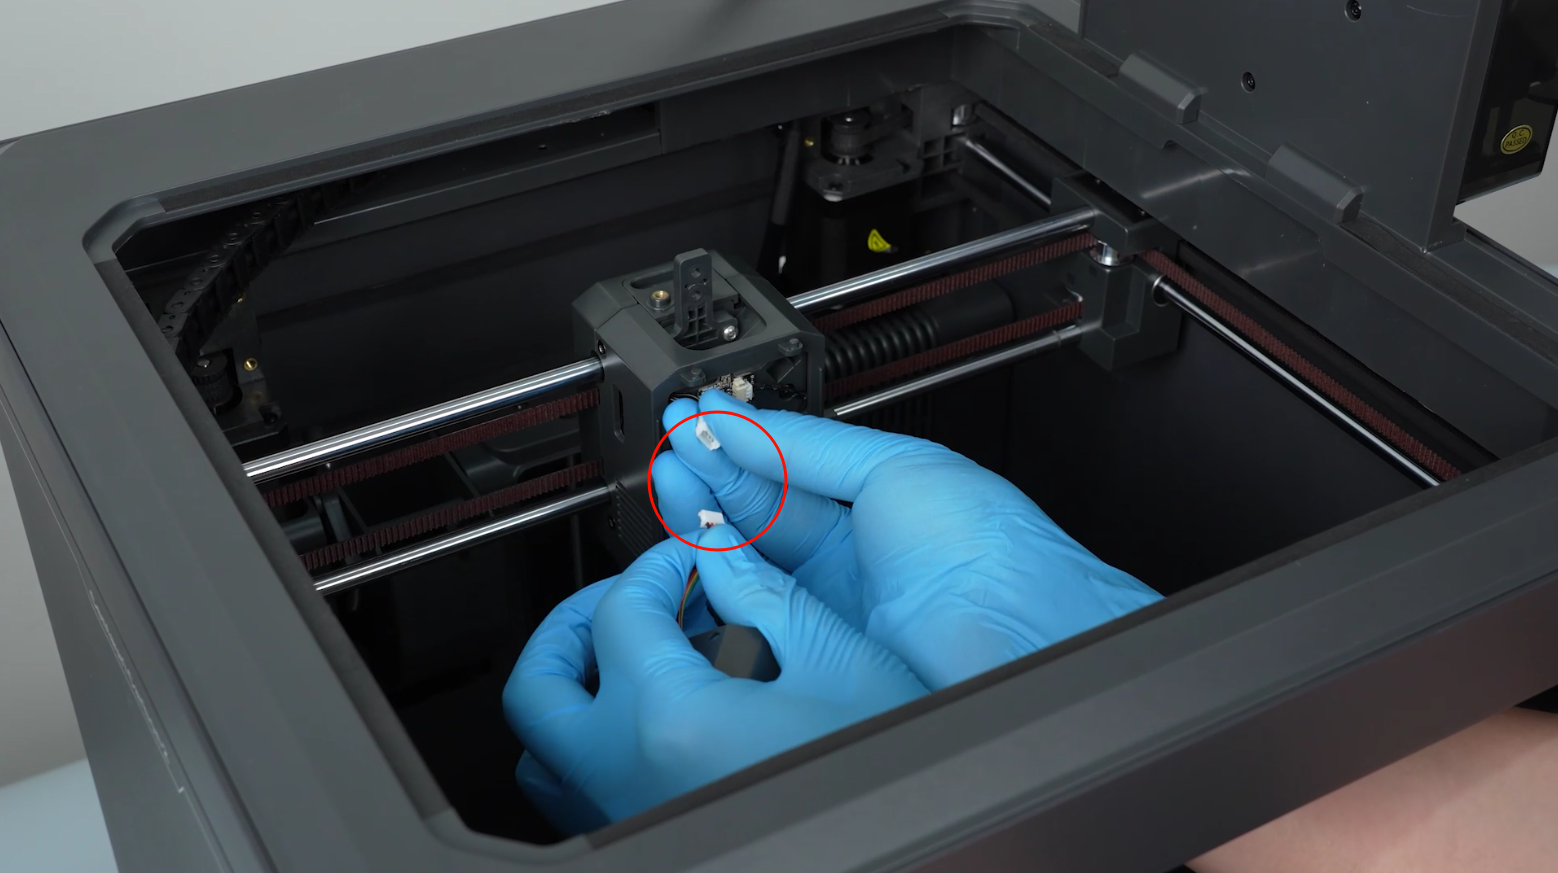
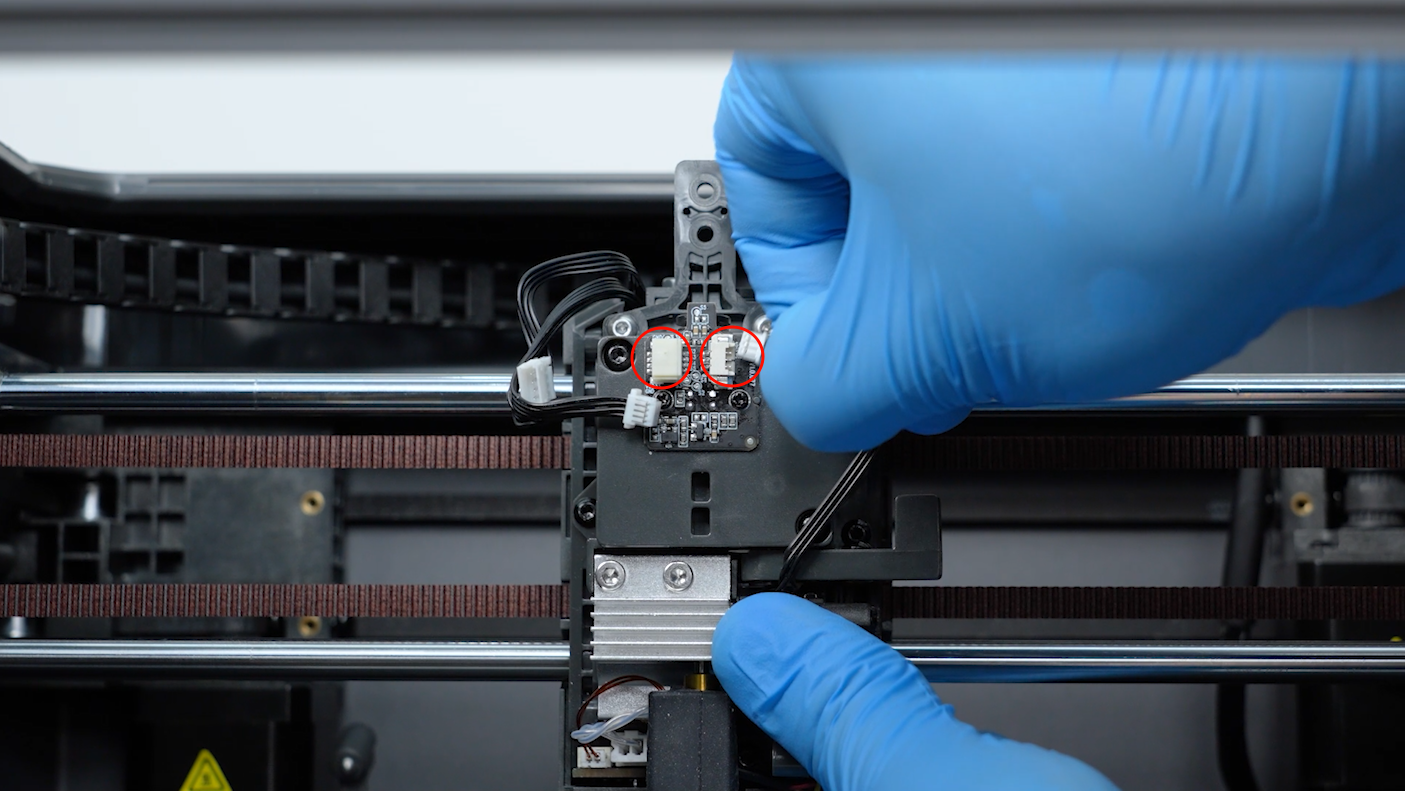
Unplug the two cables on the filament detection board.
-
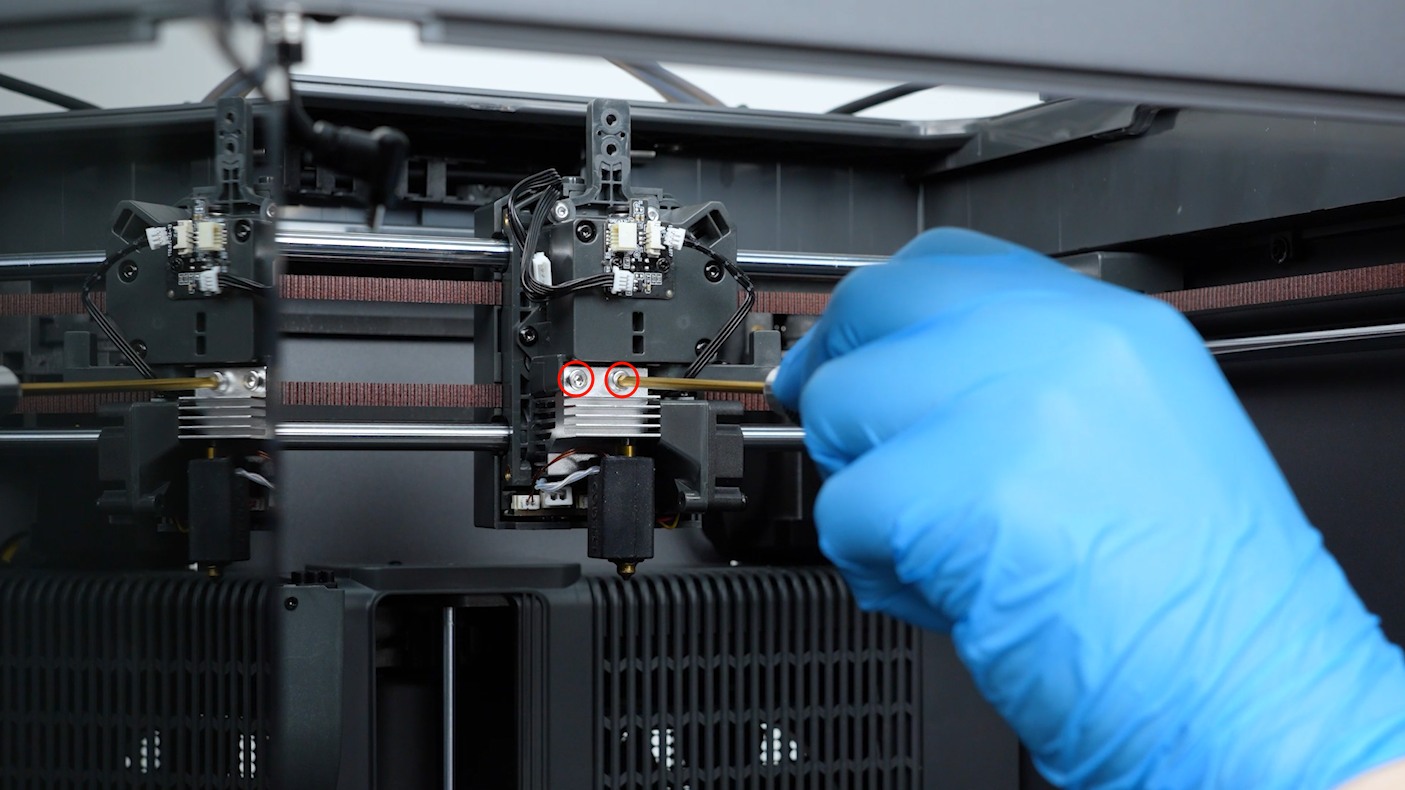
Loosen the two screws securing the hotend with a 2.5 mm Allen key and remove the screws with a pair of tweezers. Remove the hotend.
-
Loosen the two screws securing the 4-in-1 hub holder with a 2.0 mm Allen key and remove the screws with a pair of tweezers. Remove the 4-in-1 hub holder.
-
Loosen the screws securing the gearbox with a 2.0 mm Allen key. Remove the screws with a pair of tweezers. Remove the gearbox.
-
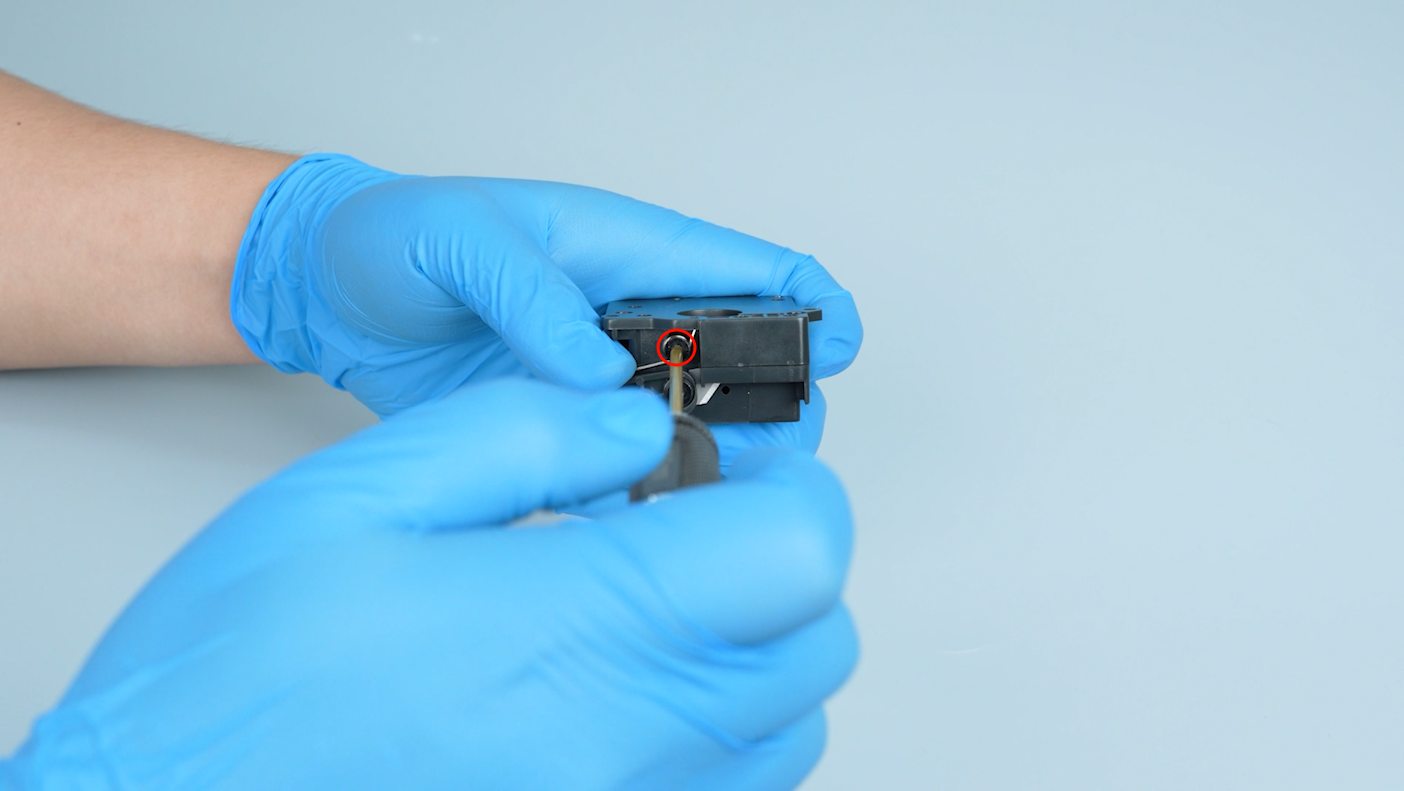
Check whether the cutter's spring is detached and whether the screw securing the spring is loose.
- If the spring or its screw is loose, tighten the screw and secure the spring with 2.0 mm Allen key.