¶ Required Tools
- 2.5 mm Allen key
- Thermal grease
- Thermistor and ceramic heater compatible with the CC2
¶ Disassembly
Note: To avoid burns, ensure the hot end has cooled to room temperature before proceeding.
¶ 1. Remove the Tool Head Front Cover
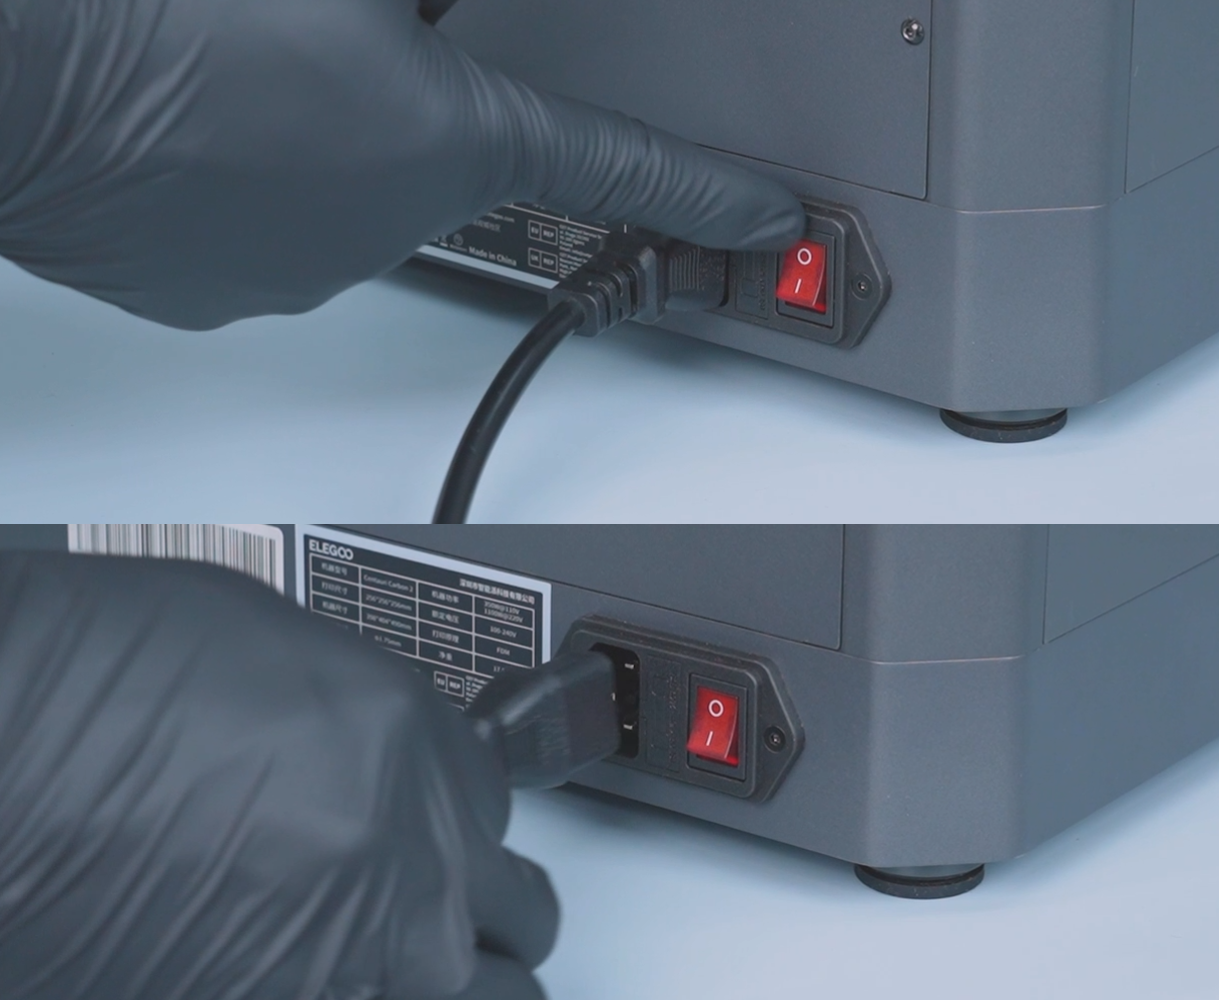
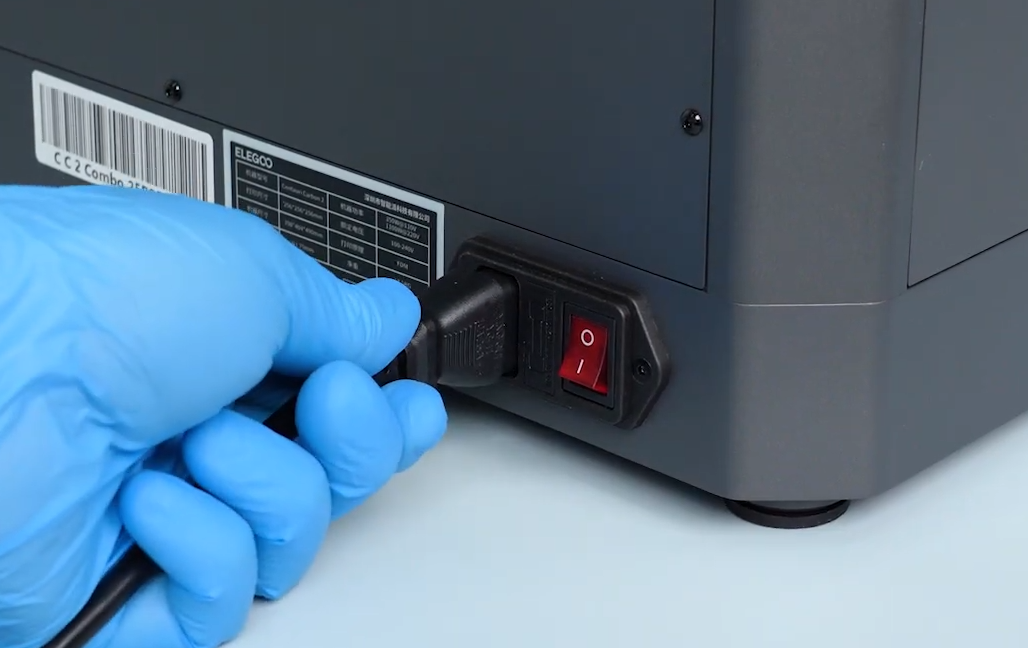
- Turn off the printer and unplug the power cord.
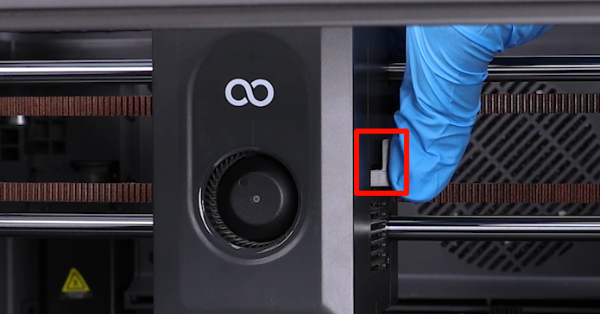
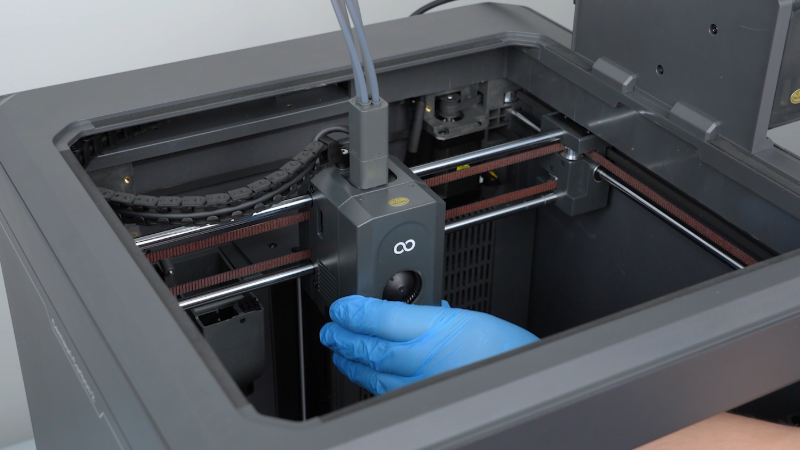
- Press down on the cutter handle to cut the filament, then lift and remove the tool head front cover.
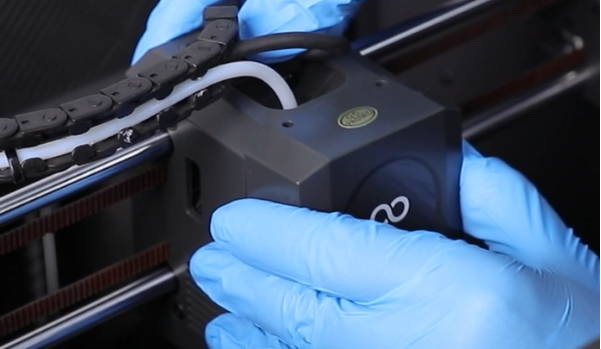
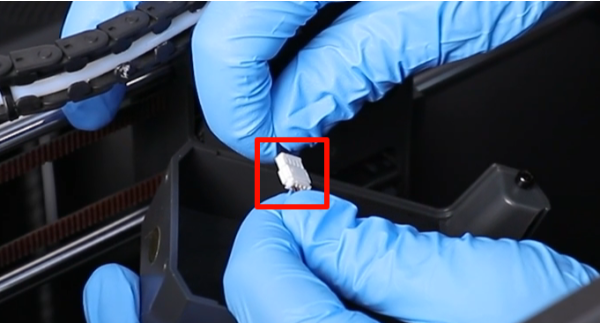
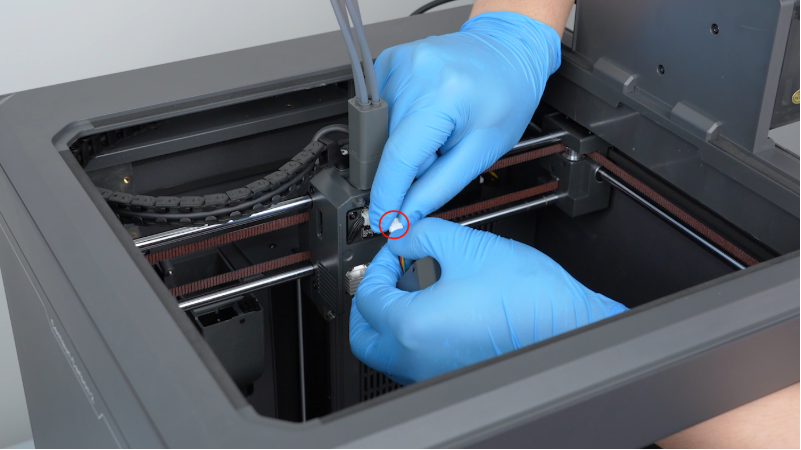
- Disconnect the model cooling fan connector.
¶ 2. Remove the Nozzle Assembly
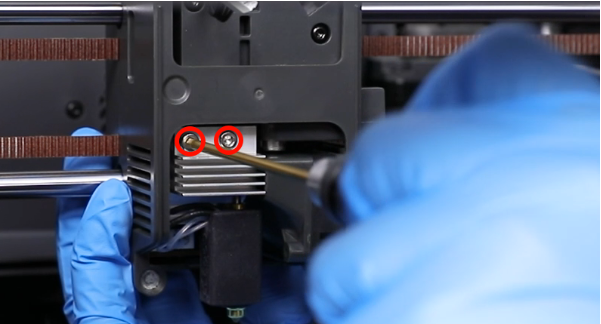
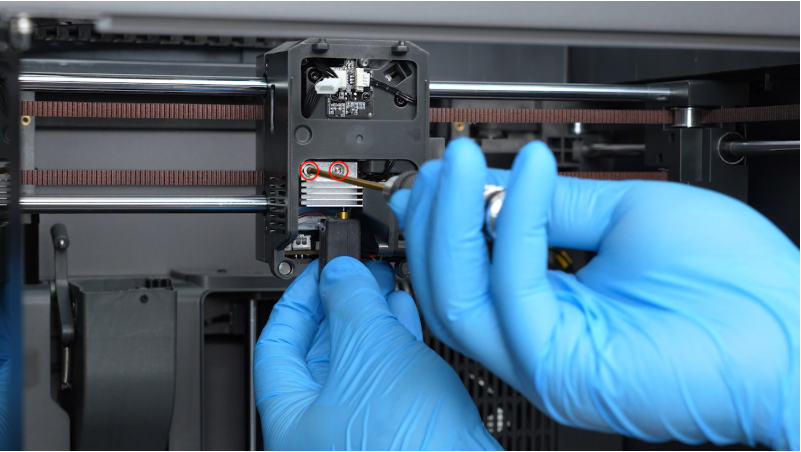
- Use a 2.5 mm Allen key to loosen the two screws securing the nozzle assembly.
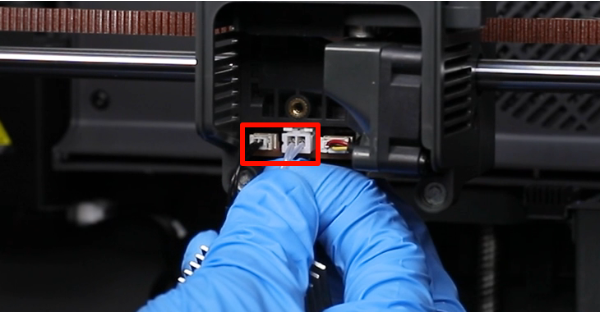
- Disconnect the ceramic heater and thermistor connectors, then remove the nozzle assembly.
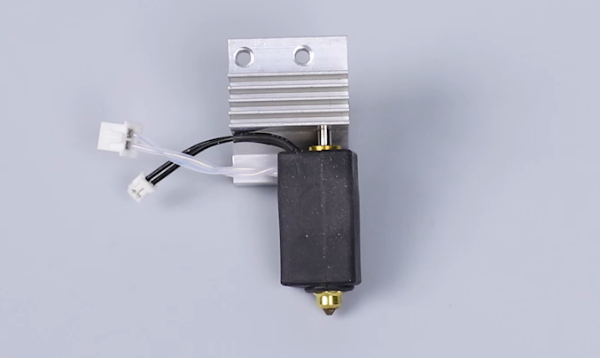
¶ 3. Remove the Thermistor and Ceramic Heater
Note: Do not apply excessive force, as this may damage the thermistor.
- Push the black silicone insulating sleeve and the ceramic heater retaining clip outward, then remove them.
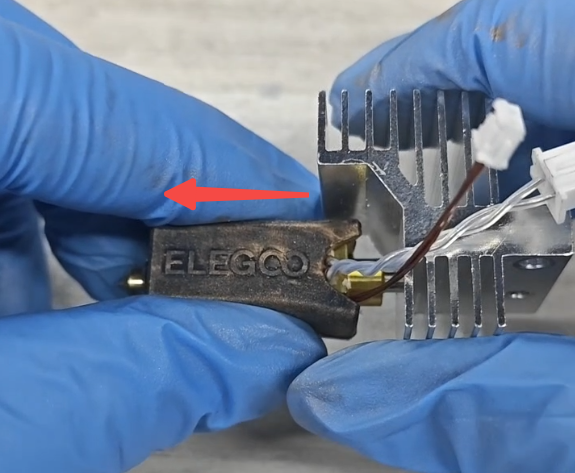
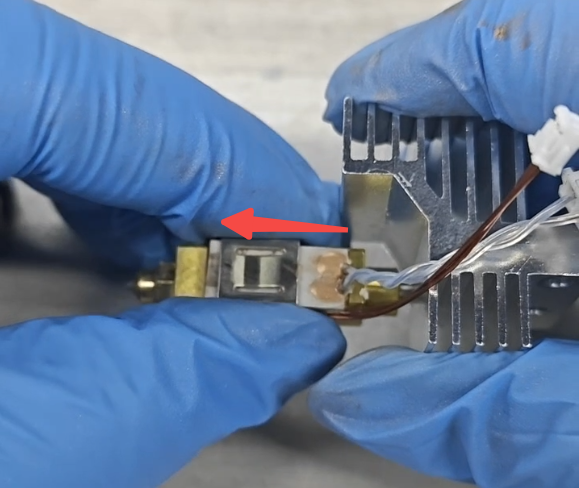
- Carefully remove the ceramic heater and the thermistor.
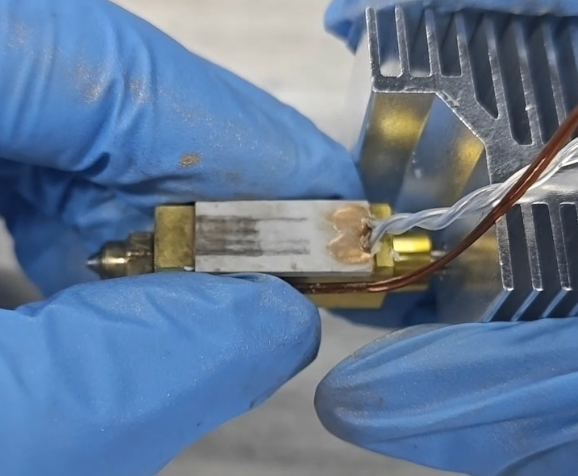
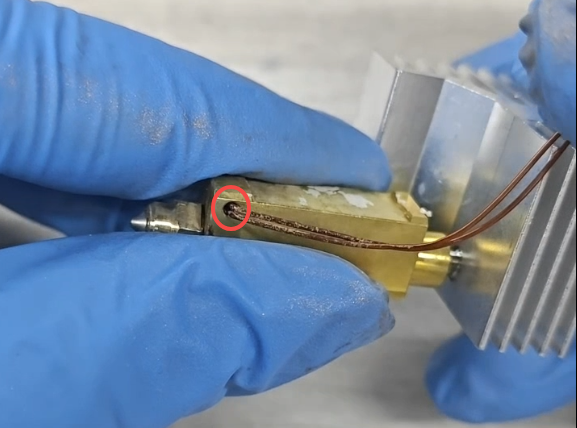
Note: The CC1 hotend thermistor is different from the CC2 hotend thermistor. They are not interchangeable.
¶ Installation
¶ 1. Install the New Thermistor and Ceramic Heater
- Gently bend the new thermistor lead approximately 5 mm from its tip, then insert the tip into the thermistor mounting hole on the hotend.
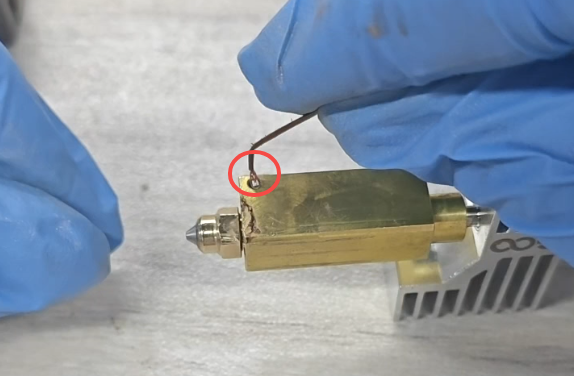
- Apply a small amount of thermal grease to the ceramic heater mounting recess on the hotend, then insert the ceramic heater into the recess.

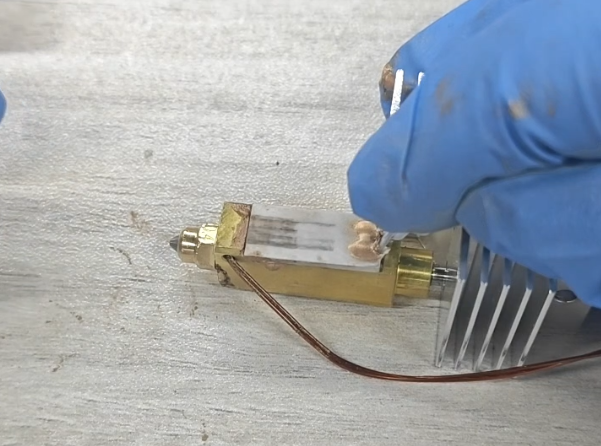
- Reinstall the ceramic heater retaining clip.
Note: Ensure that the thermistor cable is routed correctly through the groove to prevent it from being pinched or damaged.
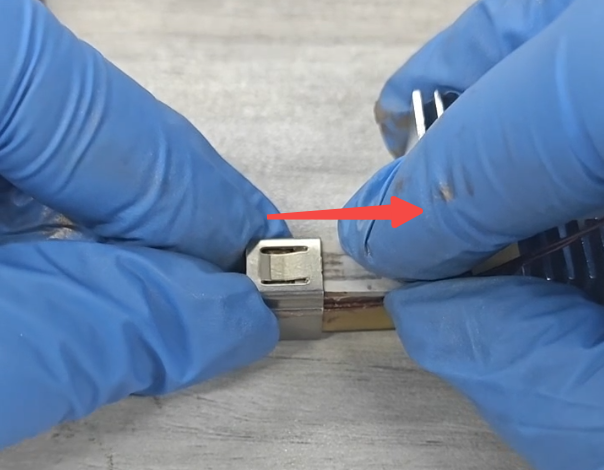
- Reinstall the silicone insulating sleeve.
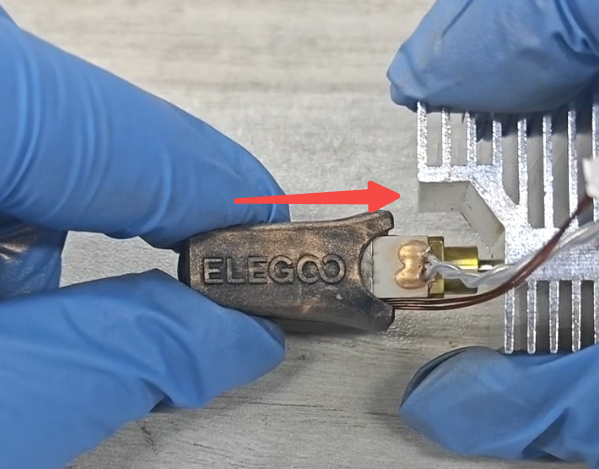
Note: Failure to install the insulating silicone sleeve may cause abnormal hotend temperatures or trigger related errors.
¶ 2. Install the Nozzle Assembly
- Connect the ceramic heater and thermistor connectors to their respective ports.
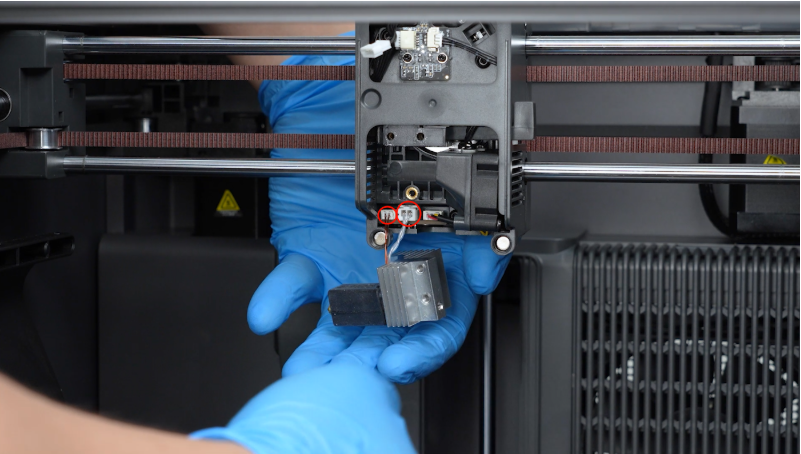
- Use a 2.5 mm Allen key to tighten the two screws securing the nozzle assembly.
¶ 3. Reinstall the Tool Head Front Cover
- Reconnect the model cooling fan connector.
- Reinstall the tool head front cover.
¶ Verification
- Reconnect the power cord and turn on the printer.
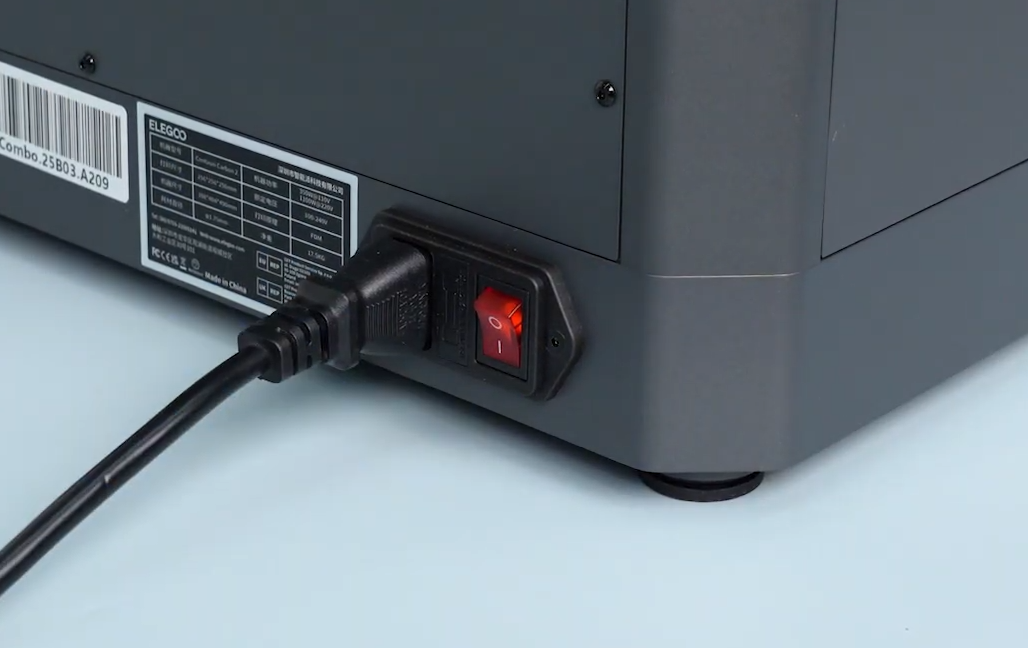
-
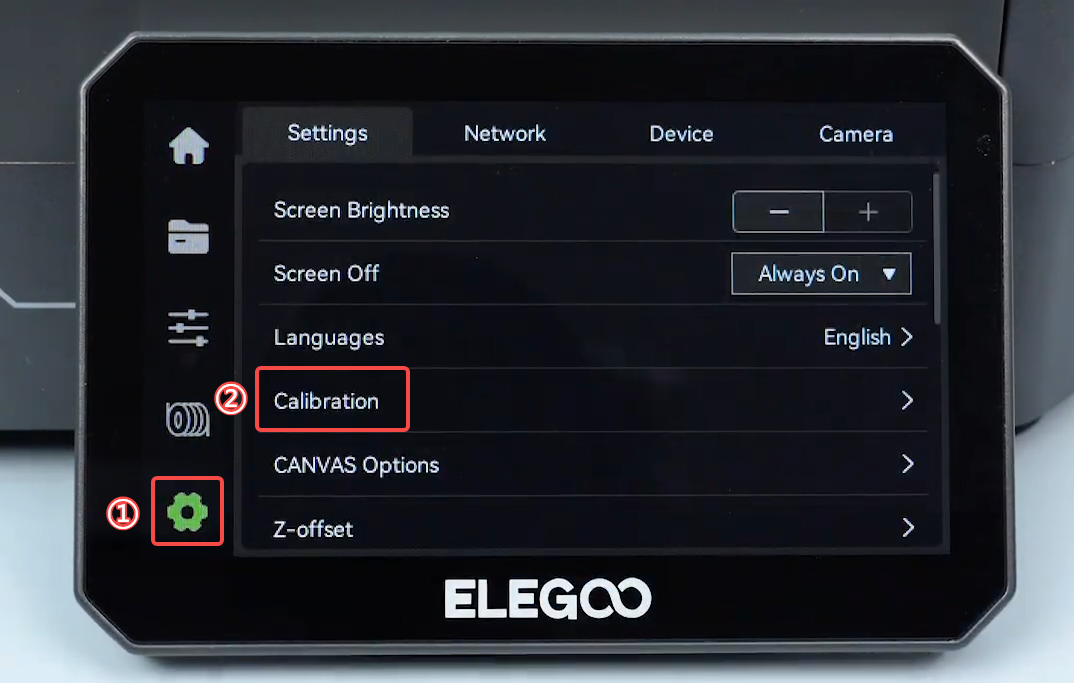
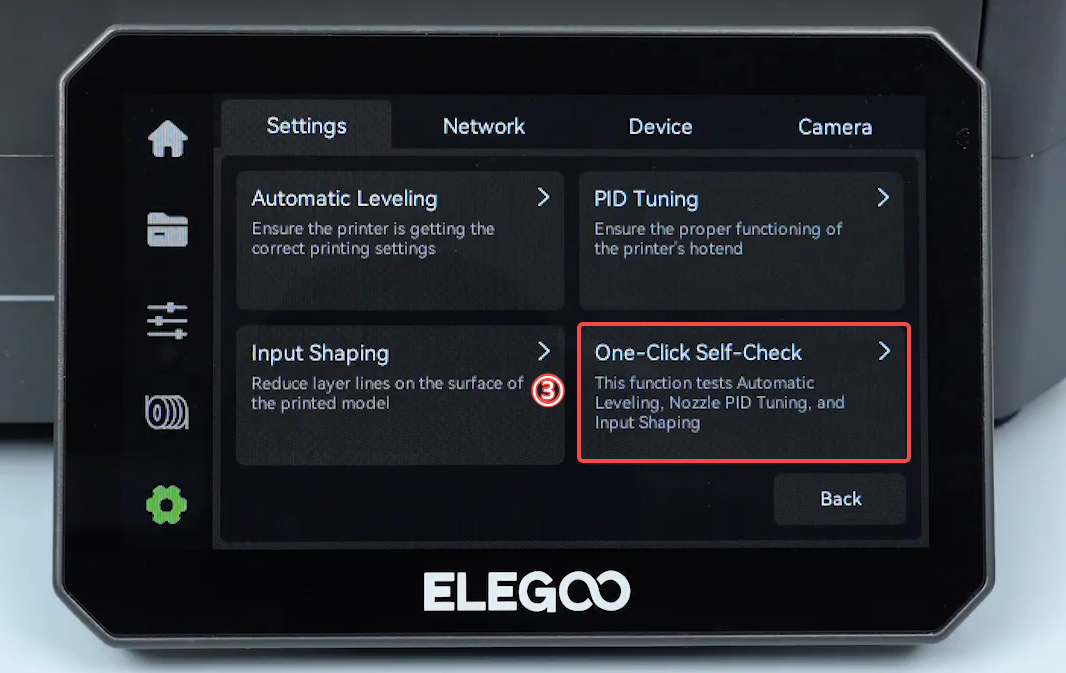
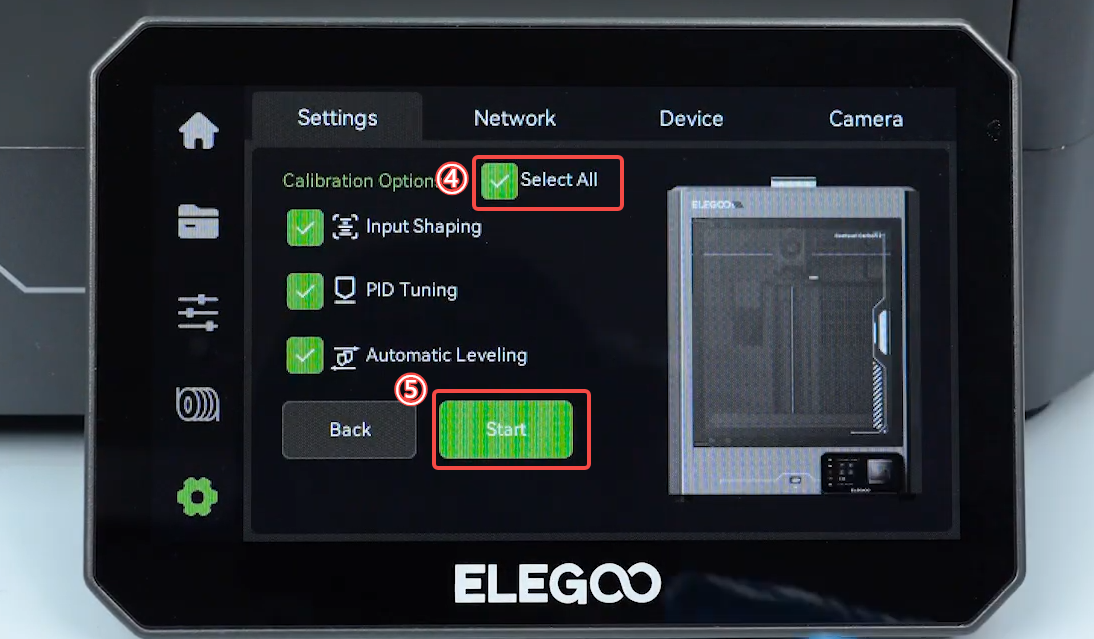
On the touchscreen, select Settings > Calibration > One-Click Self-Check.
-
Once the self-check is complete, confirm that no errors are displayed before resuming normal operation.
¶ Help us improve
If you have any ideas about the wiki pages, please let us know via ELEGOO official feedback channel.