¶ Tools and Materials
-
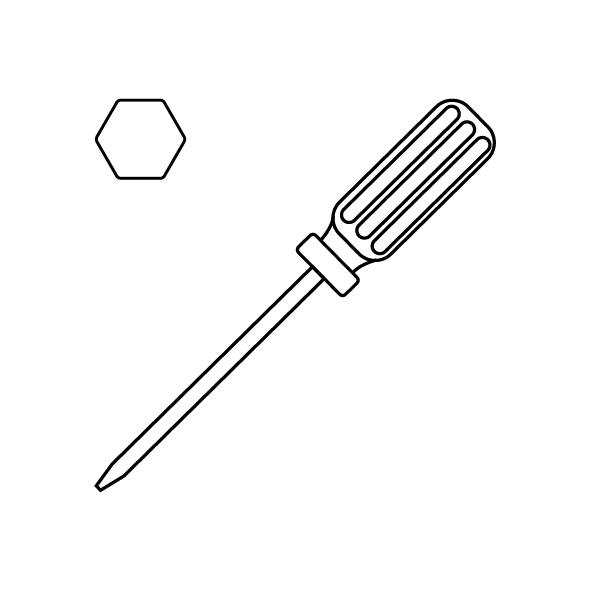
A 2.0 mm Allen key
-
A Phillips screwdriver
-
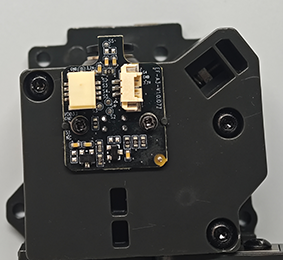
A new filament detection board

¶ Instruction
¶ Remove the new filament detection board
-
Turn the power switch OFF (symbol "〇") and unplug the power supply cable.
-
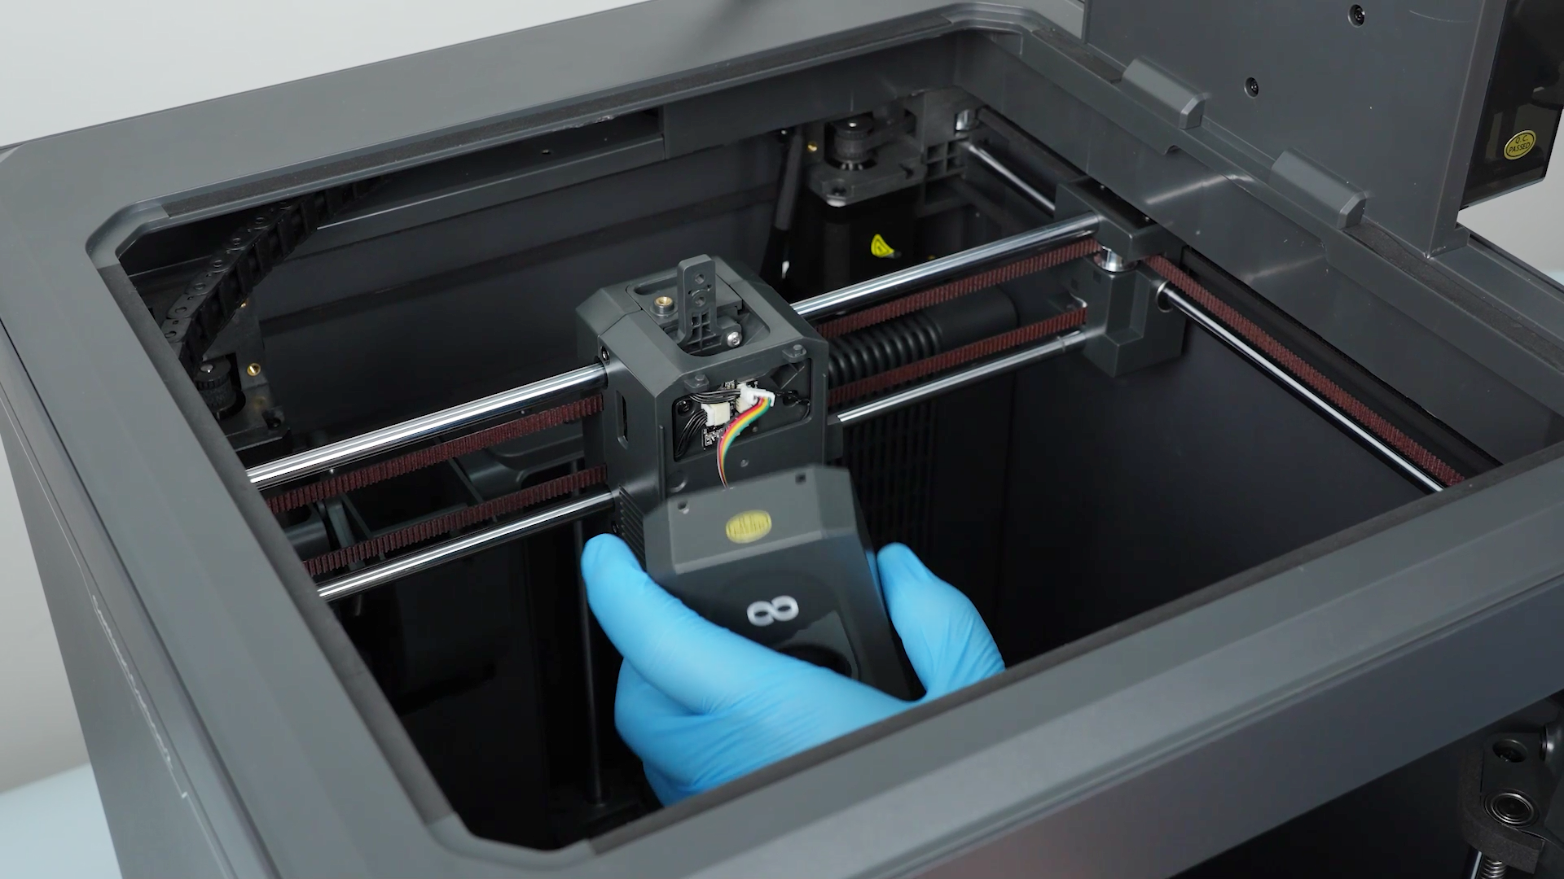
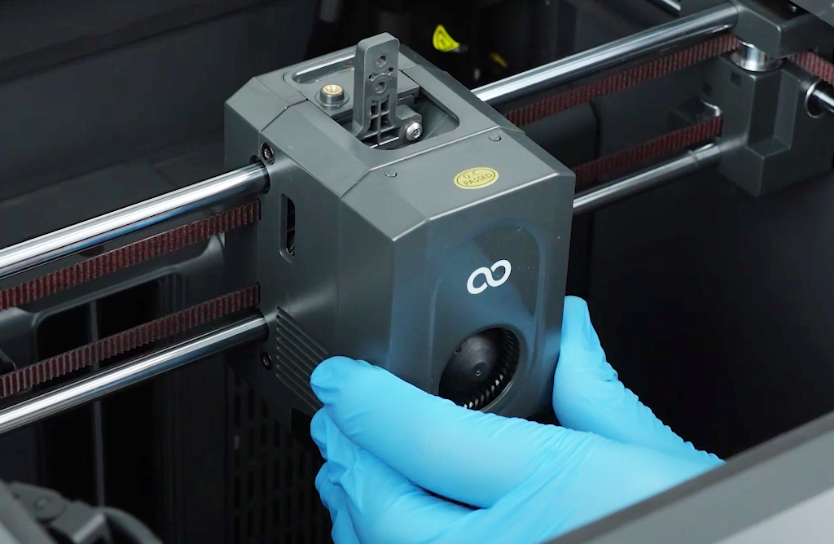
Open the front cover of the tool head. Unplug the cable of the model cooling fan. Remove the front cover of the tool head.
-
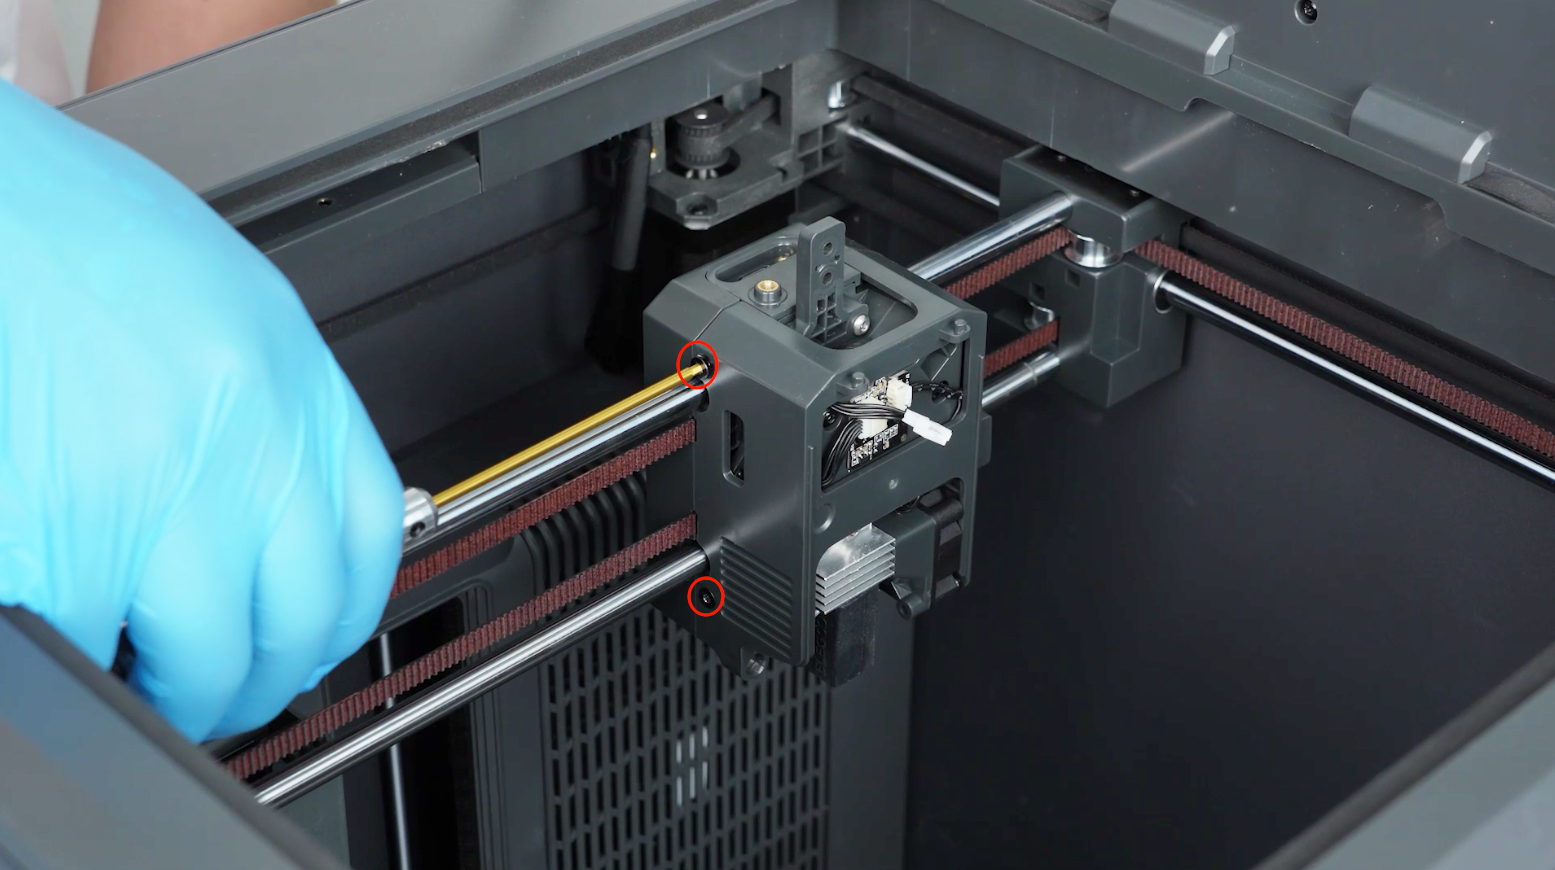
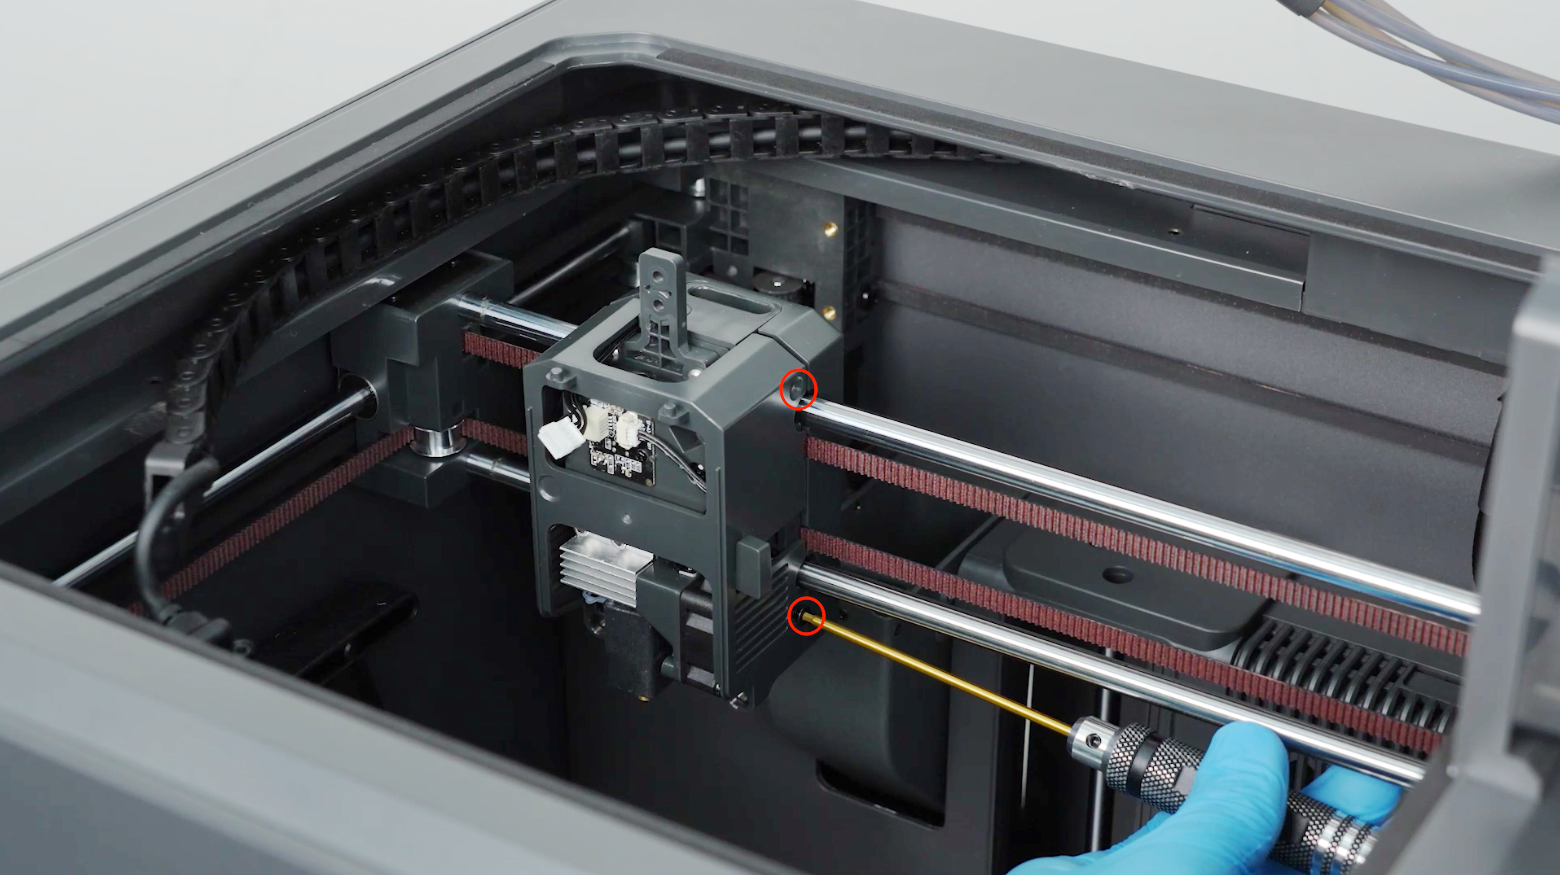
Release and remove the four screws securing the tool head housing with a 2.0 mm Allen key. Remove the tool head housing.
-
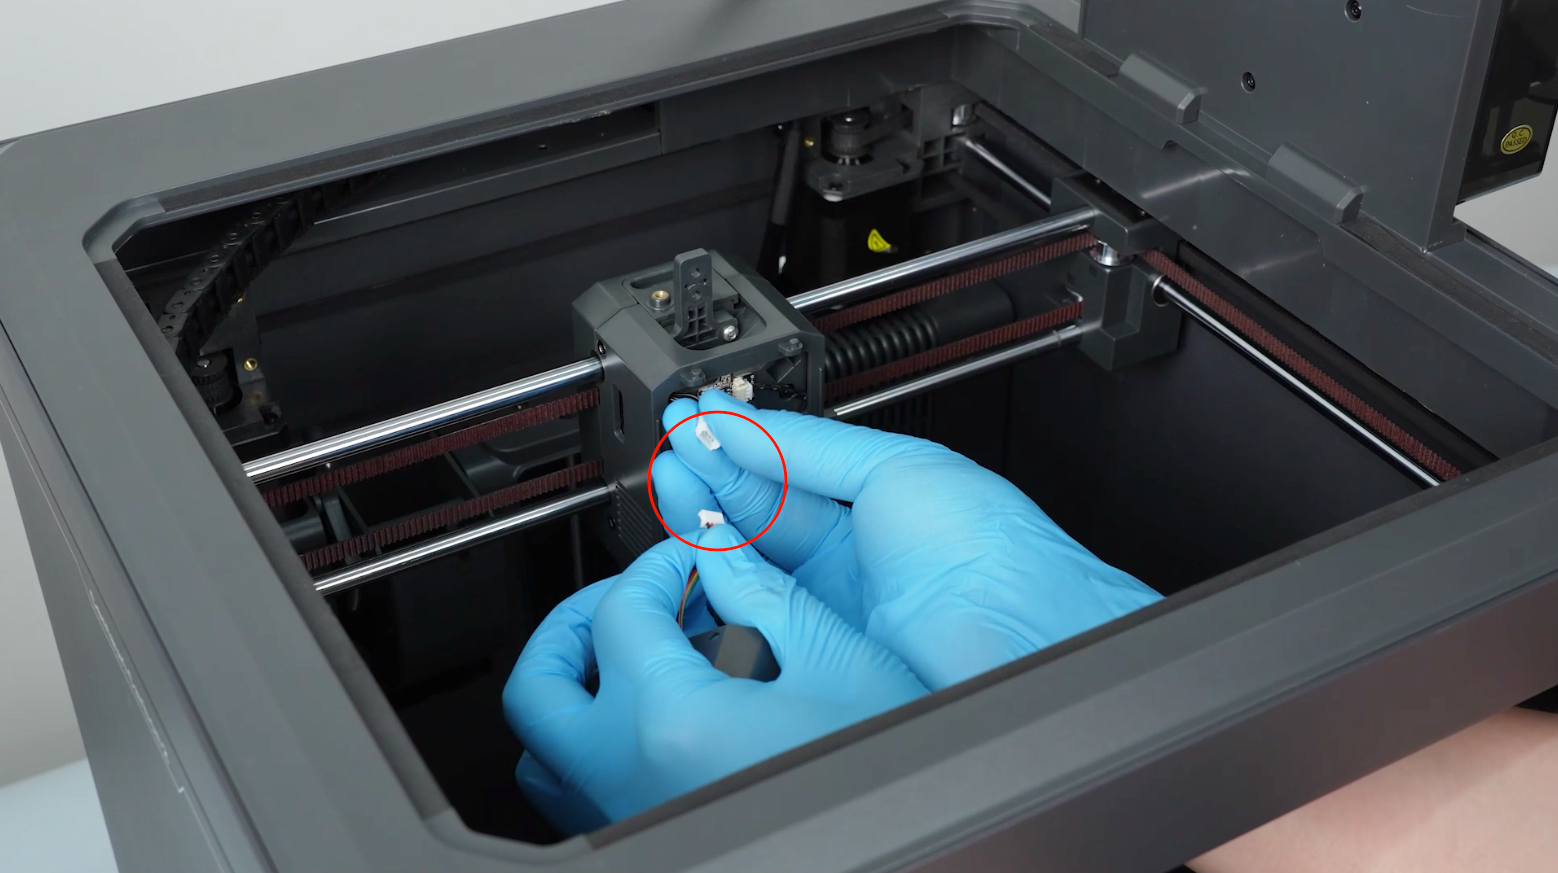
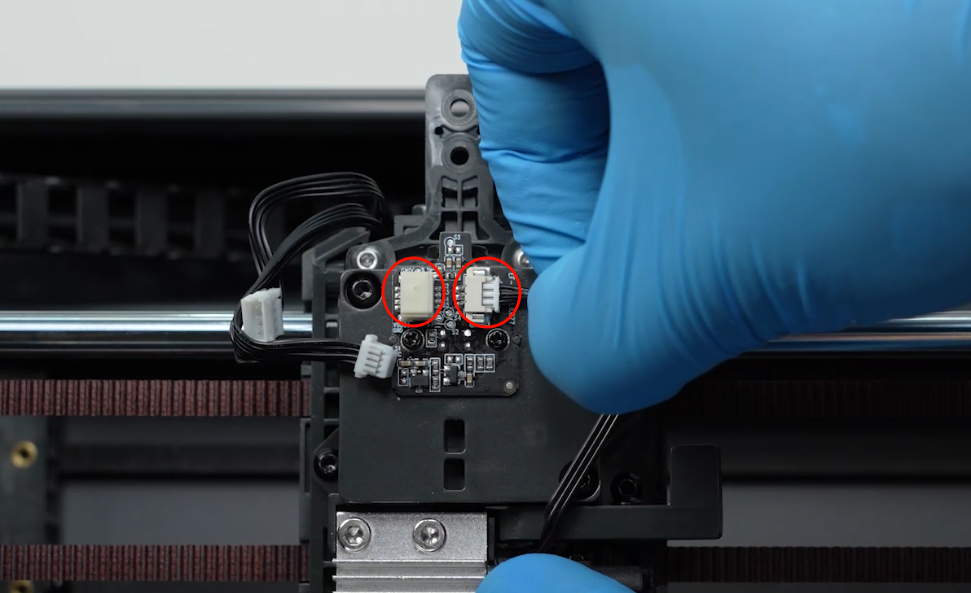
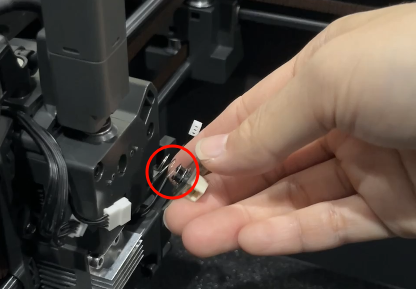
Remove the plugs connected to the filament detection board.
-
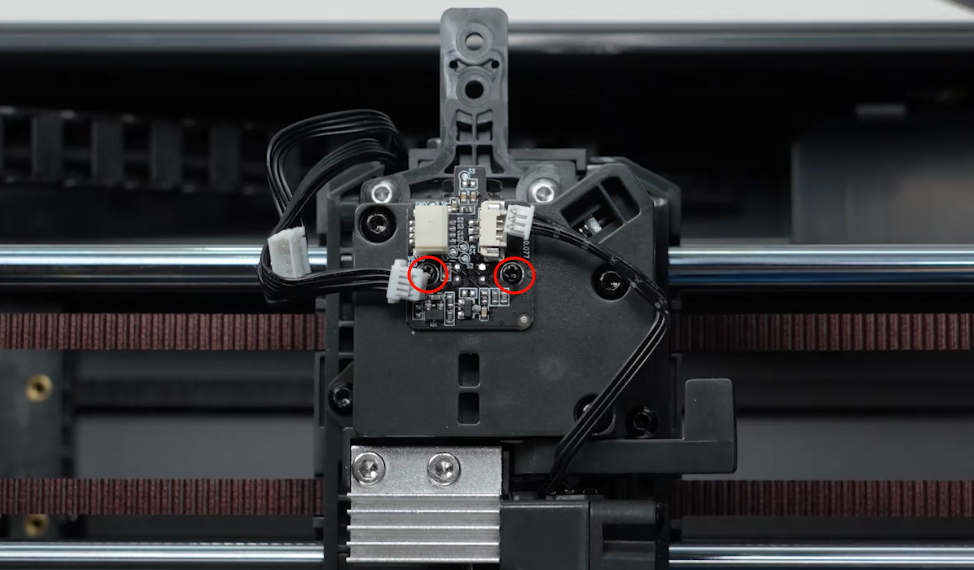
Loosen the two screws securing the filament detection board with a Phillips screwdriver and remove the filament detection board.
Note: A spring is installed behind the filament detection board and it springs out when removing the filament detection board.
¶ Install the new filament detection board
-
Install the spring with the mounting pillar on the back of the new filament detection board.
-
Put the filament detection board in the installation position. Tighten the two screws.
-
Insert the two plugs connected to the filament detection board.
-
Put the filament detection board in the installation position. Tighten the four screws.
-
Plug in the model cooling fan cable.Install the fornt cover of the tool head.
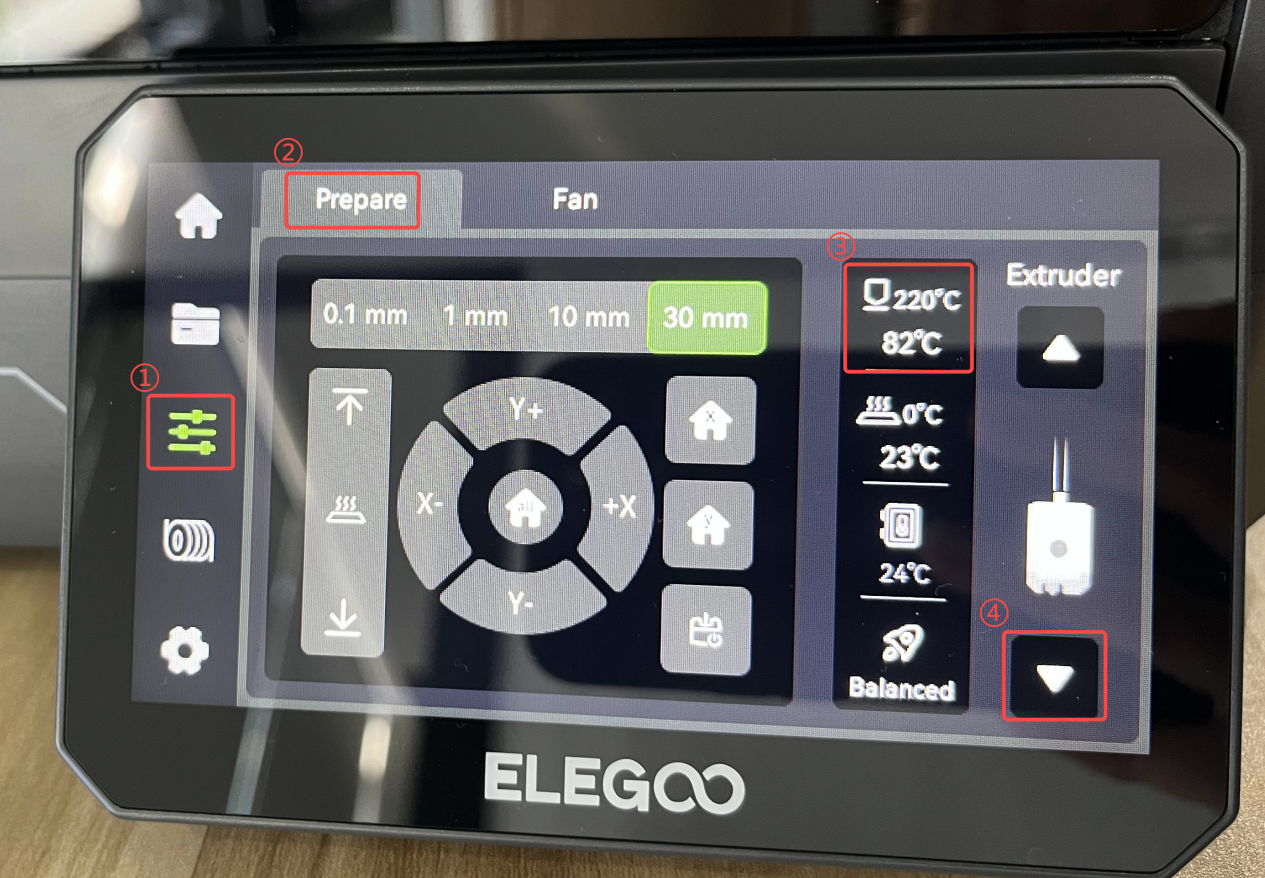
¶ Verification
-
Turn the power switch ON (symbol "|") and plug in the power supply cable.
-
On the touch screen, select Control - Prepare. Set the nozzle temperature to 220 ℃and click Extrude. Observe that the filament is extruded normally from the nozzle. The printer is ready for use after it is re-leveled.