¶ Required Tools
2.0 mm Allen key
Tweezers
New Wi-Fi Antenna
¶ Disassembly Steps
¶ Remove the Bottom Cover
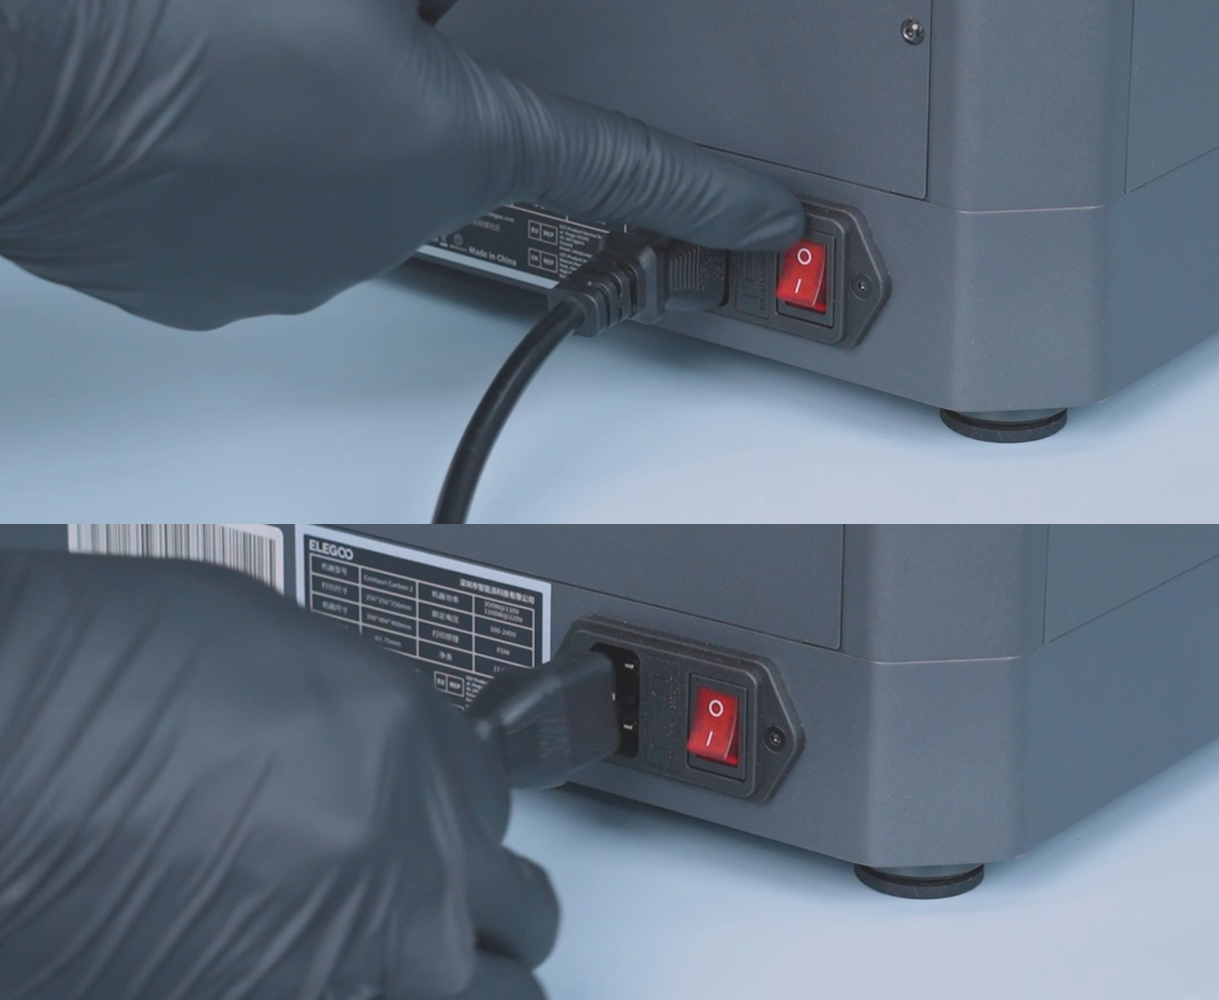
- Turn off the printer power switch and unplug the power cord.
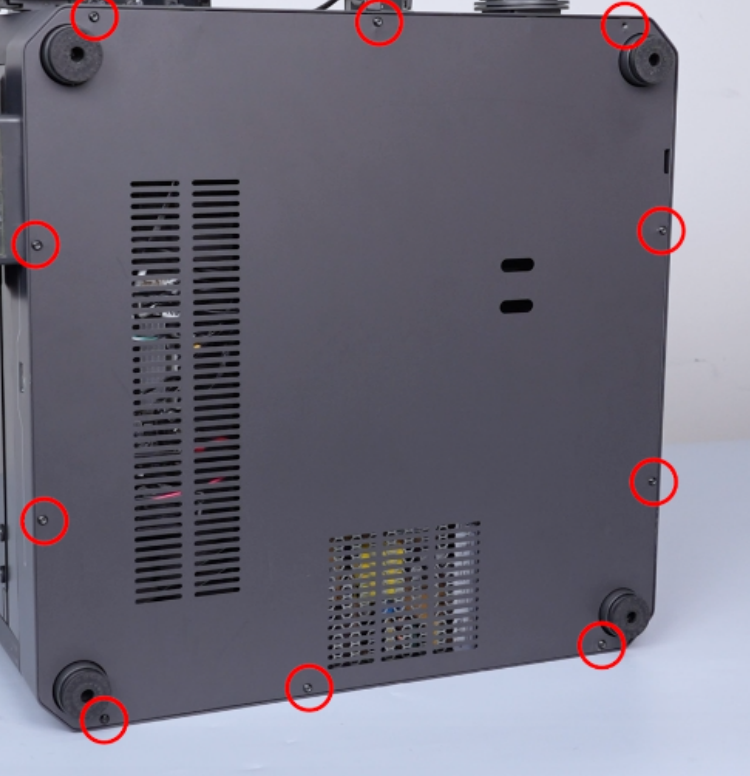
- Use a 2.0 mm Allen key to remove the 10 screws securing the bottom cover.
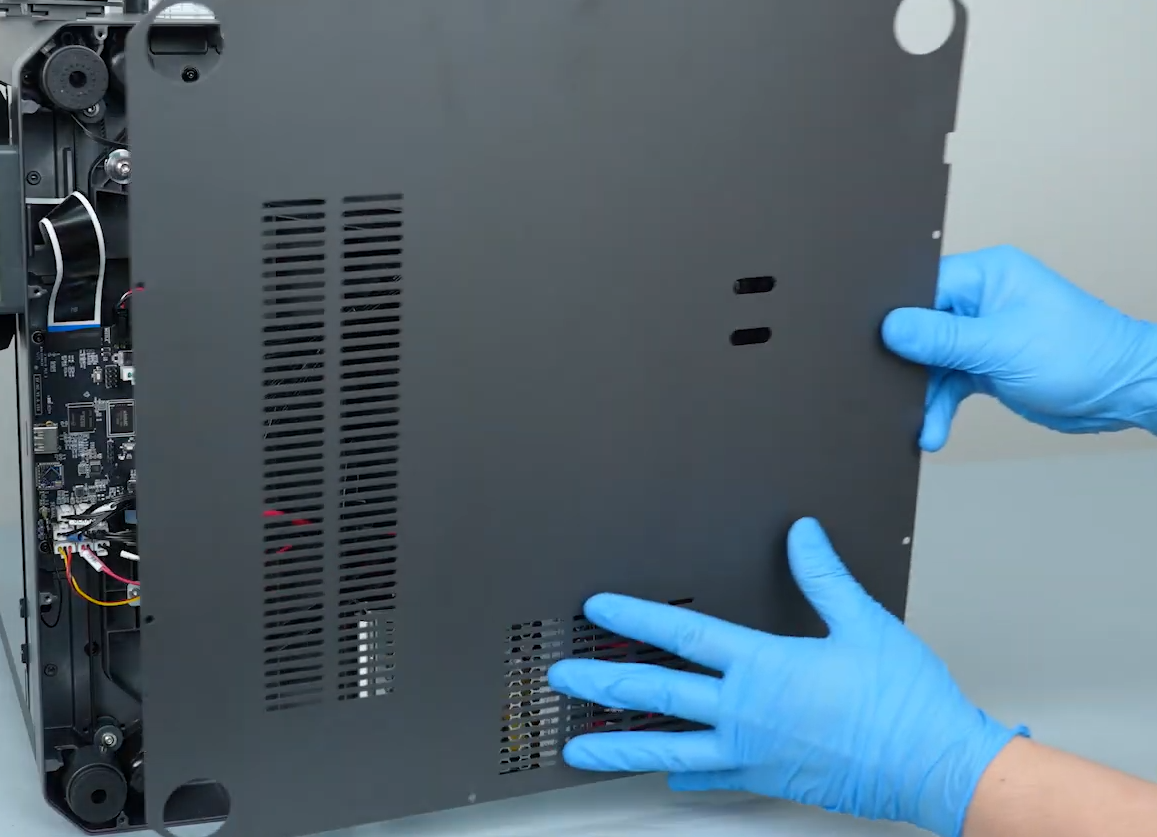
- Remove the bottom cover.
¶ Remove the Wi-Fi Antenna
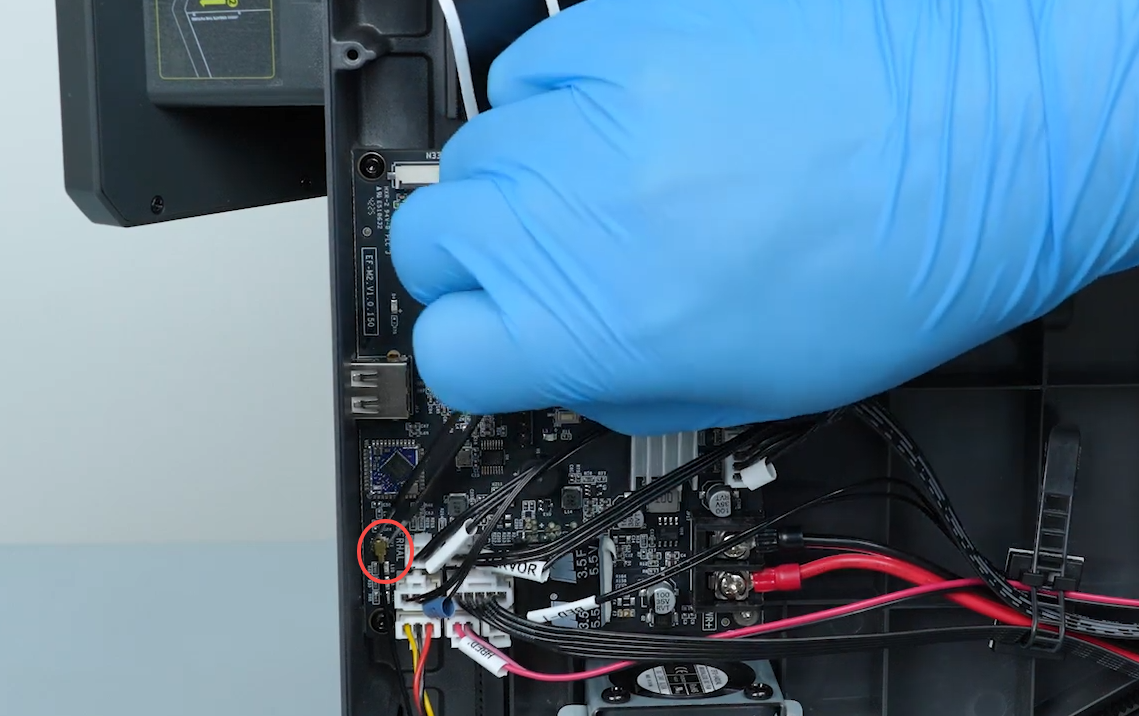
- Locate the Wi-Fi antenna connector on the mainboard, and carefully disconnect the Wi-Fi connector using tweezers.
- Carefully lift the touch screen assembly upward to remove it from its mounting position and access the components underneath.
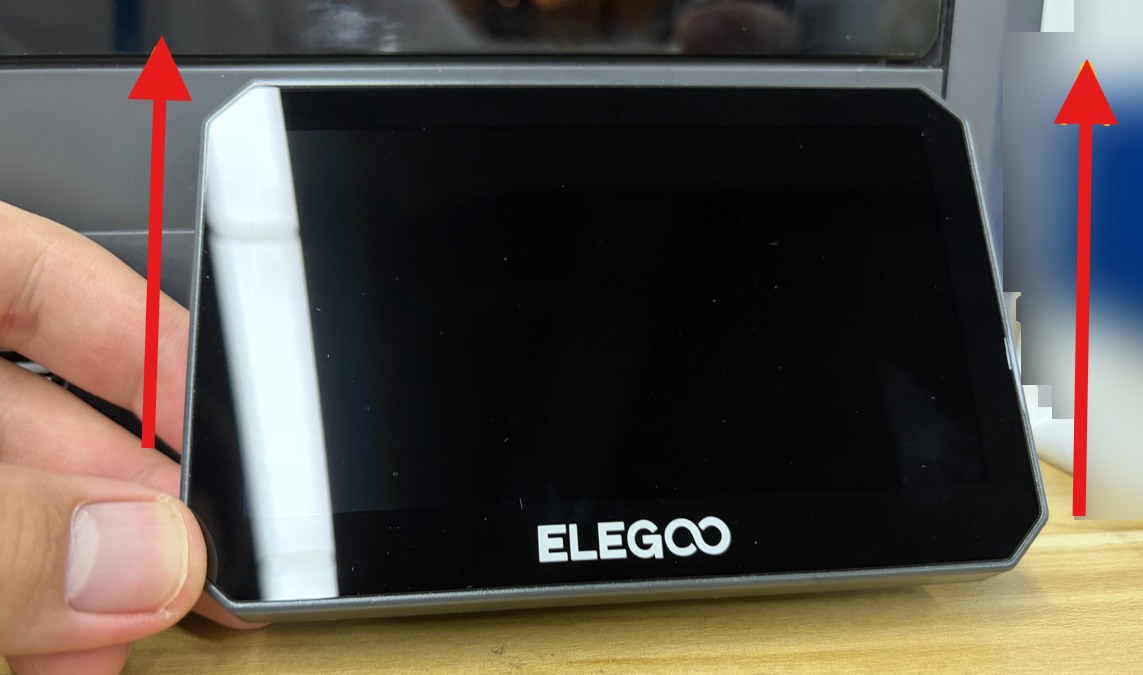
- Use a 2.0 mm Allen key to loosen the 4 screws securing the lower door trim.

- Remove the lower door trim, then carefully peel off the tape securing the Wi-Fi antenna using tweezers.
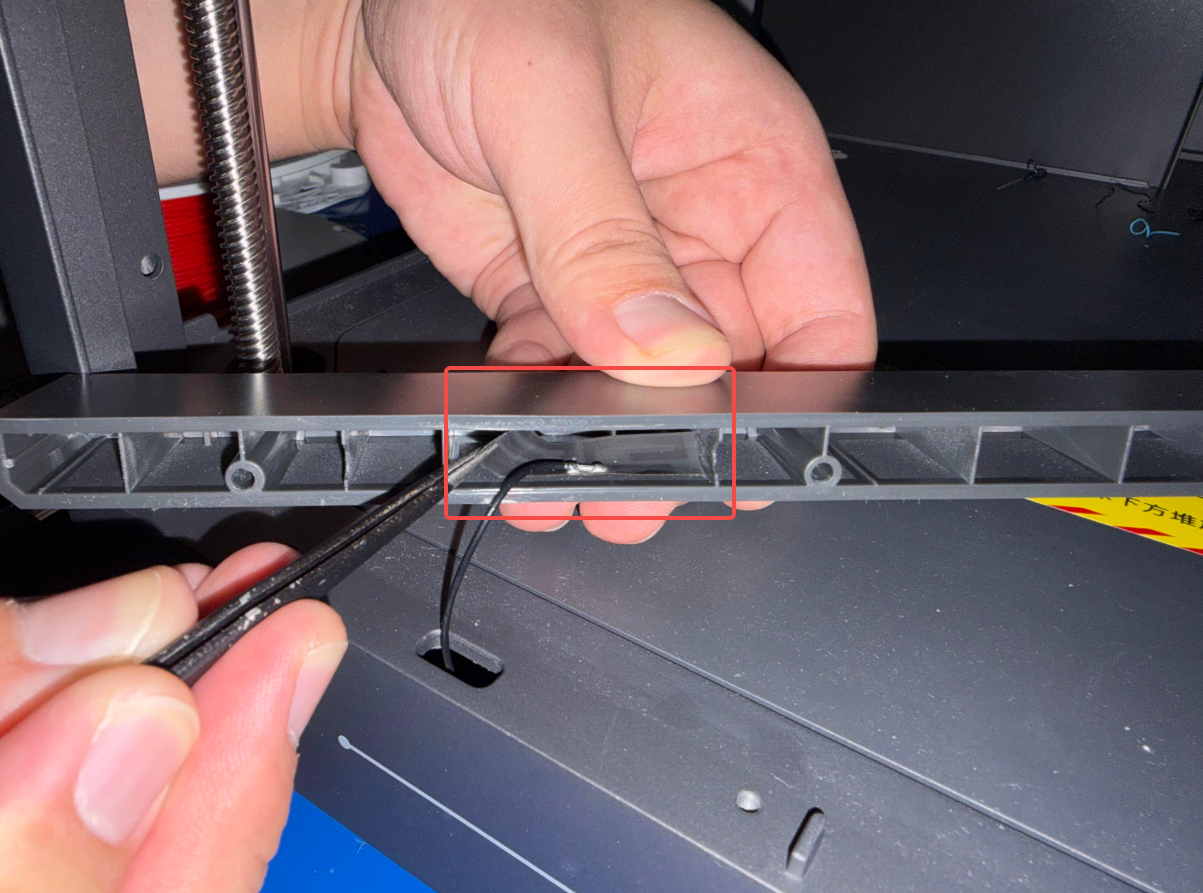
Note: The Wi-Fi antenna fixing tape may be gray or yellow. Please perform the operation according to the actual machine configuration.
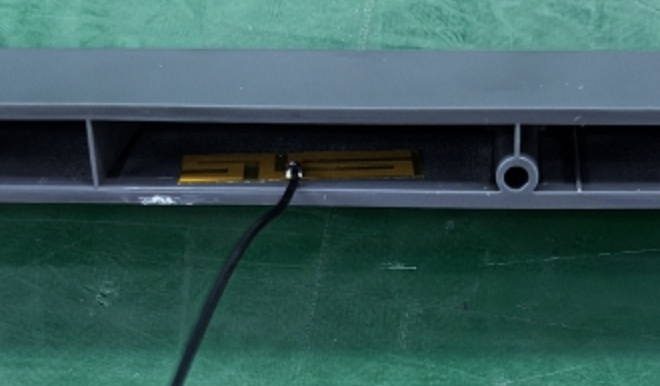
- Remove the Wi-Fi antenna.
¶ Installation Steps
¶ Install the Wi-Fi Antenna
- Take out the new Wi-Fi antenna and secure the Wi-Fi antenna to the lower door trim in the original position before removal.
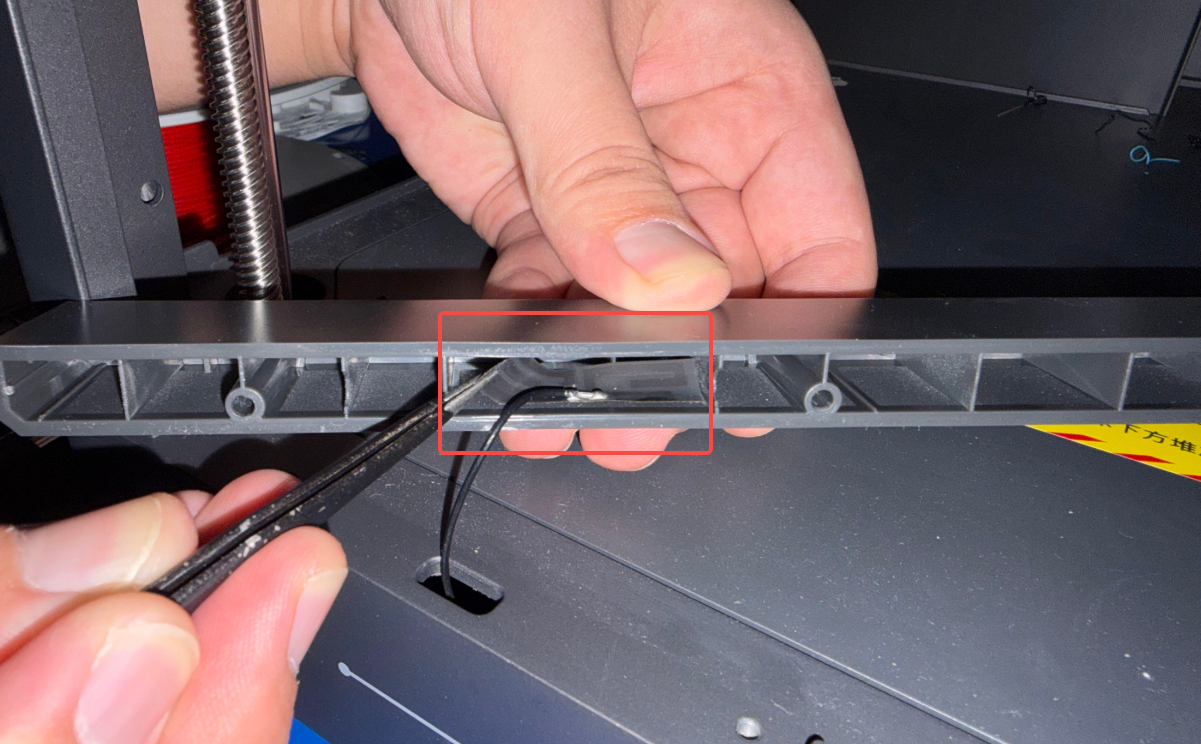
- Route the Wi-Fi antenna through the corresponding cable routing hole in the bottom frame assembly along the original path.
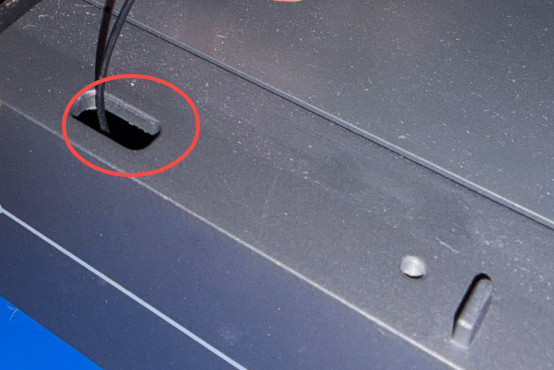
- Reinstall the lower door trim to its original position. Use a 2.0 mm Allen key to tighten the 4 screws securing the lower door trim.
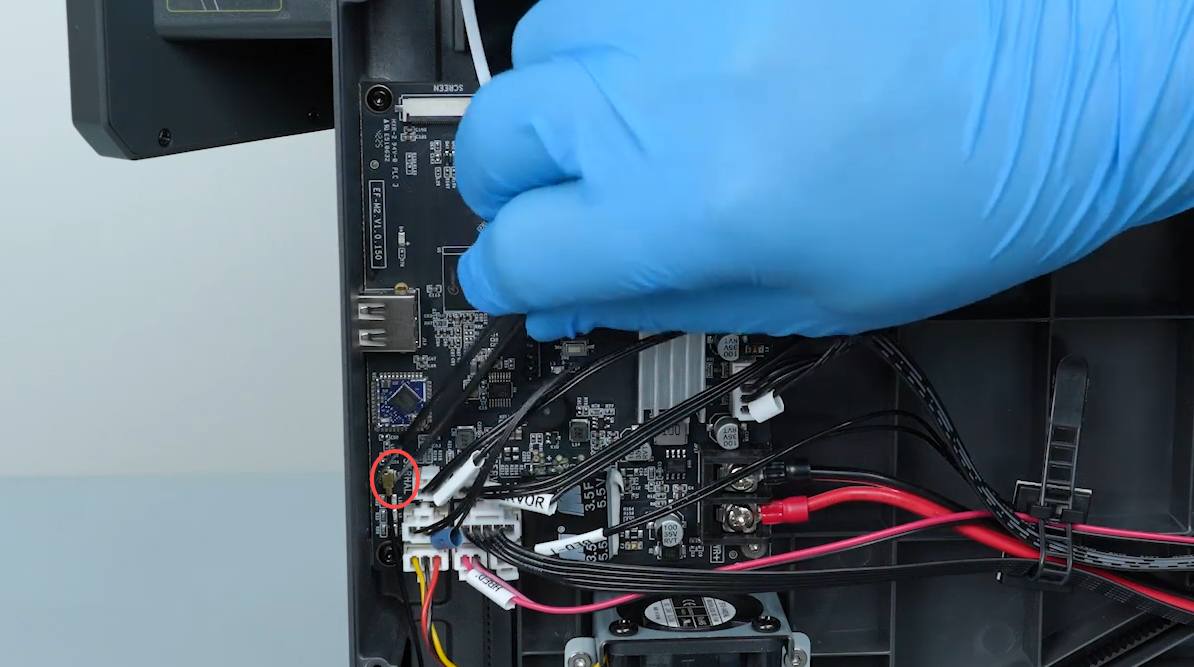
- Connect the Wi-Fi connector to the Wi-Fi antenna interface on the mainboard, and ensure that the Wi-Fi connector is fully inserted into the interface.
Note: Check that the Wi-Fi antenna and cable are securely fixed to prevent the cable from becoming loose or being pinched.
¶ Install the Bottom Cover
- Place the bottom cover in the corresponding position.
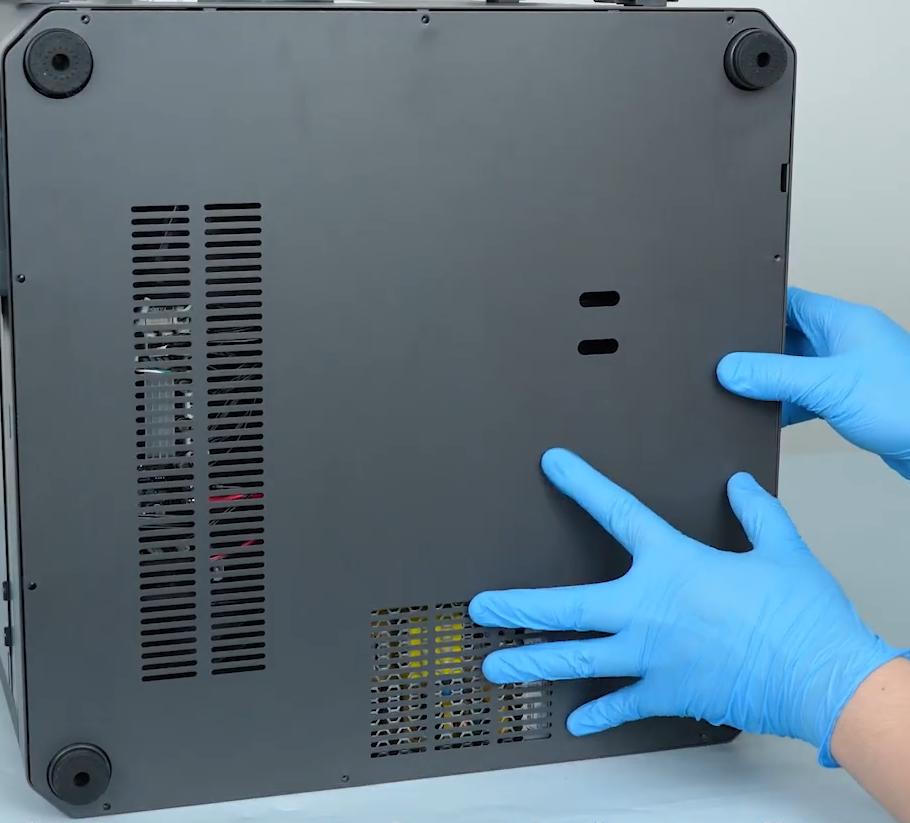
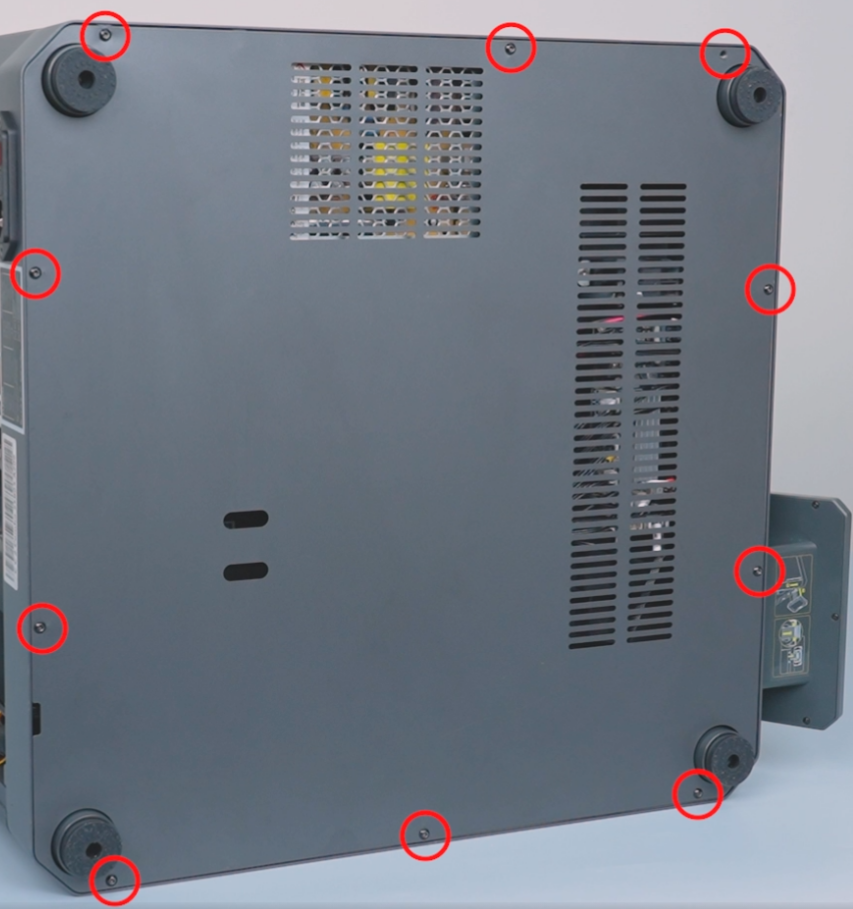
- Use a 2.0 mm Allen key to install the 10 screws securing the bottom cover. Ensure that the bottom cover is properly aligned and all screws are tightened.
¶ Verification
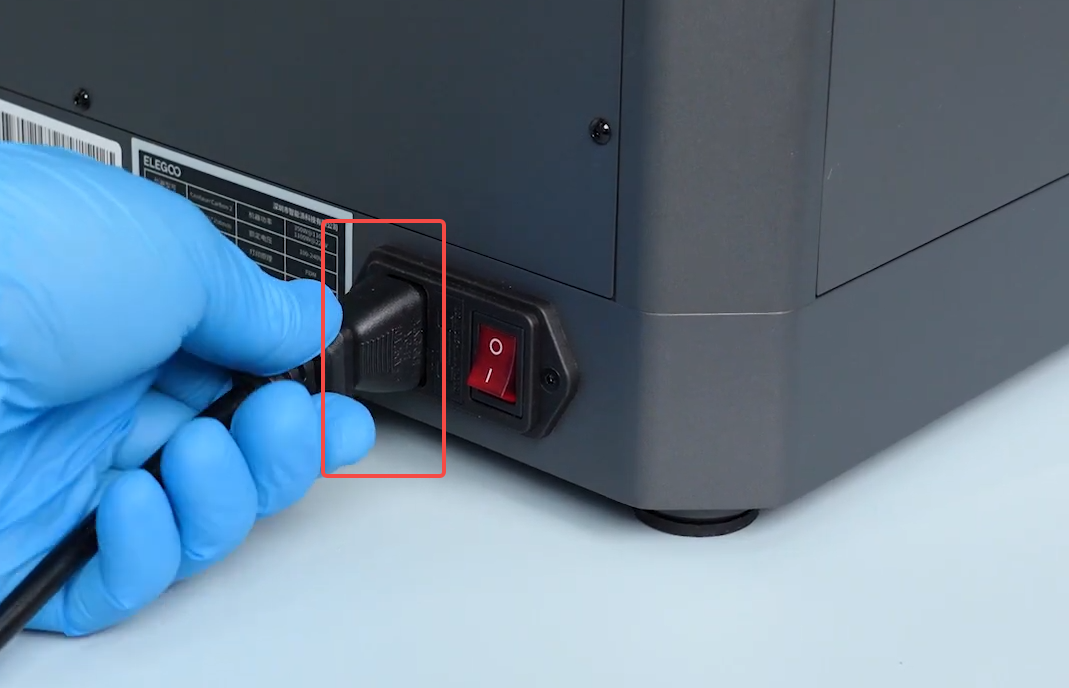
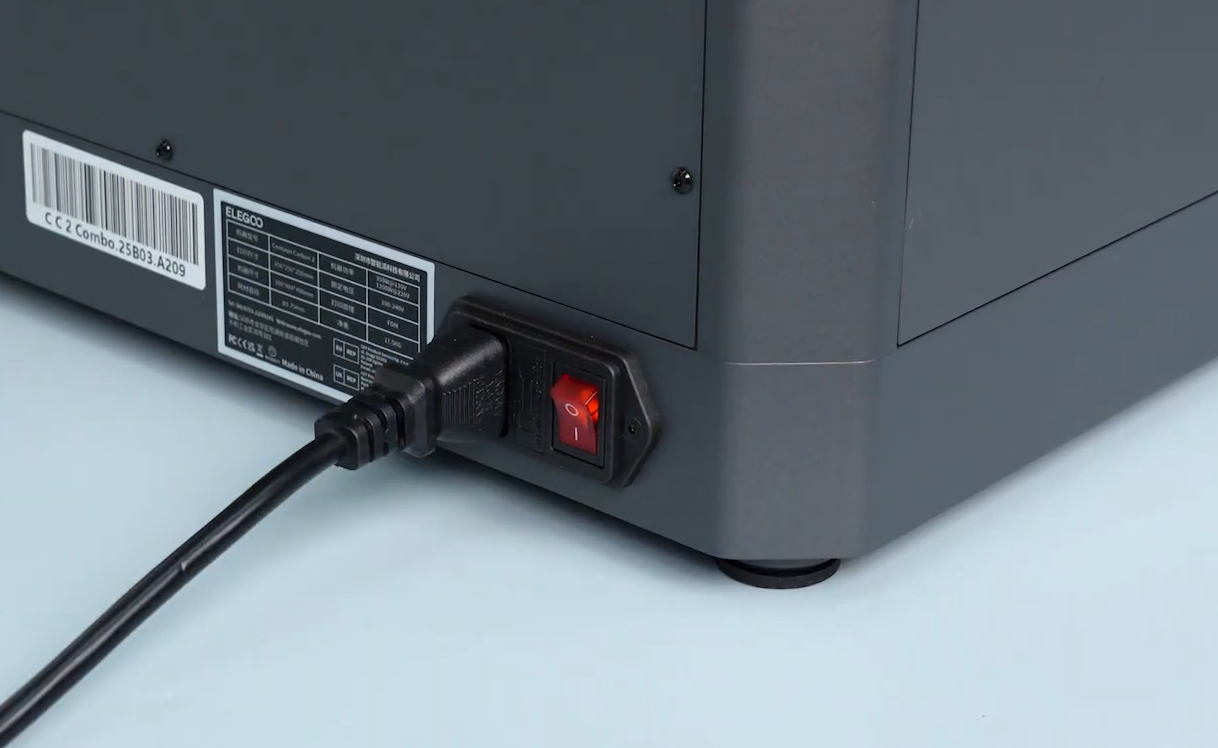
- Connect the power cord and turn on the power switch.
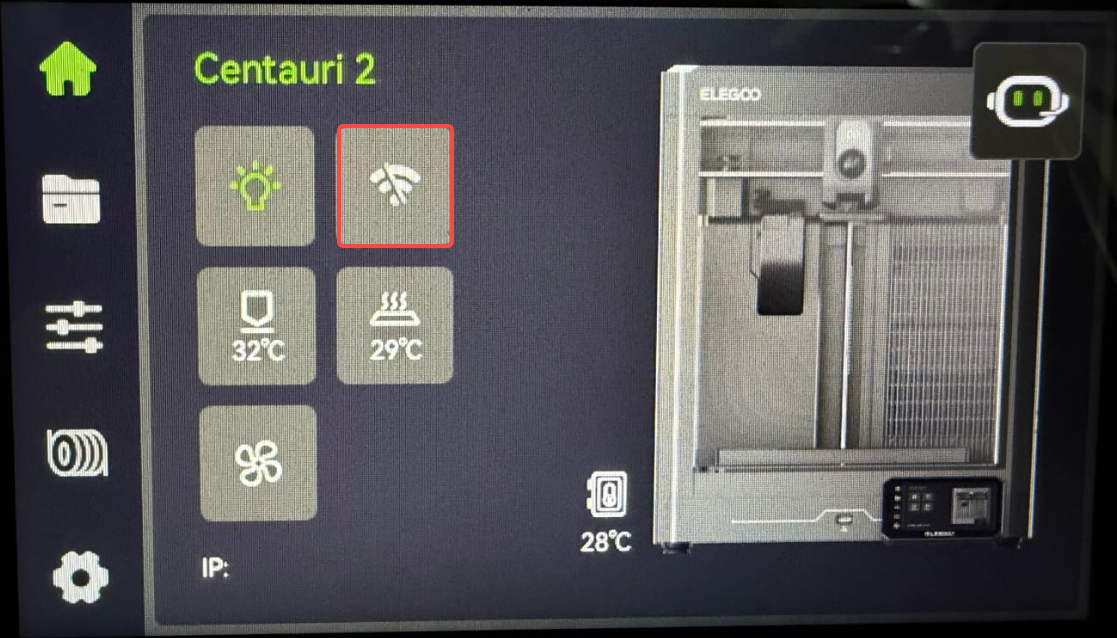
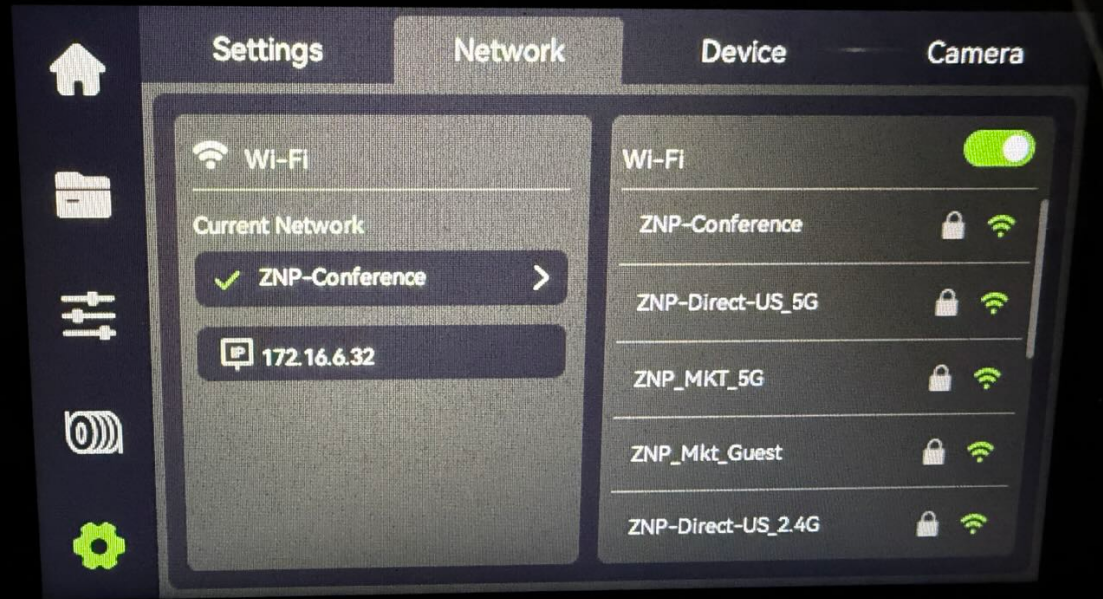
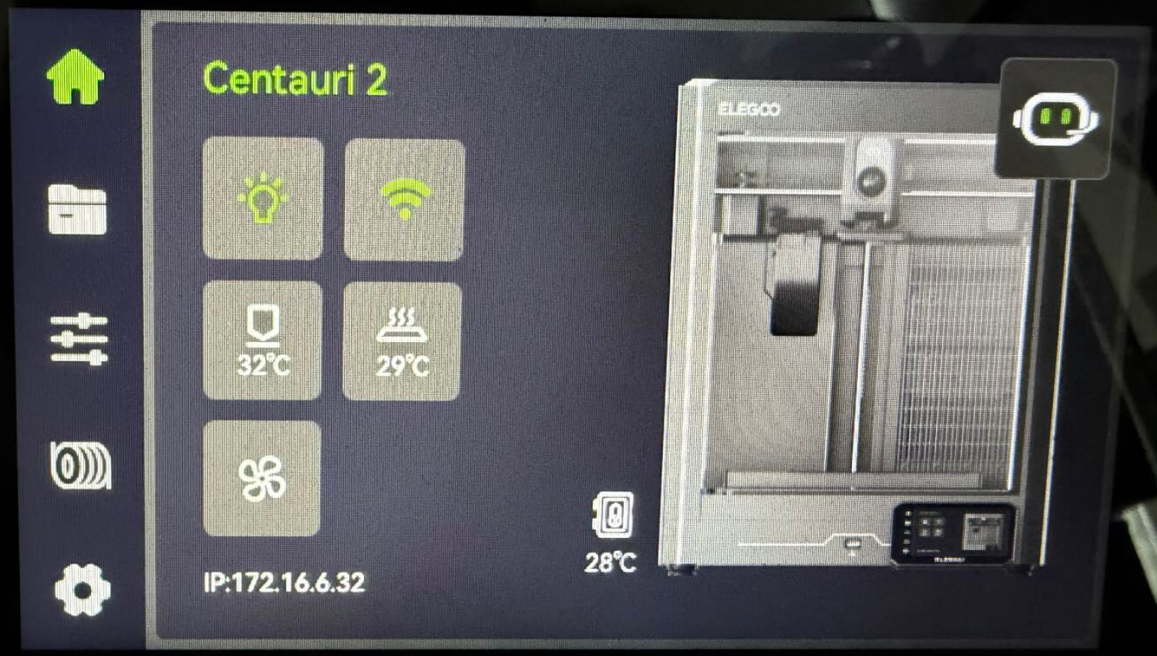
- Enter the main interface and tap Wi-Fi.
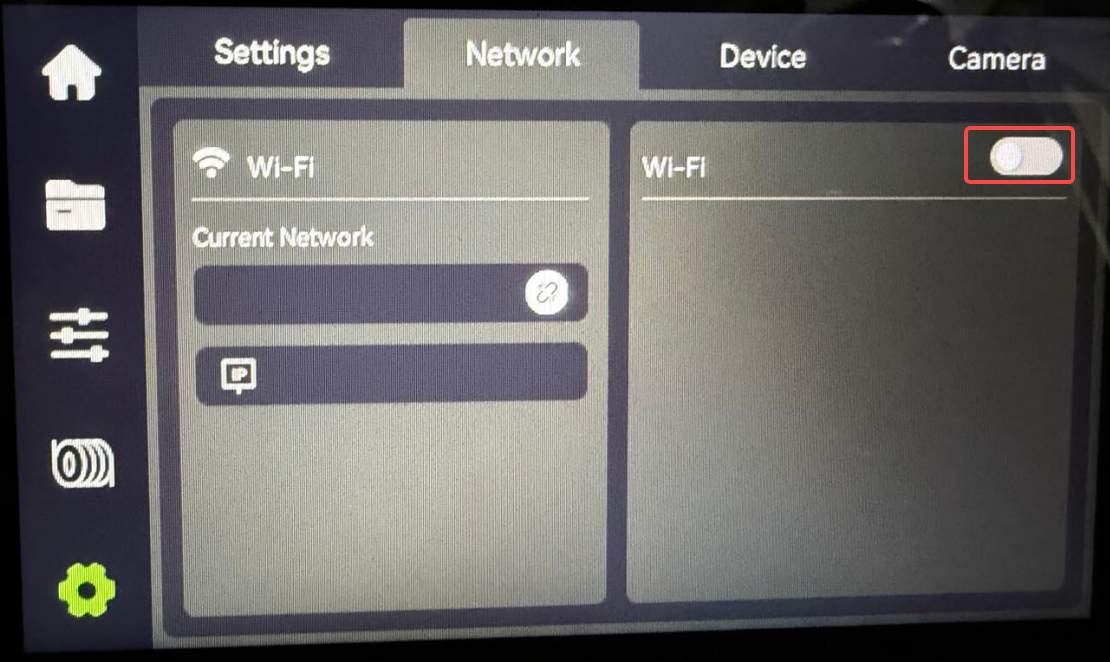
- Turn on Wi-Fi, connect to a wireless network, and confirm whether the machine can connect properly.
¶ Help us improve
If you have any ideas about the wiki pages, please let us know via ELEGOO official feedback channel