¶ Operation Steps for Each Model
The steps below are based on Centauri Carbon 2 Combo. For other models, skip the steps related to parts that are not installed.
| Model | Action | Steps to Skip |
|---|---|---|
| Centauri Carbon 2 Combo | Follow all steps | None |
| Centauri Carbon 2 | Not Applicable | None |
| Centauri 2 Combo | Skip enclosure-related steps |
|
| Centauri 2 | Not Applicable | None |
If your printer has optional accessories installed, such as CANVAS or an enclosure, follow the steps related to those parts.
¶ Required Tools
- Tweezers
- 2.0 mm Allen key
- Phillips screwdriver
¶ Replacement Procedure
¶ 1. Remove the Old Filament Runout Sensor Board
¶ 1.1 Remove the CANVAS
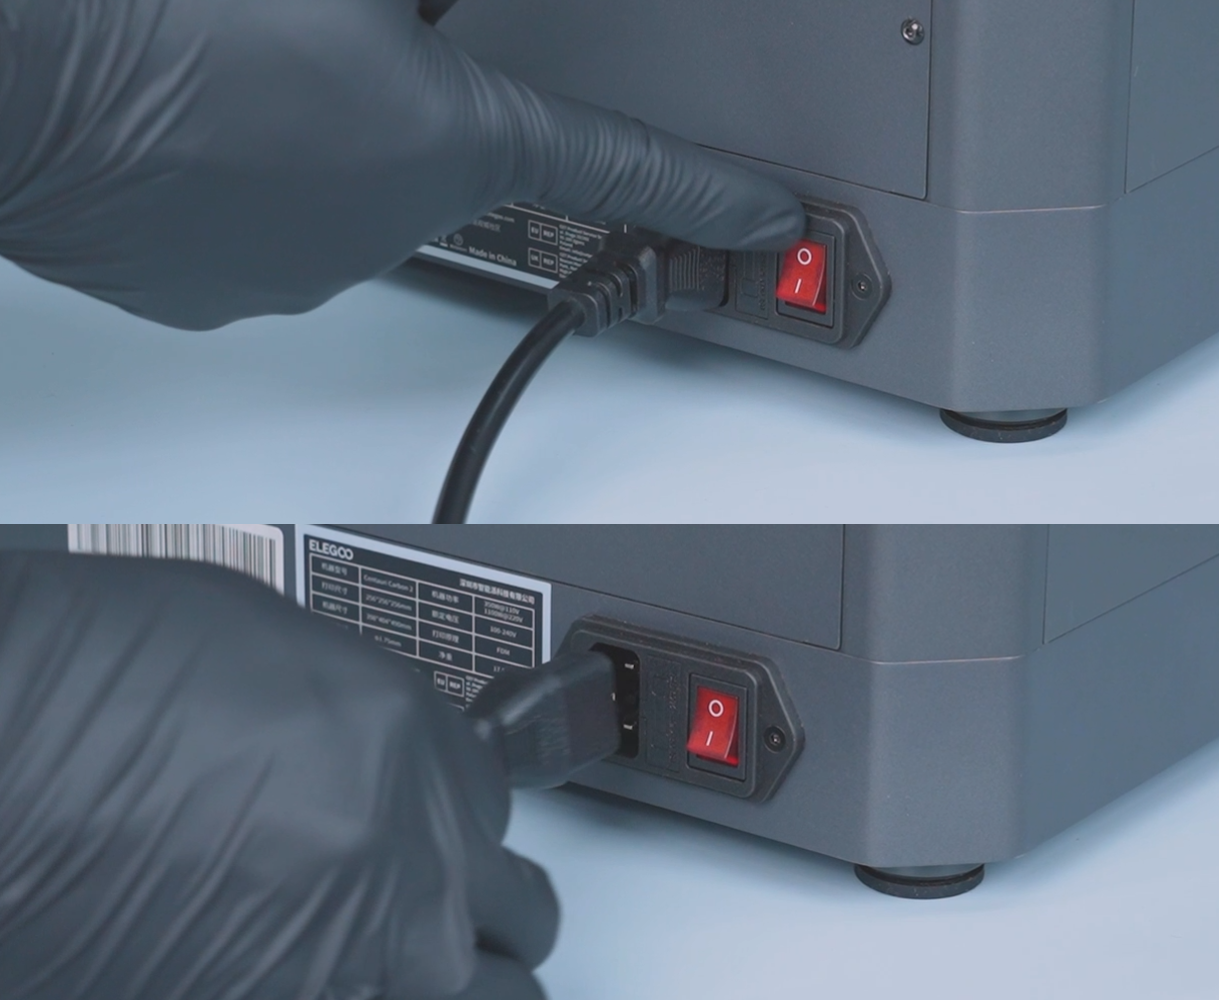
- Turn off the printer and unplug the power supply cable.
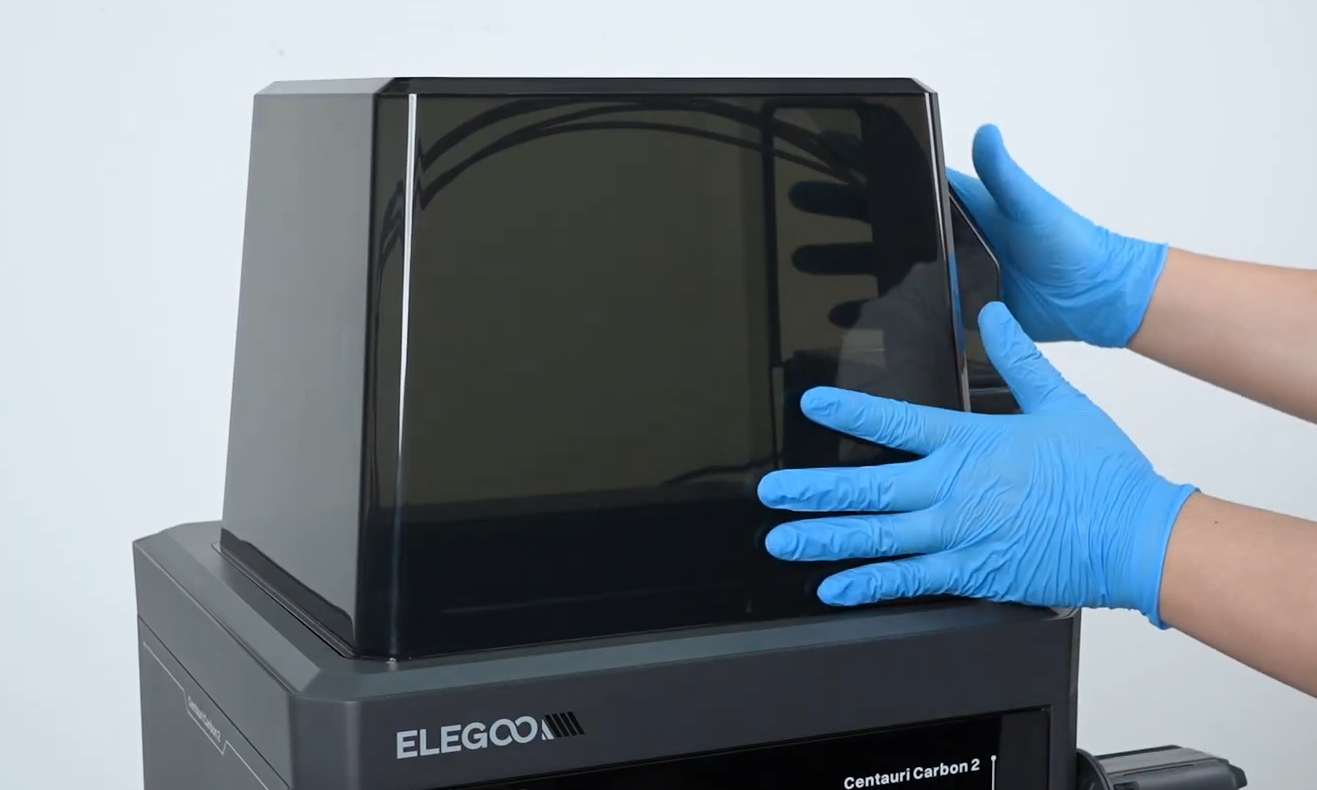
- Remove the top cover.
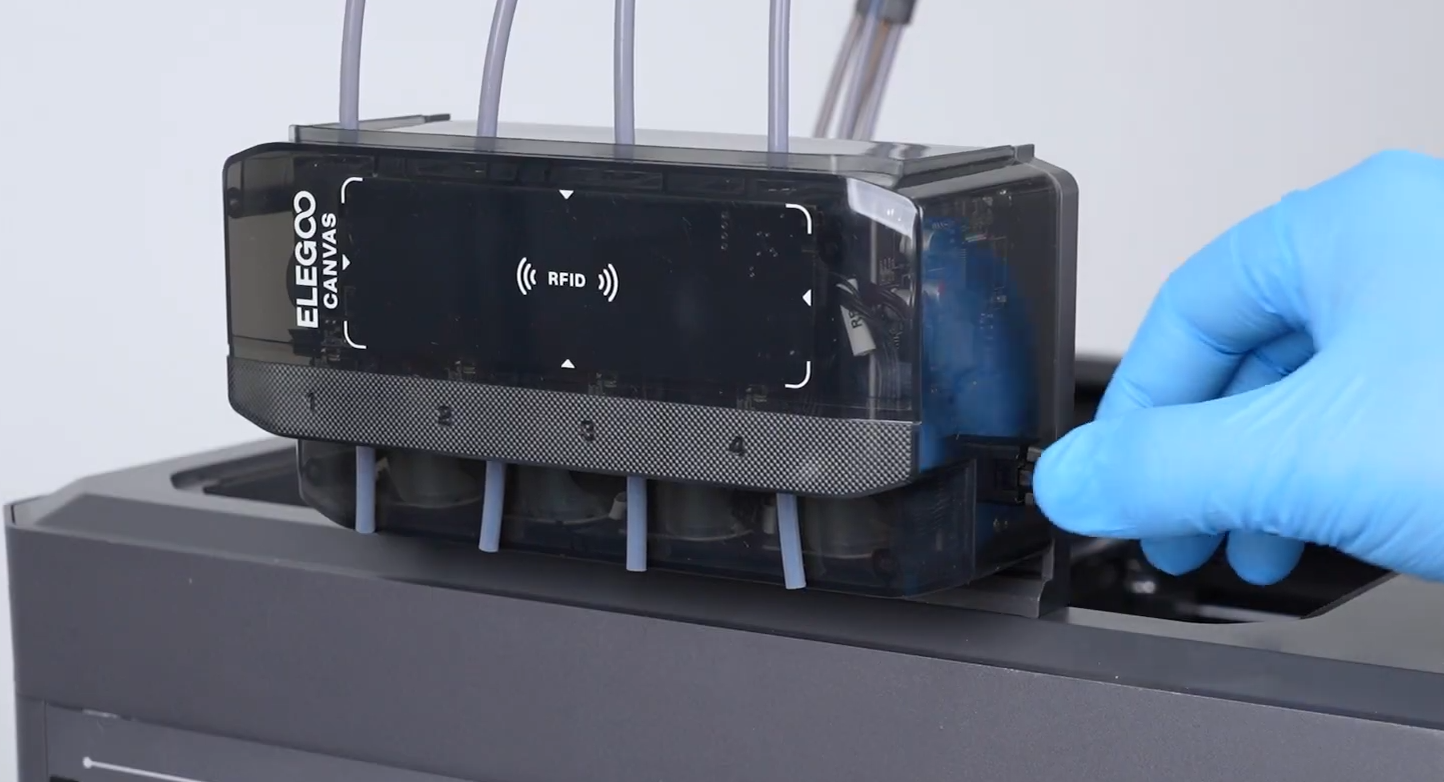
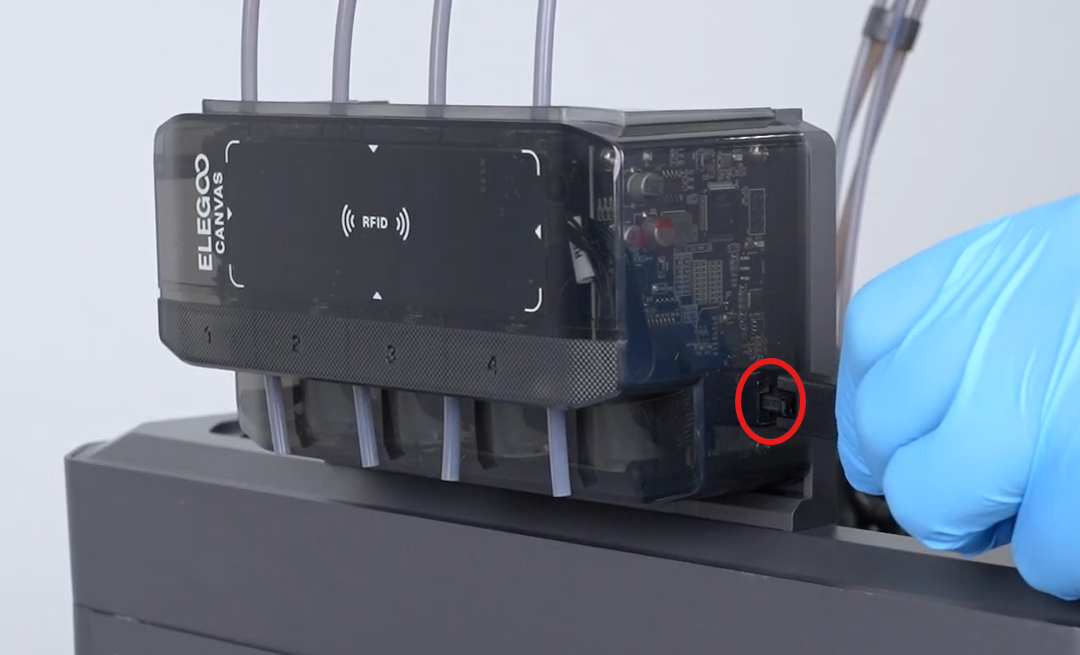
- Disconnect the CANVAS communication cable.
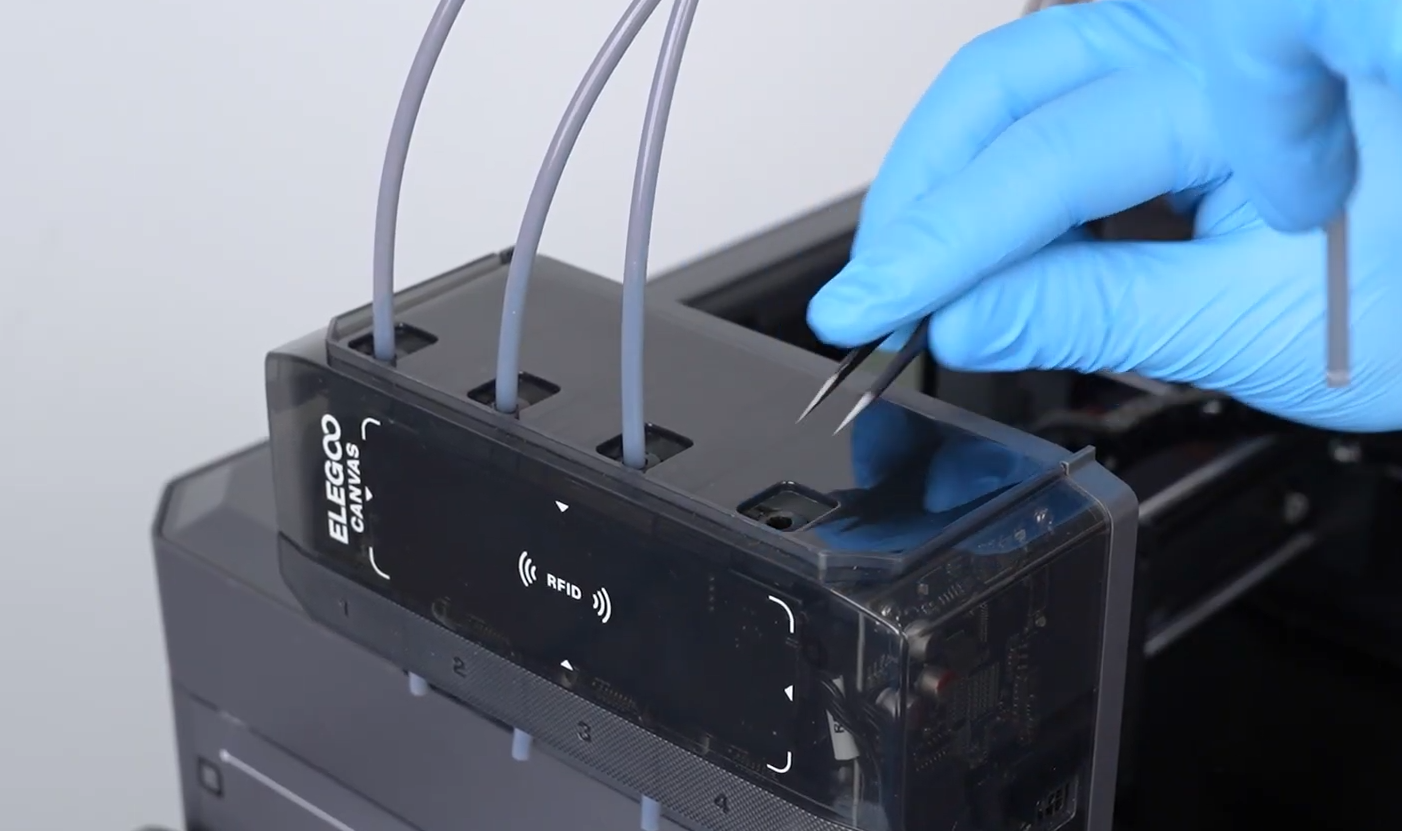
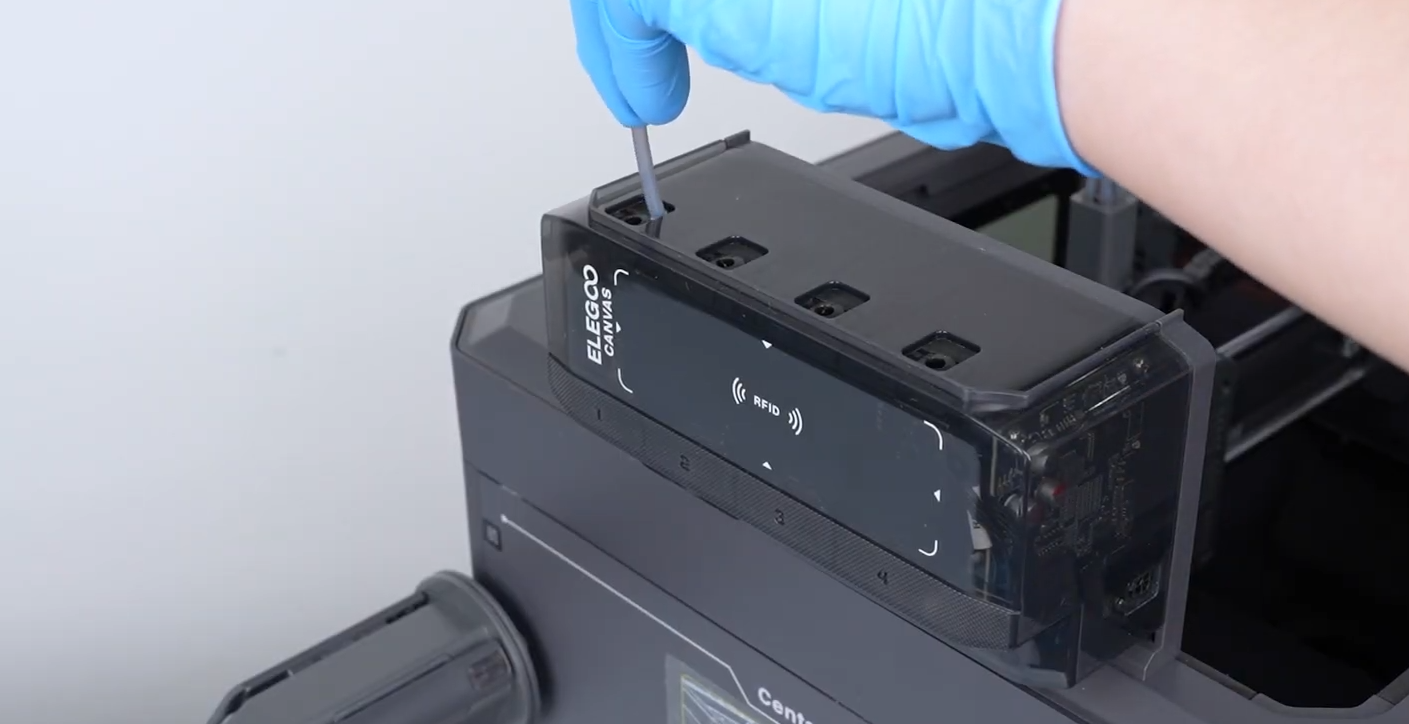
- Use tweezers to press down on the PTFE tube connector while pulling the long PTFE tube upward.
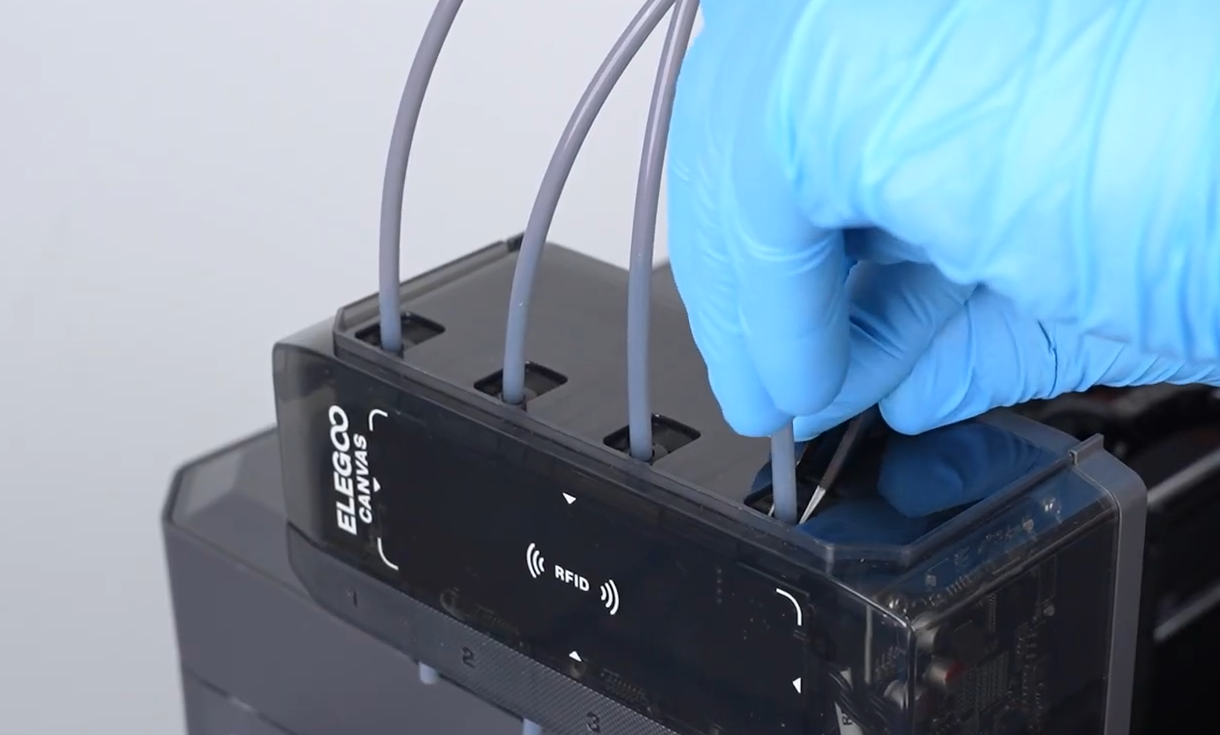
- Repeat the same procedure to remove all PTFE tubes from the top of the CANVAS one by one.
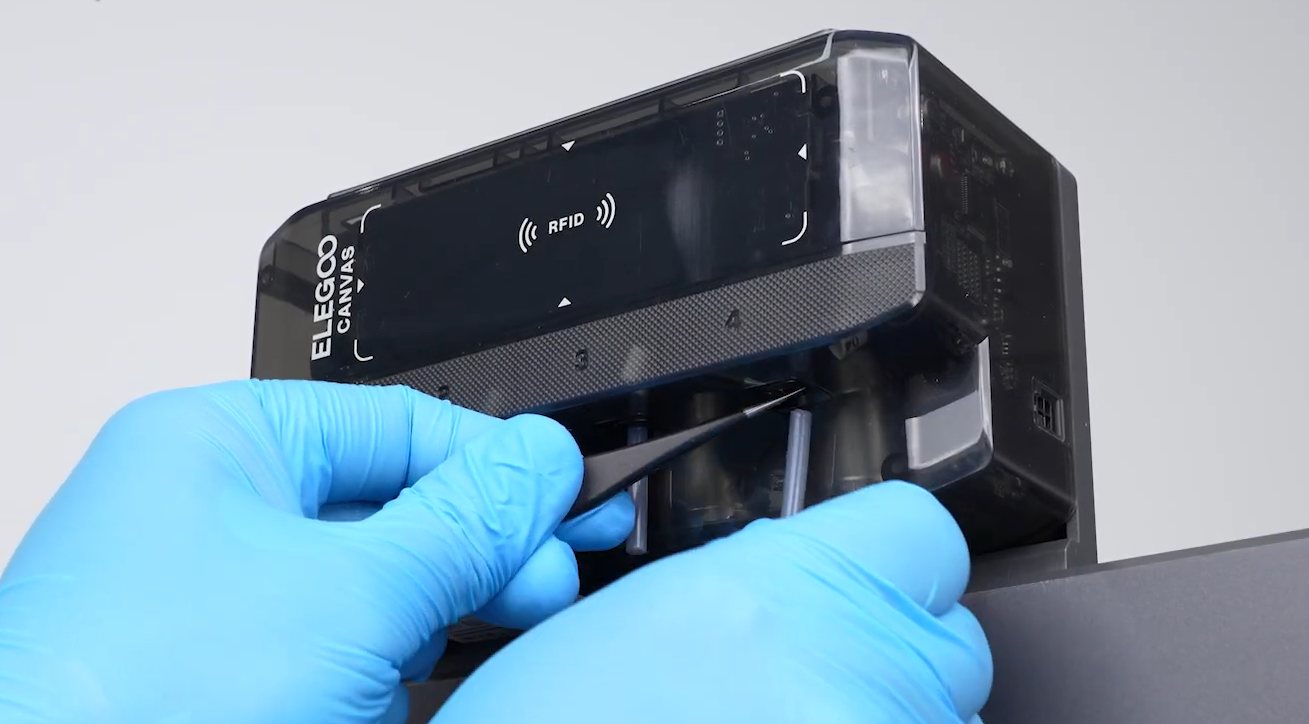
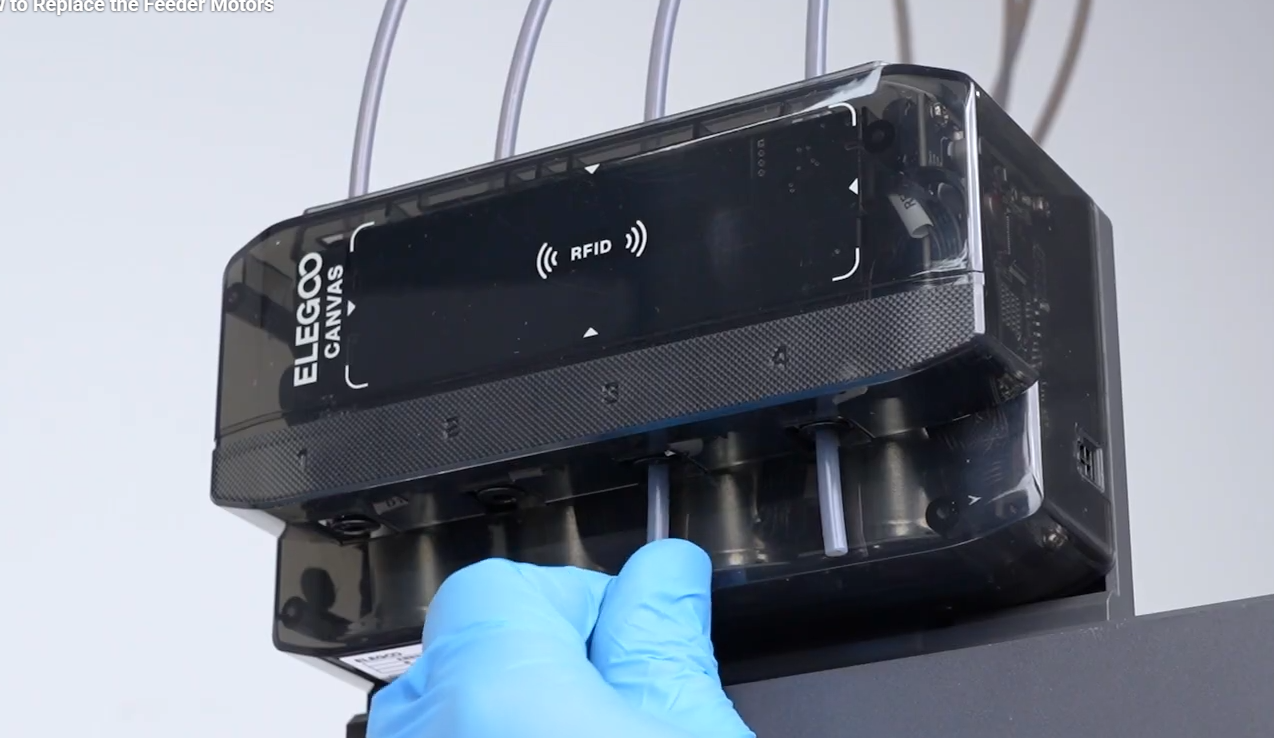
- Use tweezers to press down on the PTFE tube connector and remove the PTFE tube from the bottom of the CANVAS.
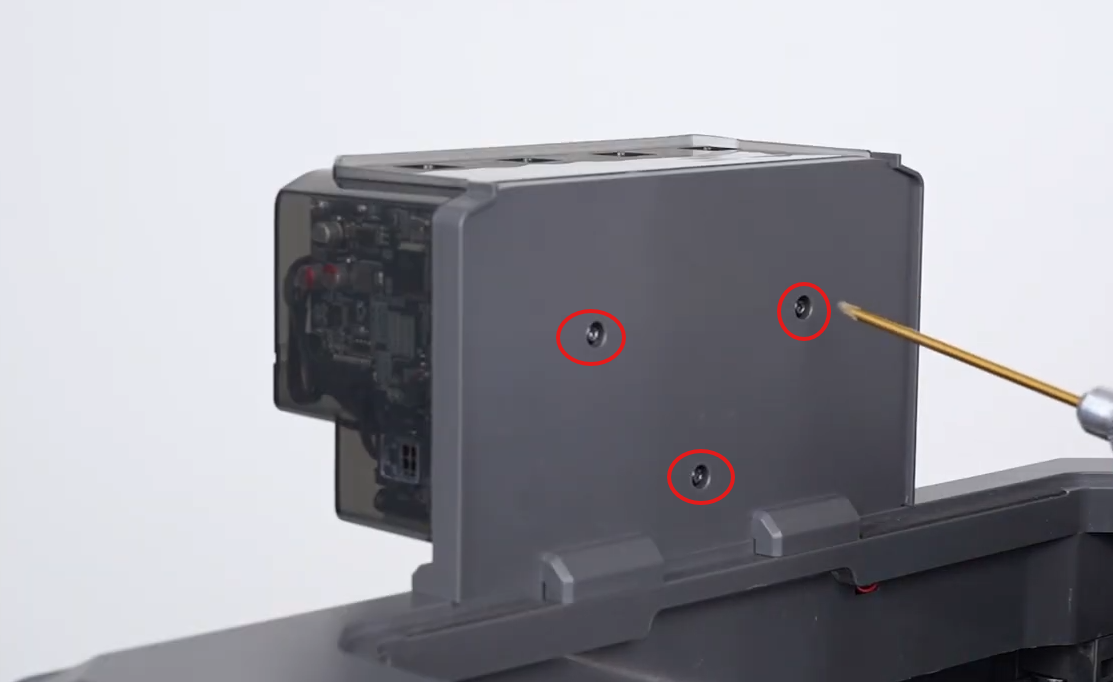
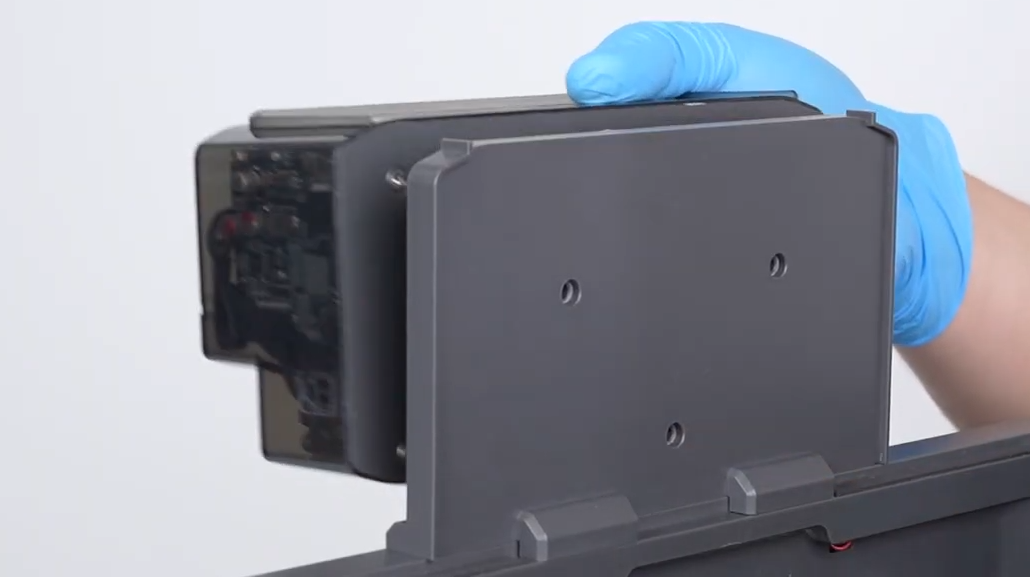
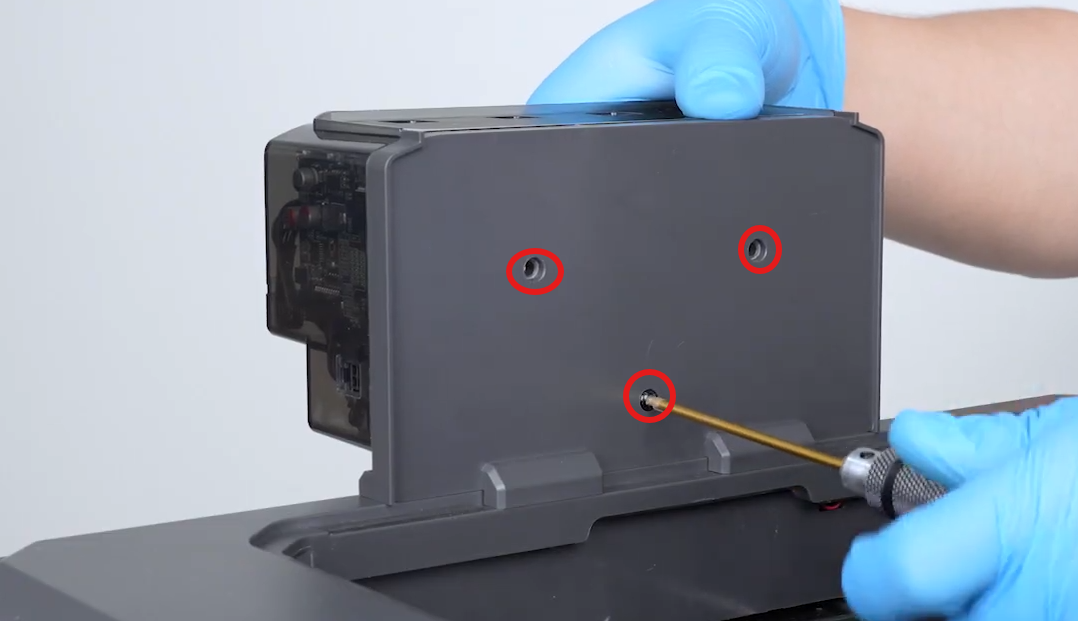
- Use a 2.0 mm Allen key to remove the 3 screws securing the CANVAS.
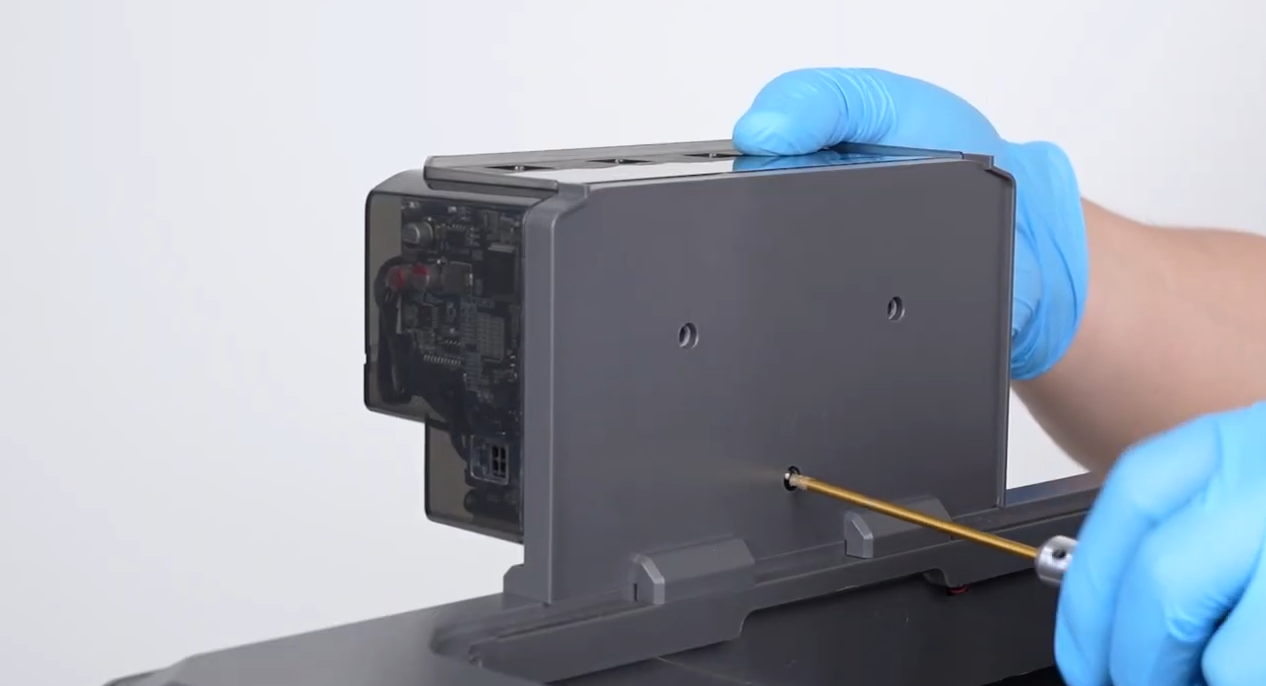
Note: When removing the last screw securing the CANVAS, support the CANVAS with your hand to prevent the assembly from falling and being damaged.
- Remove the CANVAS.
¶ 1.2 Remove the CANVAS Housing
- Place the CANVAS on a flat and stable work surface.
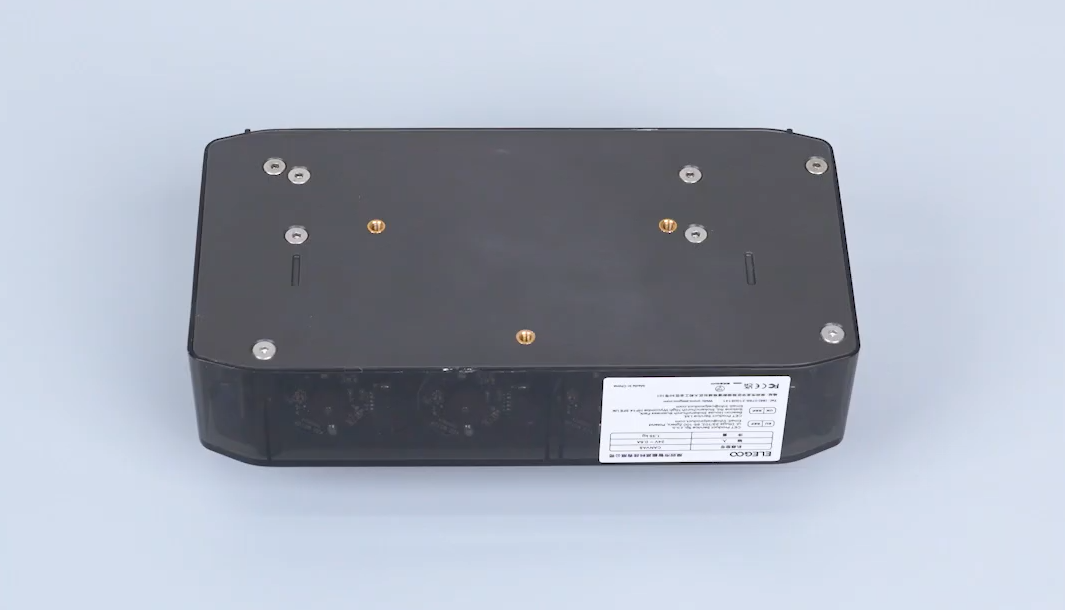
- Use a 2.0 mm Allen key to remove the 4 screws securing the CANVAS housing.
Note: Some production batches require a 1.5 mm Allen key to install these screws.
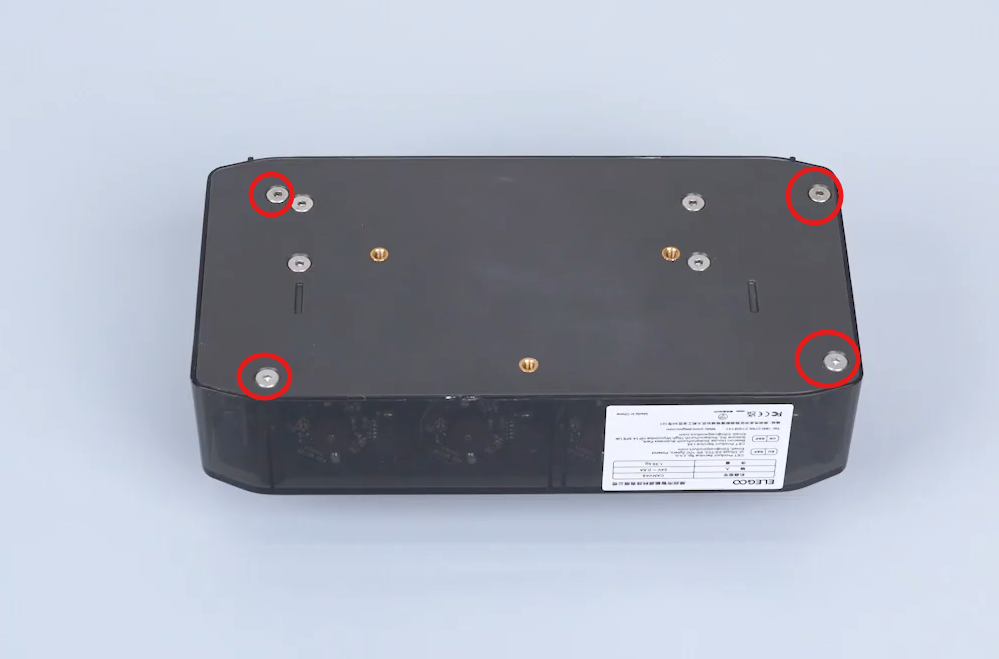
- Open the CANVAS housing.
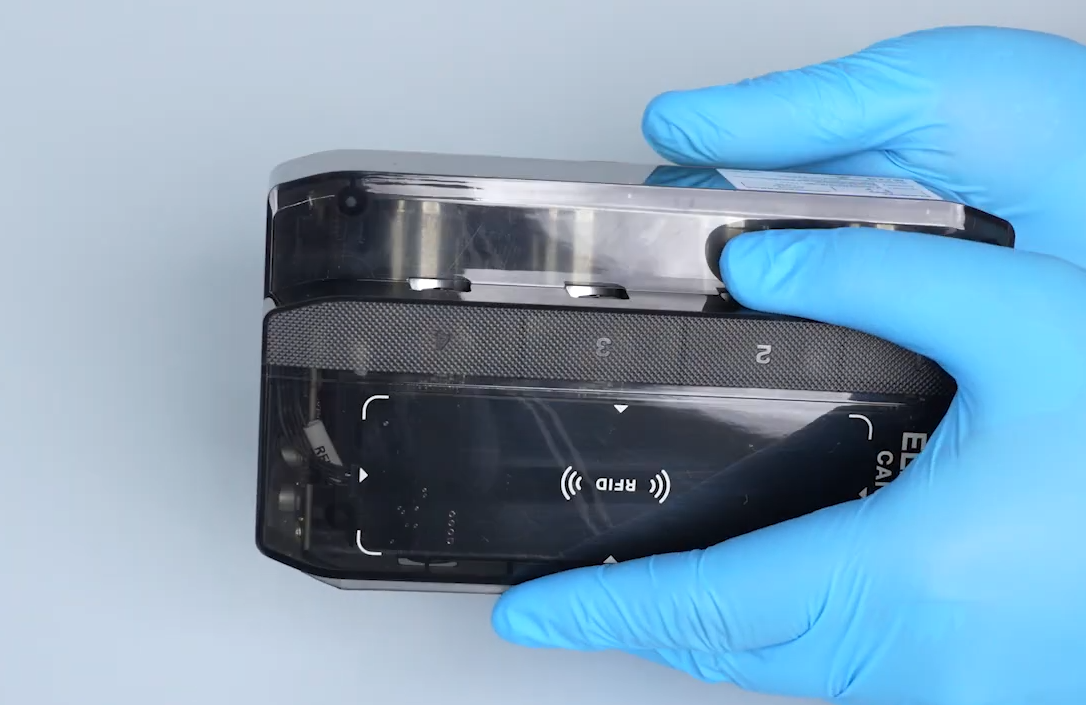
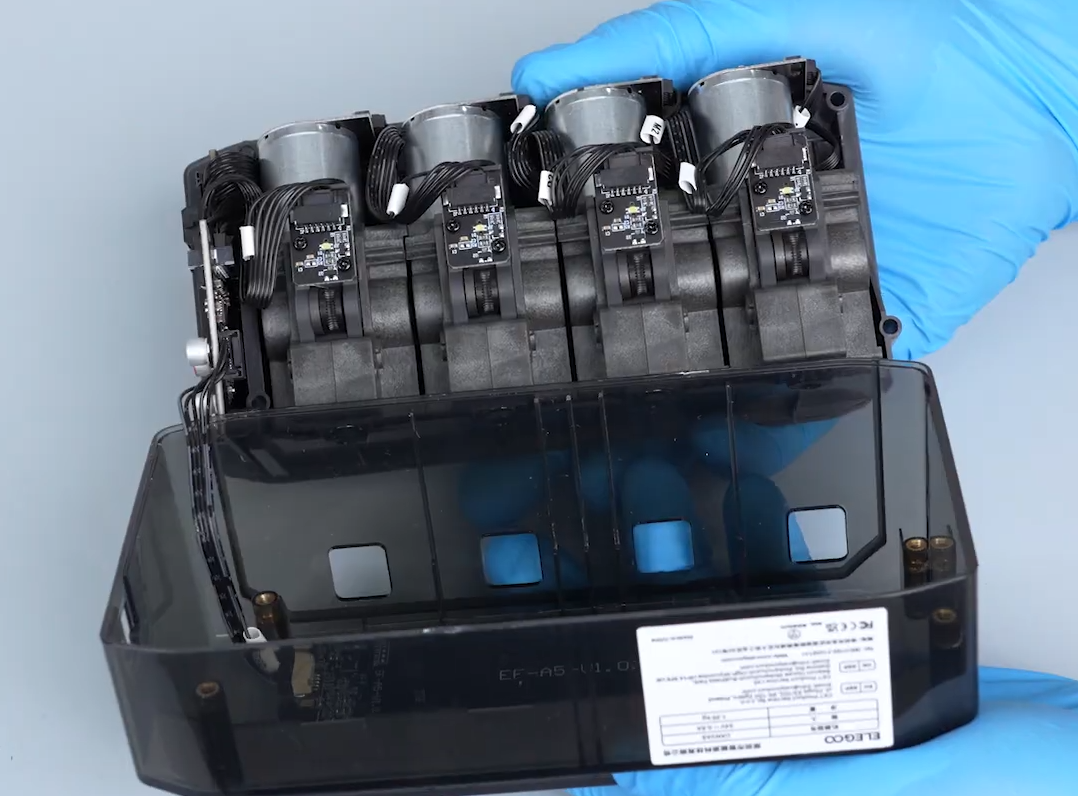
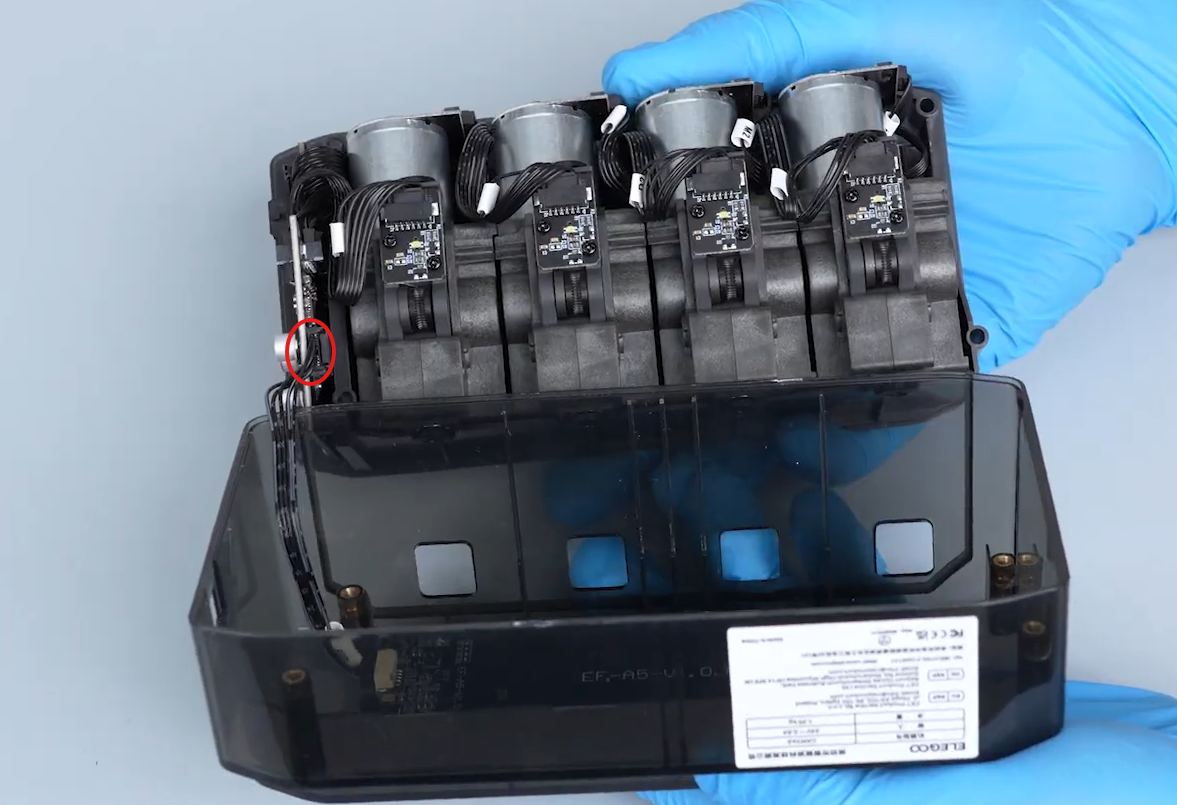
- Carefully disconnect the RFID antenna cable.
¶ 1.3 Remove the Old Filament Runout Sensor Board
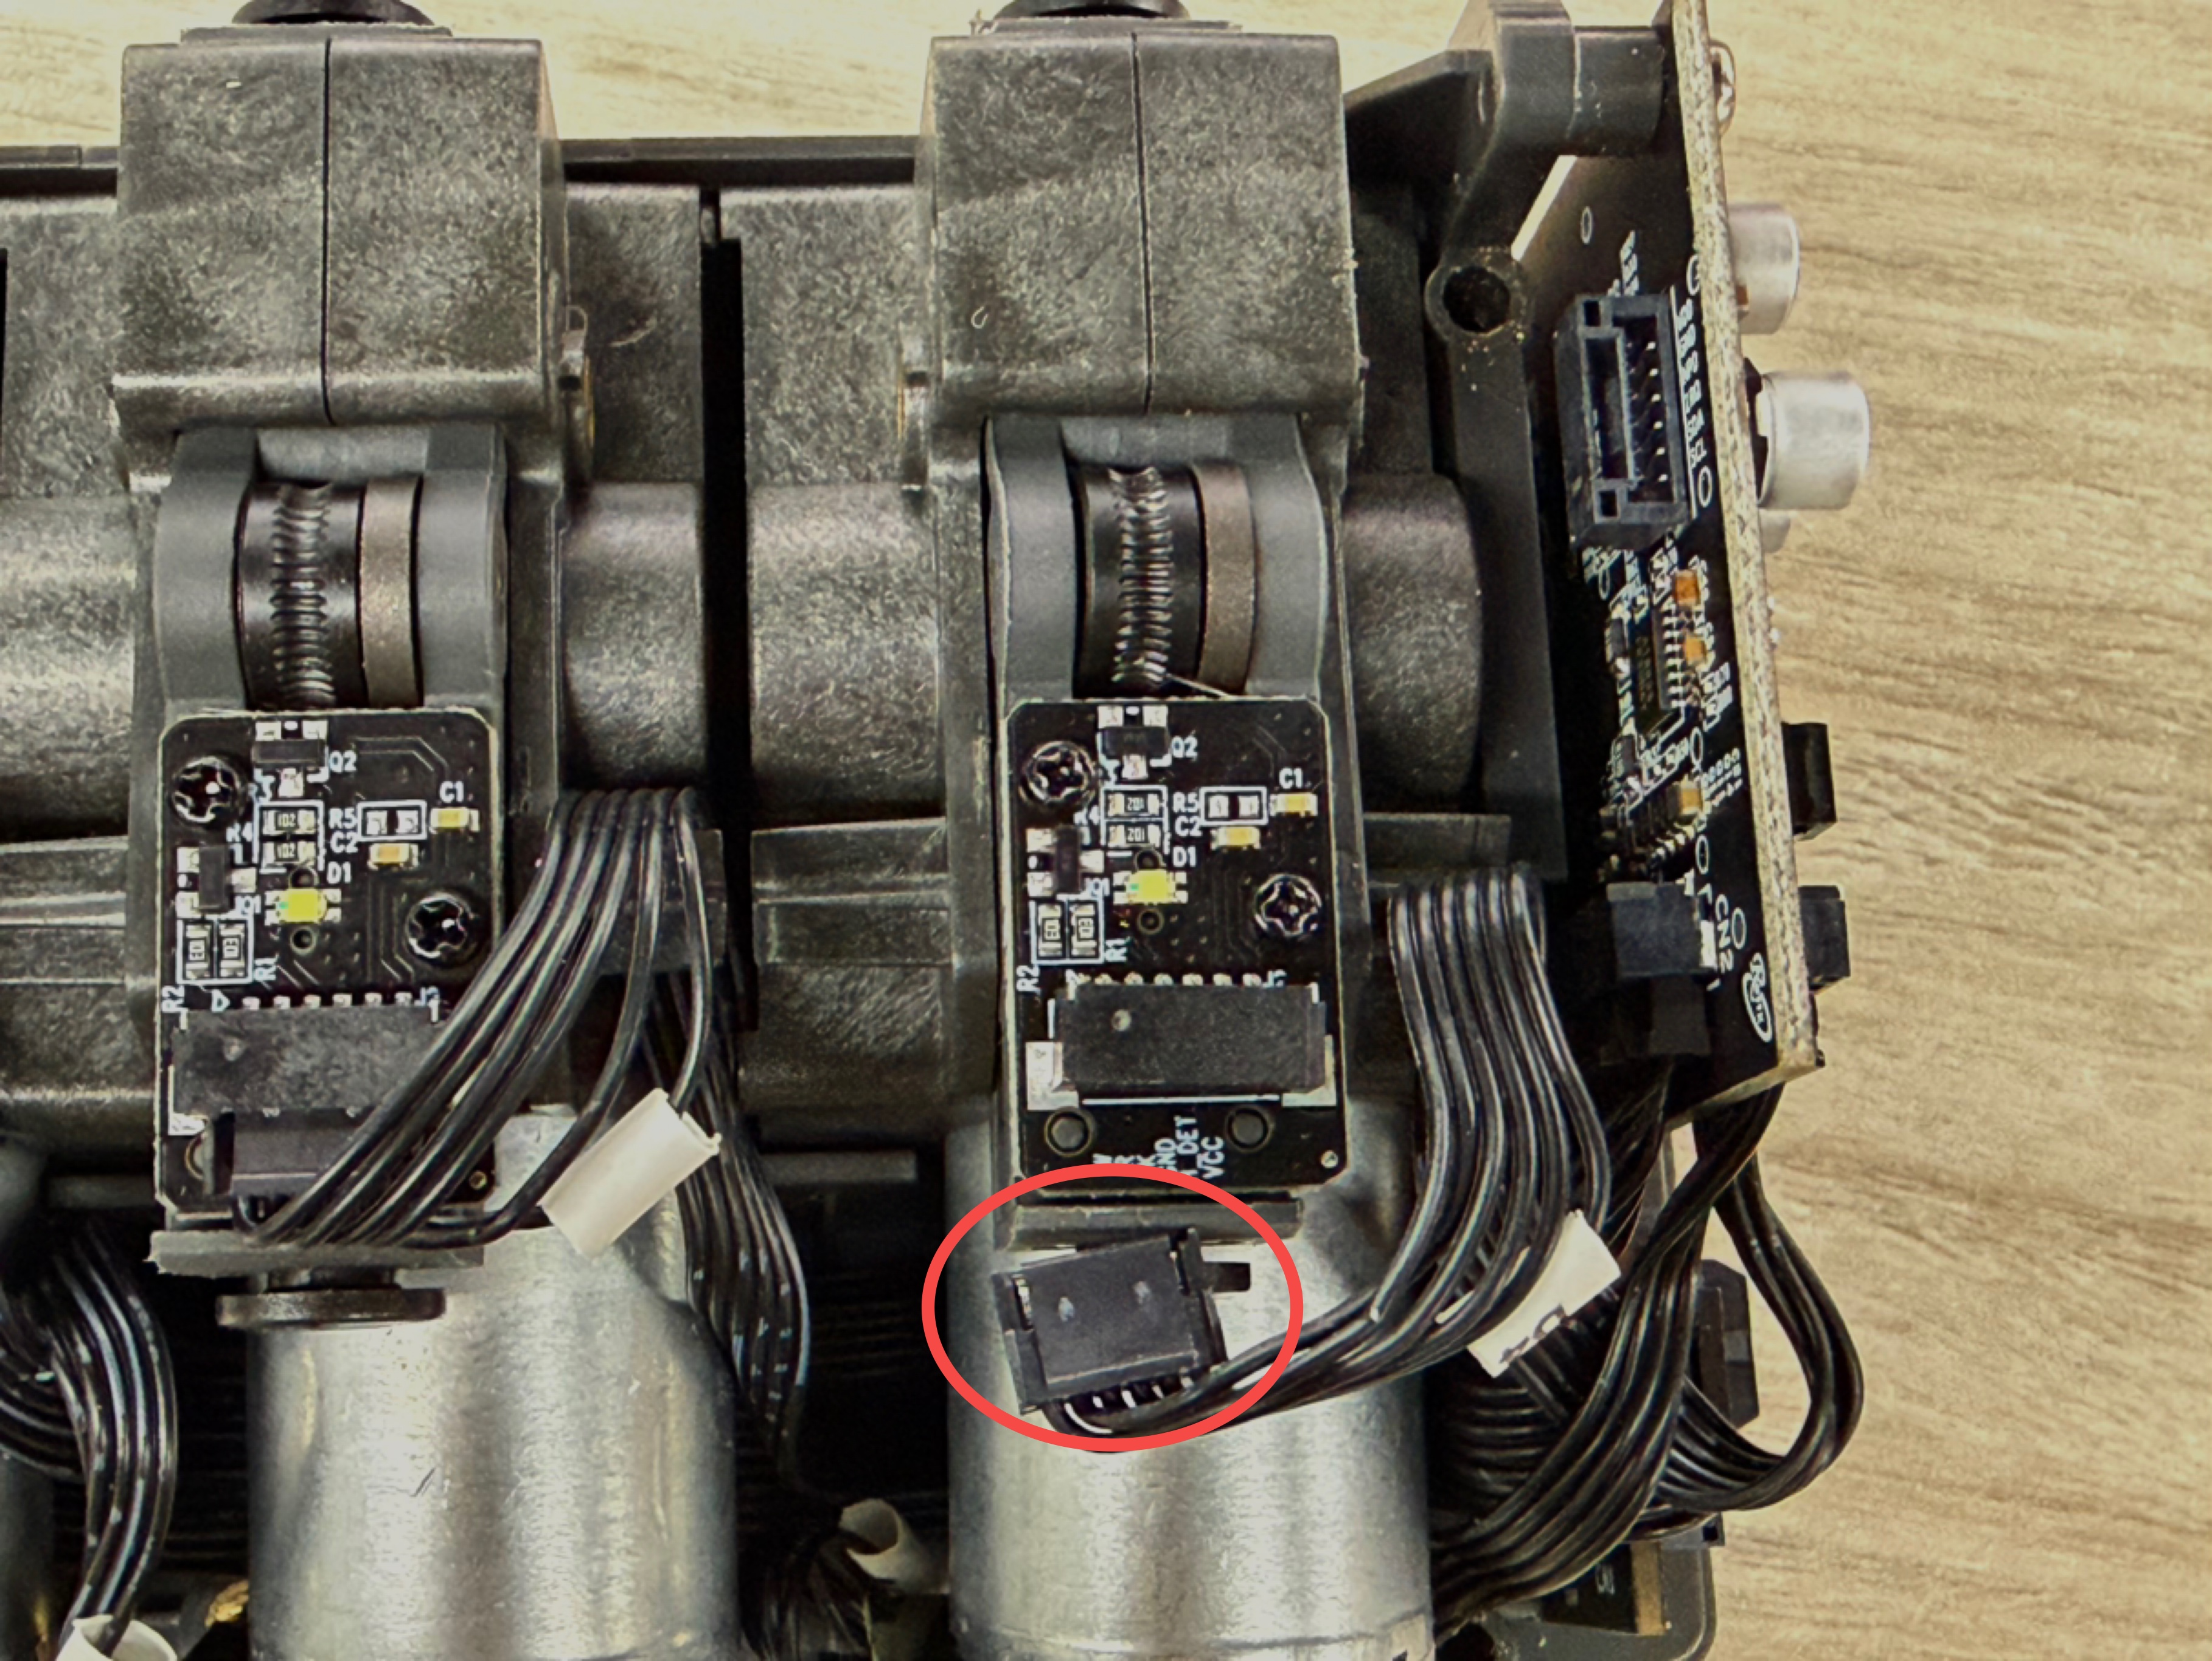
- Disconnect the motor cable.
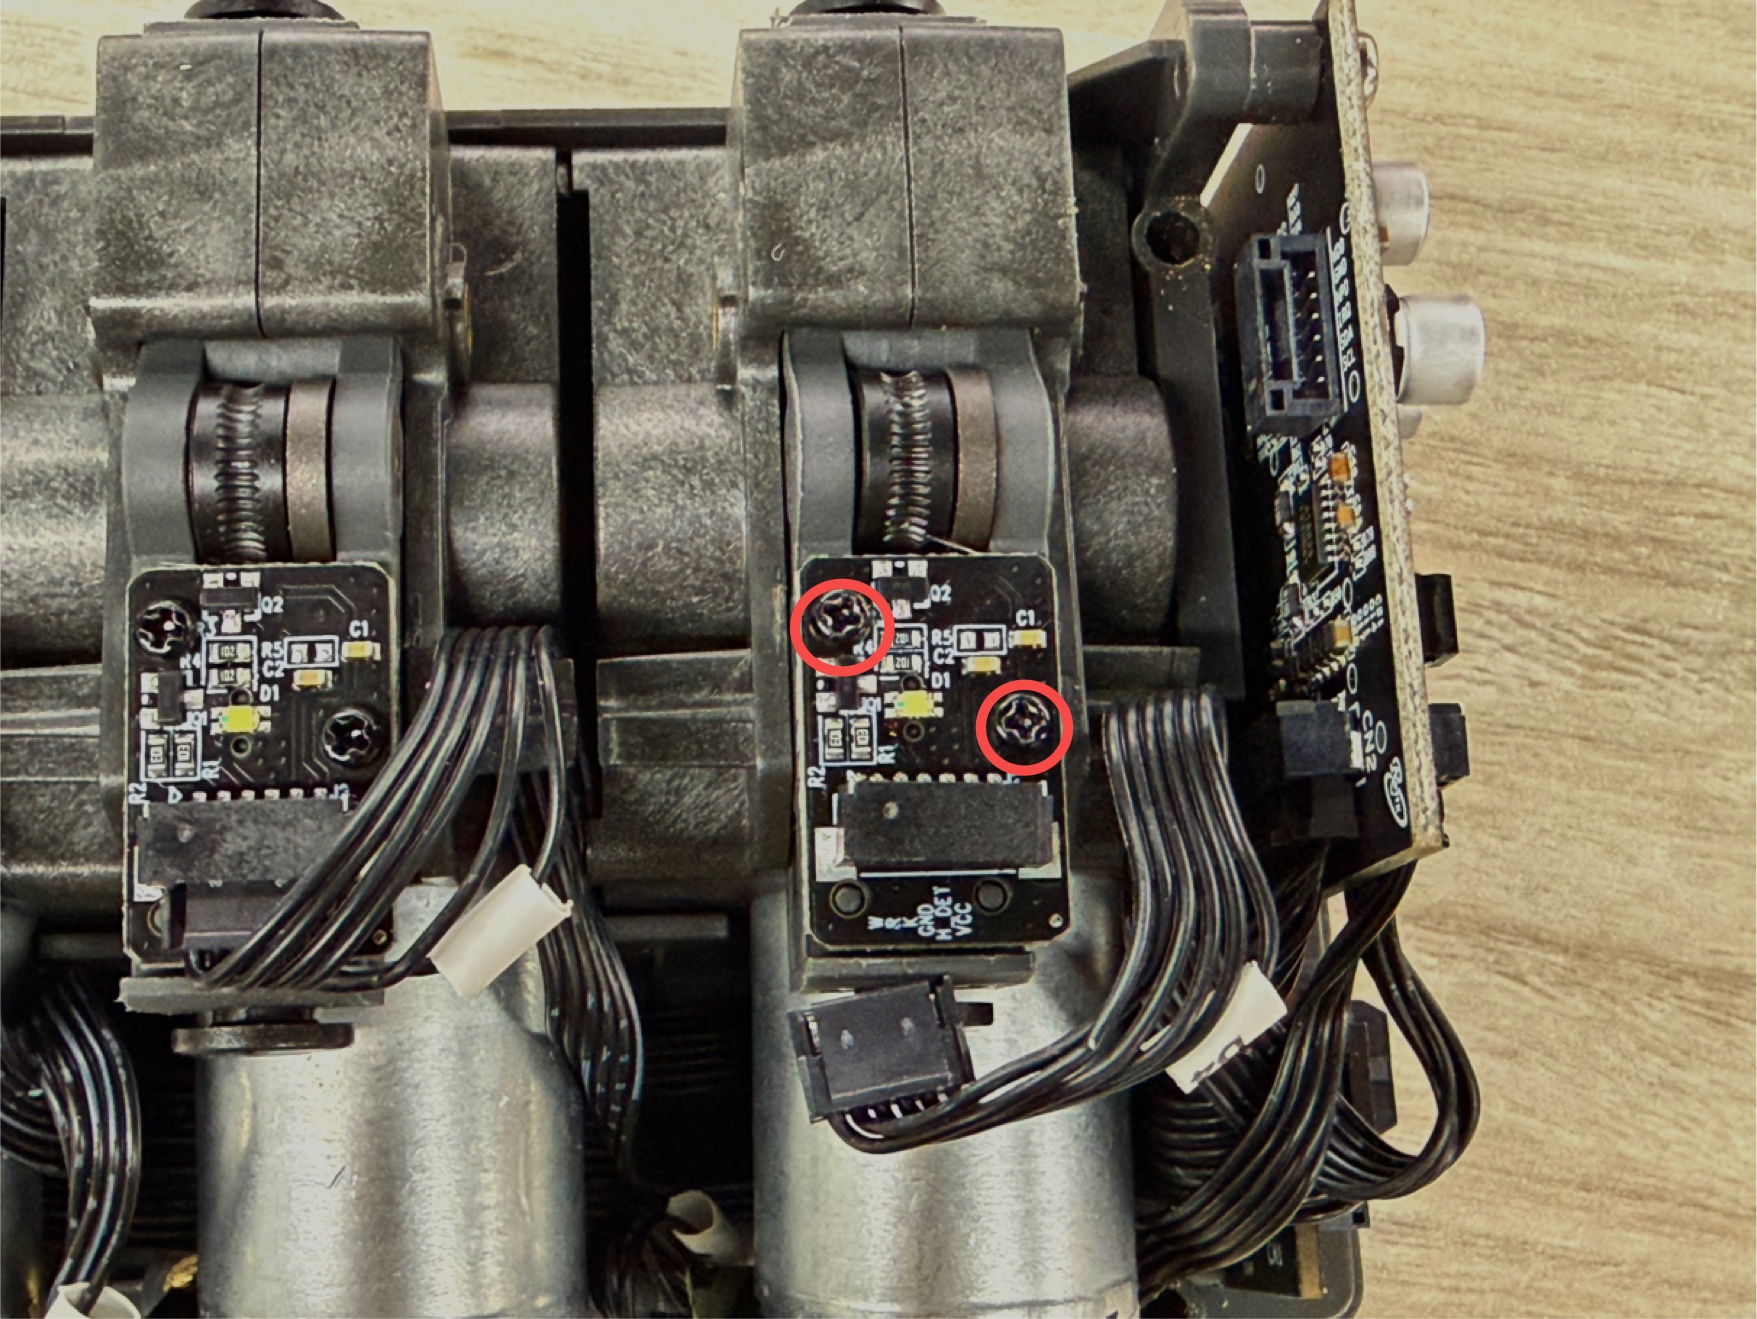
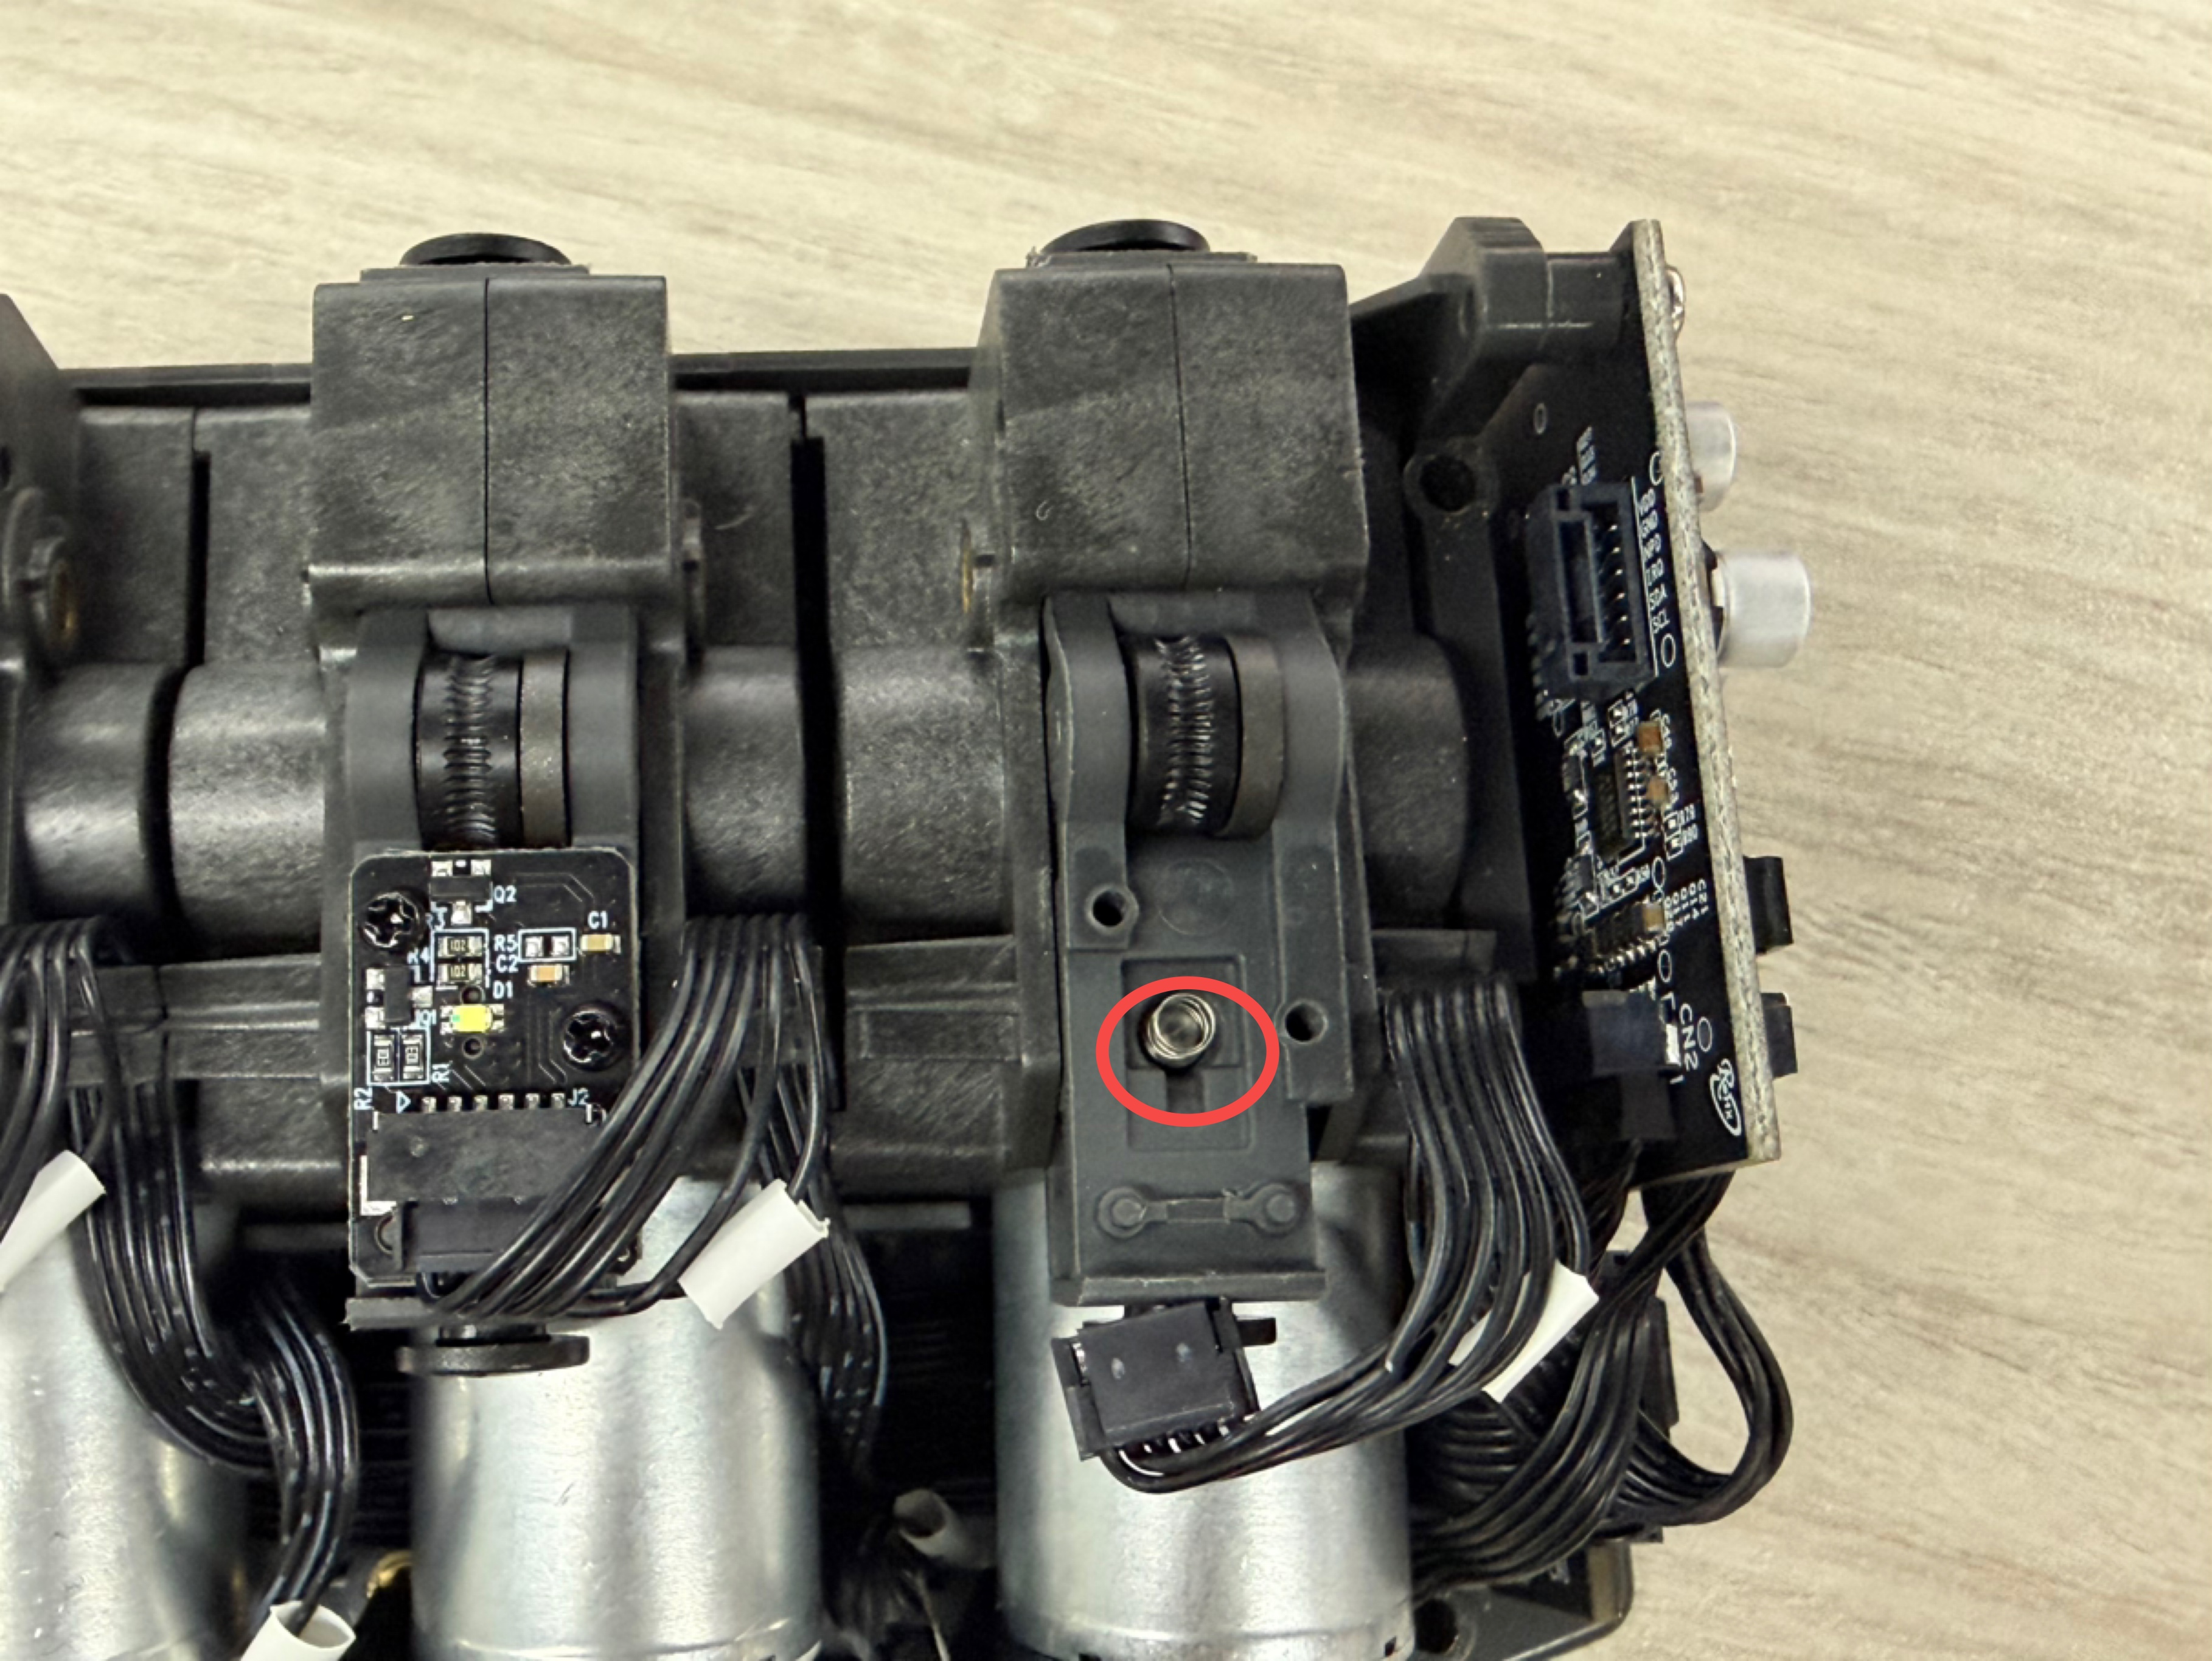
- Use a Phillips screwdriver to remove the 2 screws securing the filament runout sensor board.
- Remove the filament runout sensor board.
Note: A small spring is located inside the filament runout sensor board. Keep it in a safe place to prevent it from being lost.
¶ 2. Install the New Filament Runout Sensor Board
¶ 2.1 Install the New Filament Runout Sensor Board
- Take the new filament runout sensor board out of its packaging.
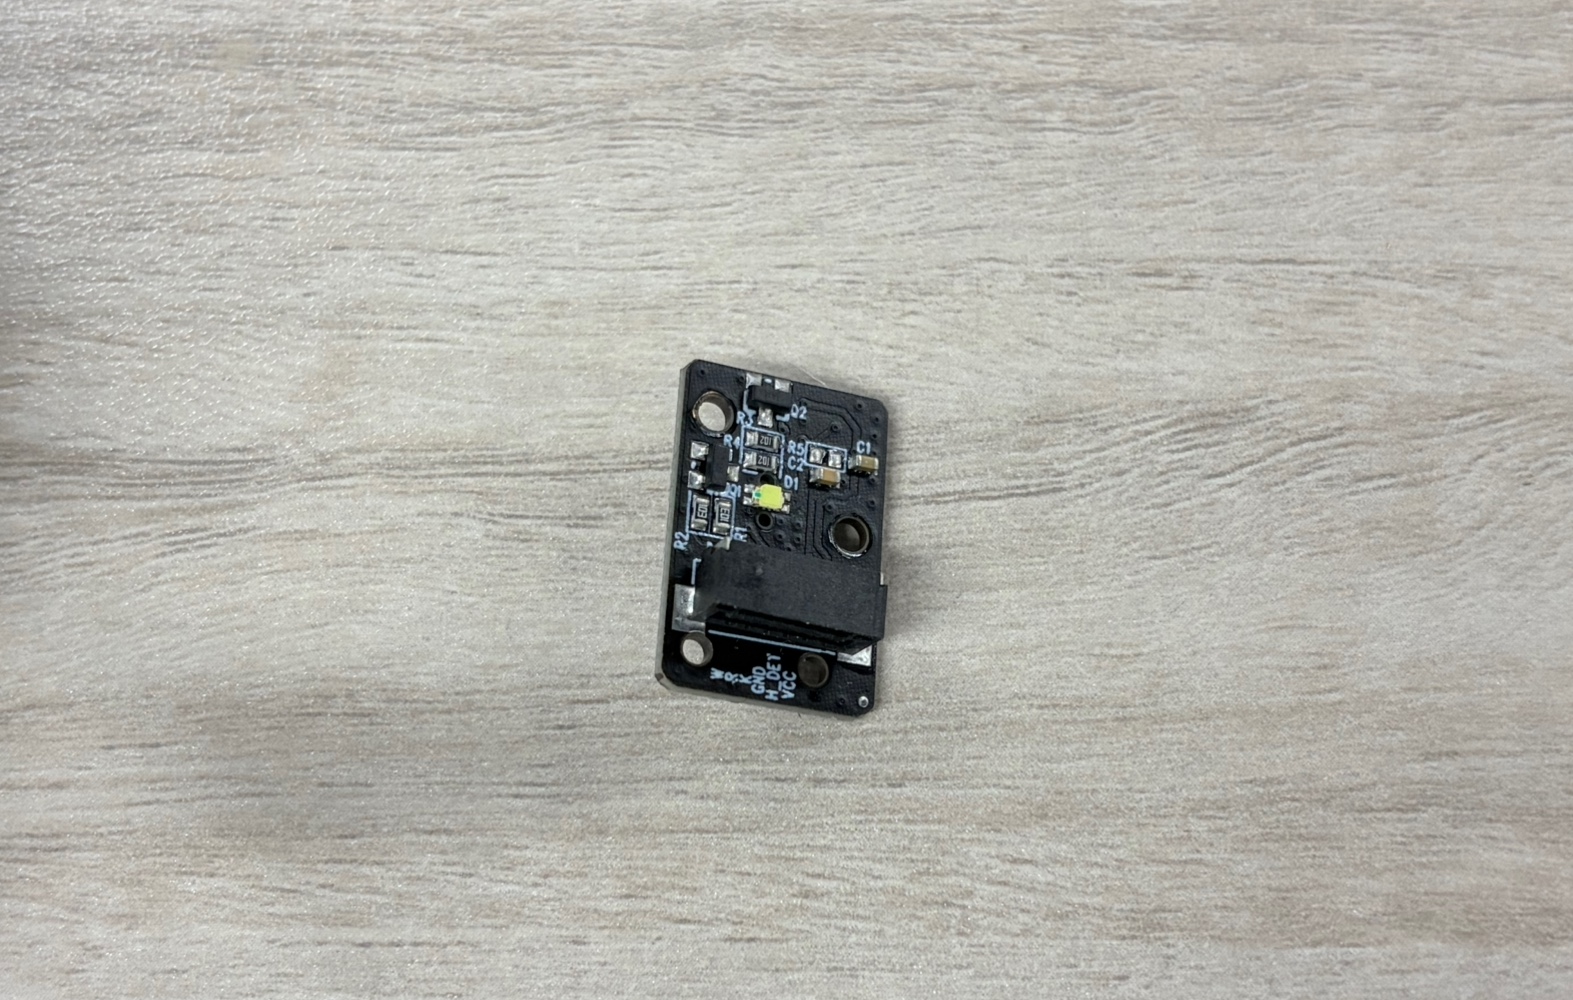
- Use a Phillips screwdriver to install the 2 screws and secure the new filament runout sensor board.
Note: A small spring is located inside the filament runout sensor board. Make sure the spring is installed correctly and secured in place to prevent it from falling out or getting lost.
- Reconnect the motor cable.
¶ 2.2 Install the CANVAS Housing
- Reconnect the RFID antenna cable.
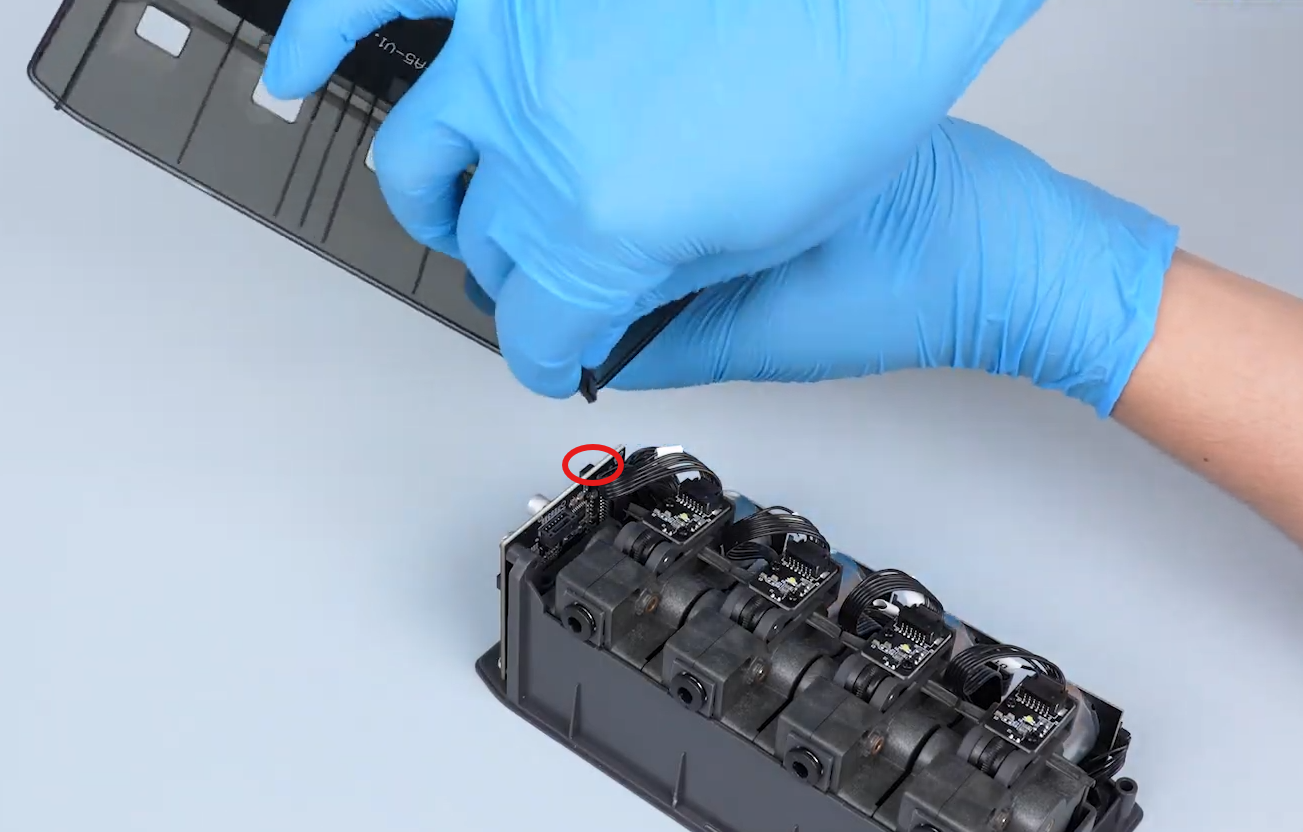
- Install the CANVAS housing and make sure that the internal cables are not pinched.
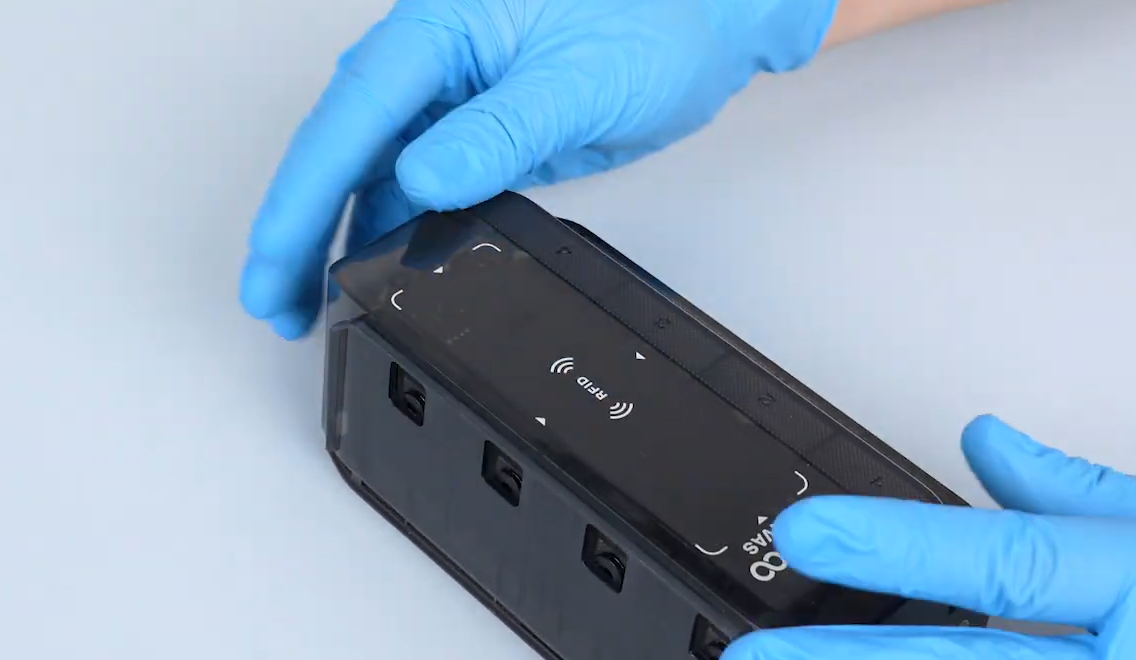
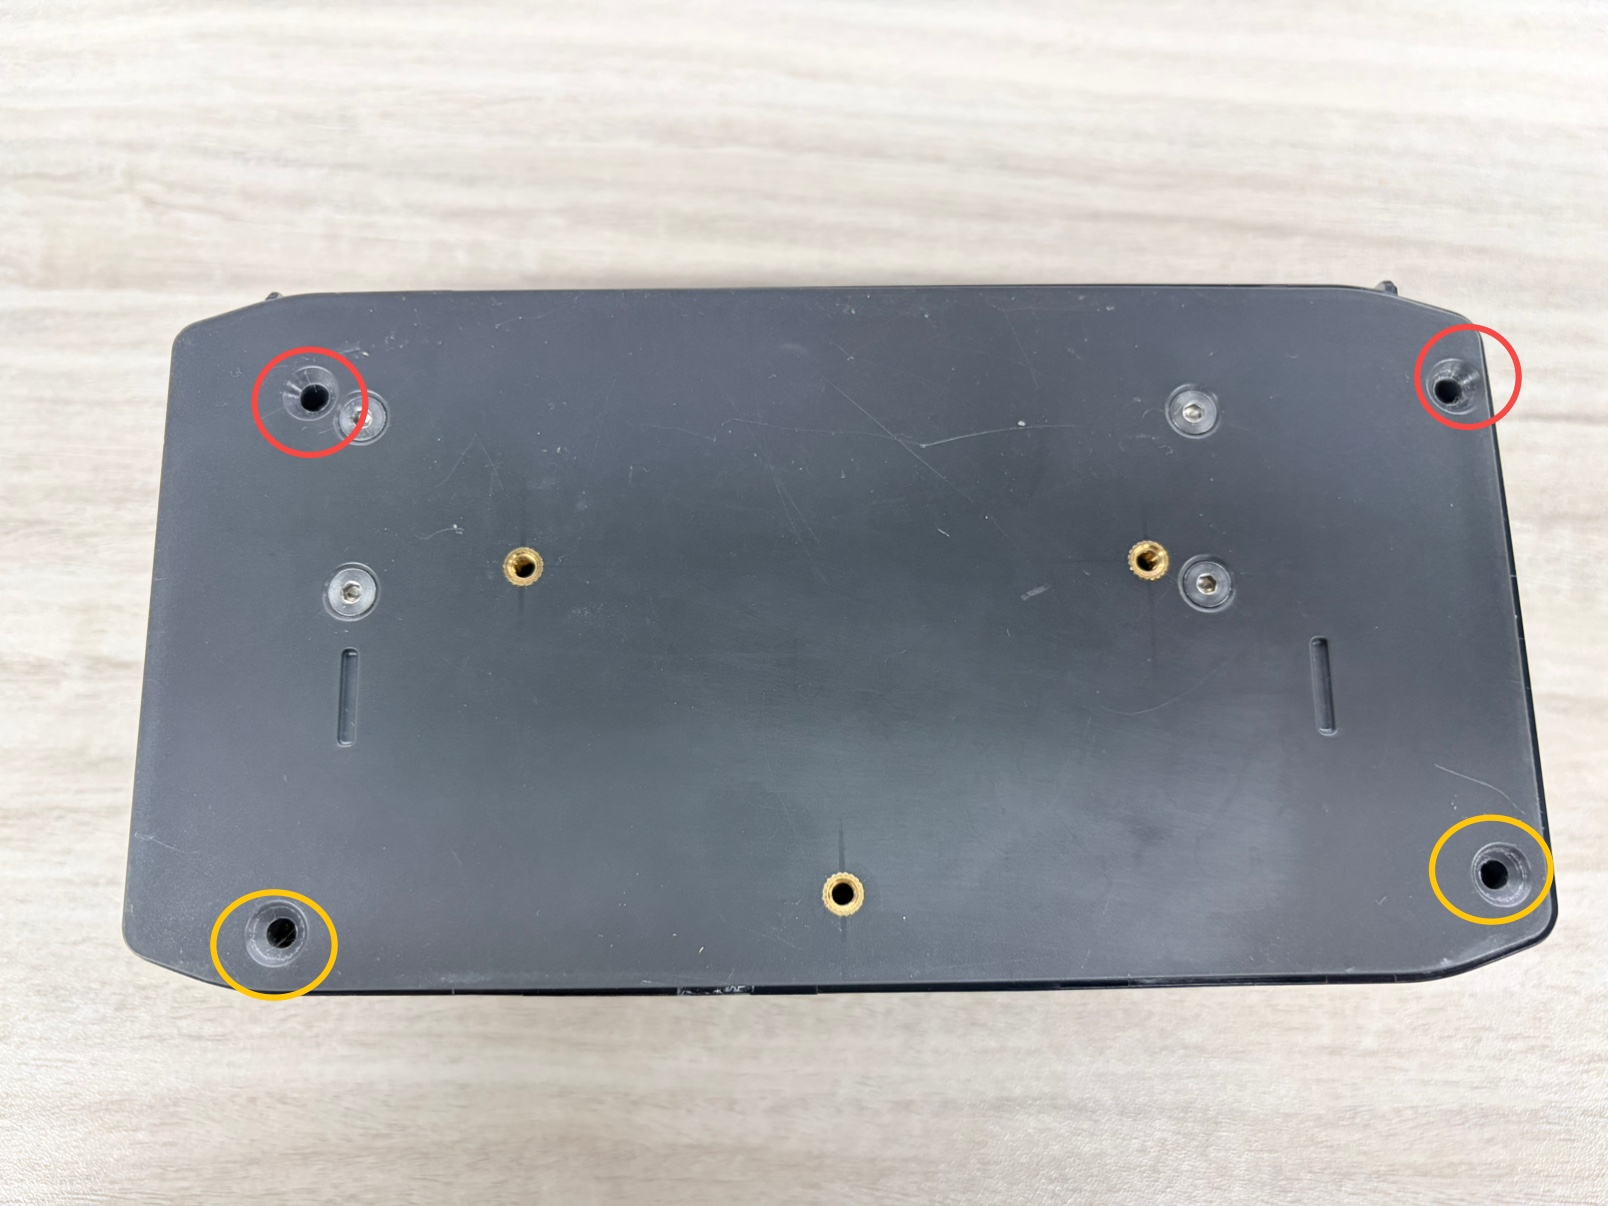
3. Use a 2.0 mm Allen key to install the 4 screws securing the CANVAS housing.
Note: Some production batches require a 1.5 mm Allen key to install these screws.
The screws marked in red are M3 × 45 mm.
The screws marked in yellow are M3 × 18 mm.
¶ 2.3 Install the CANVAS
- Use a 2.0 mm Allen key to install the 3 screws securing the CANVAS.
- Reinsert the top and bottom PTFE tubes into the PTFE tube connectors and make sure they are securely connected.
- Reconnect the CANVAS communication cable and make sure the connector is fully inserted.
¶ Verification
-
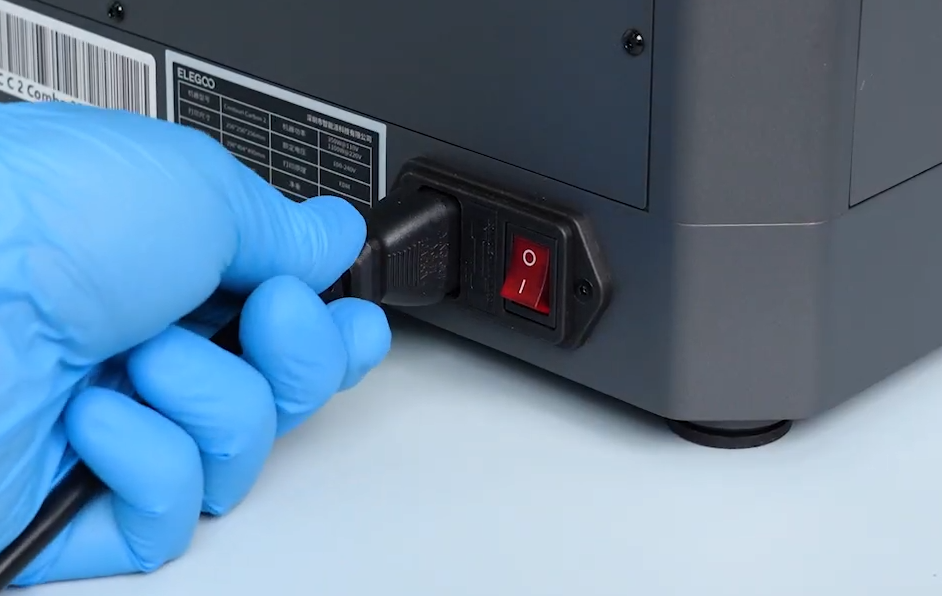
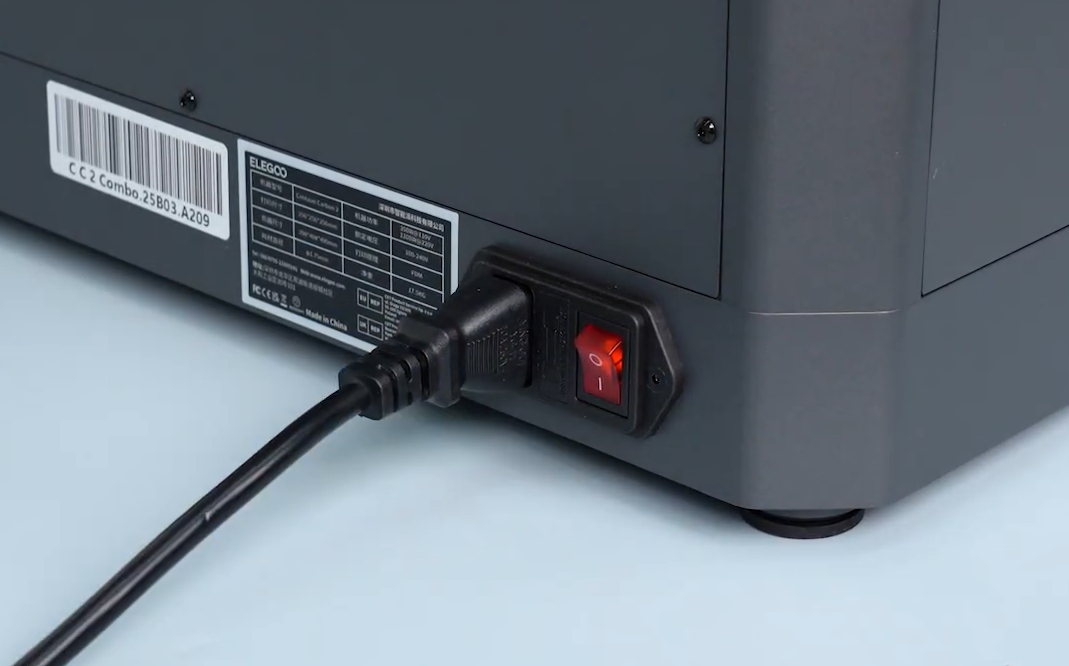
Connect the power supply cable and turn on the printer.
-
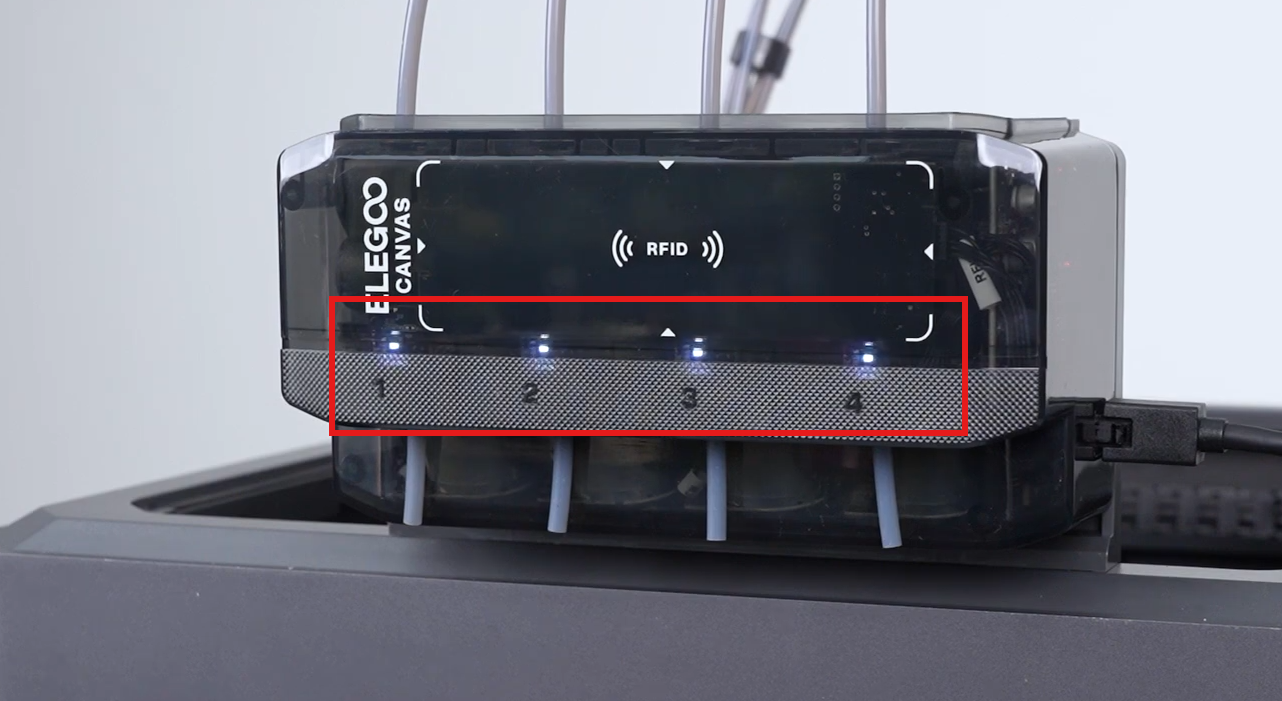
Check whether the four CANVAS indicator lights illuminate in the correct sequence. If the CANVAS operates normally, the filament runout sensor board replacement is complete.
¶ Help us improve
If you have any ideas about the wiki pages, please let us know via ELEGOO official feedback channel