¶ Fault Symptoms
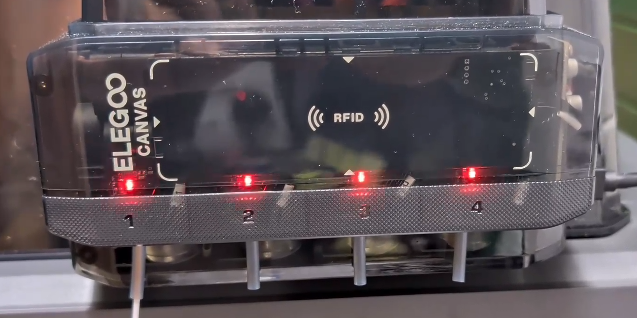
- After powering on the printer, the CANVAS indicator shows continuous flashing red lights.
- During CANVAS operation, the print randomly freezes at different positions.
¶ Possible Causes
- Poor contact of the CANVAS Communication cable / CANVAS Extension cable / mainboard wiring
- Failure of the CANVAS mainboard or CANVAS Extension cable
¶ Required Tools
- 2.0 mm Phillips screwdriver
- Tweezers
¶ Troubleshooting Steps
¶ 1. Re-seat the CANVAS Communication Cable connector
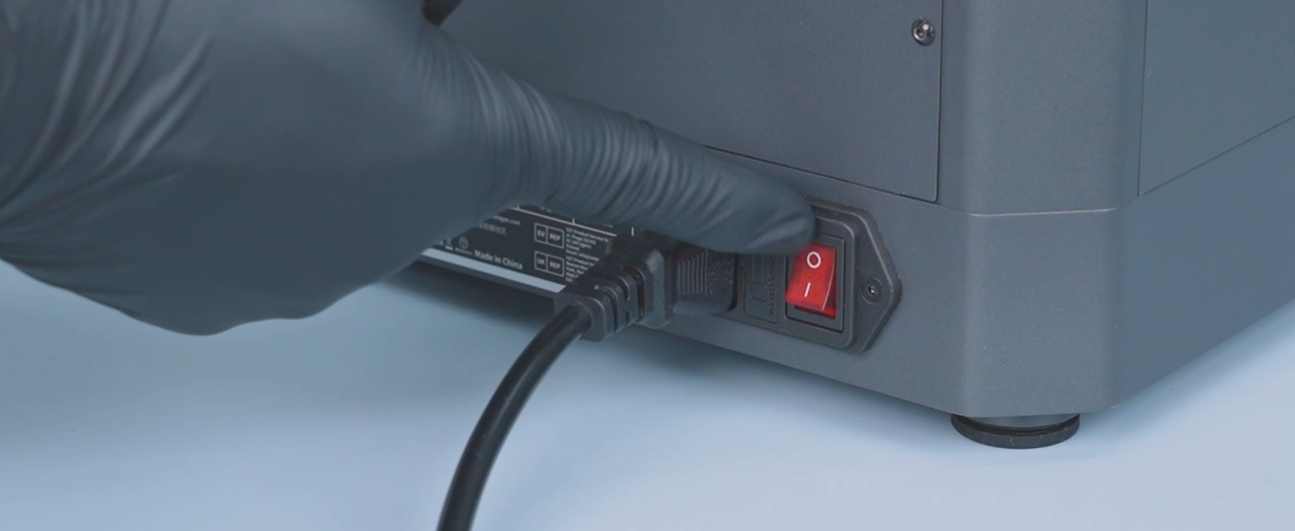
a. Turn off the Power Switch and unplug the power cable.

b. Reconnect the CANVAS Communication cable.

¶ 2. Re-seat the CANVAS Extension Cable connector
a. Turn off the printer and unplug the power cable.
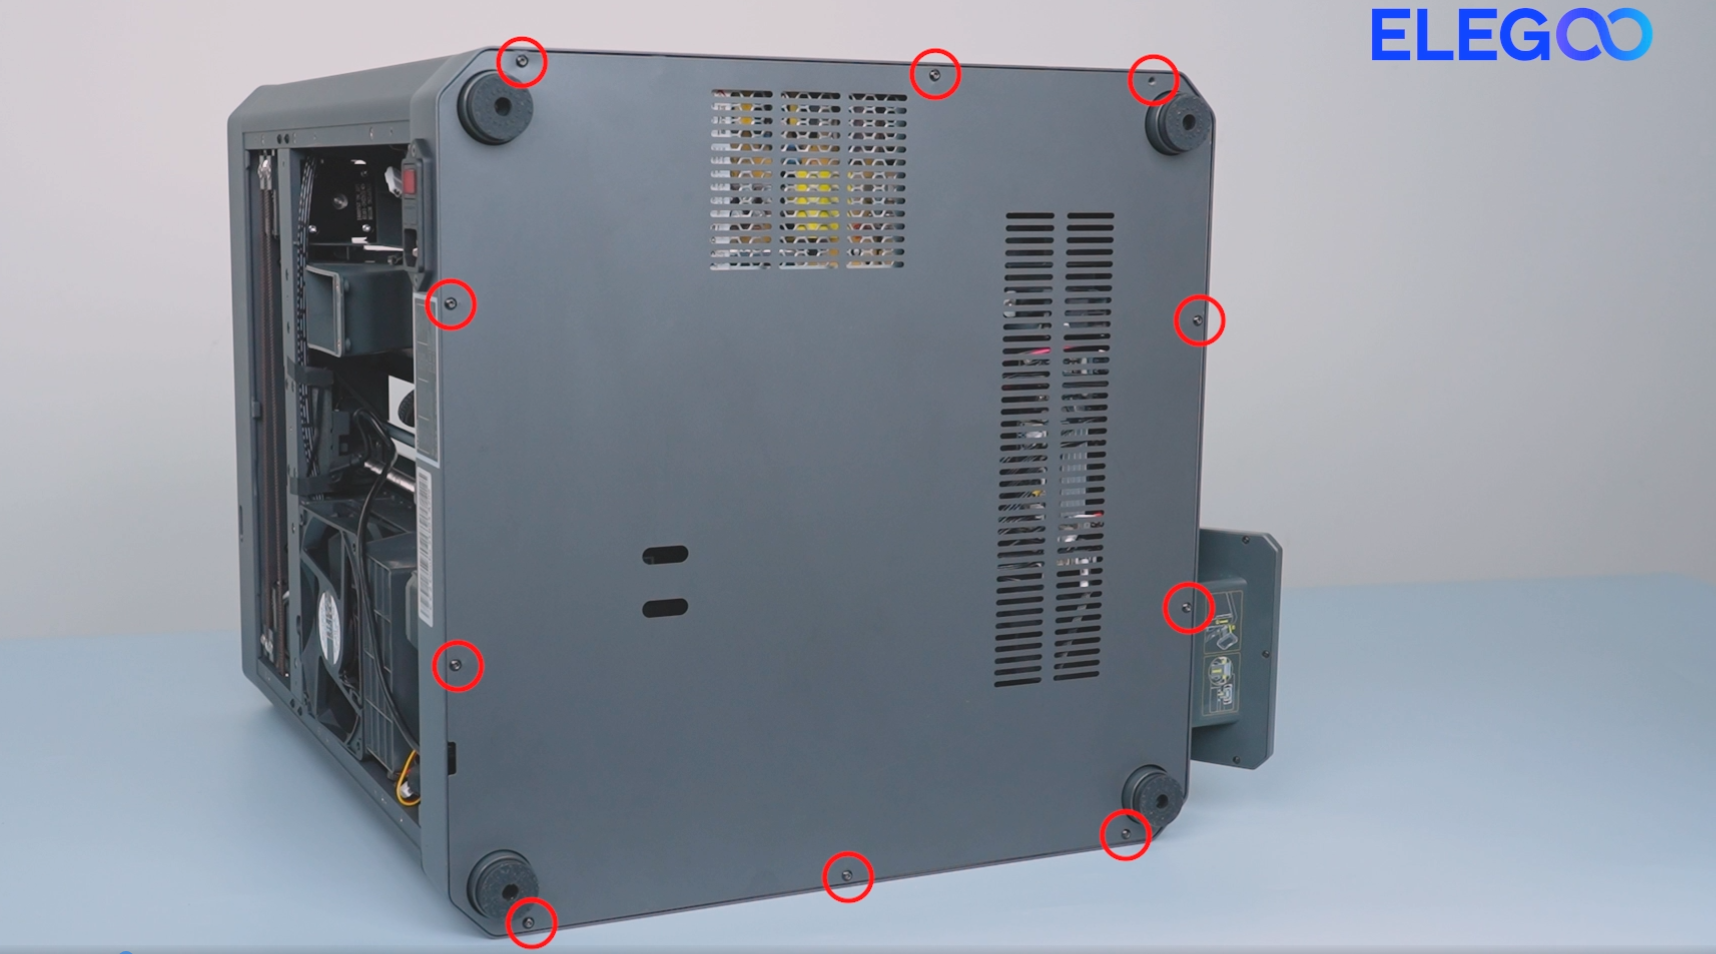
b. Use a 2.0 mm Phillips screwdriver to remove the 10 screws securing the bottom cover, then remove the back cover.
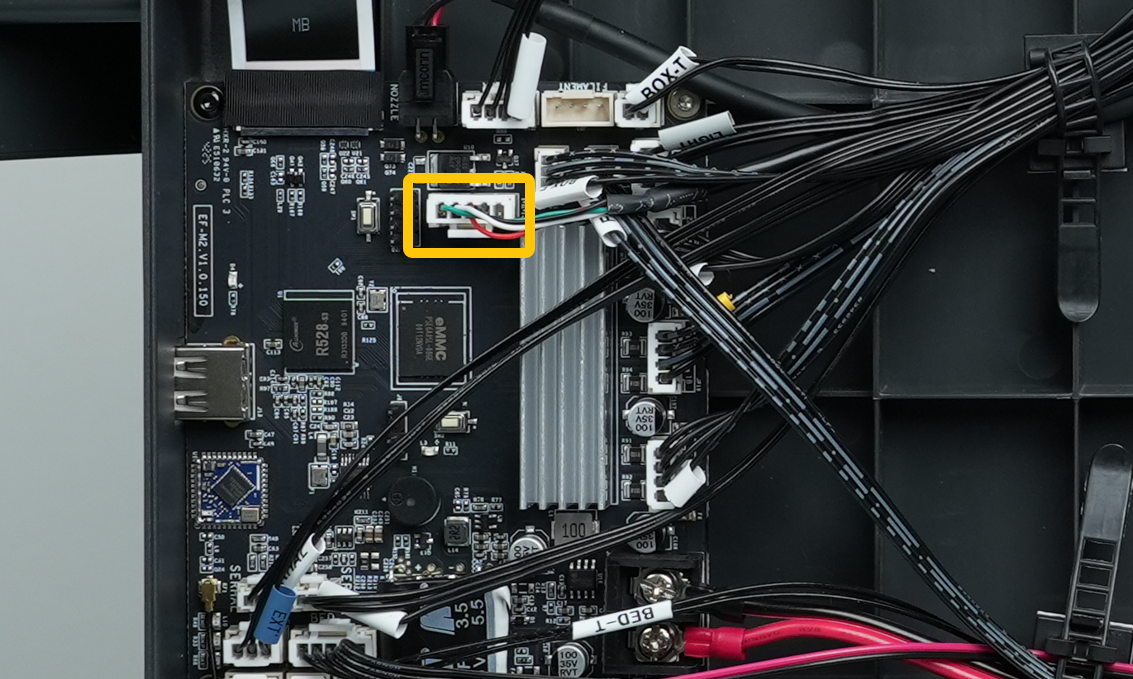
c. Reconnect the CANVAS Extension cable on the mainboard side.
¶ 3. Re-seat the CANVAS mainboard wiring connector
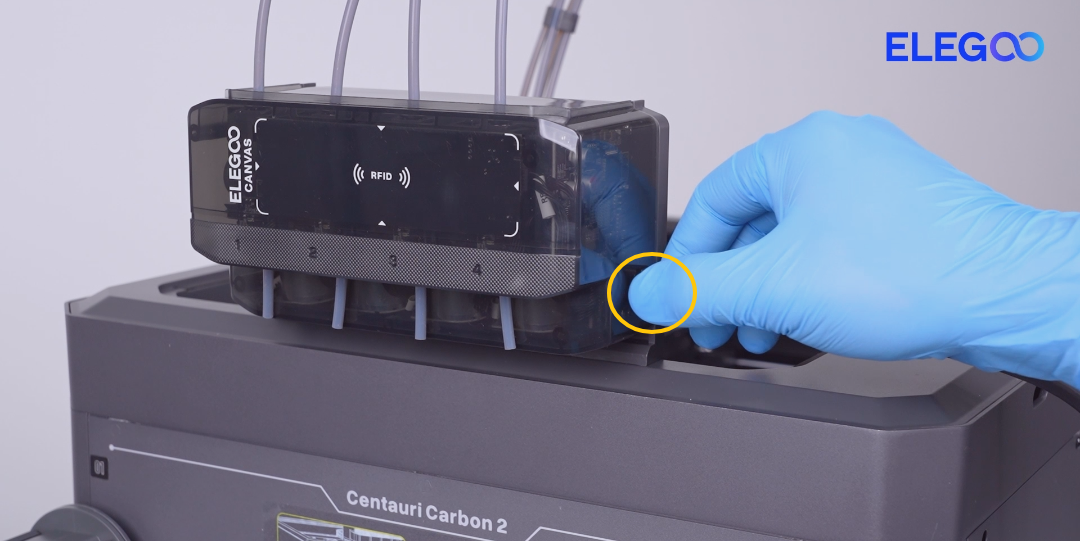
a. Turn off the Power Switch and unplug the power cable.
b. Disconnect the CANVAS Communication cable.
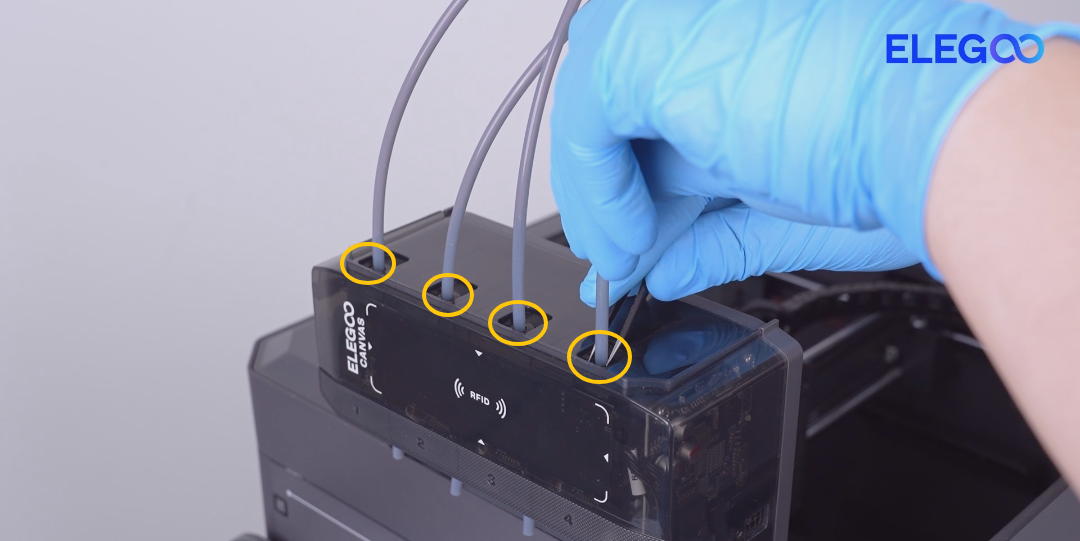
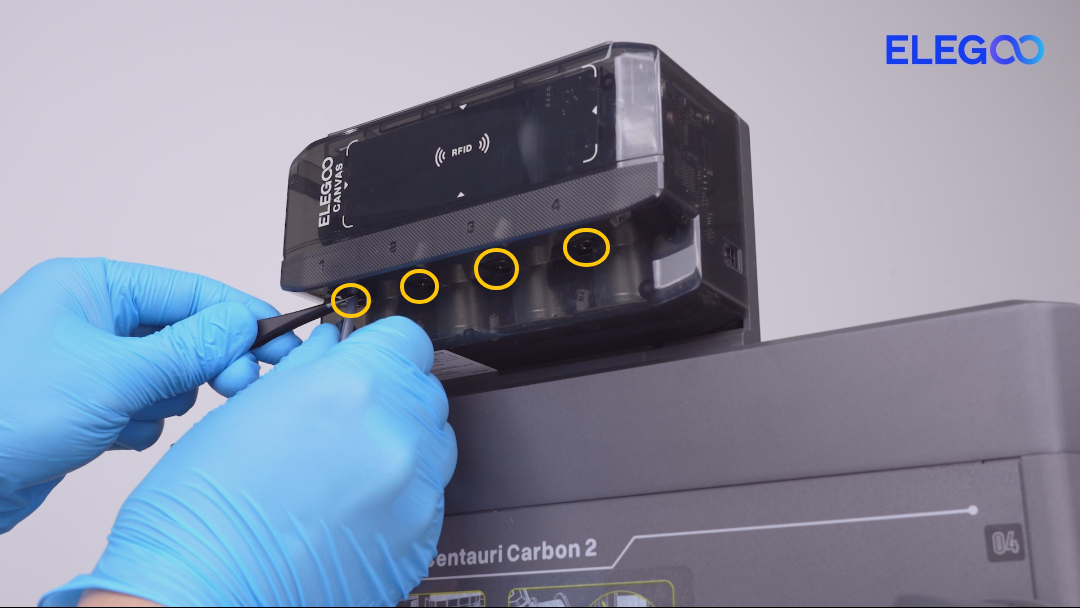
c. Disconnect the PTFE tubes on the upper and lower side of the CANVAS.
Use tweezers to gently press the PTFE tube connector, then remove the PTFE tube once loosened.
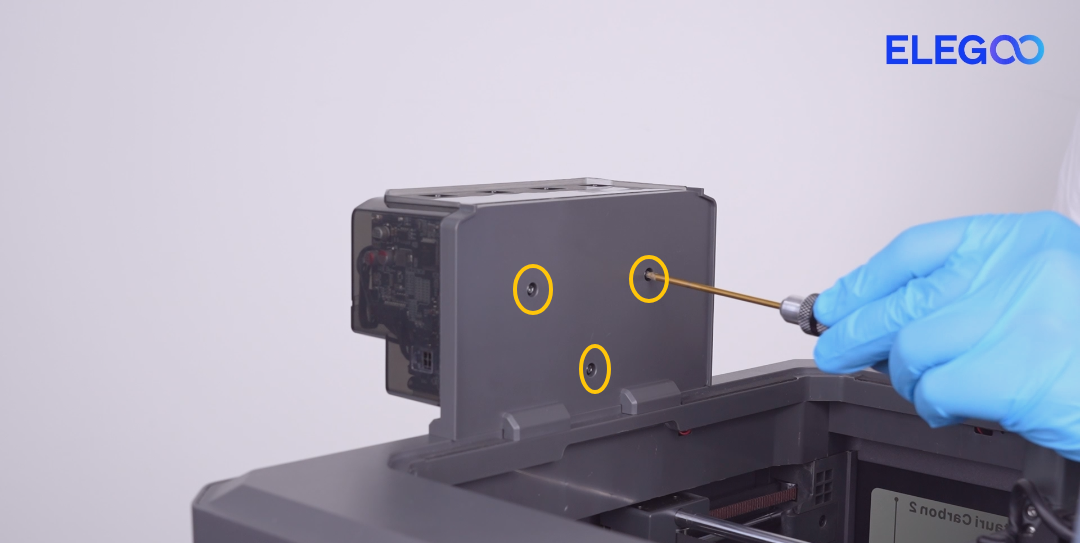
d. Remove the three screws securing the CANVAS mounting bracket.
When removing the last screw, hold the CANVAS unit by hand. Remove the CANVAS assembly.
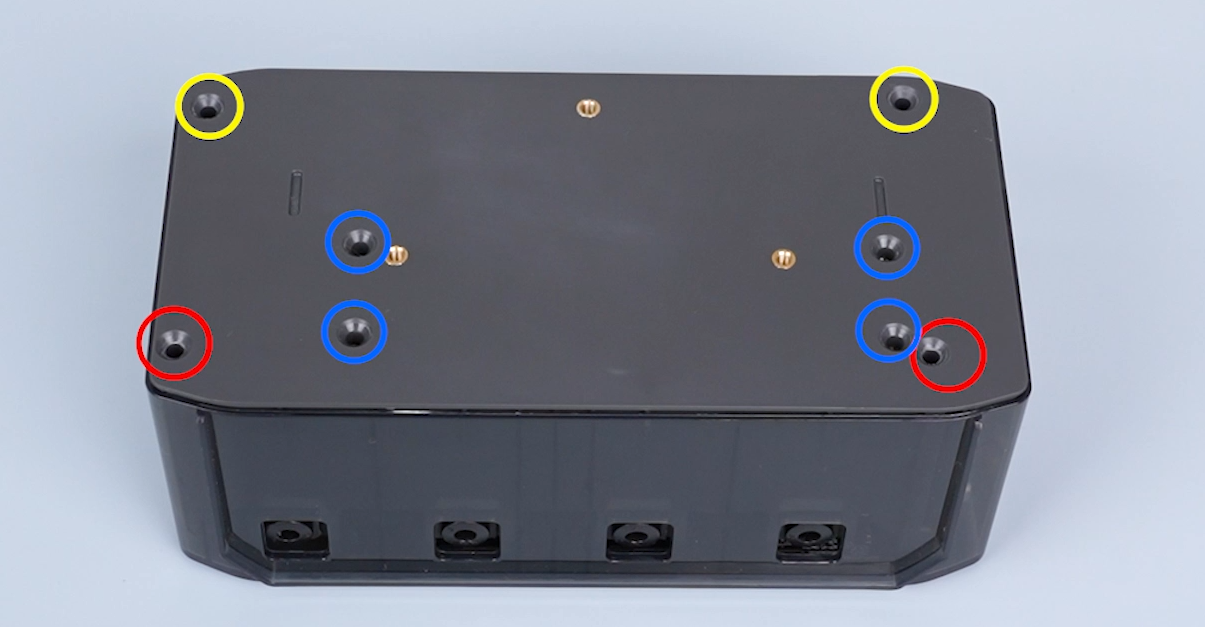
e. Remove the six screws securing the CANVAS housing.
Screw specifications:
- Yellow marked: M3×18
- Blue marked: M3×8
- Red marked: M3×45
f. Open the CANVAS housing and locate the CANVAS mainboard.
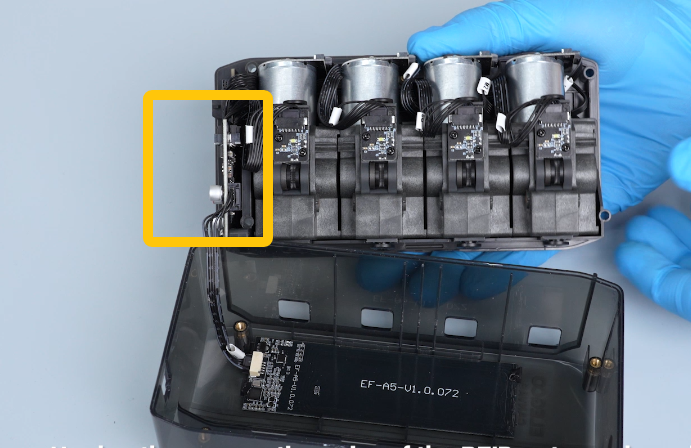
g. Reconnect the two connectors on the CANVAS mainboard.

Reassemble the CANVAS unit and restore all components.
¶ Failure Confirmation
If the issue still occurs after completing all steps, the following parts may need replacement:
- CANVAS mainboard
- CANVAS Communication cable