¶ Tools and Materials
- A Phillips screwdriver
- A flat head screwdriver
- A new motherboard of the mini heater
¶ Tutorial Video
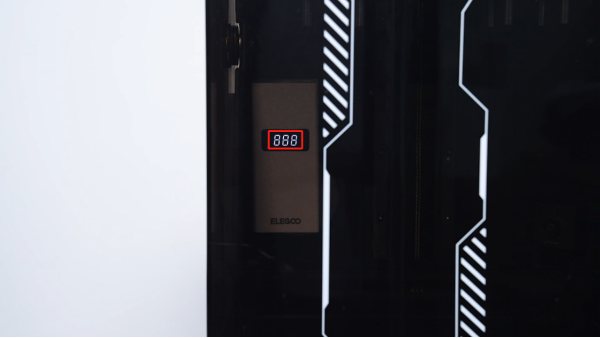
¶ Instruction
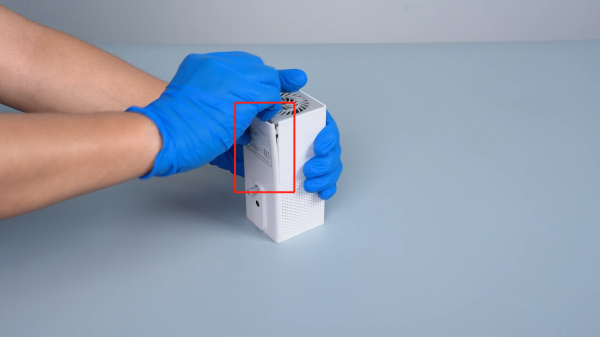
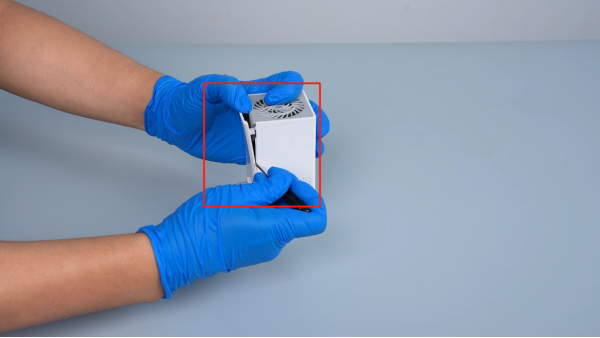
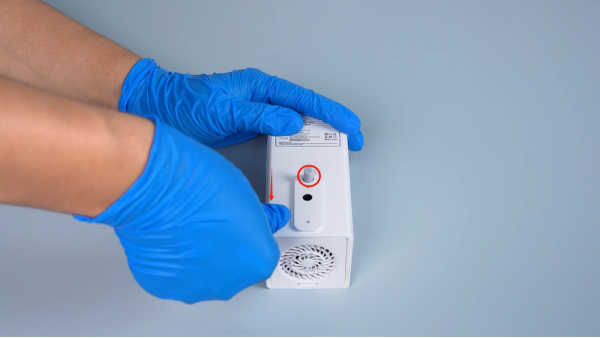
- Open a gap of the back cover of the mini heater. Use a flat head screwdriver to remove the back cover.
Note: The back cover of the mini heater is fixed by a clip.
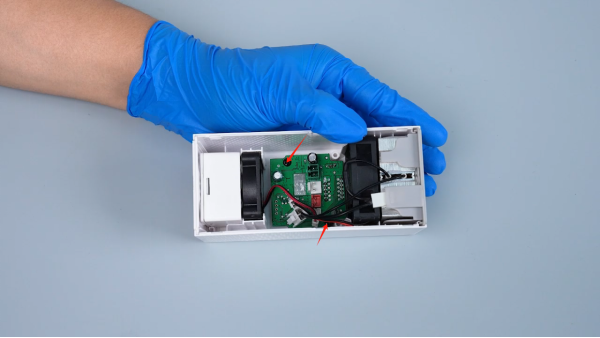
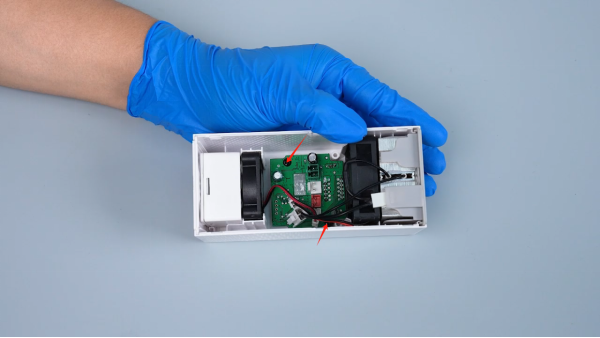
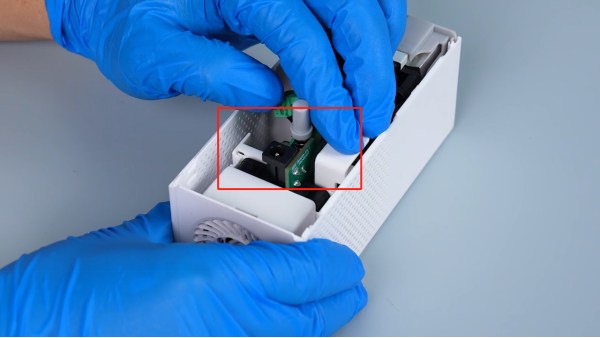
- Disconnect the ribbon cables of the switch circuit board's port.
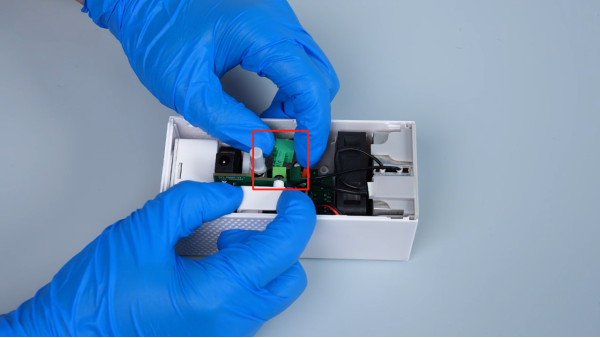
- Lift up the switch circuit board.
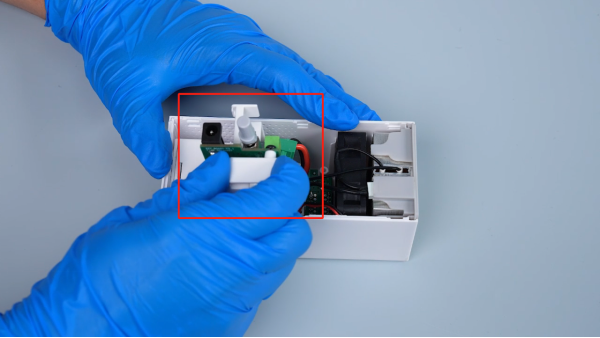
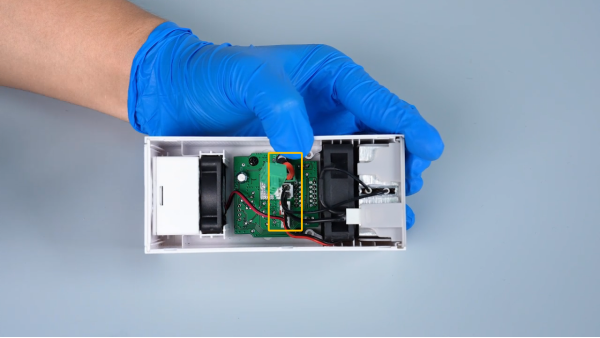
- Disconnect the ribbon cables from all the ports on the motherboard.
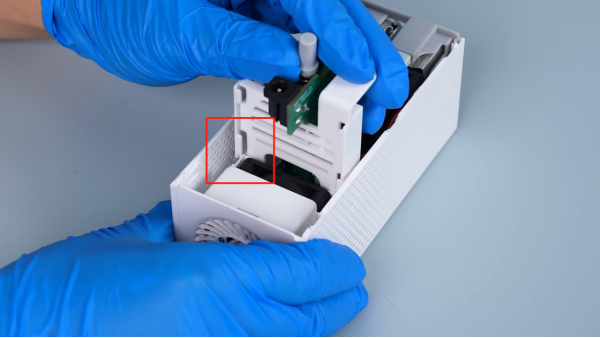
- Use a Phillips screwdriver to loosen the 2 screws securing the motherboard, then remove the old motherboard.
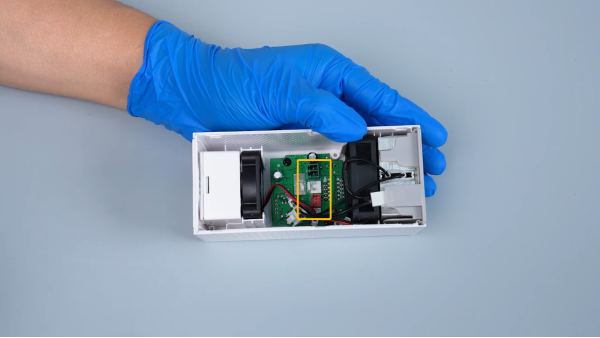
- Prepare the new motherboard by placing it in the installation position. Align it with the screw holes and then tighten the 2 screws that secure the motherboard using a Phillips screwdriver.
- Insert the ribbon cables into the ports on the motherboard according to the size and shape of the ports.
- Put the switch circuit board in the installation position by aligning it the grooves.
- Insert ribbon cables of the switch circuit board.
- Put the back cover of the mini heater in the installation position by aligning it with the switch's button. Press the edge of the back cover to close the clip tightly.
- Install the mini heater to the printer. Power on the mini heater, and it starts to work. The motherboard replacement is complete.