¶ Servo Control
¶ OVERVIEW
In this lesson, we will teach you how to control the servo of the Smart Robot Car.
¶ Introduction:
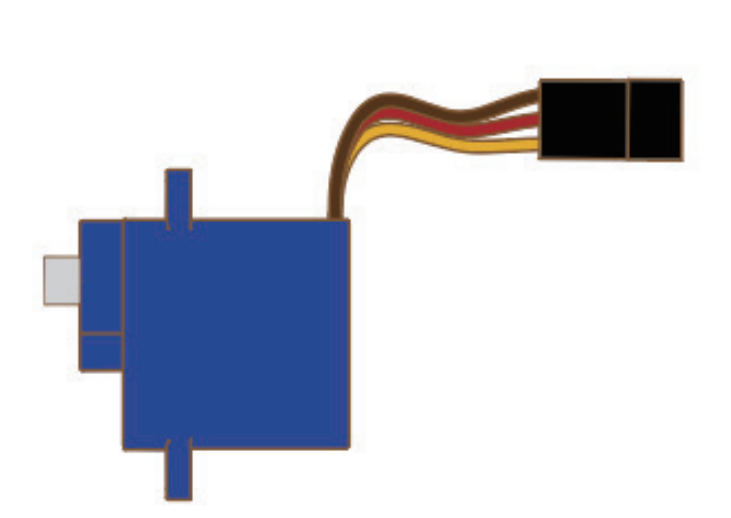
Servo is a type of motor,also known as the servo motor. It is similar tostepper motor. The difference between servo and stepper motoris that thestepper motor can set how many angles to turn, while the servo can set theposition to turn.
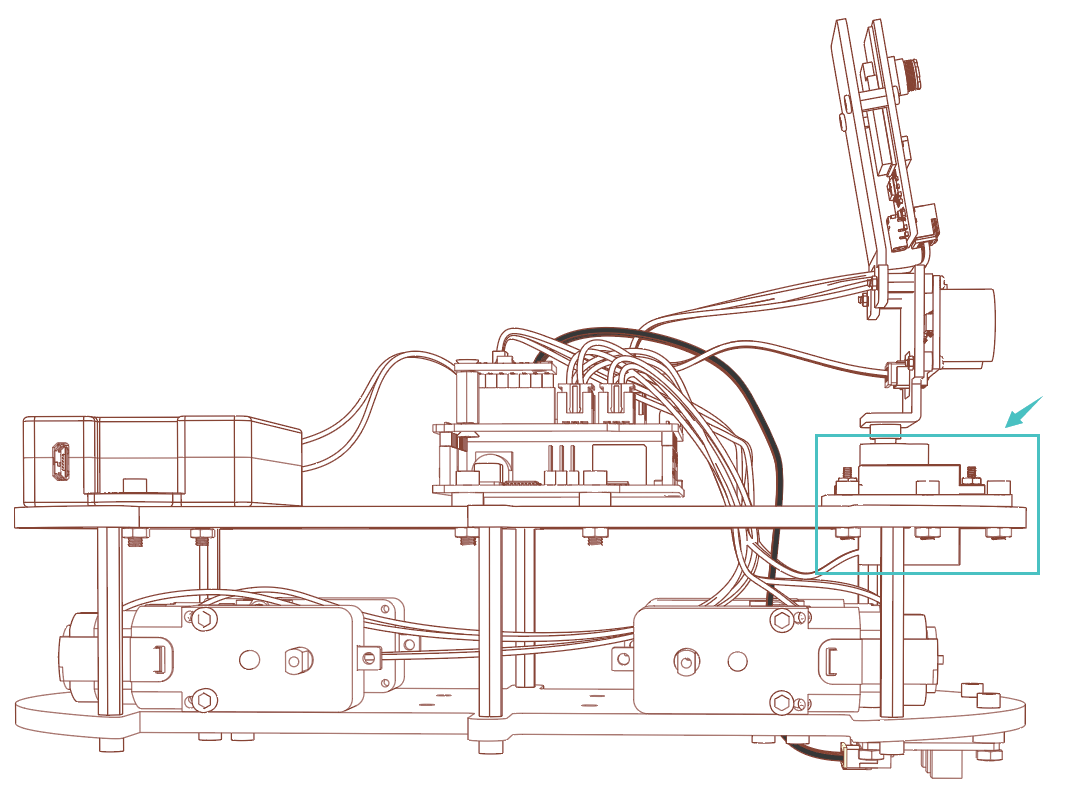
Please open the file of the last folder for more details: Related chip information -> SmartRobot-Shield
As shown in the picture,servo can be connected to the pin D10 or pinD11 of the UNO.
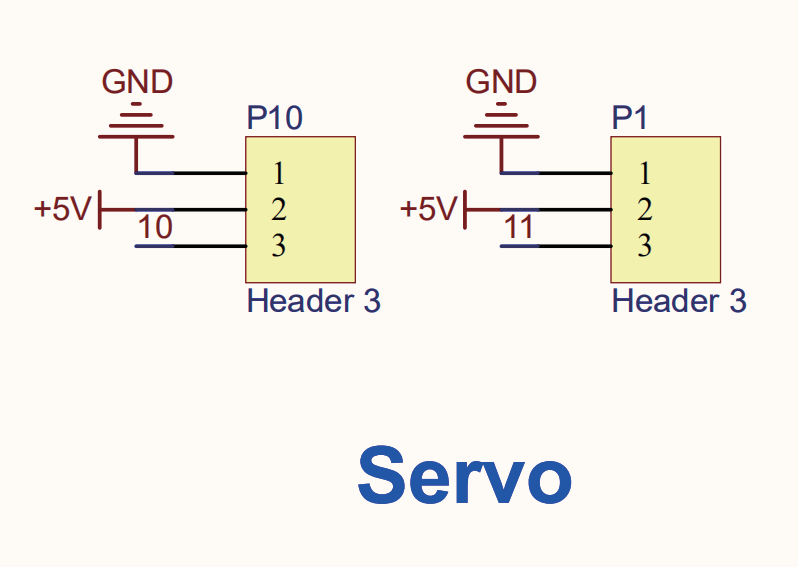
And the control of the servo is also relatively simple. After adding theofficial library,you can modify the angle to control it at will.
Please open the Demo1 in the current folder:
First of all, let's take a look at the definition of the ultrasonic relativepins and variables:(In this example, we connected servo with pin D10.)
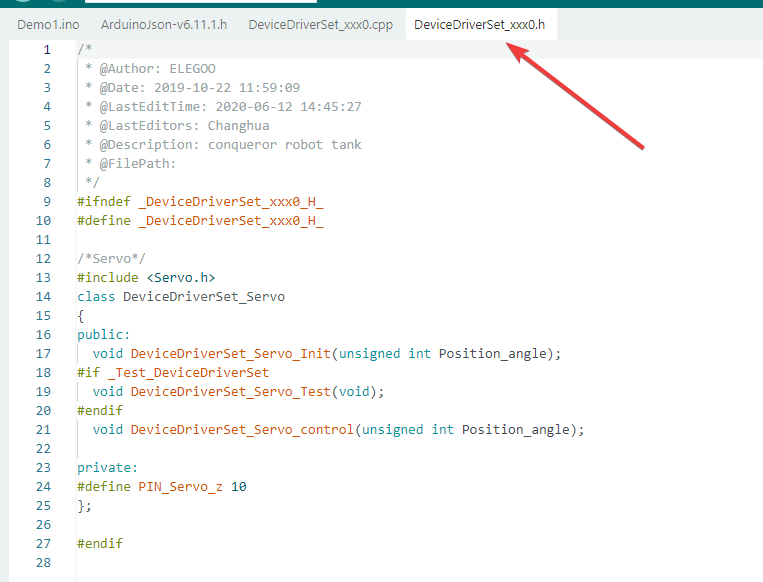
Let's first learn about the common functions
¶ Servo Library API Reference
| Function Signature | Description |
|---|---|
uint8_t attach(int pin) |
Attach the given pin to the next free channel, sets pinMode, returns channel number or 0 if failure |
uint8_t attach(int pin, int min, int max) |
As above but also sets min and max values for writes |
void write(int value); |
If value < 200, it's treated as an angle; otherwise as pulse width in microseconds |
void detach() |
Detach the servo from its interface, which can continue to be used as the PWM interface |
You can find the servo control code in the CPP file. Next, I will analyze the functions one by one.
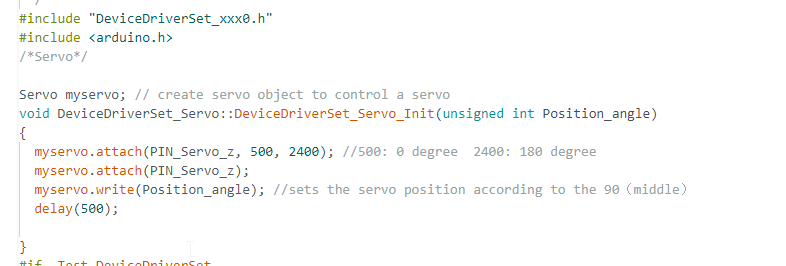
Function: Called during startup, connects the servo to the specified pin and sets the initial position
myservo.attach(PIN_Servo_z, 500, 2400); //500: 0 degree 2400: 180 degree
myservo.attach(PIN_Servo_z, 500, 2400); is used to connect the servo to the specified pin and configure the pulse width range .
- PIN_Servo_z : Specifies the Arduino digital pin (pin 10 in this case) where the servo signal wire is connected;
- 500 : Minimum pulse width (in microseconds) required for the servo to rotate to 0° ;
- 2400 : Maximum pulse width (in microseconds) required for the servo to rotate to 180° .
- By configuring the pulse range, the system can precisely control the servo rotation within the 0°~180° range.
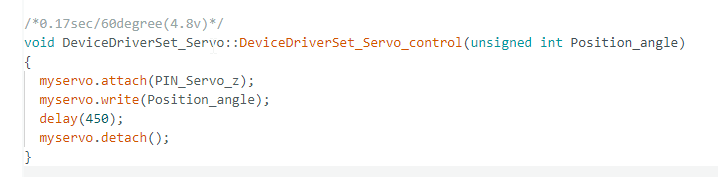
Function: Control the servo to rotate to a specified angle, and release the pin resources after completion.
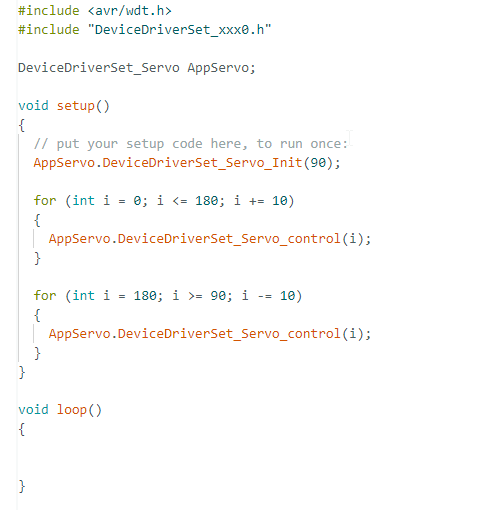
- Initialize the servo : Establish connection and set initial position (90°)
- Demonstrate scanning motion :
- Forward scan: Scan from the leftmost position (0°) to the rightmost position (180°)
- Reverse scan: Return from the rightmost position (180°) to the center (90°)
- Total runtime : Approximately 13 seconds (initialization 0.5s + forward 8.55s + reverse 4.5s)