¶ Introduction
If you find it difficult and boring to write programs on the Arduinosoftware and are tired of the boring theoretical study in the previous part,then in this lesson, we will teach you how to use the vivid, fun and easygraphical programming and DIY mode on the supporting APP to control thecar to achieve the effect and function you want.
¶ The Use of Graphical Programming
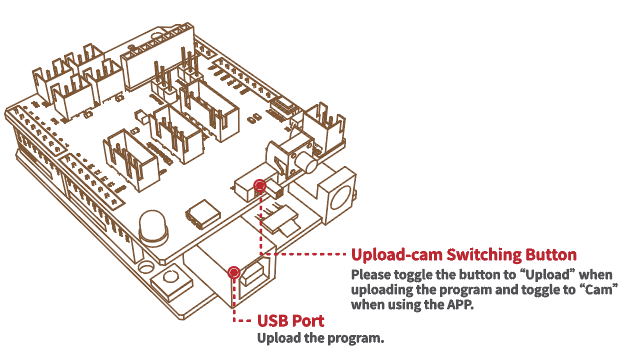
- First of all, please make sure that the Smart Robot Car 4.0 has uploadedthe program successfully. If not, please open the SmartRobotCarV4.0 file inthe folder and then click the program SmartRobotCarV4.0.ino to upload.After uploading successfully, please turn the "Upoad-Cam" button to "Camand then turn on the power of the car.
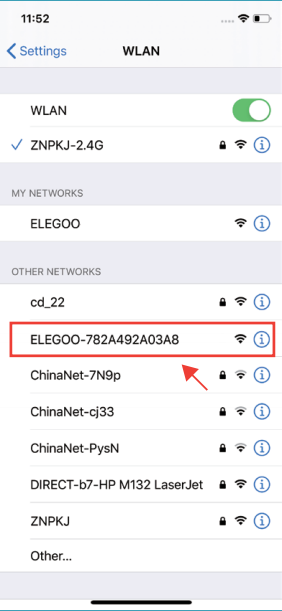
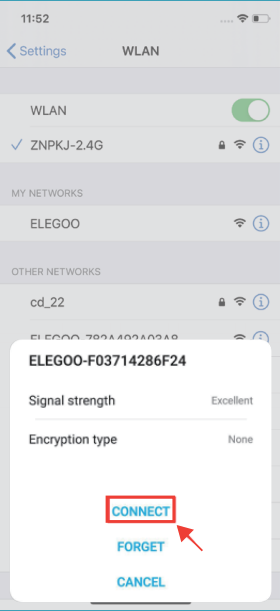
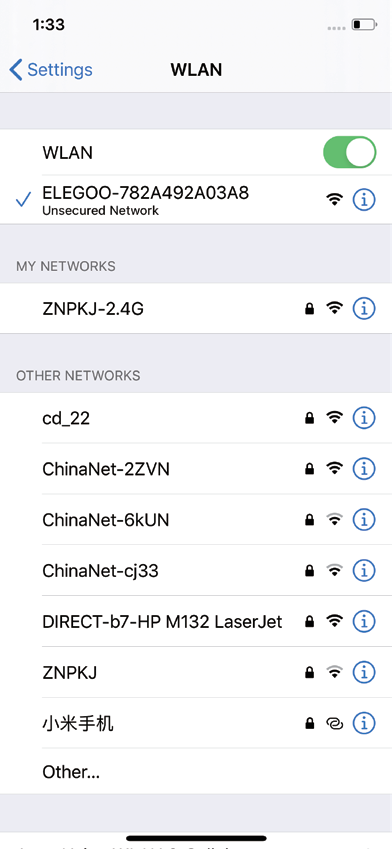
- After the WiFi has been connected successfully, we can open our supporting APP.
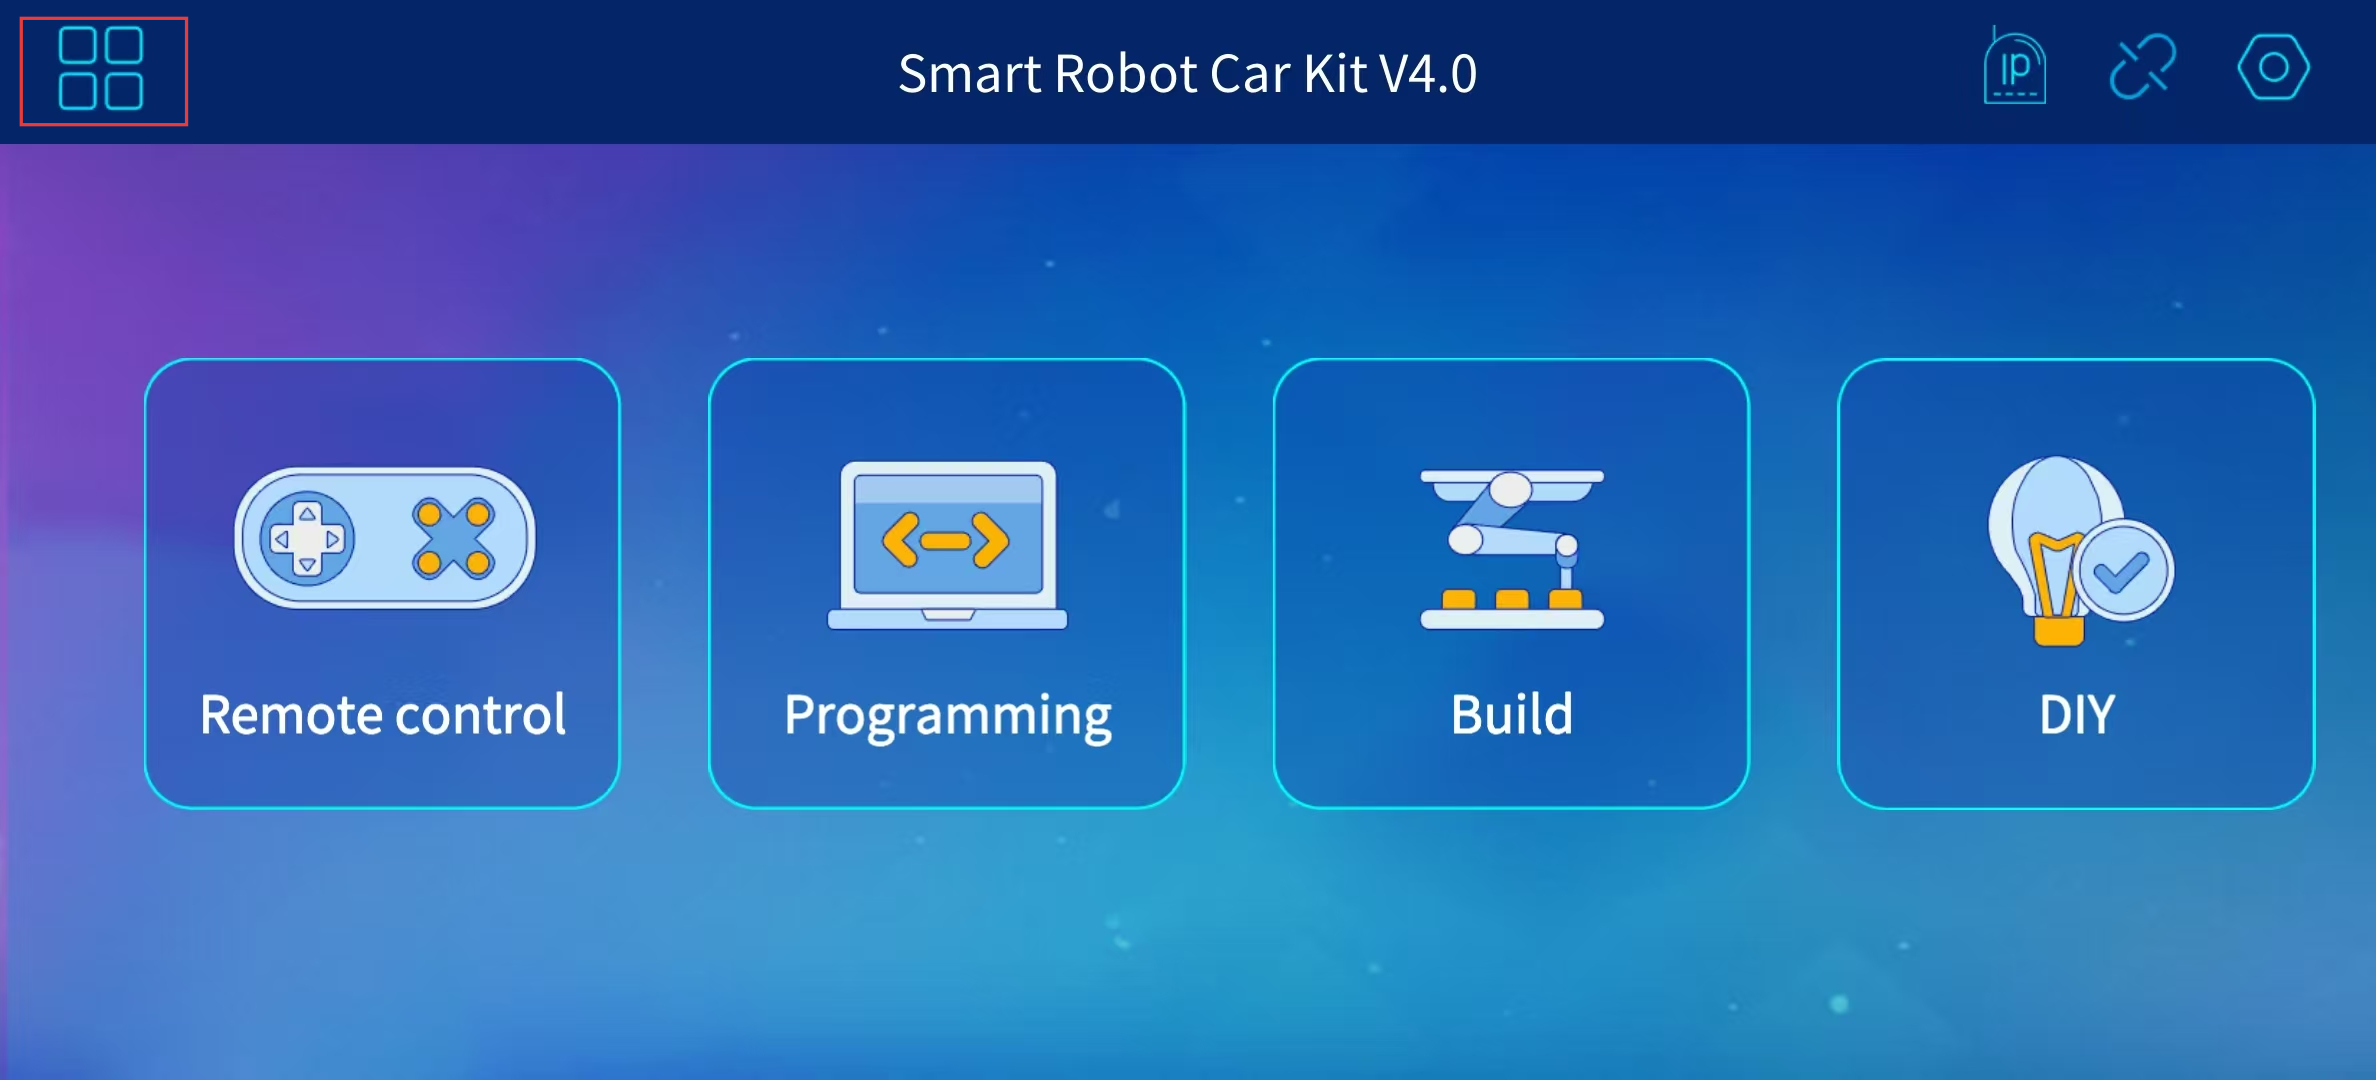
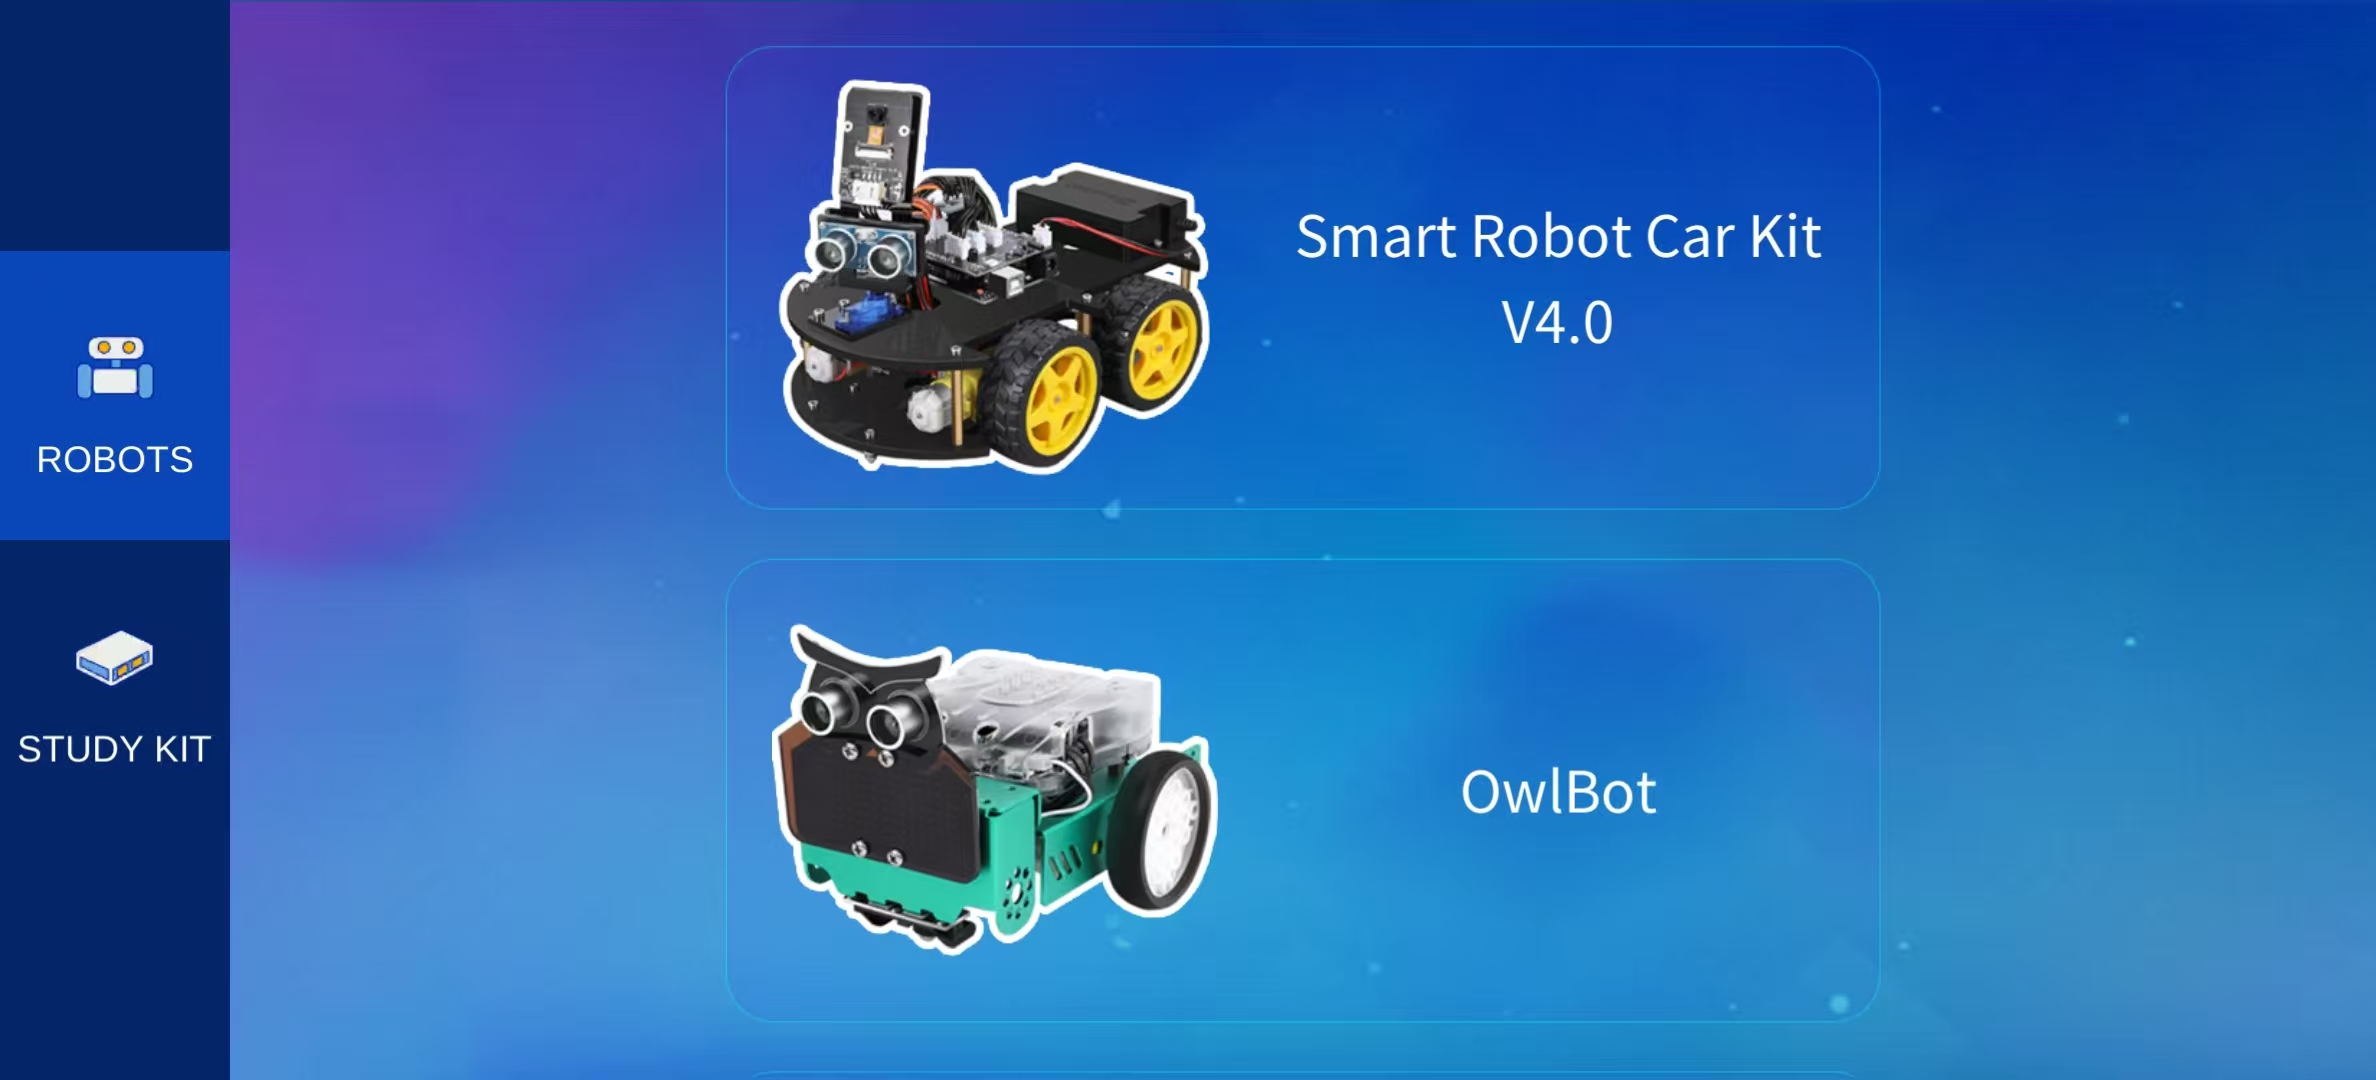
After launching the APP, you will see the main interface. The driver for Robot Car 4.0 is selected by default. To switch to another device, click the icon in the upper-left corner and choose your target device. See the figure below for reference.
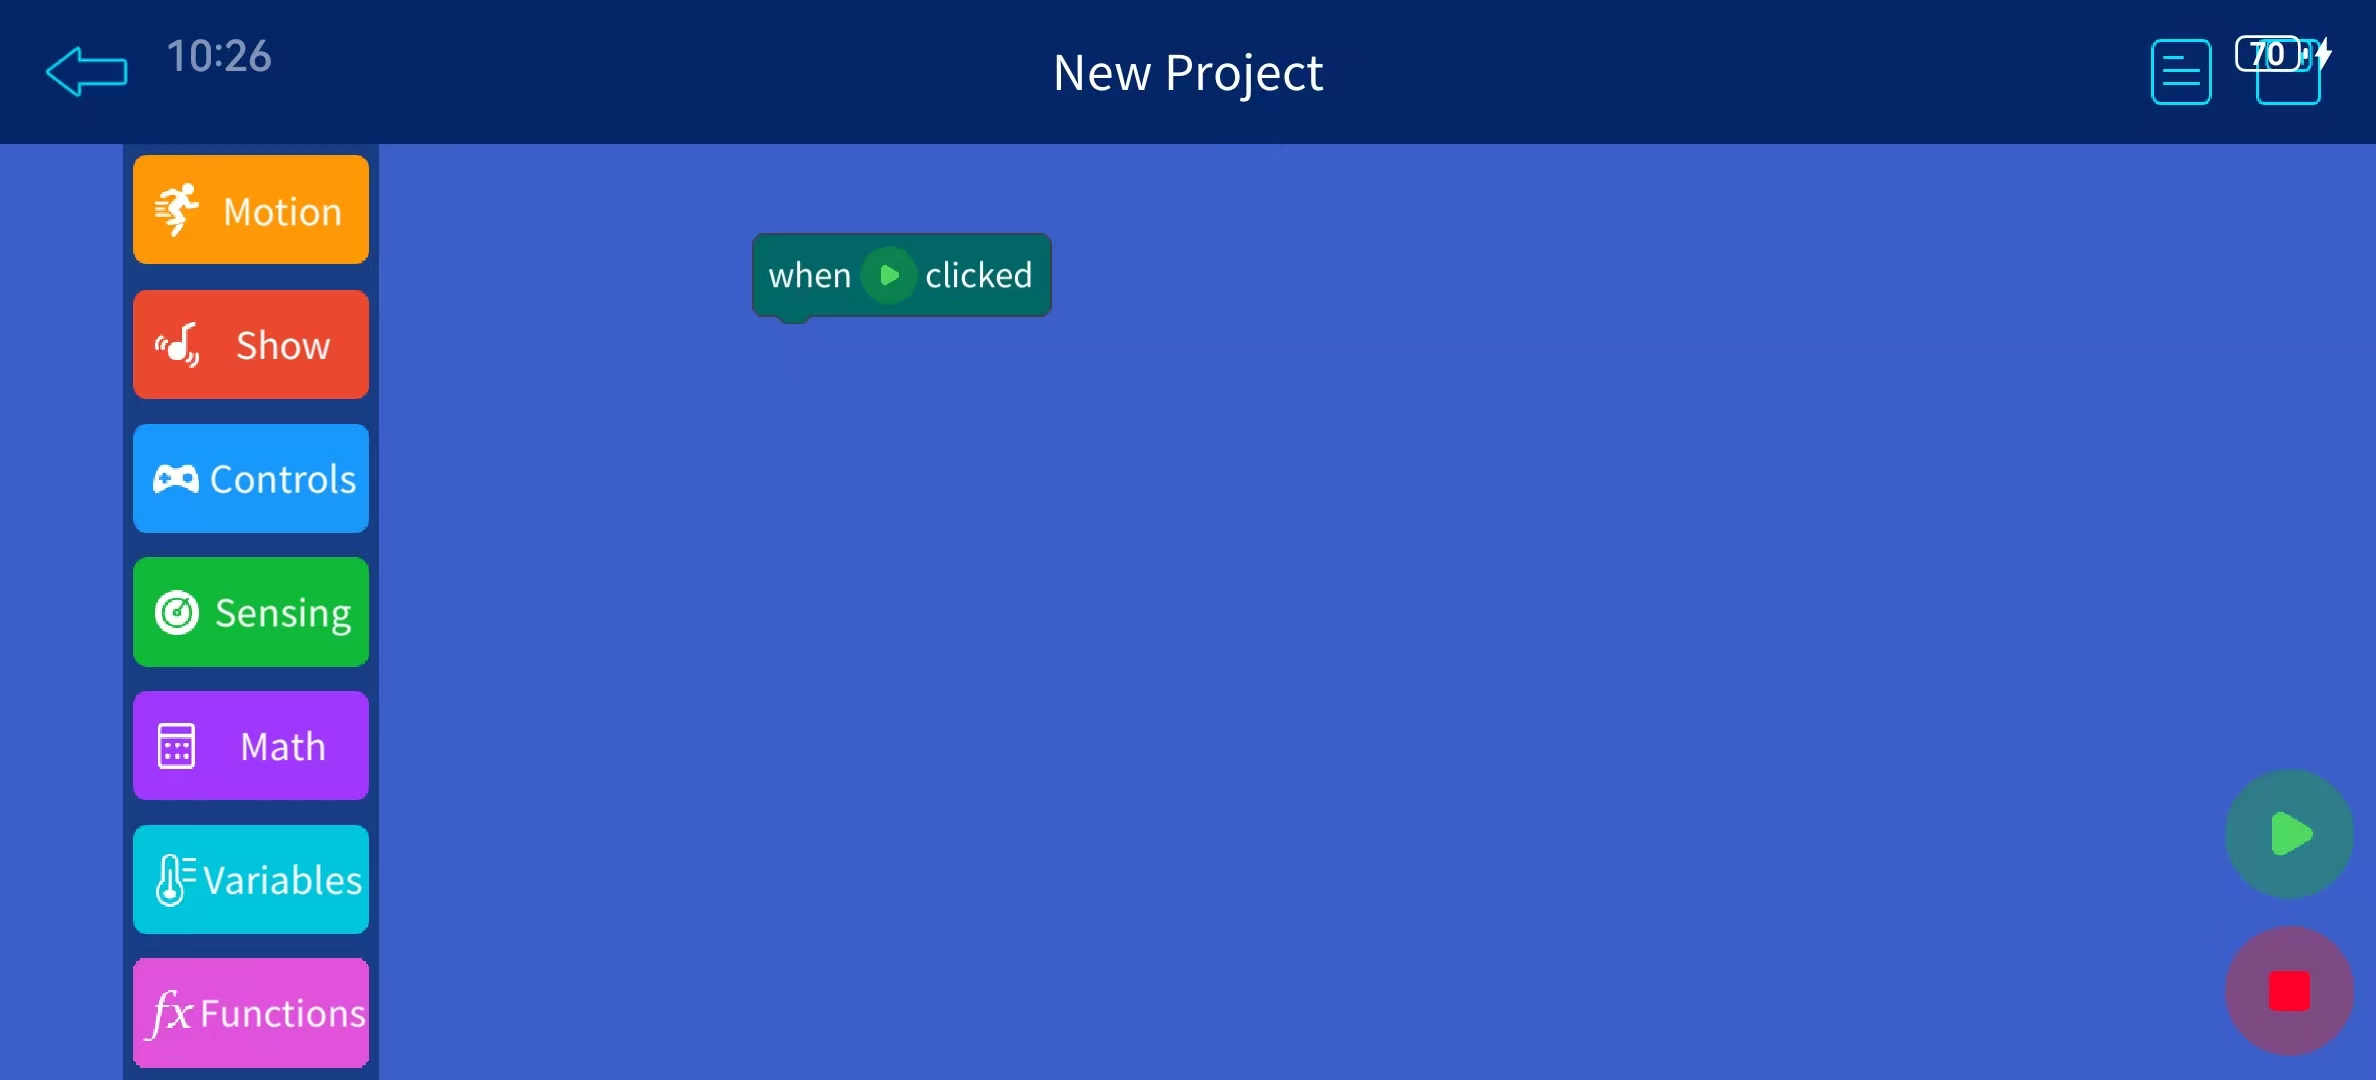
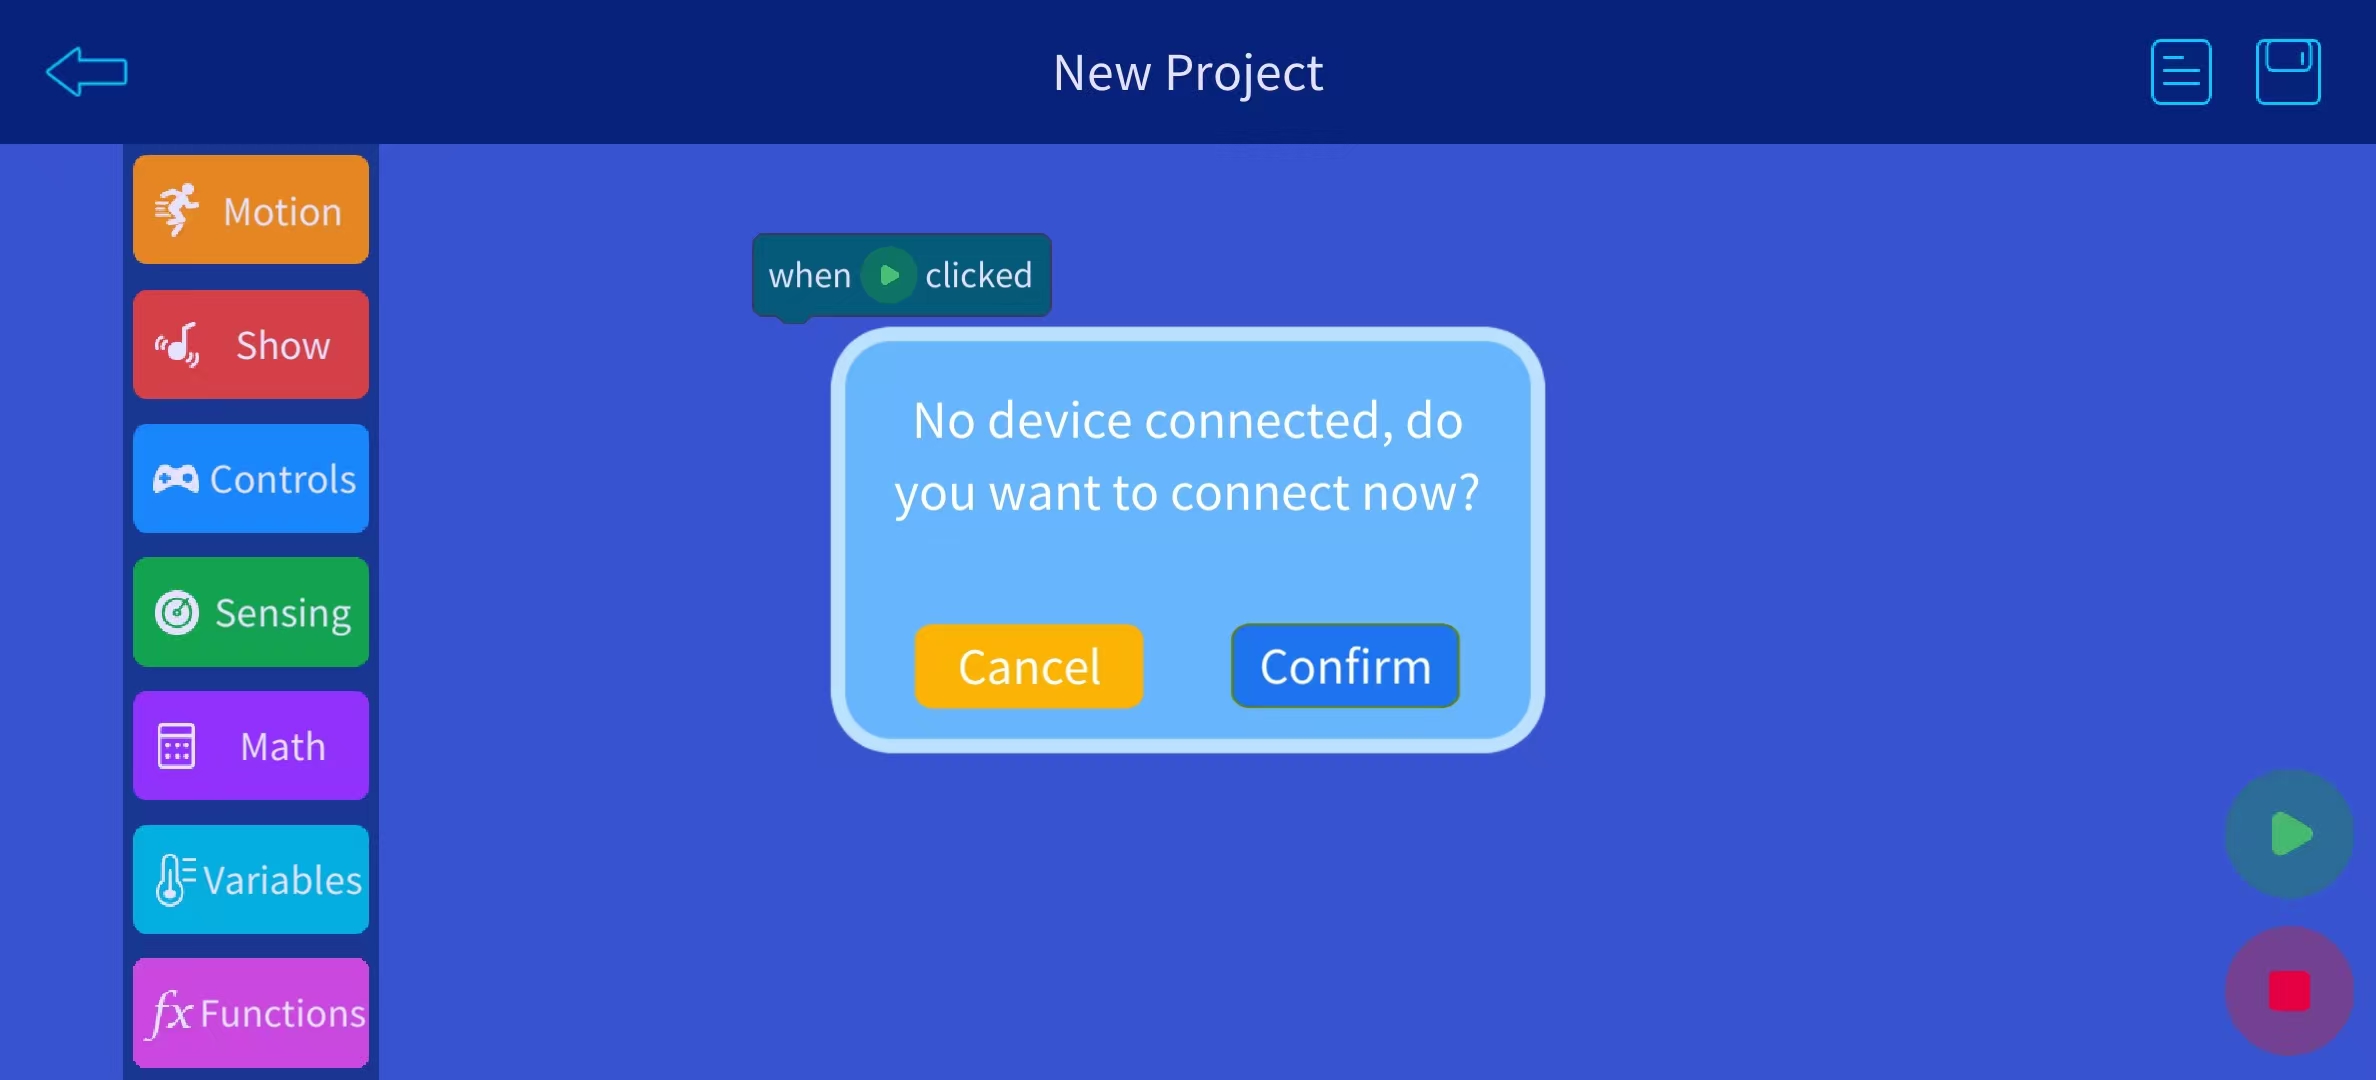
After entering this page, tapping or dragging modules will trigger device detection and connection. Please manually confirm to complete the connection.
If the connection fails, check that your device is connected to the car's Wi-Fi. The Wi-Fi name follows the format: ELEGOO_xxxxx. Once connected successfully, you can drag and drop blocks to start programming.
Note: This programming requires logical thinking. Simply adding blocks randomly may not work. If nothing happens after running the program, please verify your modules and program logic.
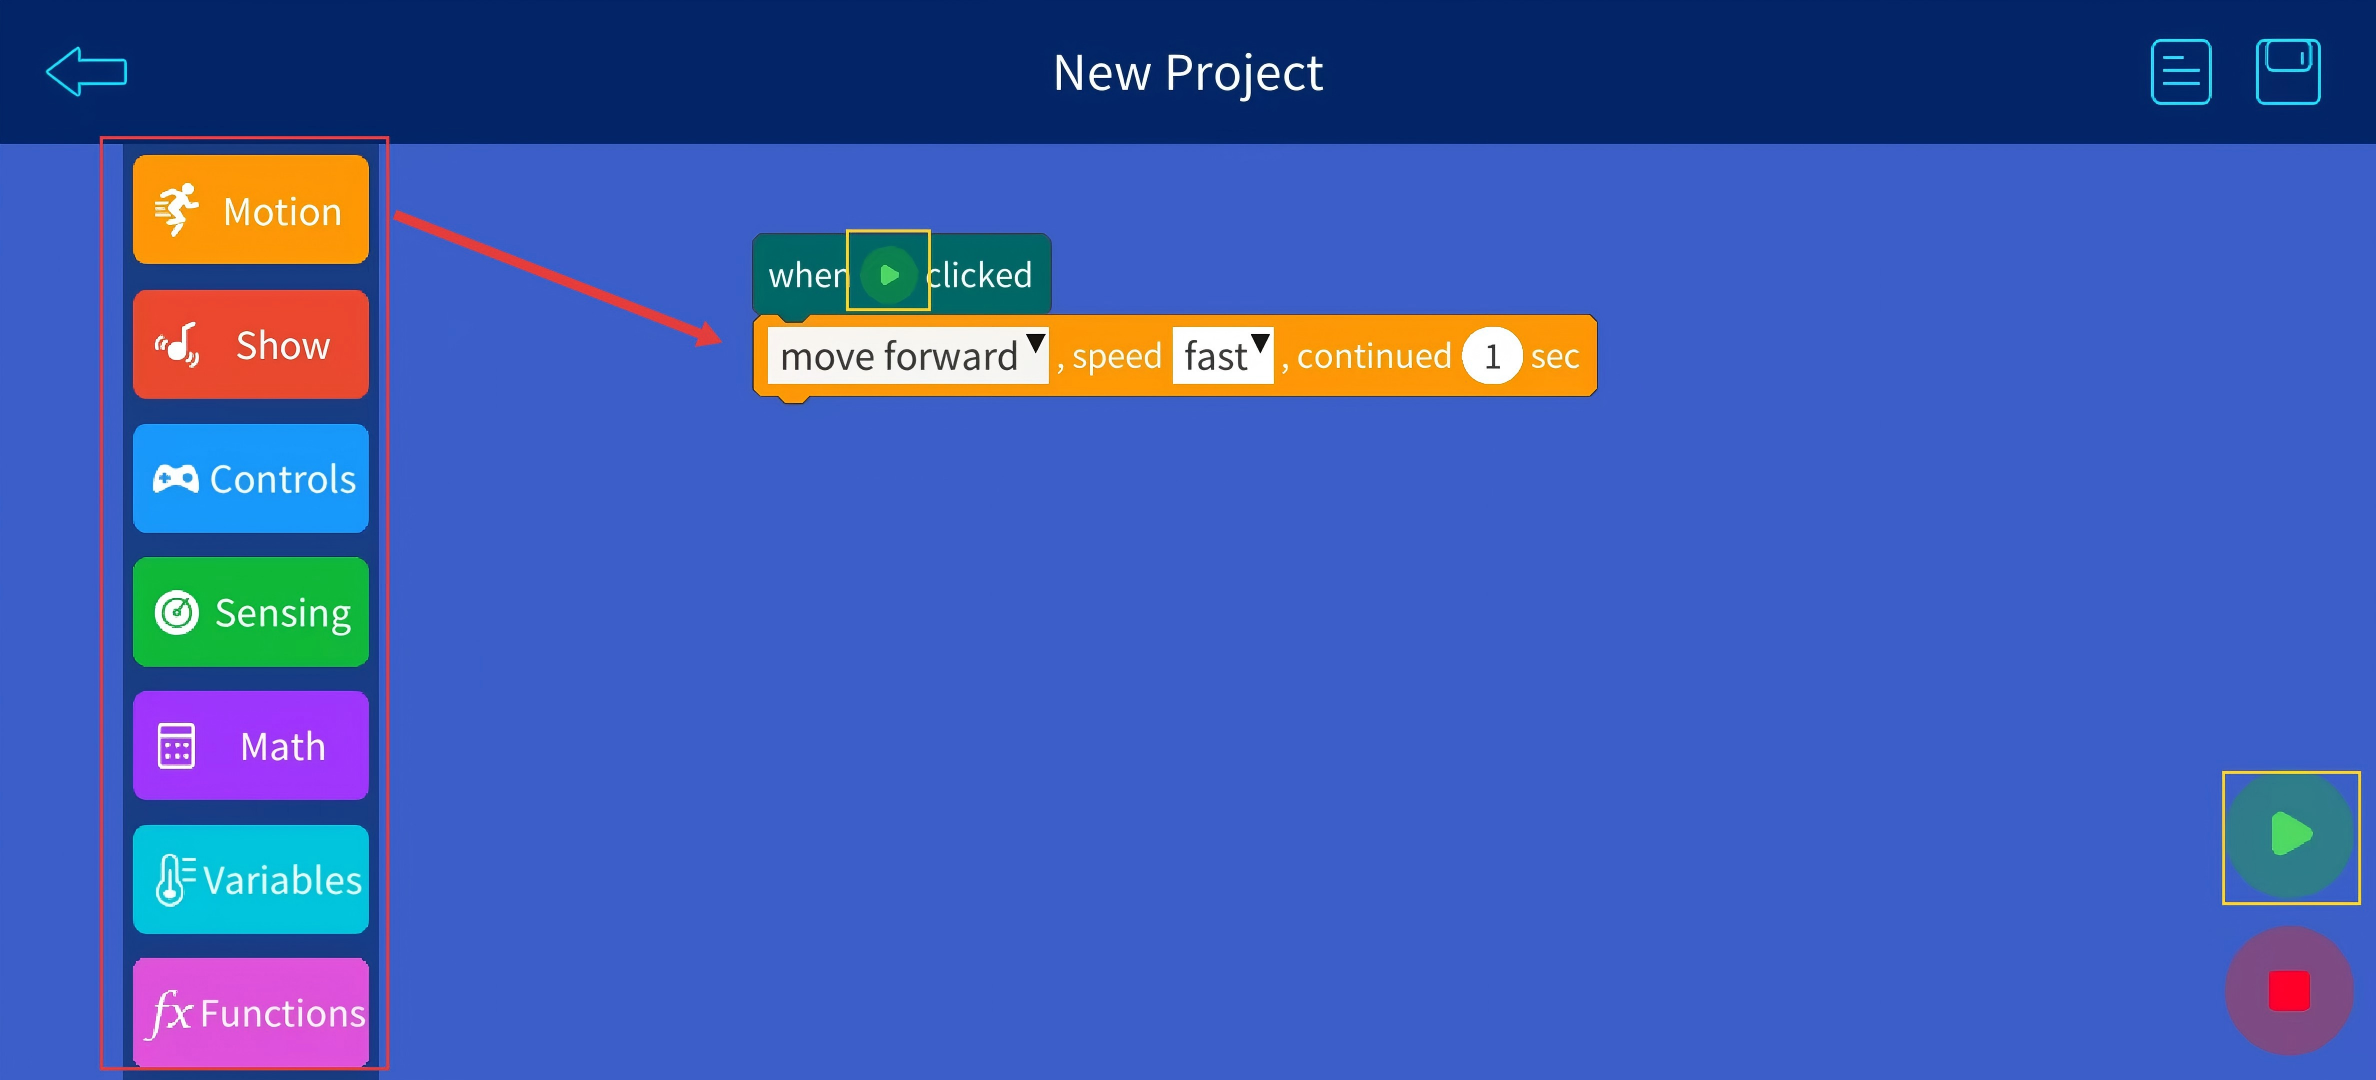
As shown below, select blocks from the left panel and drag them underneath the when start button clicked block. Press the green Start button at the bottom right to execute the program.
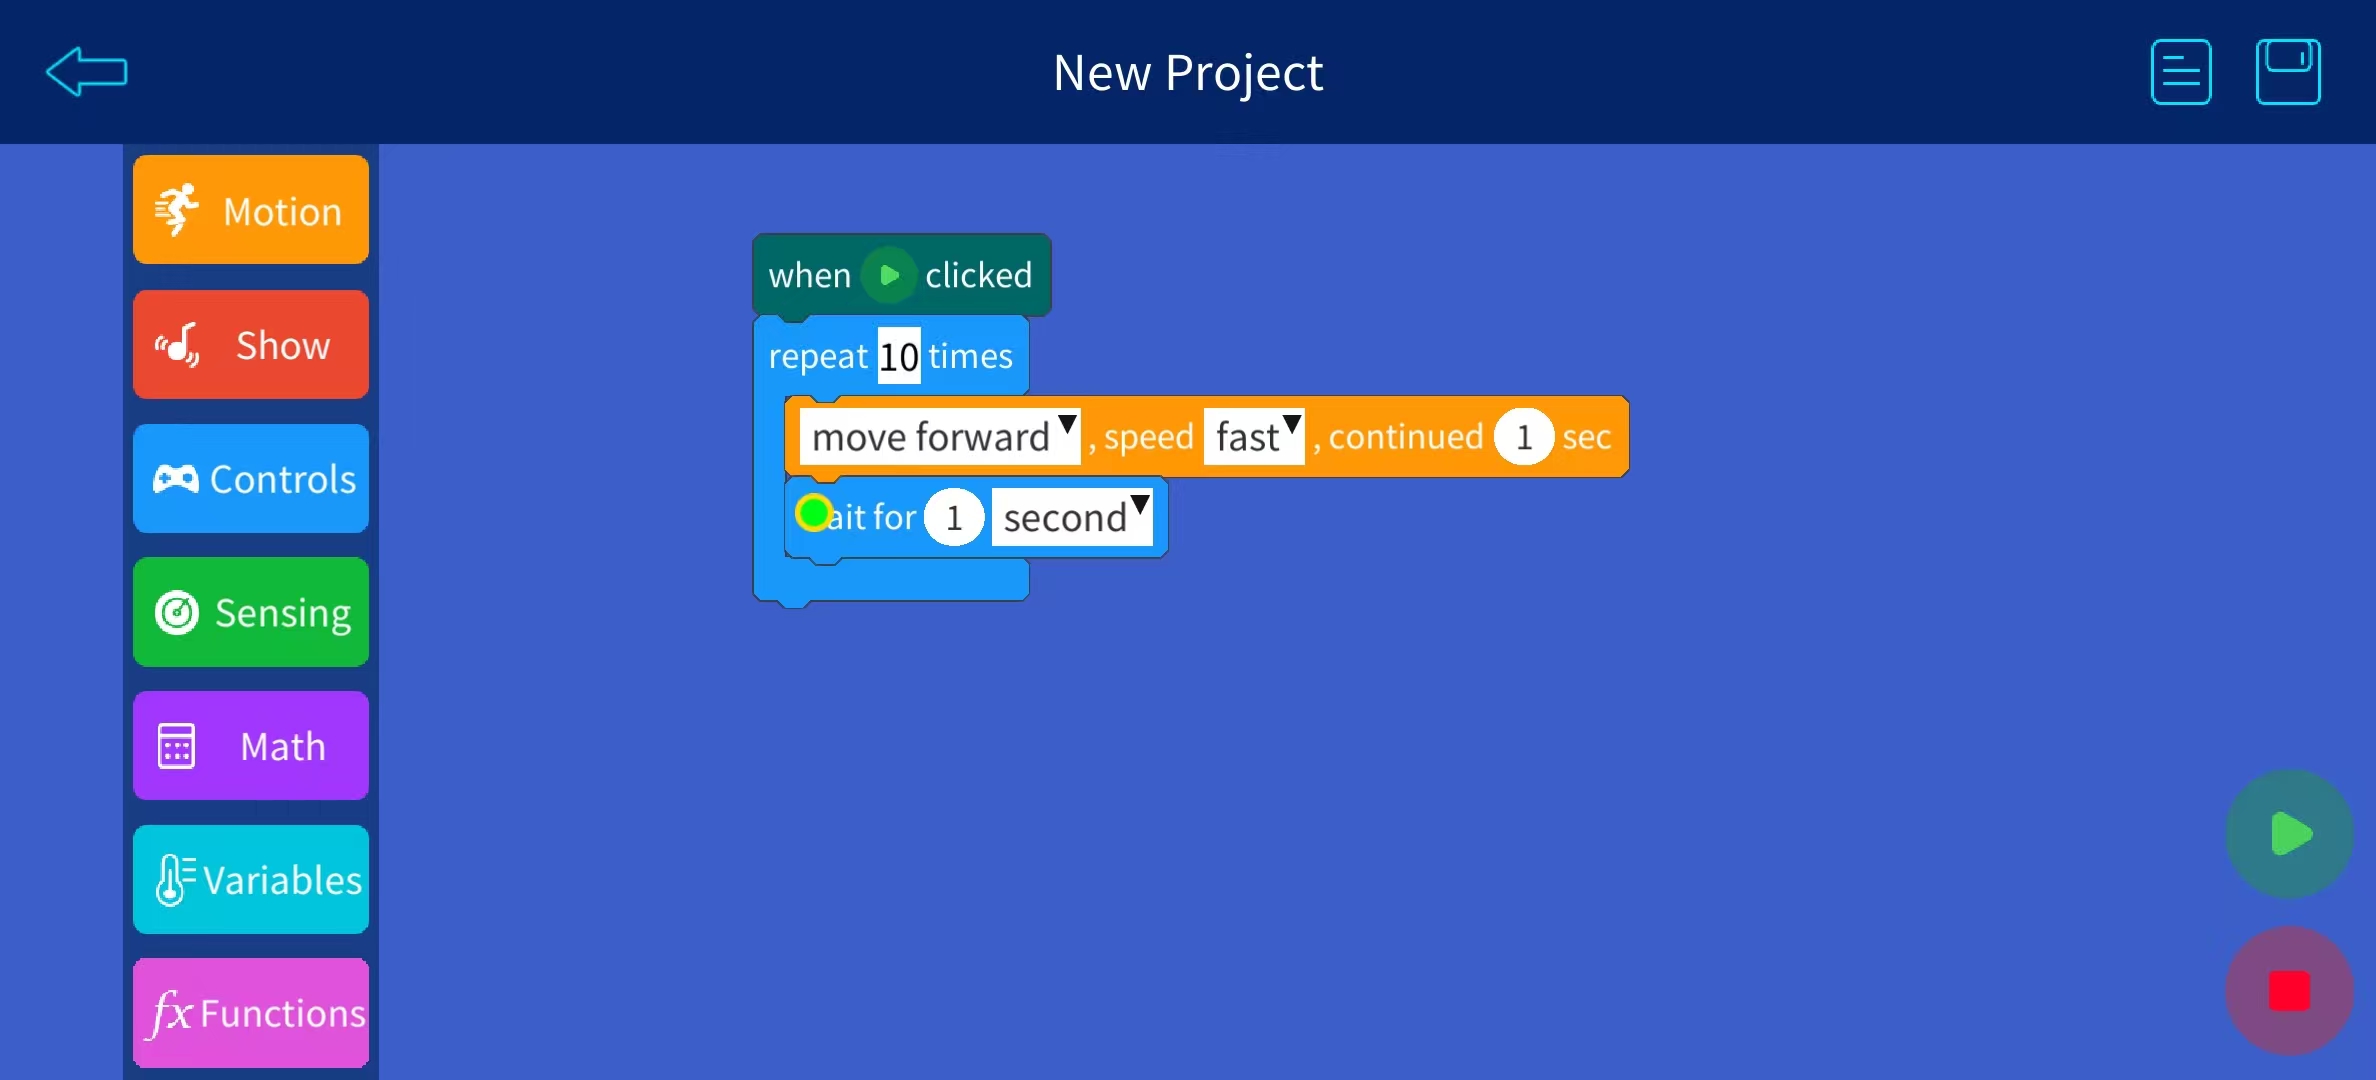
As shown in the figure below, this example makes the car move forward at full speed for 1 second, with a 1-second interval, and repeats the whole process 10 times. After checking the blocks, click the green button at the bottom right to test the program.
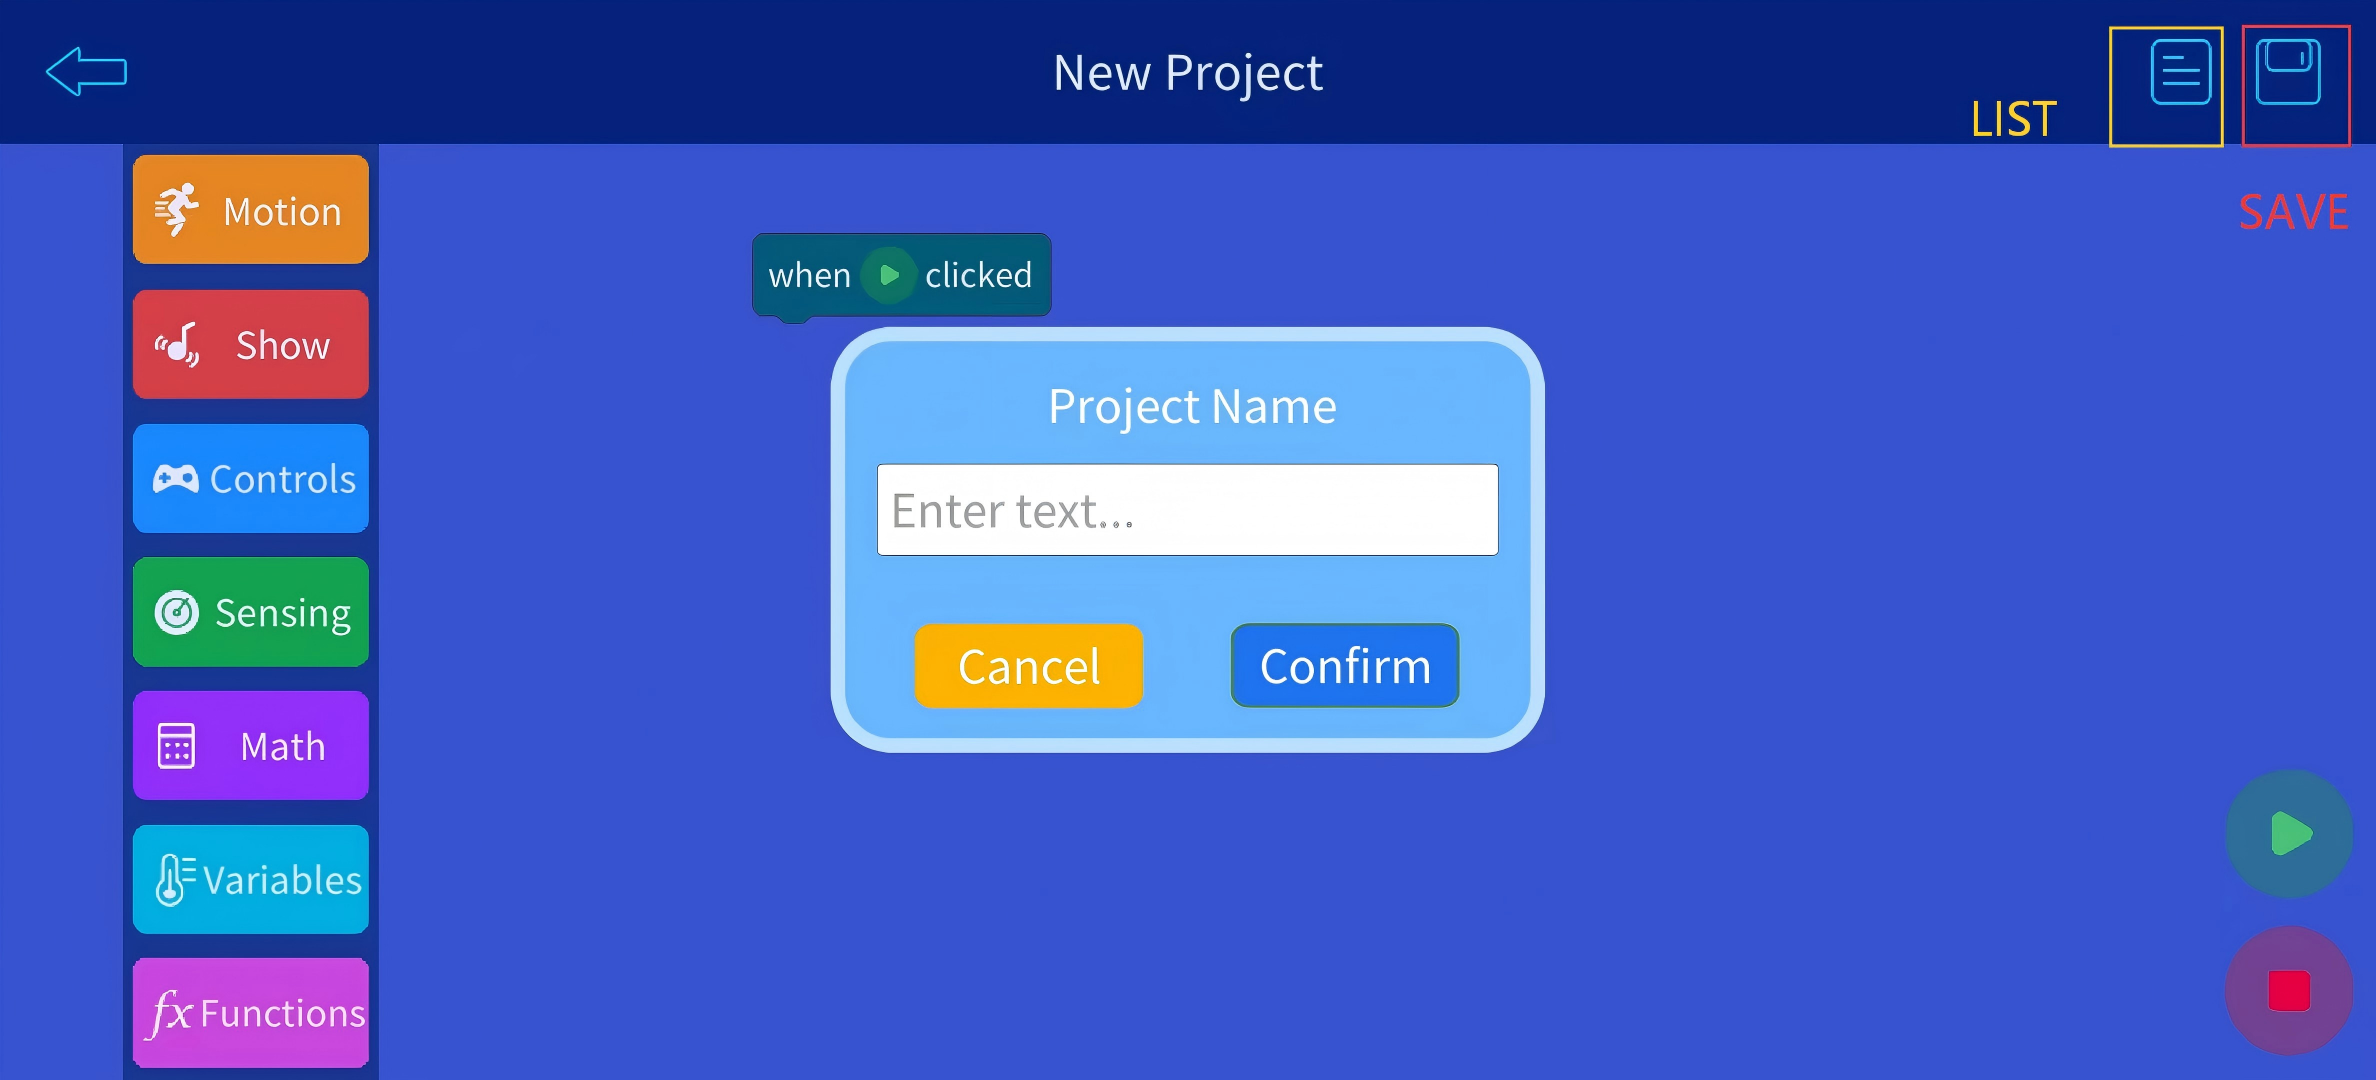
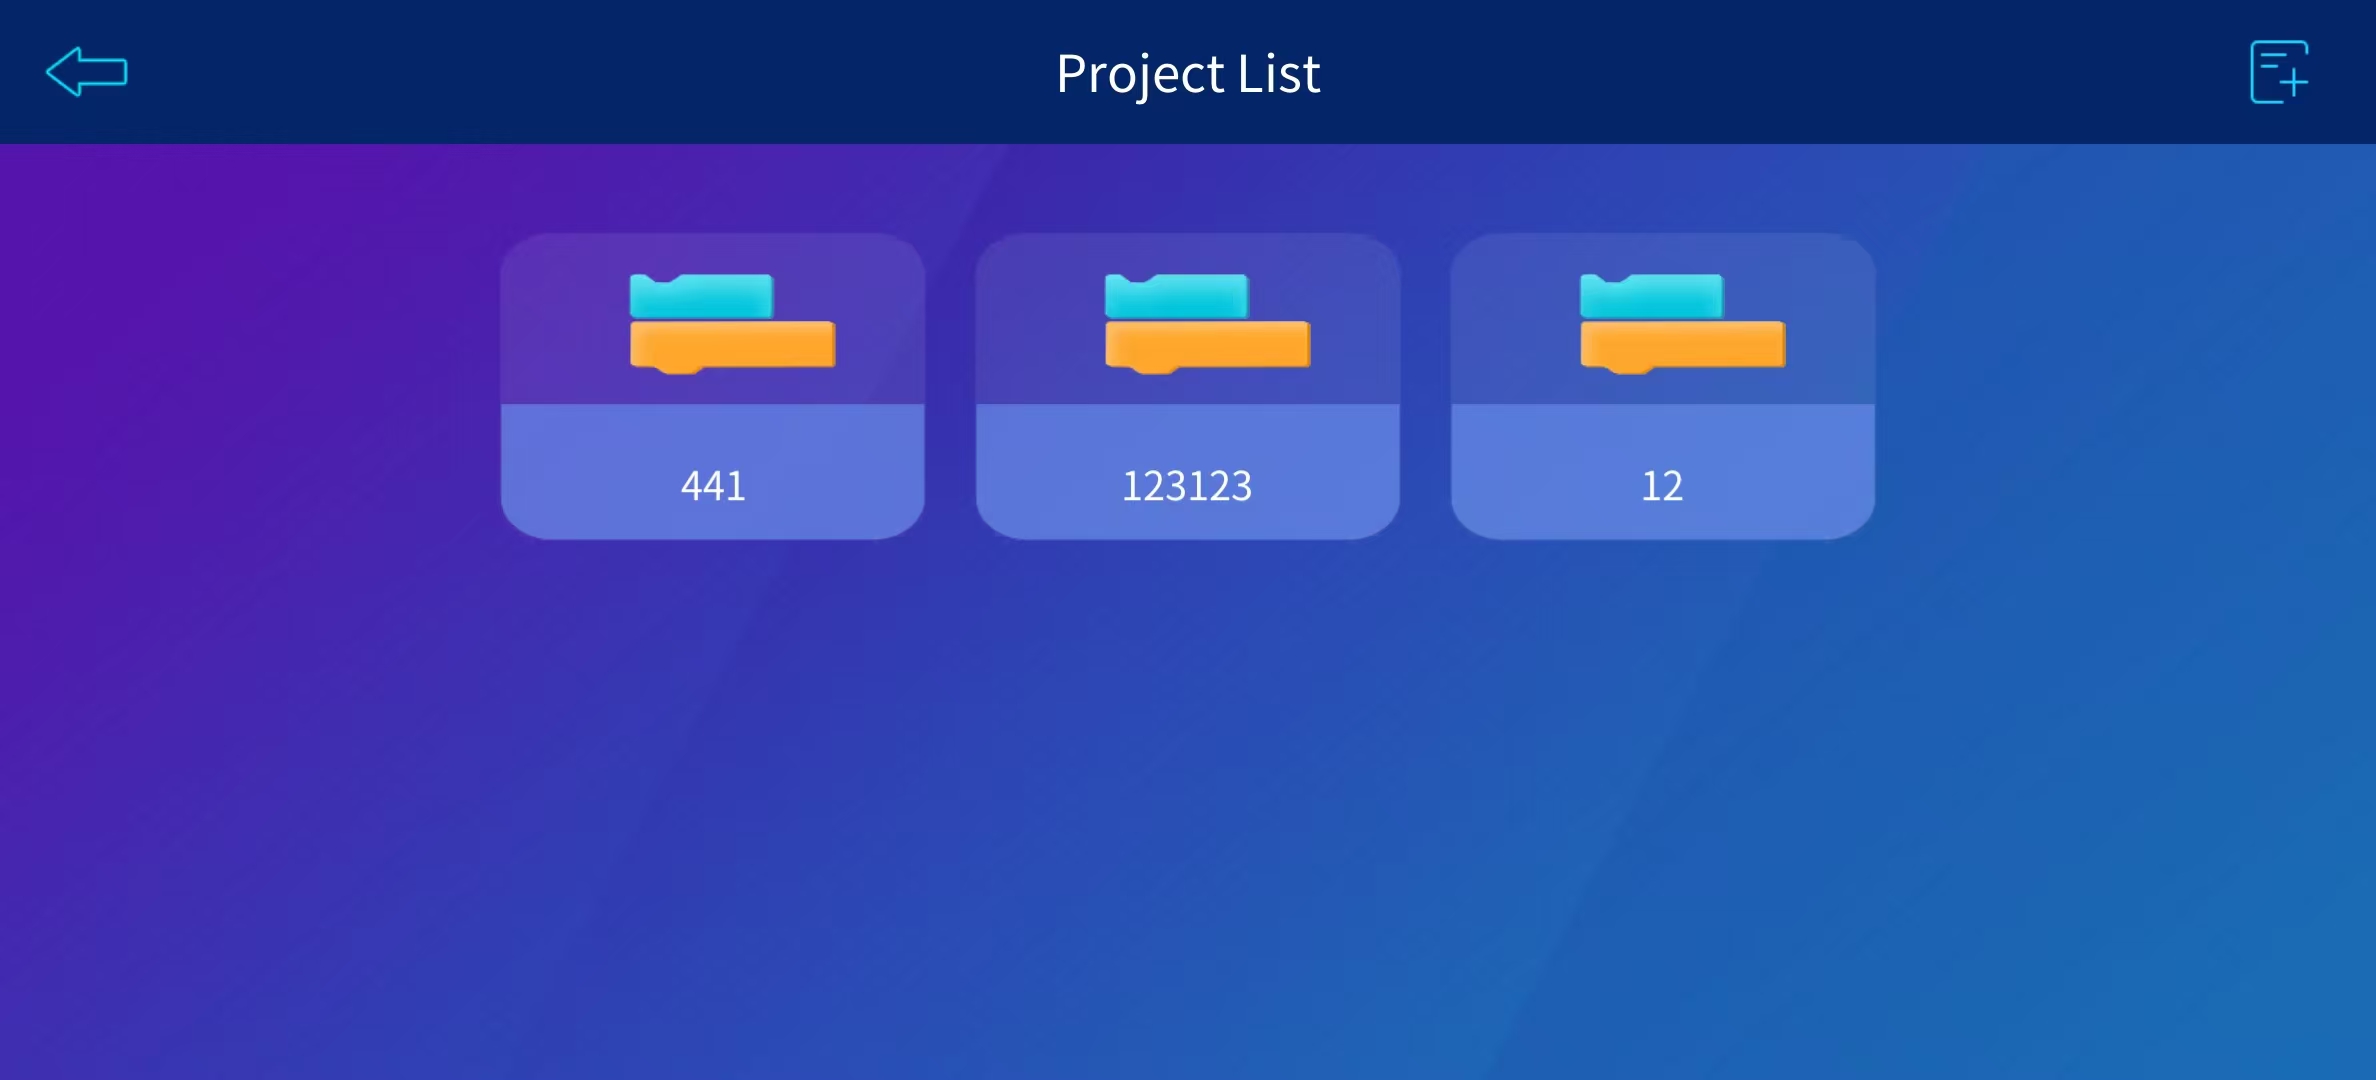
In the upper right corner of this interface, there are two buttons: Project List and Save. You can save new projects and view your previously saved projects here.
¶ DIY MODE
In the DIY mode, we can design our own buttons to send customizedmessages to the car. At the same time, we can also write a program throughArduino software and upload it to the car according to our customizedinformation, so that the car can perform corresponding operations basedon the messages we send.
First, connect the car to your computer via a USB cable, and slide the switch on the main board to the upload position. Open the demo1 folder in the current directory and launch the demo1.ino file. Select the correct serial port and upload the program. Then open the Serial Monitor, enter {1} and {2} in sequence, and observe the color change of the indicator light above the USB port.
Note: If the indicator light does not change color, make sure the switch is set to upload, verify the command format is {1}, or re-upload the program and try again.
After the indicator light can be controlled normally via the Serial Monitor, toggle the switch on the main board to the cam position and connect to the car's Wi-Fi. Then launch the APP and enter the DIY interface.
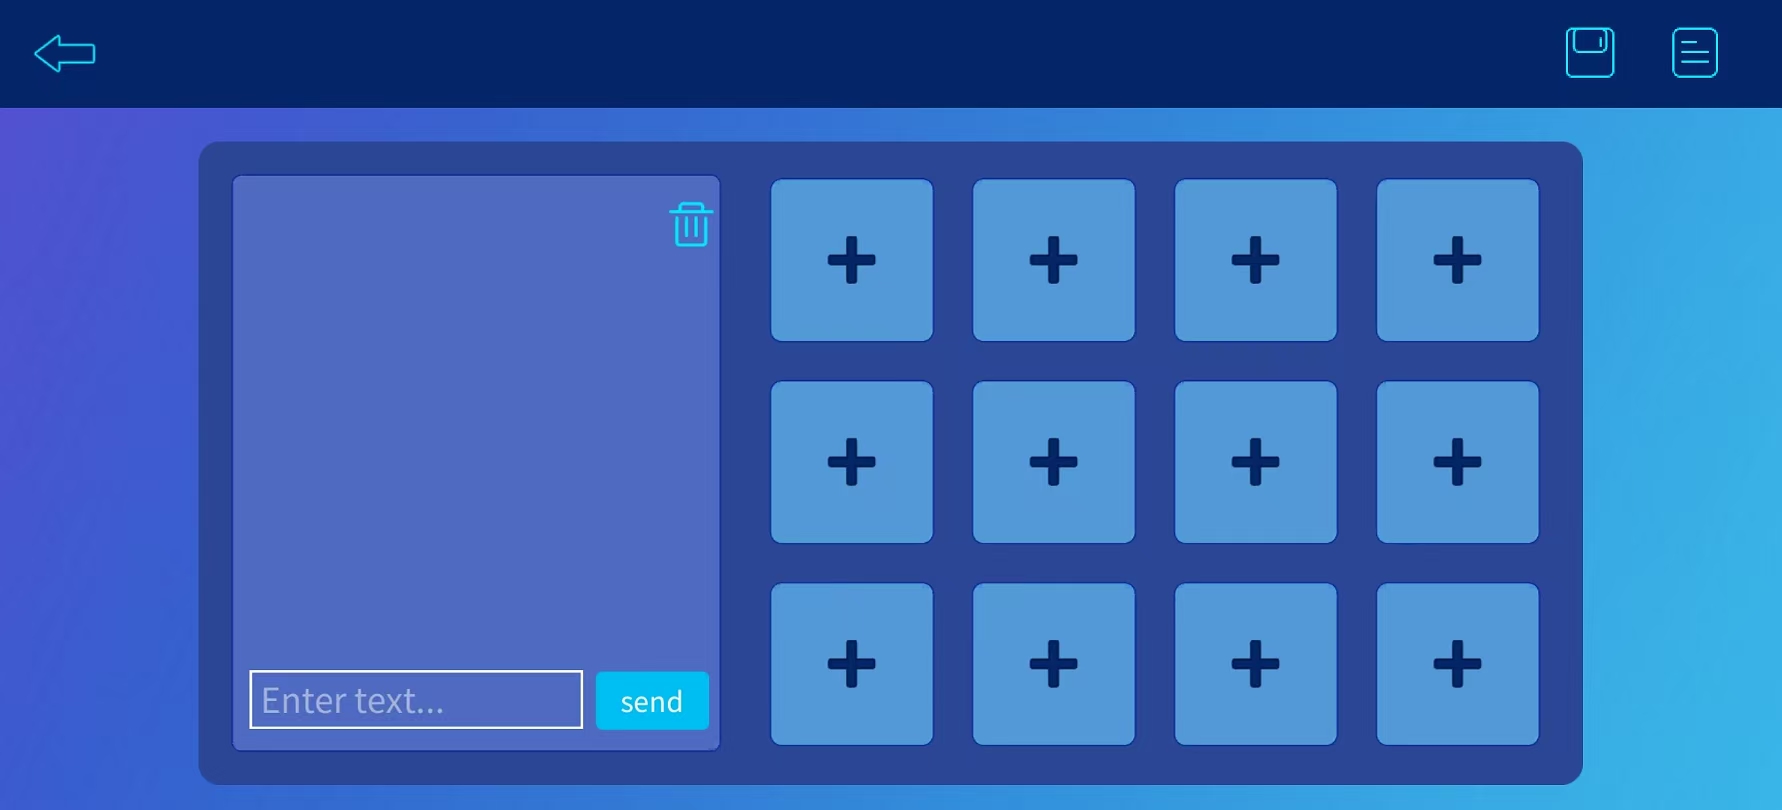
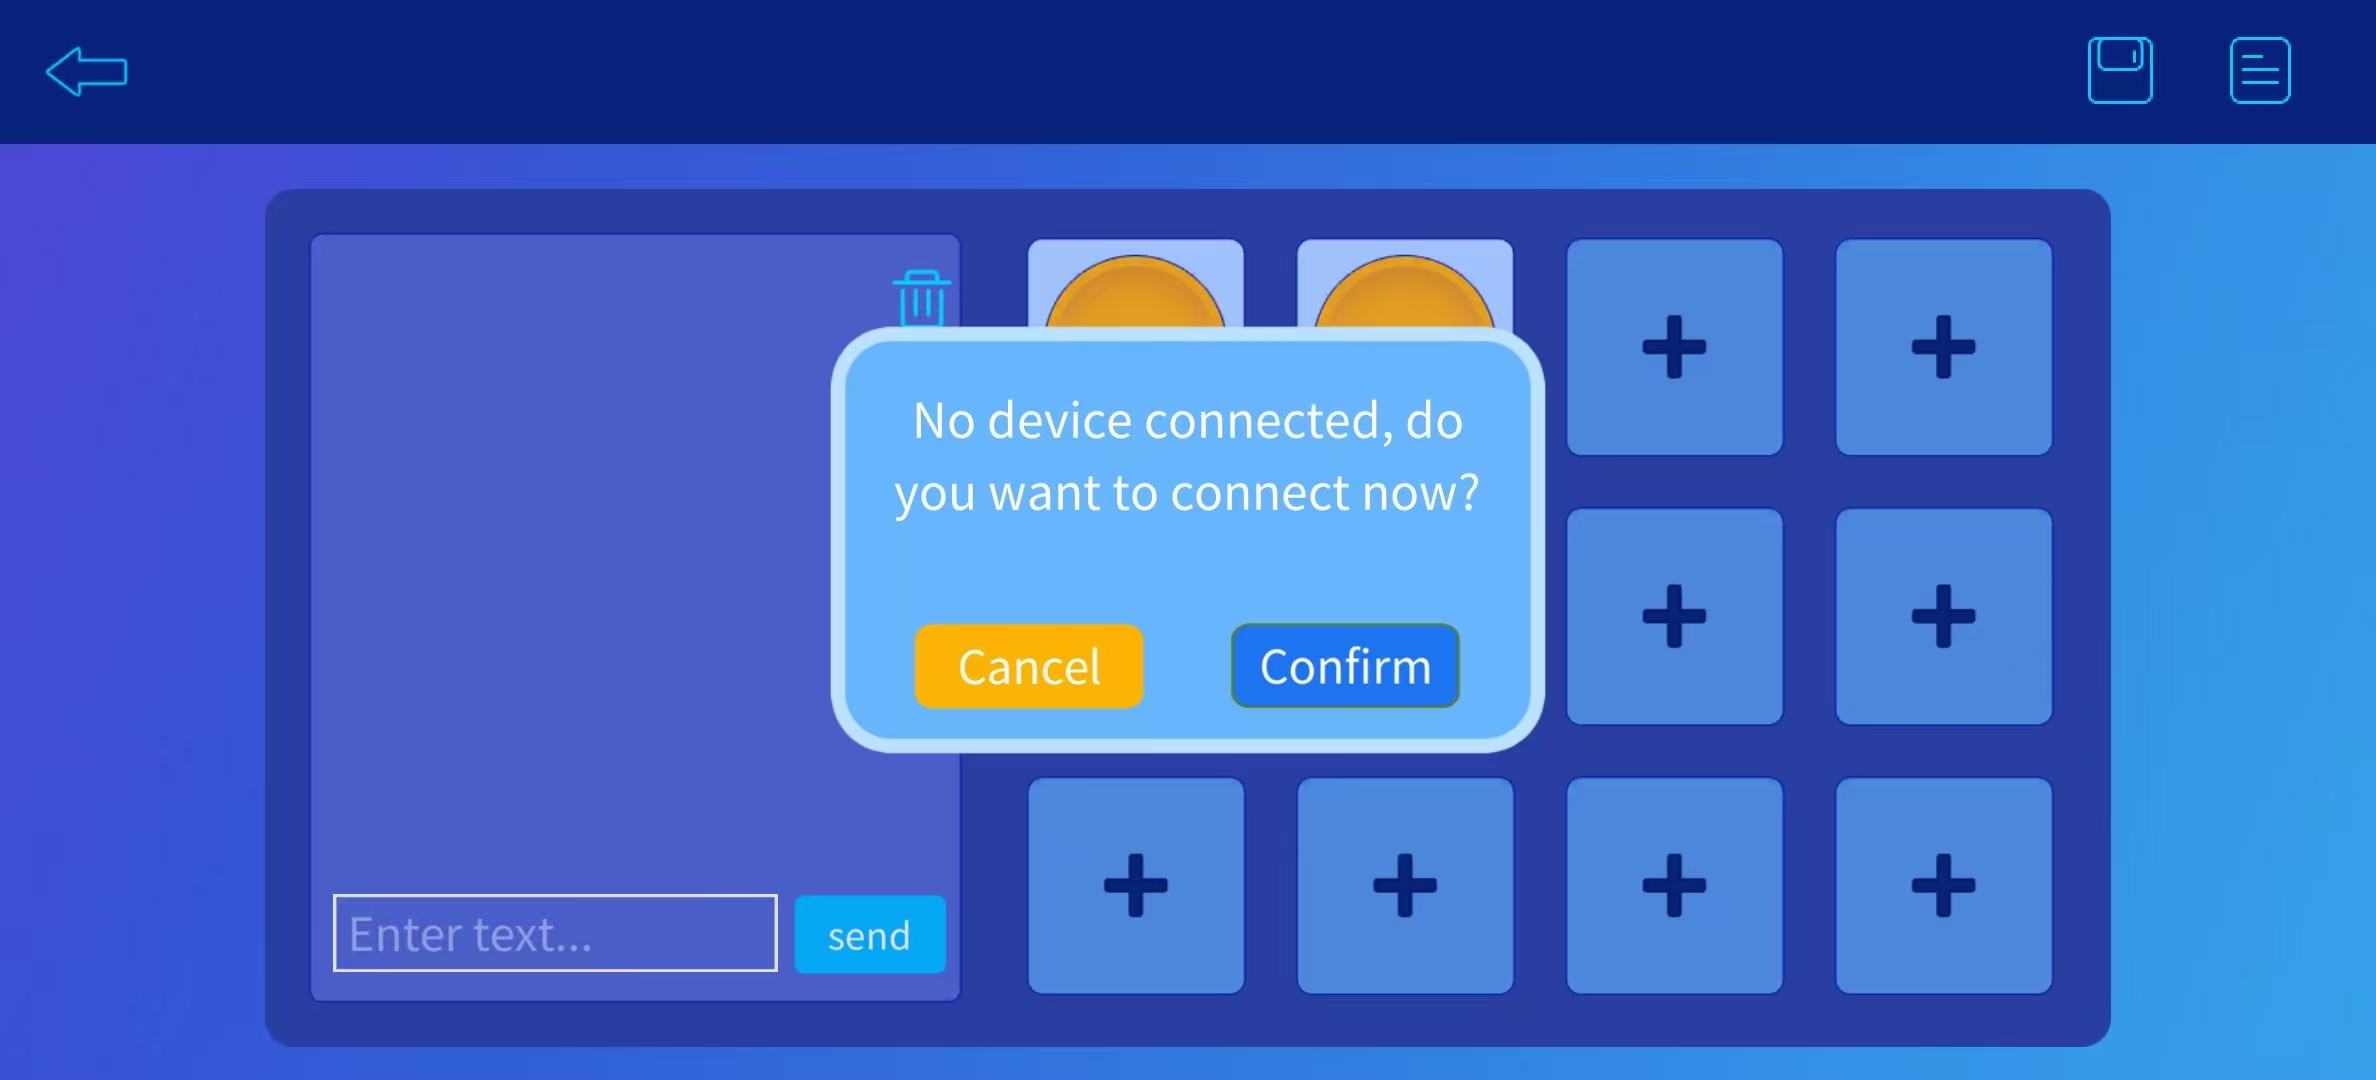
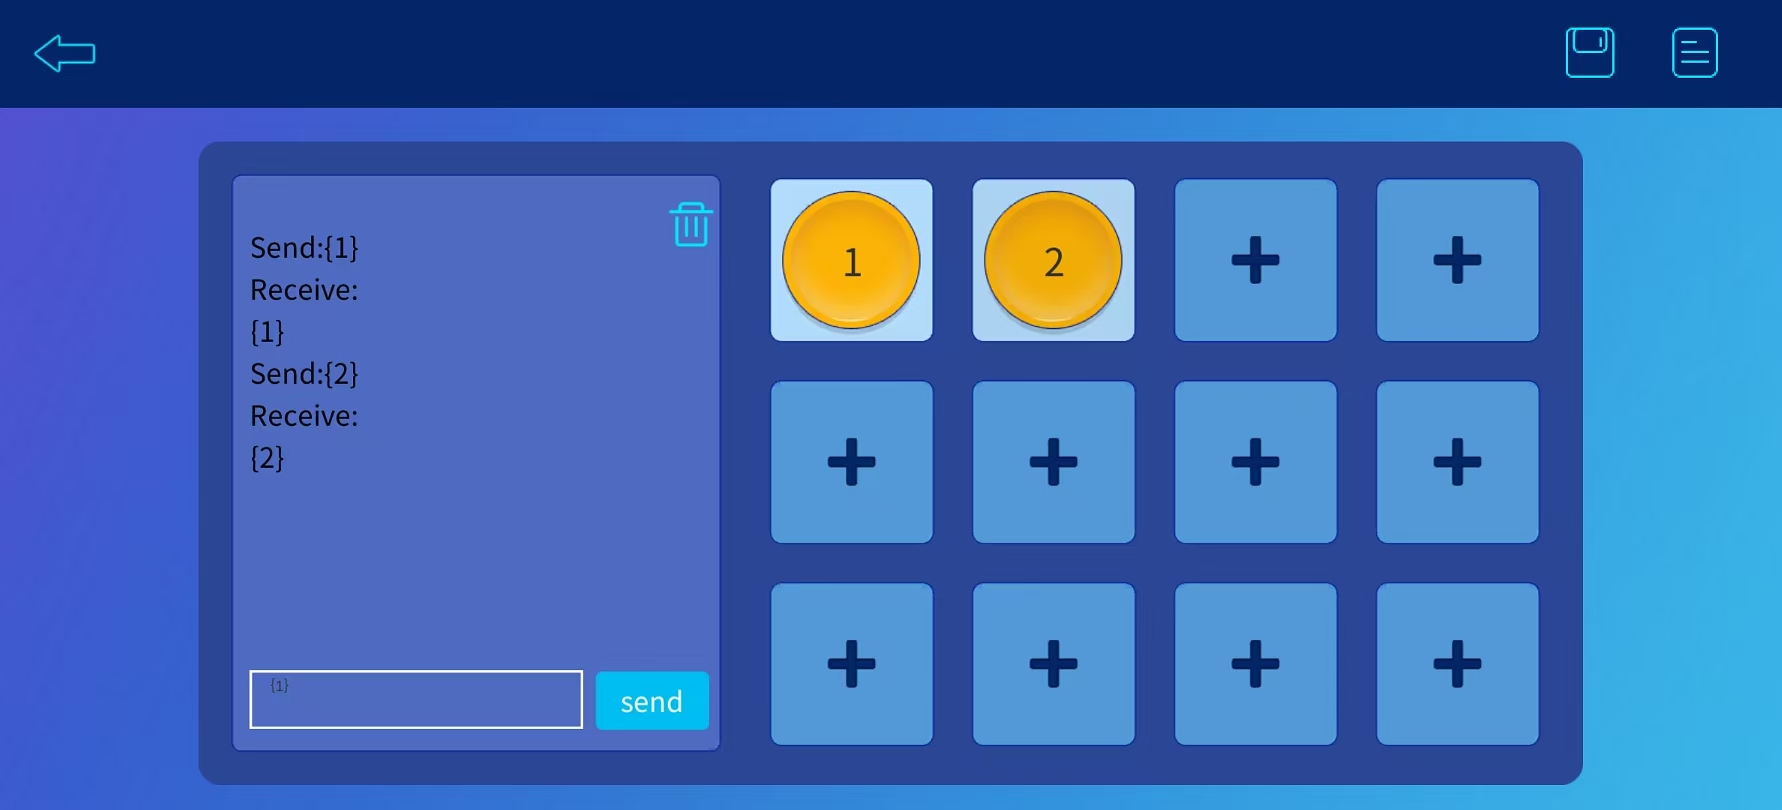
After connecting to Wi-Fi,You can send messages directly via the enter text field at the bottom left, or use custom buttons to send preset content.
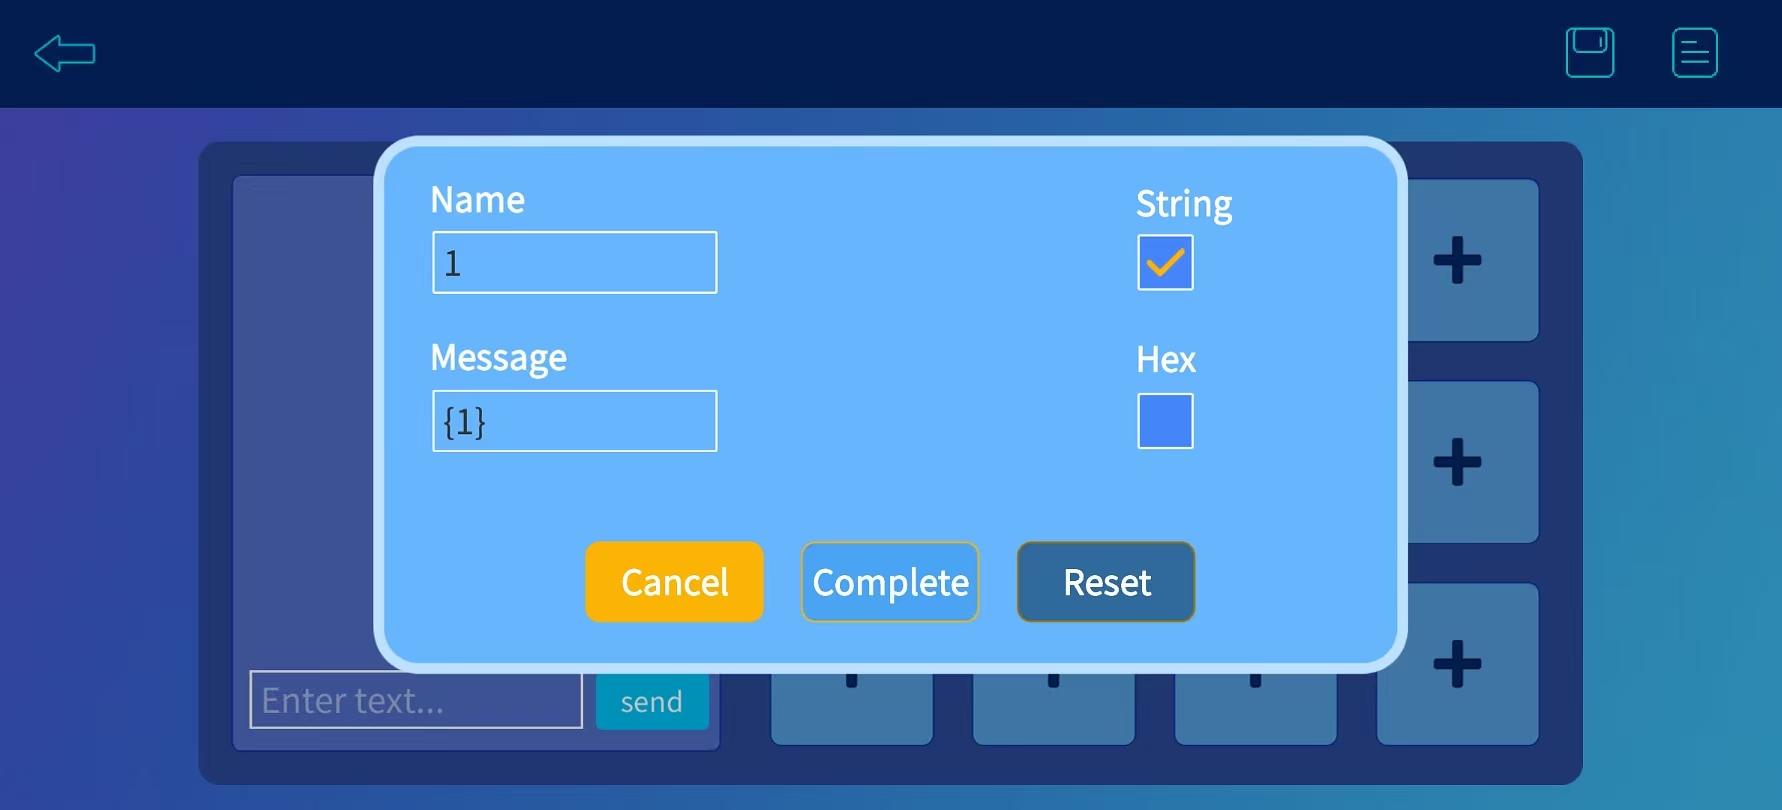
Long press the + button to set the button name, sent message, message format and other parameters. See the figure below.
¶ Implementation principle of DIY Demo1
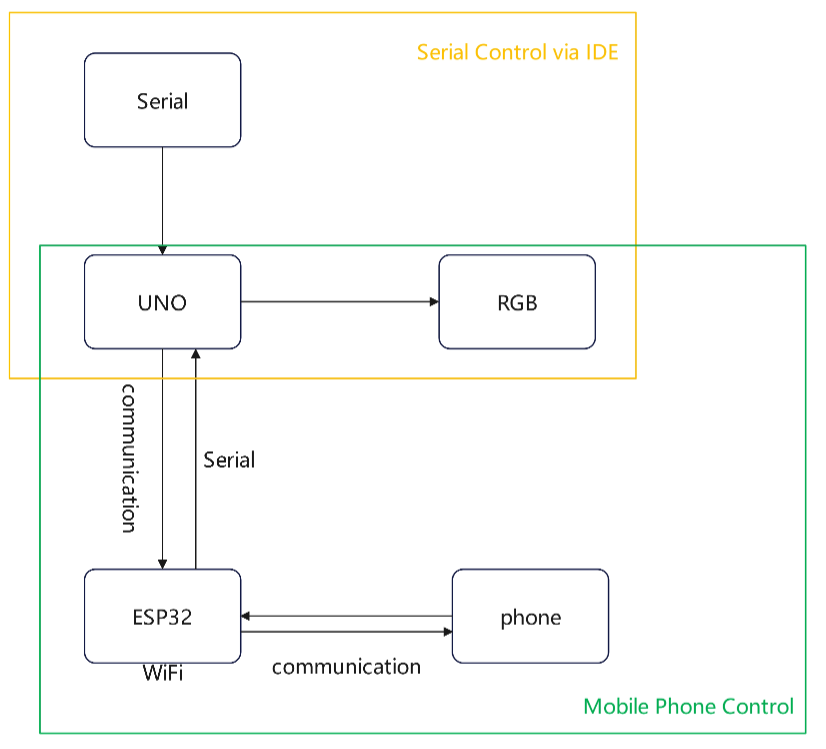
The yellow box shows the control diagram for sending commands via the IDE Serial Monitor, which can directly control the indicator light color through the serial port.
The green box displays the control diagram for operating the indicator light via the mobile APP.