¶ Arduino IDE
As an open source development is an integrated development environment officially launched software, Arduino IDE, based on going Processing IDE by Arduino.
By using arduino IDE, you just write the program code in the IDE and upload it to the Arduino circuit board. The program will tell the Arduino circuit board what to do.
¶ So, Where can we download Arduino IDE?
¶ Uplaod program for MacOS
Download the Arduino Software (IDE)Open the URL: https://www.arduino.cc/en/Main/Software with browser.
The version available at this website is usually the latest version, and the actual version may be newer than the version in the picture.
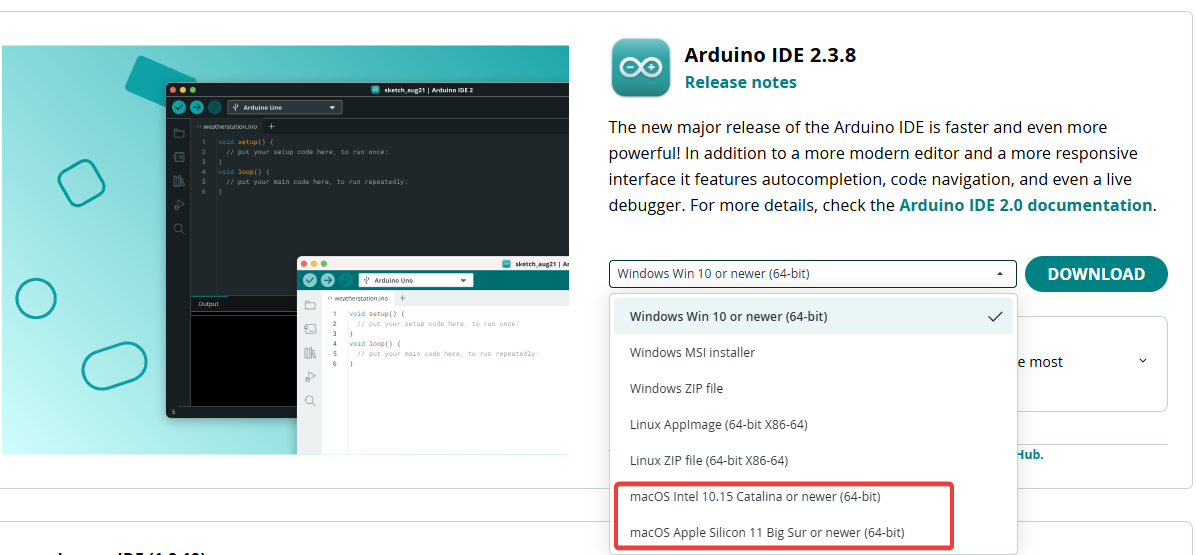
For older Intel-based Macs (e.g., MacBook Pro/Air, iMac models from 2020 and earlier): choose macOS Intel 10.15 Catalina or newer (64-bit), which is designed for devices with Intel processors running macOS 10.15 or later.
For newer Apple Silicon Macs (M1/M2/M3 series, including MacBook, iMac, Mac Studio models from 2020 and later): choose macOS Apple Silicon 11 Big Sur or newer (64-bit).
If your computer is relatively old and has poor performance, or if you want to use version 1.8.x, you can choose to download the 1.8.x version of the IDE.
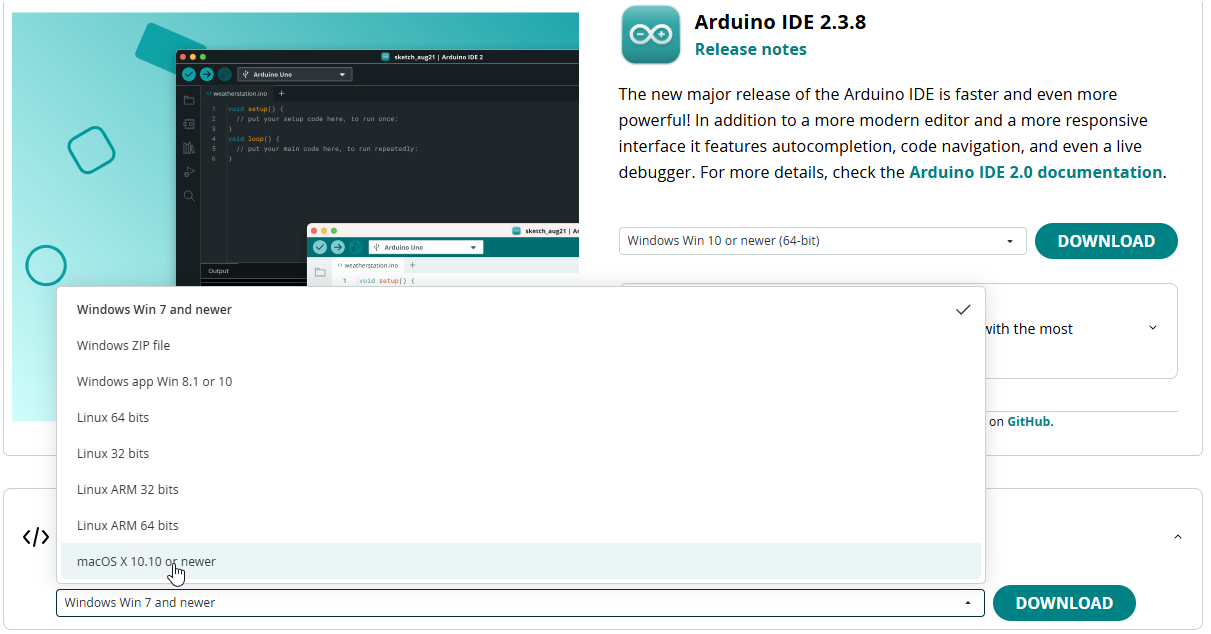
Click "Mac OSX 10.10Lion or newer" and "DOWNLOAD"
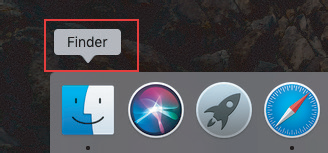
Open Finder.
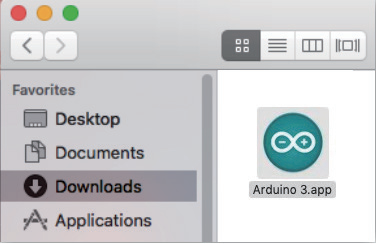
After the download is complete, an installation package will appear in the download directory.
At this time, the Arduino development environment has been successfully built!
¶ Uplaod program for Ubuntu
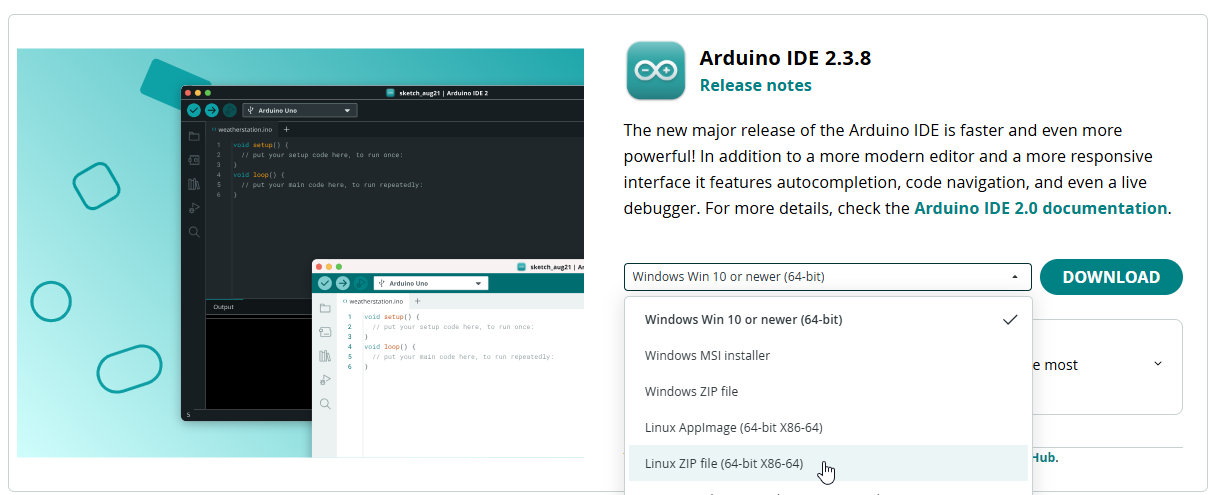
Go to https://www.arduino.cc/en/Main/Software and you will see the below page.
The version available at this website is usually the latest version, and the actual version may be newer than the version in the picture.
Click “ DOWNLOAD”.
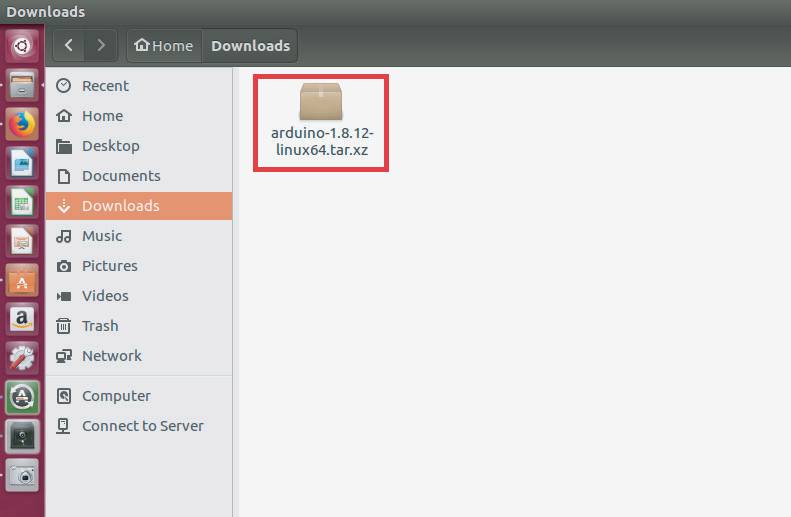
Check that the download was successful.
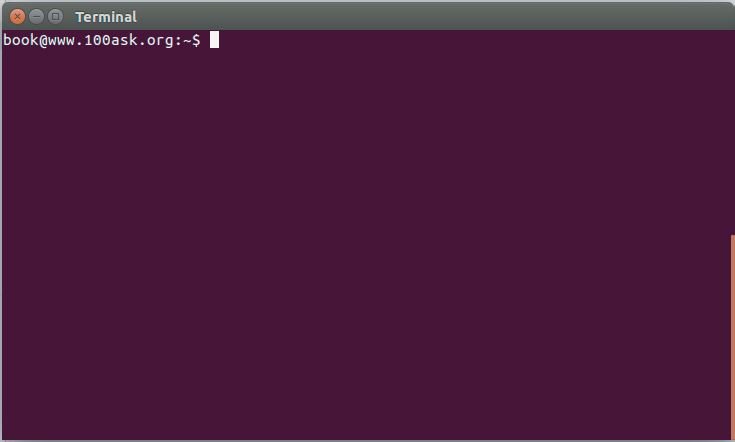
Press “CTRL + ALT + T” at the same time to open the command.
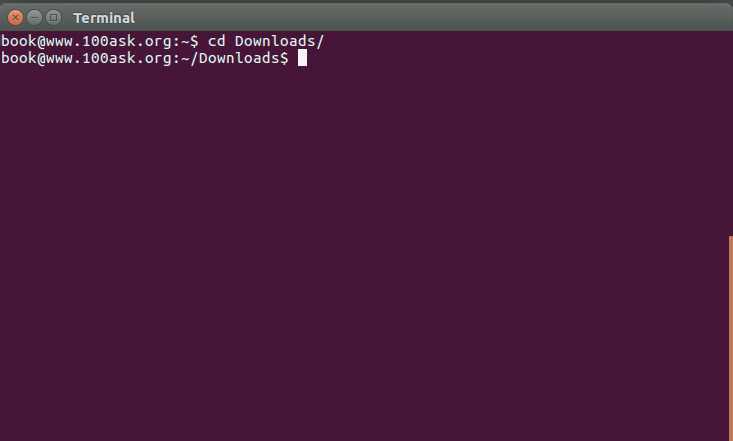
Enter “cd Downloads/”.
Enter “tar xvjf arduino-1.8.12-linux64.tar.xz” to unzip the files.The Arduino version should be consistent with the version you downloaded
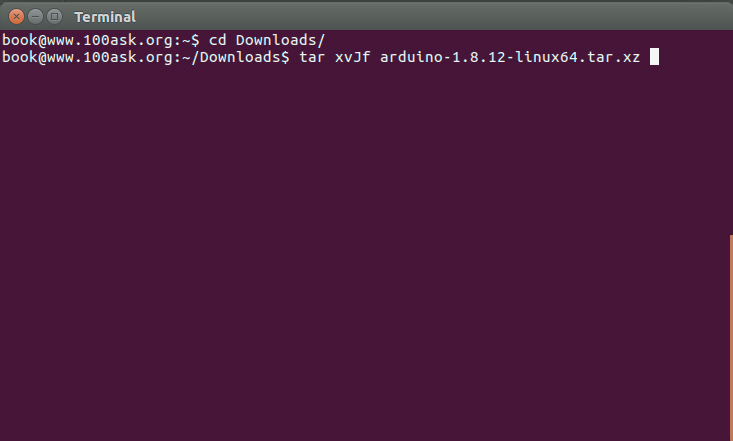
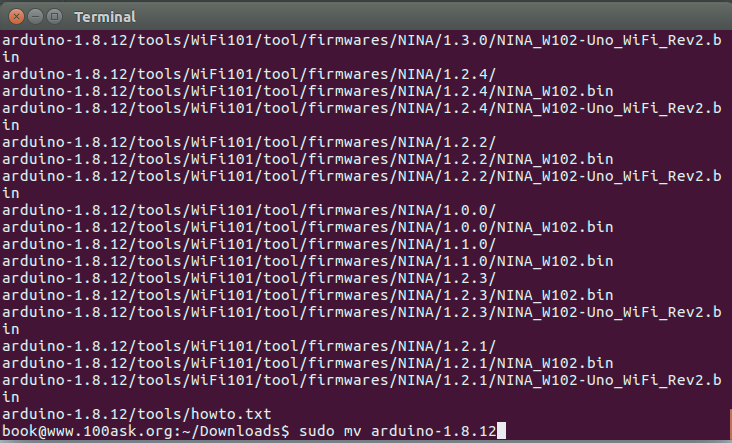
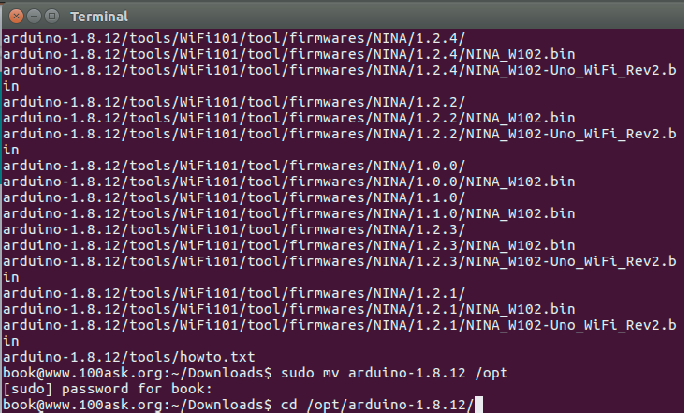
Enter “sudo mv arduini-1.8.12 /opt” to move the unzipped files to the“opt” folder.
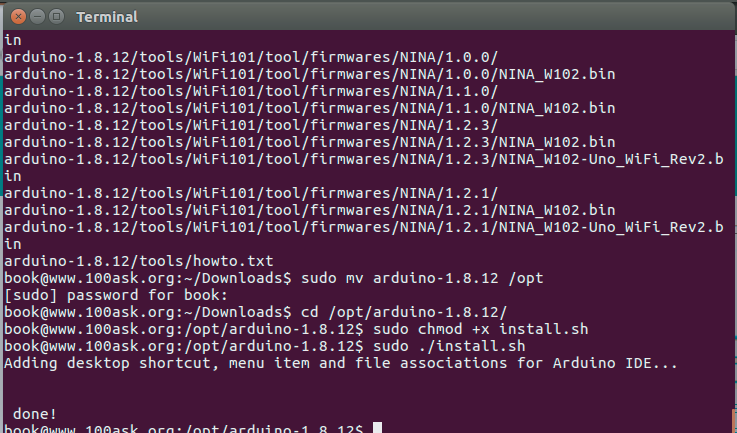
Enter “cd /opt/arduino-1.8.12/” to go to the arduino folder
Enter“sudo chmod +x install.sh” and“sudo chmod +x install.sh”to complete the installation.
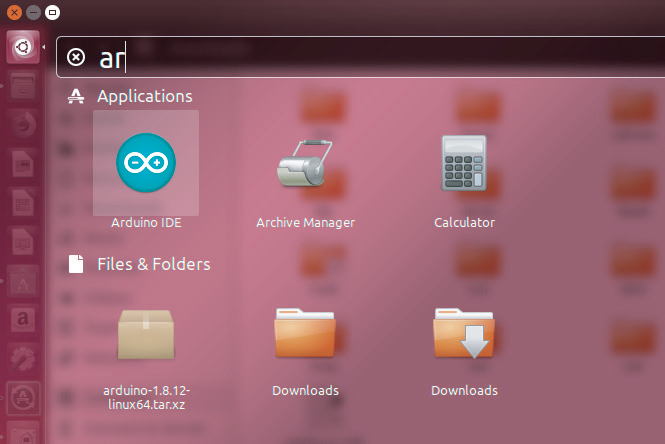
In this step, I will show you how to upload program to the UNO controller board.
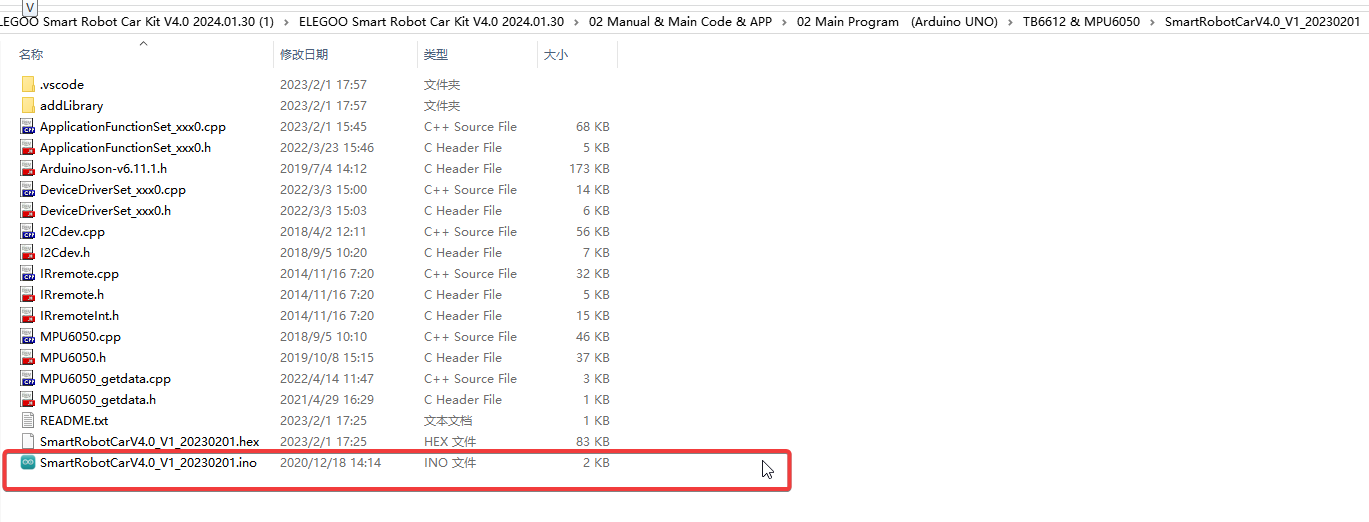
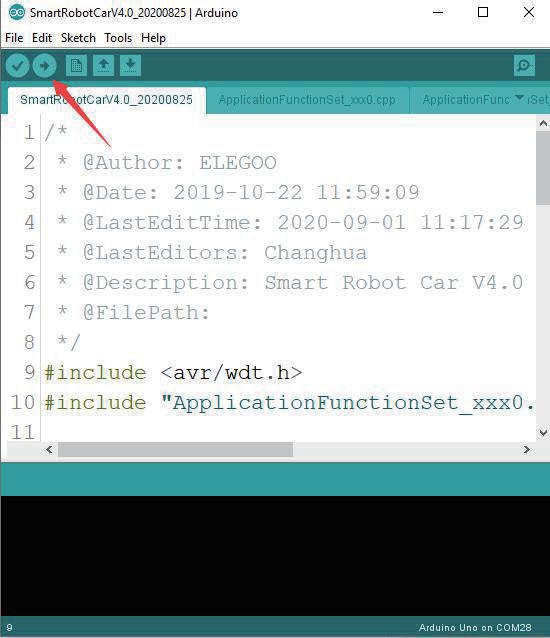
Open the code file in the directory "02 Main Program (Arduino UNO)\TB6612 & MPU6050\SmartRobotCarV4.0_V1_20230201" and click “upload” button to upload the code to the UNO controller board.
Tips: Please toggle the button on the robot car to “Upload” when uploading the program and toggle to “Cam” when using the app.
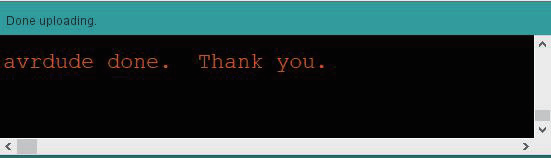
At this time, the Arduino development environment has been successfully built.