¶ Tools and Materials
- A 2.5 mm Allen key
- A pair of pincers
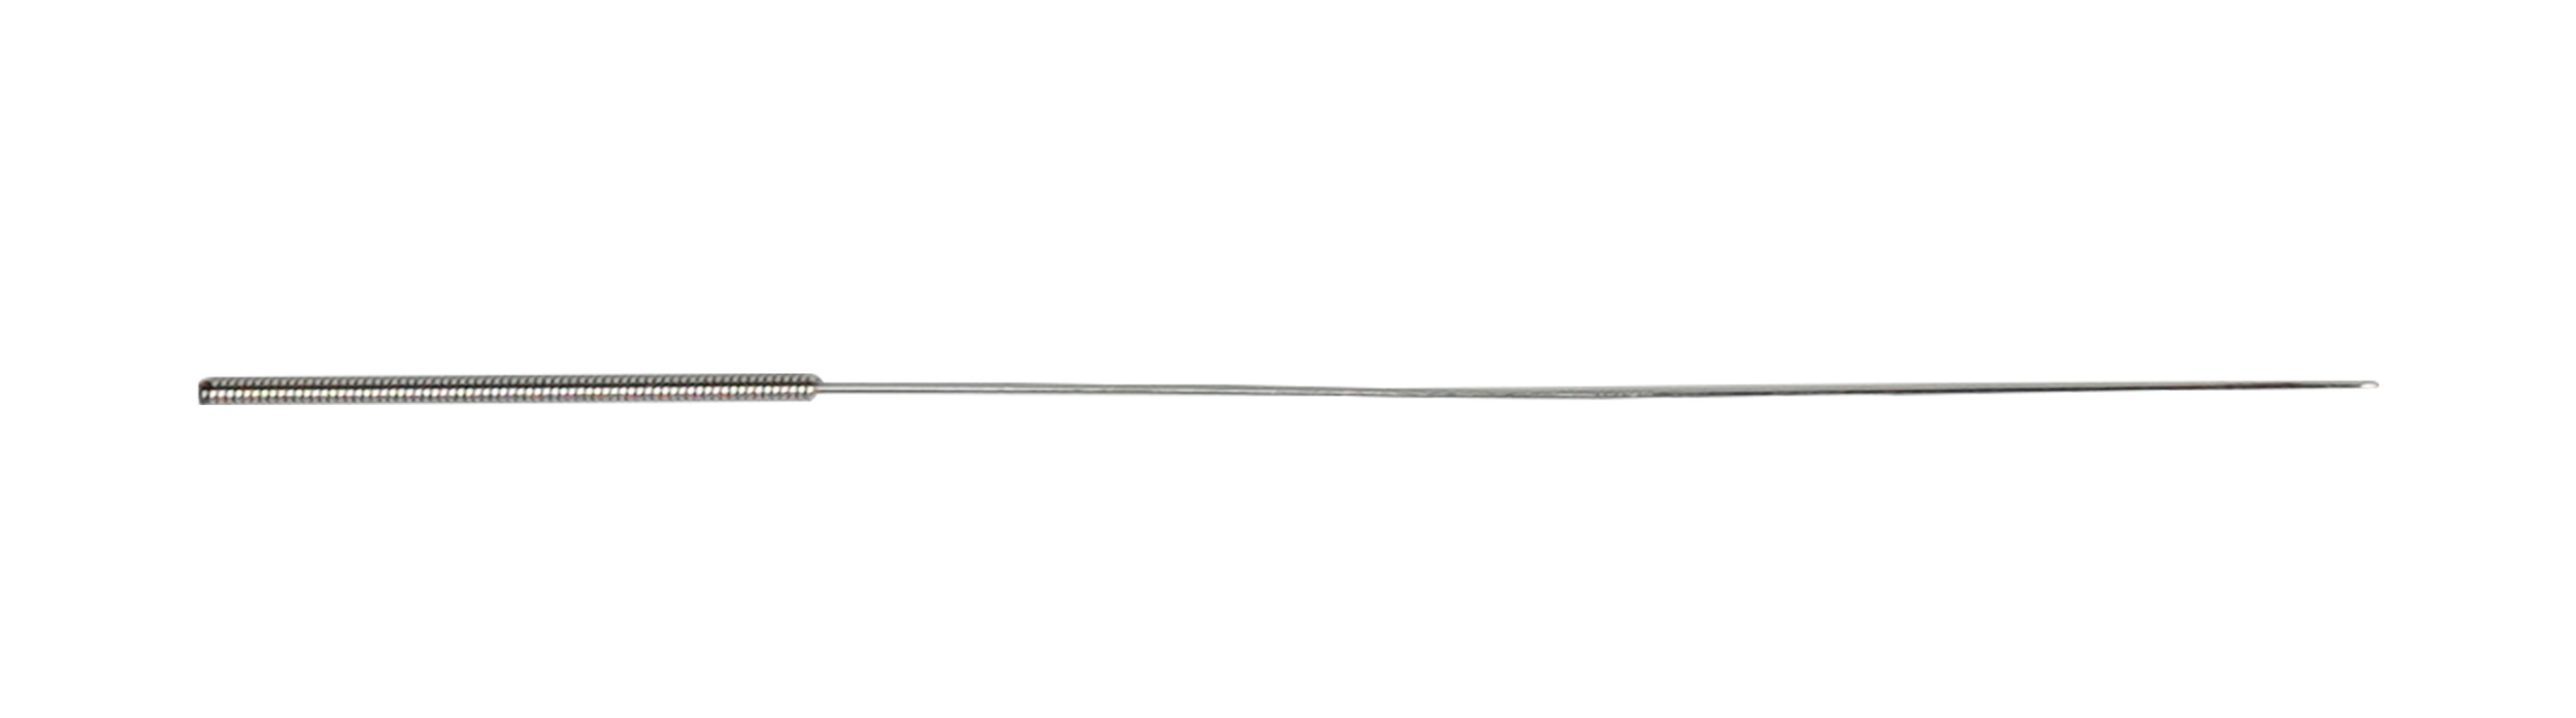
- A cleaning needle
¶ Tutorial Video
Coming soon.
¶ Instruction
- Power off the printer and unplug the power cord.
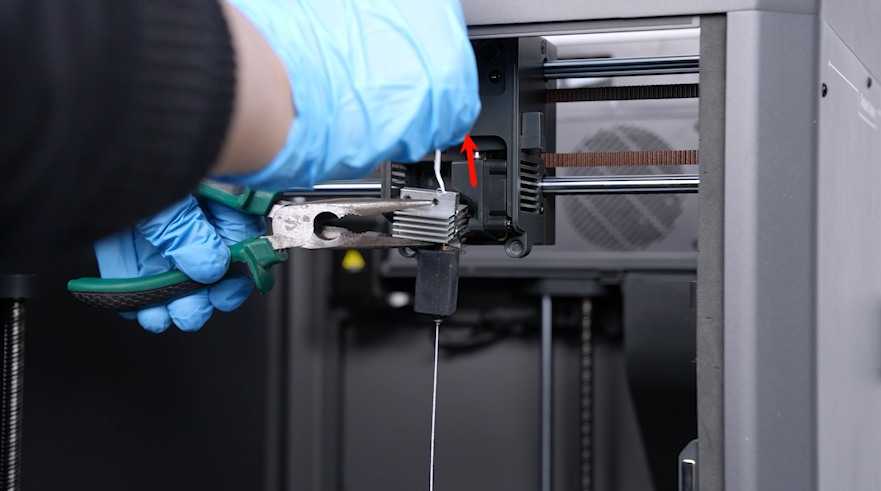
- Press the lever of the filament cutter backward to cut off the filament.
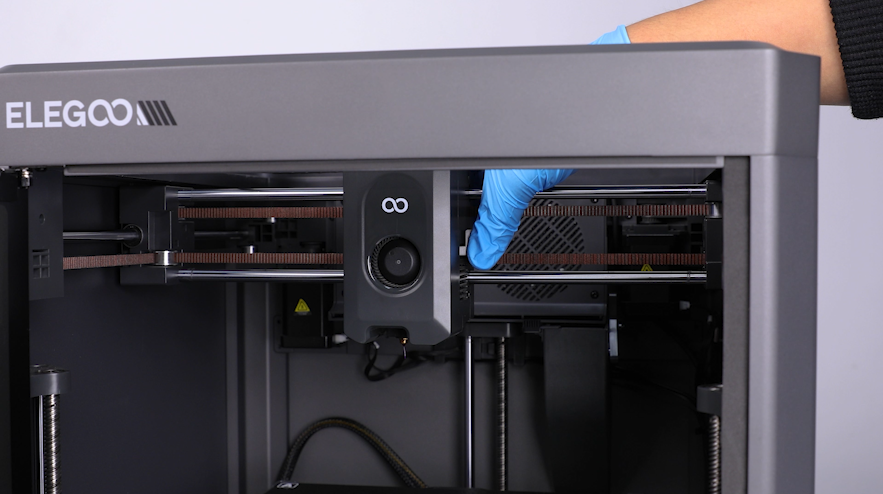
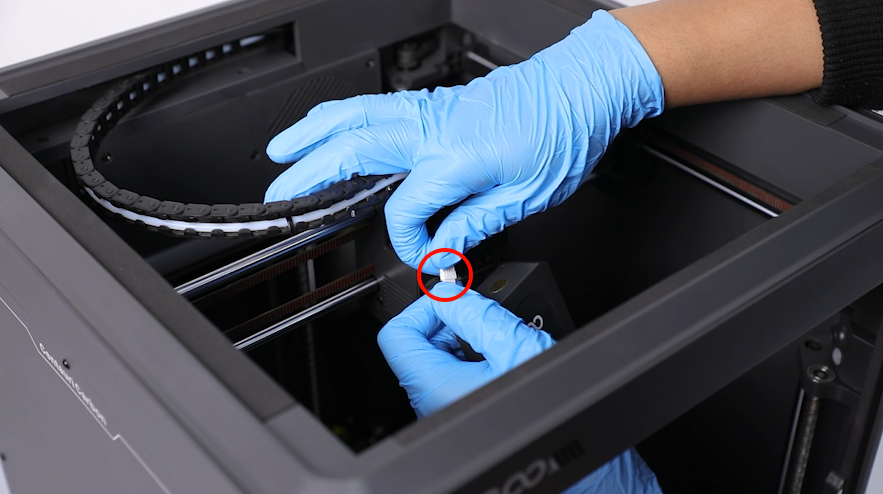
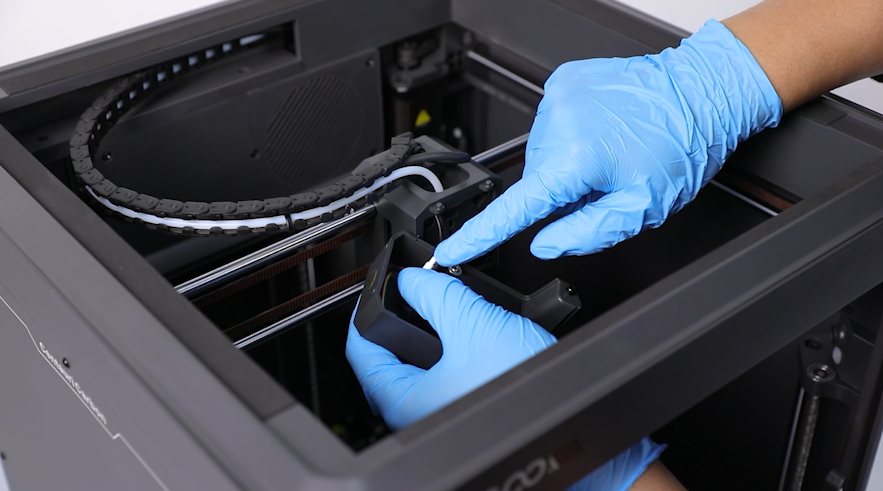
- Lift the front cover of the printing head to remove it. Unplug the port of the ribbon cables of the model cooling fan.
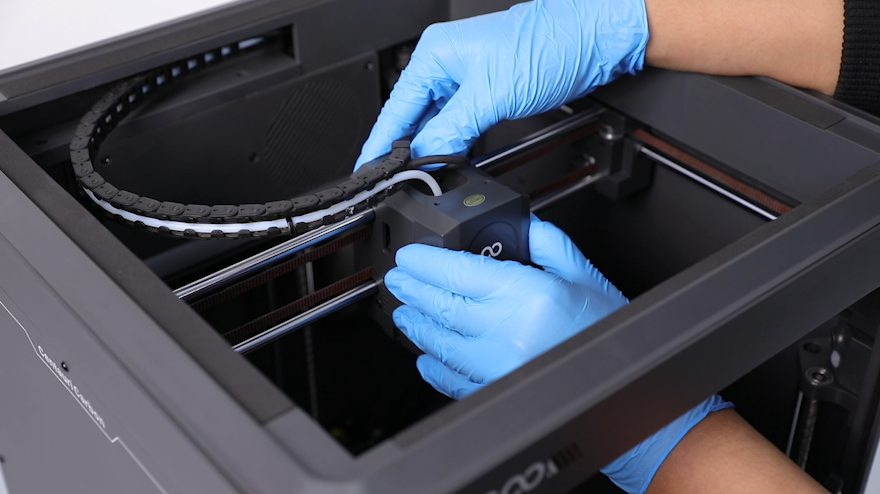
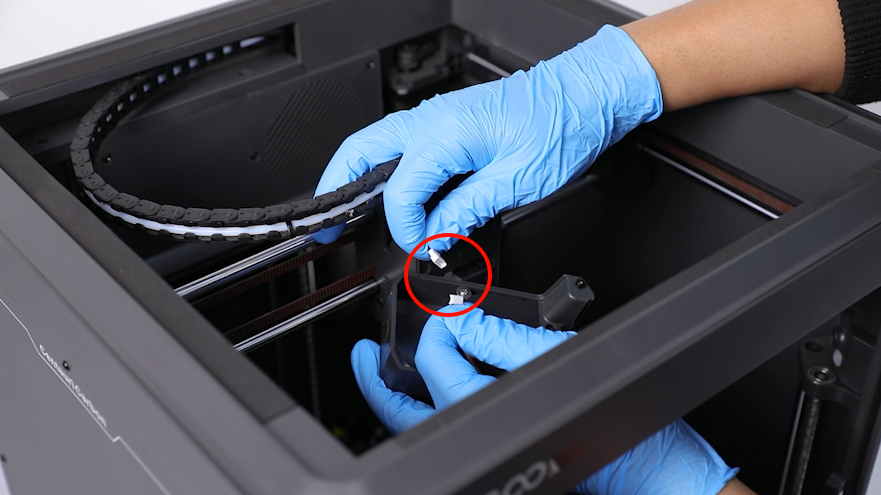
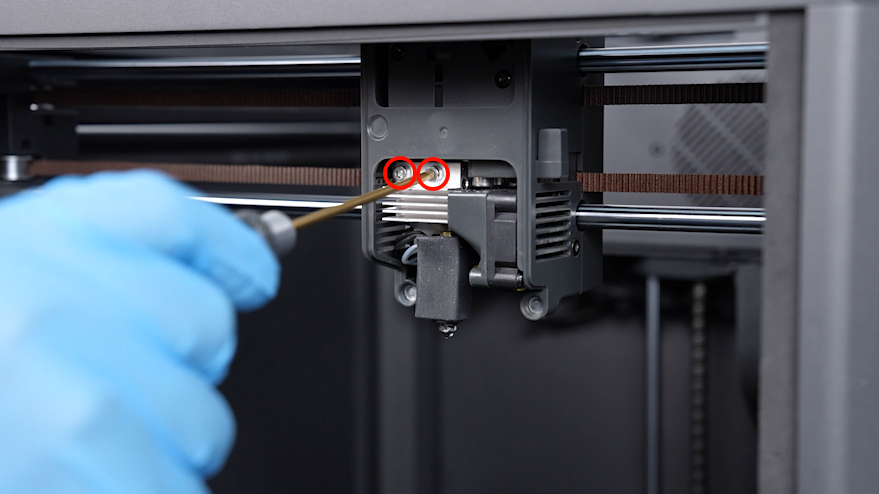
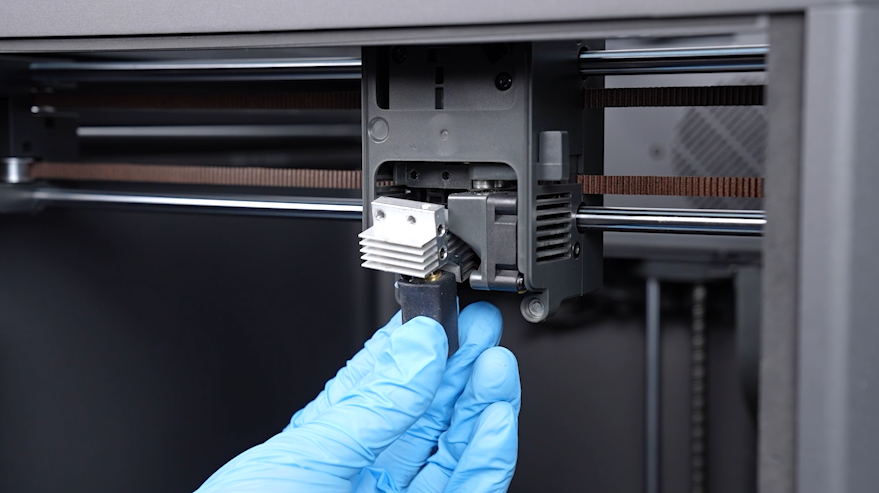
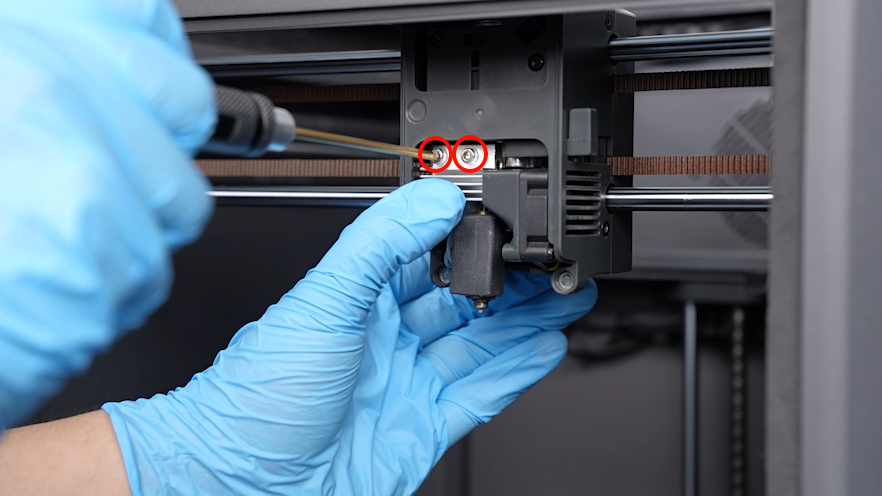
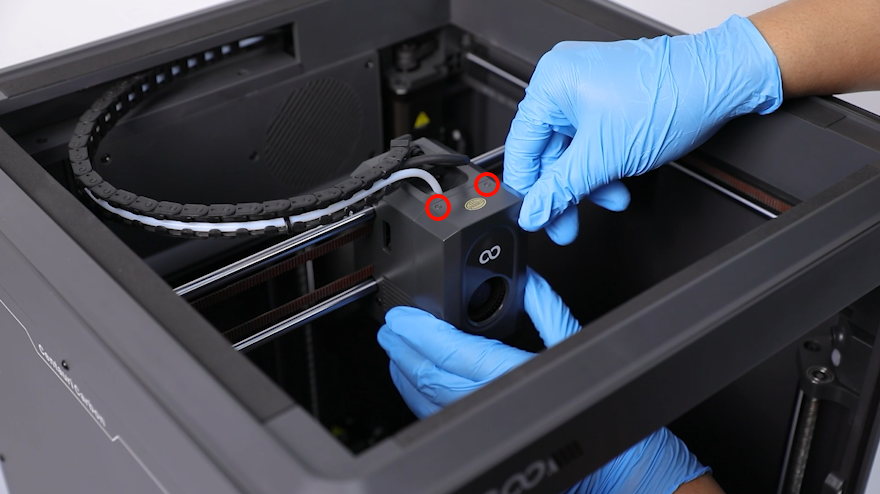
- Use a 2.5 mm Allen key to loosen the 2 screws securing the nozzle assembly, then remove the nozzle assembly.
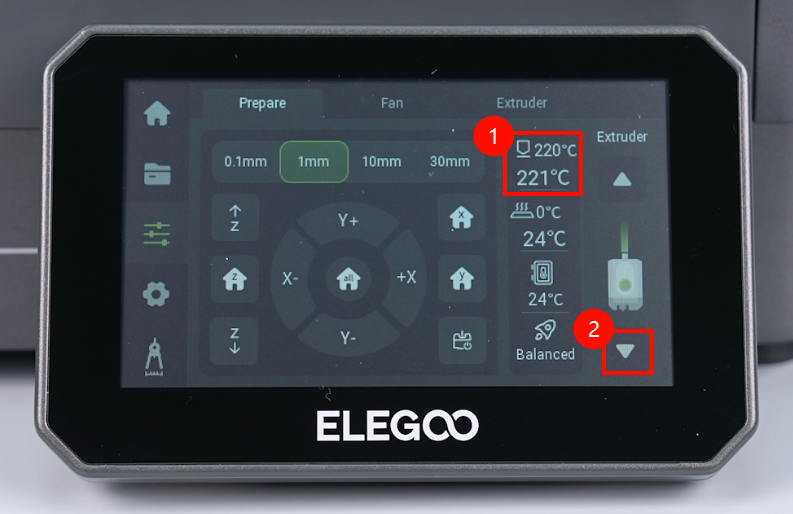
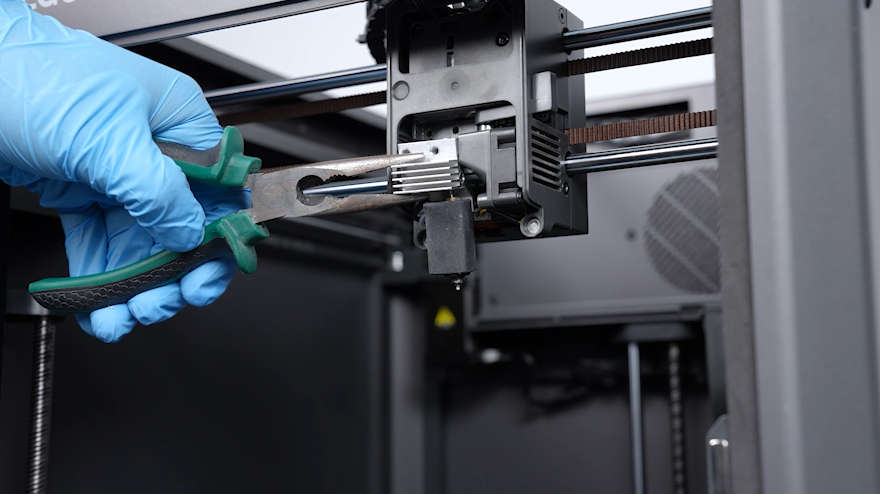
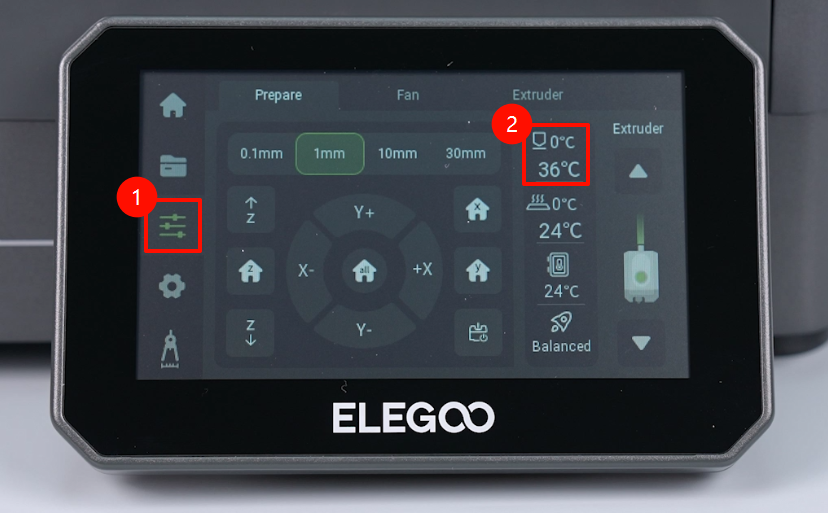
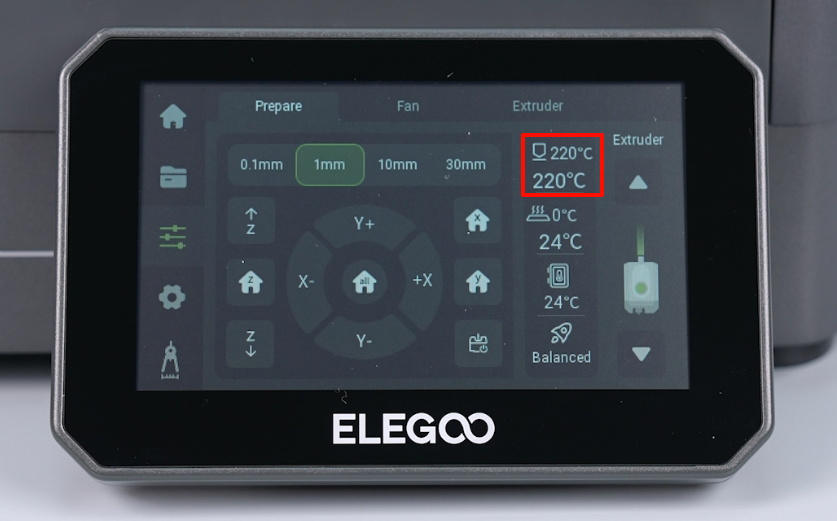
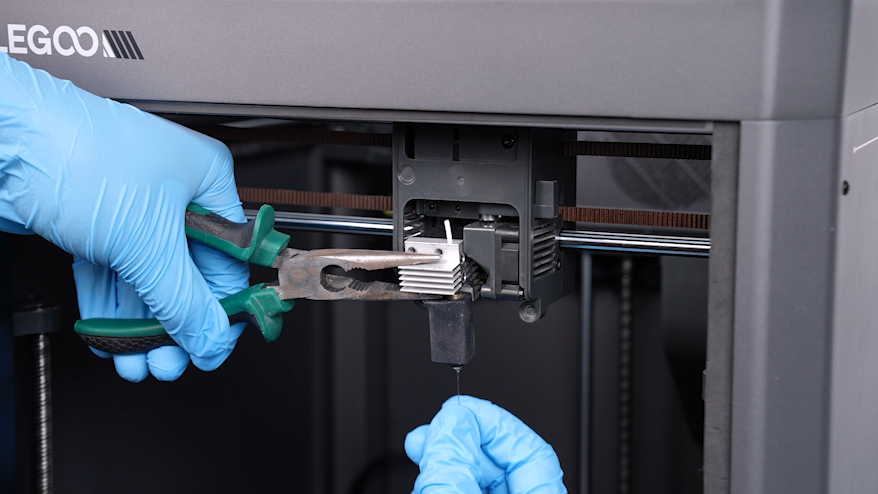
- Power on the printer. Holding the nozzle assembly with a pair of pincers, navigate to "Function" on the touchscreen to enter the Prepare interface. Set the temperature of the nozzle to 220 ℃.
Note: The pair of pincers should be clamped at the upper heat sink block position to avoid damaging the heating plate.
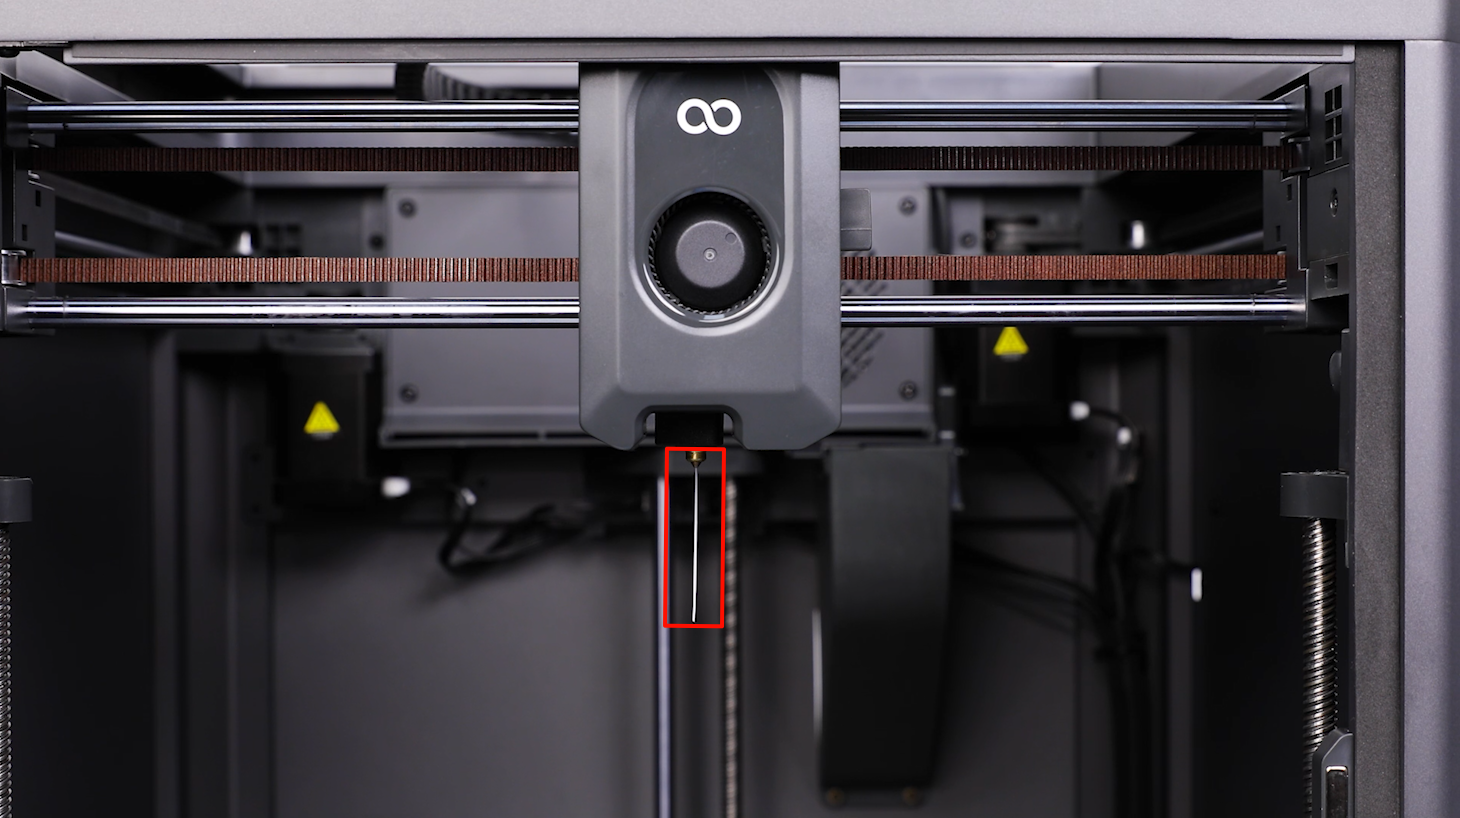
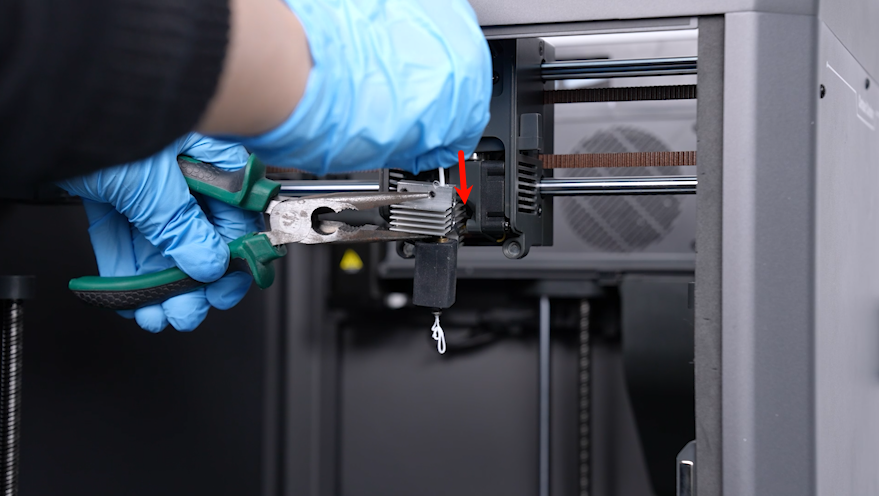
- Insert the cleaning needle into the nozzle and push the residual filaments out. Remove the residual filaments above the nozzle assembly. Push the needle in and out 3 to 5 times to ensure that the nozzle has been cleaned thoroughly.
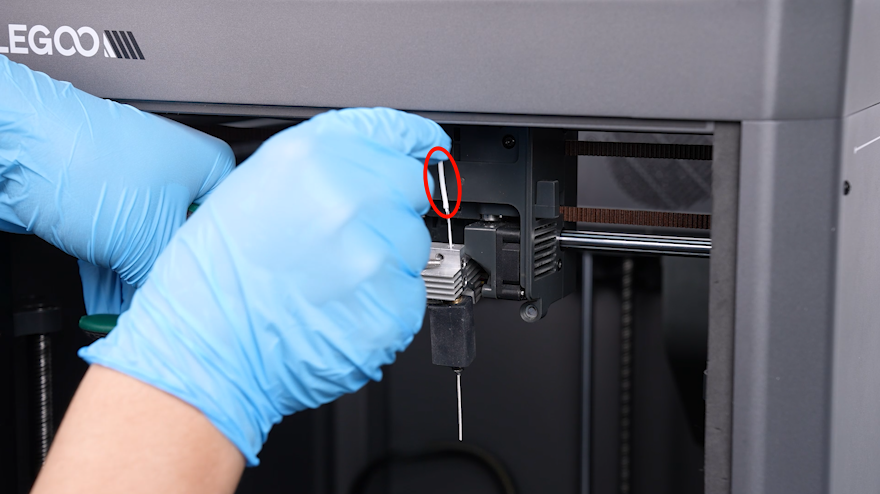
- Insert a piece of filament into the nozzle assembly. Observe that the nozzle can extrude the filament successfully, then remove the filament.
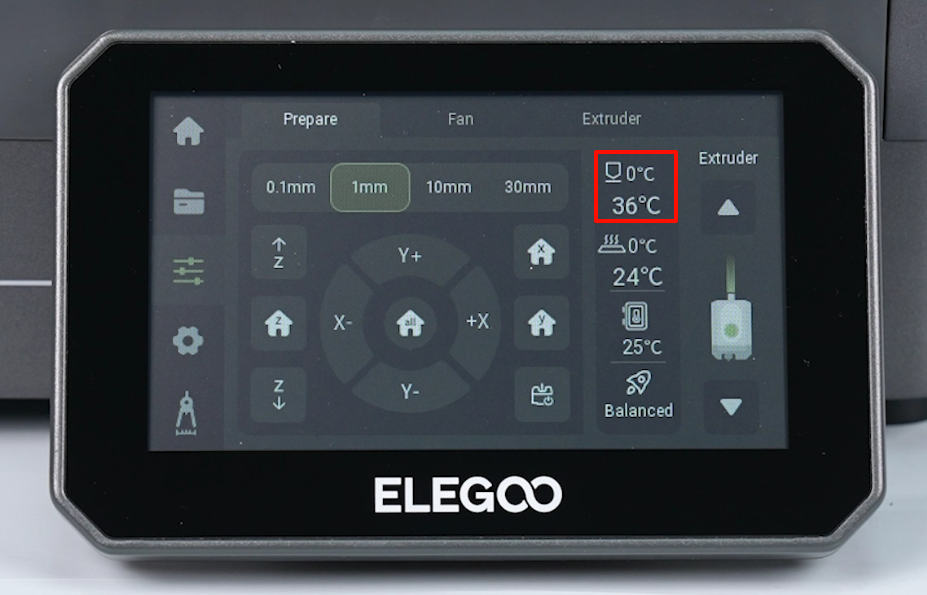
- Set the temperature of the nozzle to 0 ℃. Wait about 5 to 10 minutes for the nozzle to cool down completely.
- Put the nozzle assembly in the installation position by aligning it the the screw holes. Use a 2.5 mm Allen wrench to tighten the 2 screws securing the nozzle assembly.
- Prepare the front cover of the printing head. Plug in the port of the ribbon cables of the model cooling fan.
- Organize the ribbon cables of the model cooling fan. Put the front cover of the printing head in the installation position by aligning it positioning holes.
- Set the temperature of the nozzle to 220 ℃. Navigate to "Extruder" and observe the filament being extruded from the nozzle. The printer can work as usual after being re-leveled.