¶ Tools and Materials
- A 2.0 mm Allen key
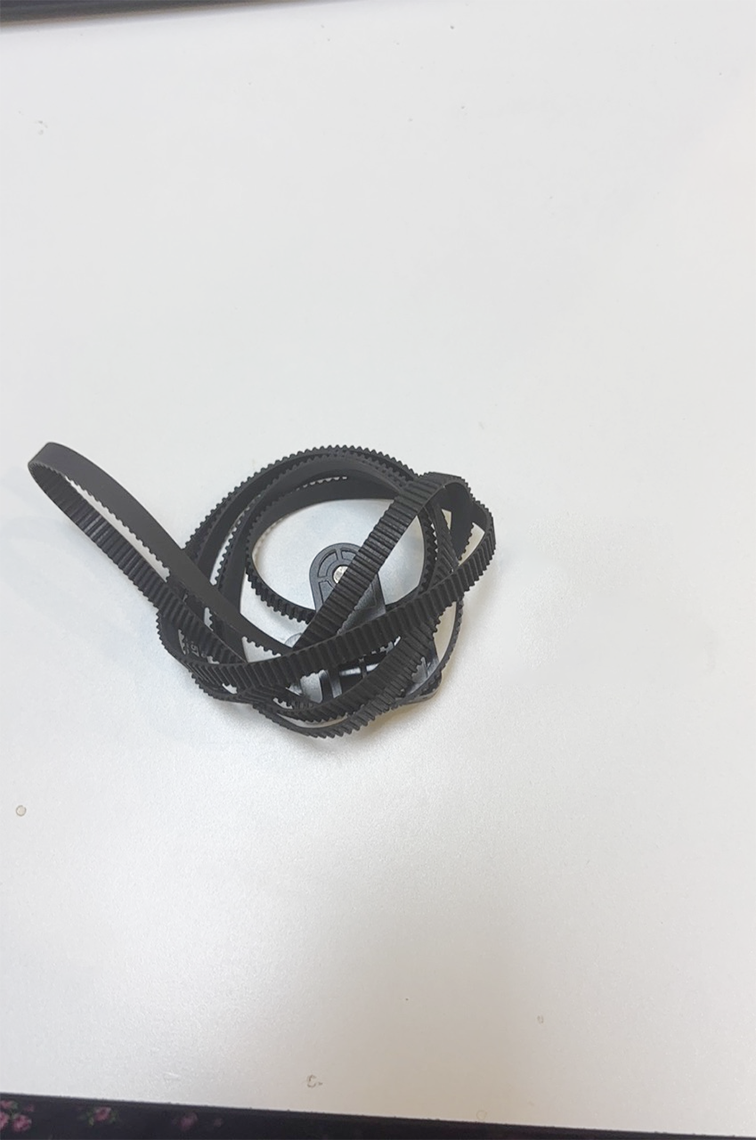
- A new Z-axis timing belt
¶ Tutorial Video
¶ Instruction
¶ Remove the old Z-axis timing belt
- Power off the printer and unplug the power cord.
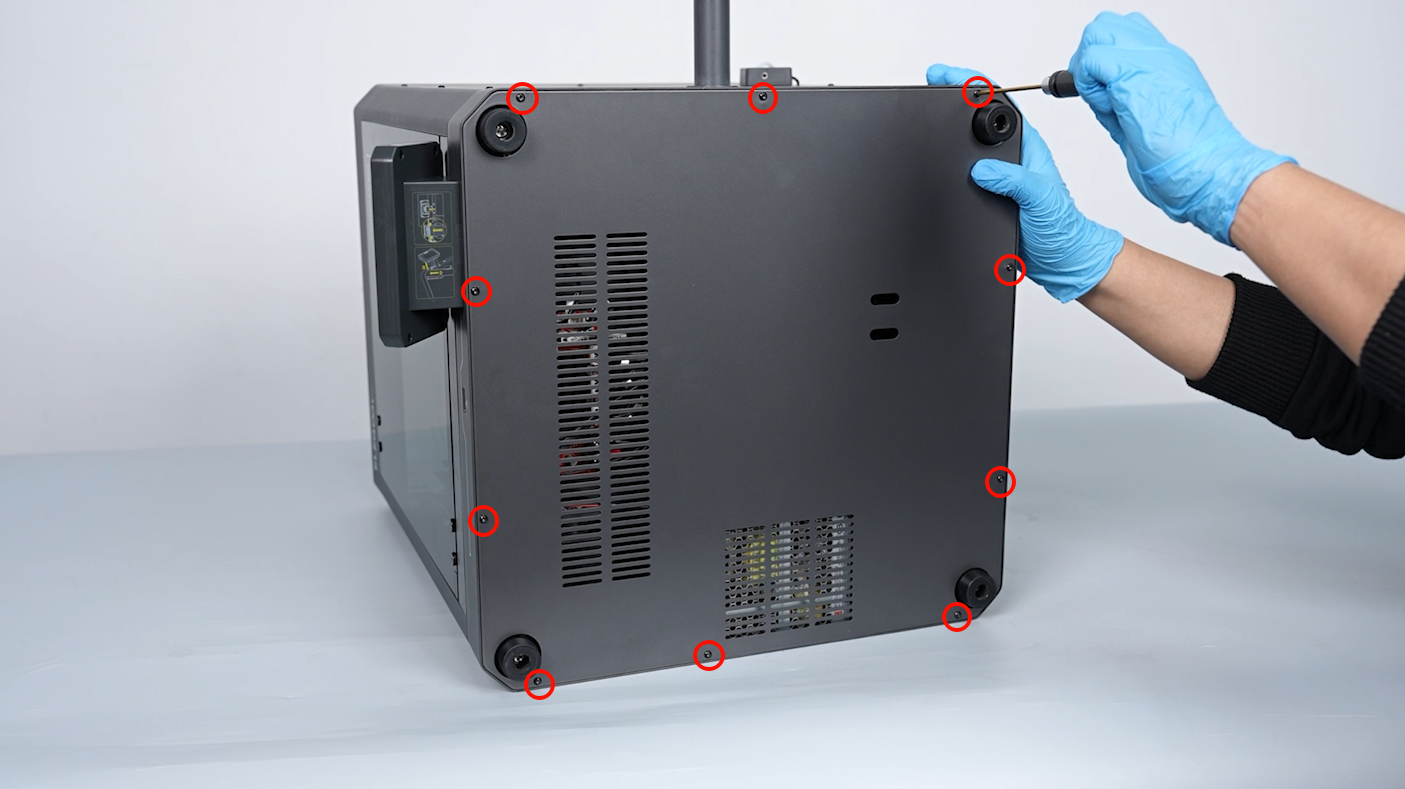
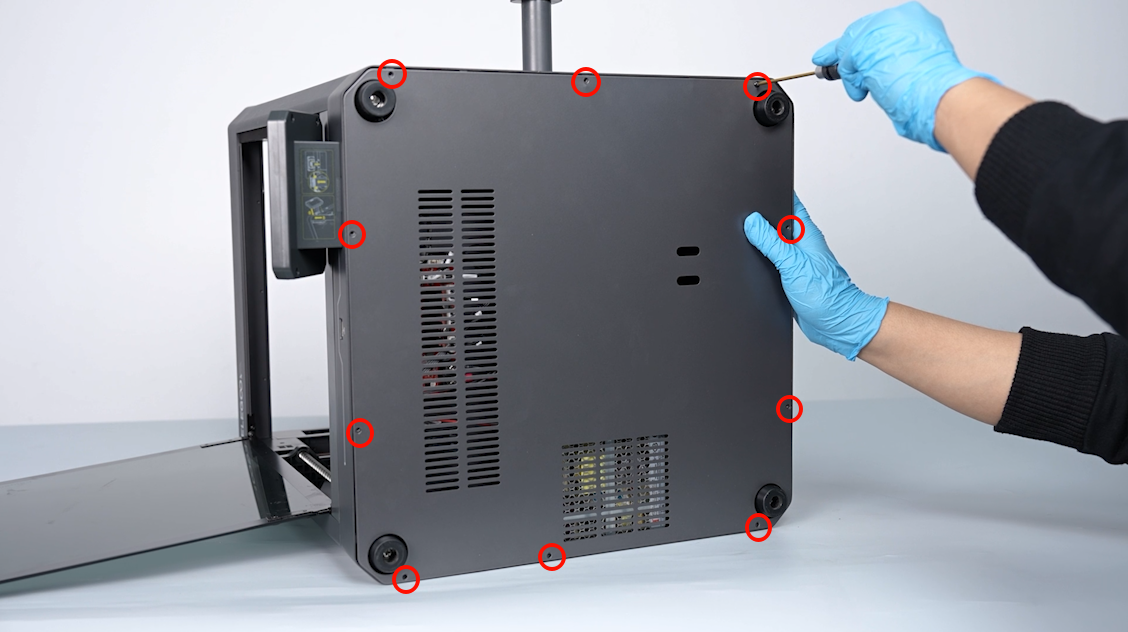
- Put the printer on its side. Loosen the 10 screws securing the bottom cover of the printer using a 2.0 mm Allen key.
- Remove the bottom cover. Check to ensure that there is no foreign matter inside the bearing.
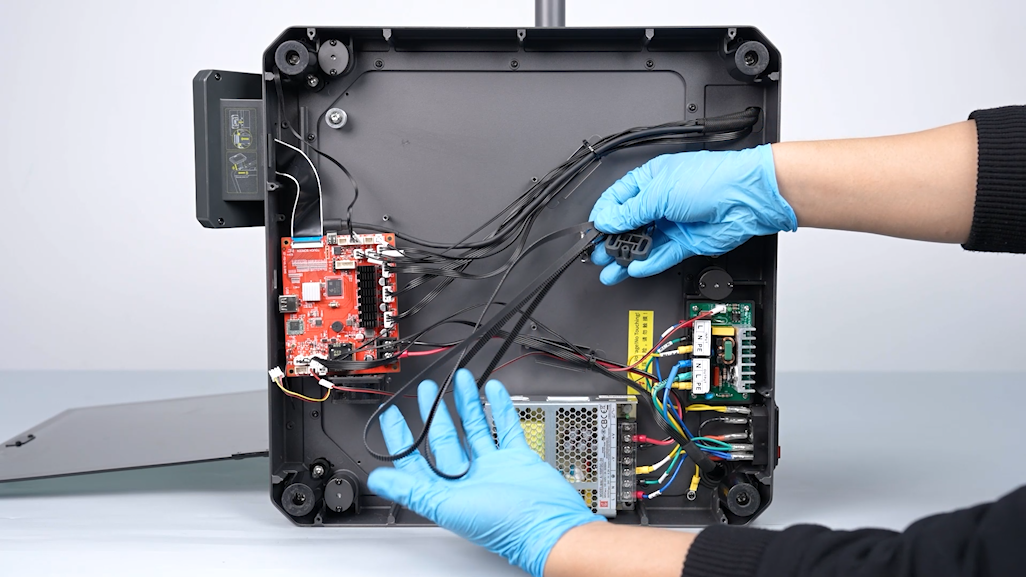
- Pull the timing belt to lower the hotbed to the bottom of the printer.

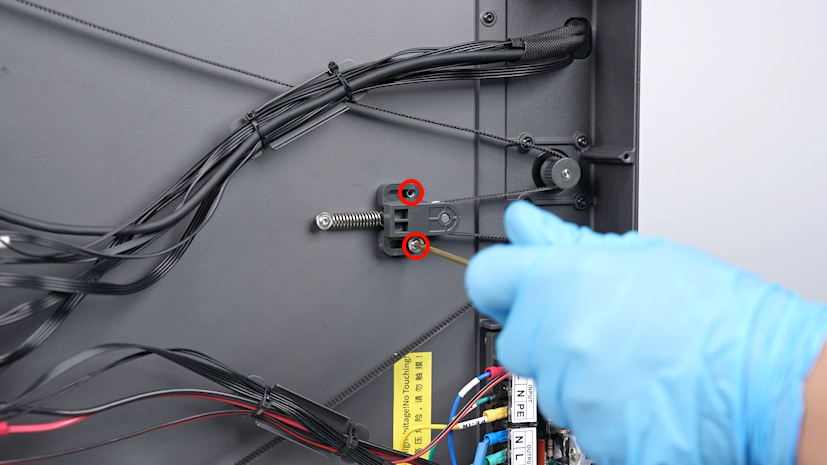
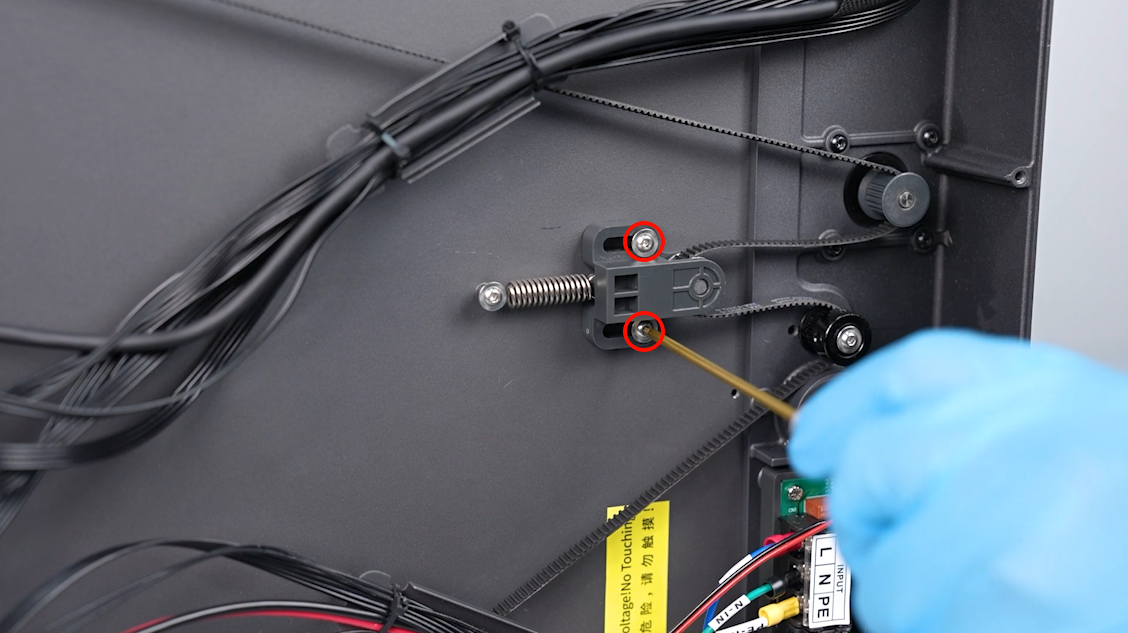
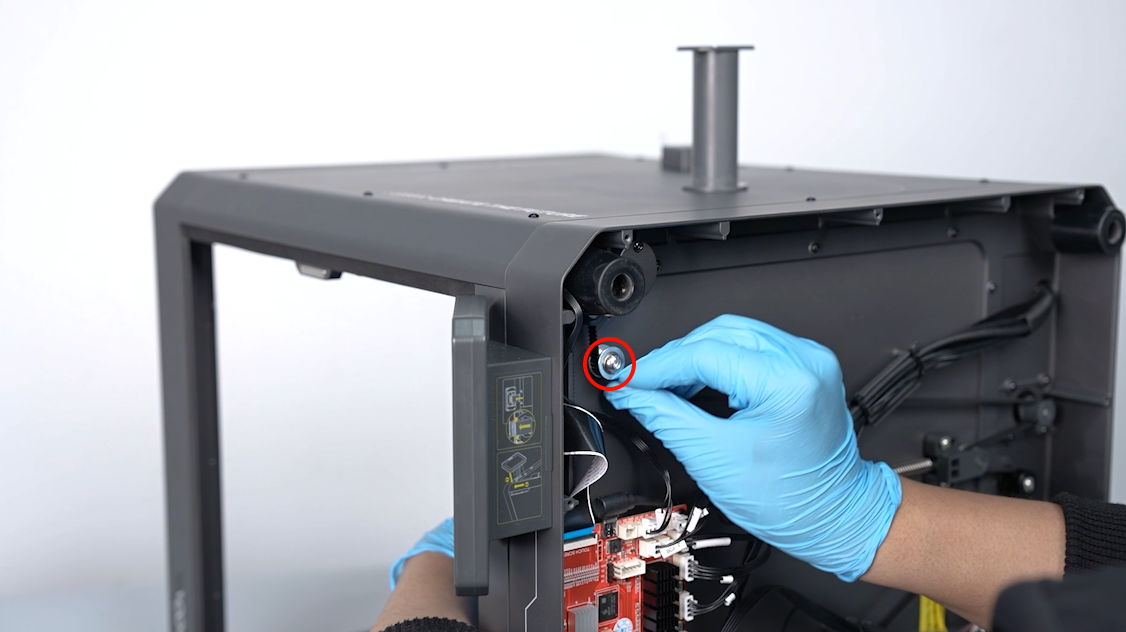
- Loosen the 2 screws securing the belt tensioner by one-third of its depth using a 2.0 mm Allen key.
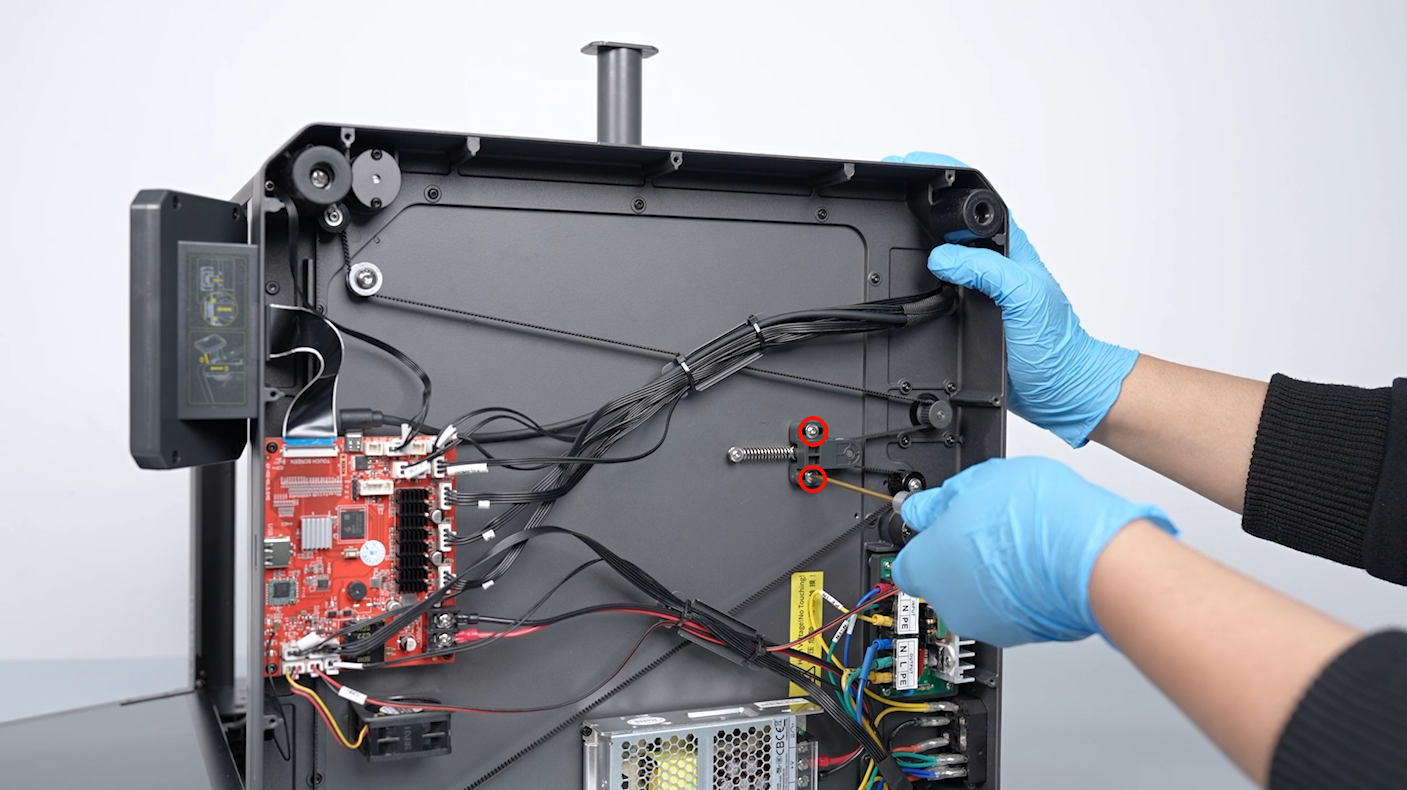
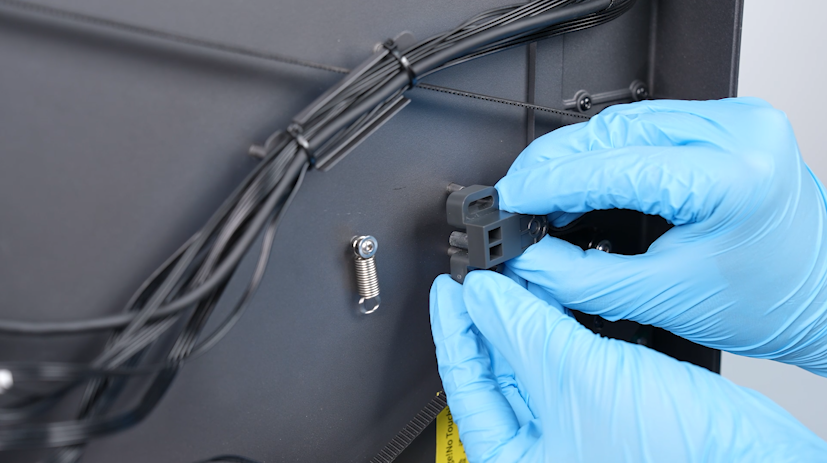
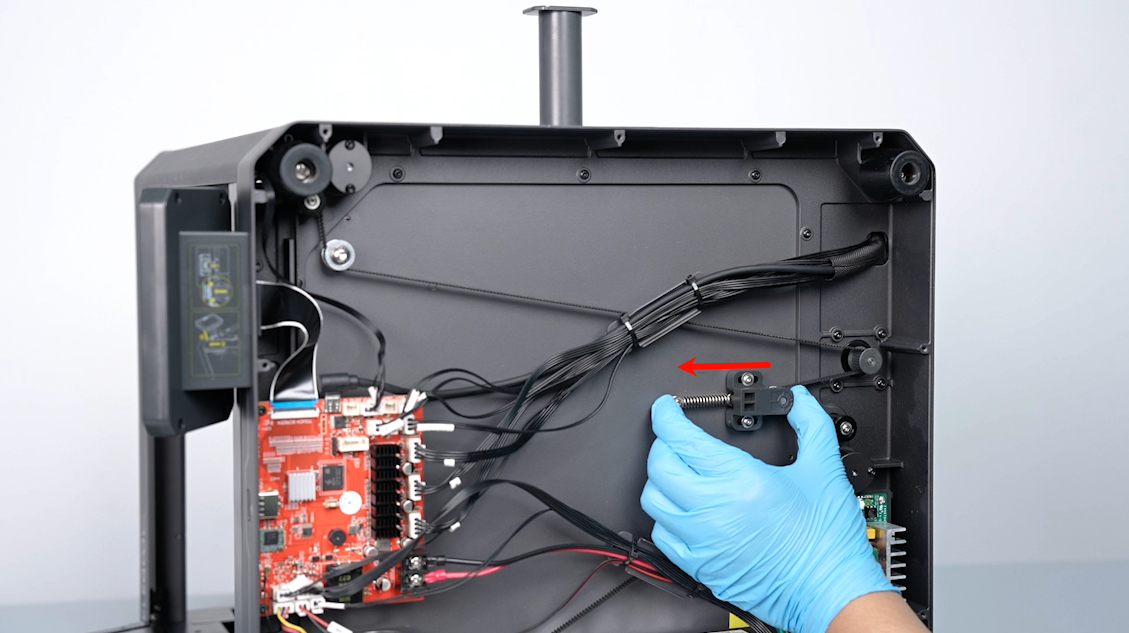
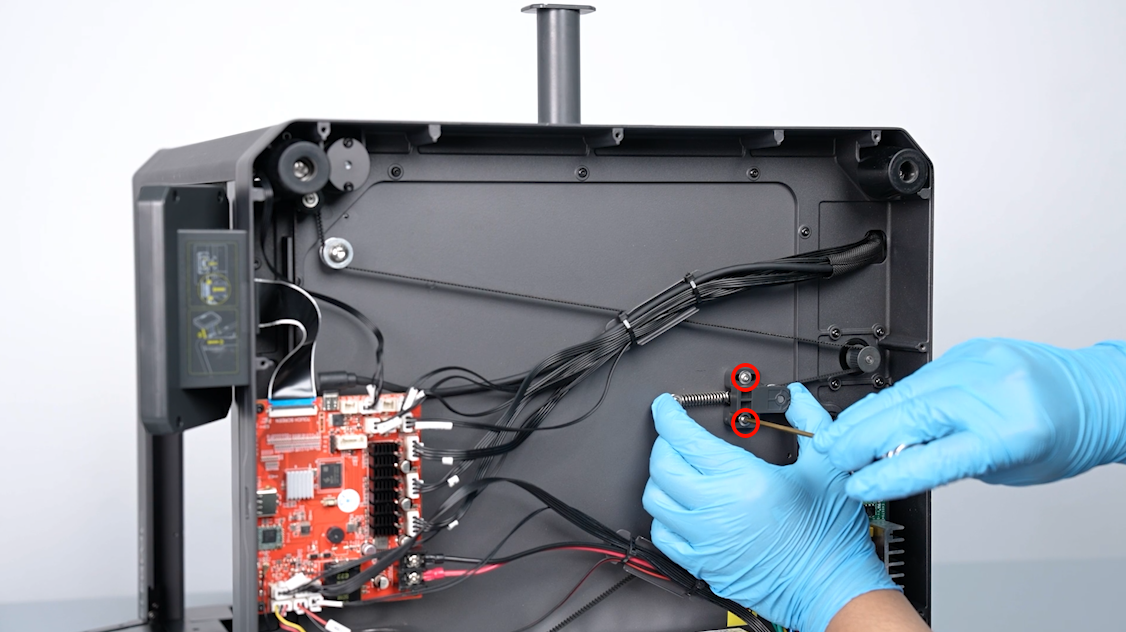
- Remove the timing belt from the idler pulley. Remove the 2 screws securing the belt tensioner using a 2.0 mm Allen key. Remove the belt tensioner and the spring.
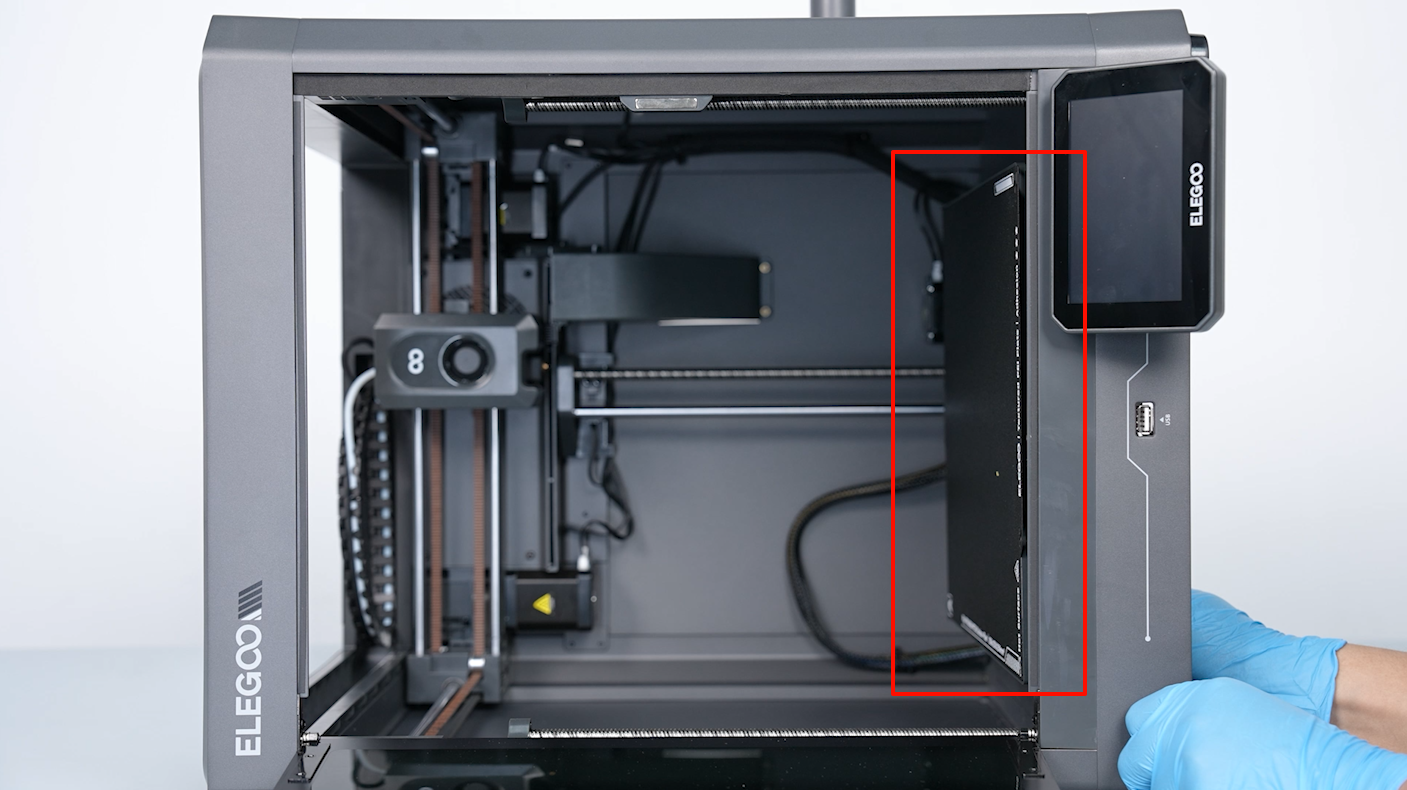
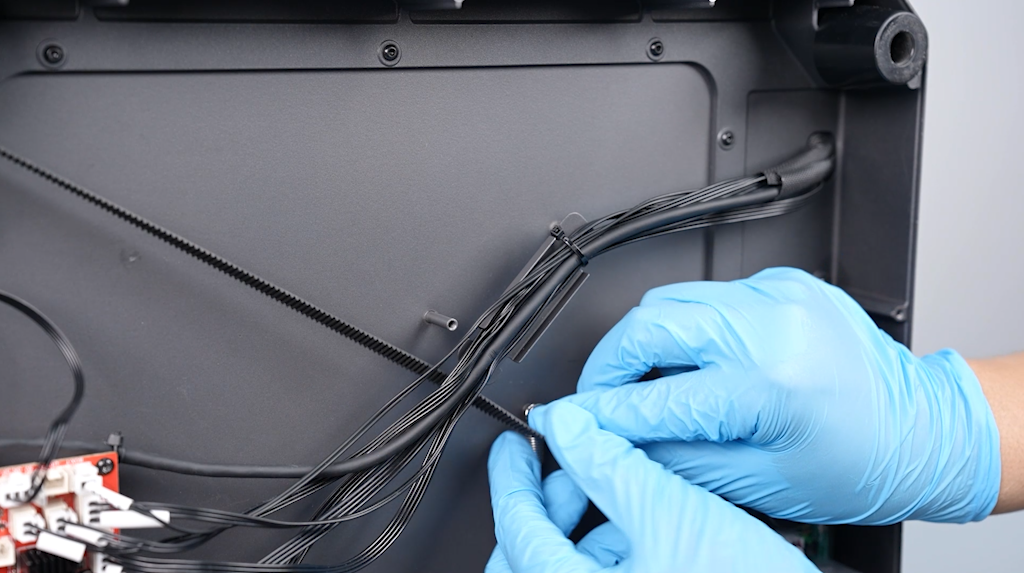
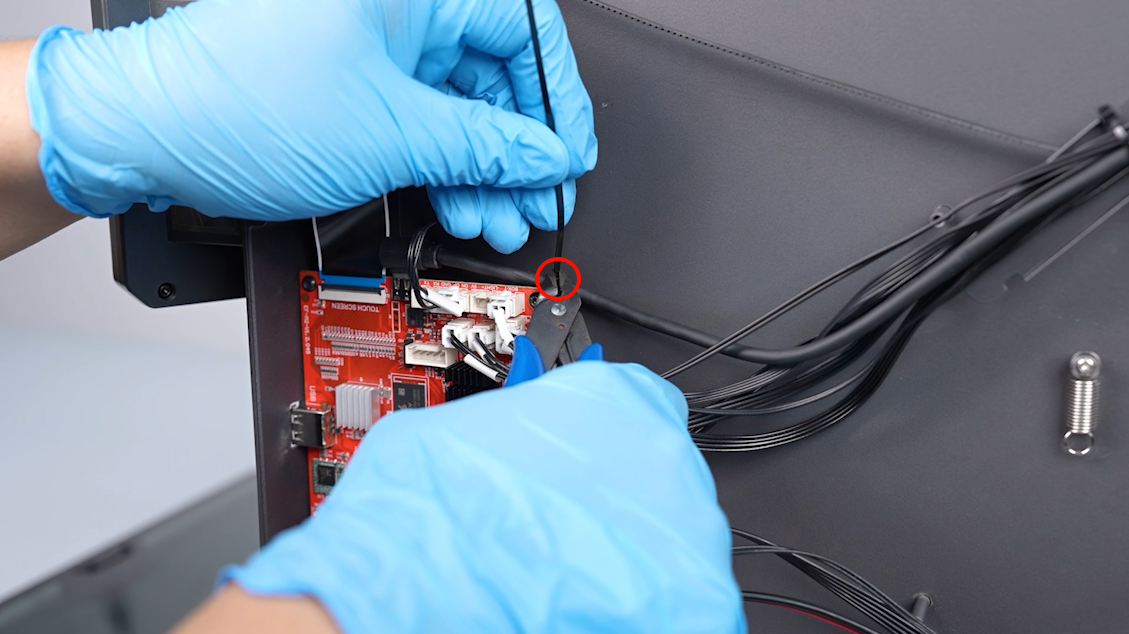
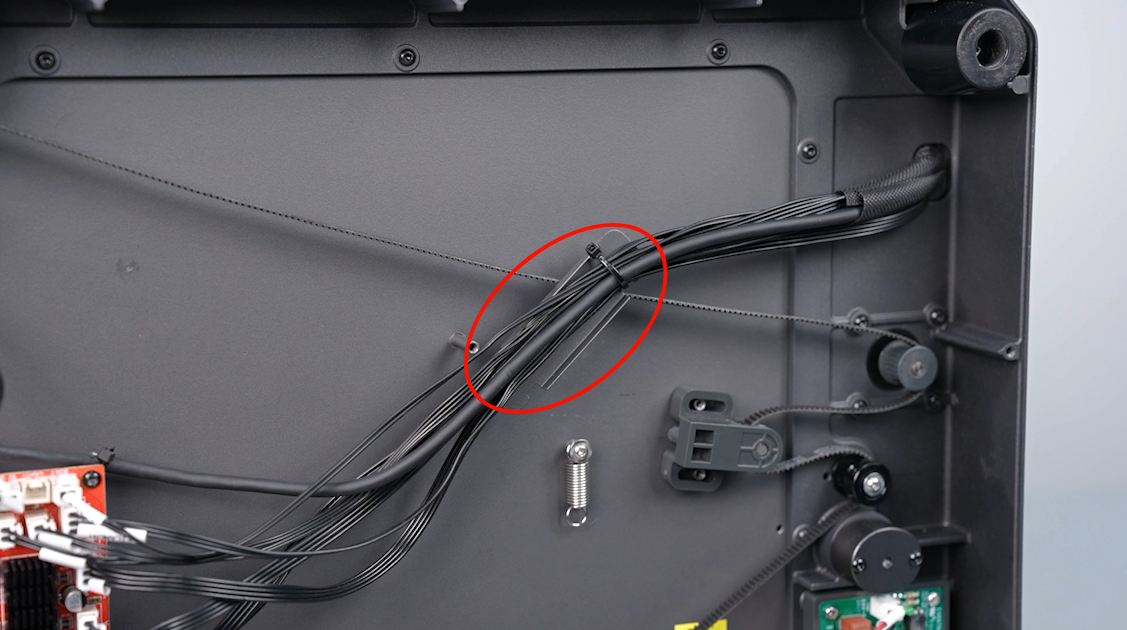
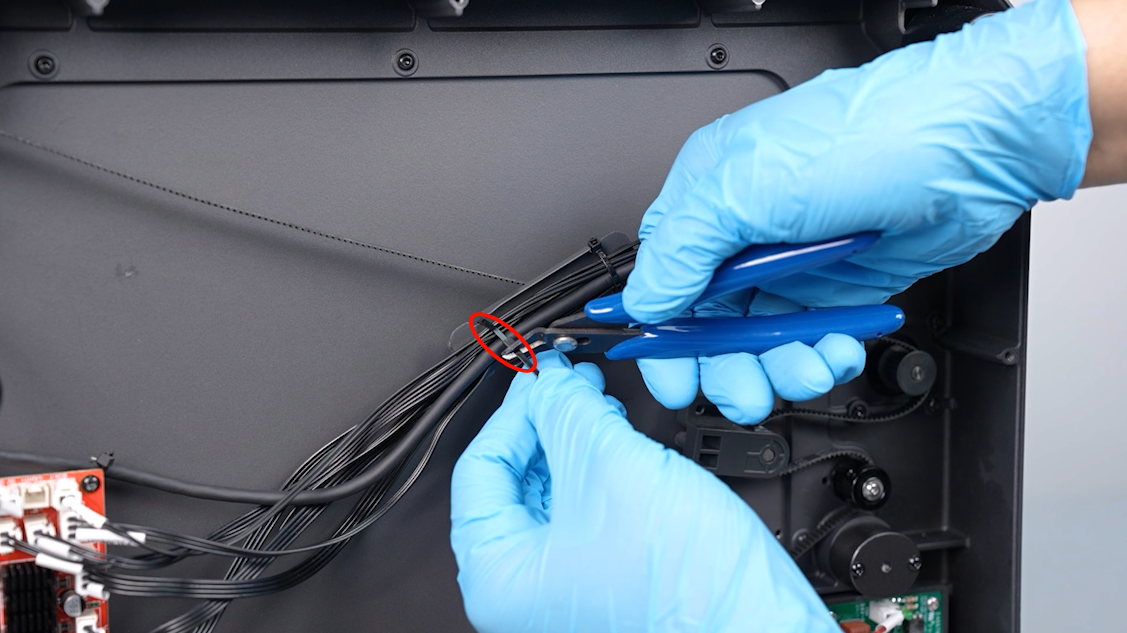
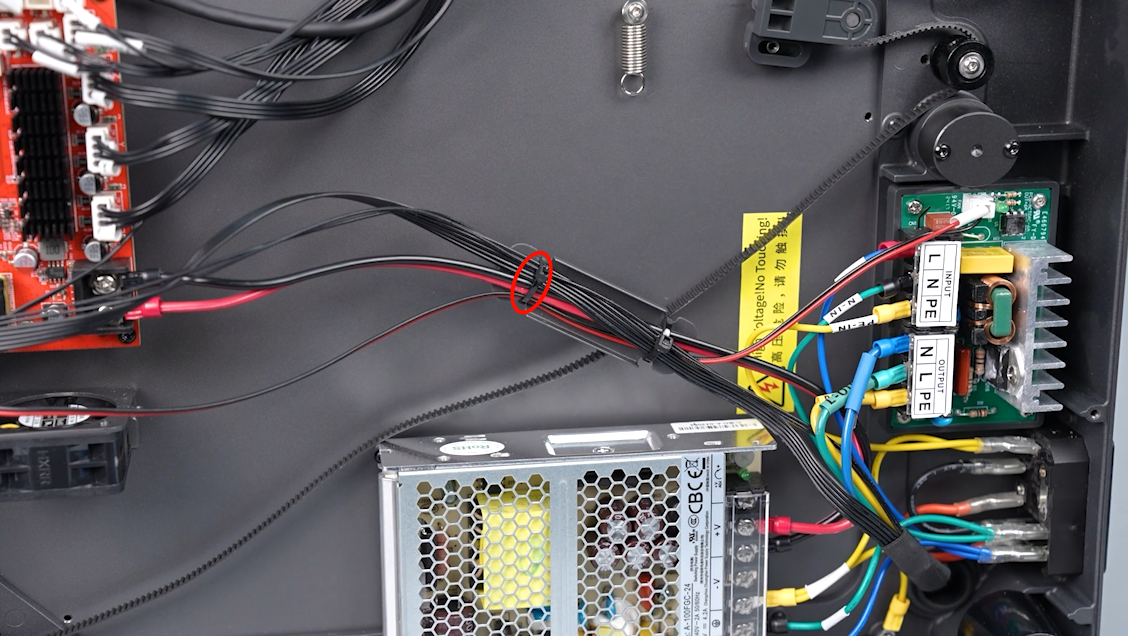
- Cut off the cable ties securing the ribbon cables at the left side of the ribbon cable holder using a pair of diagonal pliers.
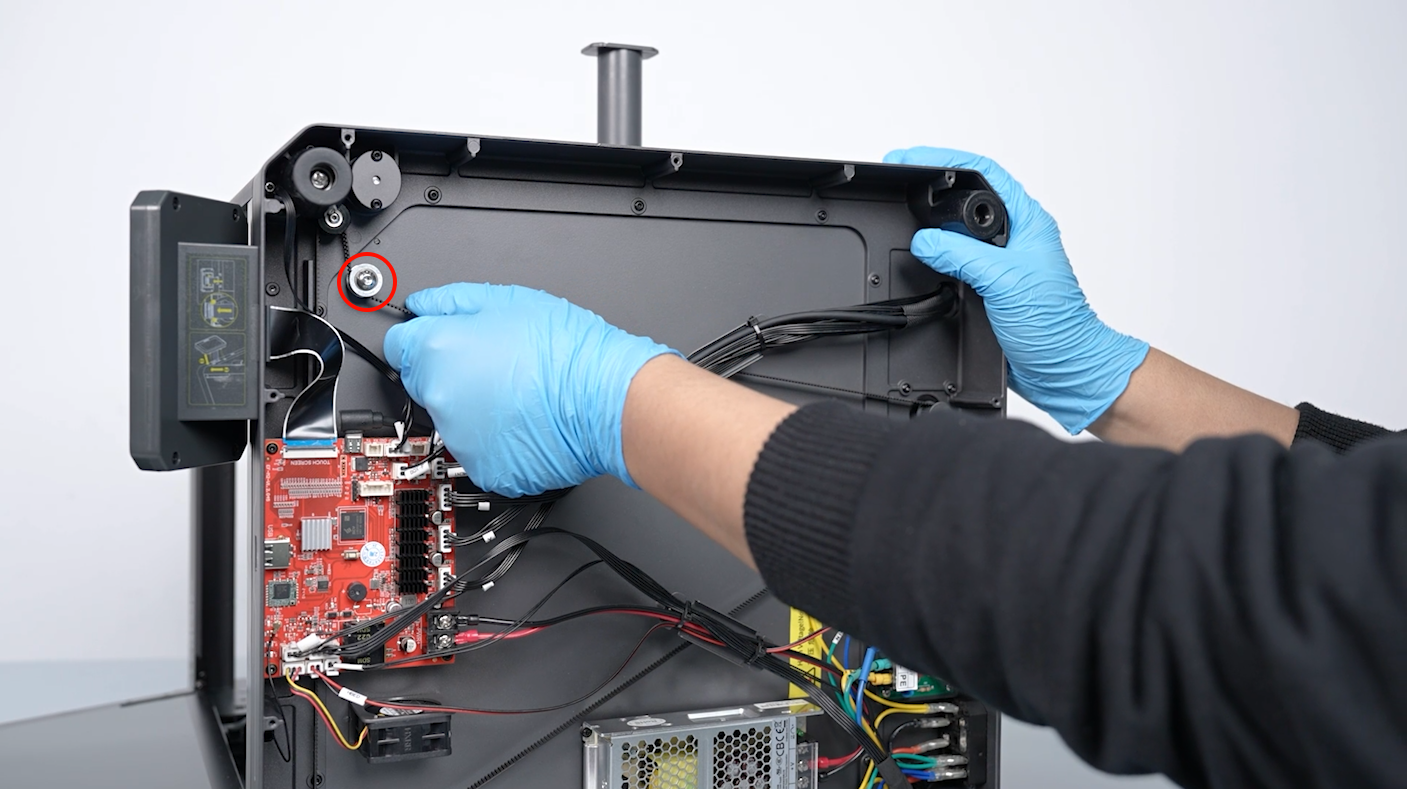
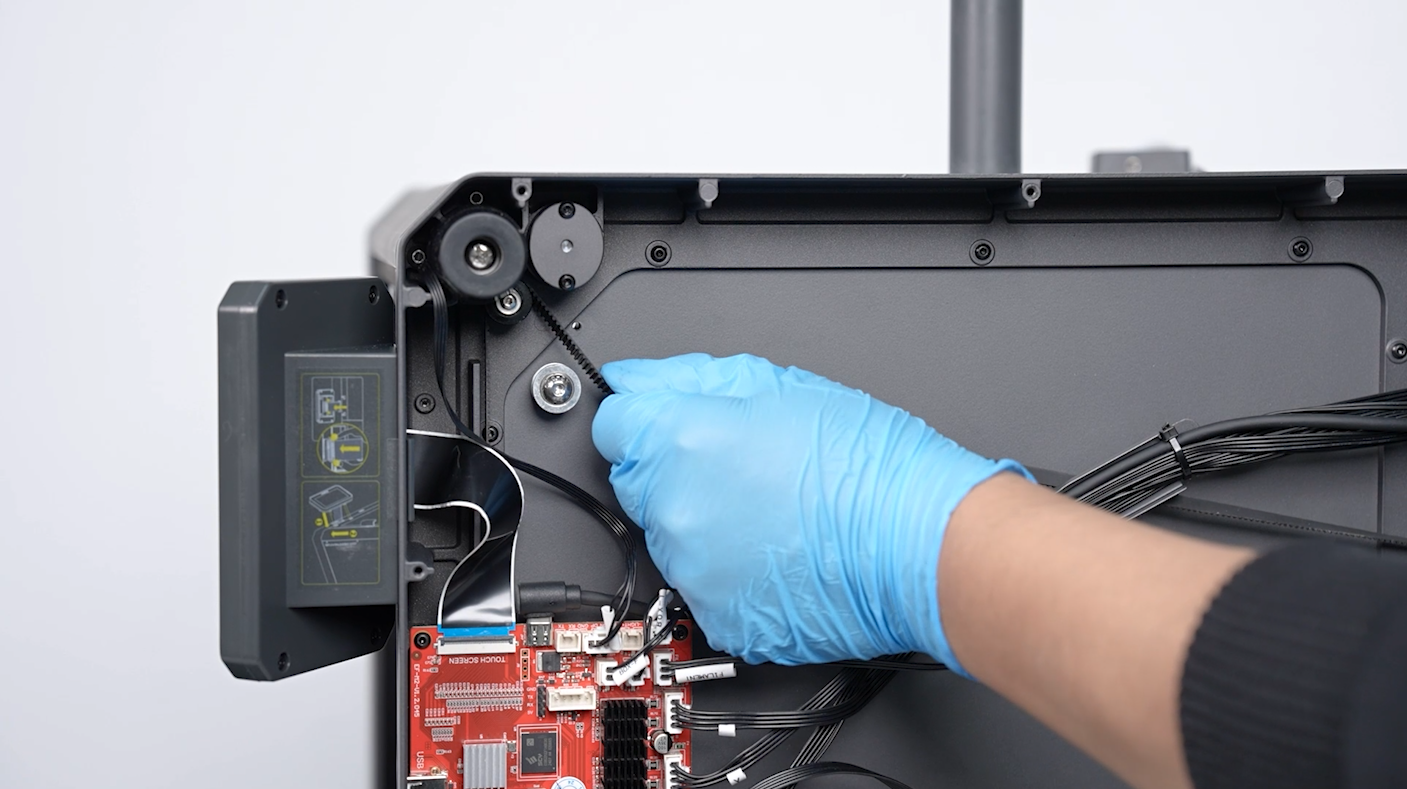
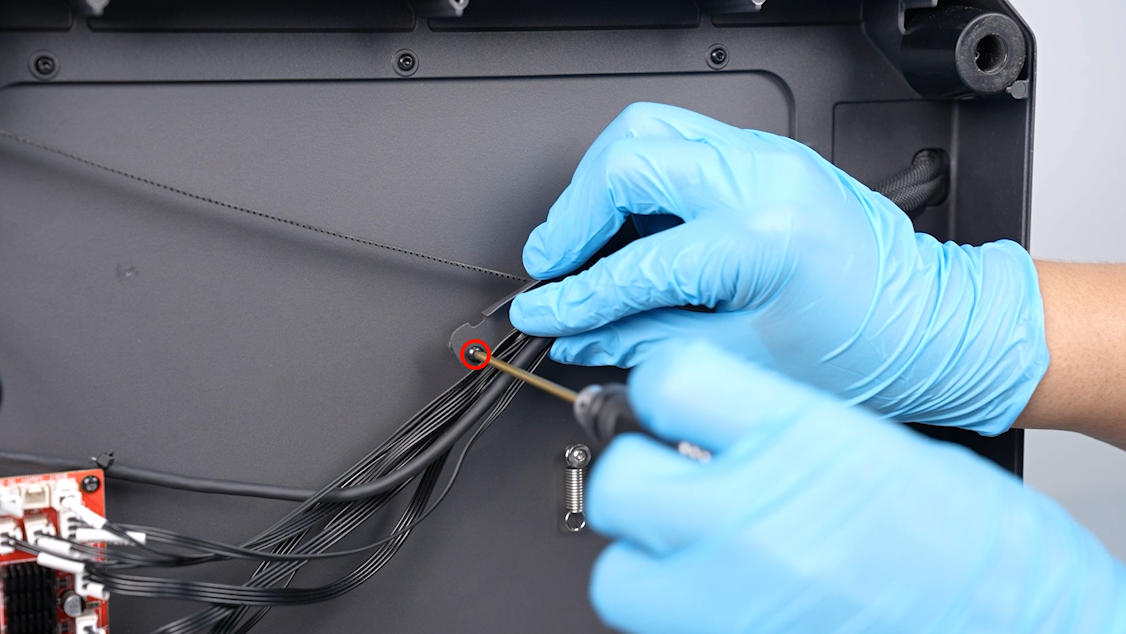
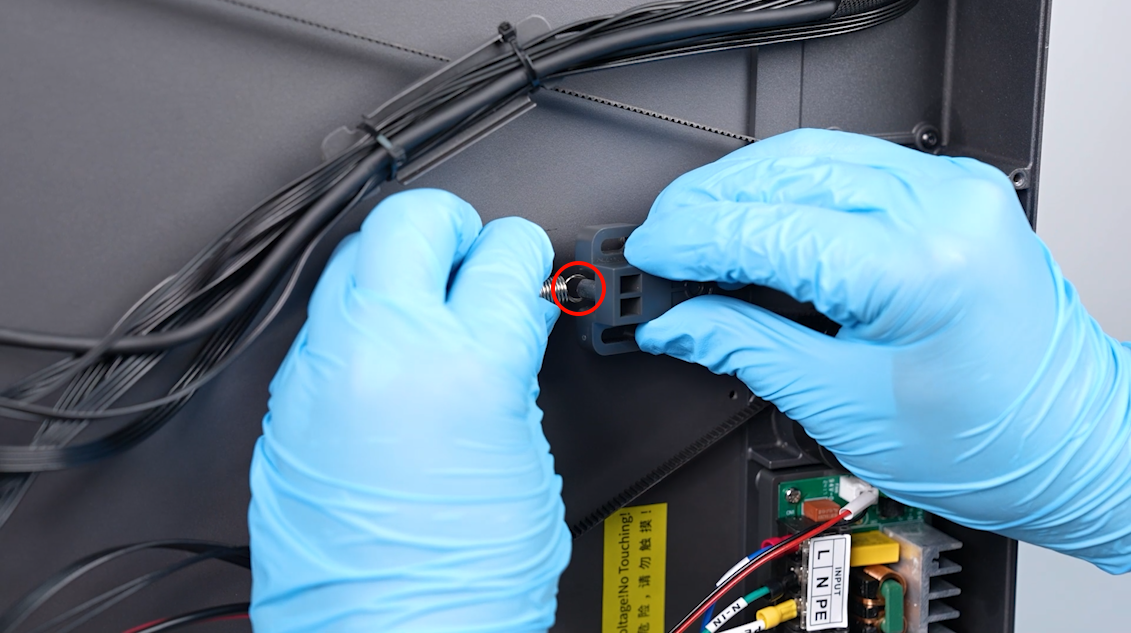
- Loosen the screw securing ribbon cable holder using a 2.0 mm Allen key. Rotate the holder and remove the timing belt from the isolation column.
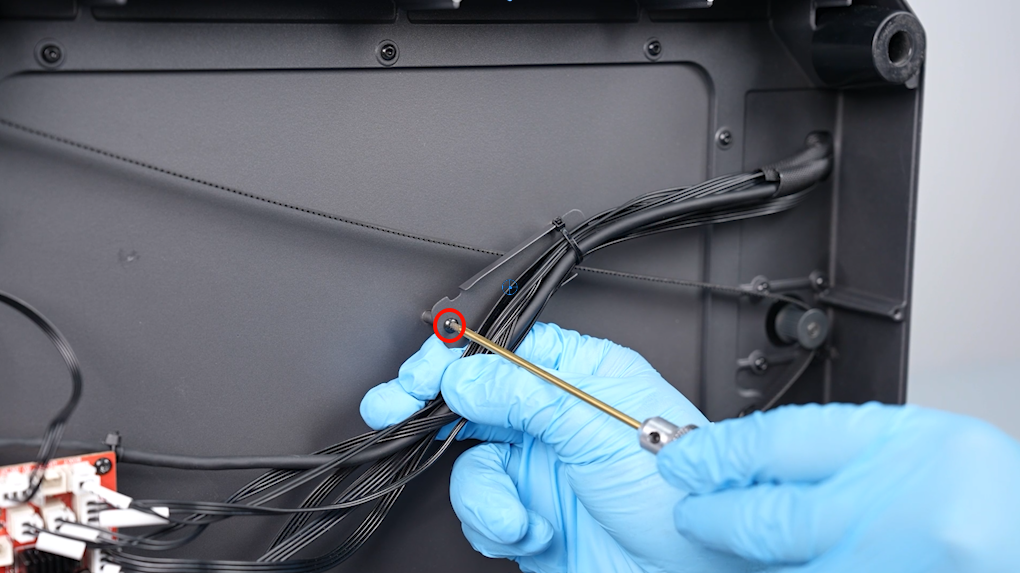
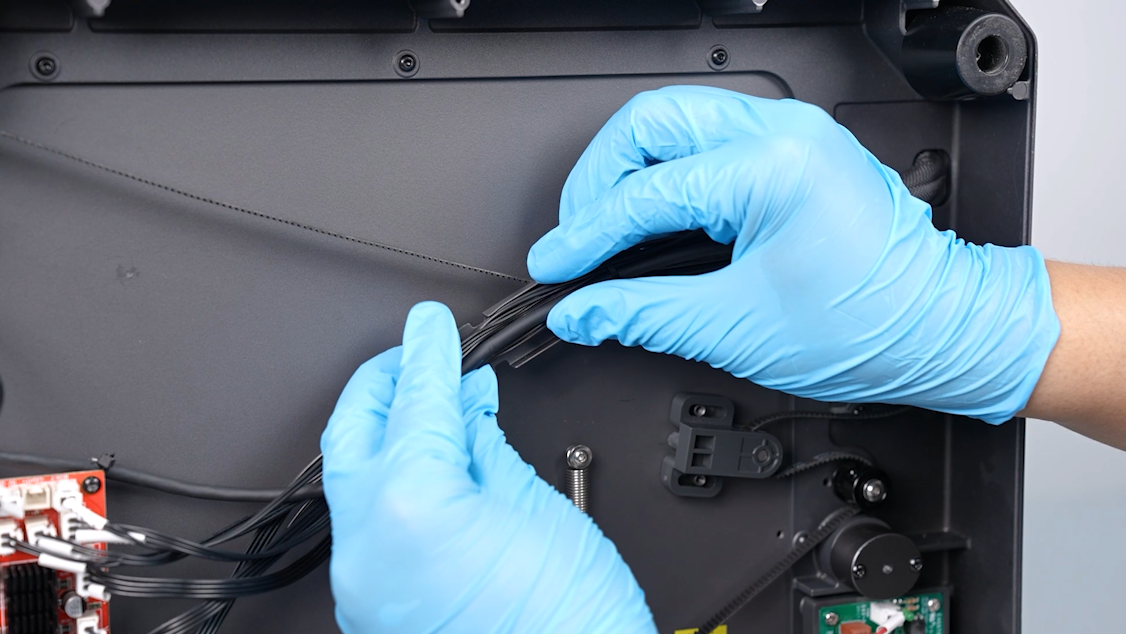
- Take out the timing belt from the isolation column below the ribbon cable holder in the same way.
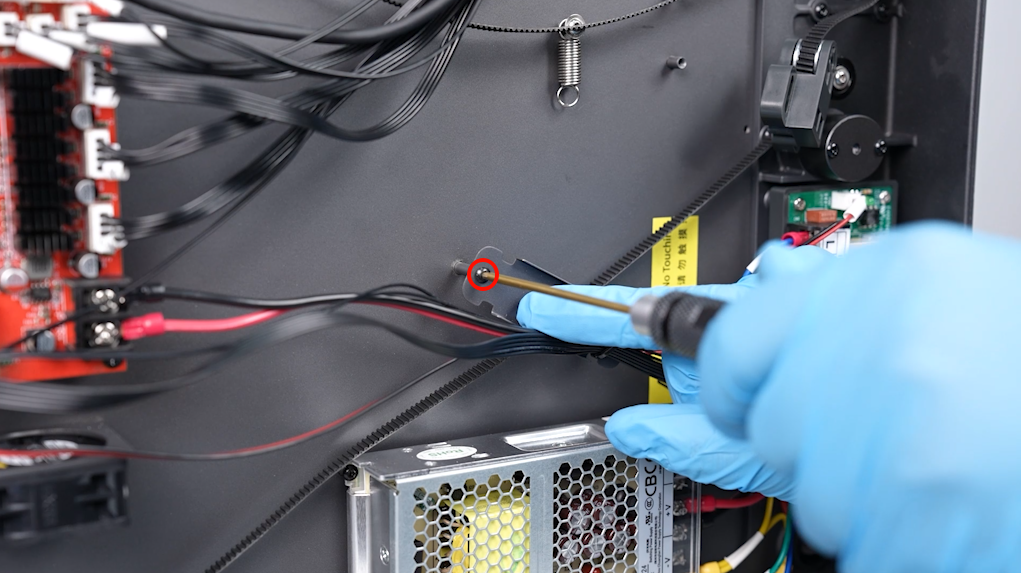
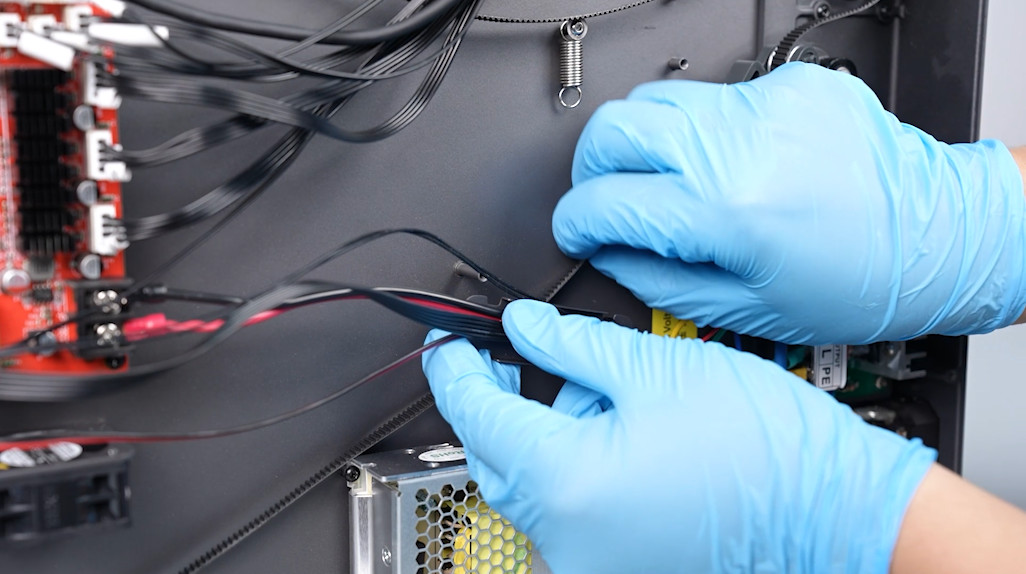
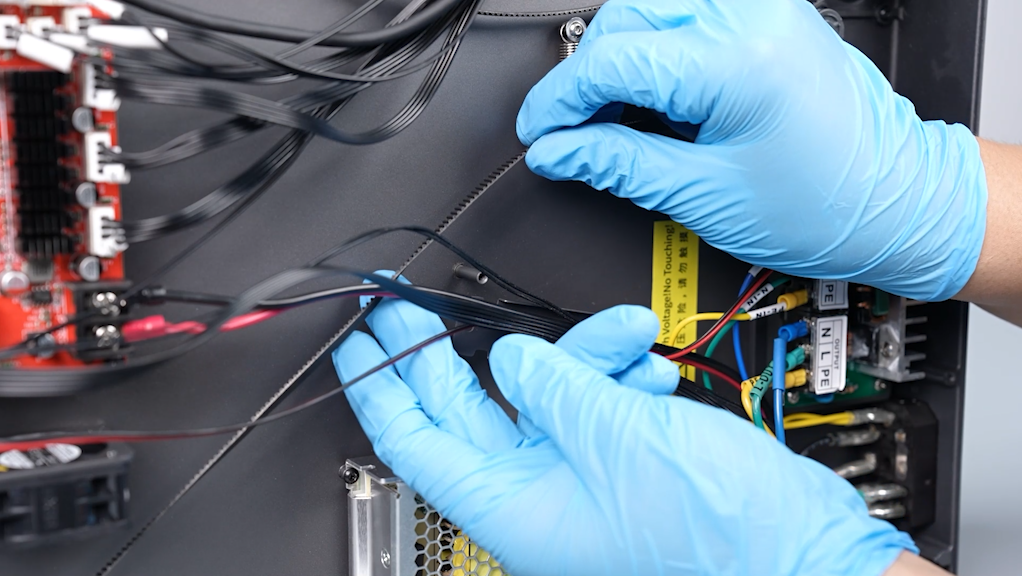
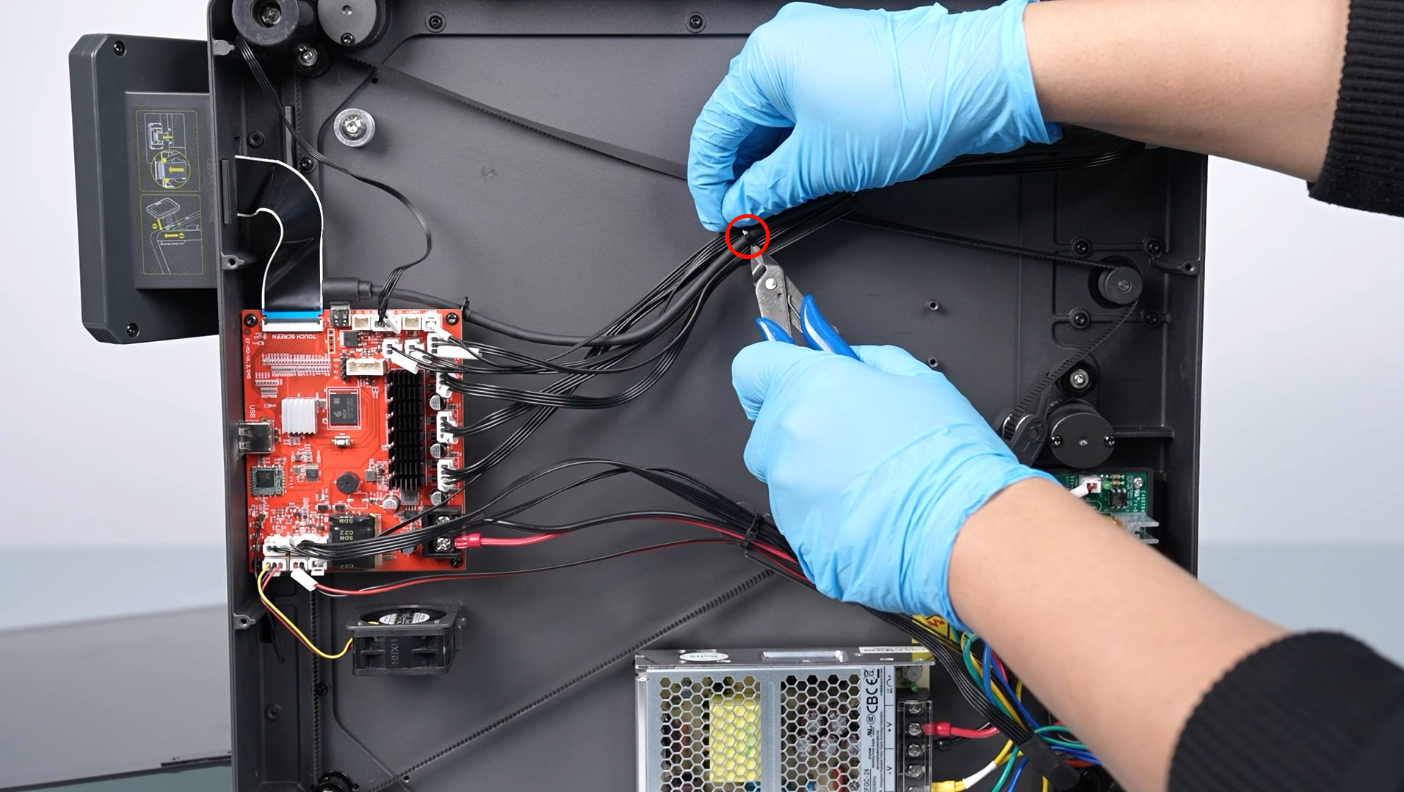
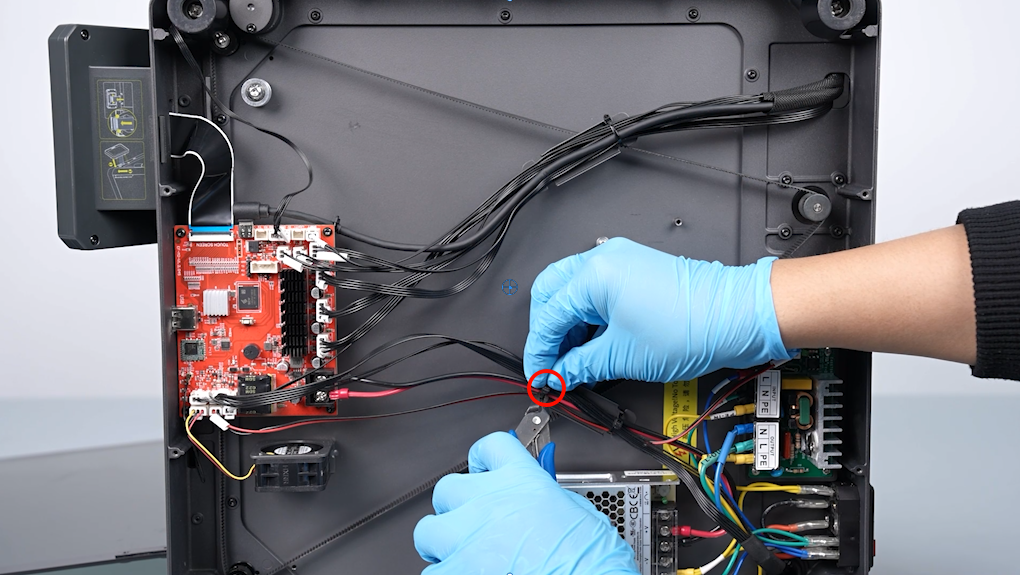
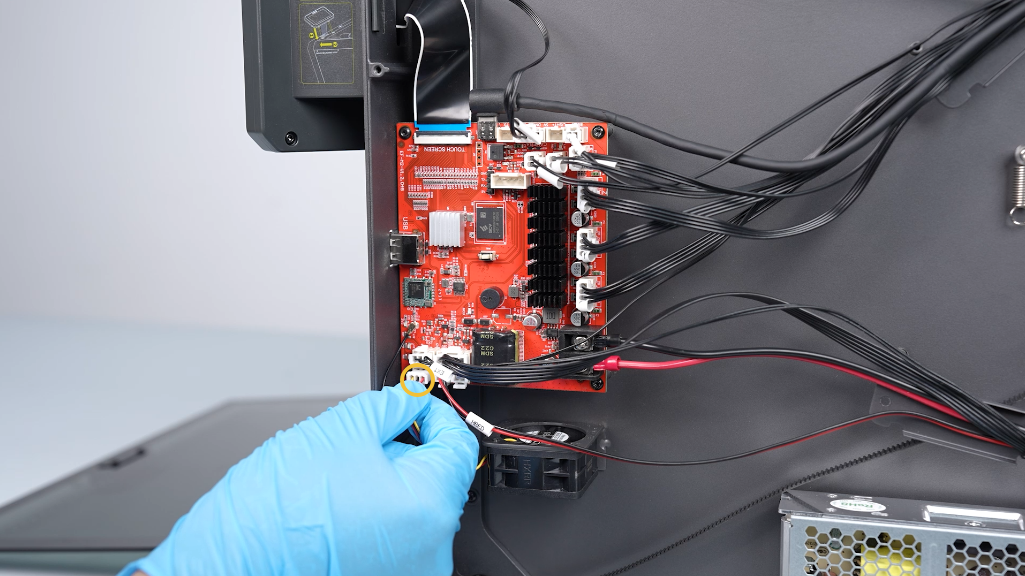
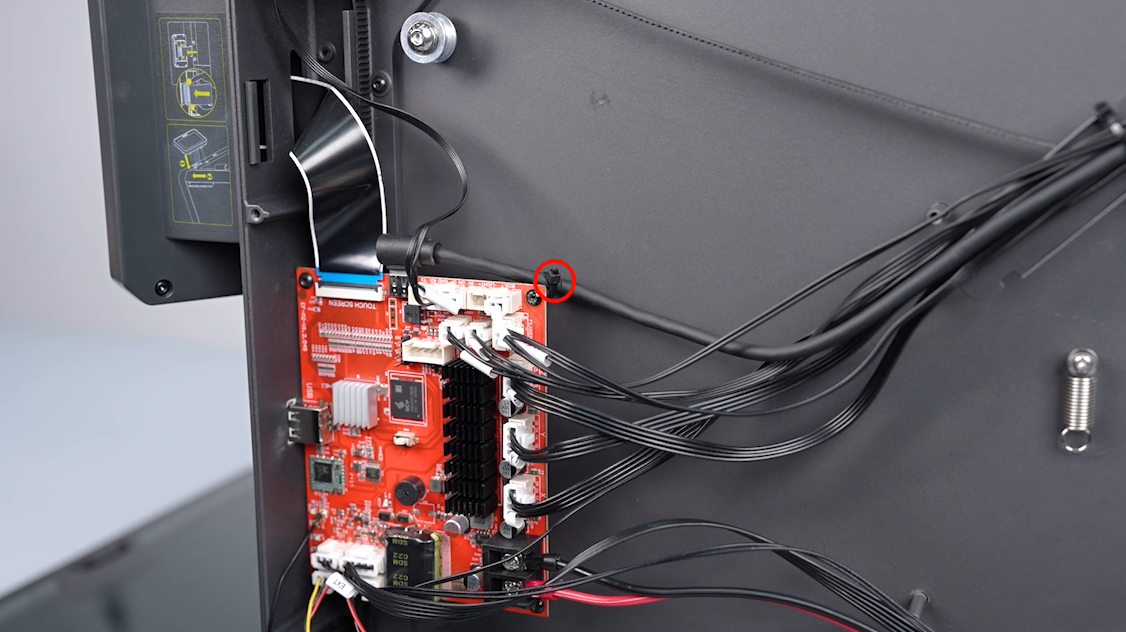
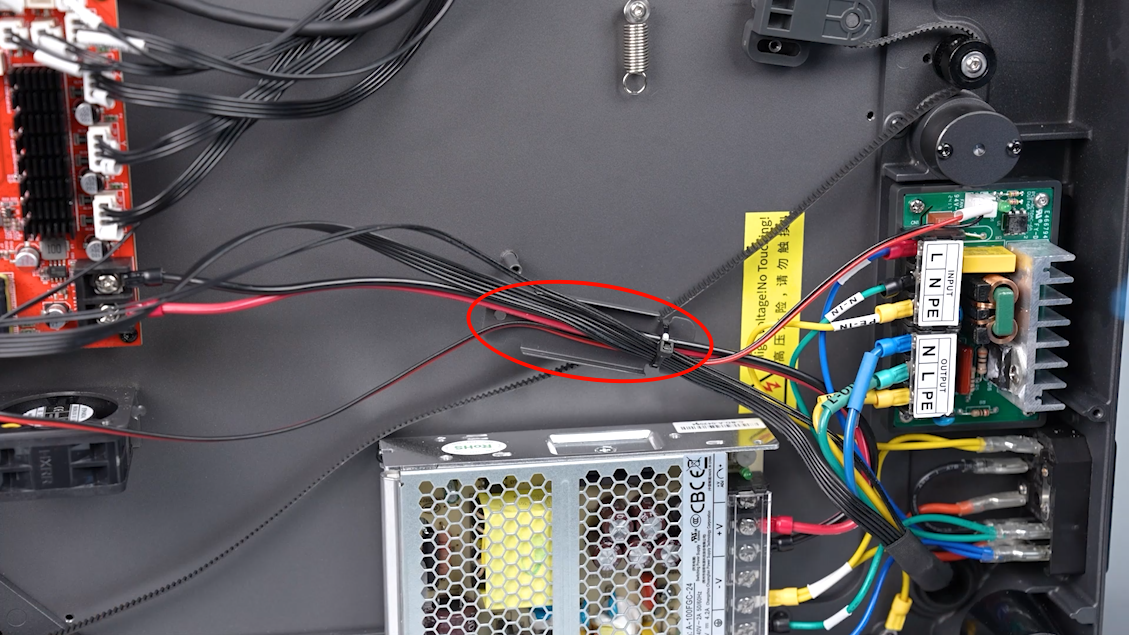
- Use a pair of diagonal pliers to cut off the cable ties securing the print head connection cable. Remove the ribbon cables of the motherboard cooling fan.

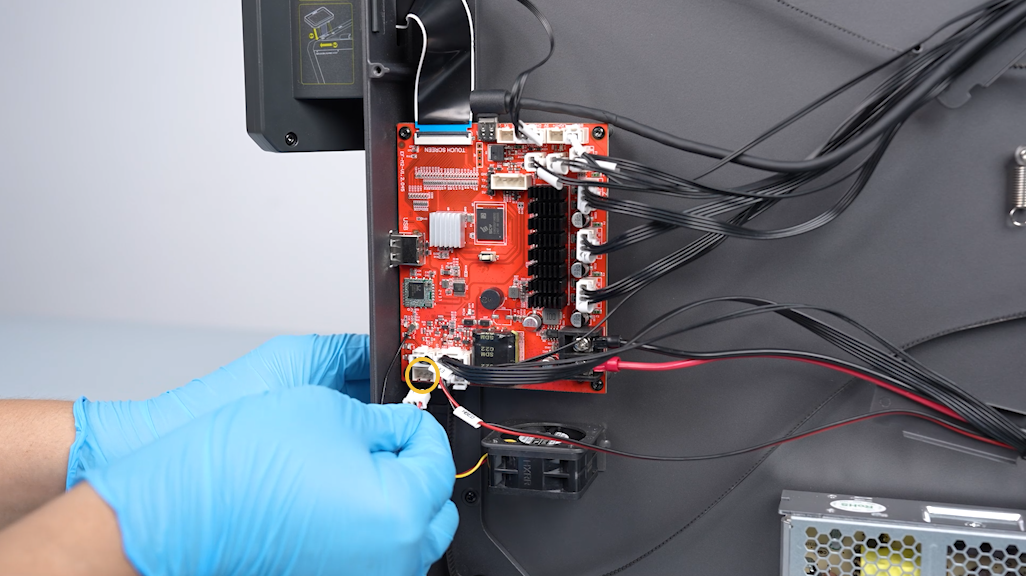
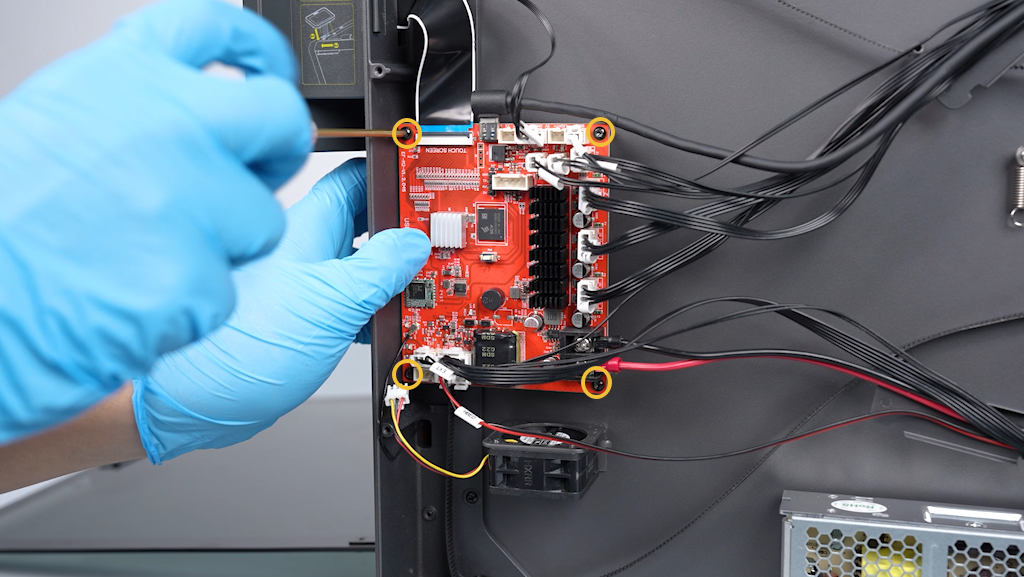
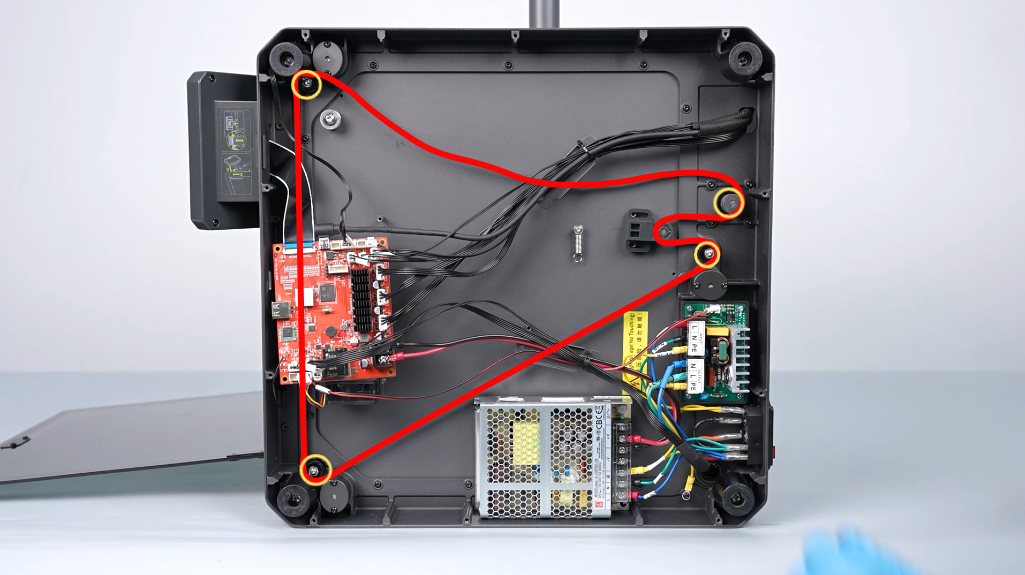
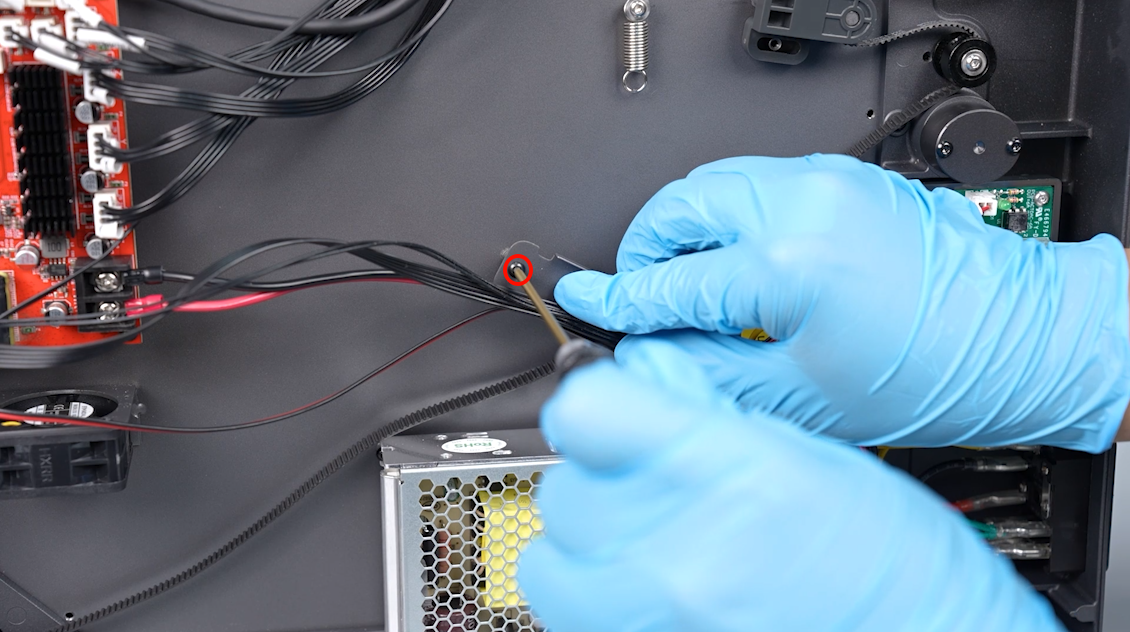
- Use a 2.0 mm Allen key to loosen the 4 screws securing the motherboard. Remove the Z-axis timing belt from the 4 timing pulley.

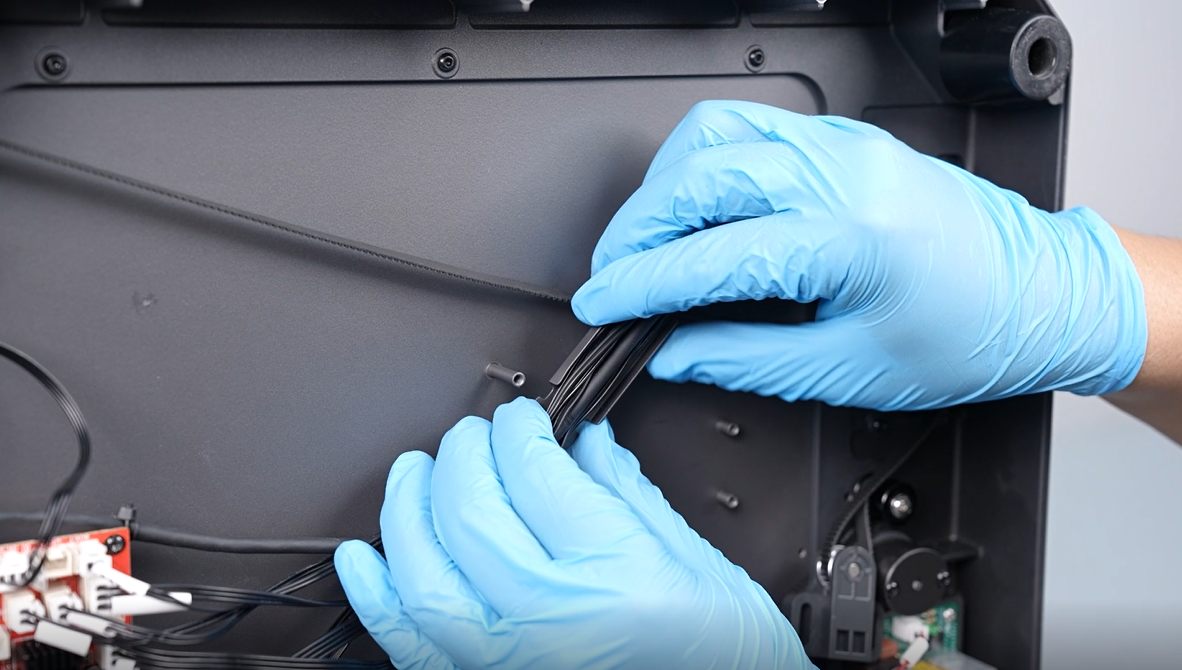
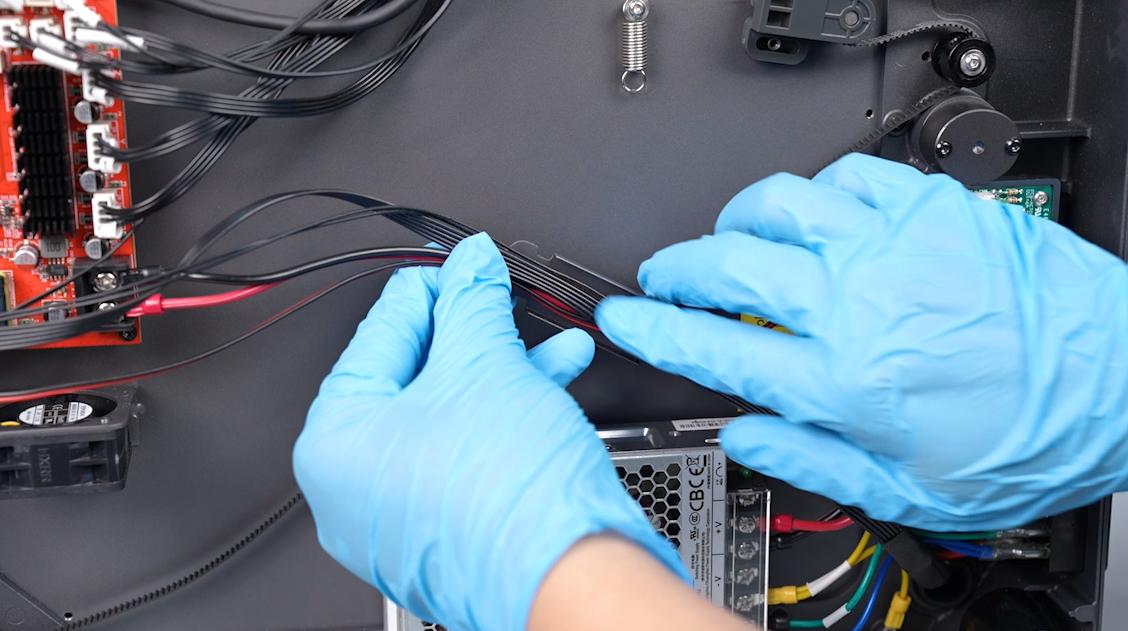
- Organize the timing belt, then remove it from the underneath the motherboard.
¶ Install the new Z-axis timing belt
- Prepare the new Z-axis timing belt. Pass the timing belt from beneath the motherboard. Organize the timing belt, then install it on the 4 timing pulleys.
- Put the motherboard in the installation position by aligning it with the screw holes. Tighten the 4 screws securing motherboard using a 2.0 mm Allen key. Insert the ribbon cables of the model cooling fan into the port on the motherboard. Use cable ties to secure the print head ribbon cables to the isolation column of the motherboard.

- Put the timing belt below the ribbon cable holer. Rotate the ribbon cable holder and put it in the installation position. Tighten the screw securing the holder using a 2.0 mm Allen key.
- Put the ribbon cables on the holder, then use cable ties to secure.
- Install the lower ribbon cable holder in the same way.
- Install the spring in the holder of the belt tensioner. Put the belt tensioner in the installation position by aligning it with the screw hole. Tighten the 2 screws securing the belt tensioner by two-thirds of screws' depth using a 2.0 mm Allen key.
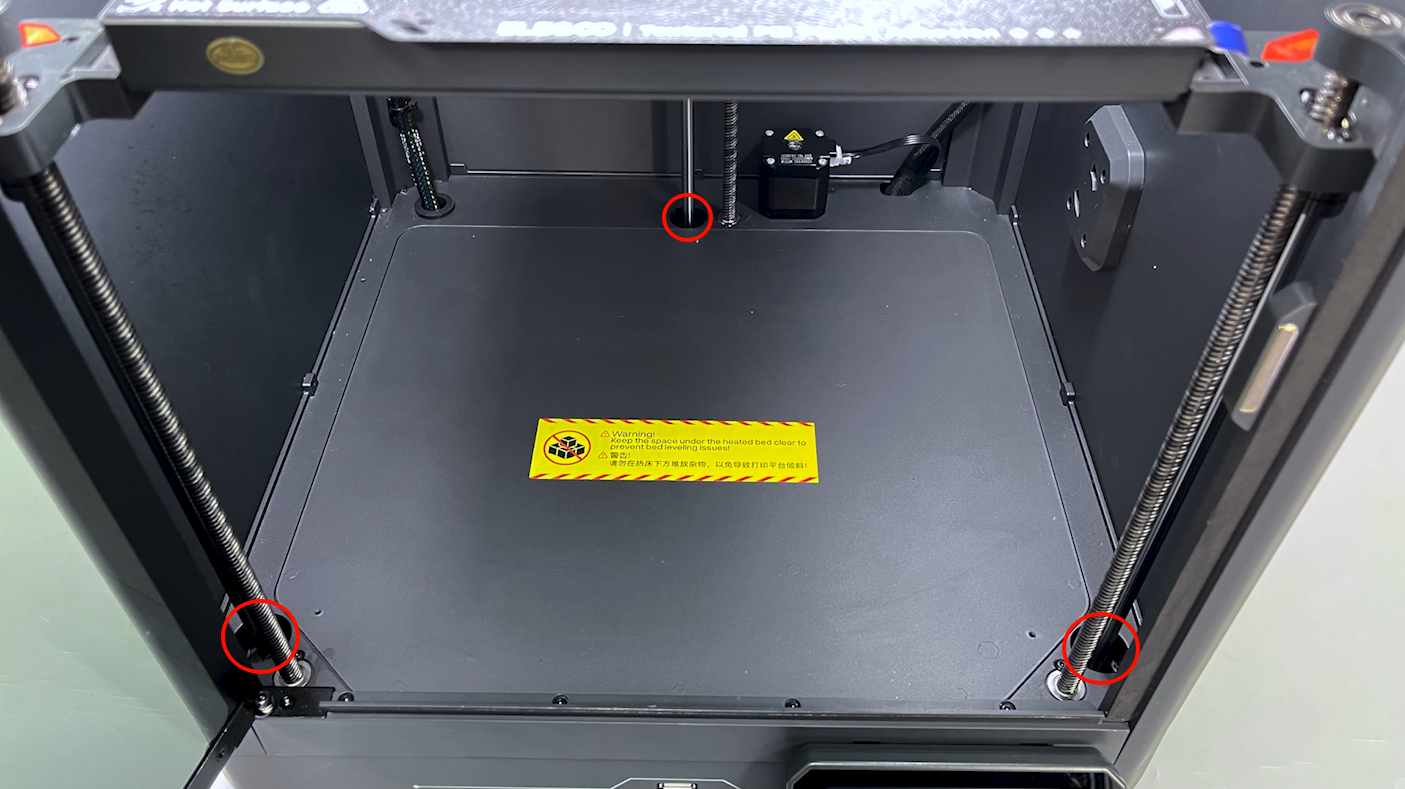
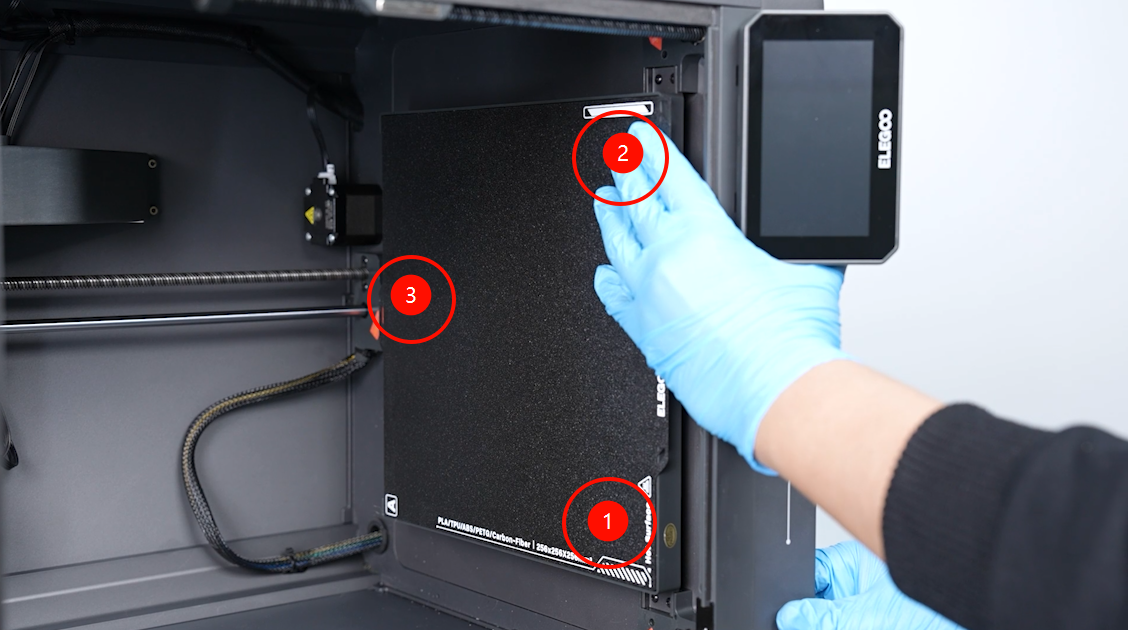
- Press down on the 3 points of the heated bed connecting to the lead screw. Press the center of the heated bed. Ensure that the 3 points clinging to the bottom of the printer.
- Install the timing belt on the idler pulley. Press the belt tensioner to the left. Use a 2.0 mm Allen key to loosen the 2 screws securing the belt tensioner.
- Put the bottom cover in the installation position by aligning it with the foot pad holes and screw holes. Use a 2.0 mm Allen wrench to tighten the 10 screws securing the bottom cover.

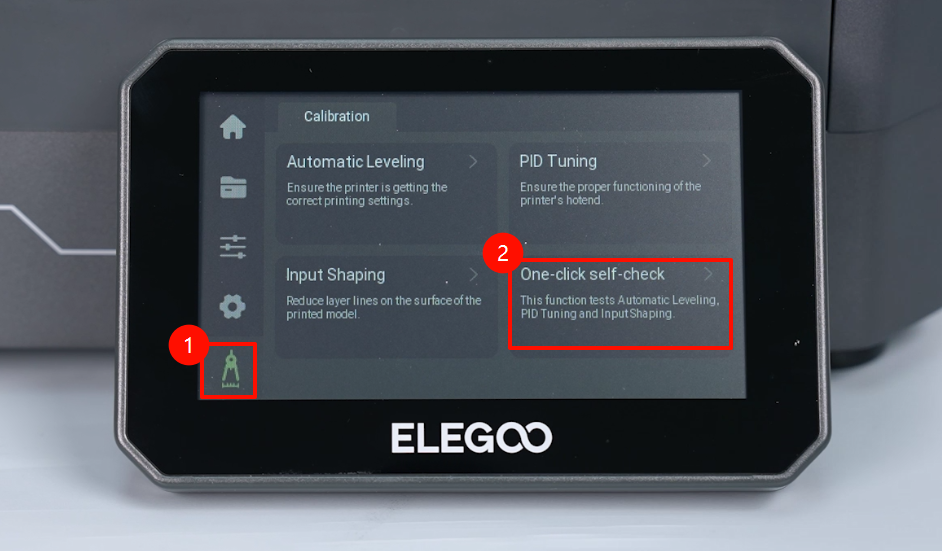
- Plug in the power cord. Power on the printer. Navigate to "Caliberation - Self check - All - Start" on the touchscreen.
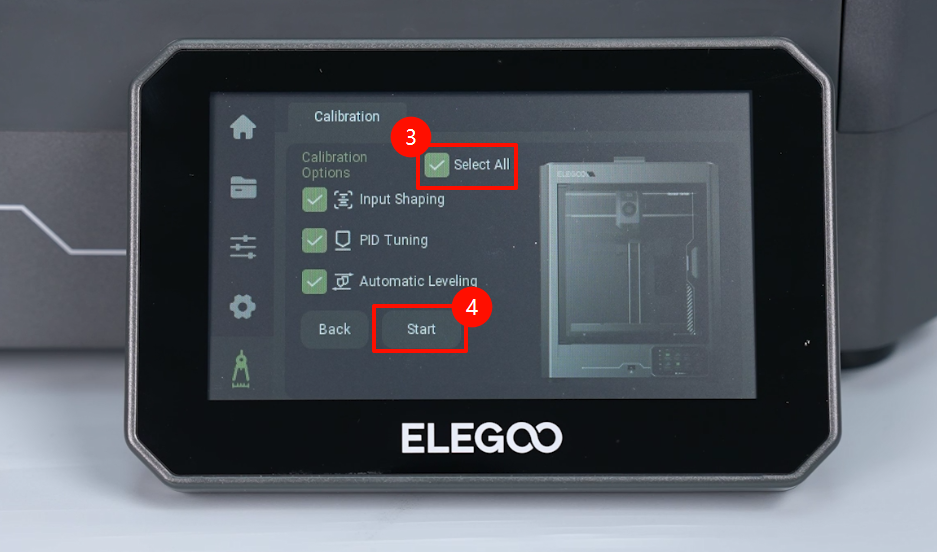
- The printer is ready for use after self inspection.
