¶ Tools and Materials
- A 2.5 mm Allen key
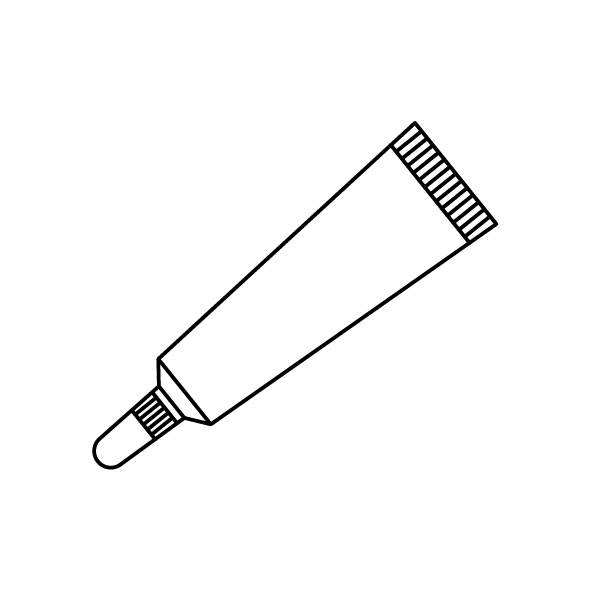
- Thermal Paste
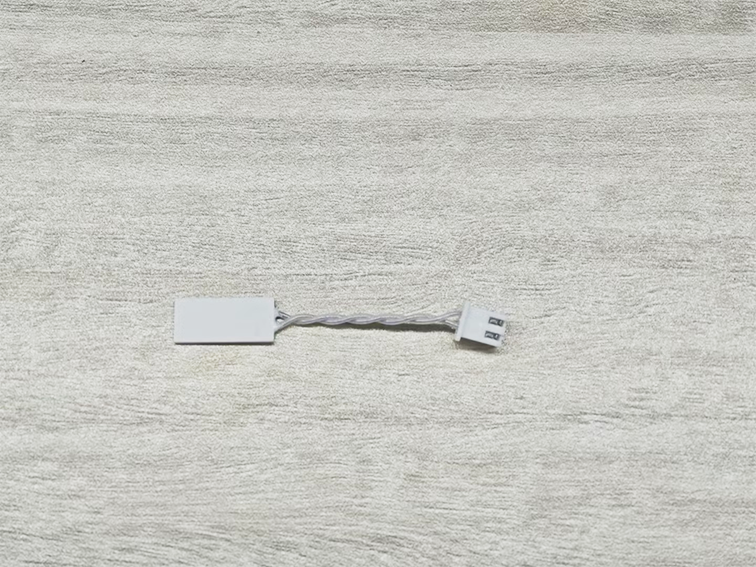
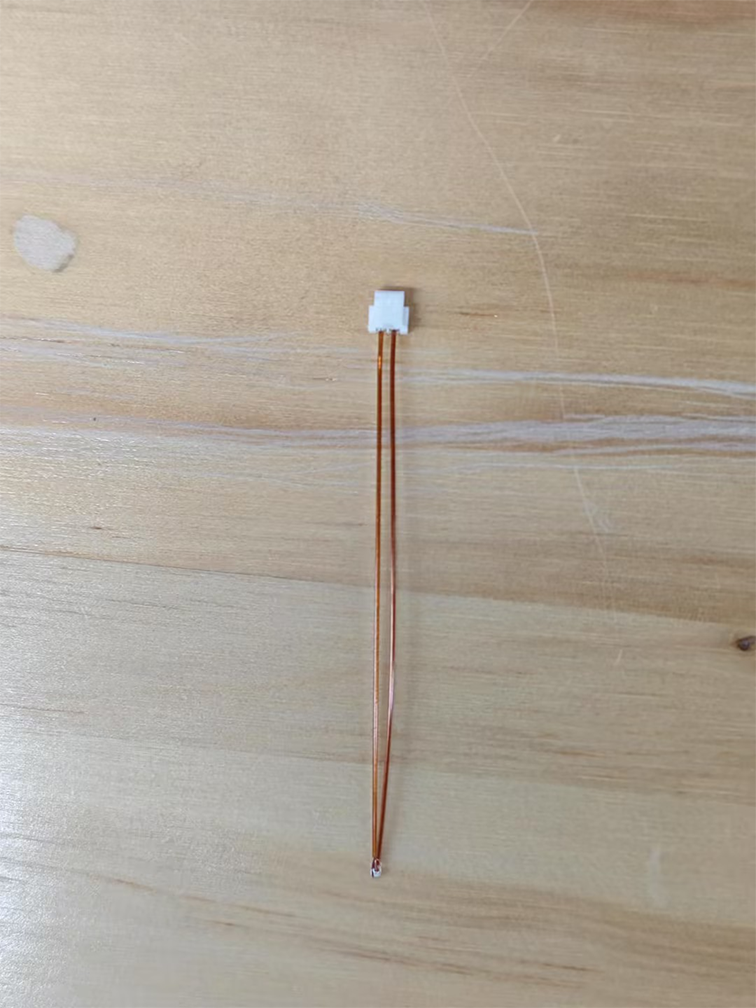
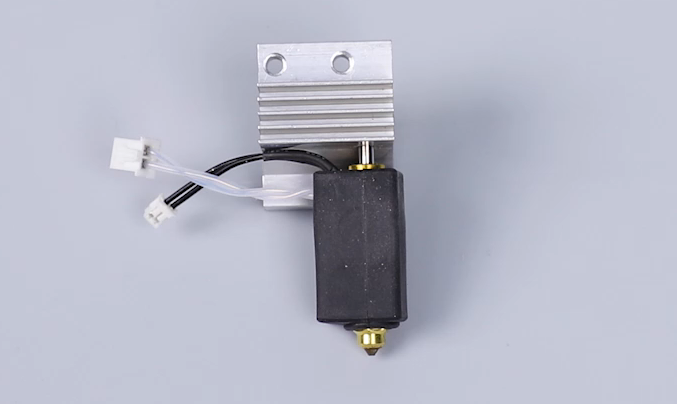
- New ceramic heating plate and new thermistor

¶ Tutorial Video
¶ Instruction
¶ Remove the old thermistor and ceramic heating plate
- Power off the printer and unplug the power cord.
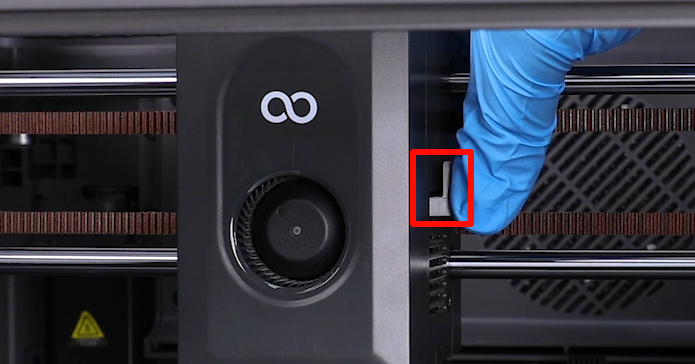
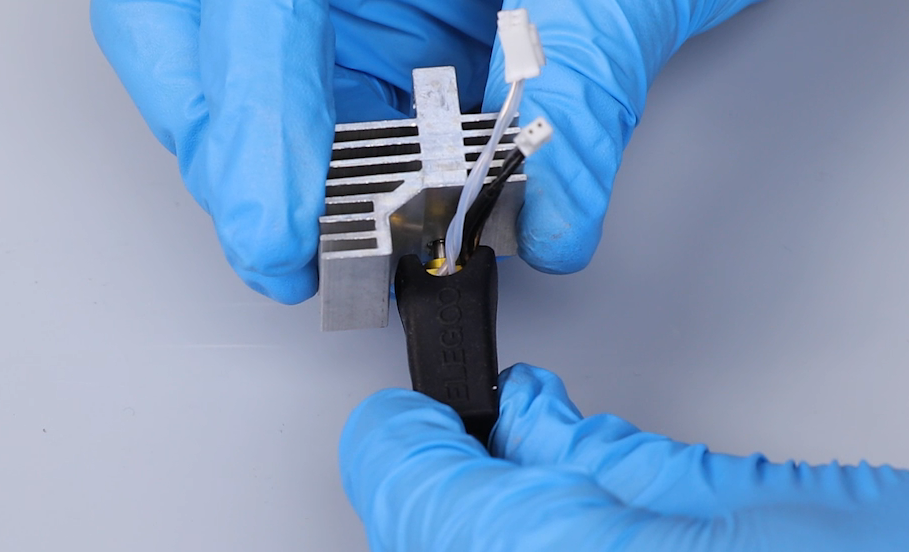
- Press the lever of the filament cutter backward to cut off the filament. Lift the front cover of the printing head to remove it.
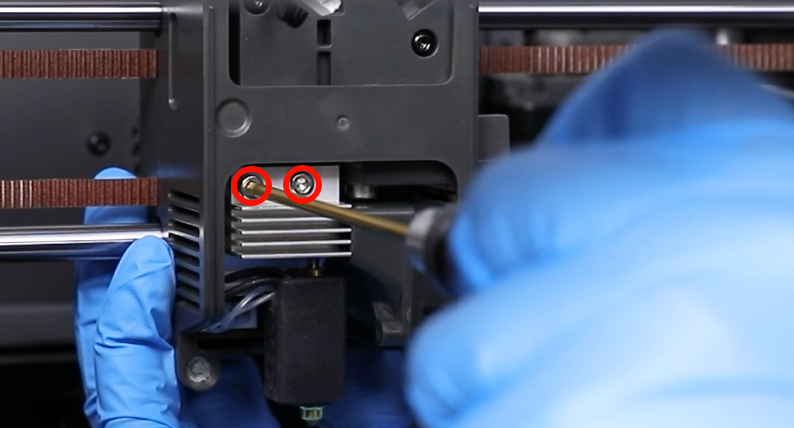
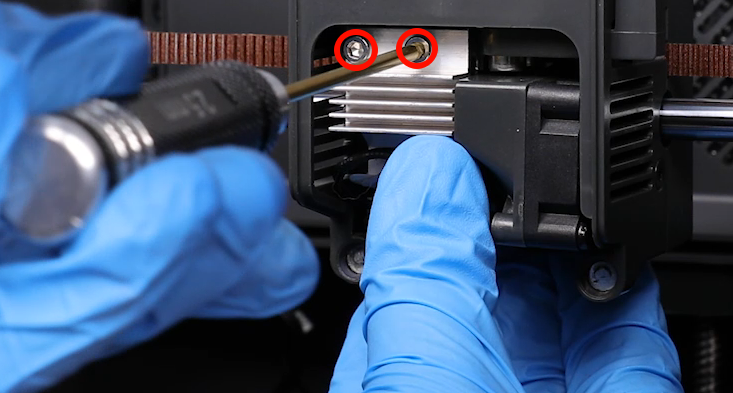
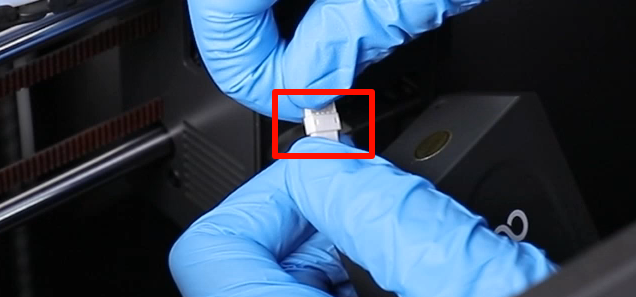
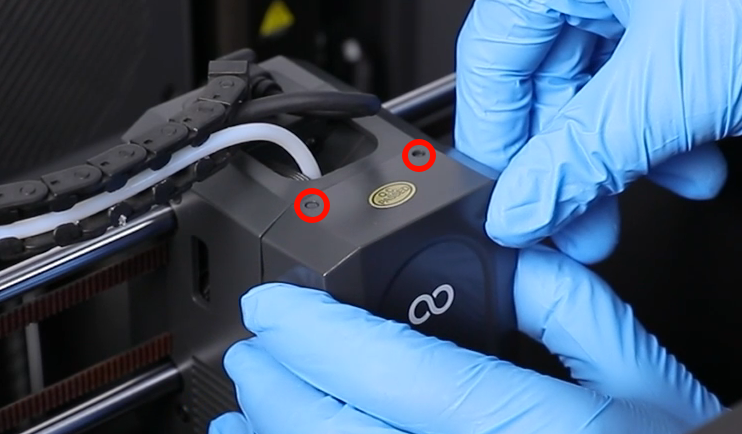
- Unplug the port of the ribbon cables of the model cooling fan. Use a 2.5 mm Allen wrench to loosen the 2 screws securing the nozzle assembly.
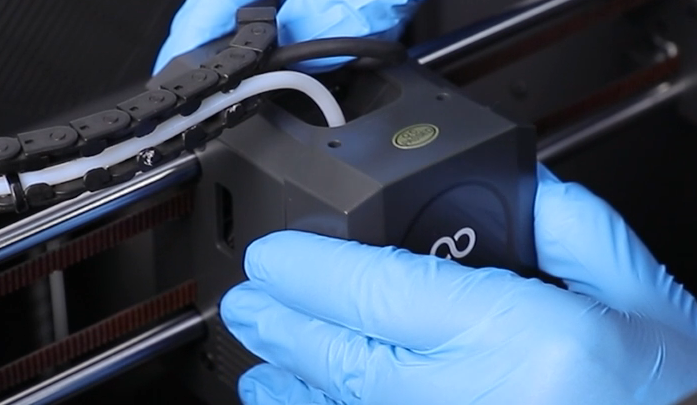
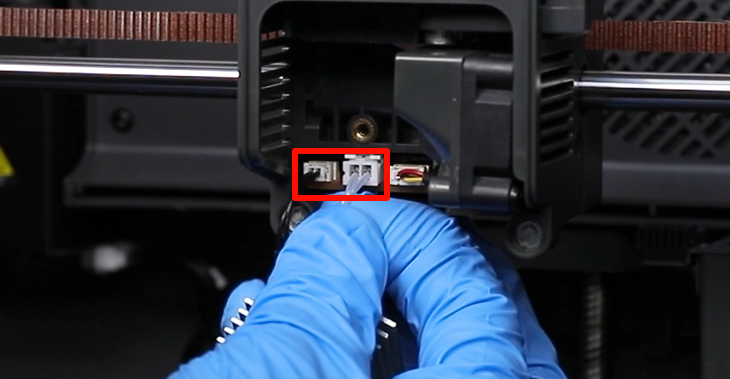
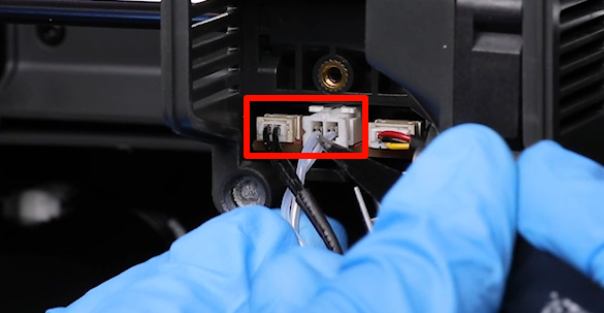
- Unplug the port of the ribbon cables of the ceramic heating plate and the thermistor. Then, remove the nozzle assembly.
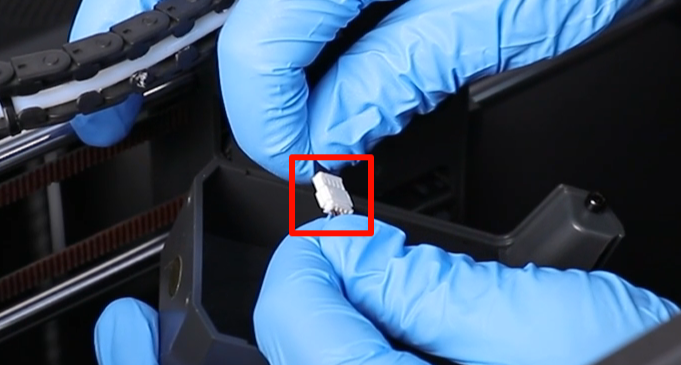
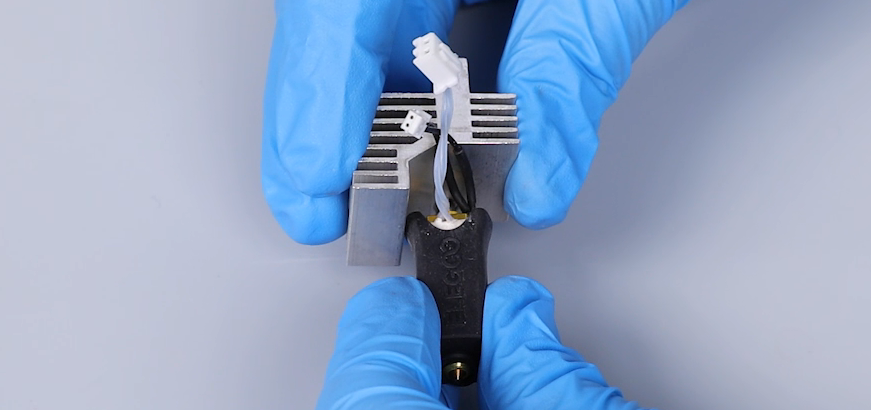
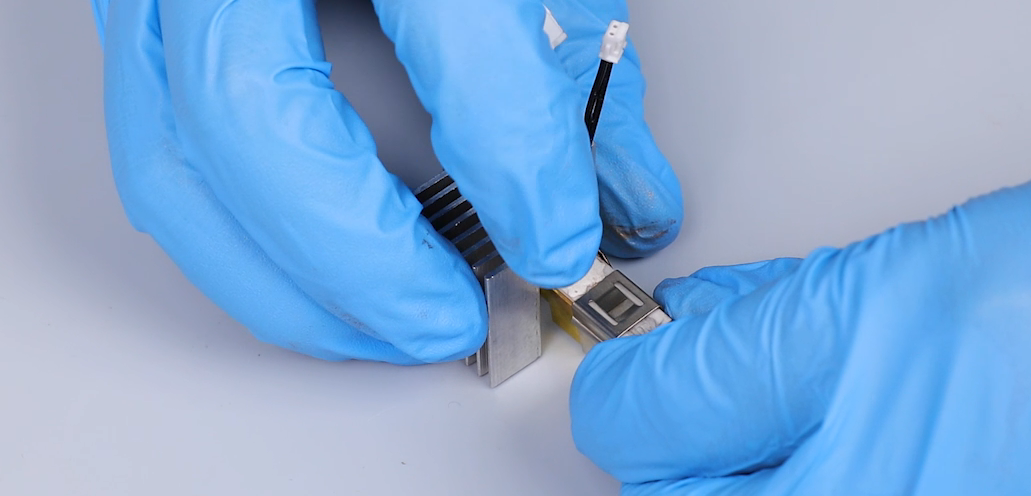
- Remove the black silicone sock and ceramic heater‘s circle clip. Then, remove the old ceramic heating plate and the old thermistor.
Note: Do not force the plate to avoid damaging the ceramic heating.
¶ Install the new ceramic heating plate and new thermistor
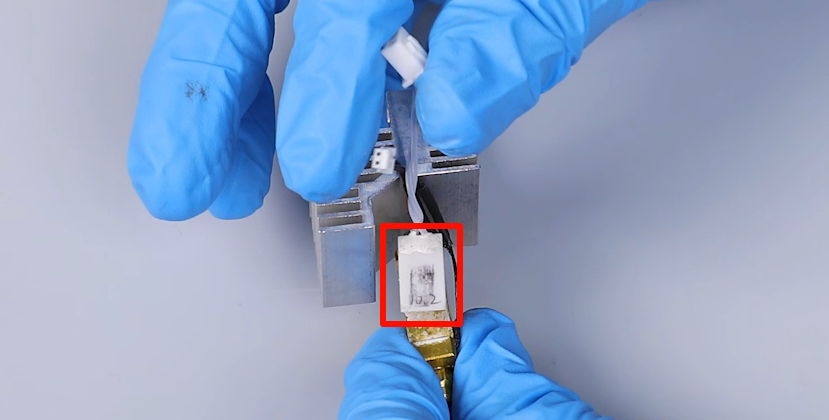
- Prepare the new thermistor. Then, bend the thermistor's ribbon cables approximately 5 mm from the front. Put the thermistor in the installation position by aligning it with the installation holes.

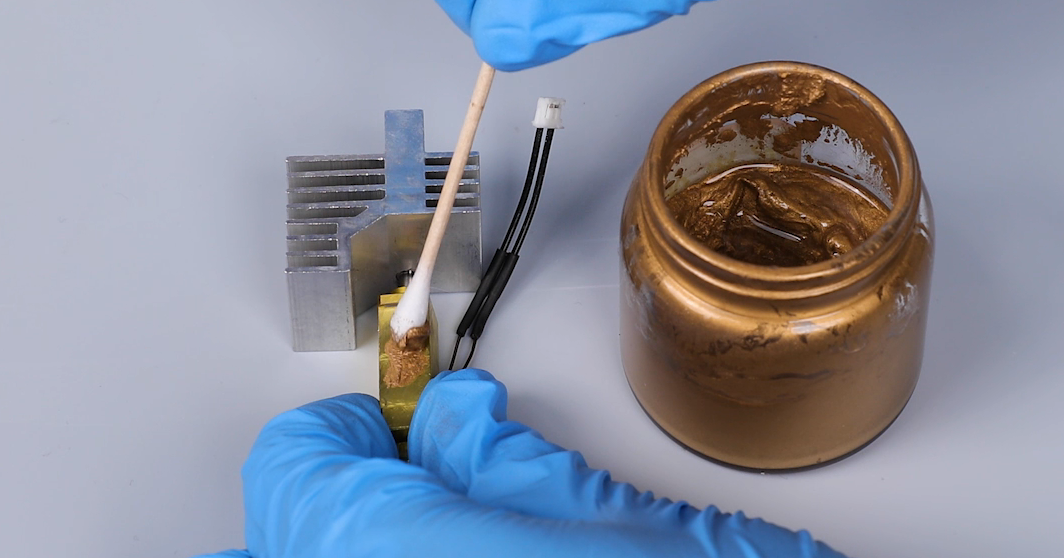
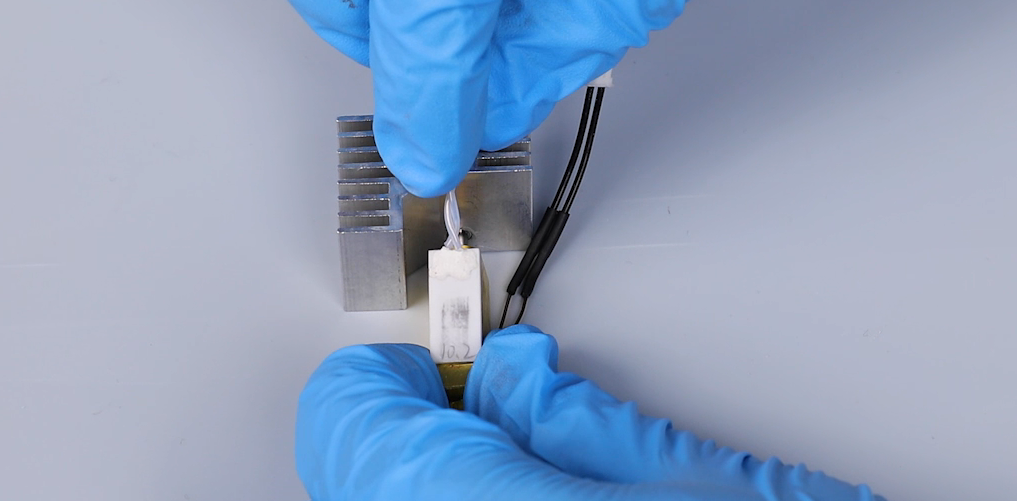
- Apply the thermally conductive silicone grease evenly to the installation position. Prepare the new ceramic heating plate and put it in the installation position.
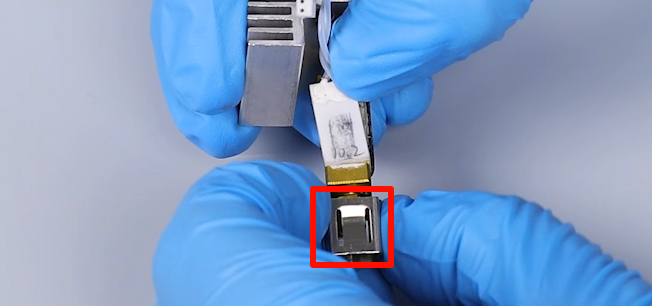
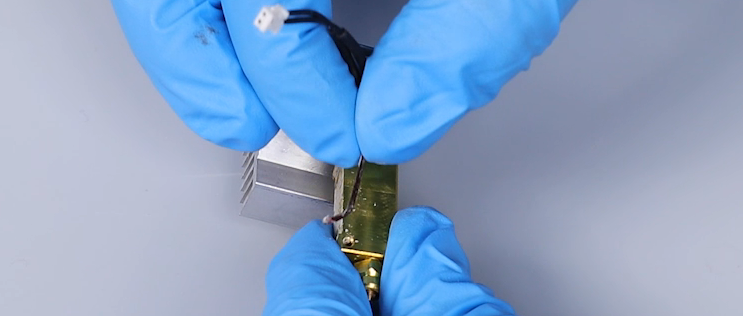
- Install the heater's circle clip and put the black silicon sock in the installation position.
Note: The clip has the fixed installation direction. The ribbon cables of the thermistor pass through the grooves.

- Prepare nozzle assembly. Plug in the ribbon cables of the ceramic heating plate and the thermistor. Put the nozzle assembly in the installation position by aligning it the the screw holes.
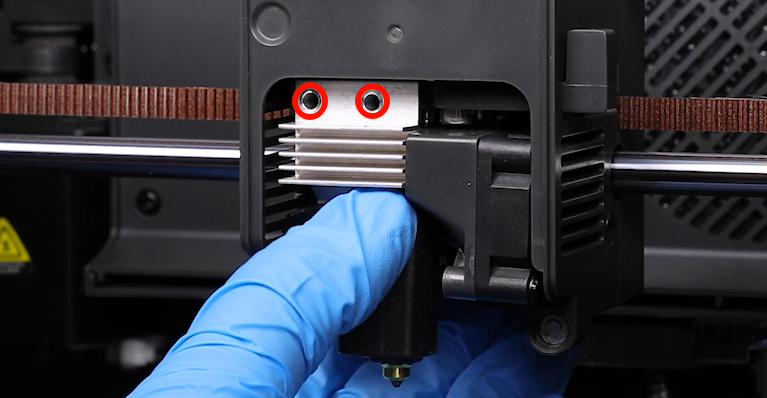
- Use a 2.5 mm Allen wrench to tighten the 2 screws securing the nozzle assembly.
- Plug in the port of the ribbon cables of the model cooling fan. Put the front cover of the printing head in the installation position by aligning it positioning holes.
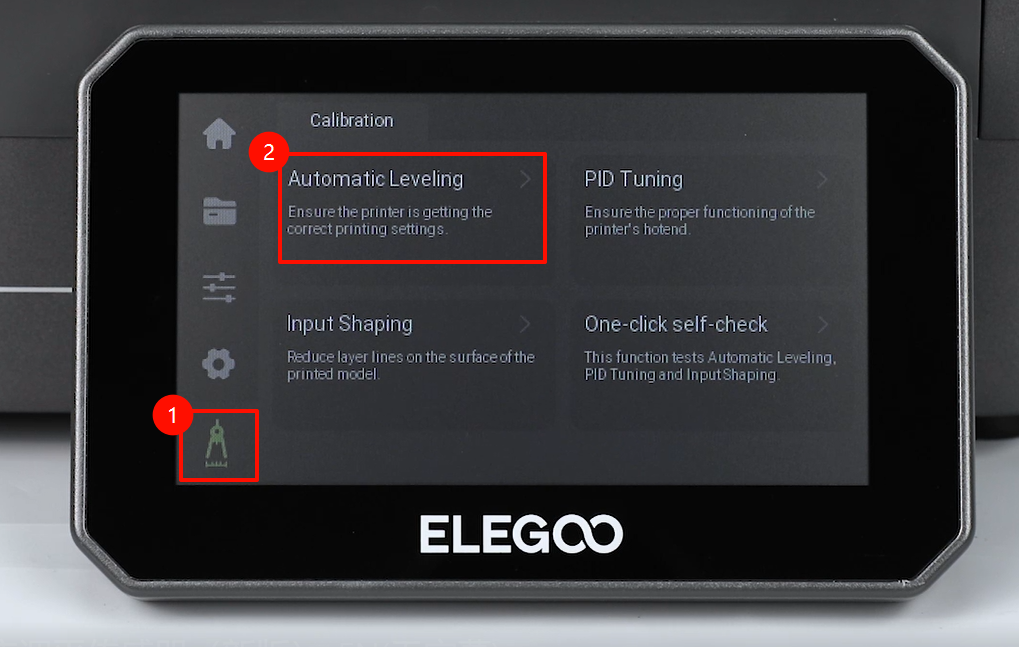
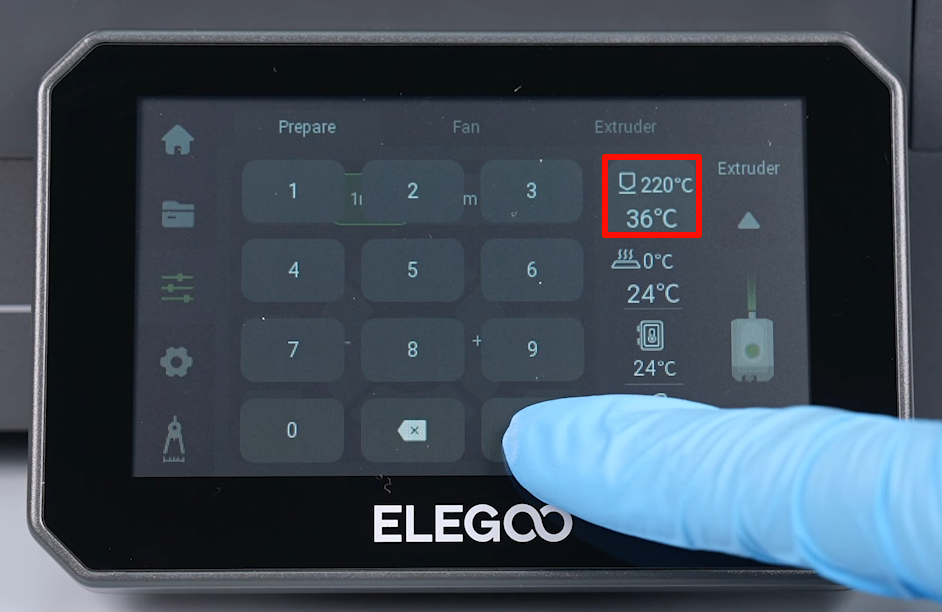
- Power on the printer. Tap "Function" on the touchscreen to enter the Prepare interface. Set the temperature of the nozzle to 220 ℃ and observe that the nozzle can heat up normally.
- The printer is ready for use after it is re-leveled.