¶ Tools and Materials
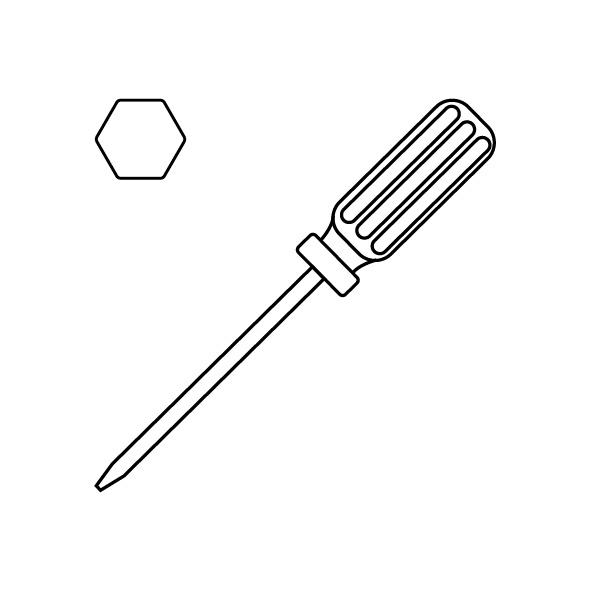
- A 2.0 mm Allen key
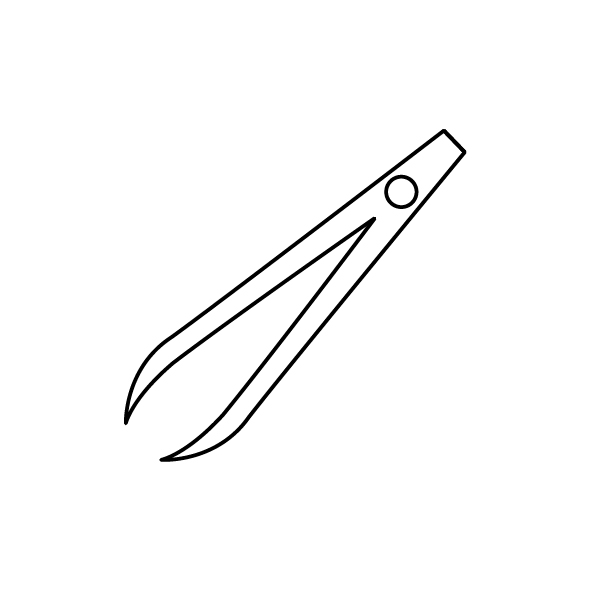
- A pair of tweezers
- Tape
- New strip light and the ribbon cables

¶ Tutorial Video
Coming soon.
¶ Instruction
¶ Remove the old strip light and the ribbon cables
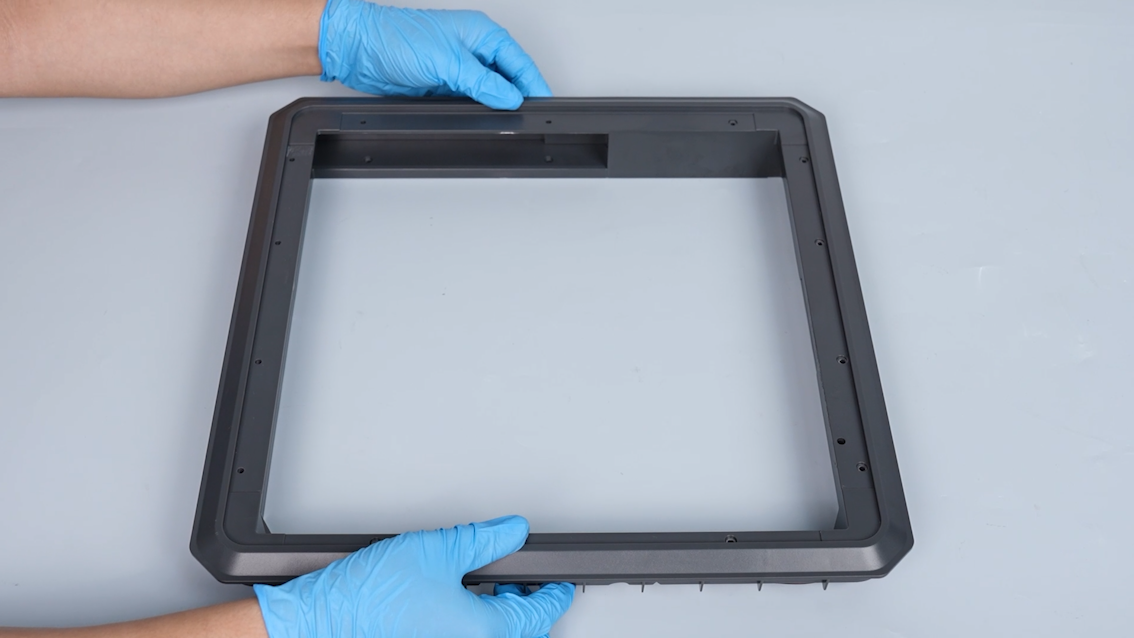
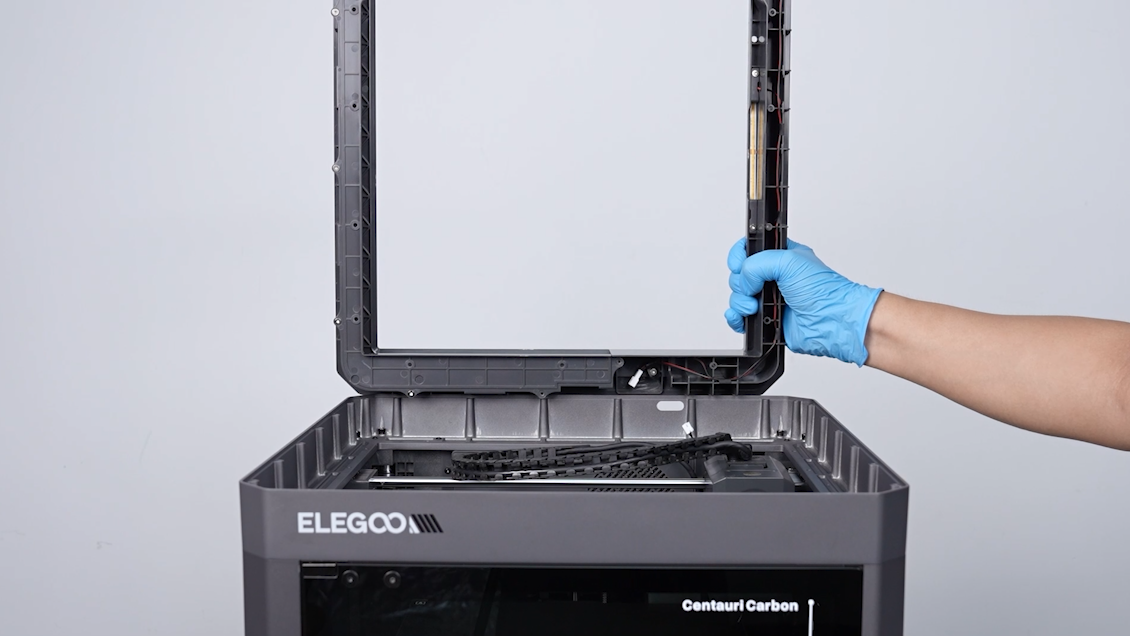
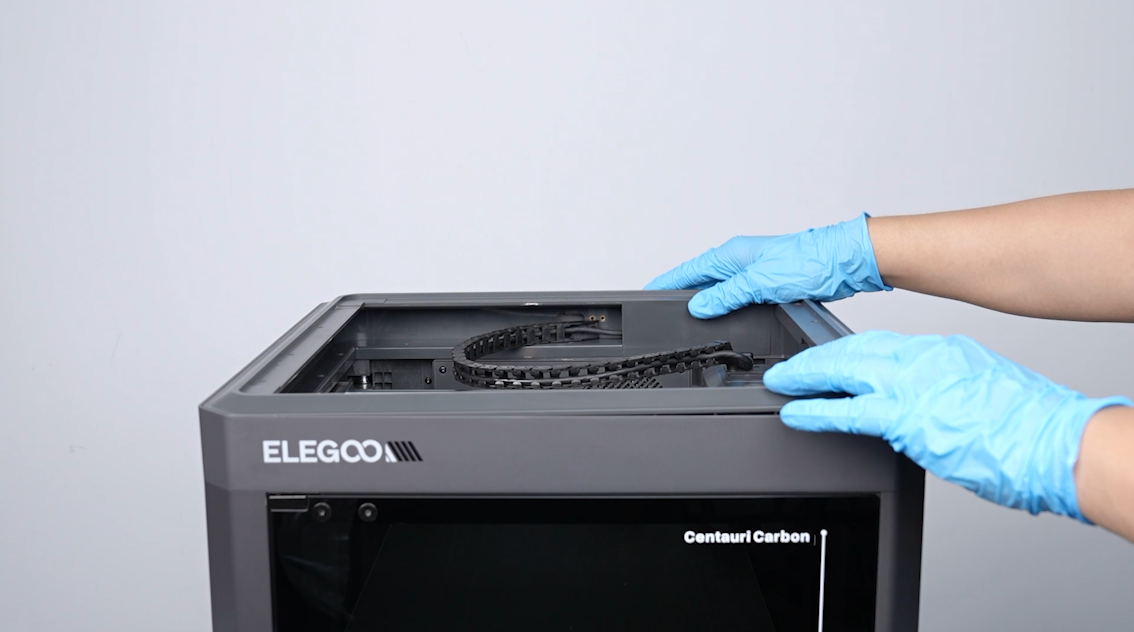
¶ Remove the top frame
- Power off the printer and unplug the power cord.
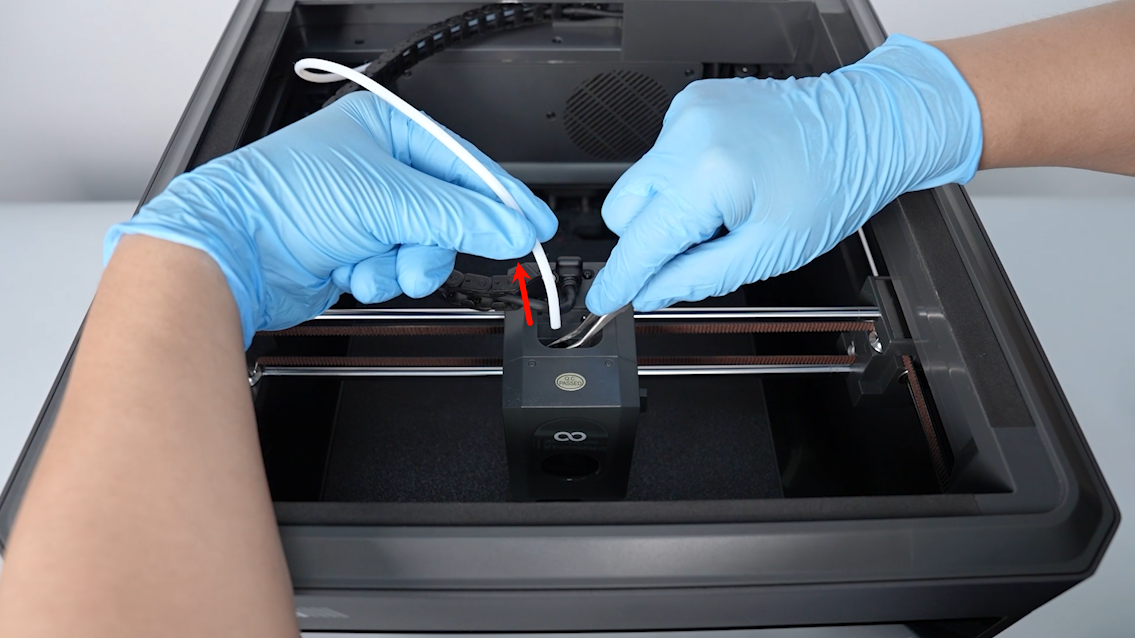
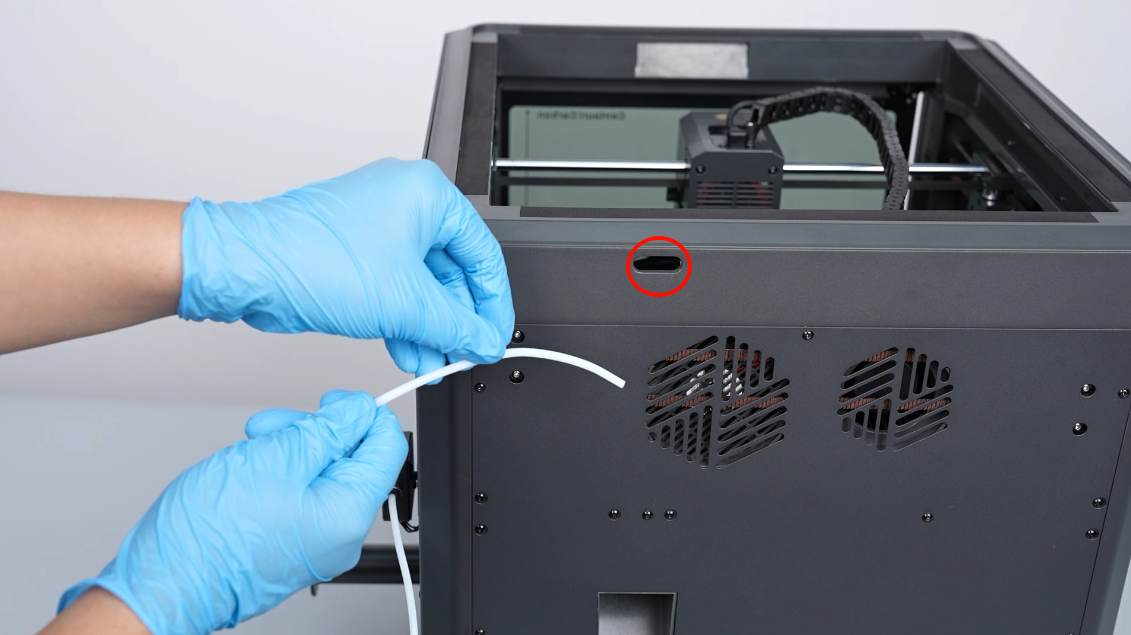
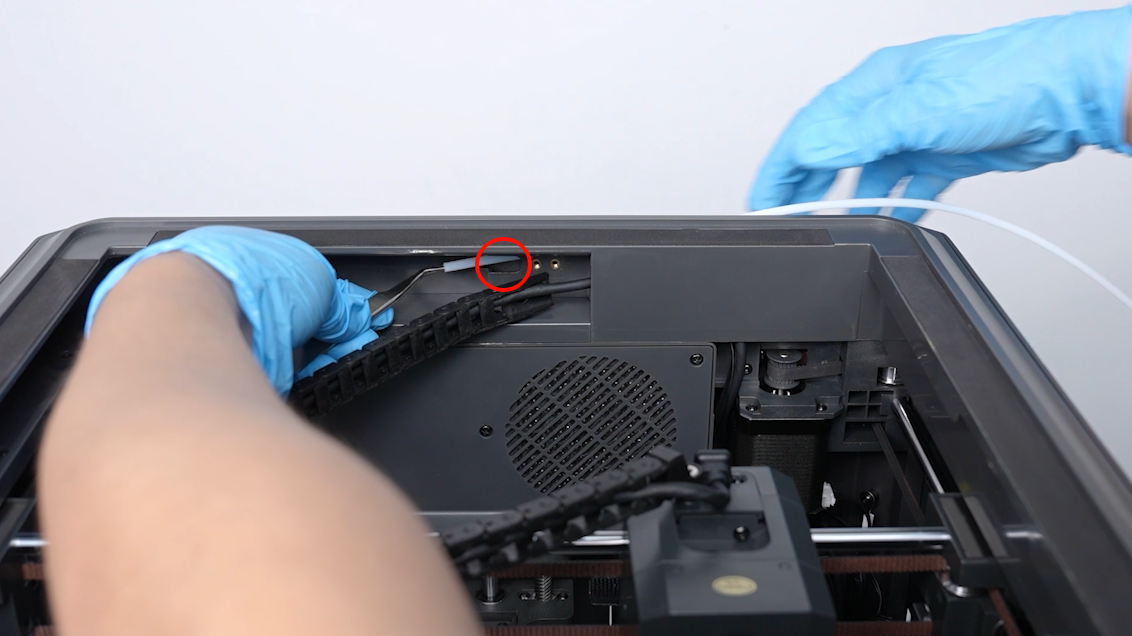
- Press downward the tablet of the connector using a pair of tweezers, then unplug the input tube.
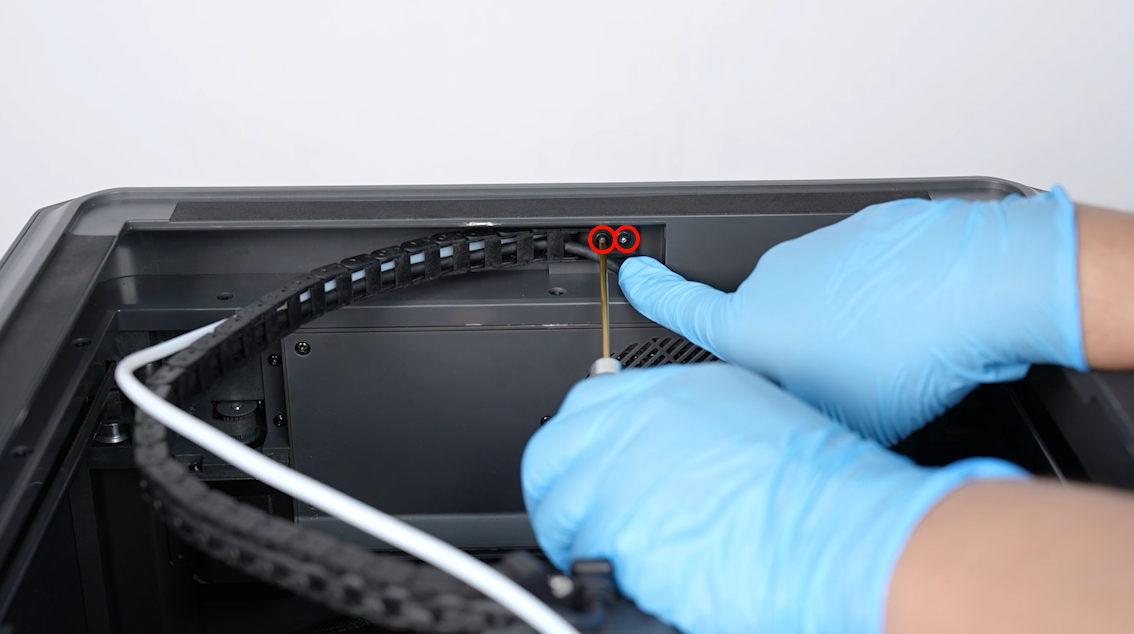
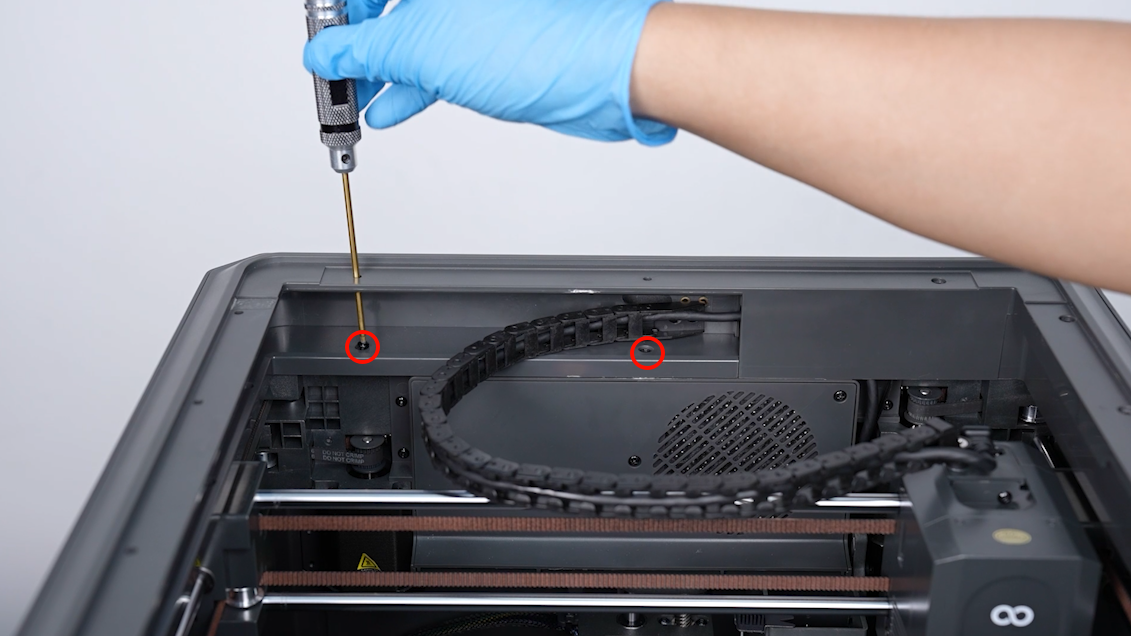
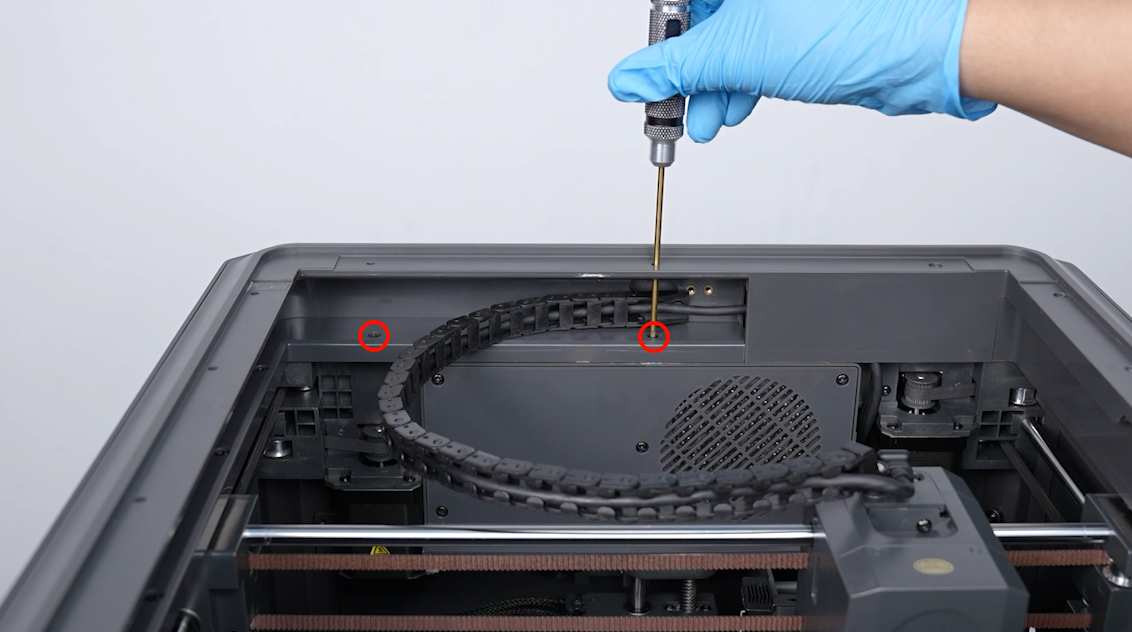
- Loosen the 2 screws securing the cable chain terminal using a 2.0 mm Allen key.
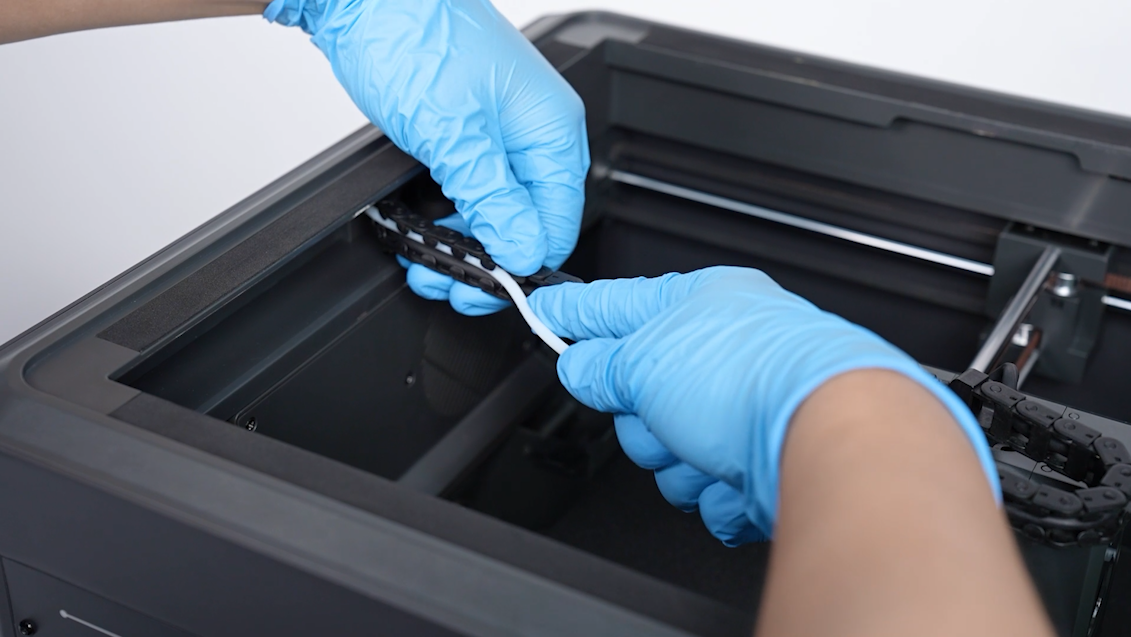
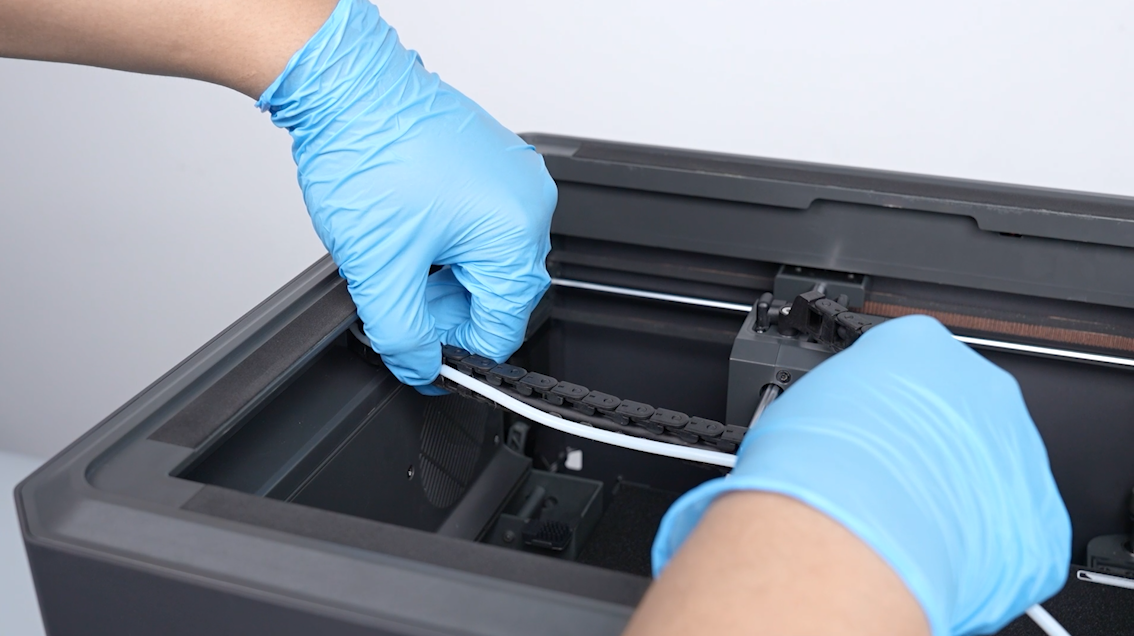
- Remove the PTFE tube from the cable chain. Pull out the PTFE tube from the back of the printer.
- Tear off the four pieces of shock-absorbing foam adhered to the top frame.
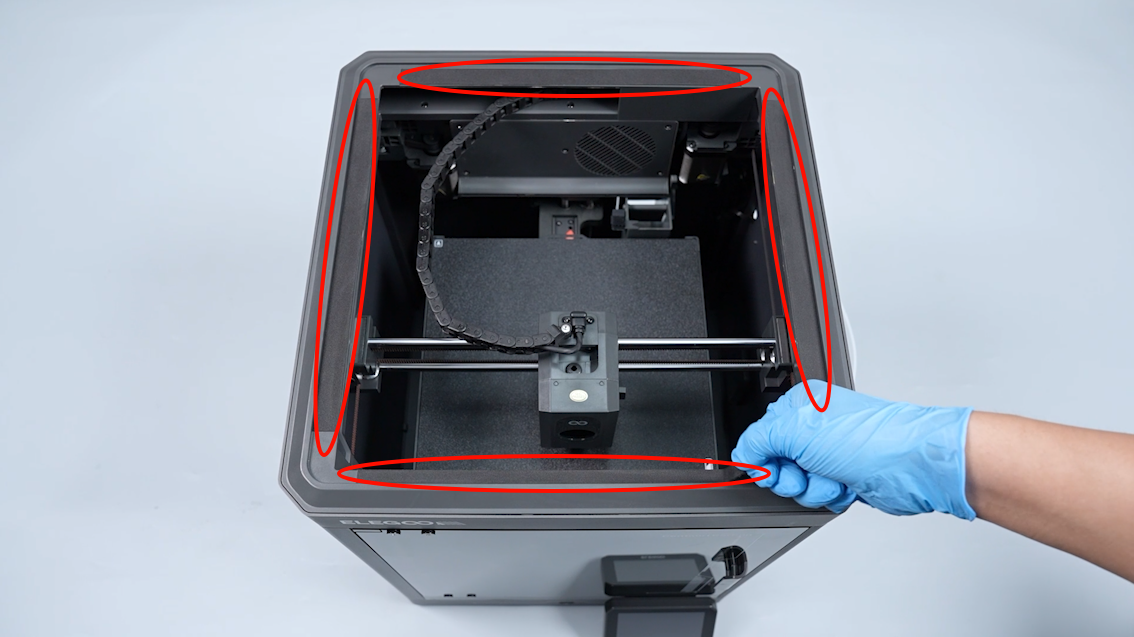
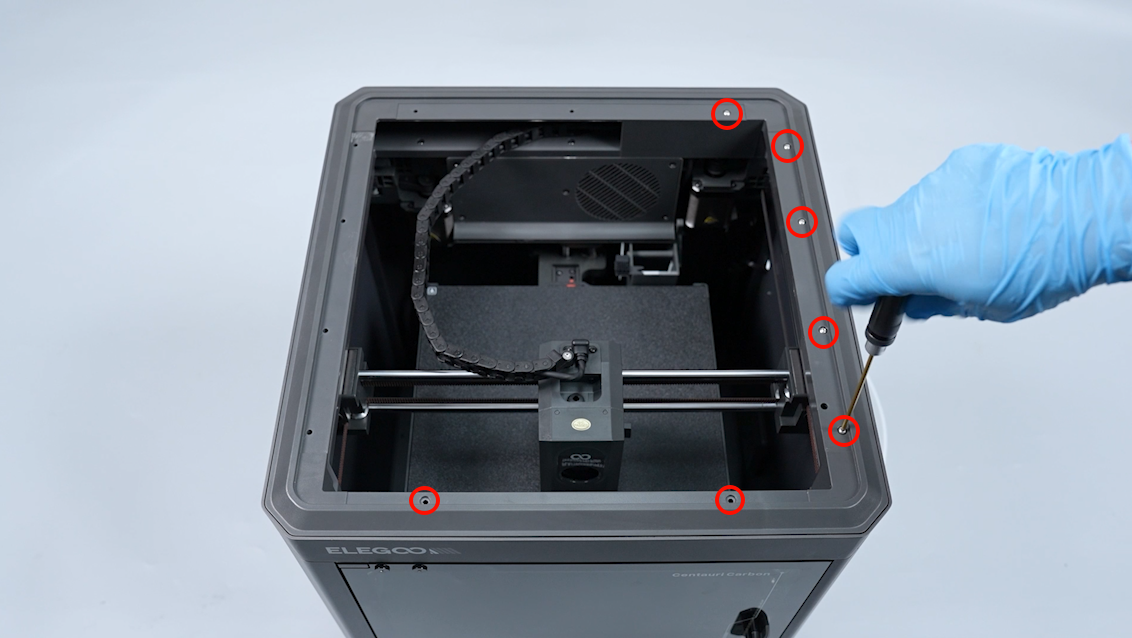
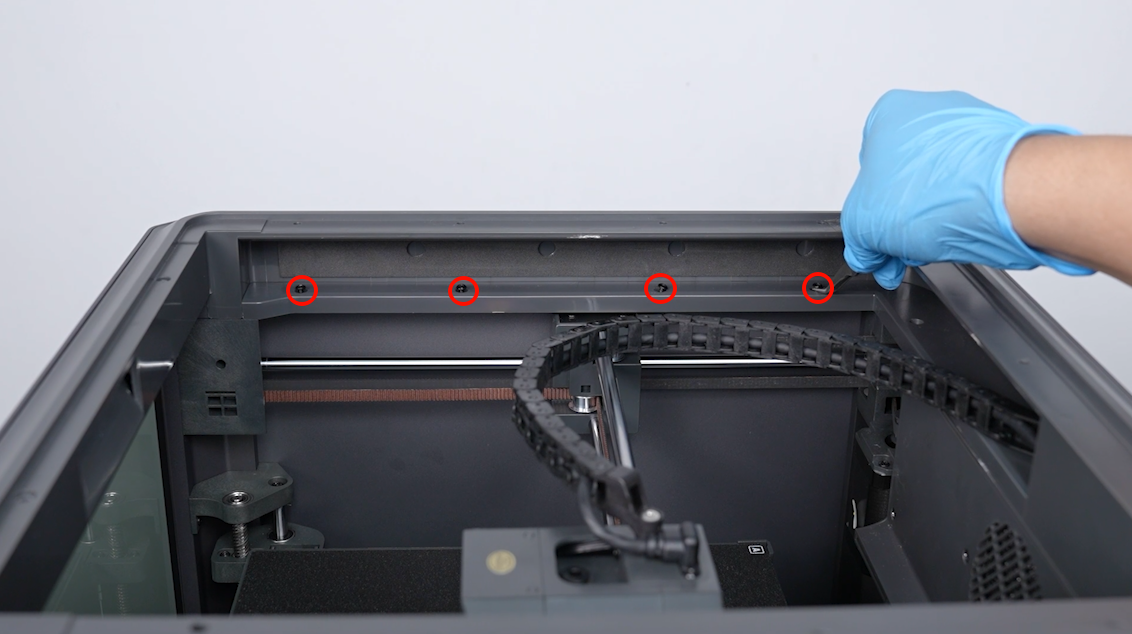
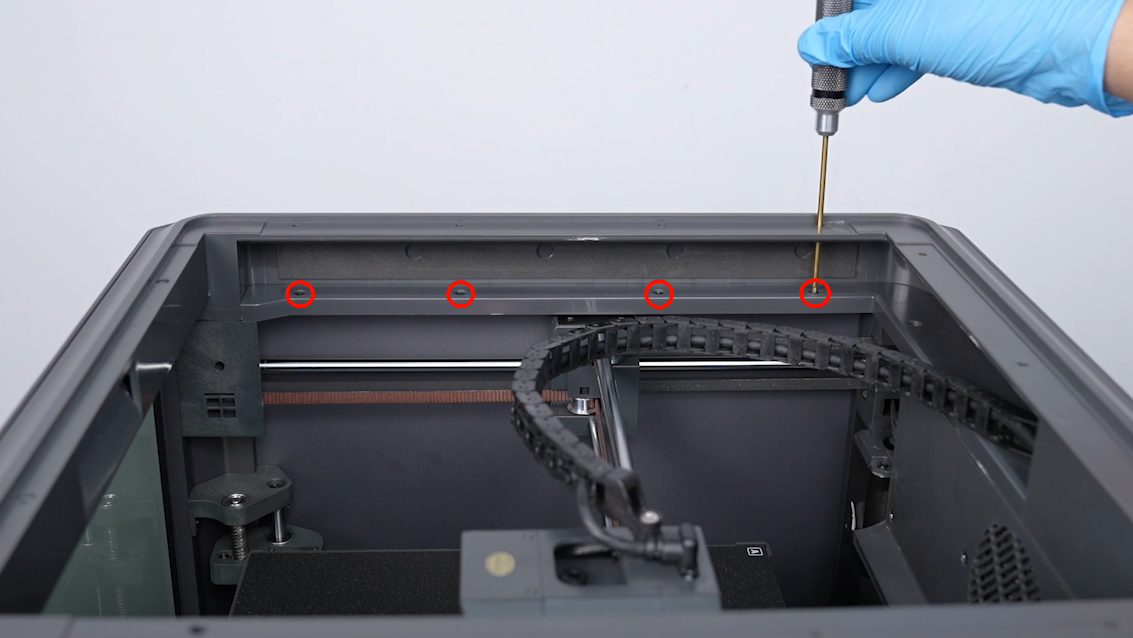
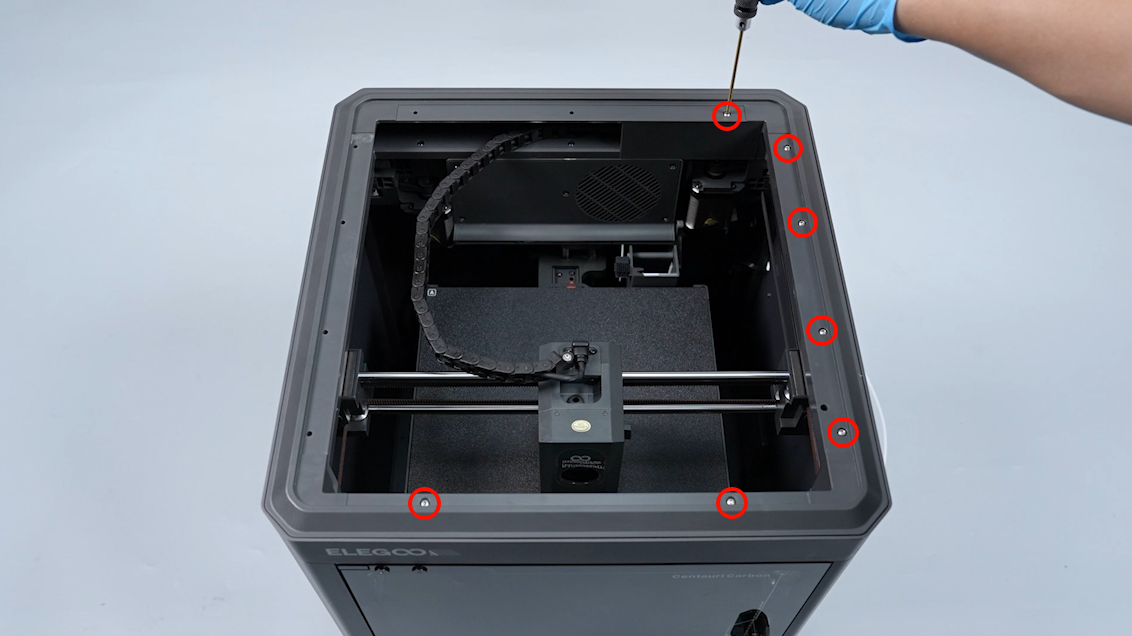
- Loosen the 7 screws securing the top frame using a 2.0 mm Allen key.
Note: Secured in front are two short screws.
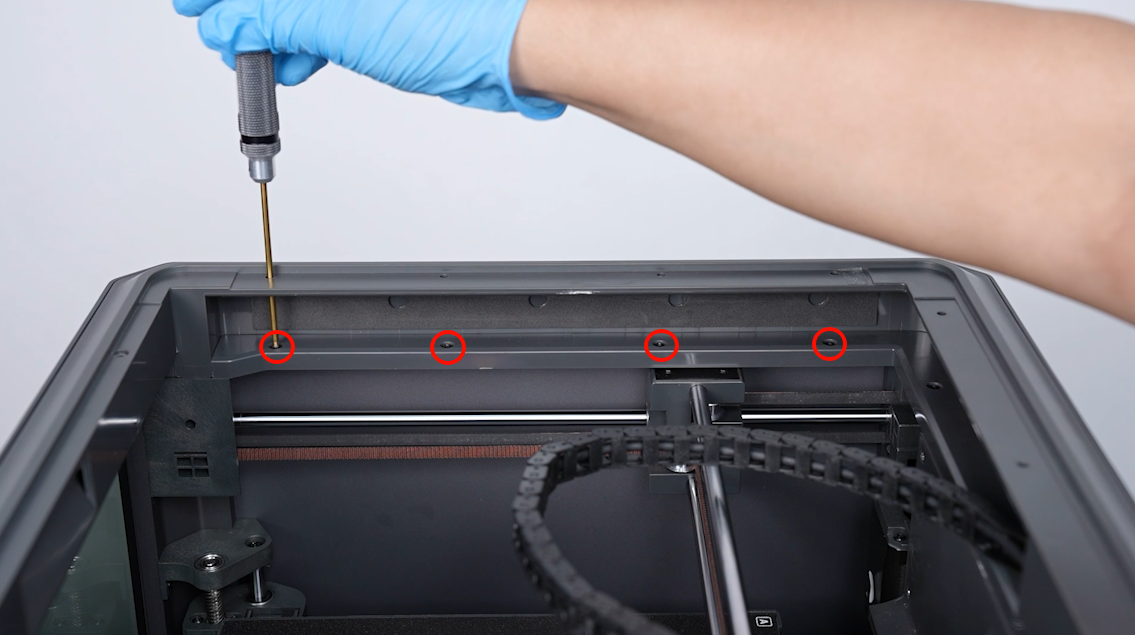
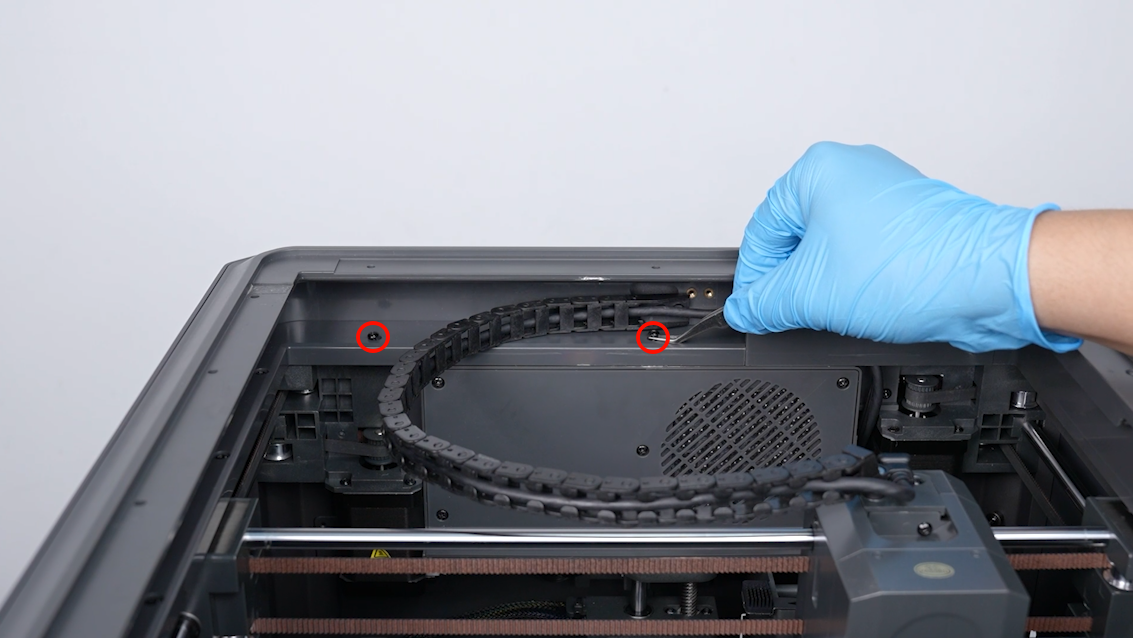
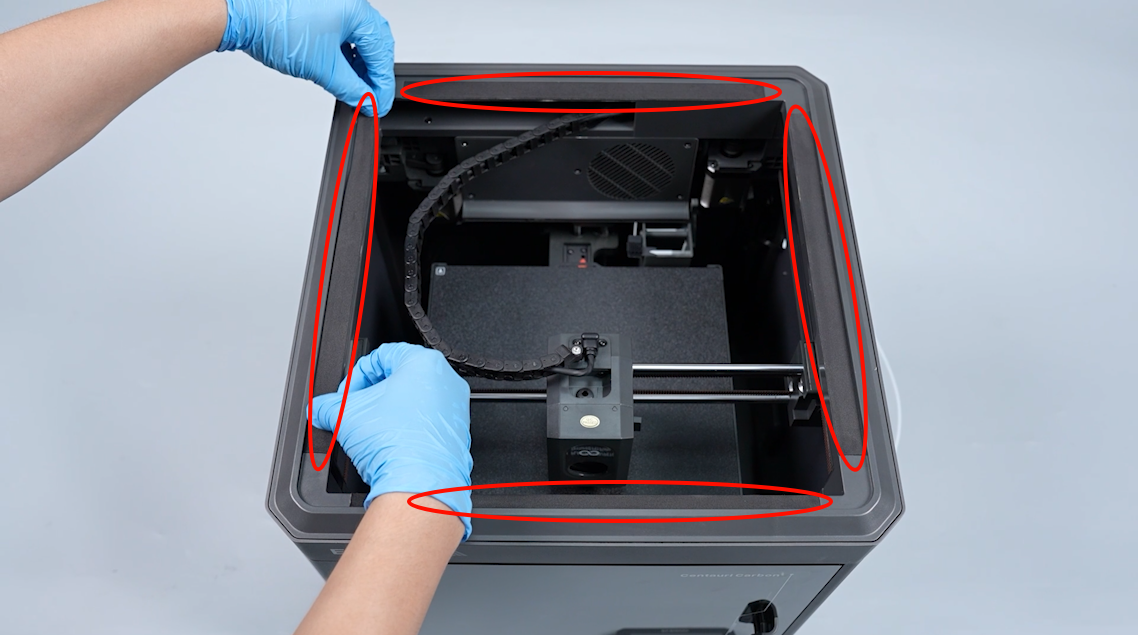
- Loosen the 6 screws securing the left and the inner back side of the top frame using a 2.0 mm Allen key.
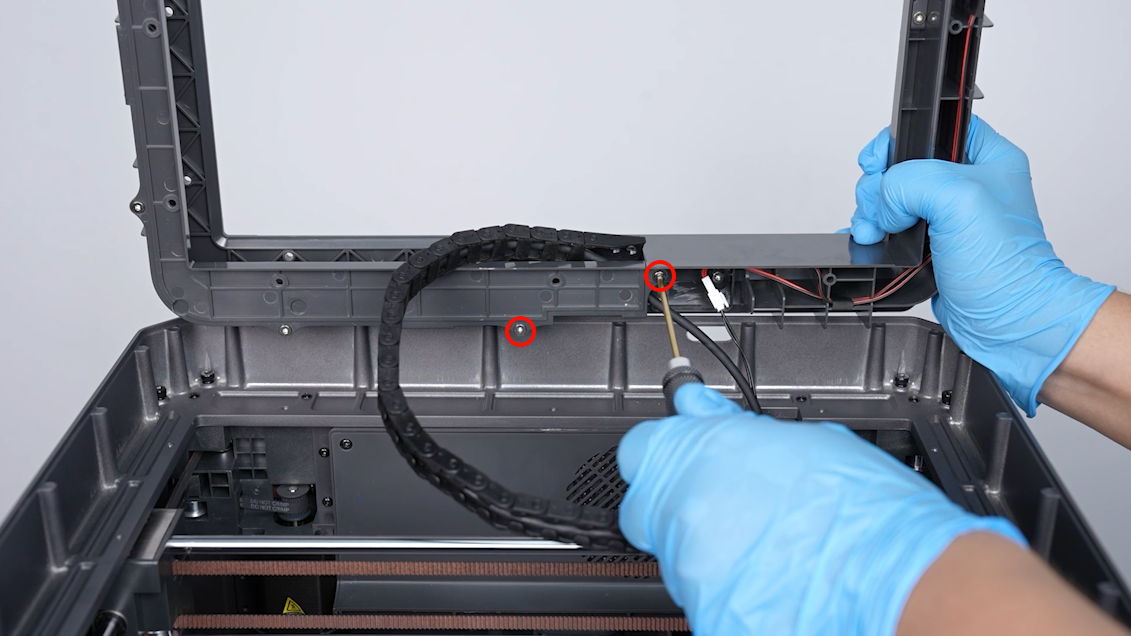
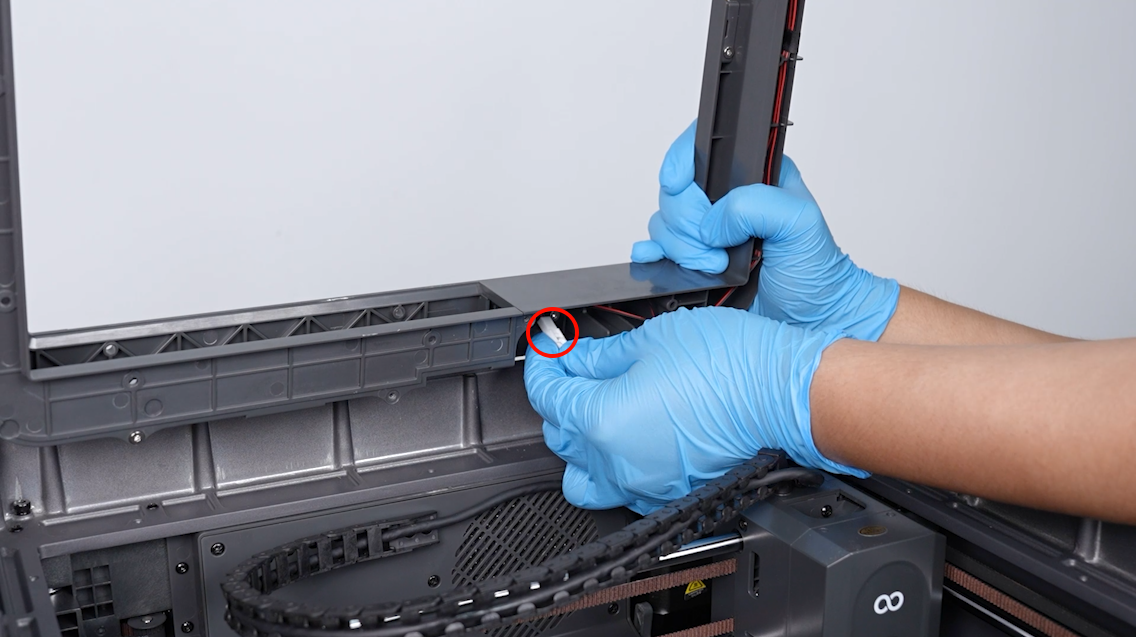
- Lift the top frame and hold it upright on the back cover of the printer. Loosen the 2 screws securing the bottom of the top frame back side using a 2.0 mm Allen key.
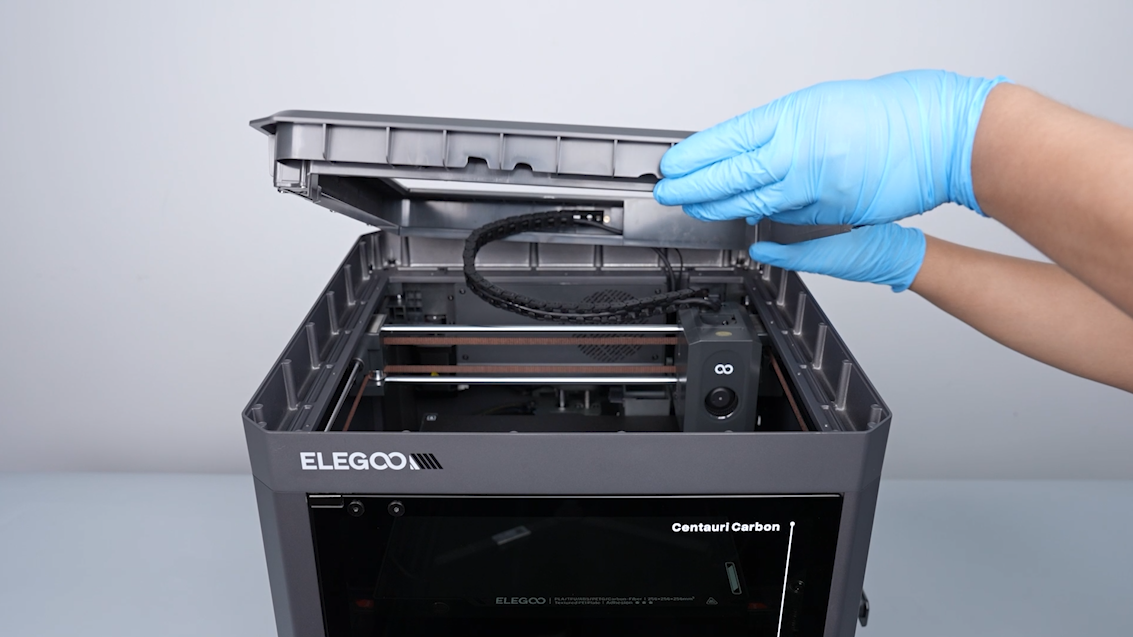
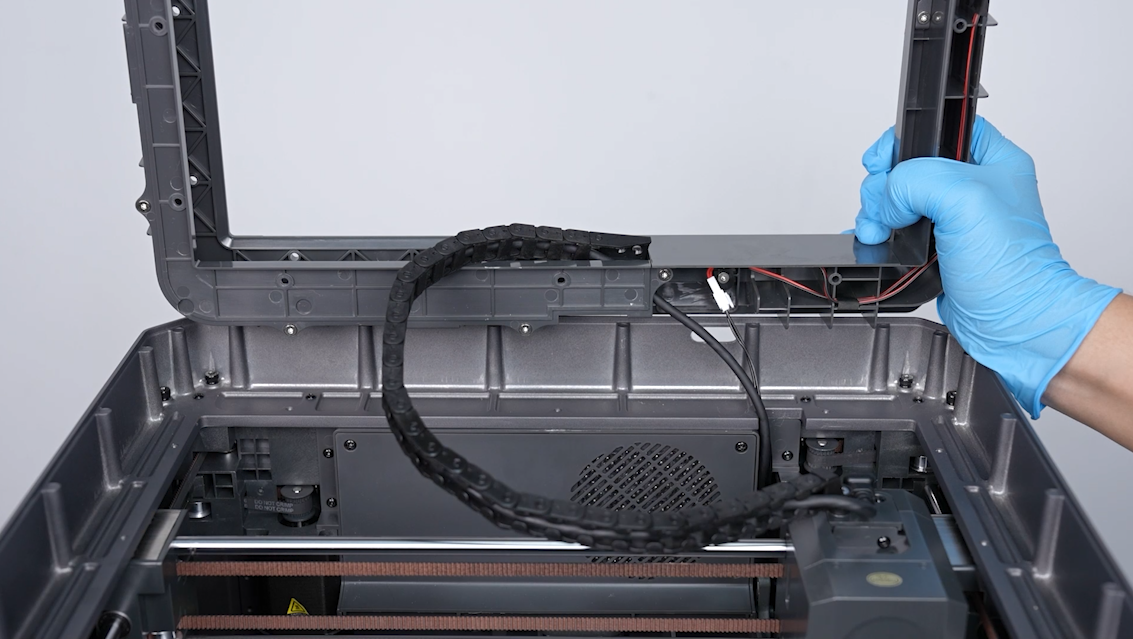
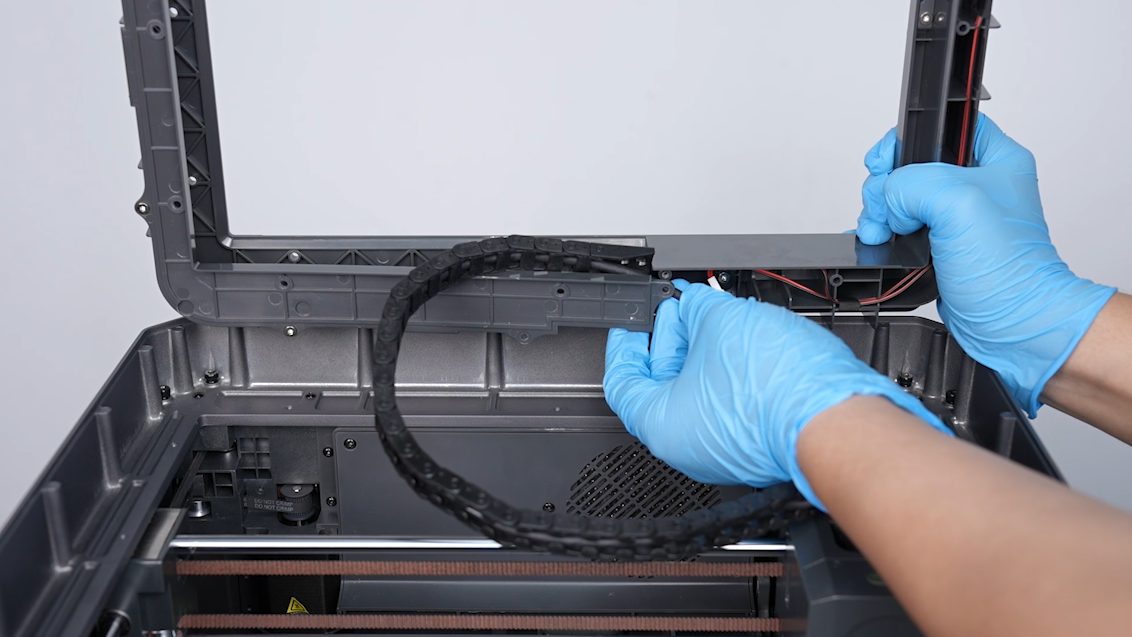
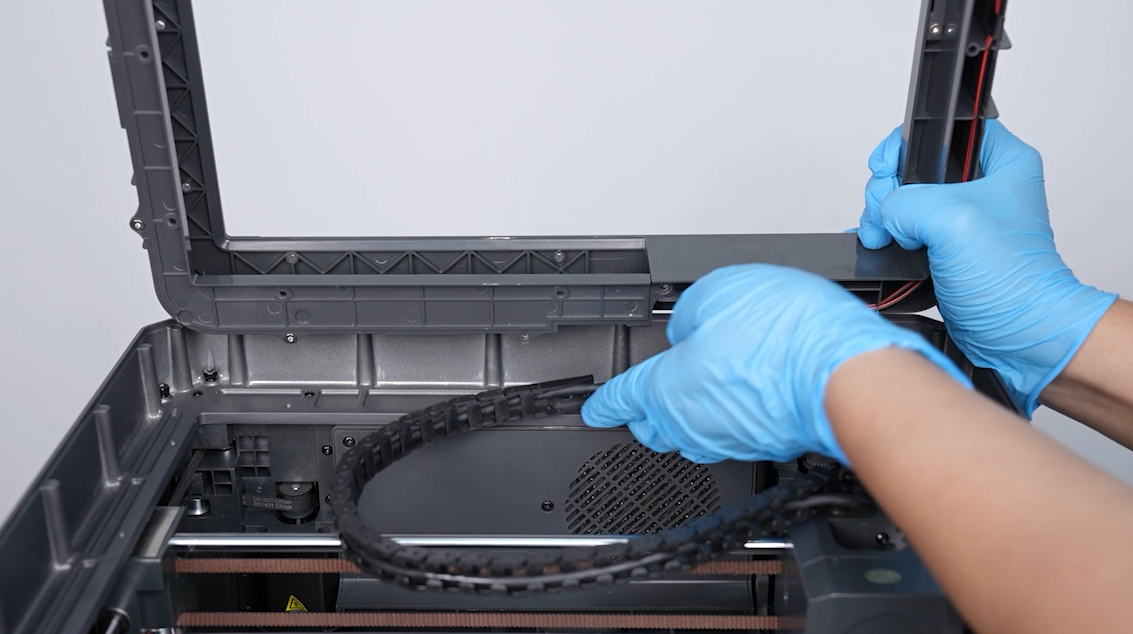
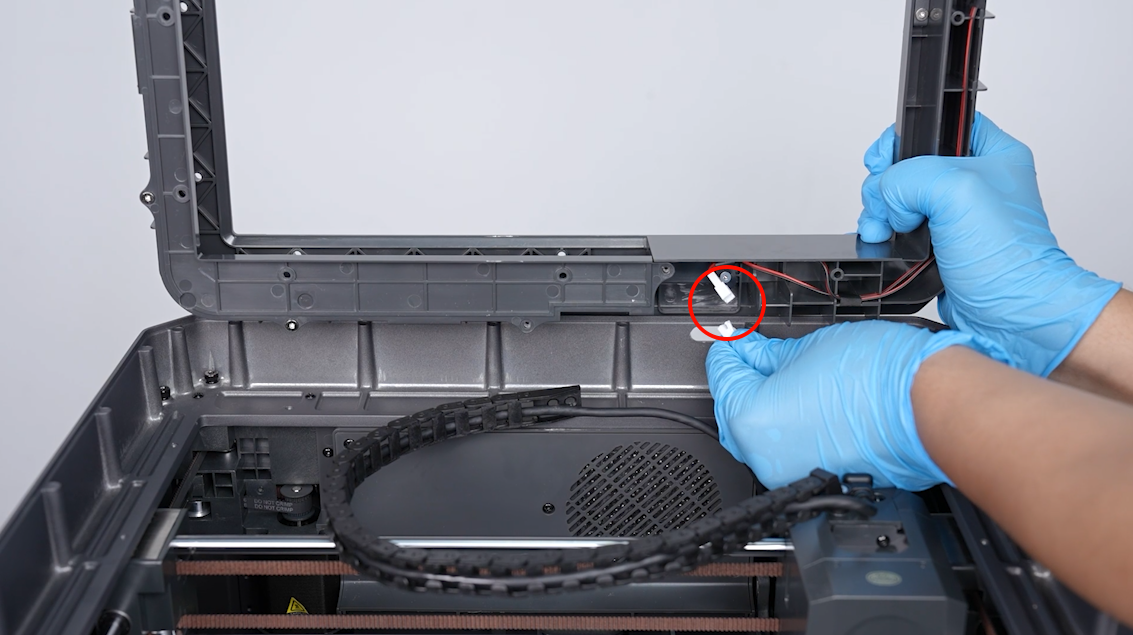
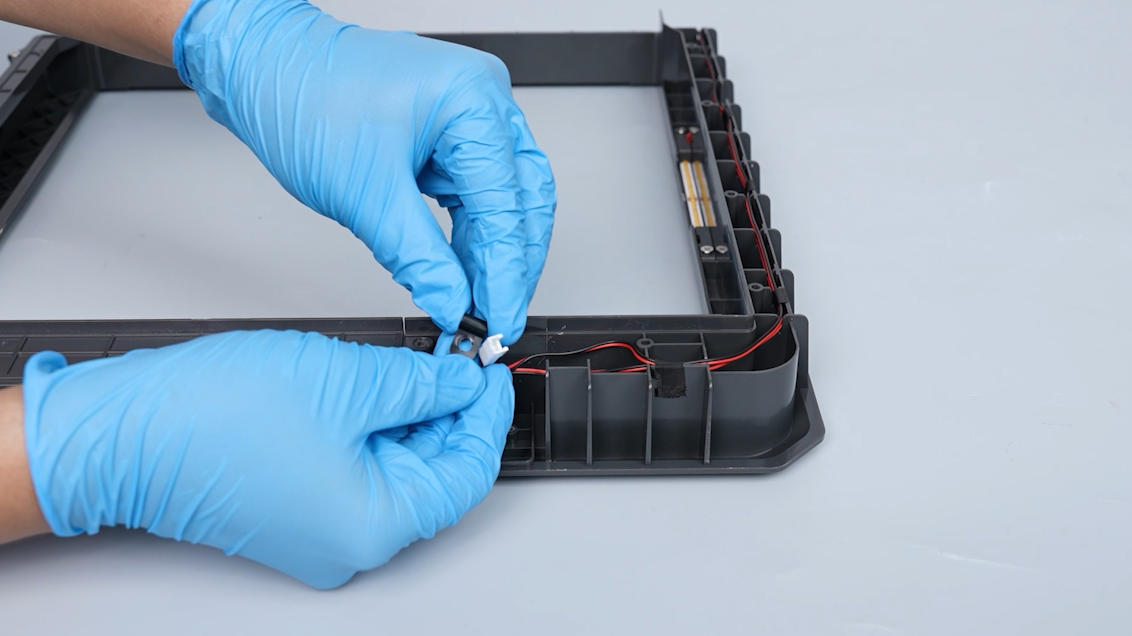
- Remove the connection cable of the print head. Unplug the ribbon cable port of the strip light. Remove the top frame.
¶ Remove the strip light and the ribbon cables
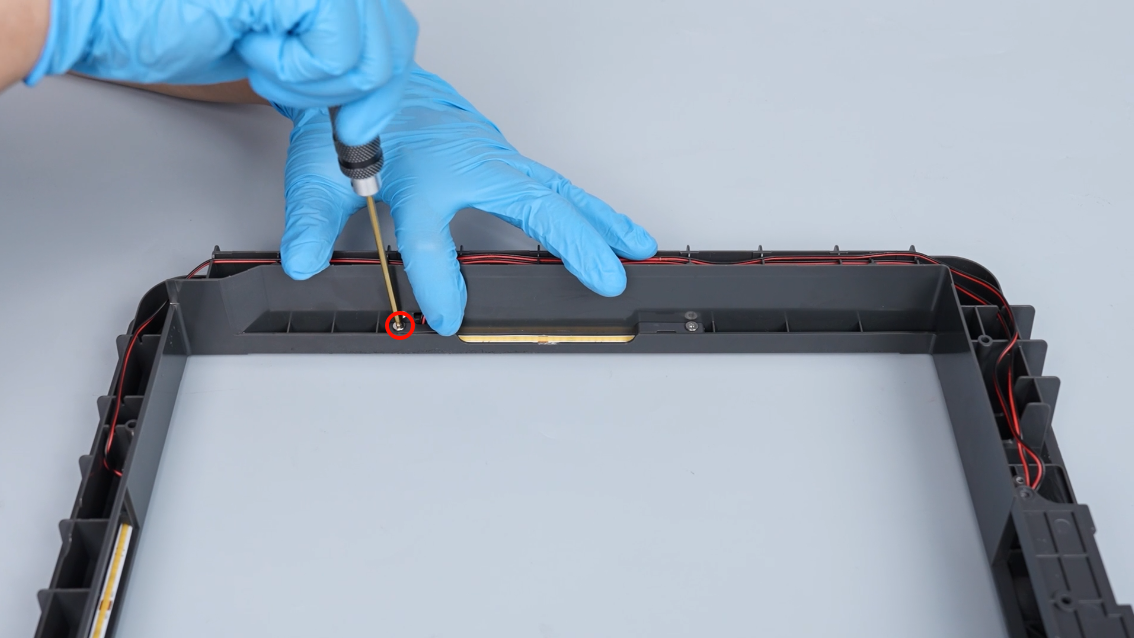
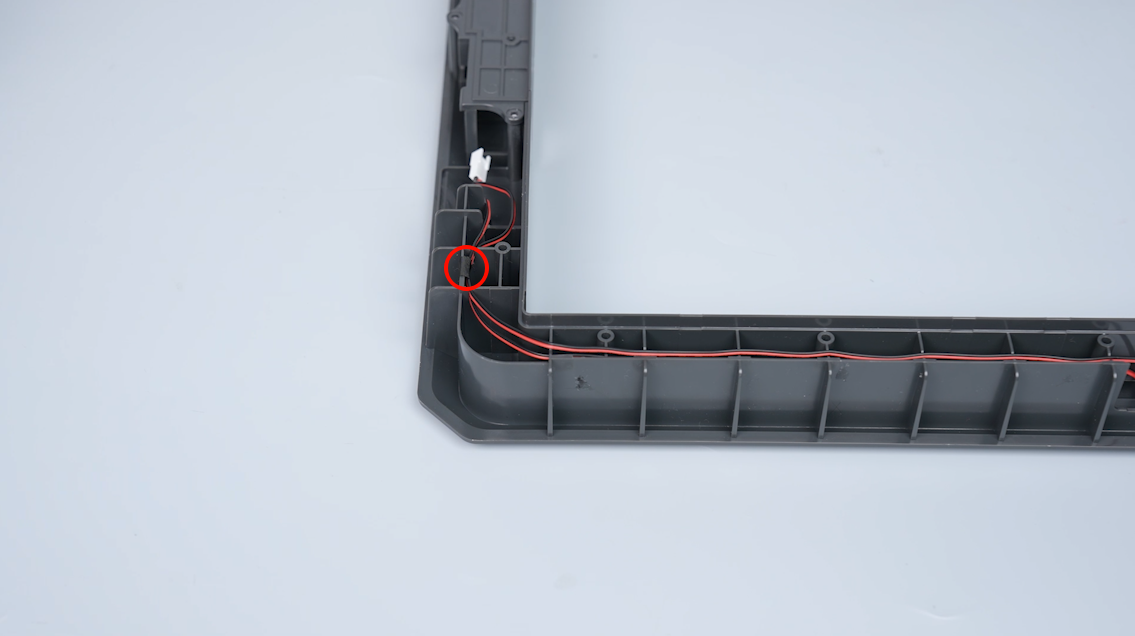
- Face up the bottom of the top frame. Loosen the screw securing ribbon cable clip using a 2.0 mm Allen key and remove the ribbon cables from the clip.

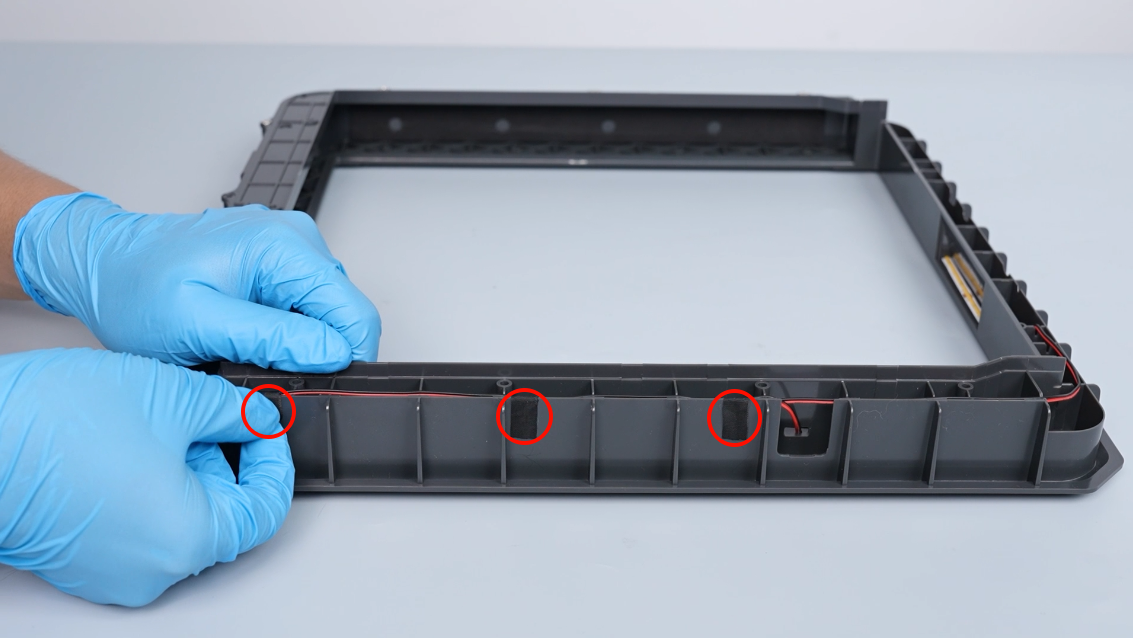
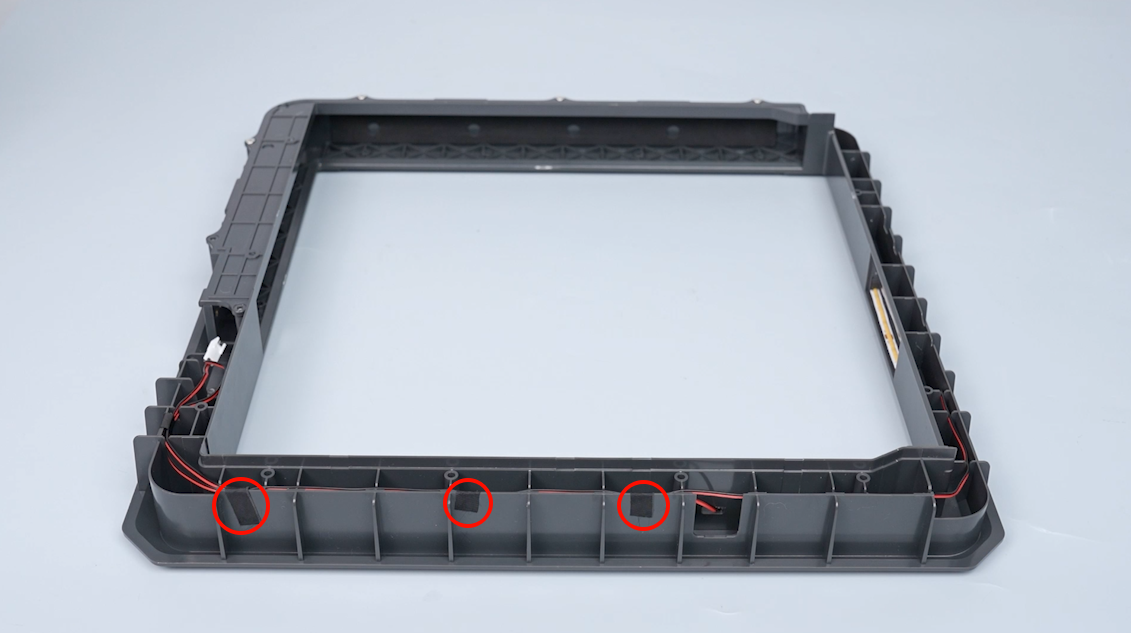
- Tear off the four pieces of the tape securing the ribbon cables on the top frame.

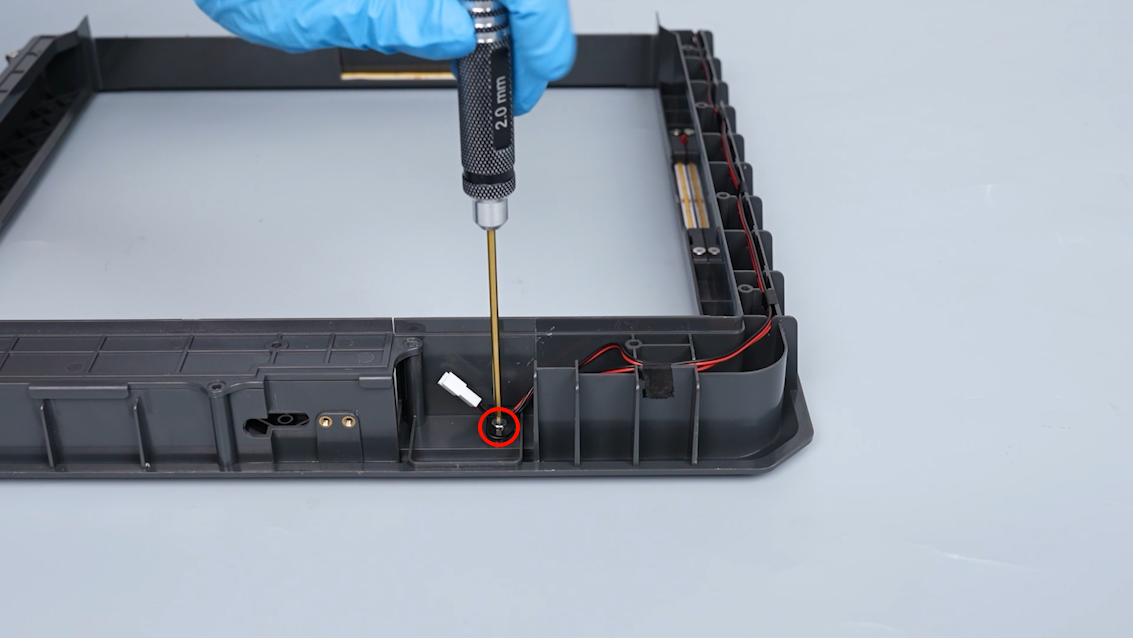
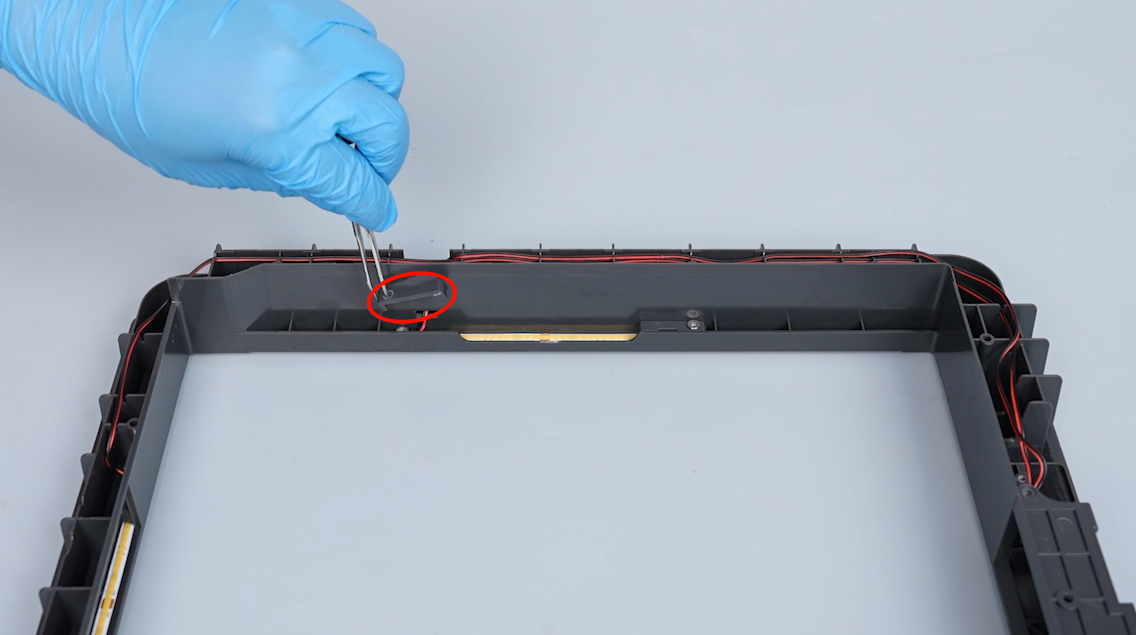
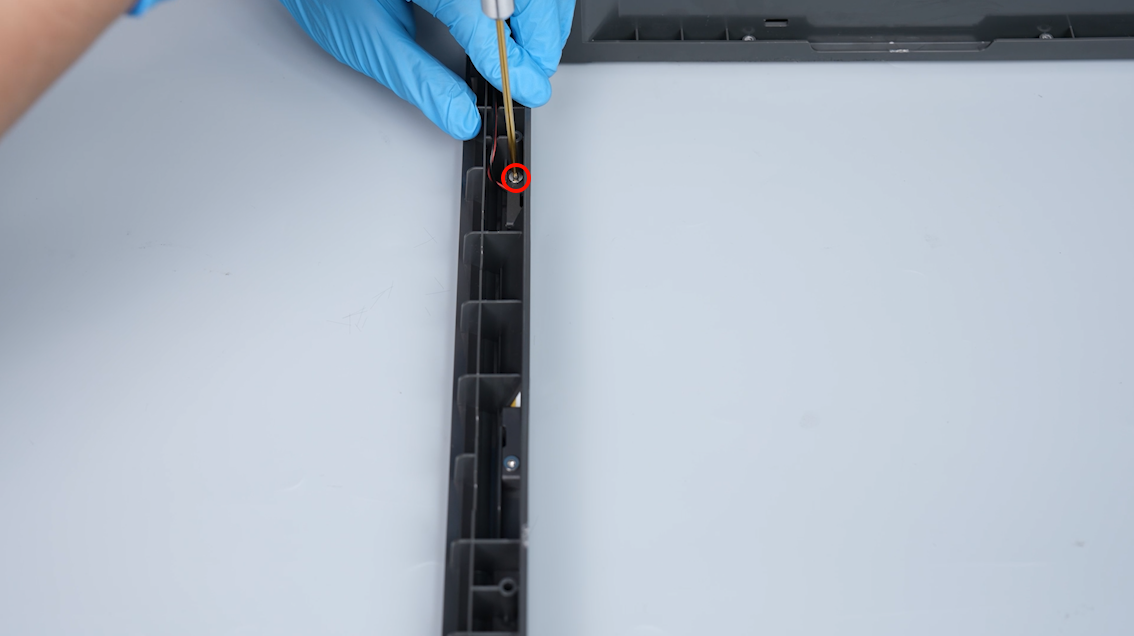
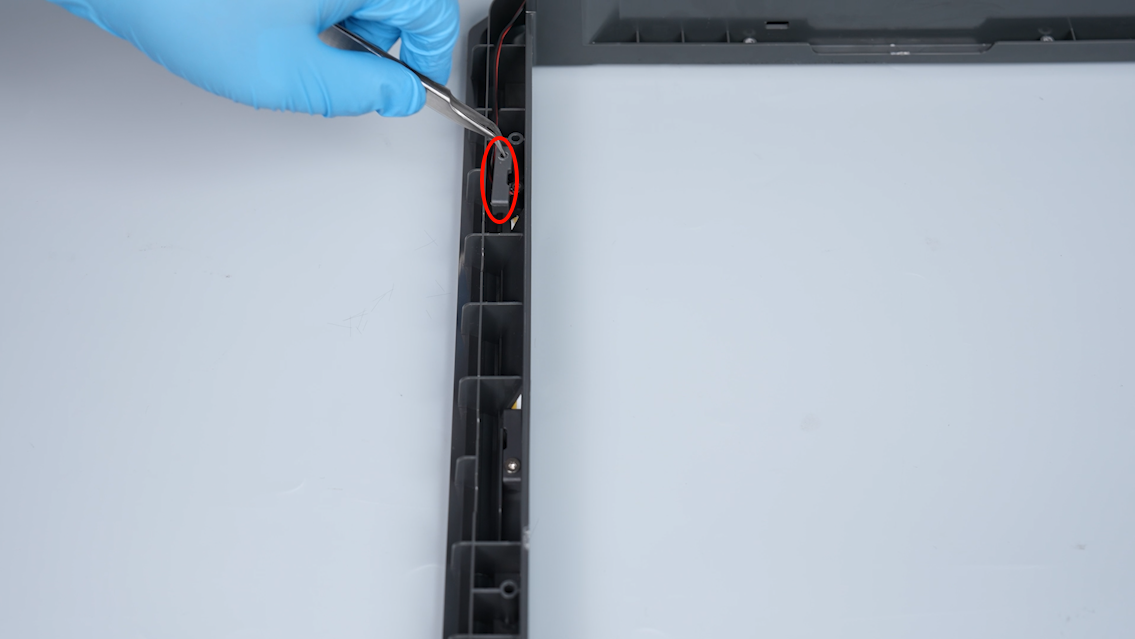
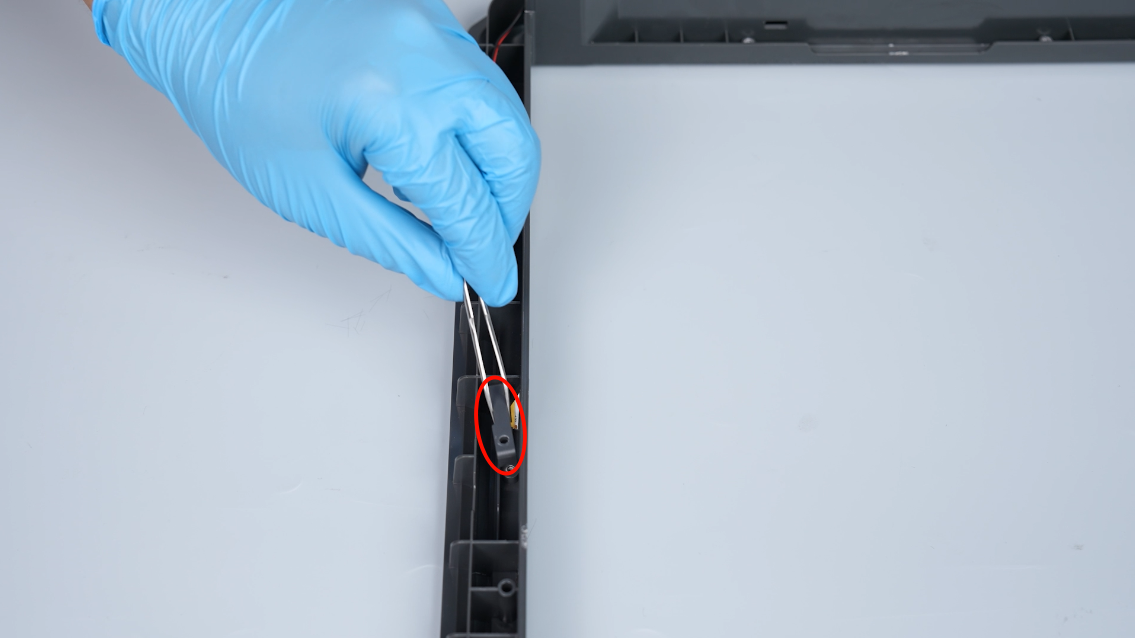
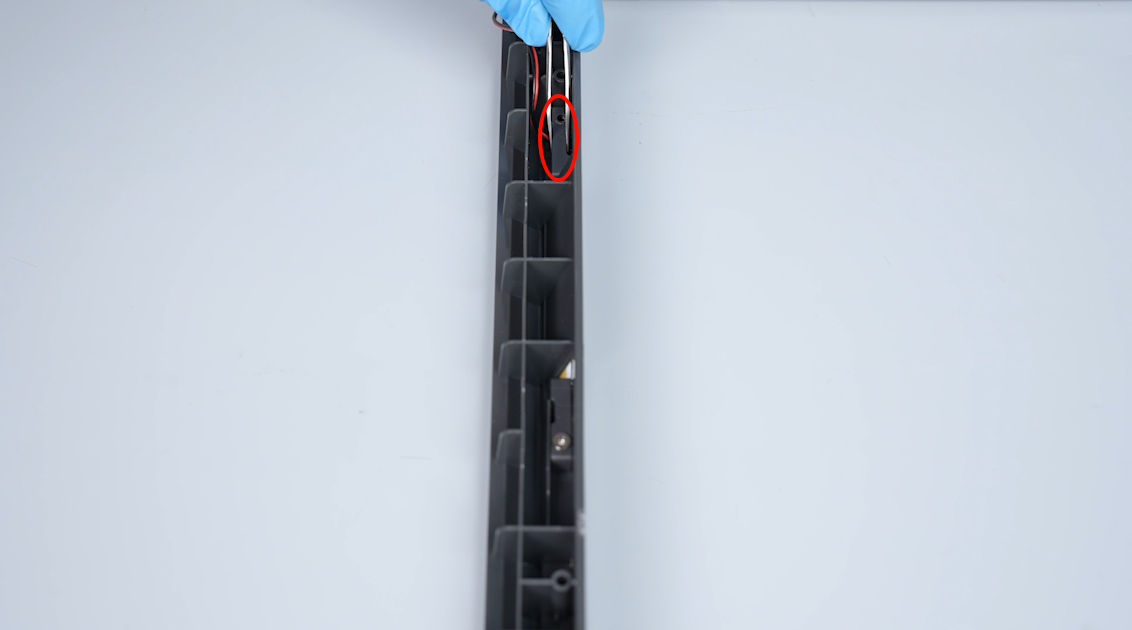
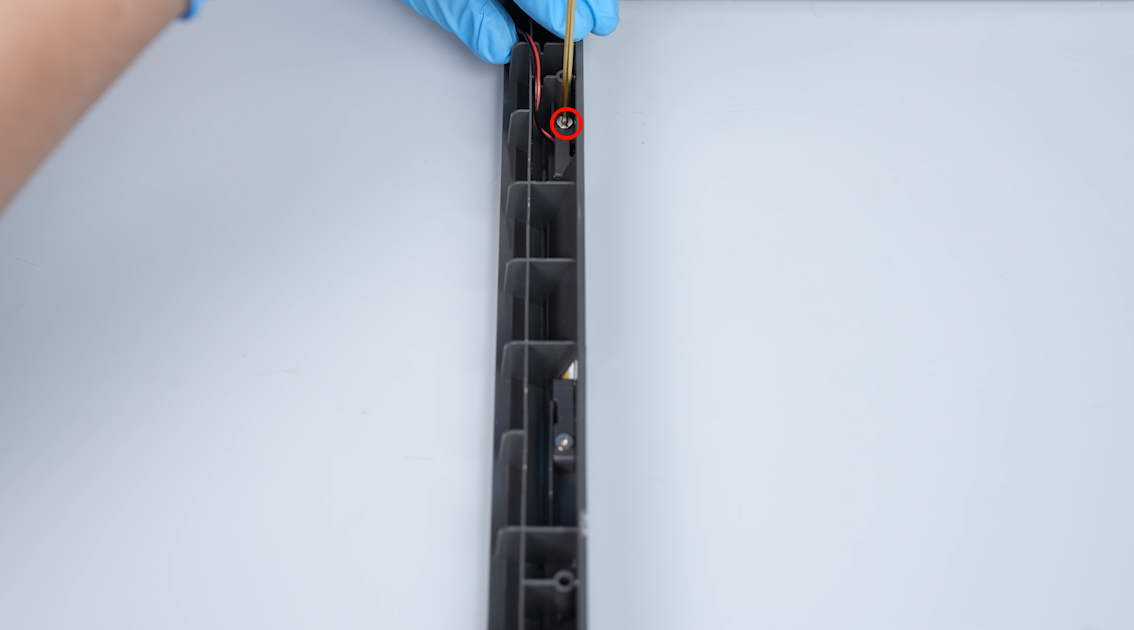
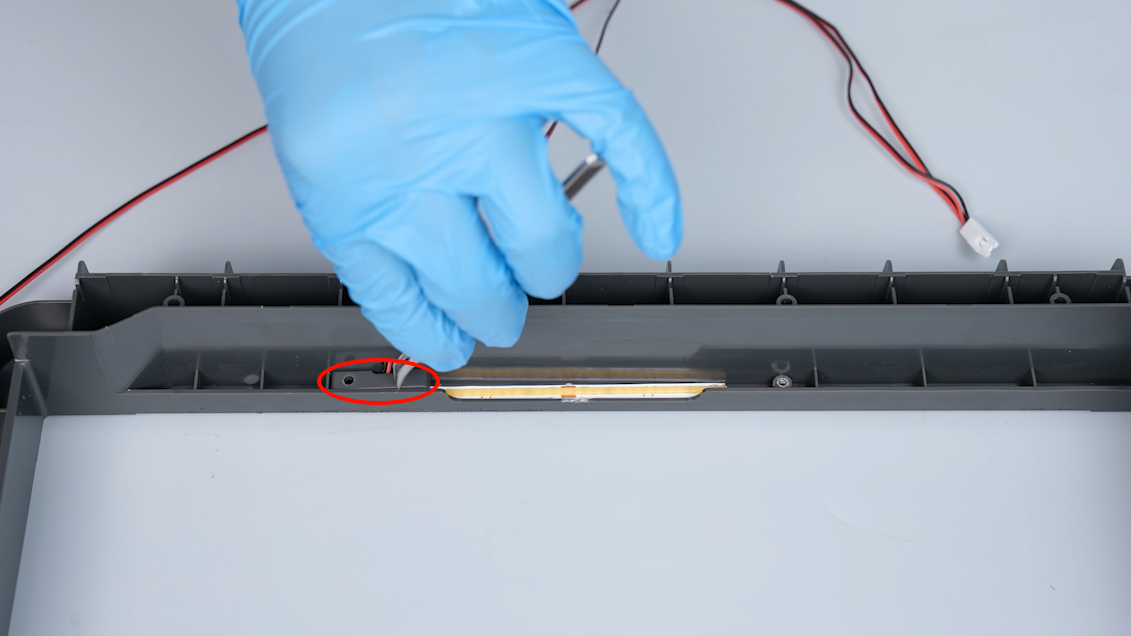
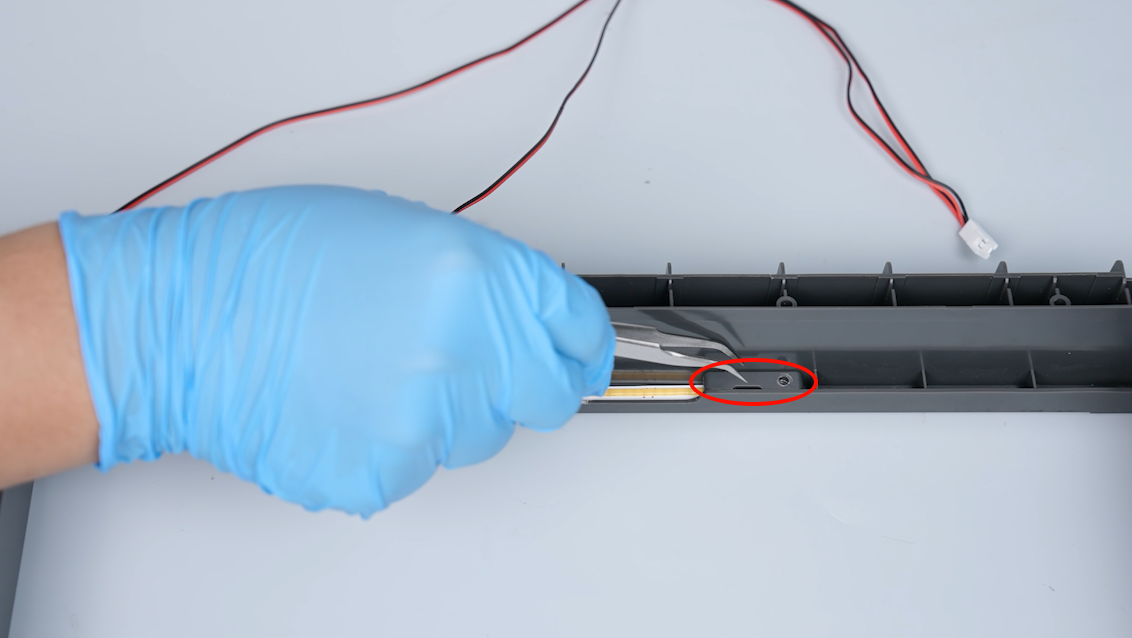
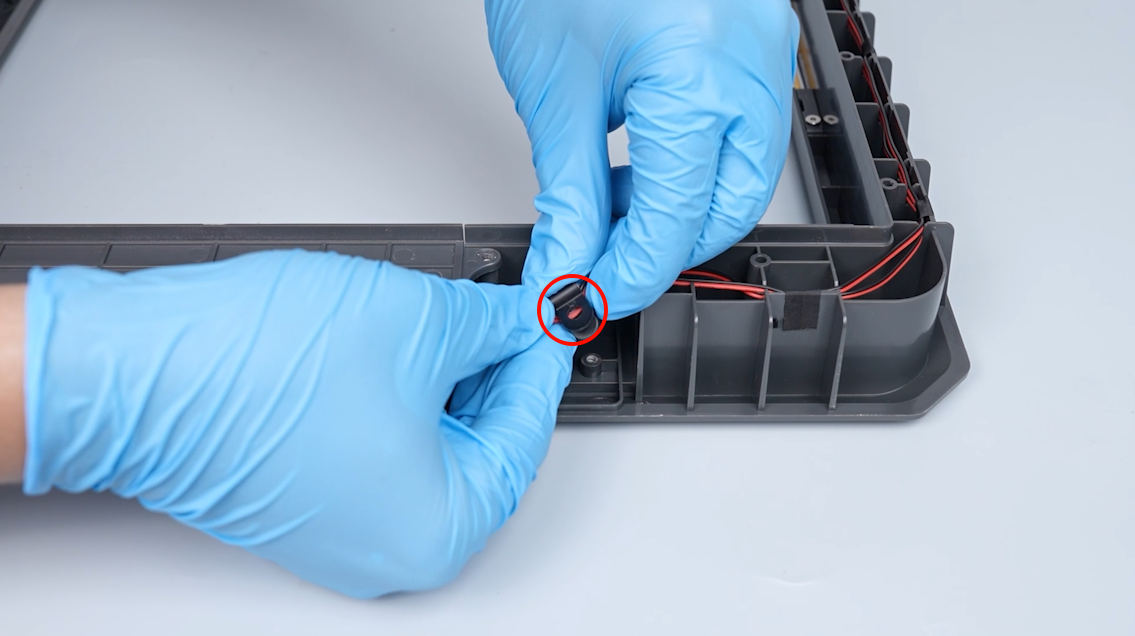
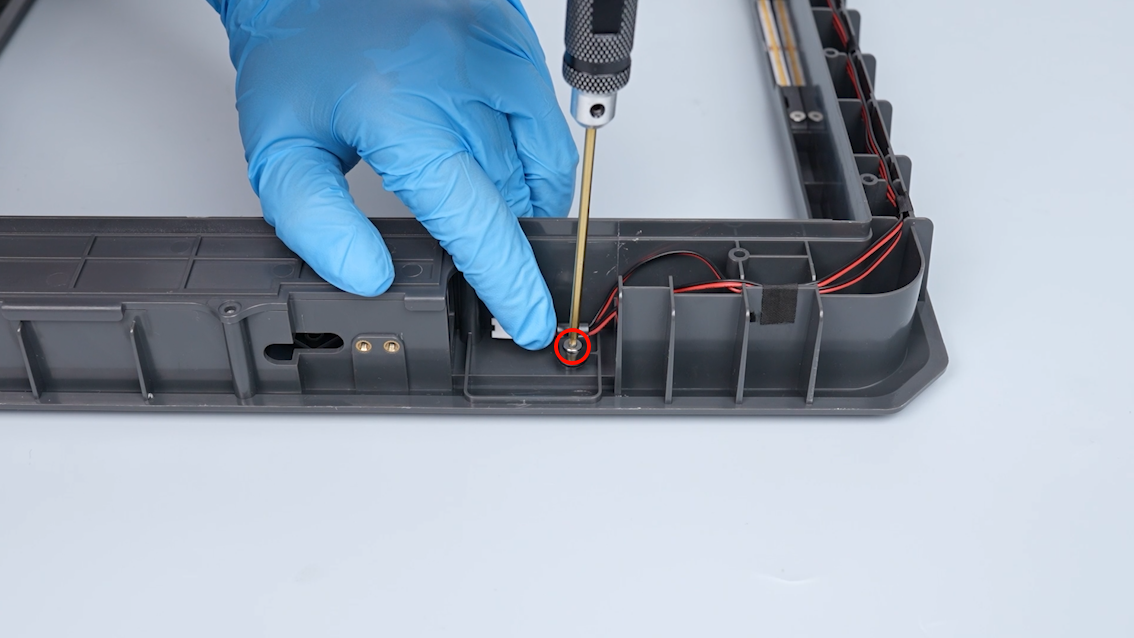
- Loosen the screw securing the fixing block of the strip light using a 2.0 mm Allen key. Remove the fixing block.
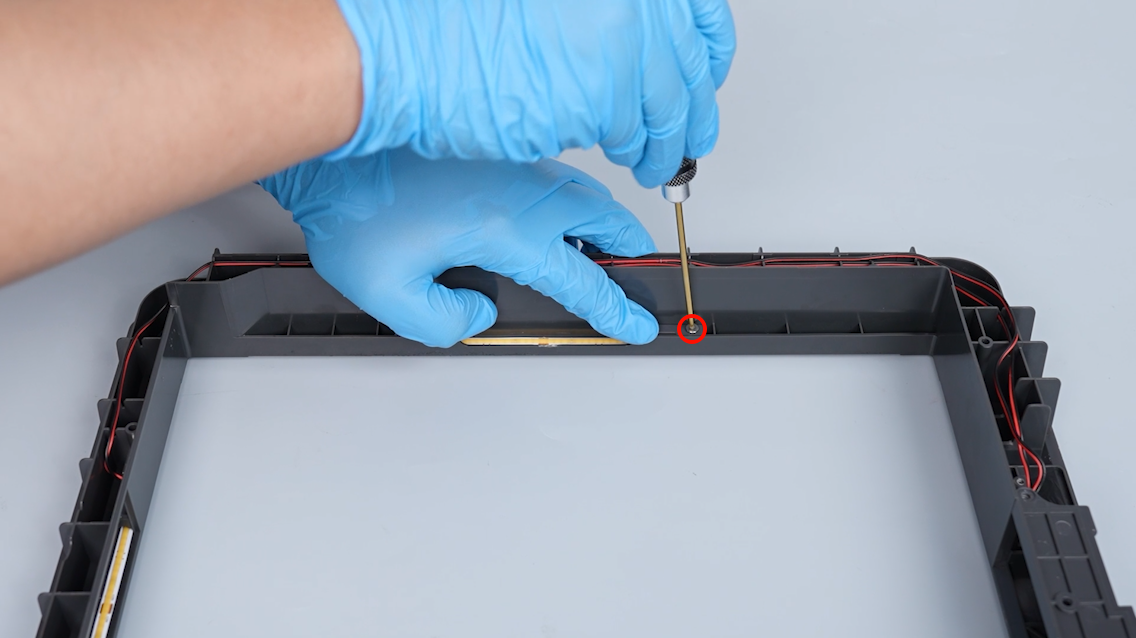
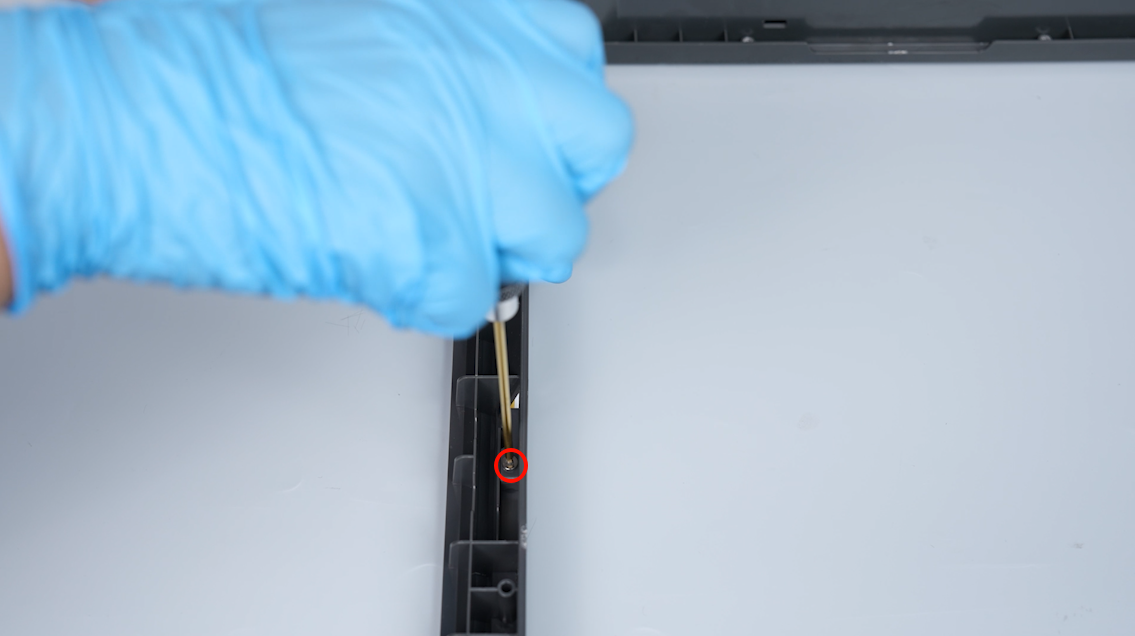
- Remove the block on the other side in the same way.

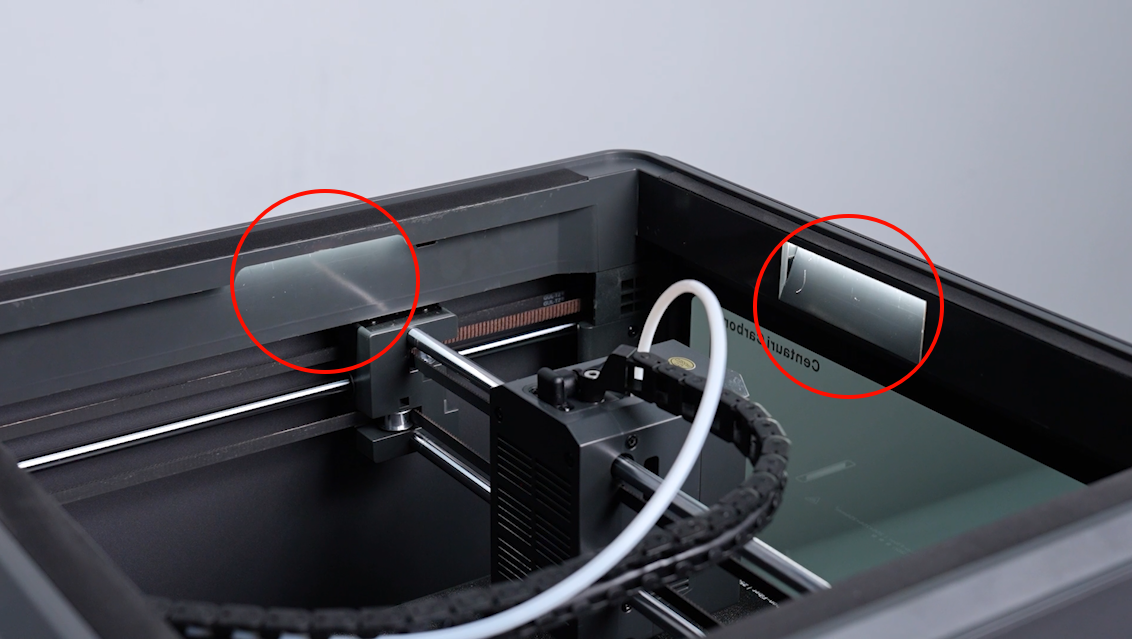
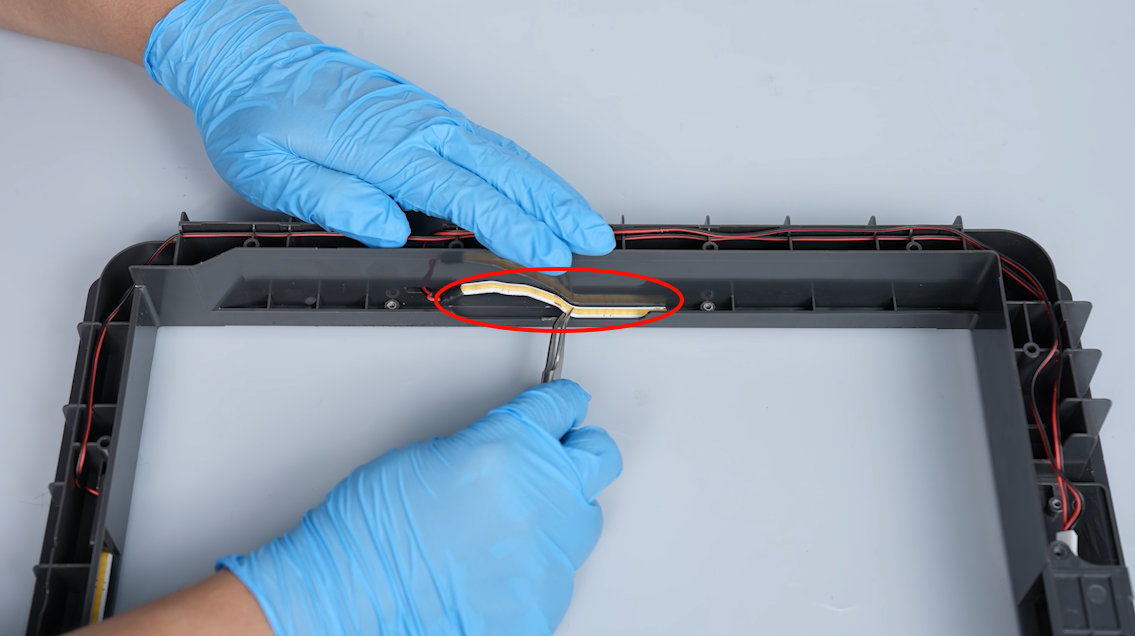
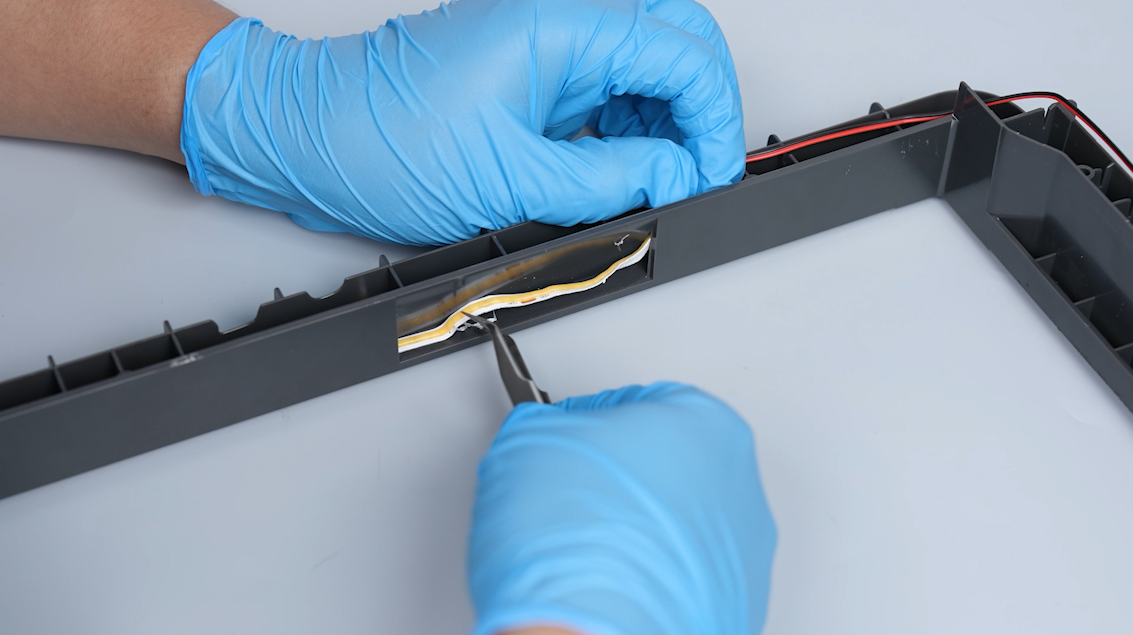
- Tear the old strip light. Pass the old strip light through the reserved hole.
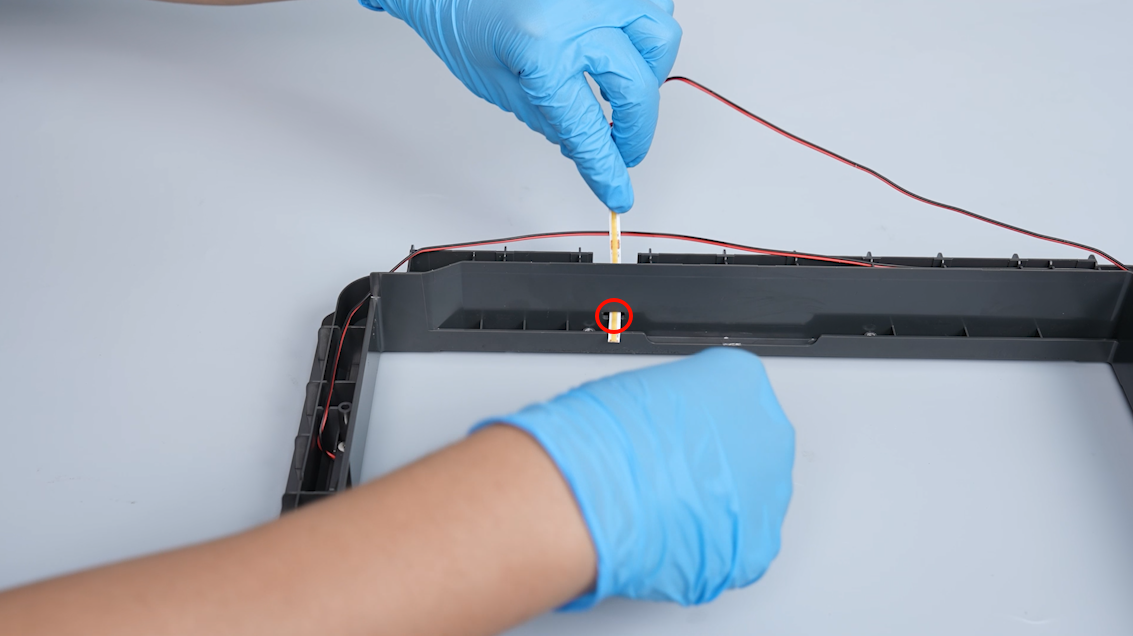
- Remove the strip light on the other side in the same way.
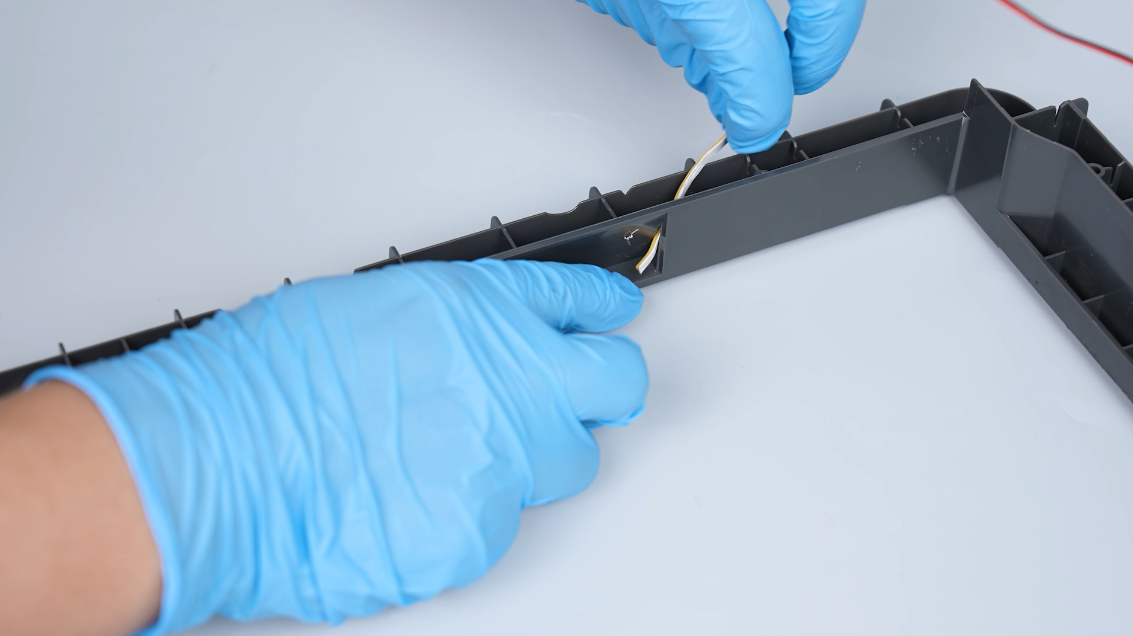
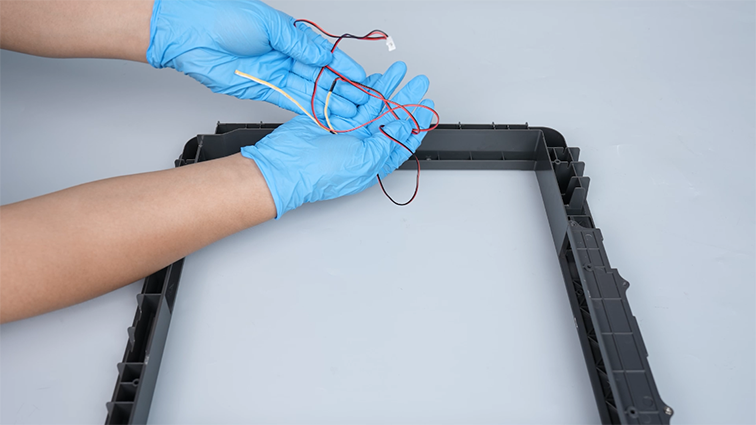
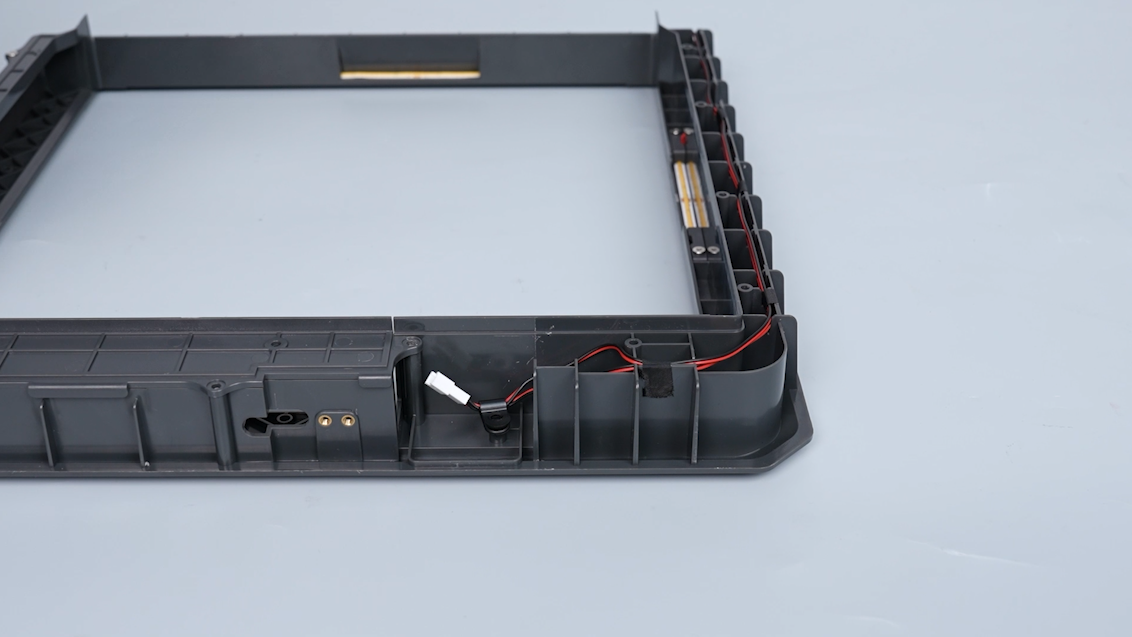
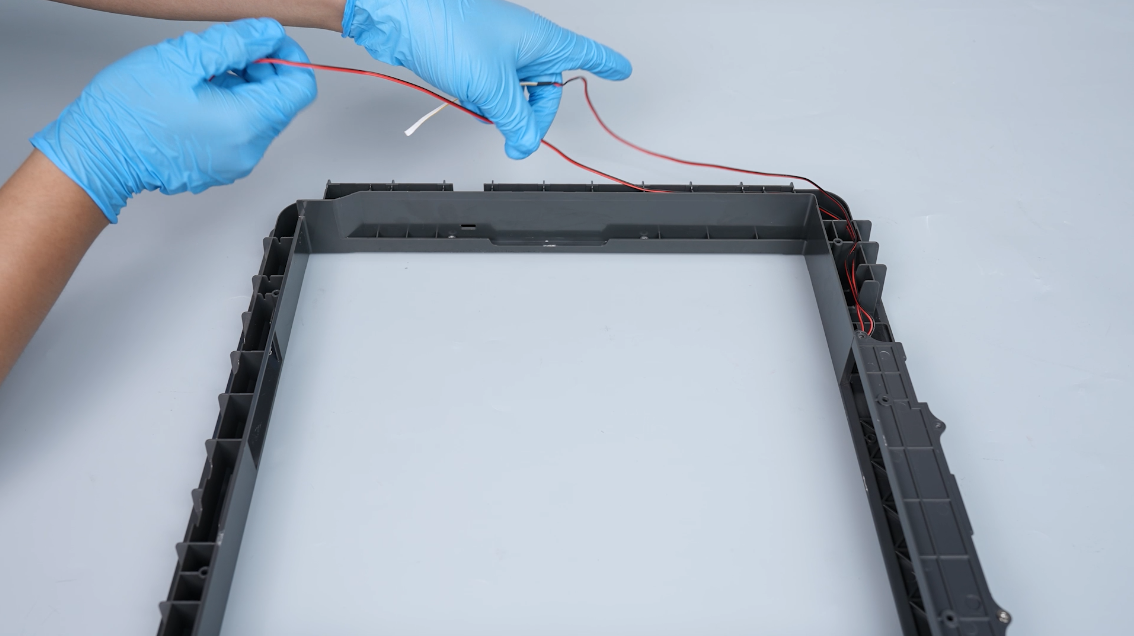
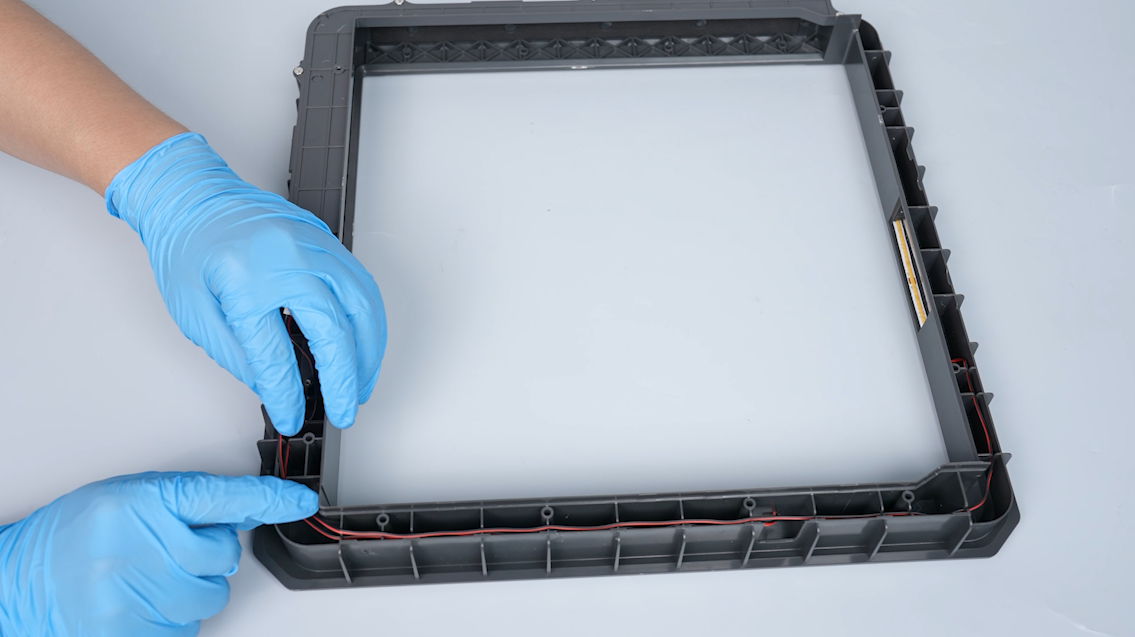
- Organize the ribbon cables. Remove the old strip light and the ribbon cables.
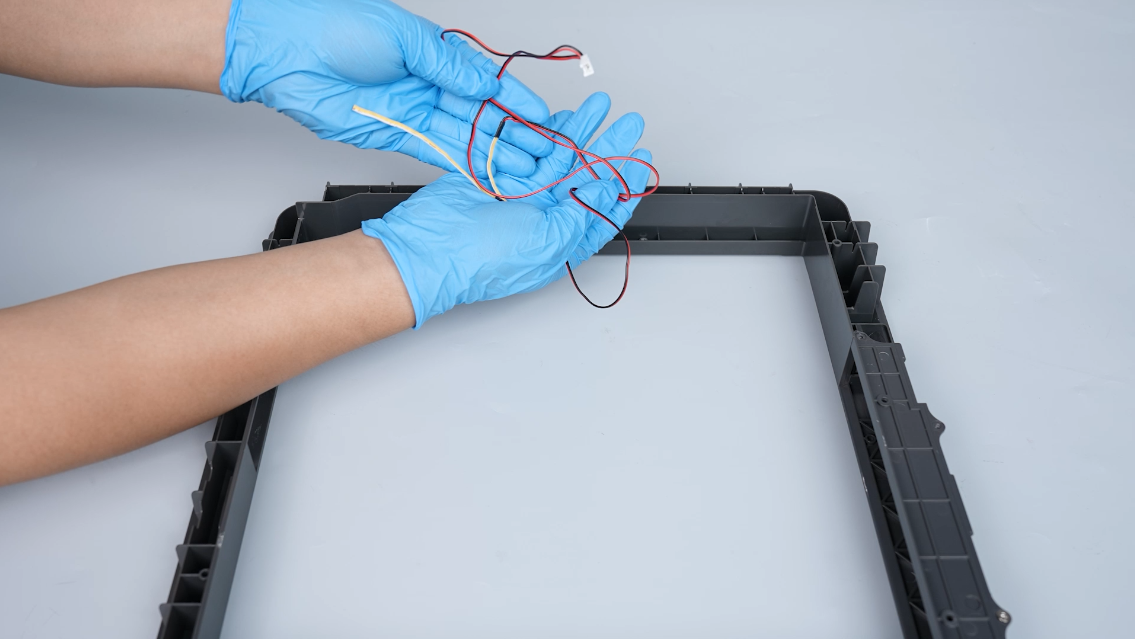
¶ Install the new strip light and the ribbon cables
¶ Install the strip light and the ribbon cables
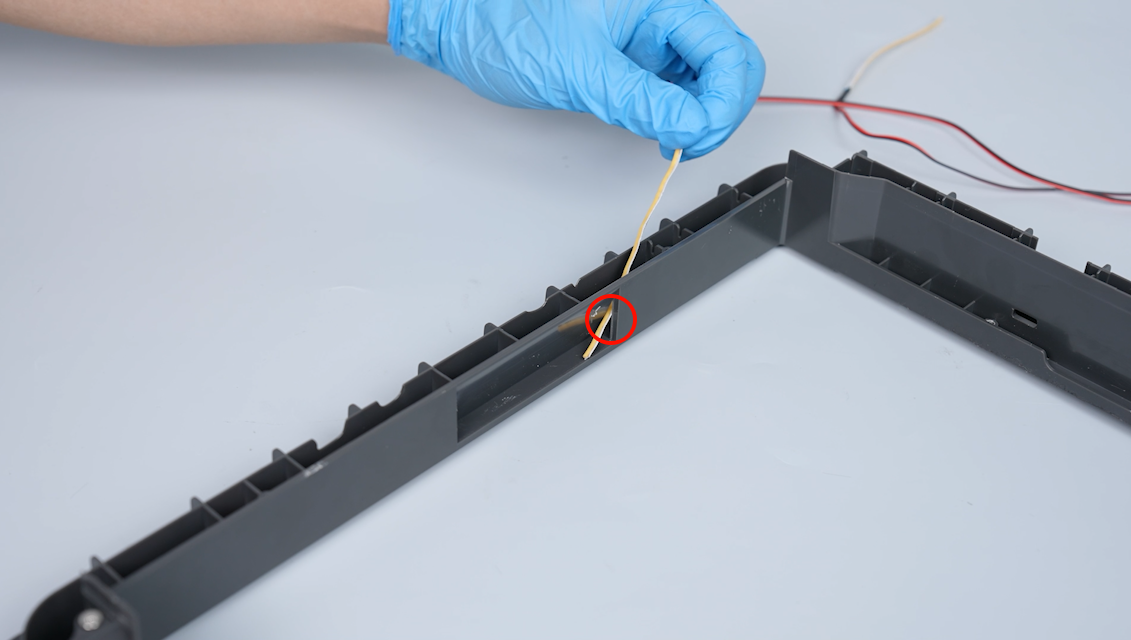
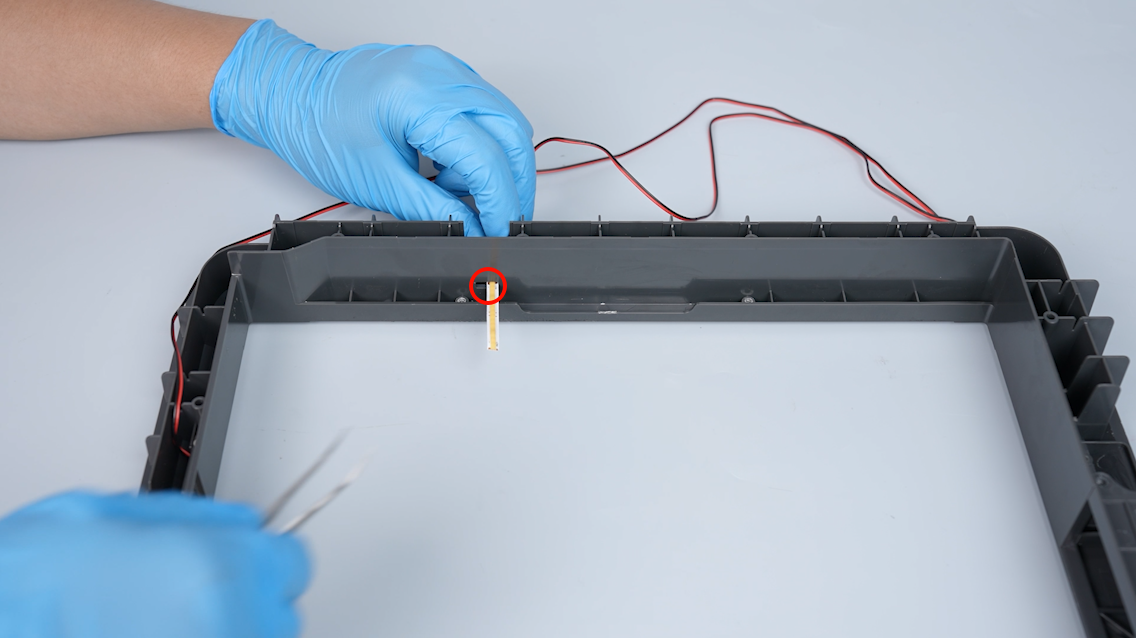
- Prepare the new strip light and the ribbon cables. Organize the ribbon cables. Put the light in the installation position by passing it through the reserved hole.

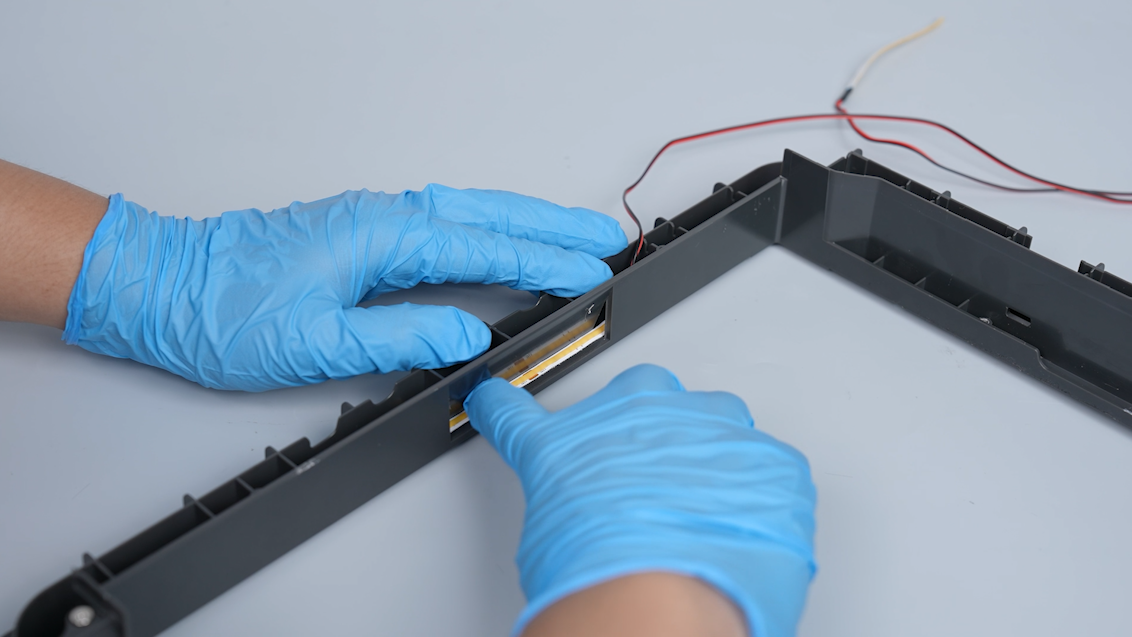
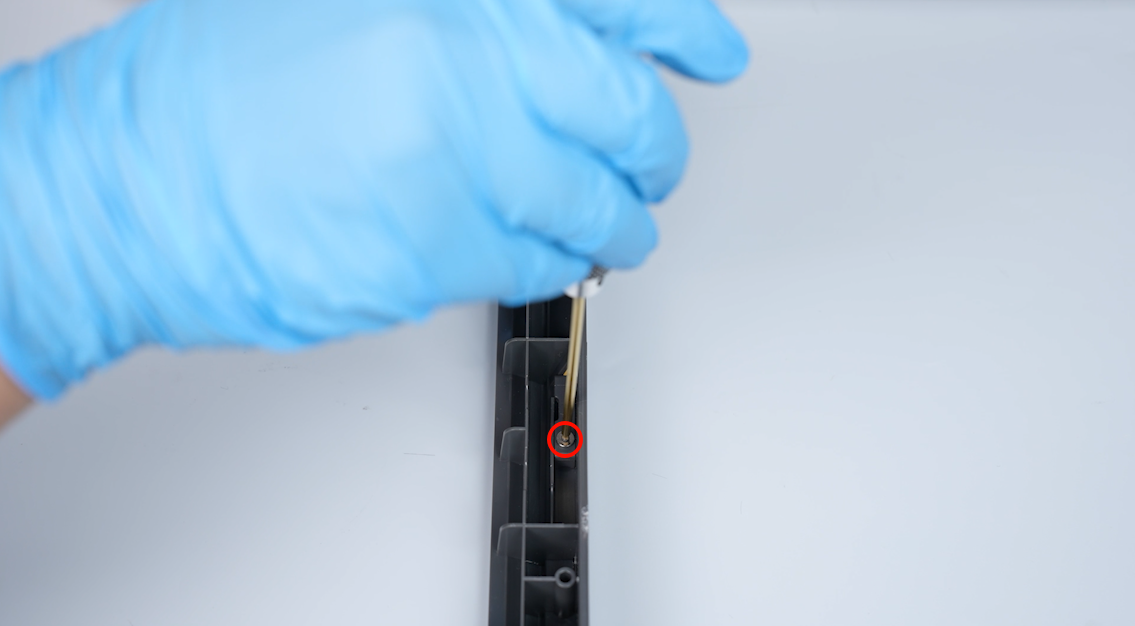
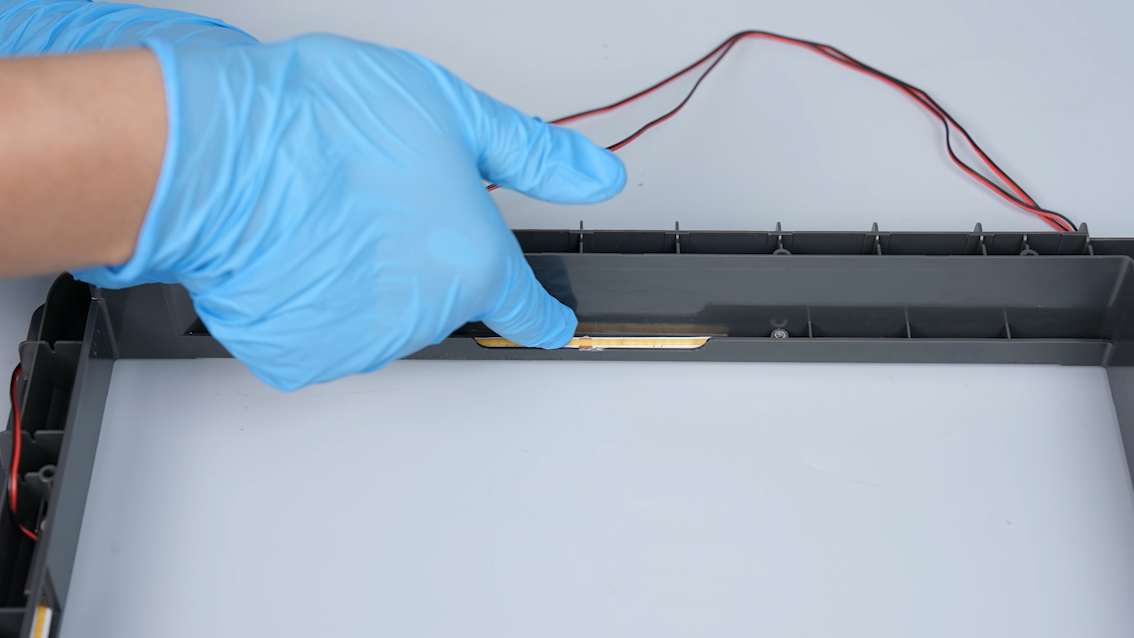
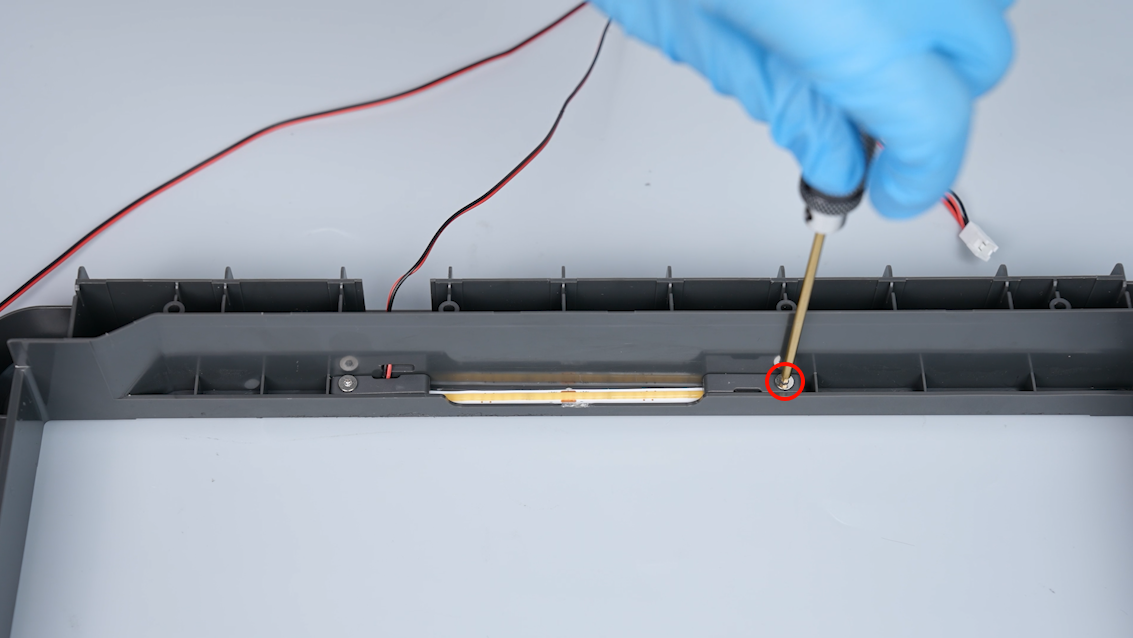
- Press the strip light to stick it firmly. Put thefixing block of the strip light in the installation position by aligning it with the screw holes. Tighten the 1 screws securing fixing block of the strip light using a 2.0 mm Allen key.

- Install the block on the other side in the same way.
- Install the light on the other side in the same way.

- Put the ribbon cables into the groove. Use four pieces of tape to secure the ribbon cables of the strip light.
- Put the ribbon cables into the clip. Use a 2.0 mm Allen key to tighten the screw securing ribbon cable clip.
¶ Install the Top Frame
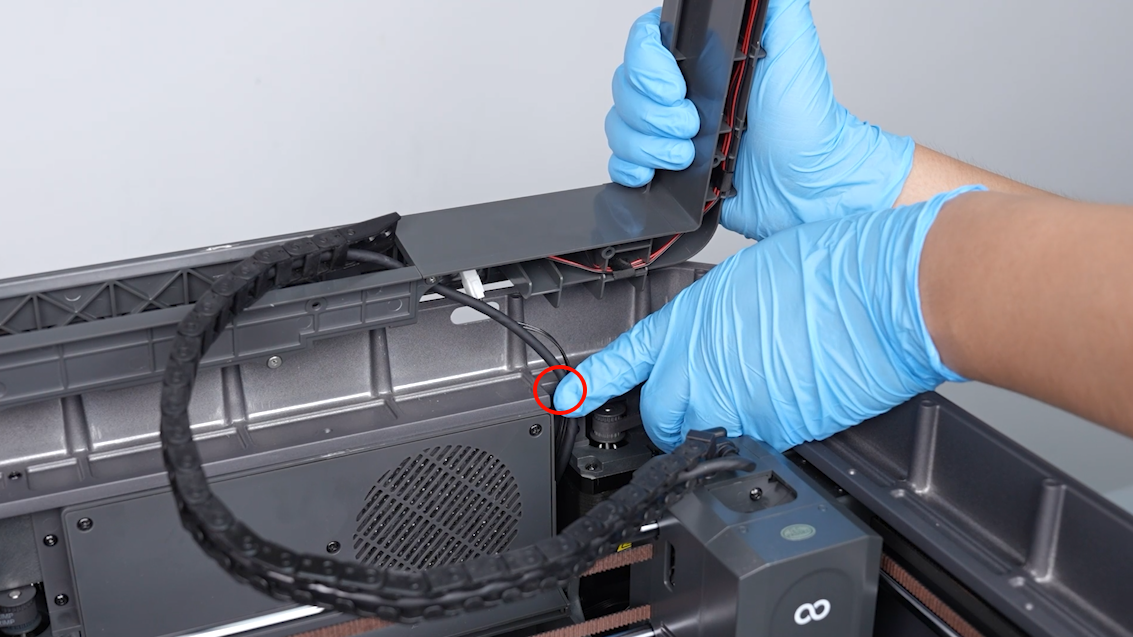
- Prepare the top frame and hold it upright on the back cover of the printer. Re-plug the ribbon cables of the strip light.
- Put the connection cable of the print head into the groove of the top frame. Tighten the 2 screws securing the bottom of the top frame using a 2.0 mm Allen key.

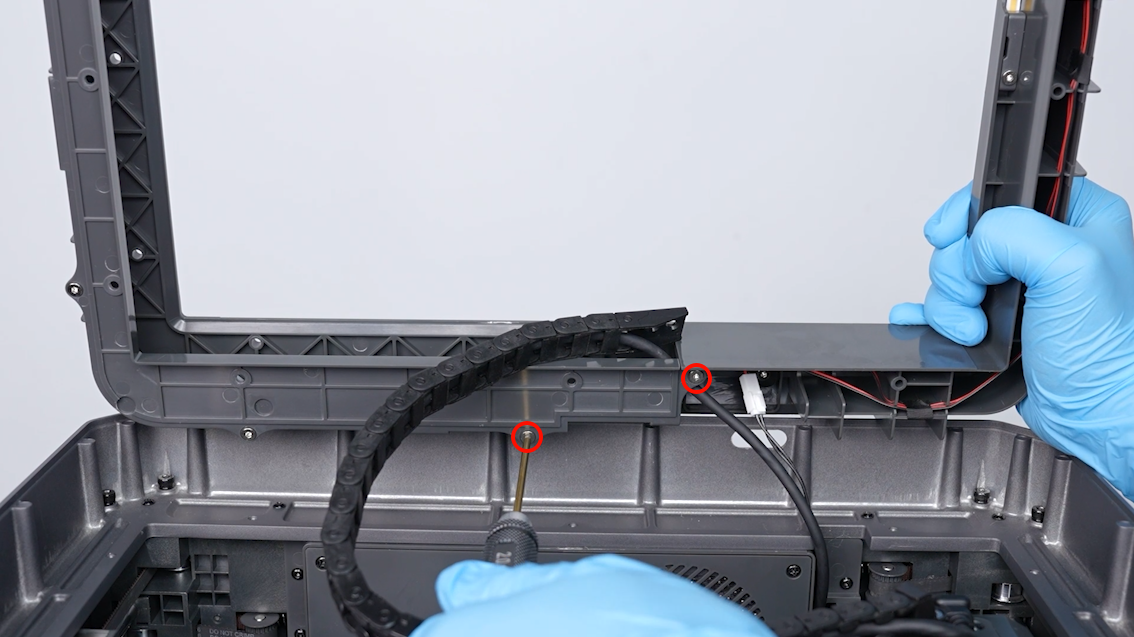
- Organize the connection cable of the print head and strip light ribbon cables into the groove.
- Put the top frame in the installation position by aligning it with the groove.

- Tighten the 6 screws securing the left and the inner back side of the top frame using a 2.0 mm Allen key.
- Tighten the 7 screws securing the top frame using a 2.0 mm Allen key.
Note: Secured in front are two short screws.
- Paste the four pieces of shock-absorbing foam to the top frame.
Note: If the adhesion is poor, reapply the double-sided tape to the shock-absorbing foam.
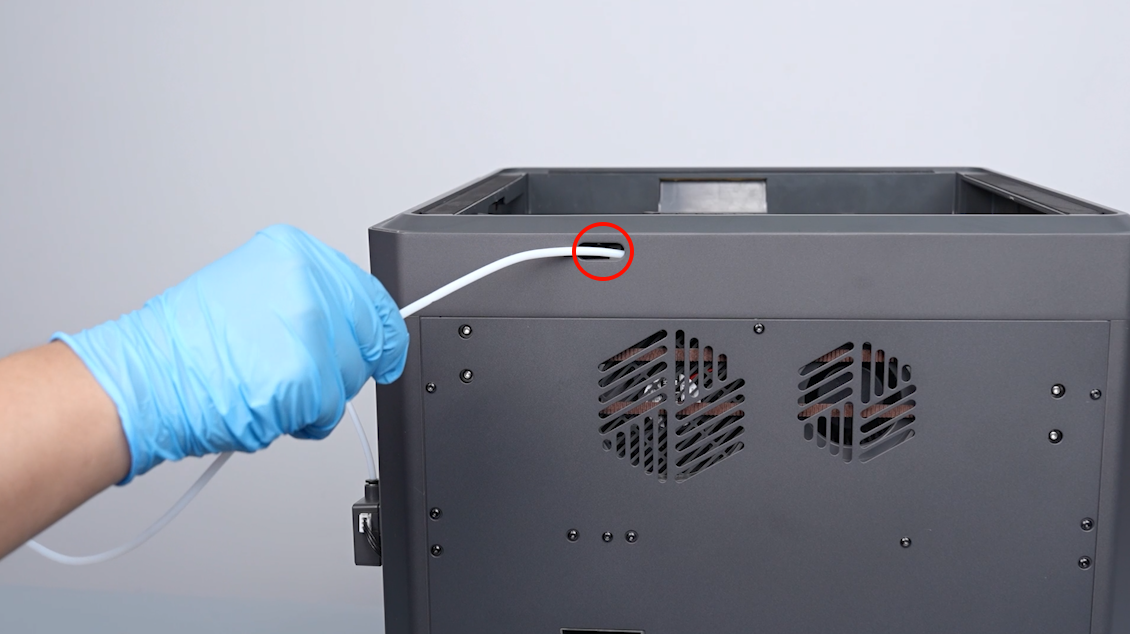
- Pass the PTFE tube through the filament hole at the back of the printer. Clamp the front of the PTFE tube and pull the tube out.
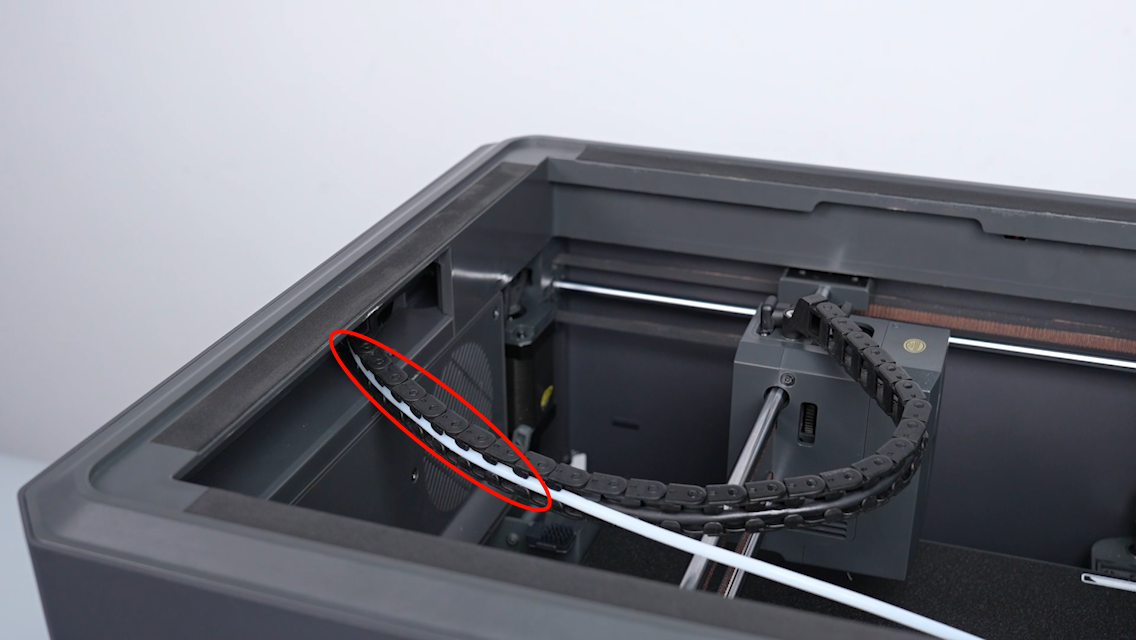
- Press the PTFE pipe into the tank chain from the terminal of the chain. Install the PTEE pipe to the one-third from the end of the tank chain.
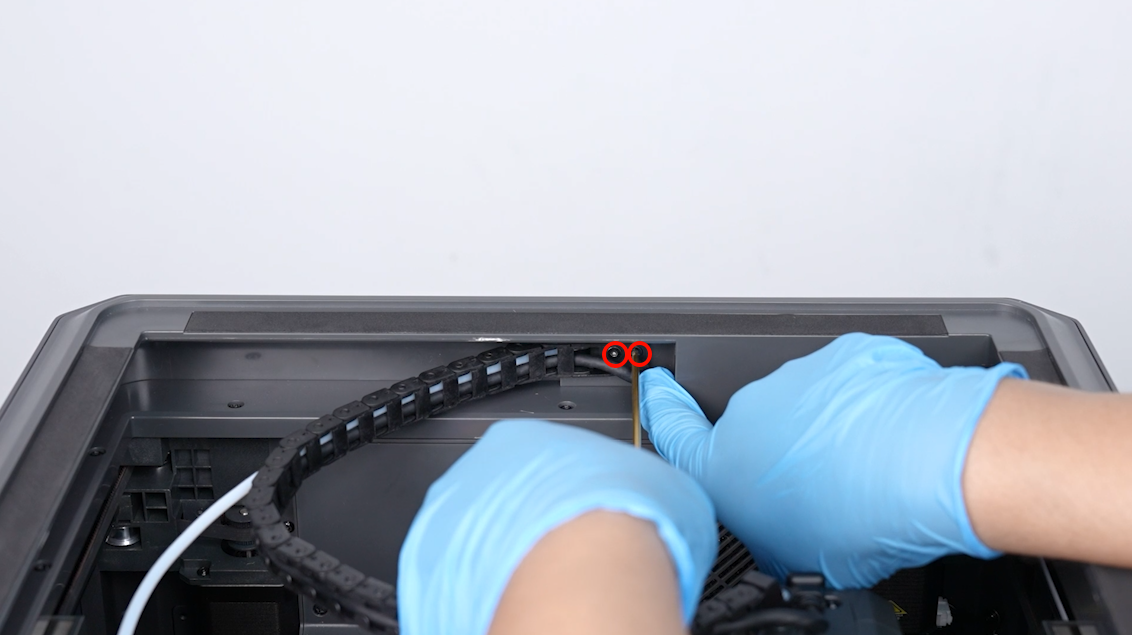
- Tighten the 2 screws securing the cable chain terminal using a 2.0 mm Allen key.
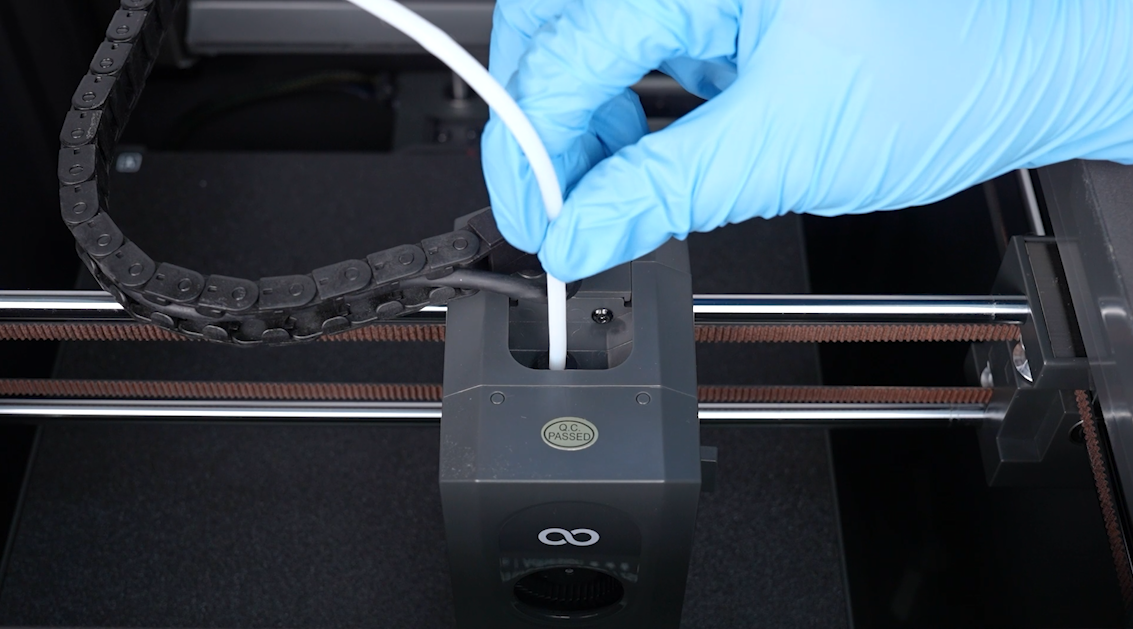
- Insert the PTFE tube into the connector above the print head.
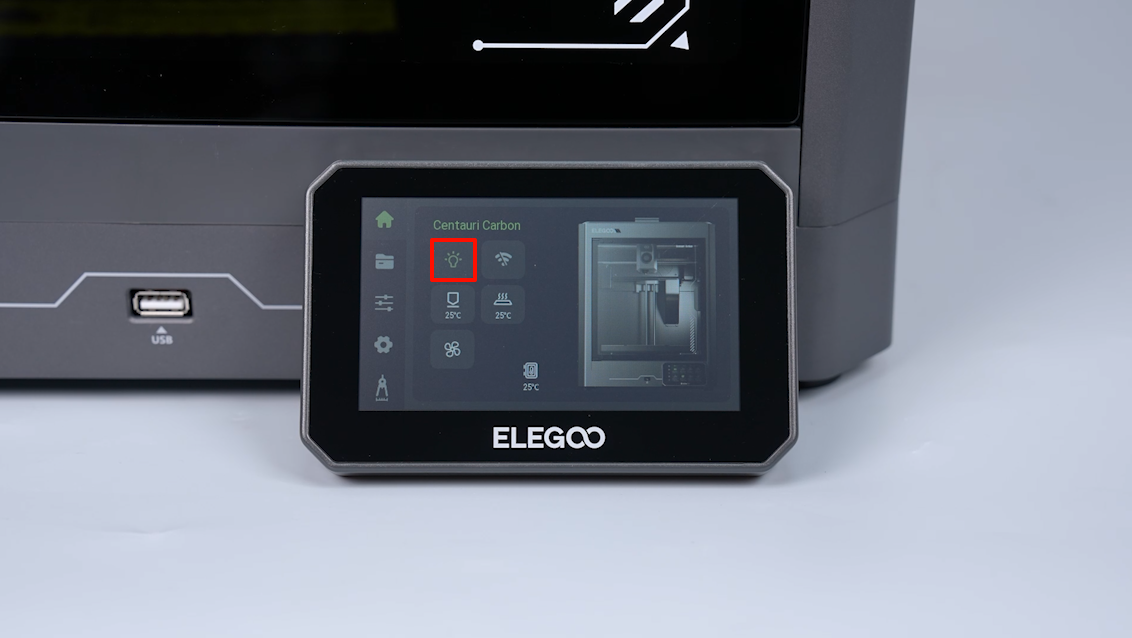
- Navigate to "Light On" on the touchscreen. The printer is ready for use after the light turns on normally.