¶ Tools and Materials
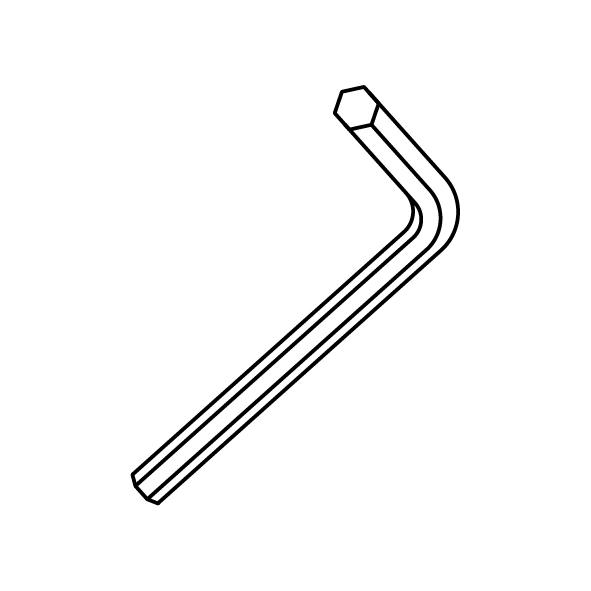
- A 2.0 mm Allen wrench
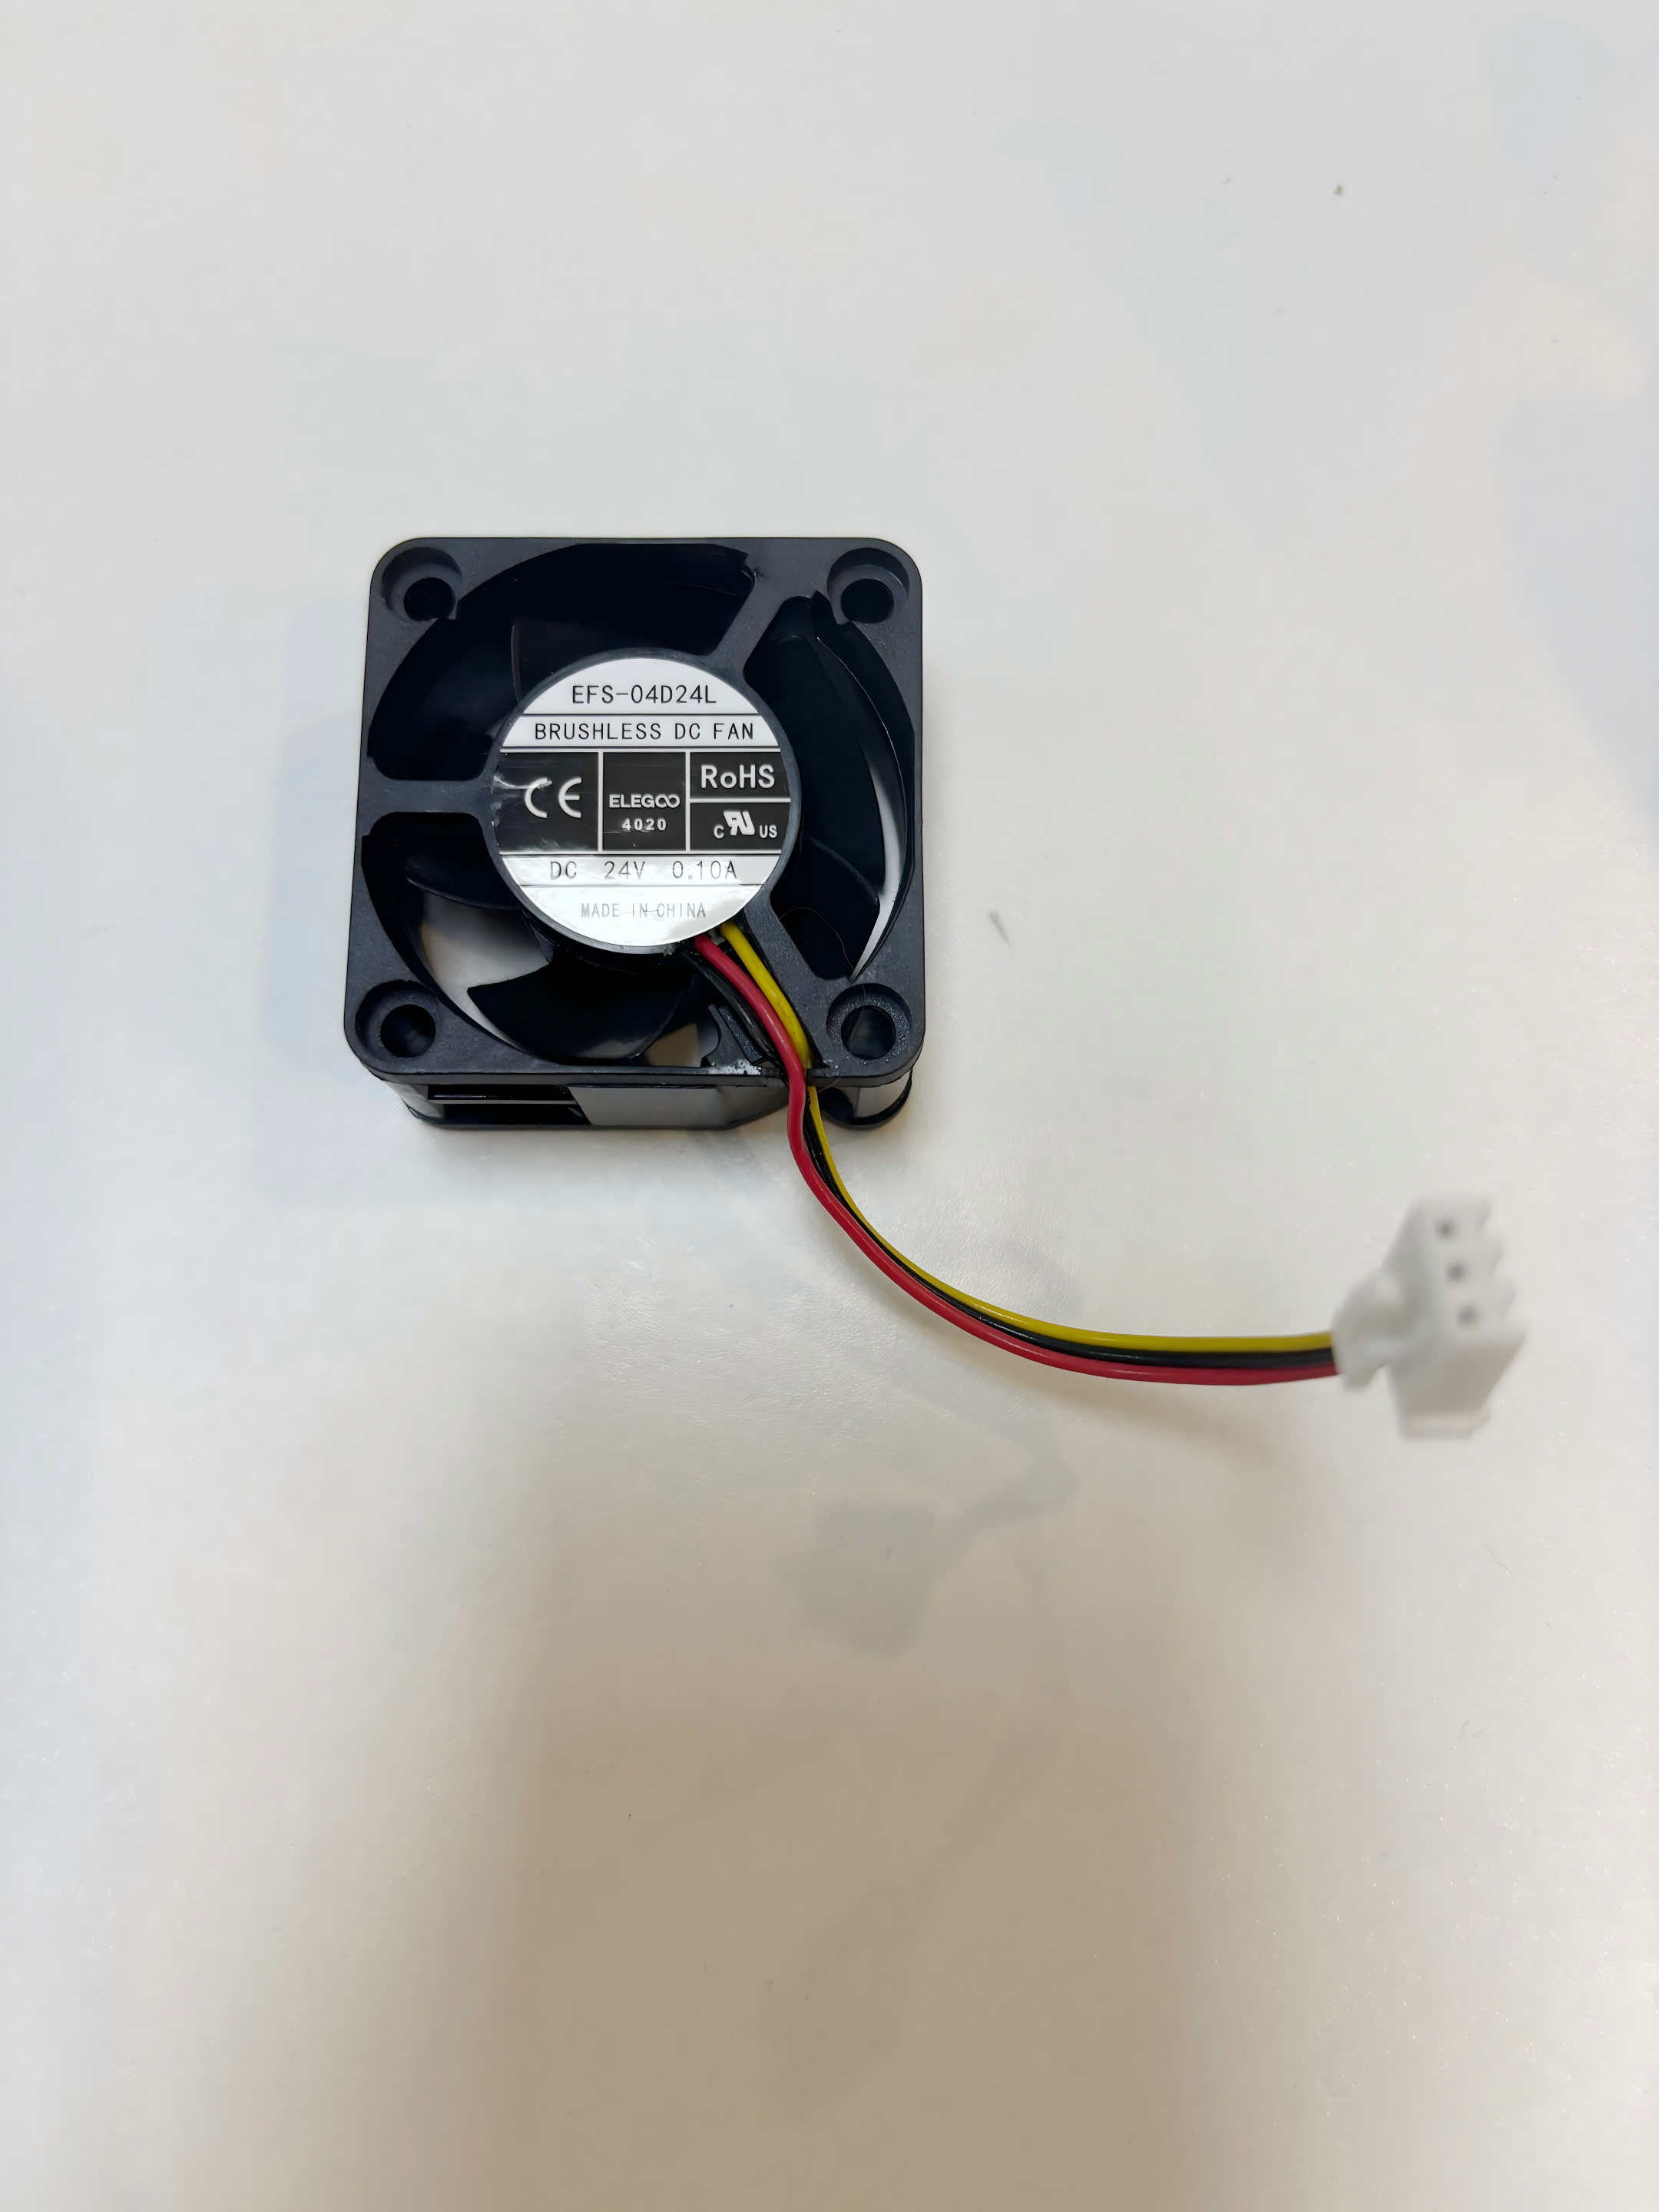
- A new motherboard cooling fan
¶ Tutorial Video
Coming soon.
¶ Instruction
¶ Remove the old motherboard cooling fan
- Power off the printer and unplug the power cord.
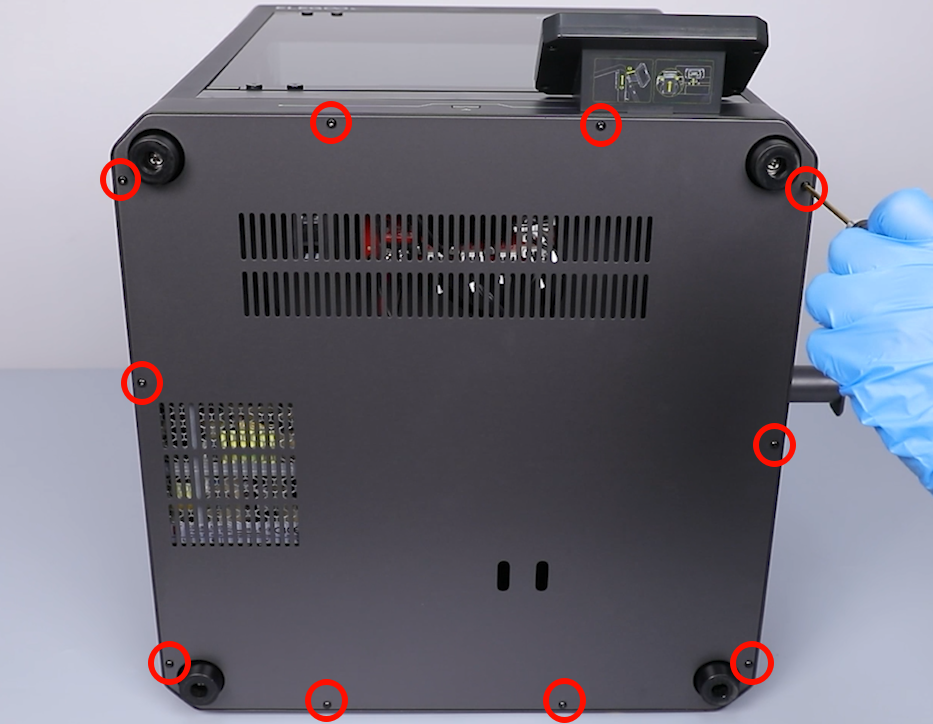
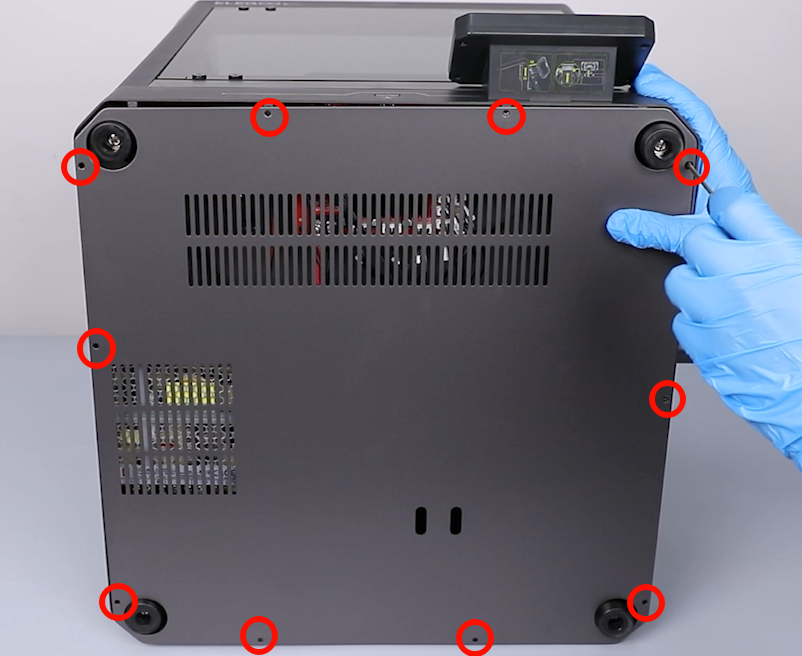
- Use a 2.0 mm Allen wrench to loosen the 10 screws securing the bottom cover of the printer, then remove the bottom cover.
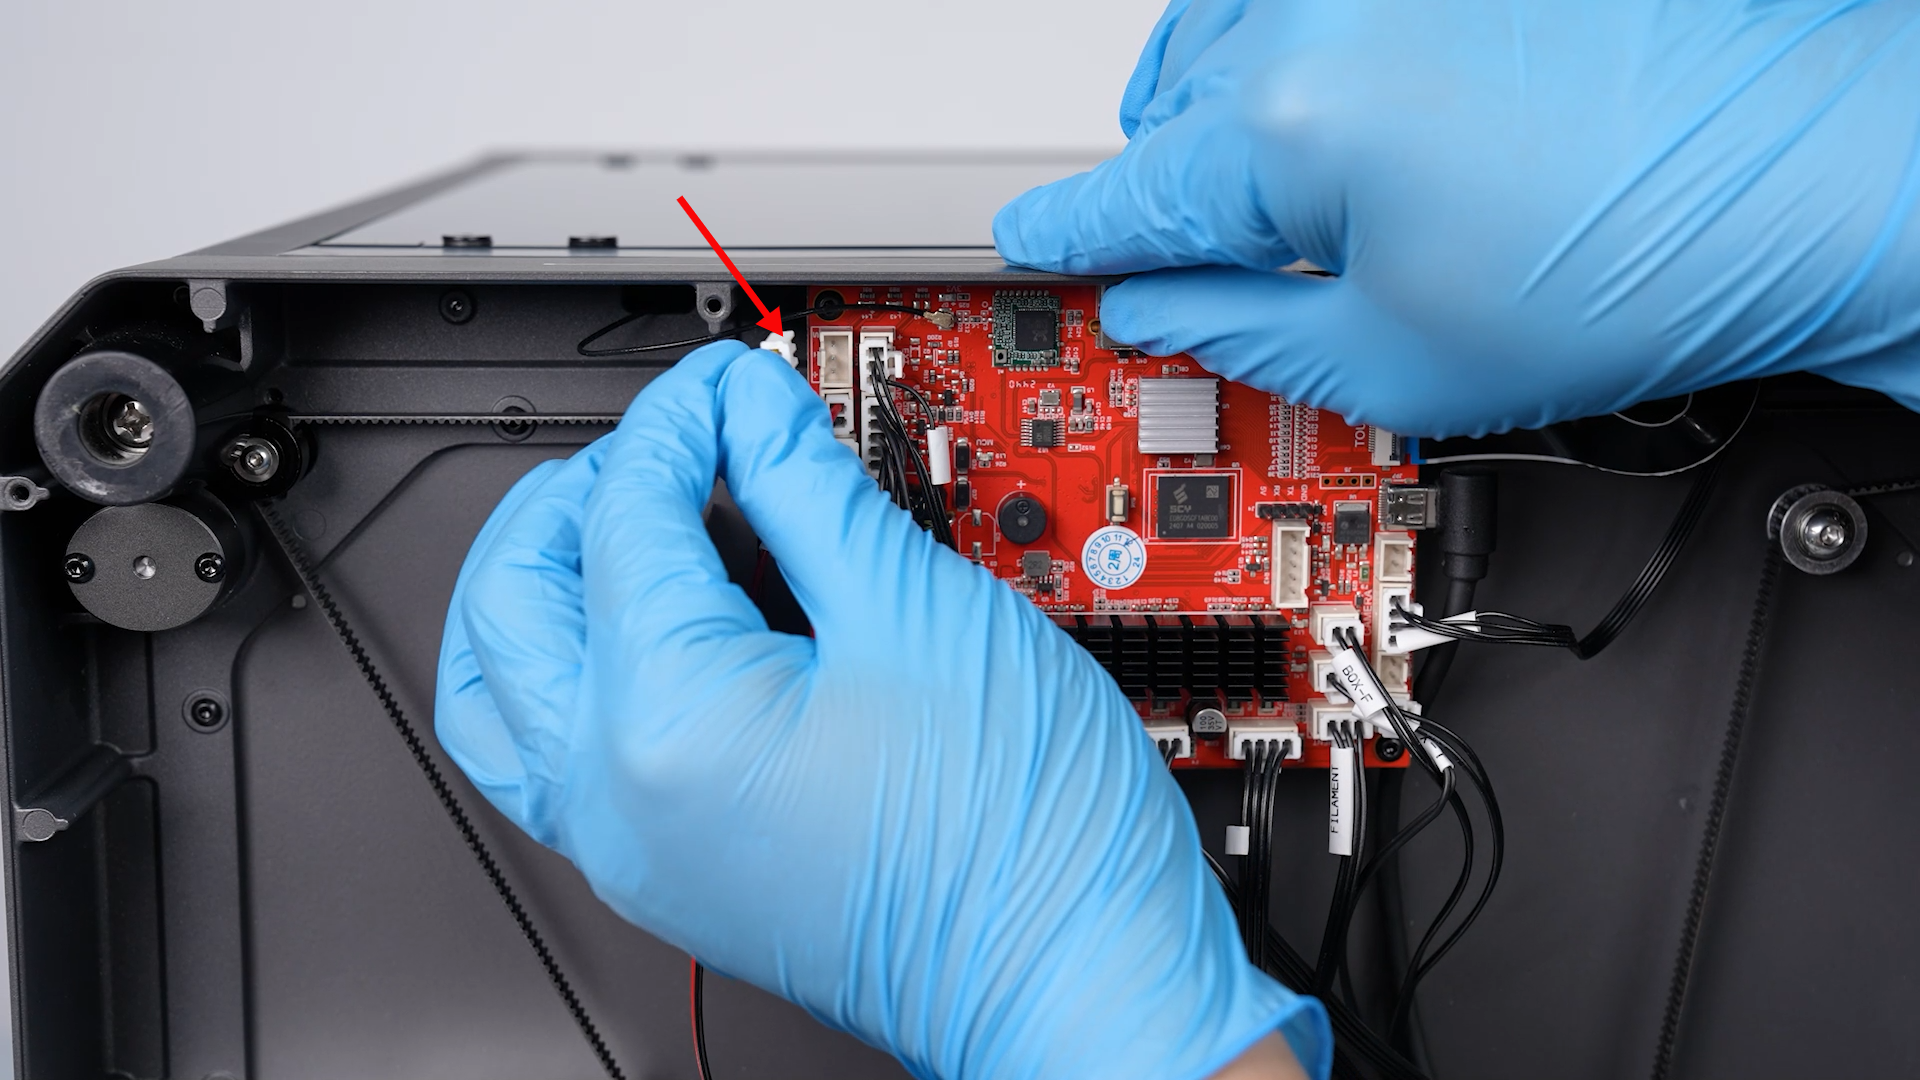
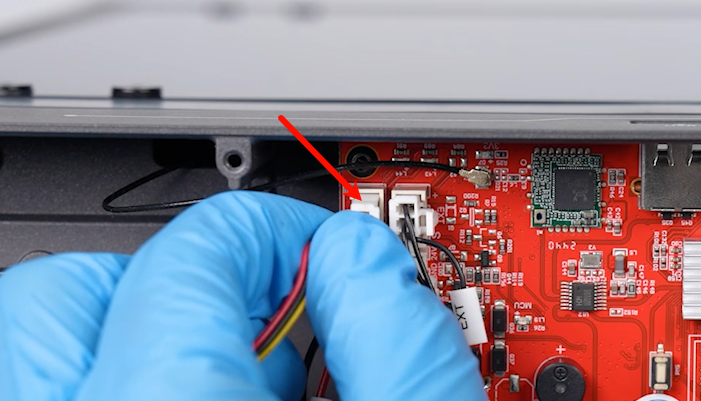
- Unplug the ribbon cables of the motherboard cooling fan from the motherboard.
- Use a 2.0 mm Allen wrench to loosen the 2 screws securing the motherboard cooling fan.
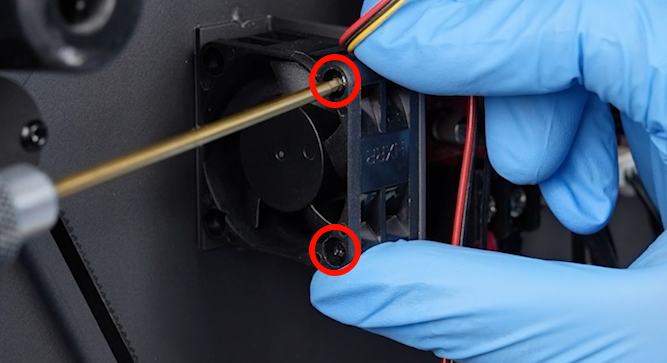
- Remove the old motherboard cooling fan.
¶ Install the new motherboard cooling fan
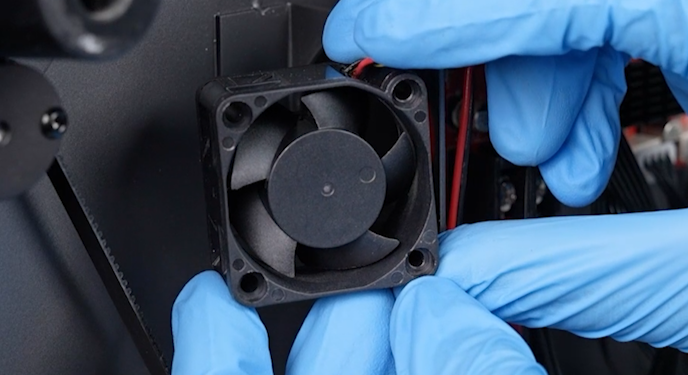
- Prepare the new motherboard cooling fan. Put the new motherboard cooling fan in the installation position by aligning it the the screw holes.
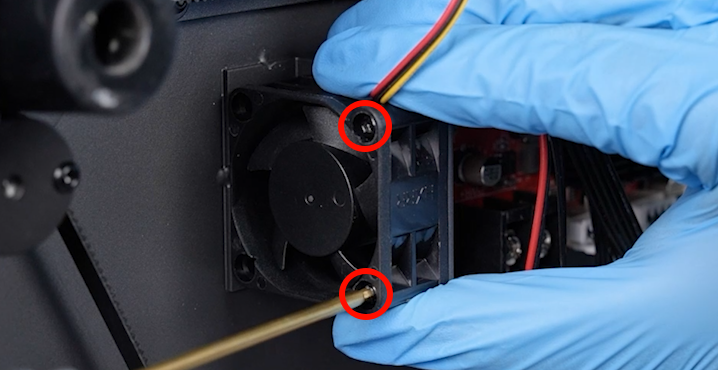
- Use a 2.0 mm Allen wrench to tighten the 2 screws securing the motherboard cooling fan.
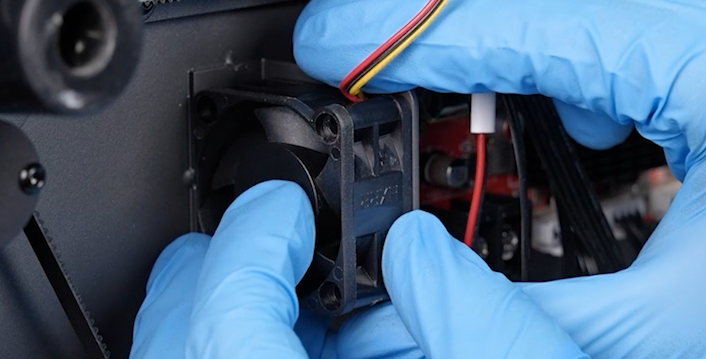
- Insert the ribbon cables of the motherboard cooling fan into the motherboard port.
- Put the bottom cover of the printer in the installation position by aligning it with the foot pad holes and screw holes. Use a 2.0 mm Allen wrench to tighten the 10 screws securing the bottom cover of the printer.
- Power on the printer. Try to print a test model to ensure there is no error. Then, the printer is ready for use.