¶ Tools and Materials
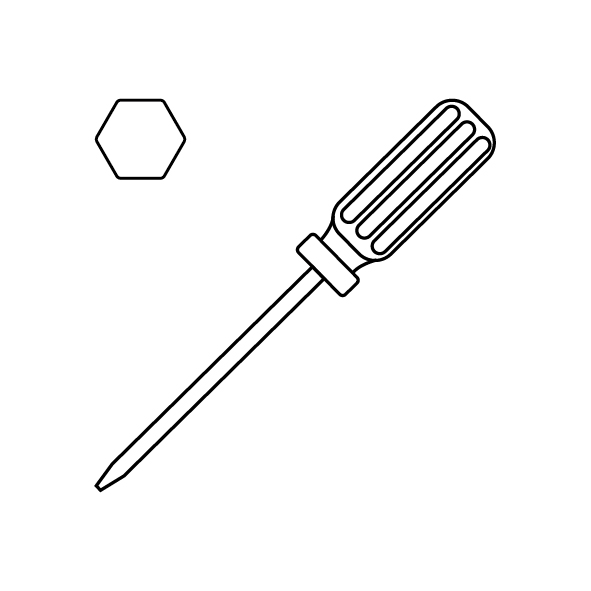
- A 2.0 mm Allen wrench
- 2 new hydraulic hinges
- A new front glass door
¶ Tutorial Video
¶ Instruction
¶ Remove the Old Hinges
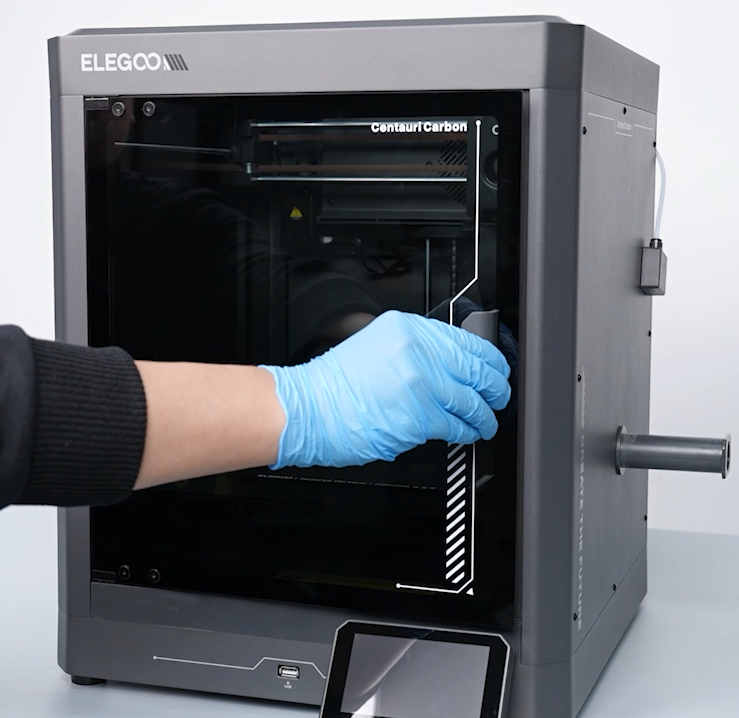
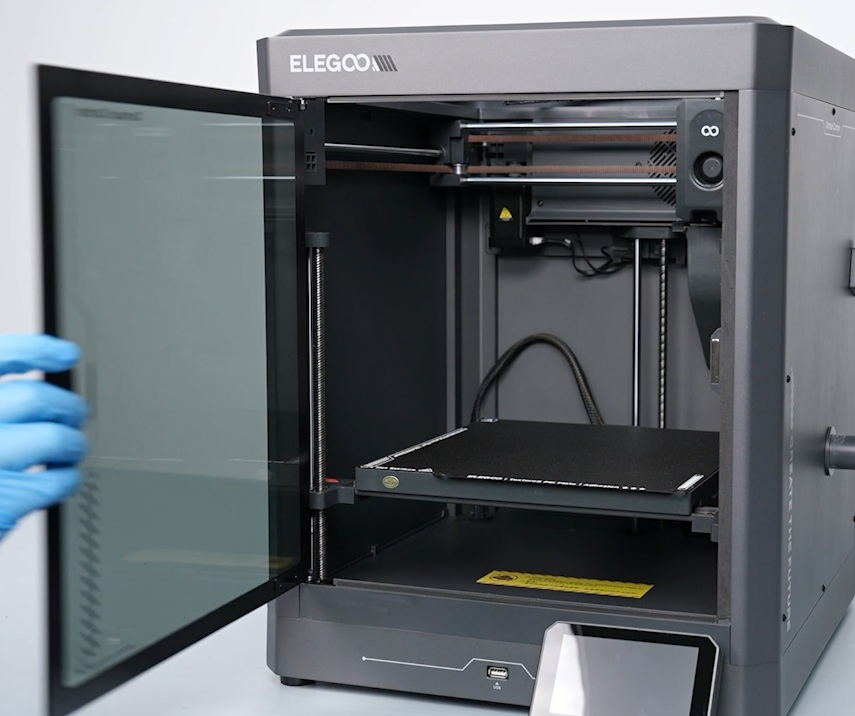
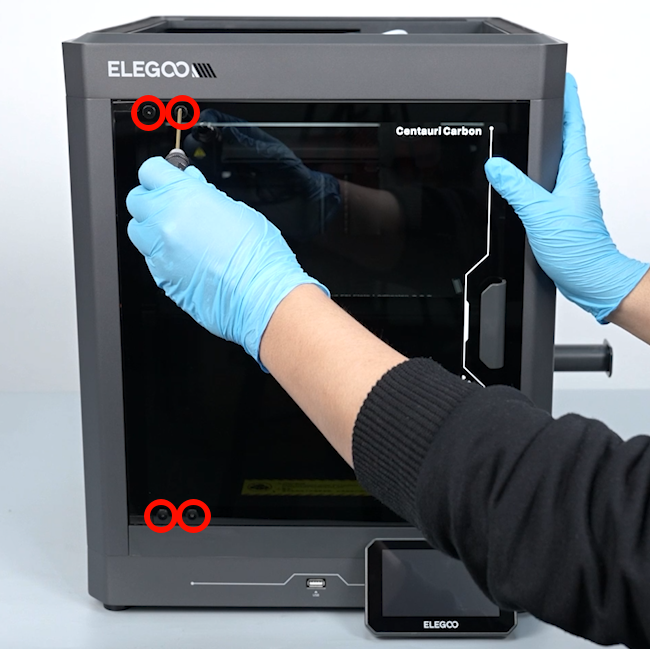
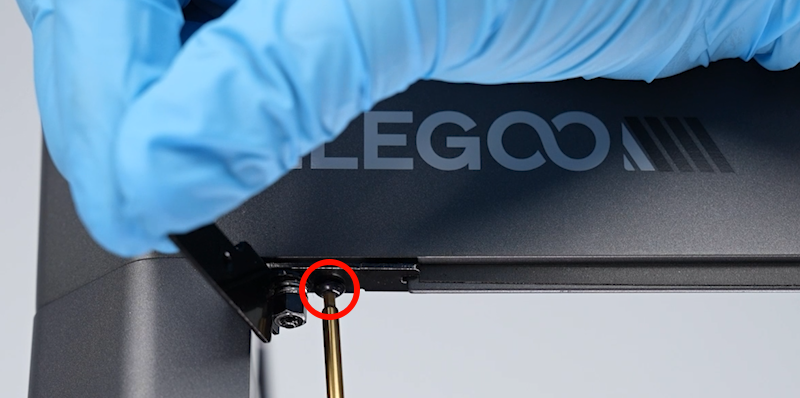
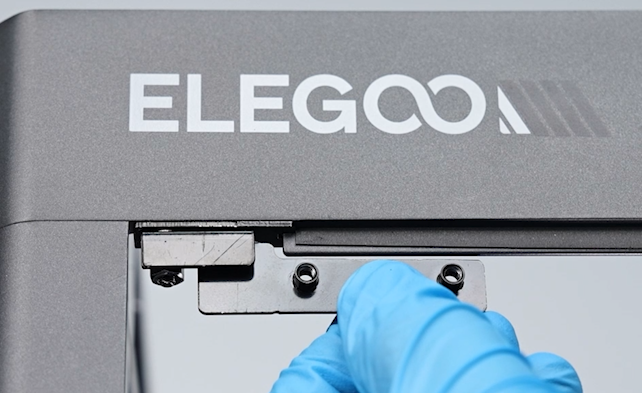
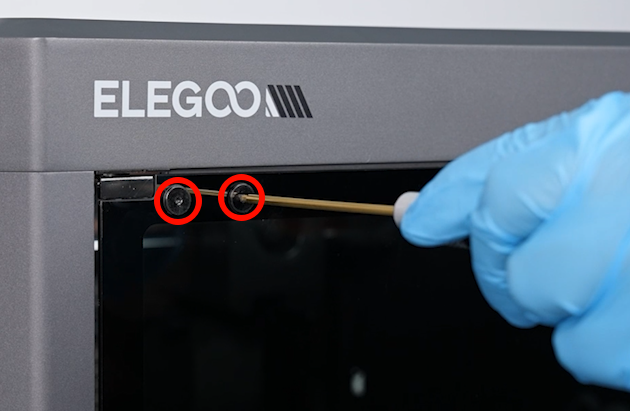
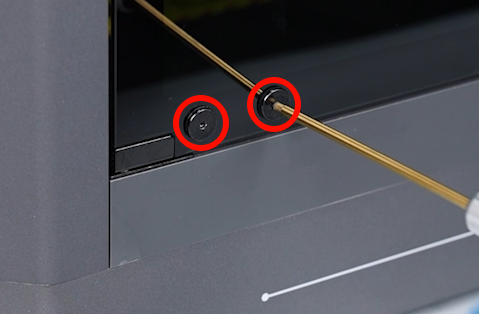
- Use a 2.0 mm Allen wrench to loosen the 4 screws securing the front glass door, then remove the front door.
Note: Hold the door to prevent it from falling.
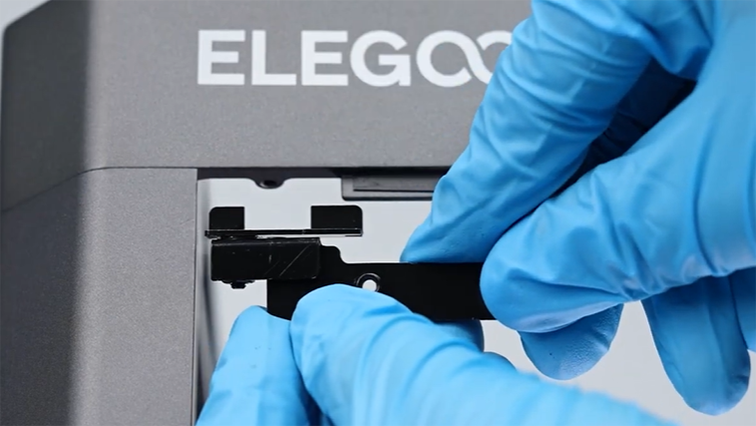
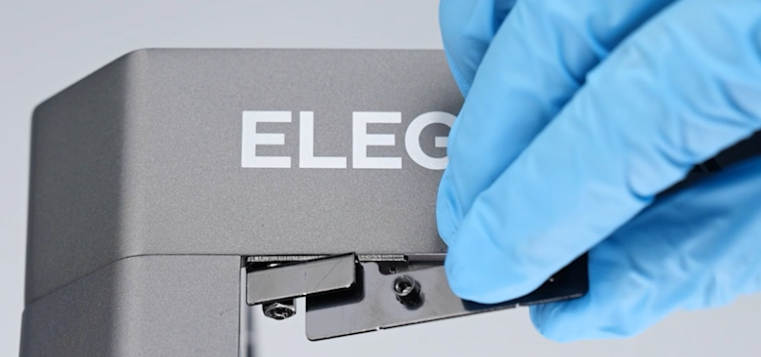
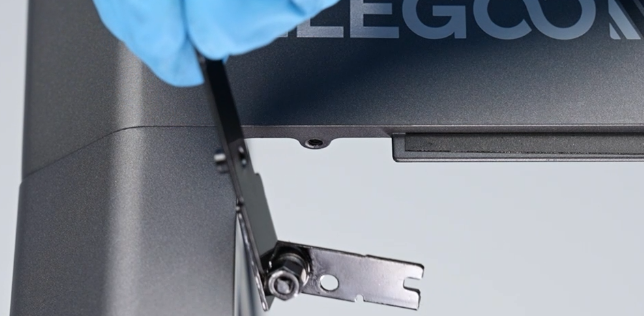
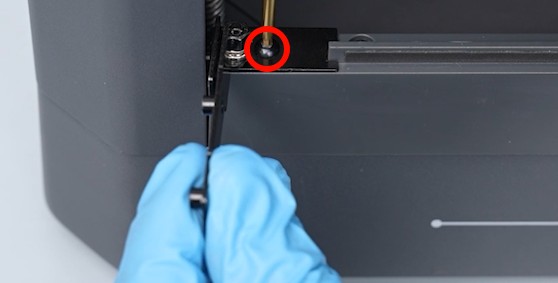
- Rotate the upper hydraulic hinge. Use a 2.0 mm Allen wrench to loosen the screw securing the upper hydraulic hinge, then remove the hinge.
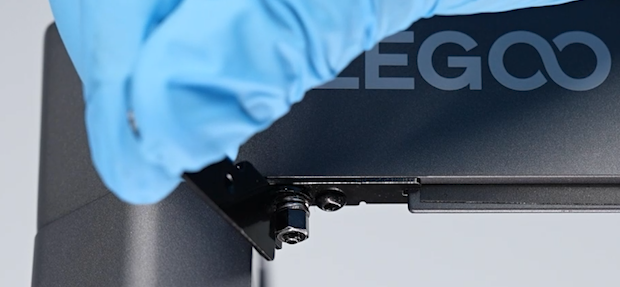
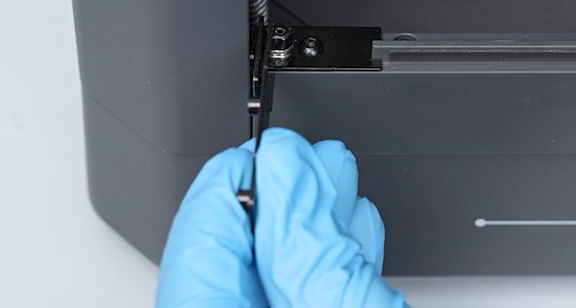
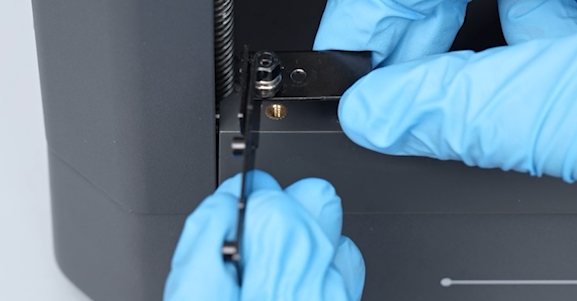
- Similarly, rotate the lower hydraulic hinge. Use a 2.0 mm Allen wrench to loosen the screw securing the lower hydraulic hinge, then remove the hinge.
¶ Install the New Hinges
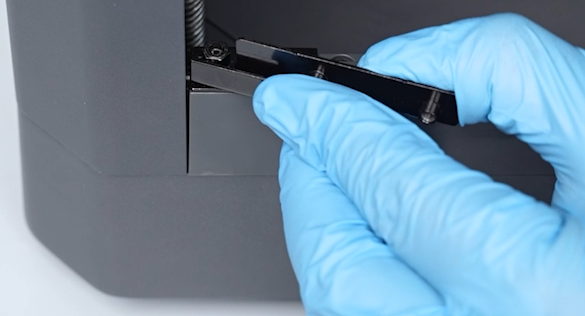
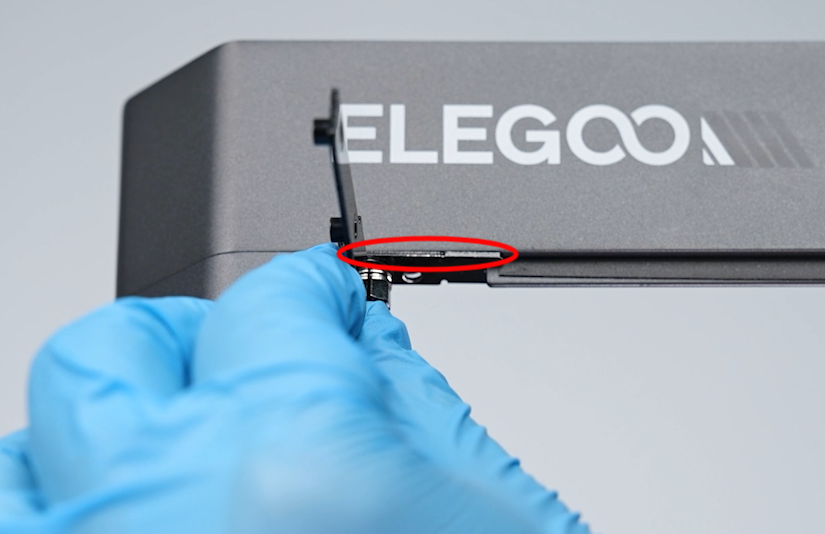
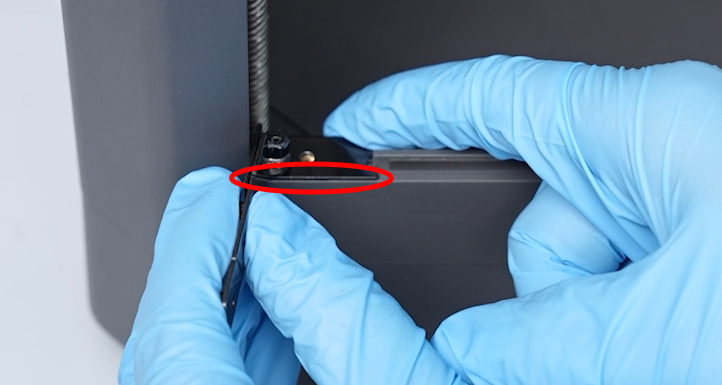
- Prepare the new upper hydraulic hinge. Put the upper hydraulic hinge in the installation position by aligning its outer edge with the printer's front border.
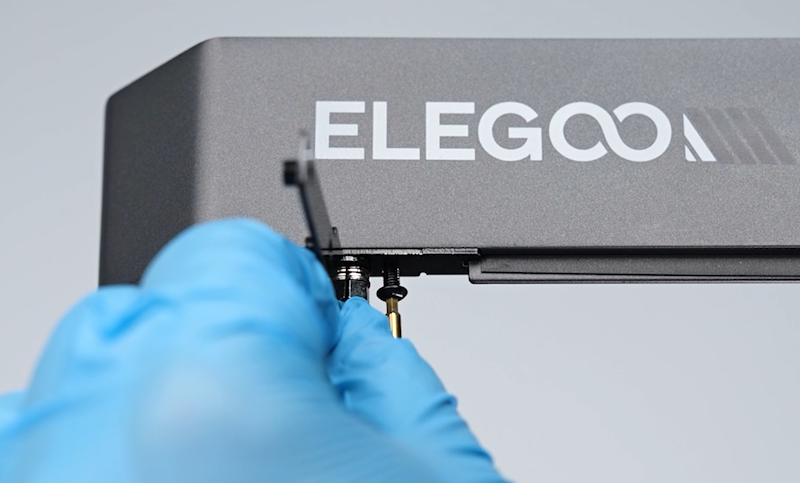
- Use a 2.0 mm Allen wrench to secure the screw securing the upper hydraulic hinge, then rotate the hinge to horizontal position.
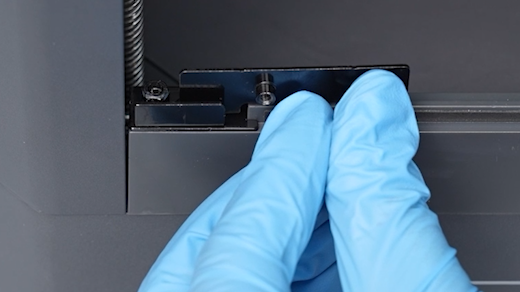
- Put the lower hydraulic hinge in the installation position by aligning its outer edge with the printer's front border.
- Use a 2.0 mm Allen wrench to tighten the screw securing the lower hydraulic hinge, then rotate the hinge to horizontal position.

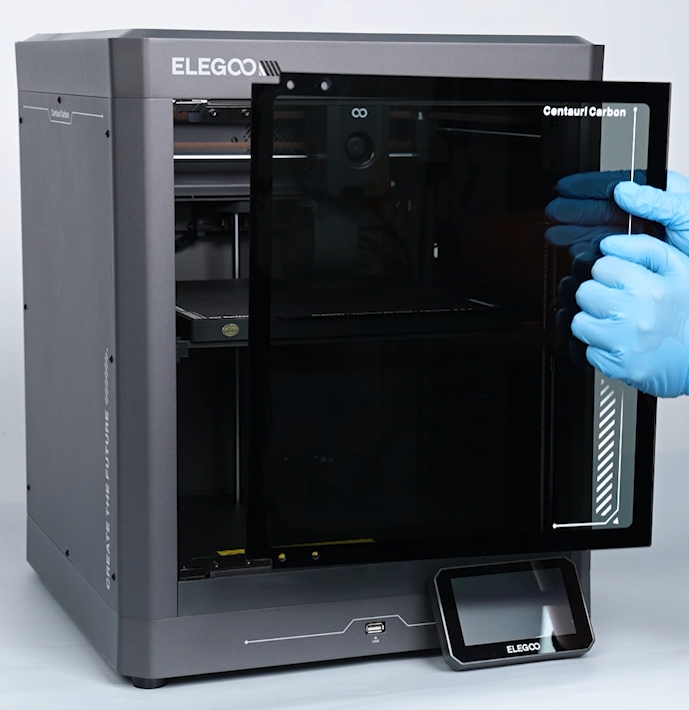
- Prepare the new glass front door. Put it in the installation position by aligning it with the screw holes.
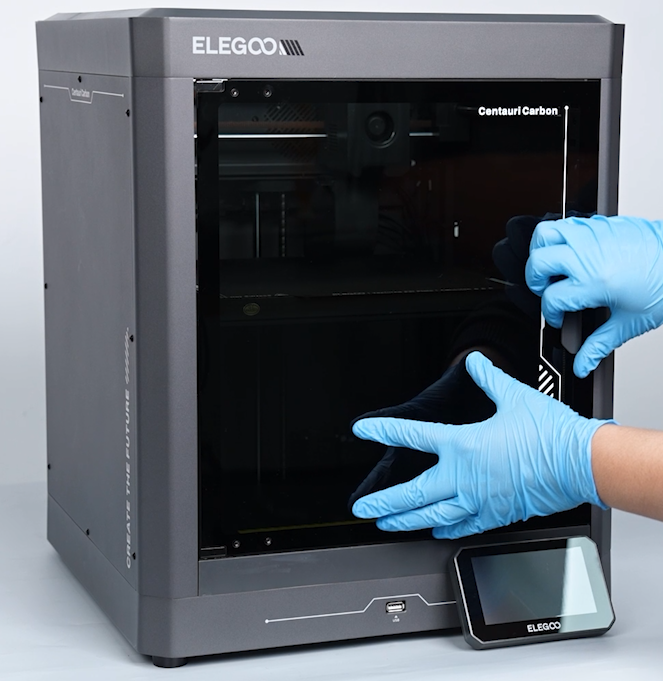
- Use a 2.0 mm Allen wrench to tighten the 4 screws securing the front door.
- Check that the front door can be opened and closed smoothly, then the printer is ready for use.