¶ Tools and Materials
- A 2.0 mm Allen wrench
- A pair of tweezers
- A Phillips screwdriver
- A new heat break cooling fan

.png)
.png)
¶ Tutorial Video
https://www.youtube.com/watch?v=C3d6oWahcIg
¶ Instruction
¶ Remove the old heat break cooling fan
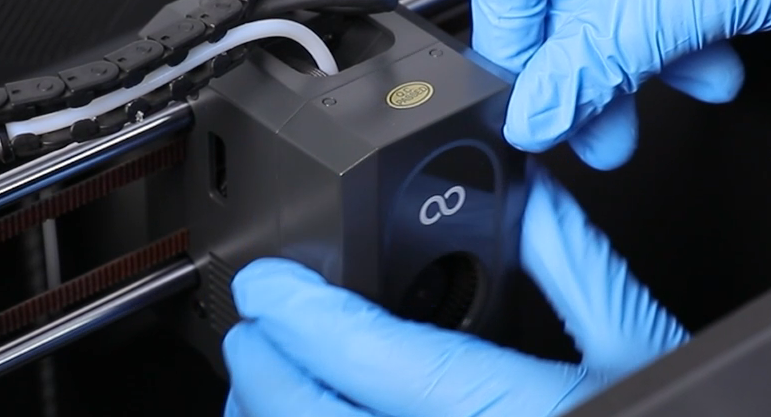
- Power off the printer and unplug the power cord. Lift the front cover of the printing head to remove it.
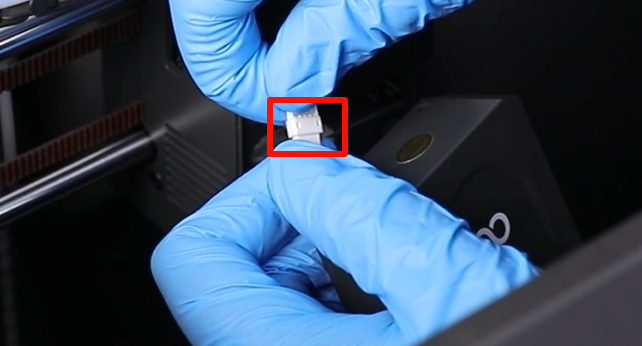
- Unplug the port of the ribbon cables of the model cooling fan.
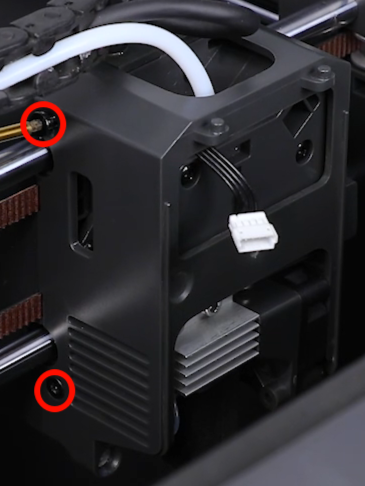
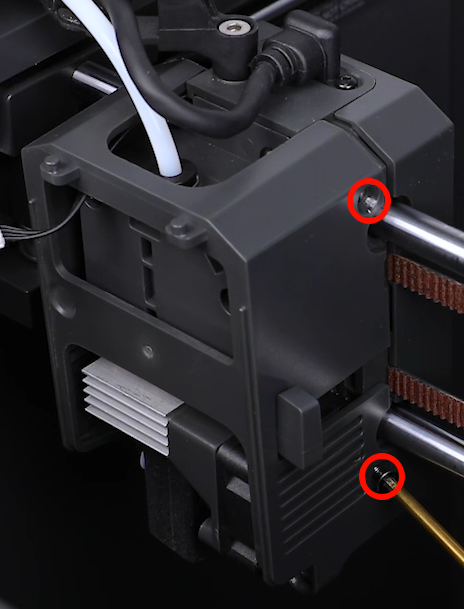
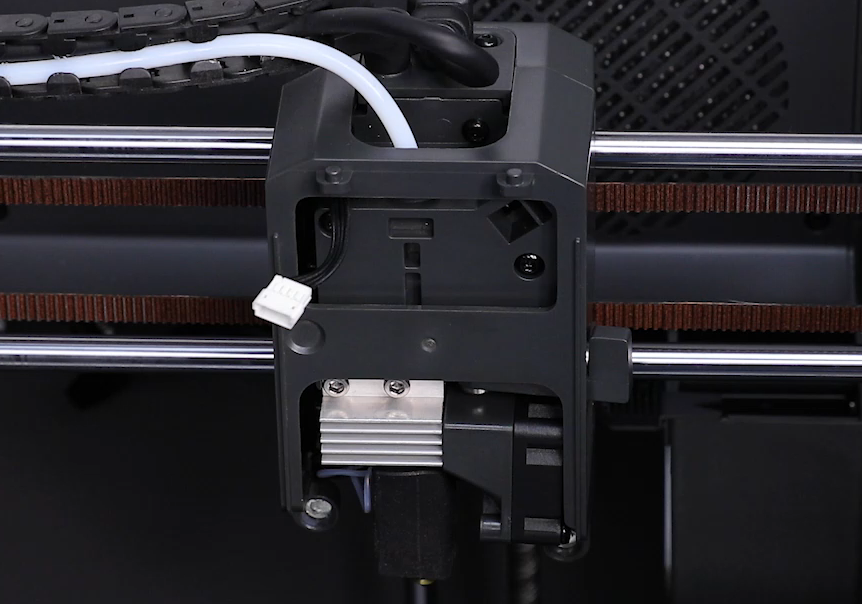
- Use a 2.0 mm Allen wrench to loosen the 4 screws securing the middle housing of the print head.
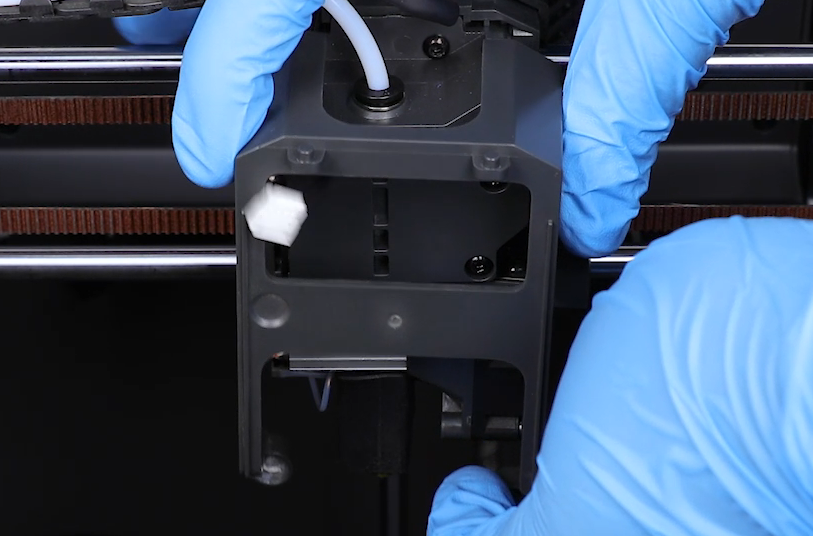
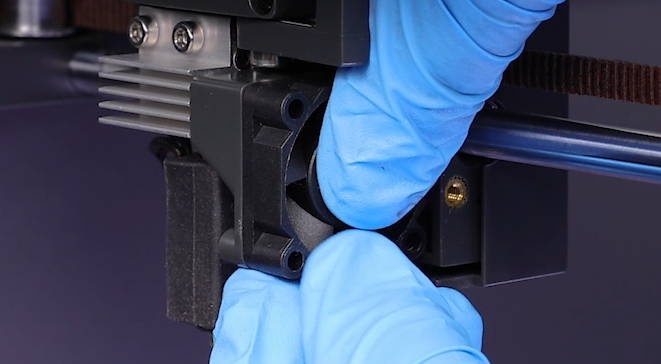
- Remove the middle housing of the printing head from the front of the print head.
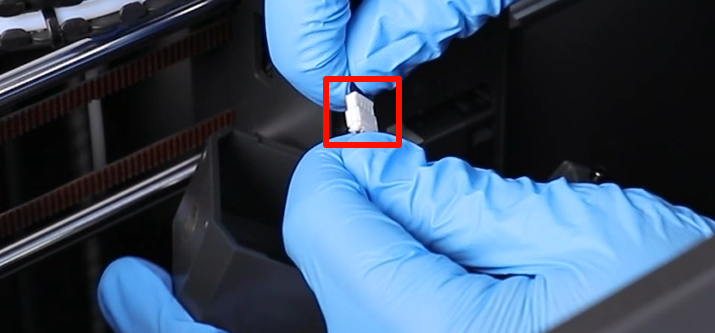
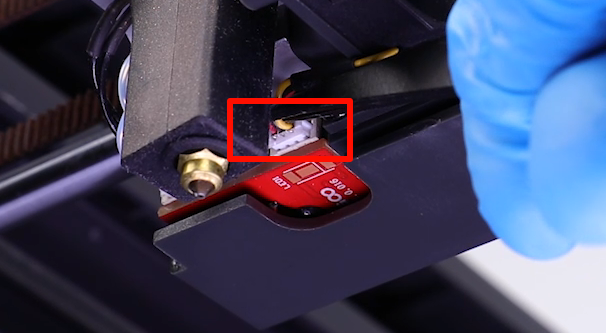
- Unplug the ribbon cables of the heat break cooling fan by the use of a pair of tweezers.
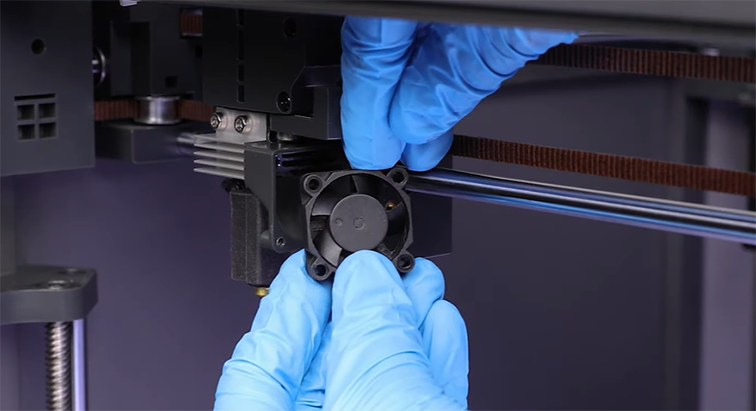
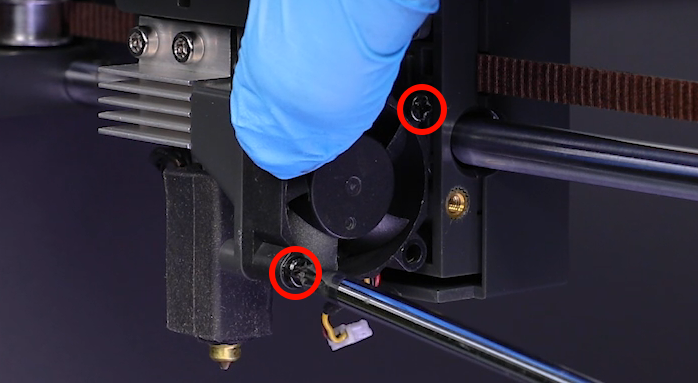
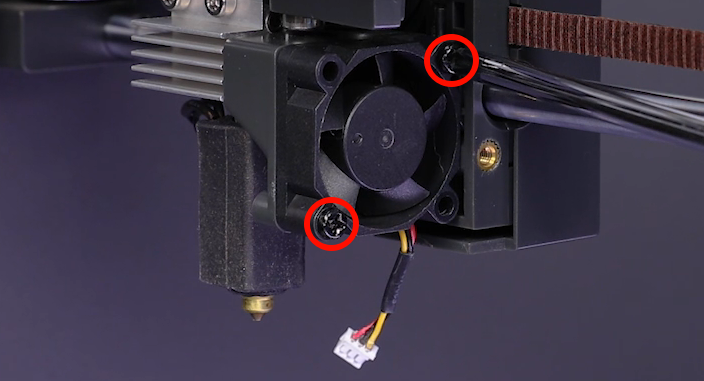
- Use a Phillips screwdriver to loosen the 2 screws securing the heat break cooling fan, then remove the heat break cooling fan.

¶ Install the New Heat Break Cooling Fan
- Prepare the new heat break cooling fan and put it in the installation position by aligning it with the screw holes.
- Use a Phillips screwdriver to tighten the 2 screws securing the heat break cooling fan.
- Plug in the port of the ribbon cables of the heat break cooling fan.

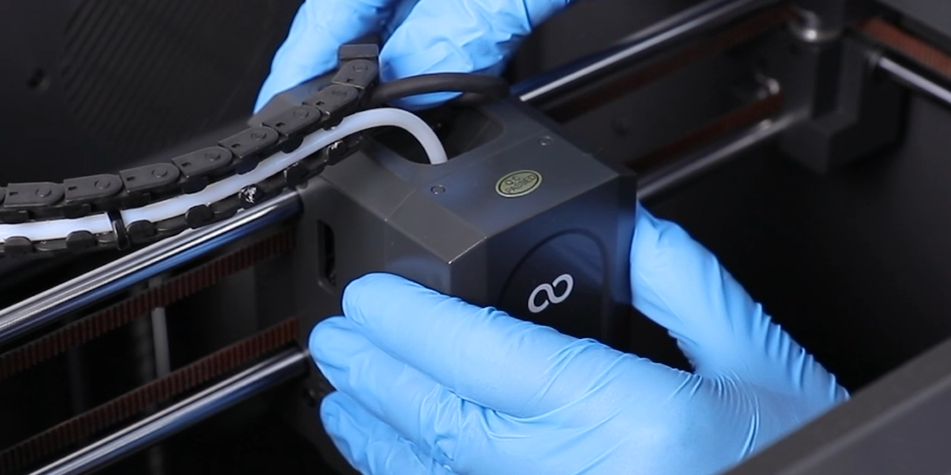
- Put the middle housing of the printing head in the installation position by aligning it with the reserved groove of the cutter lever and screw holes.
- Use a 2.0 mm Allen wrench to tighten the 4 screws securing the middle housing of the print head.
- Prepare the front cover of the printing head. Plug in the port of the ribbon cables of the model cooling fan.
- Organize the ribbon cables of the model cooling fan. Put the front cover of the printing head in the installation position by aligning it with positioning holes.
- Plug in the power cord and power on the printer. Touch "Function" on the touchscreen to enter the Prepare interface. Set the temperature of the nozzle to 220 ℃.
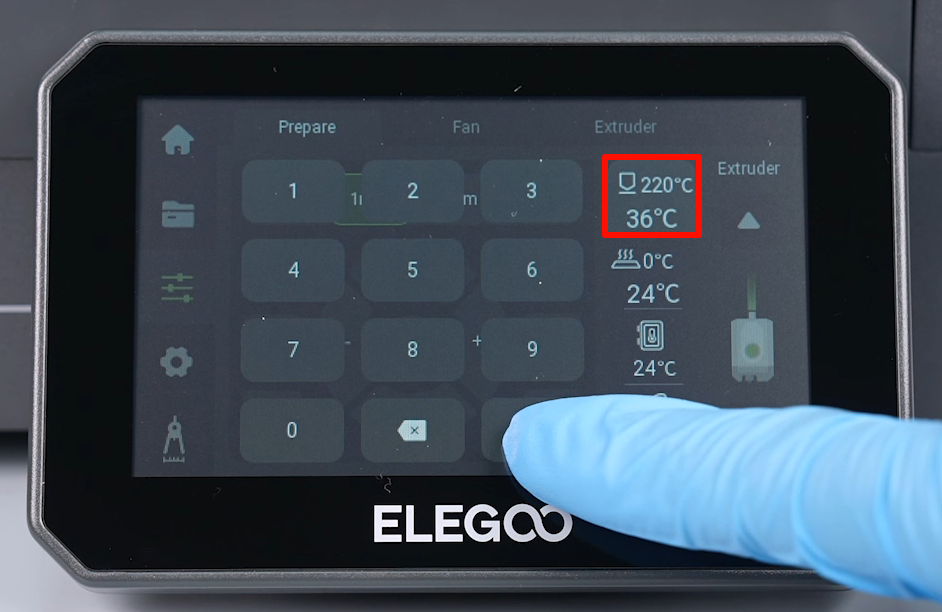
- The printer is ready for use if the heat break cooling fan operates normally after the nozzle starts to heat.
