¶ Tools and Materials
- 2.0mm Allen key x 1
- A Phillips screwdriver

¶ Tutorial Video
Coming soon.
¶ Instruction
¶ Remove the old filament wiping assembly
- Power off the printer and unplug the power cord.
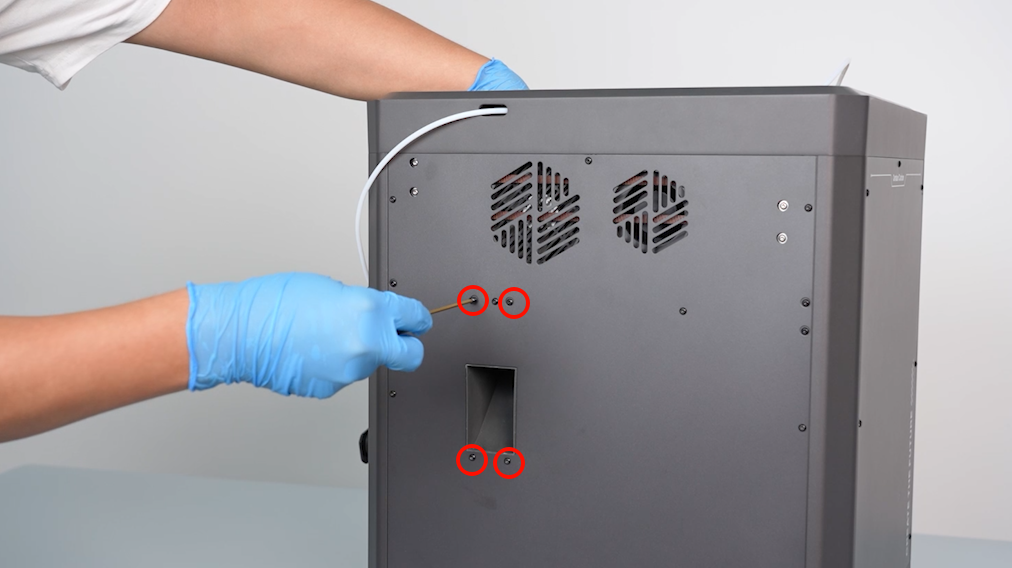
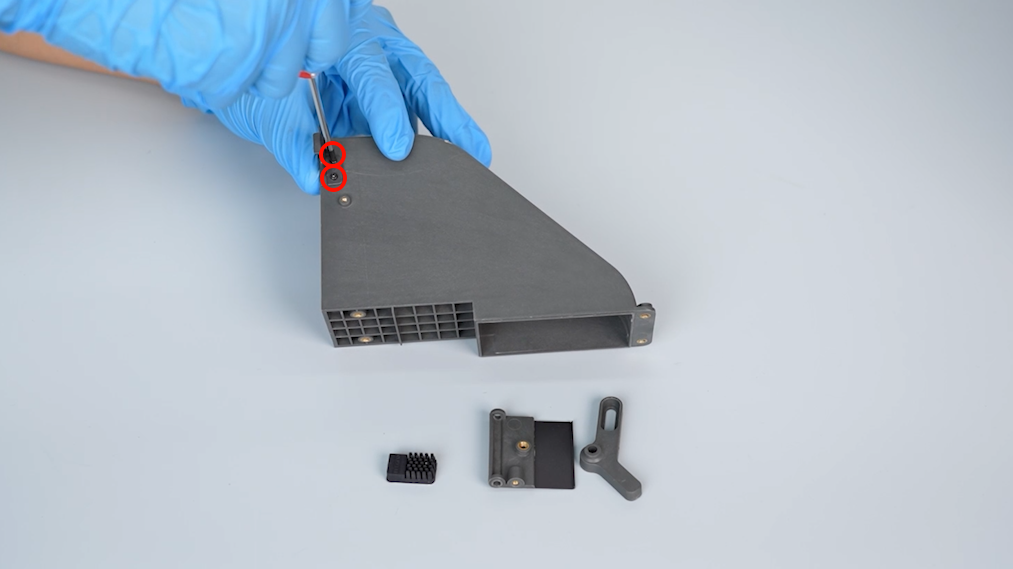
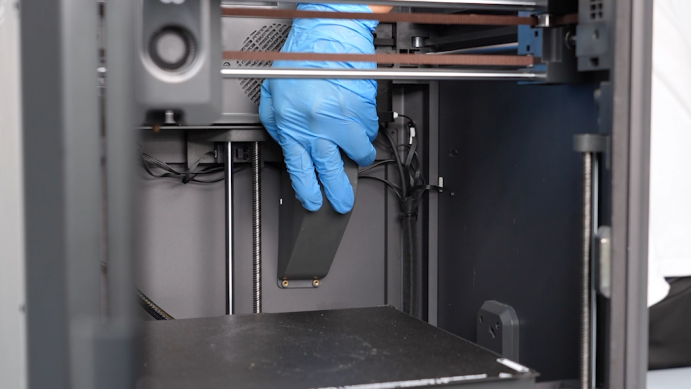
- Using a 2.0mm Allen key, remove the four screws securing the filament wiping assembly.
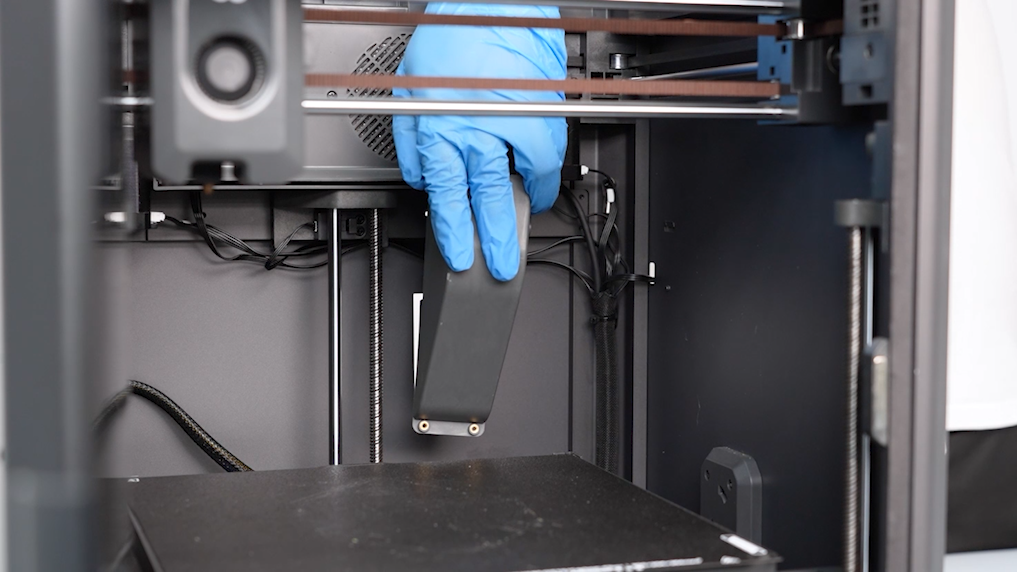
- Remove the old filament wiping assembly.
¶ Install the new filament wiping assembly
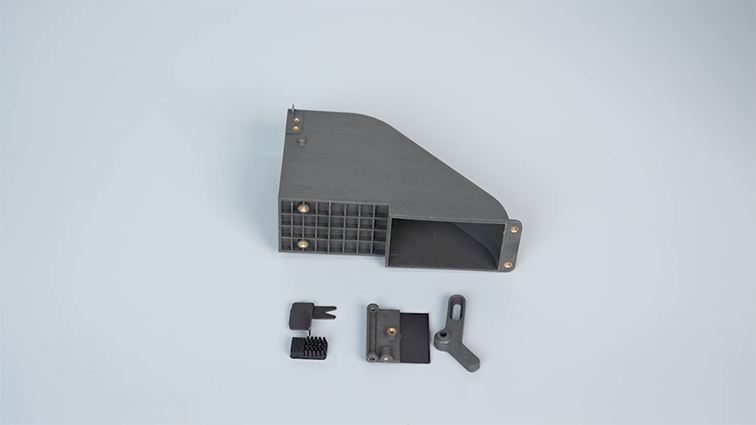
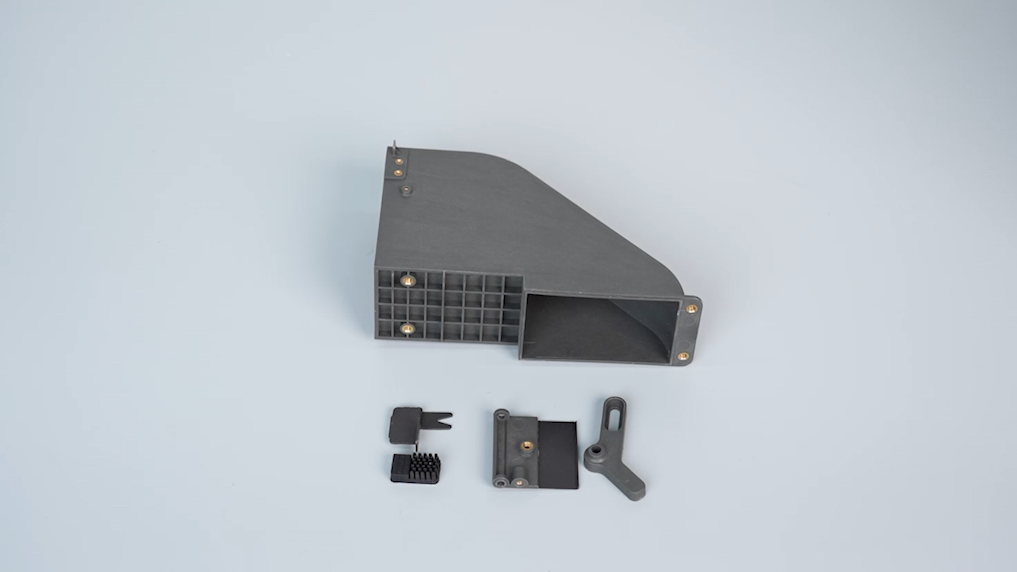
- Prepare the components of the new filament wiping assembly.
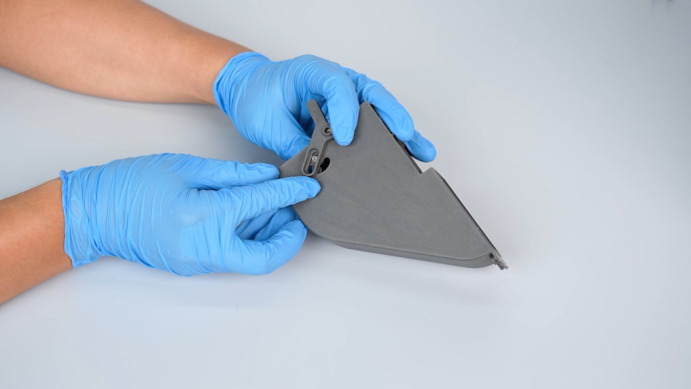
- Align the silicone wiper bracket with the screw holes and put it in the installation position. Using a Phillips screwdriver, tighten the two screws securing the silicone wiper bracket.
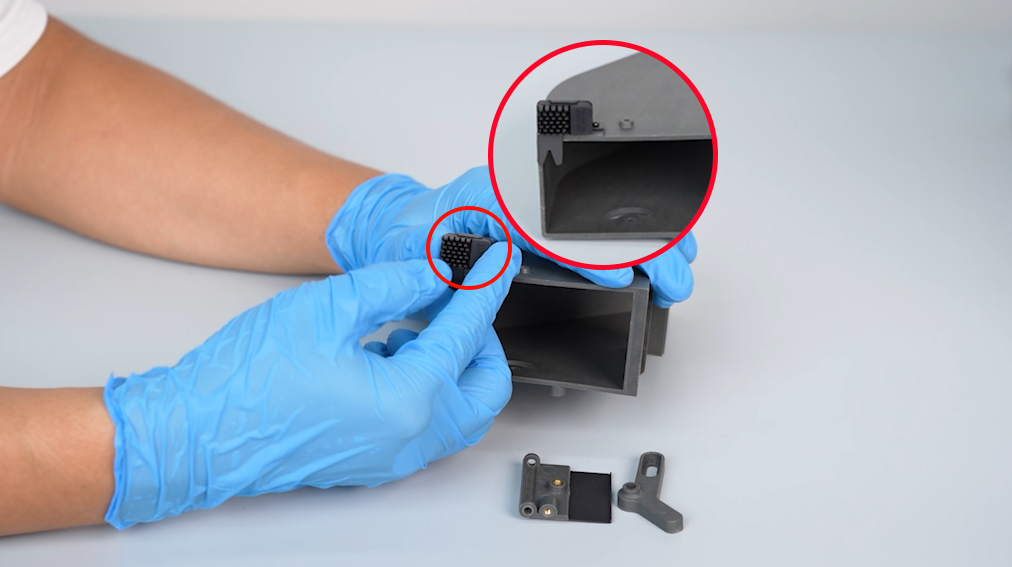
- Peel off the double-sided tape. Align the silicone wiper with the bracket edge and stick the wiper to the installation position.
Note: Bristle of the silicone wiper must be facing upward.
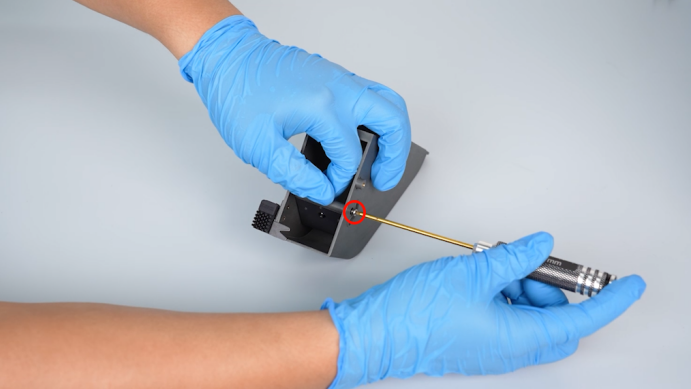
- Align the filament metal plate with the screw holes and put it in the installation position. Using a 2.0mm Allen key, tighten the screw securing filament metal plate.
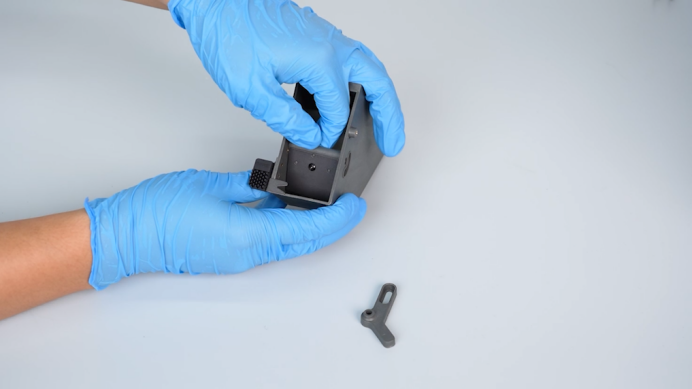
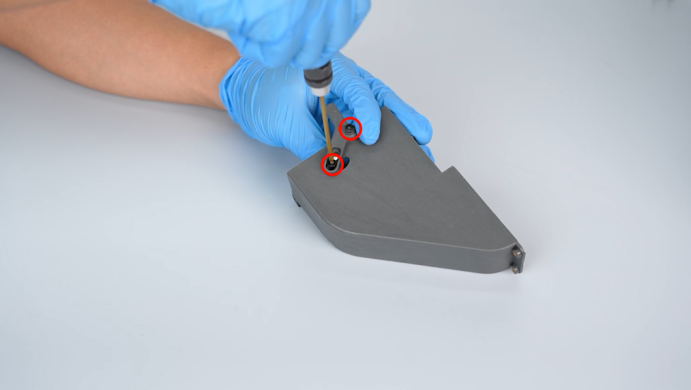
- Align the swing lever of the silicone wiper with the screw holes and put it in the installation position. Tighten two screws securing the swing lever of the silicone wiper using a 2.0mm Allen key.
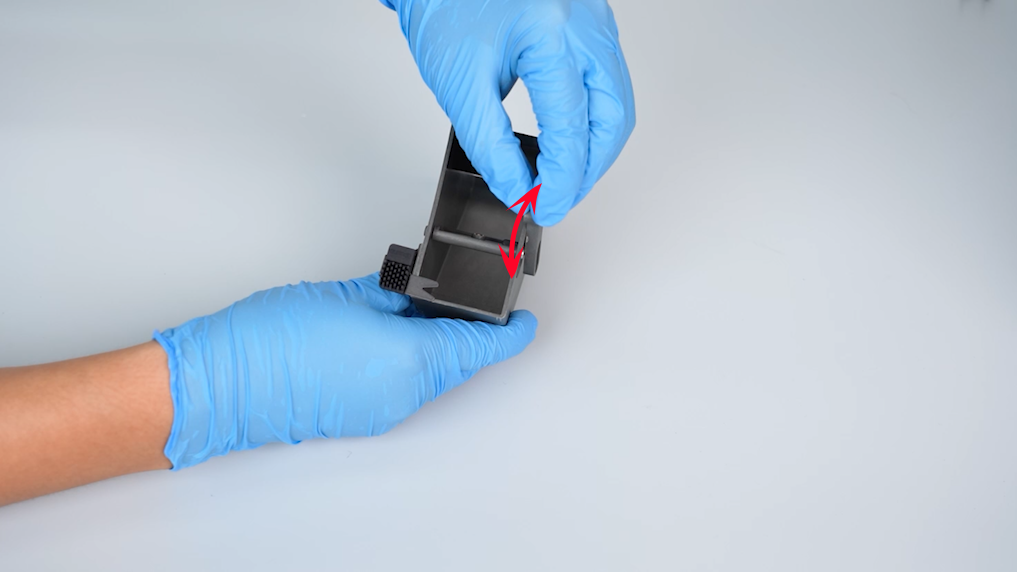
- After installation, rotate the swing lever and make sure that the filament metal plate can move normally.
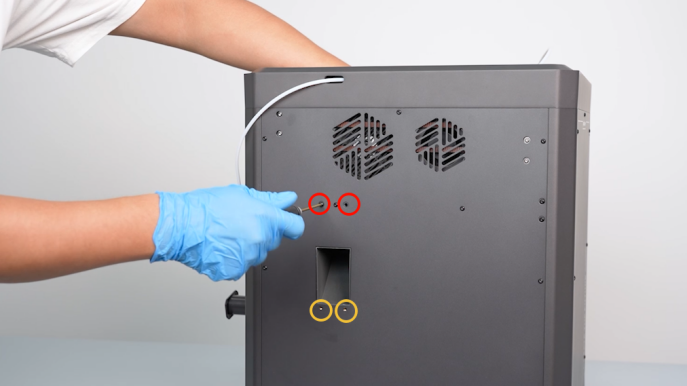
- Align the filament wiping assembly with the screw holes and put it in the installation position. Tighten the four screws securing the filament wiping assembly using a 2.0mm Allen key.
Note: The upper side are fixed with short screws and the lower side is fixed with long screws.
¶ Restart the printer
- Plug in the power cord and power on the printer.
- Select Function - all on the touchscreen.
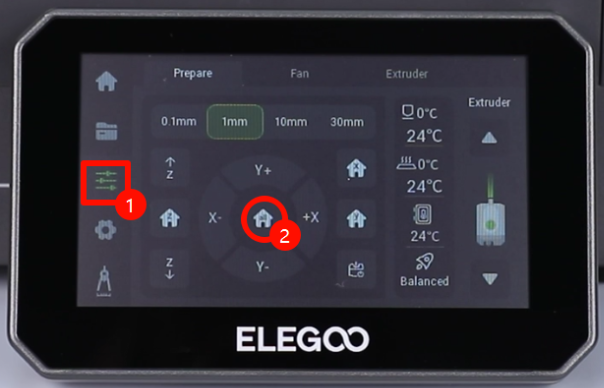
- Observe that the homing process is normal. The silicone wiper does not scrape against the build plate. The printer is ready for use after the homing process.
