¶ Tools and Materials
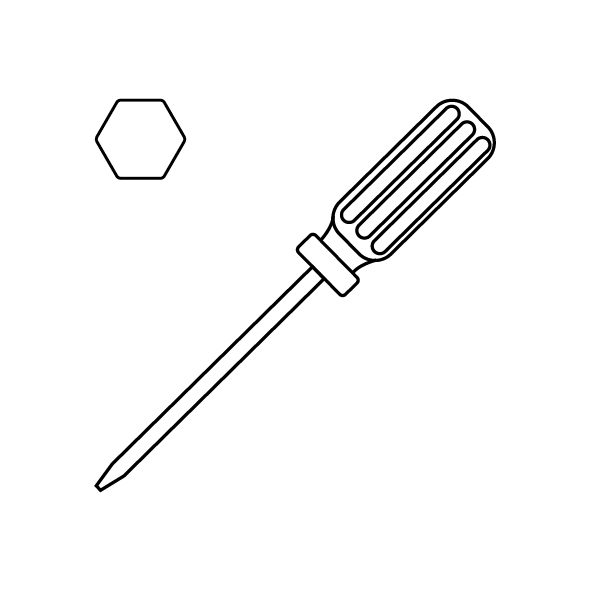
- A 2.0 mm Allen key
- A 2.5 mm Allen key
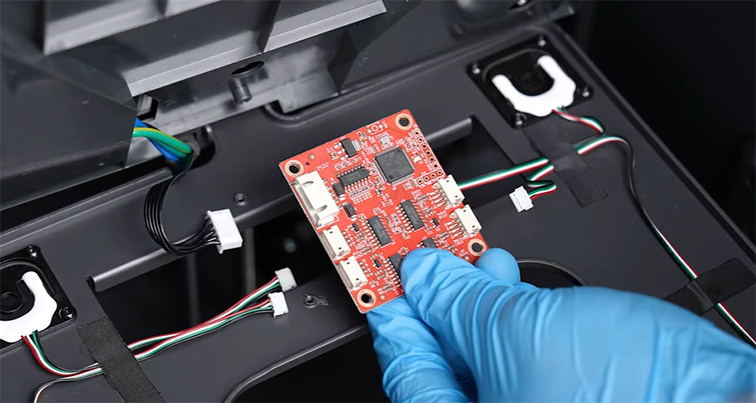
- A new circuit board of heated bed leveling sensor
¶ Tutorial Video
¶ Instruction
¶ Remove the Old Circuit Board
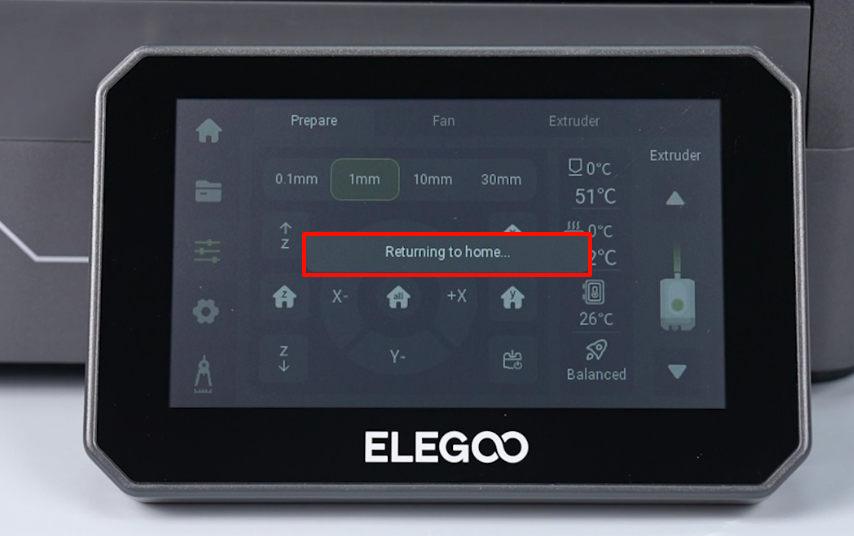
- Power on the printer. Navigate to "Function - all" on the touchscreen. The printer starts the homing process.
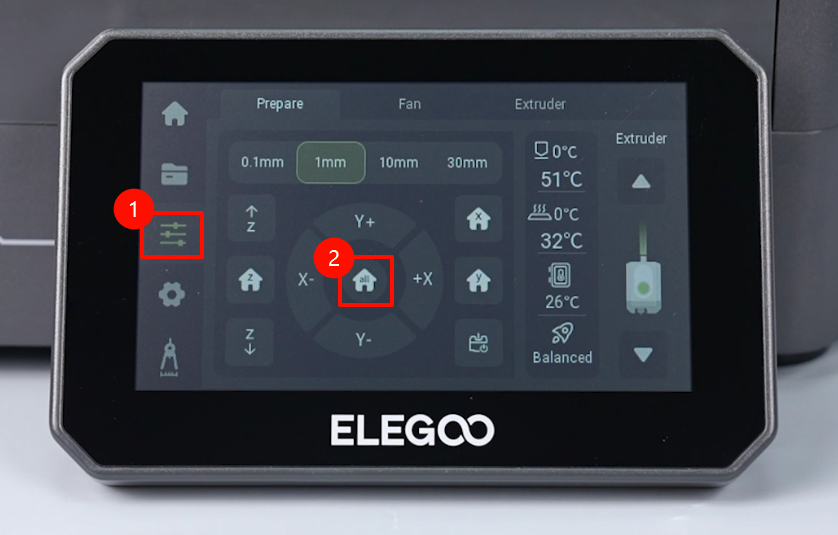
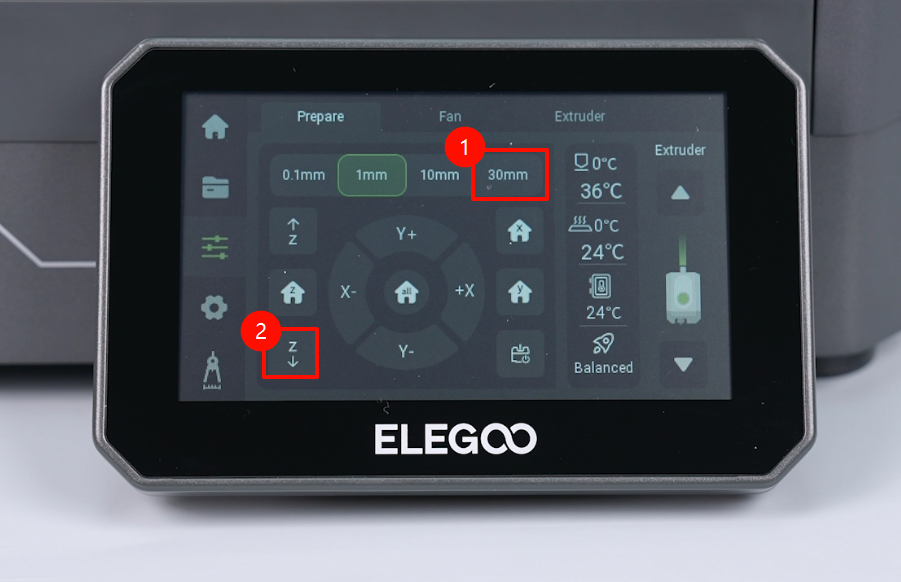
- After the homing process, navigate to "30 mm - Z-axis down" to lower the Z-axis (for twice). Power off the printer.
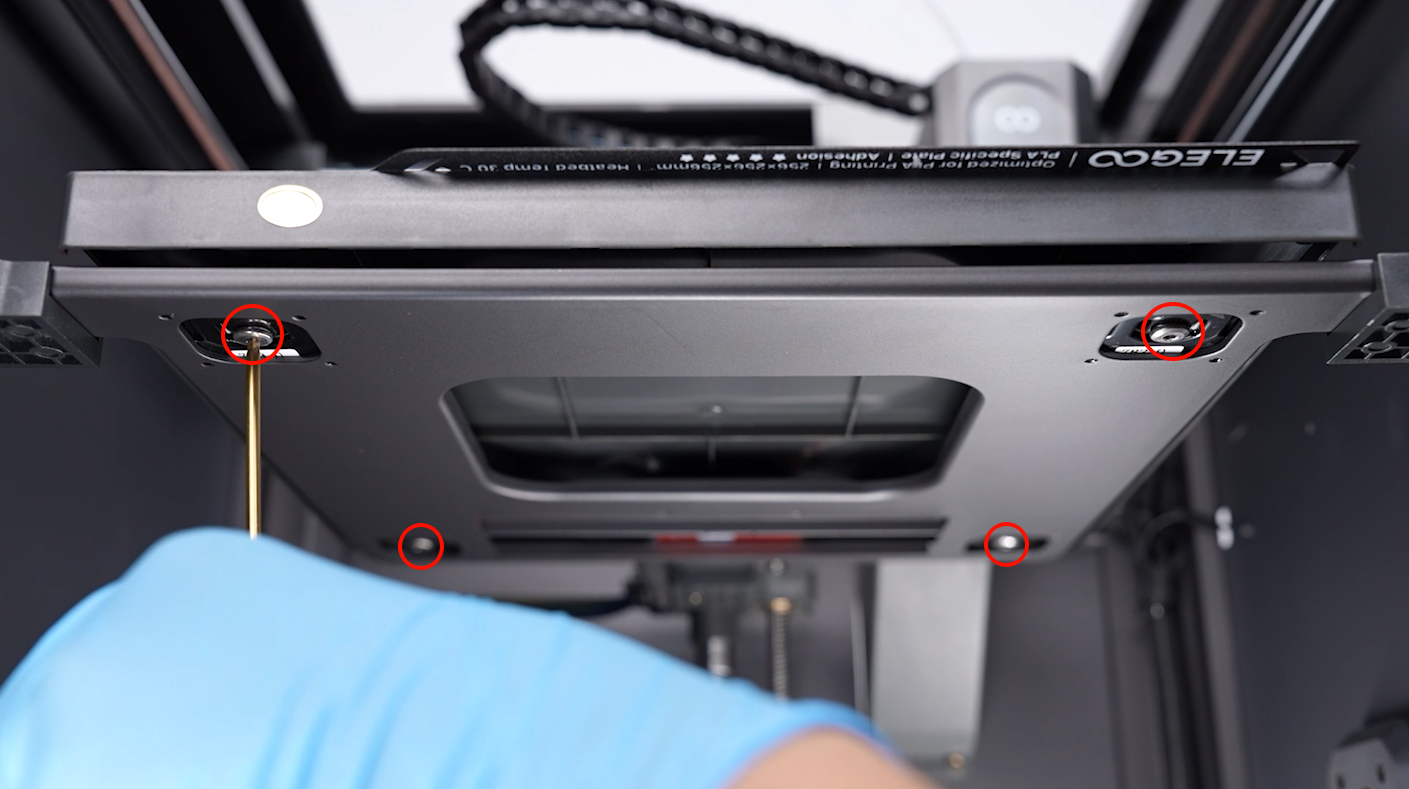
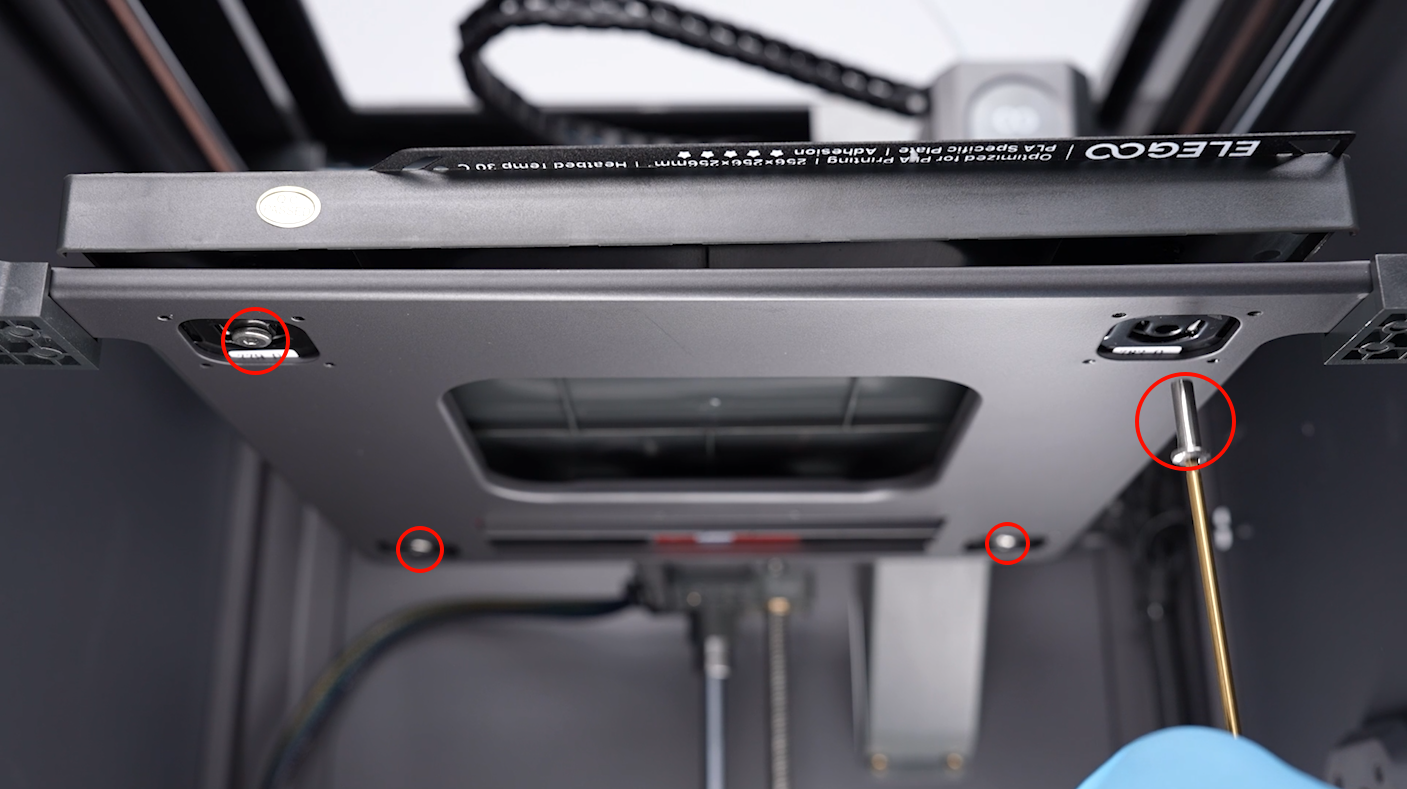
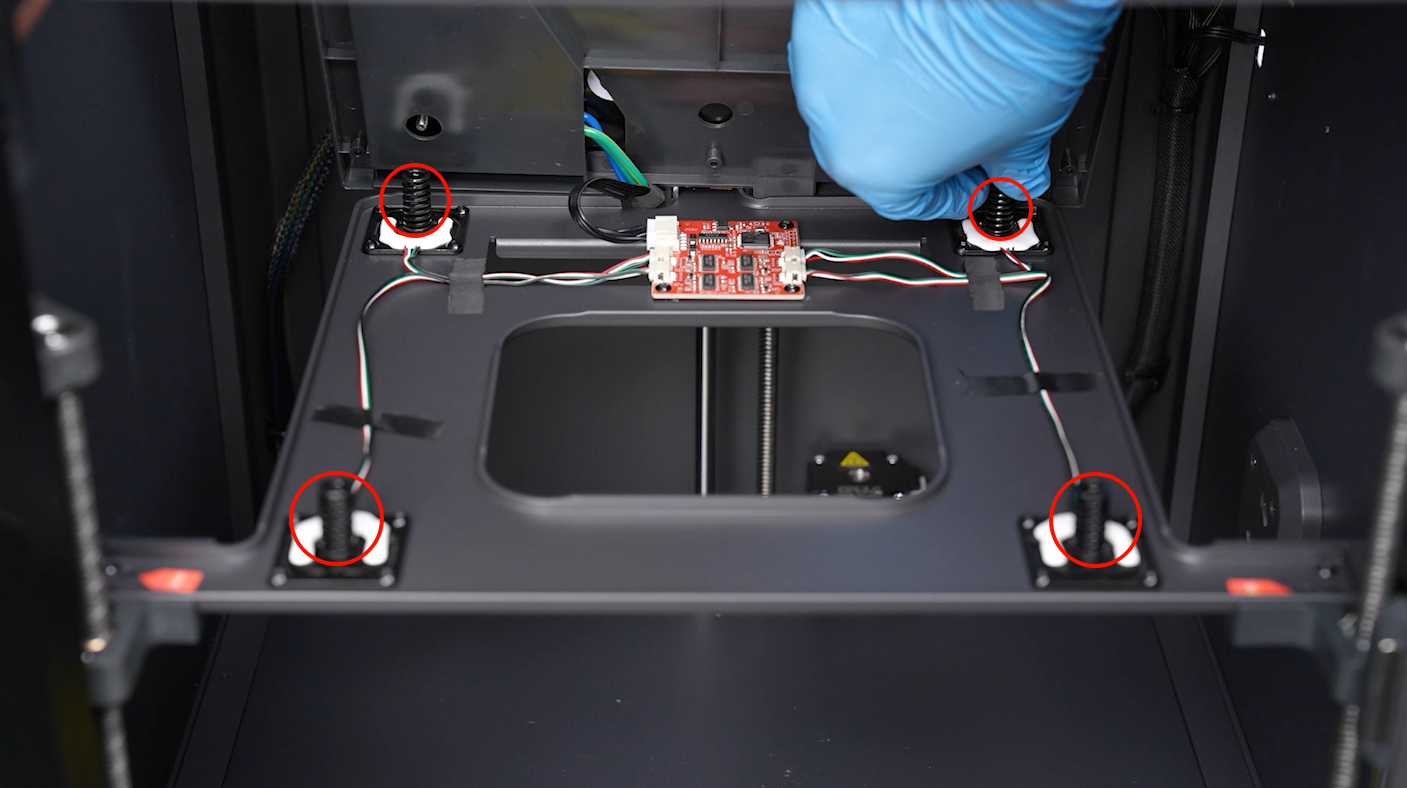
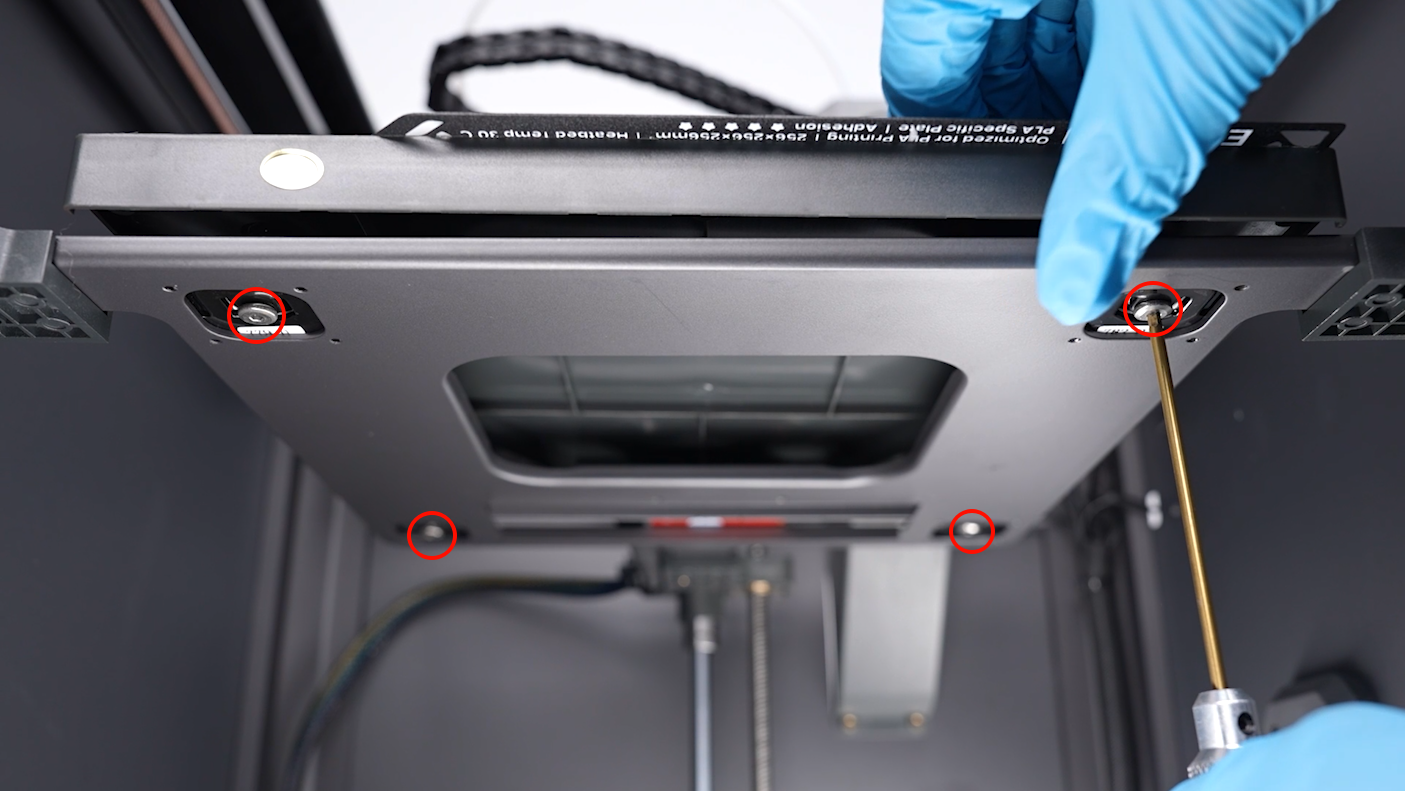
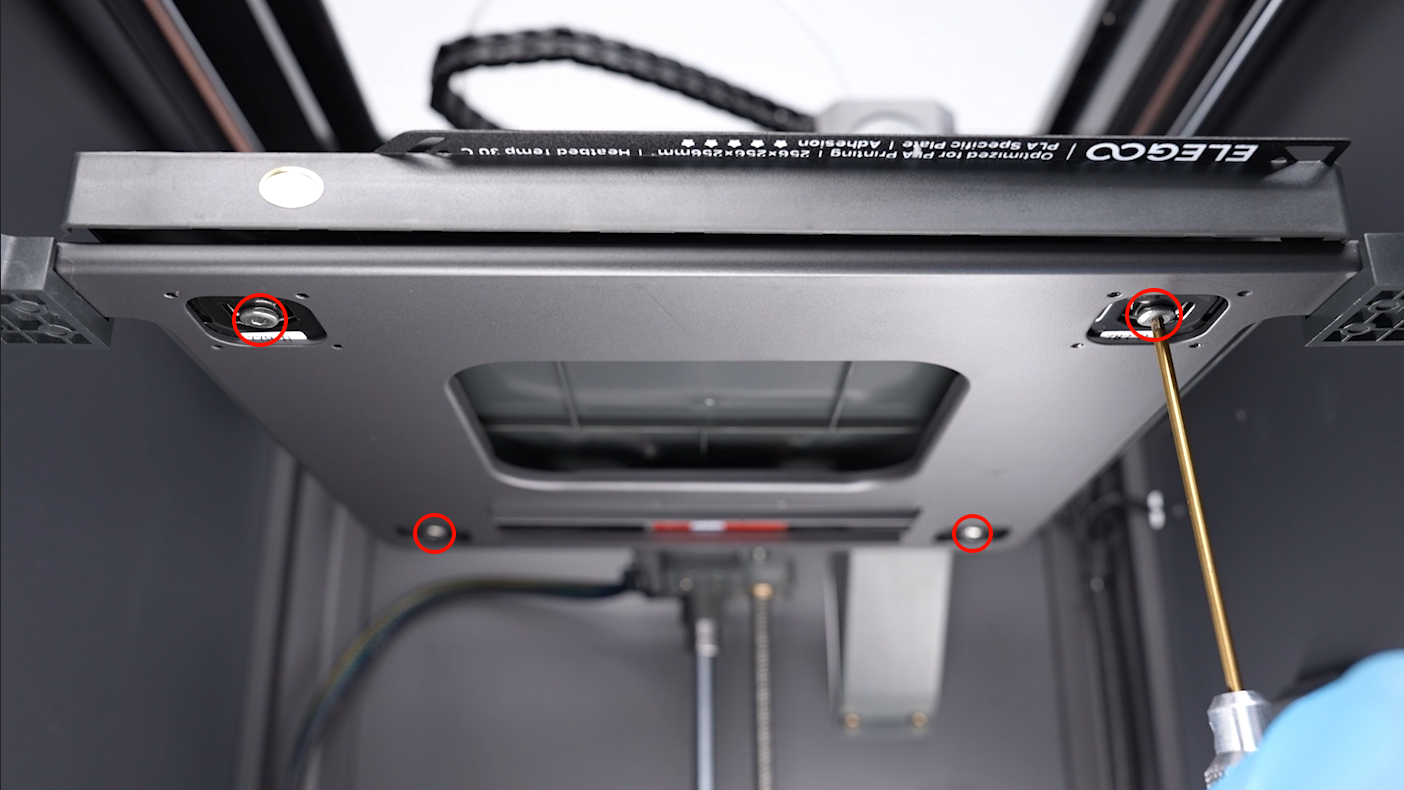
- Loosen the 4 long screws fixed below the heated bed using a 2.5 mm Allen key. Loosen half of the long screws, then unscrew them as there are springs inside the heated bed.
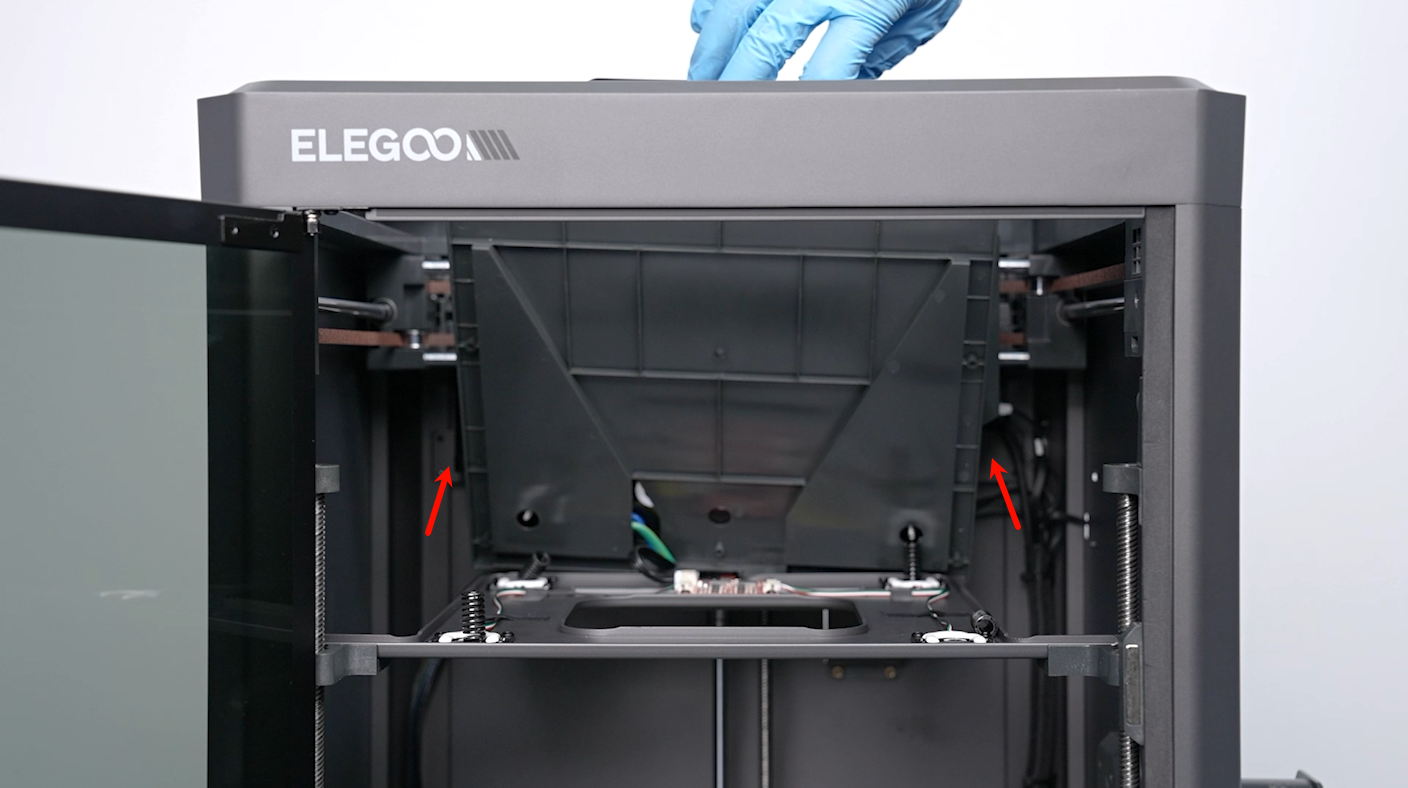
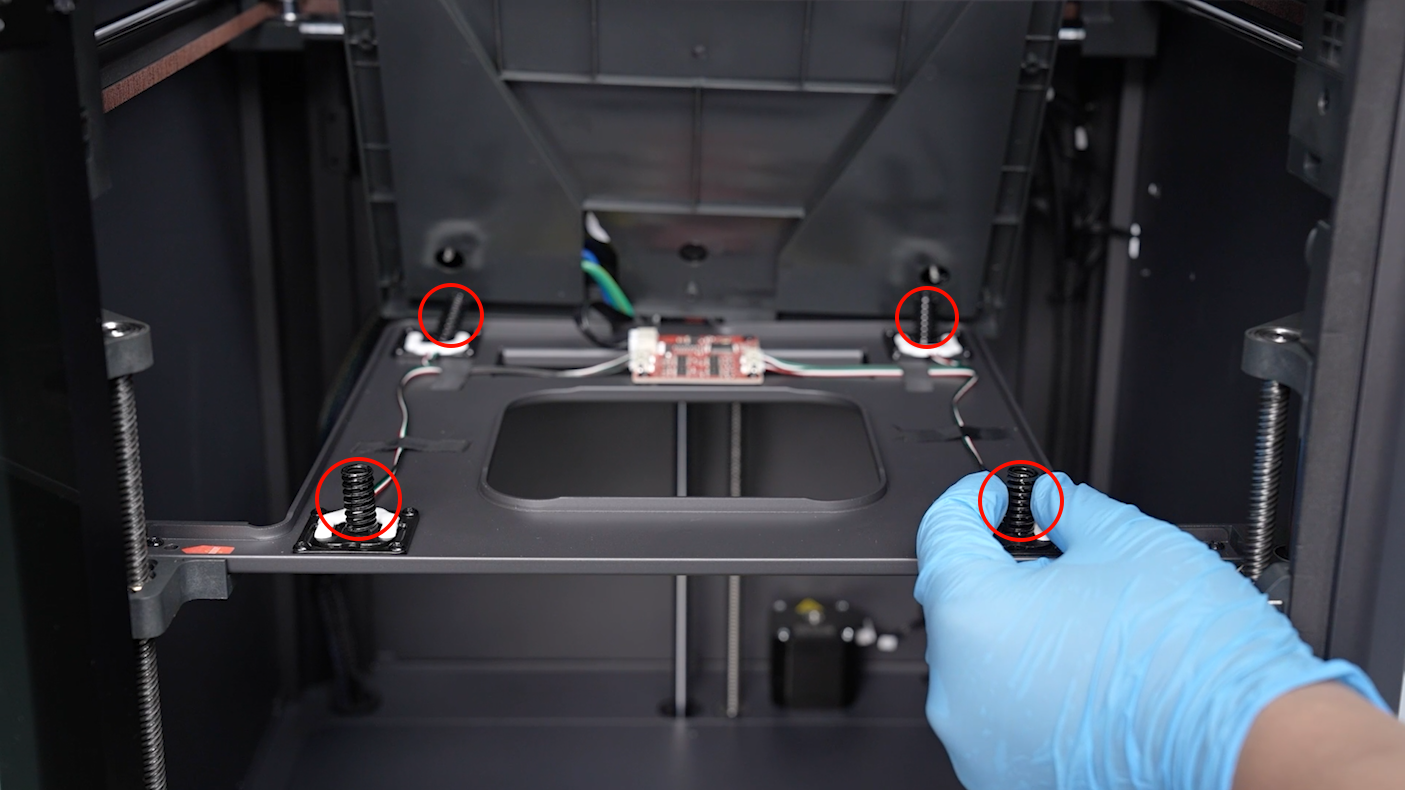
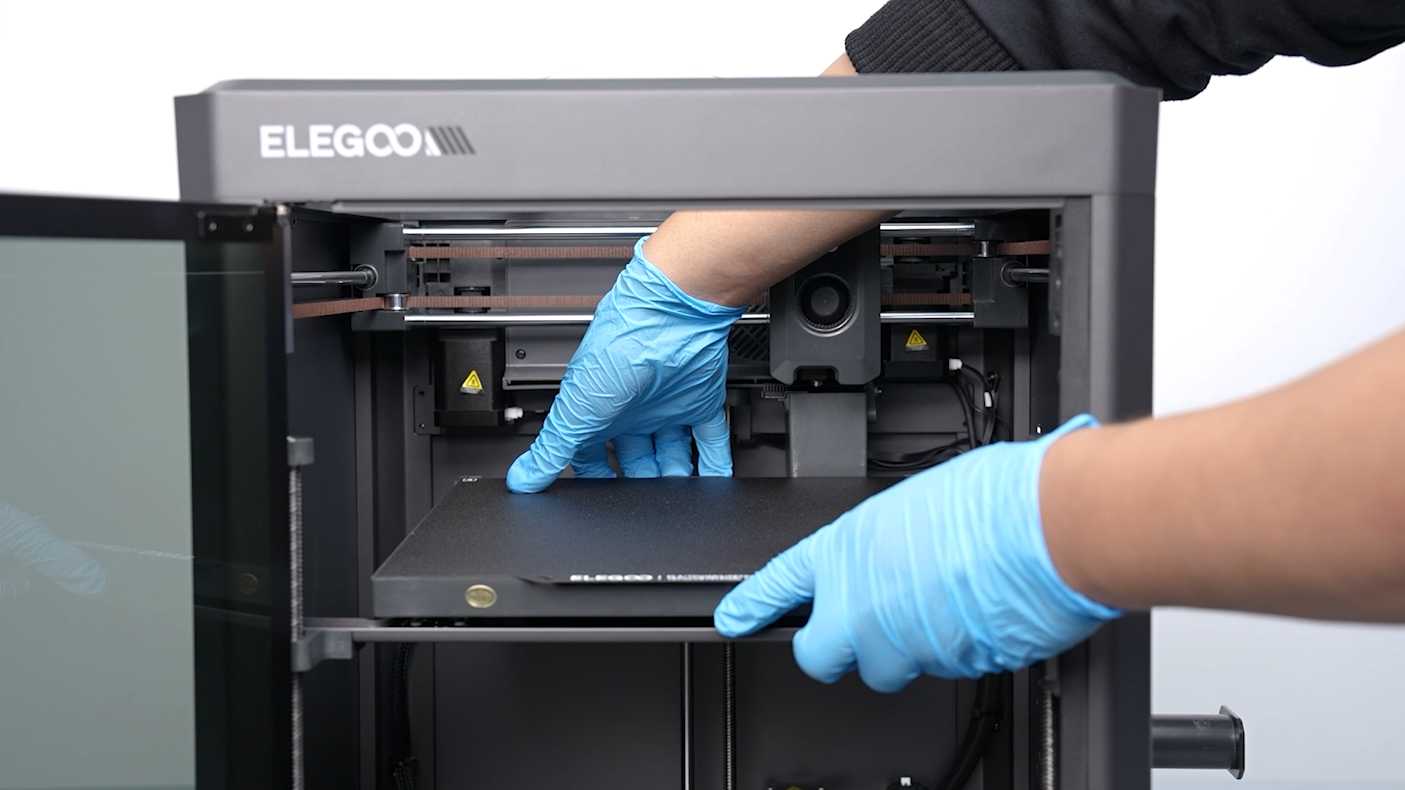
- Lift the heated bed and remove the 4 springs.
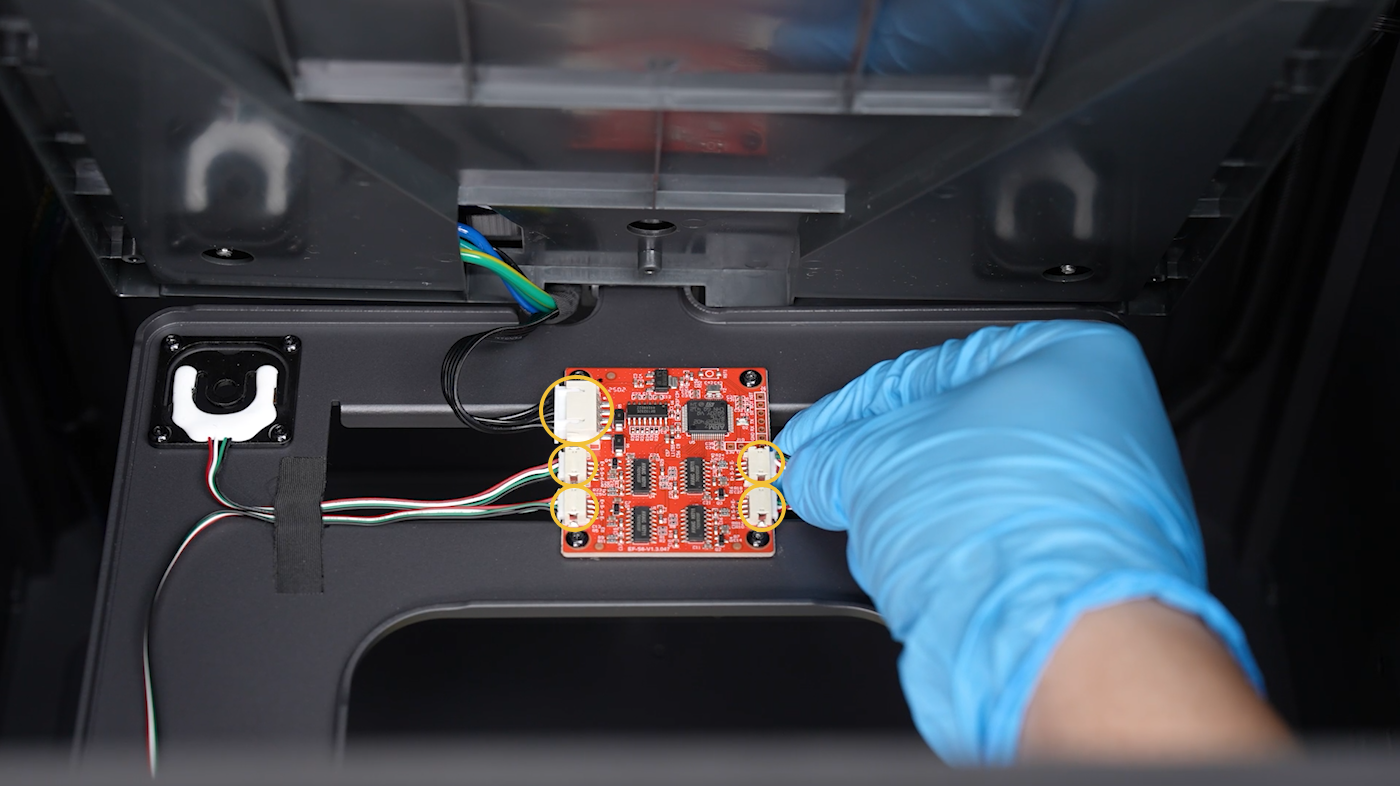
- Unplug the ribbon cables from all the ports on the circuit board of hotbed leveling sensor.
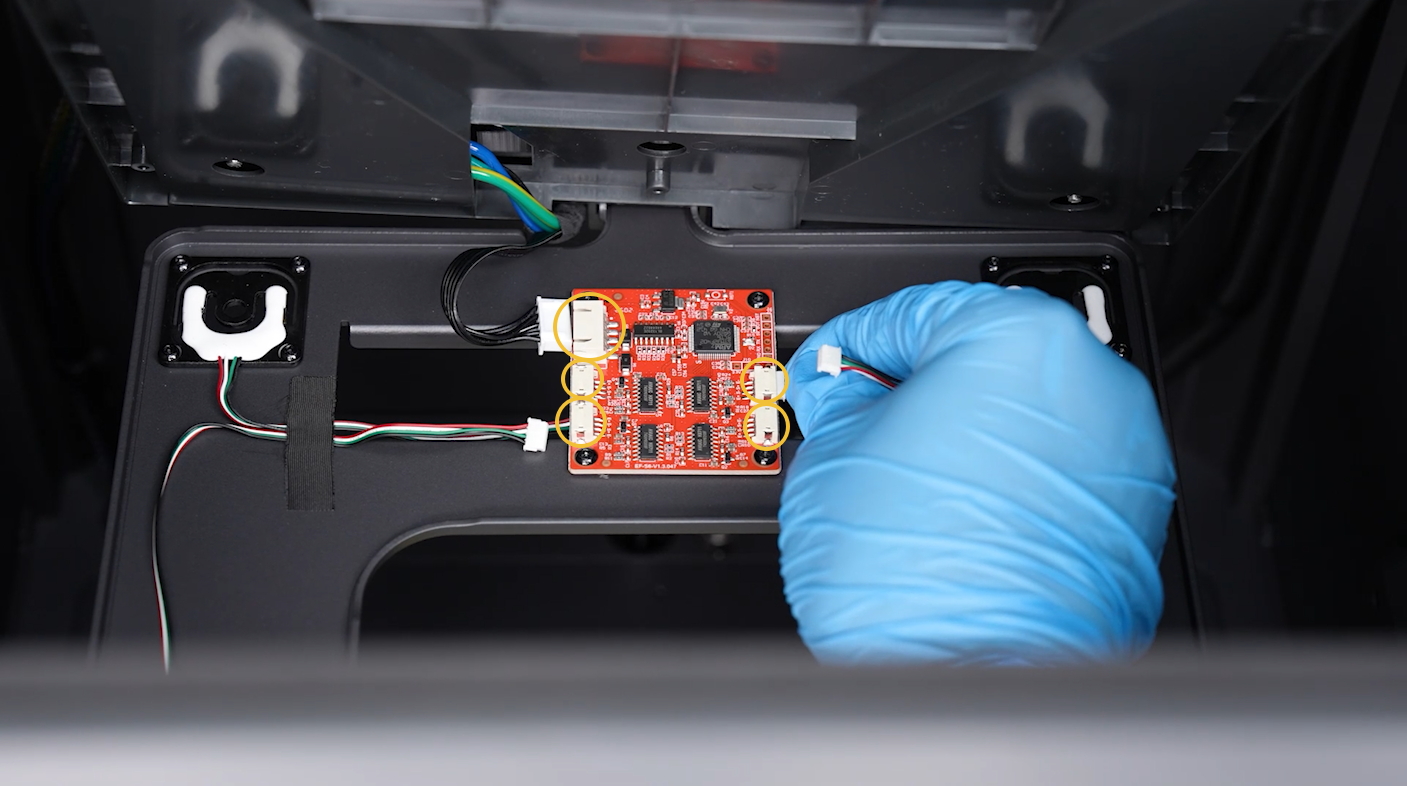
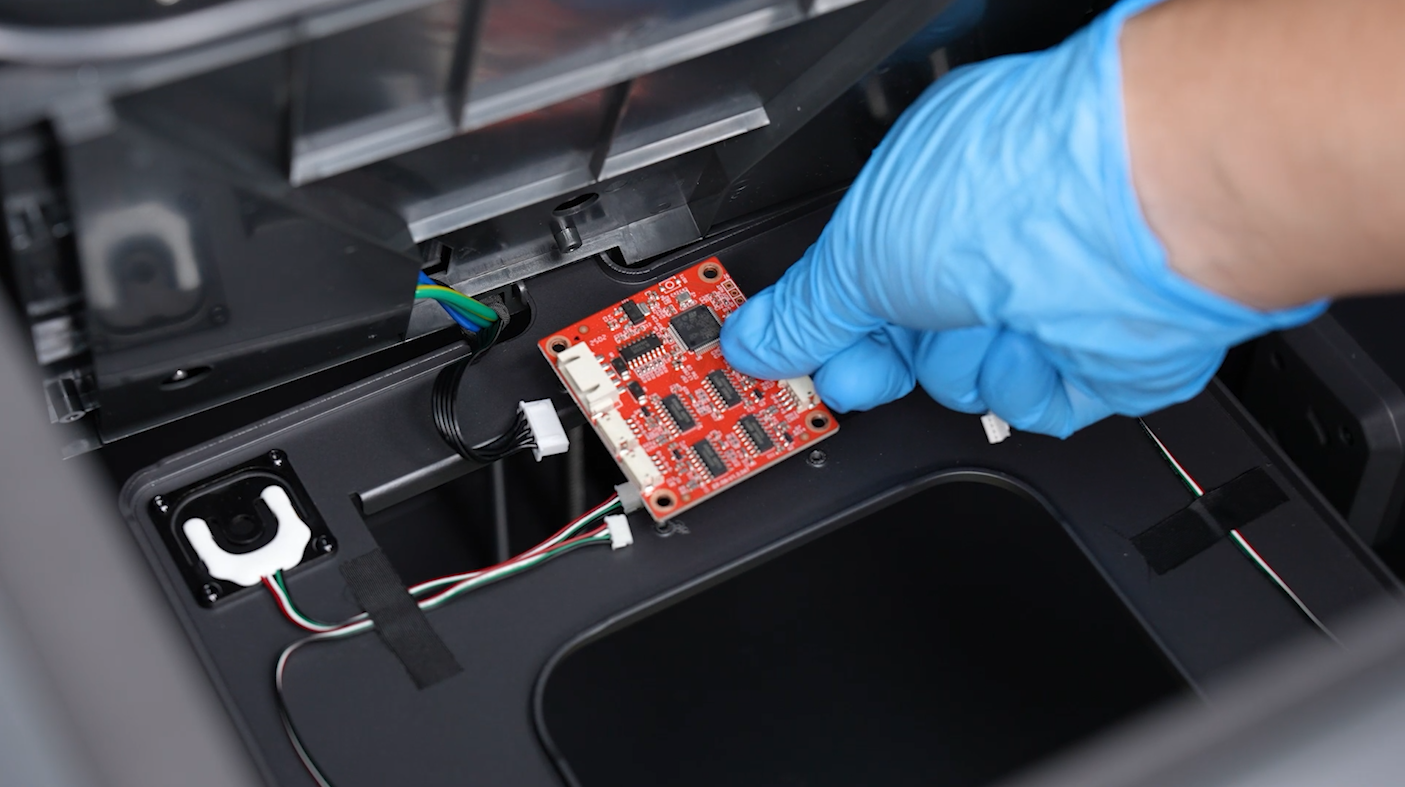
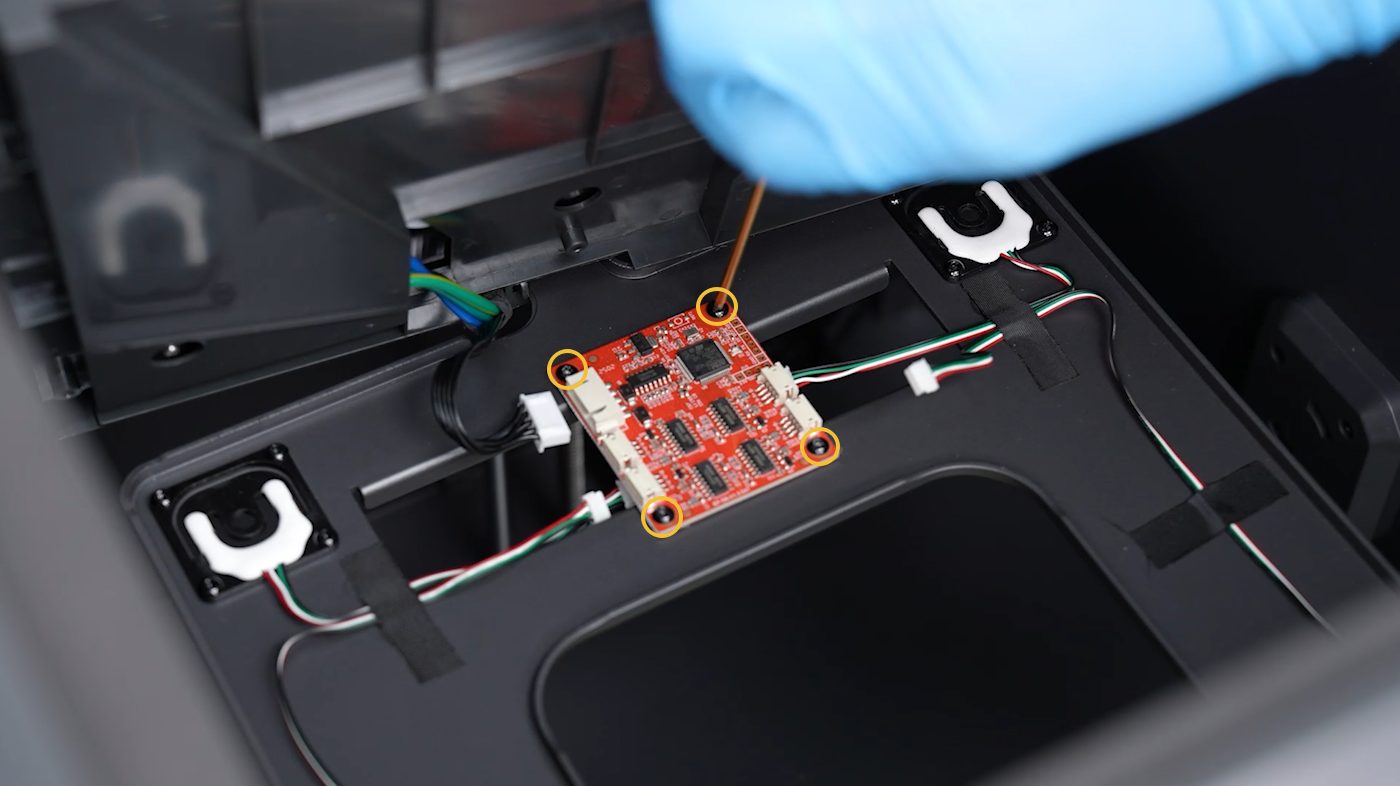
- Use a 2.0 mm Allen key to loosen the 4 screws securing the circuit board, then remove the old circuit board of the heated bed leveling sensor.

¶ Install the New Circuit Board
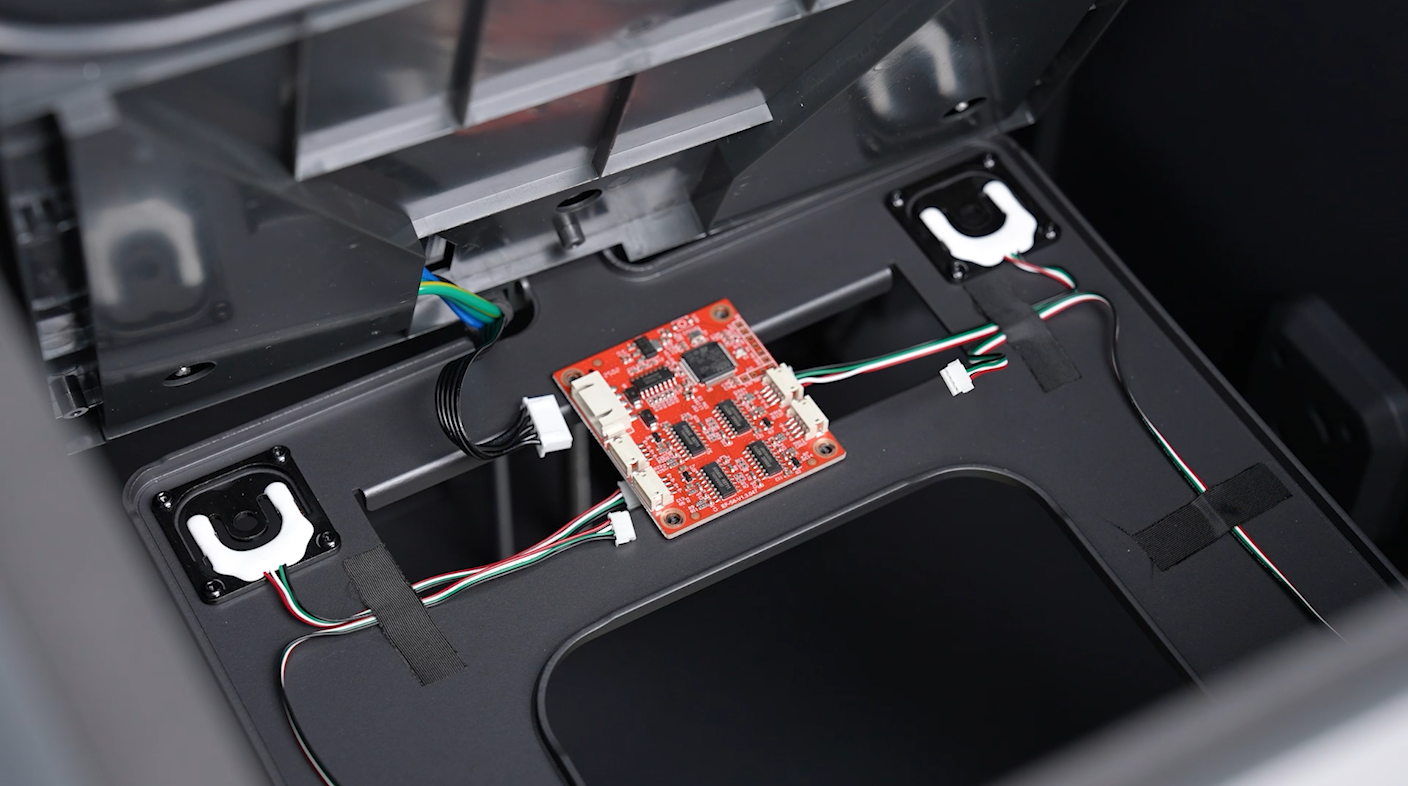
- Prepare the new circuit board of the heated bed leveling sensor. Put it in the installation position by aligning it with the screw holes. Use a 2.0 mm Allen wrench to tighten the 4 screws securing the circuit board.
- Plug the ribbon cables into the circuit board according to the size of the ribbon cable's ports.
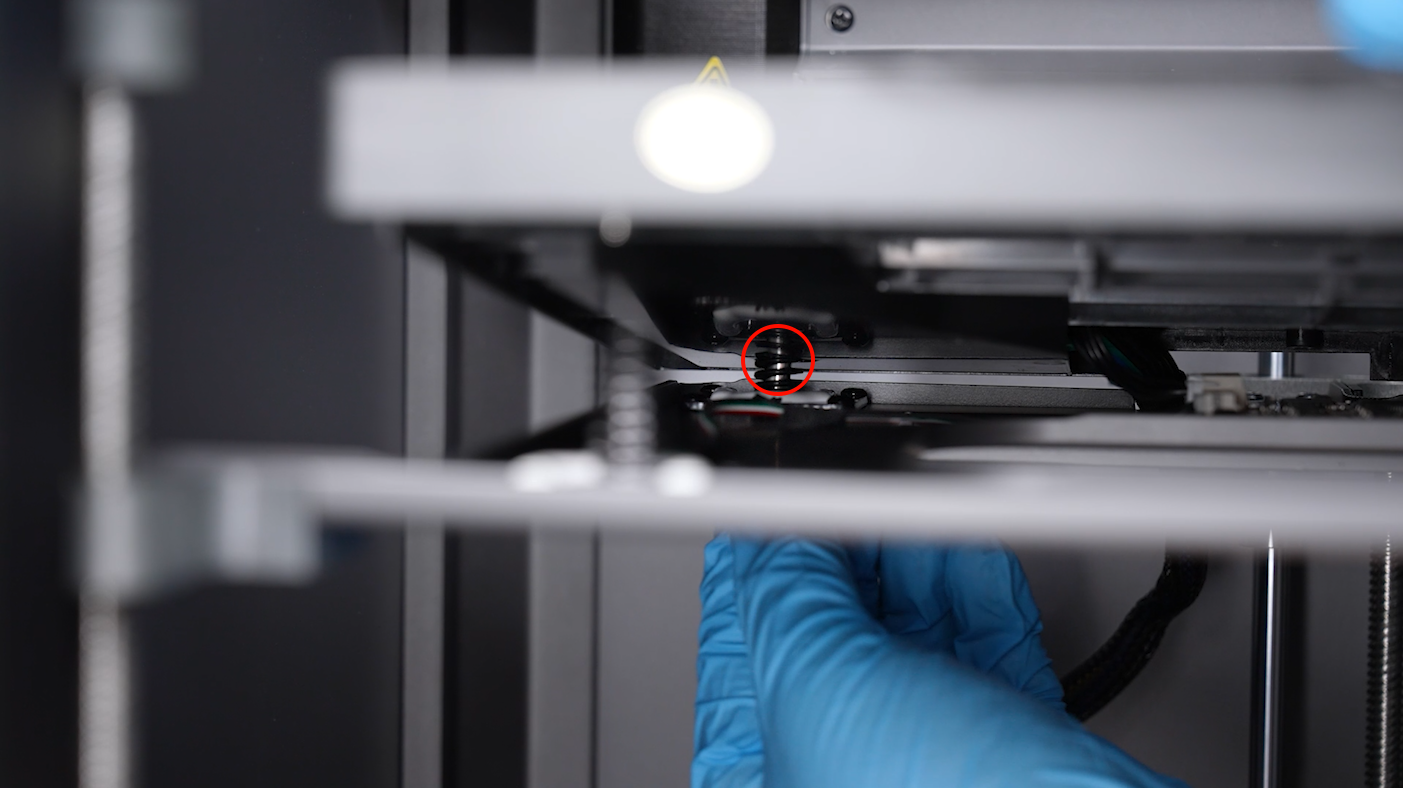
- Put the 4 springs in the installation position by aligning it with the screw holes.
- Put the heated bed in the installation position by aligning it with the spring holes.
- Pass the long screws below the heated bed. The long screws should pass the center of the spring and turn slightly to secure them.
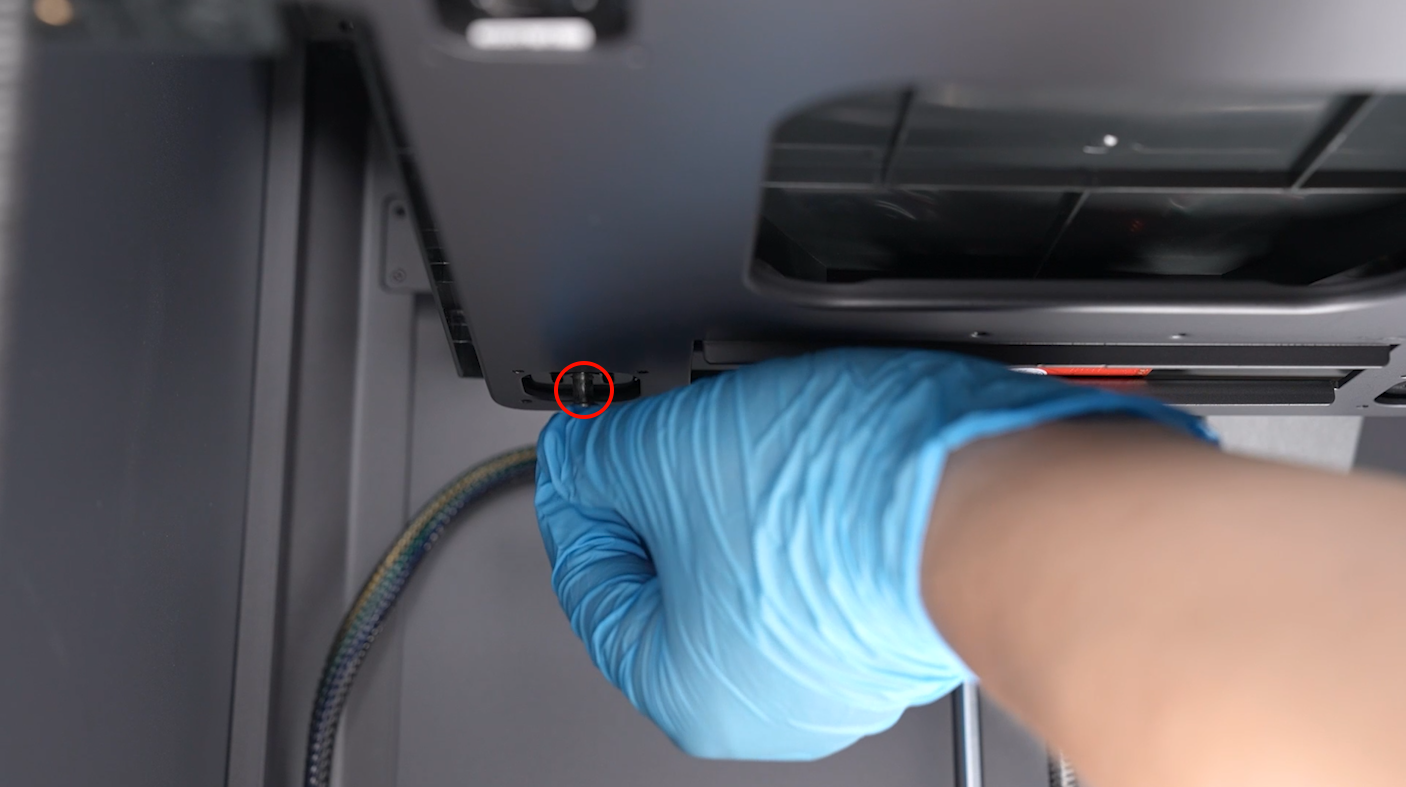
- Secure half of the four long screws using a 2.5 mm Allen key. Then, tighten them completely.
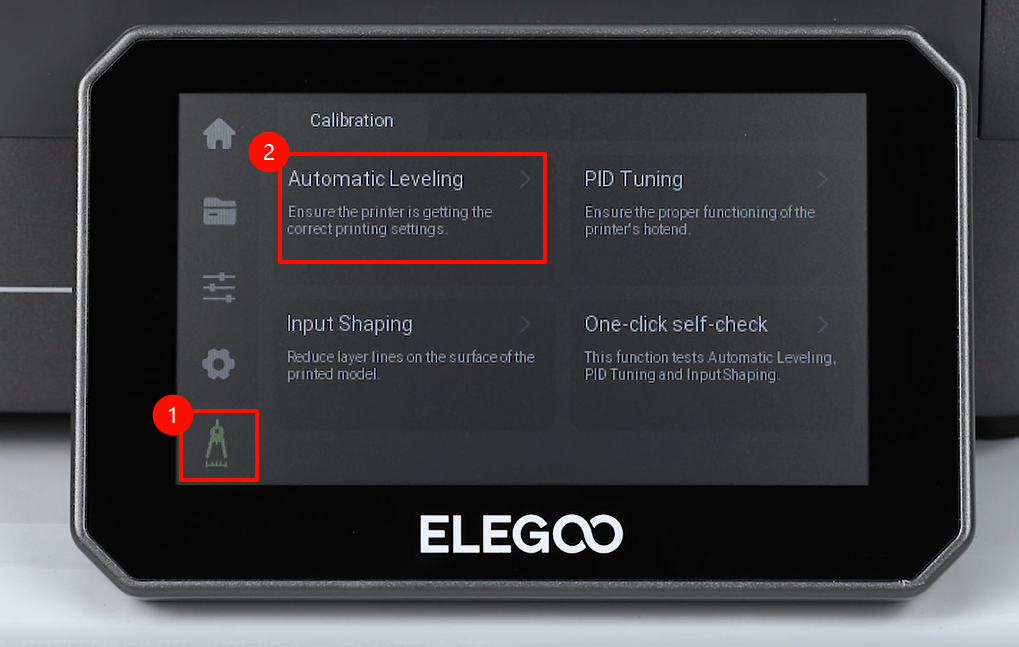
- Power on the printer. Navigate to "Calibration - Auto Leveling" on the touchscreen. The printer is ready for use after it is re-leveled.