¶ Tools and Materials
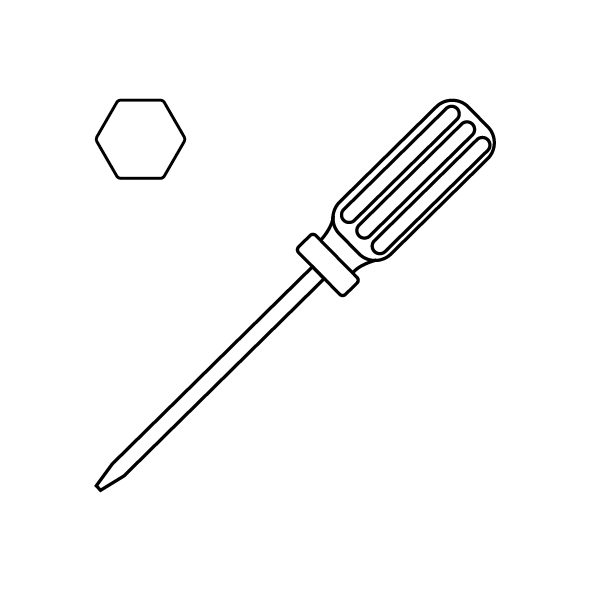
- A 2.0 mm Allen wrench
- A new chamber thermistor
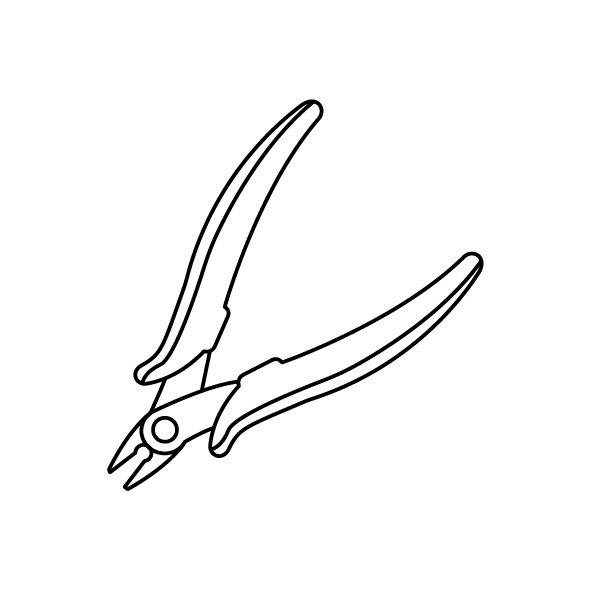
- A pair of diagonal pliers
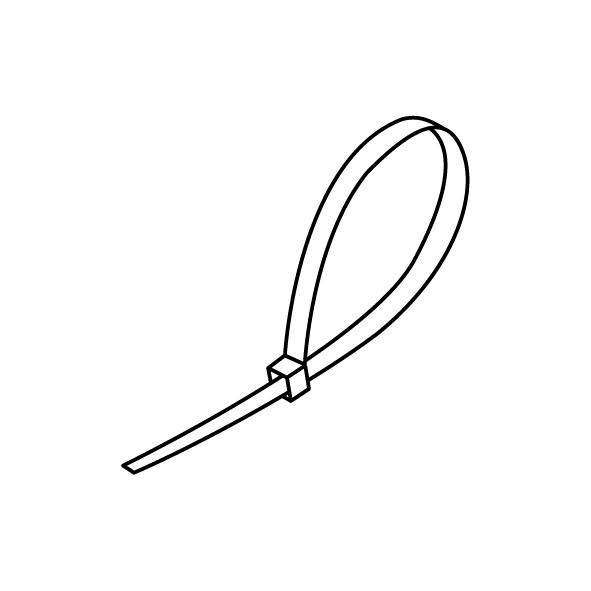
- Cable ties
¶ Tutorial Video
Coming soon.
¶ Instruction
¶ Remove the Old Chamber Thermistor
- Power off the printer and unplug the power cord.
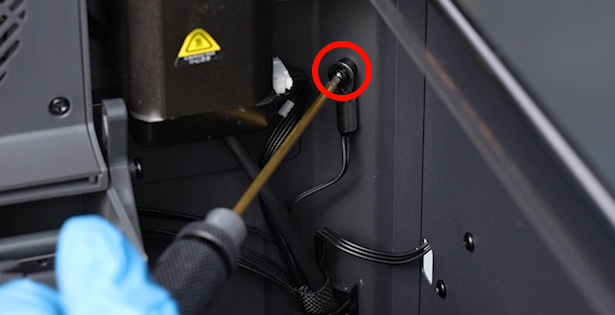
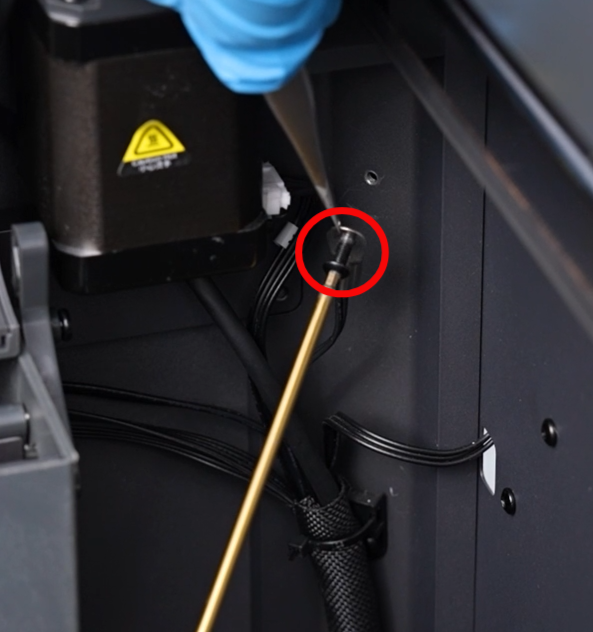
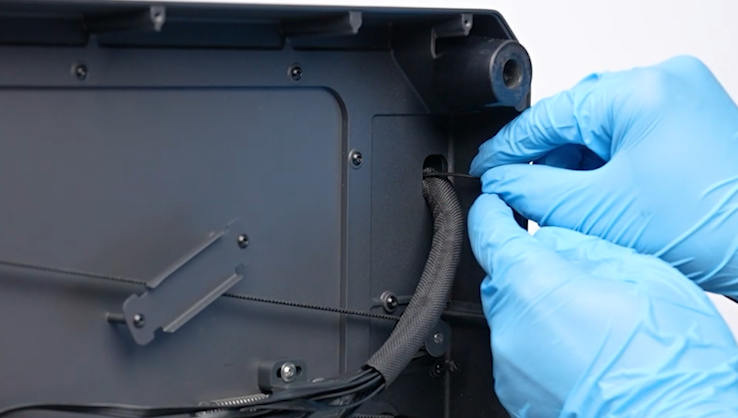
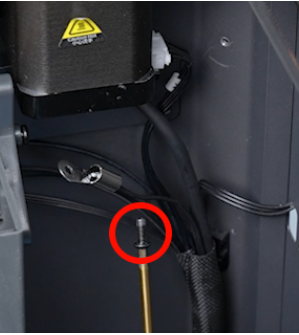
- Use a 2.0 mm Allen wrench to loosen the screw securing the chamber thermistor, then remove the round isolation column and the screw.
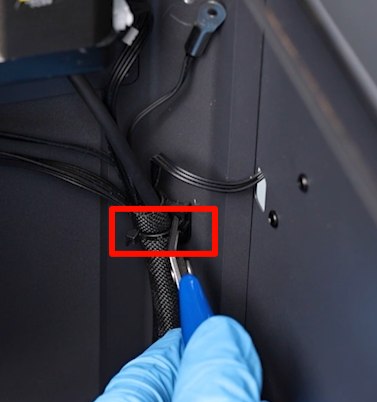
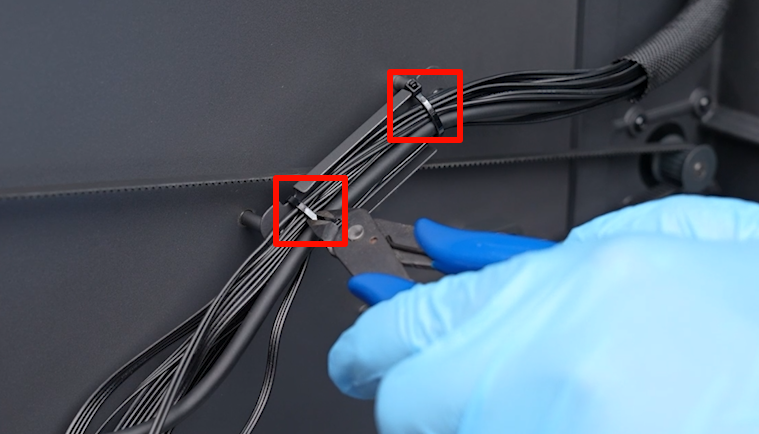
- Use a pair of diagonal pliers to cut off the 2 pieces of cable tie securing the ribbon cables.


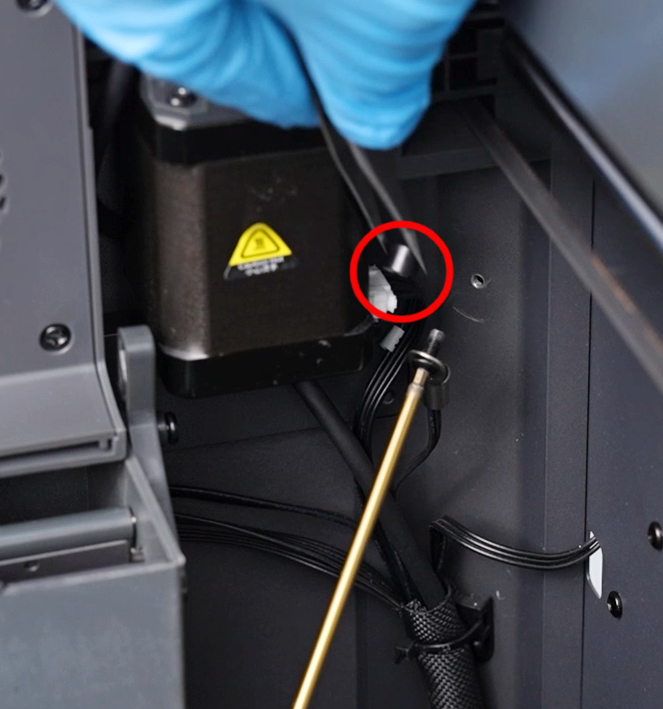
- Remove the ribbon cables of the thermistor from the braid sleeving.

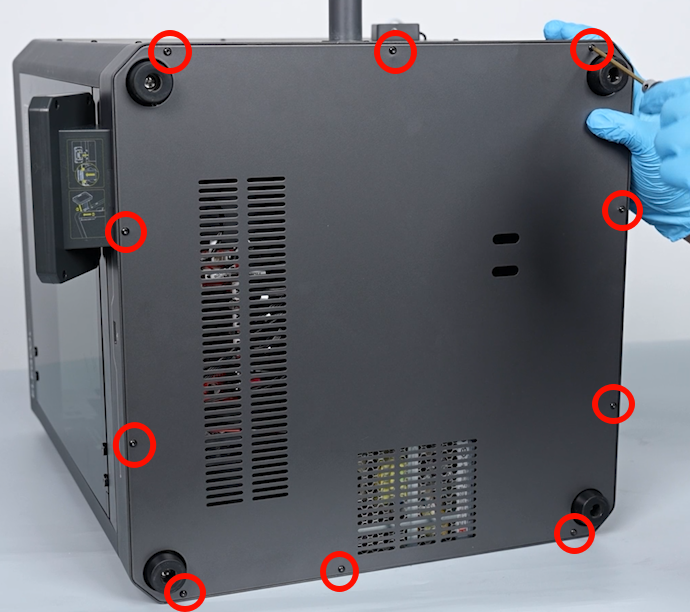
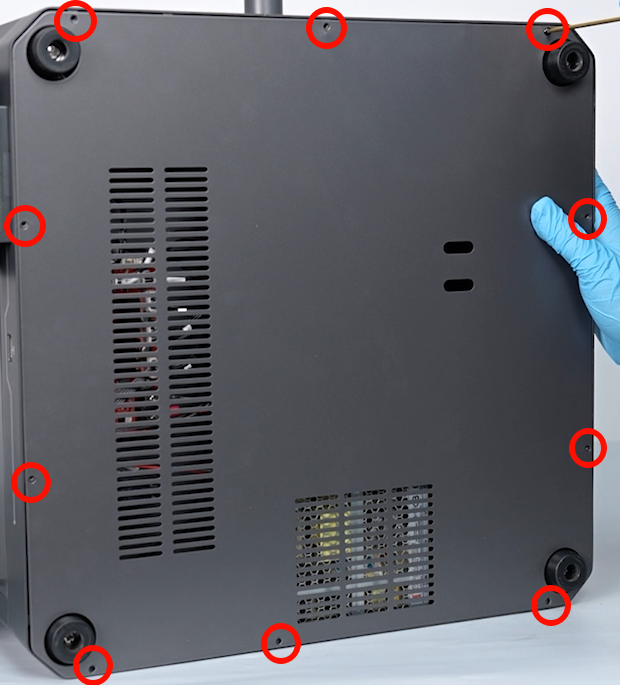
- Put the printer on its side. Use a 2.0 mm Allen wrench to loosen the 10 screws securing the bottom cover of the printer, then remove the bottom cover.
Note: Remove the top glass cover before the printer is put down and use tape to secure the glass front door of the printer. Gently put the glass front door down after the printer is put down.
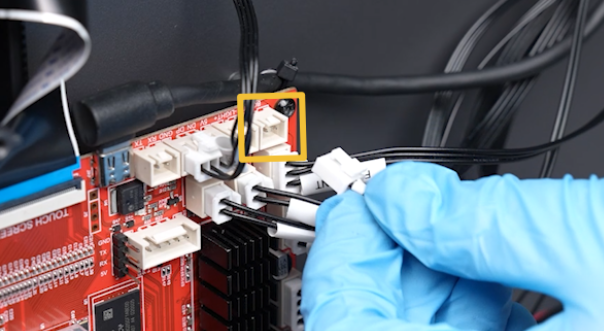
- Unplug the ribbon cables of the chamber thermistor on the motherboard.
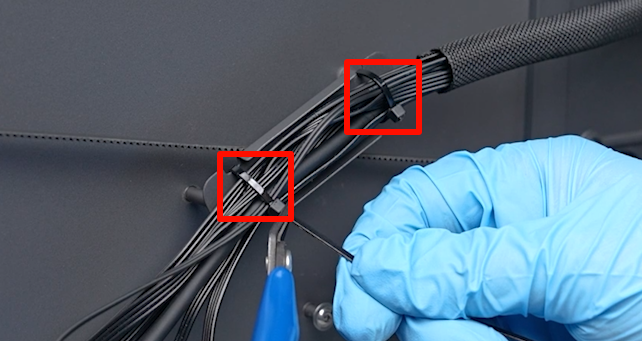
- Use a pair of diagonal pliers to cut off the 2 cable ties securing the ribbon cables.
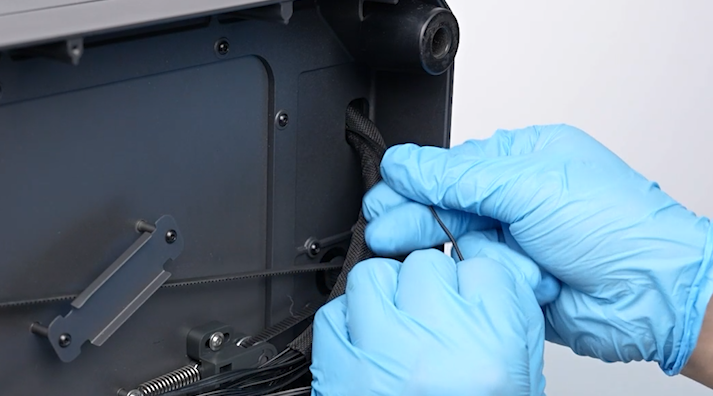
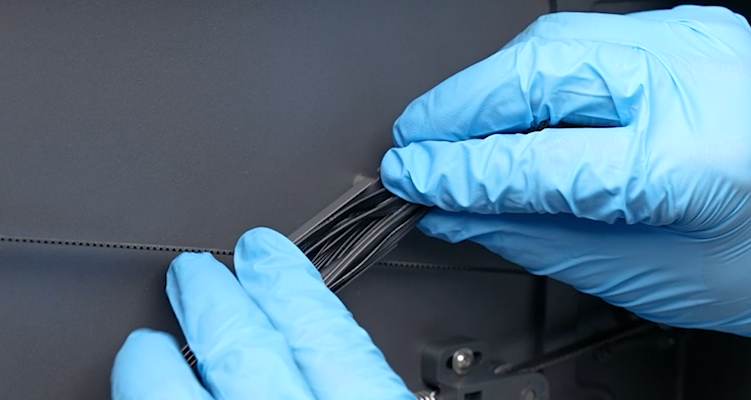
- Organize and remove the ribbon cables of the thermistor. Then, remove the old chamber thermistor from the braid sleeving.

¶ Install the New Chamber Thermistor
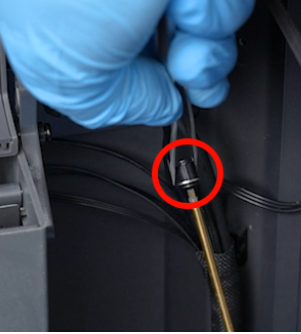
- Prepare the new chamber thermistor, then insert the head end of the thermistor through the ribbon cable hole into the inside of the printer.
- Reserve the length of the ribbon cable. Insert the ribbon cables of the chamber thermistor into the motherboard port.

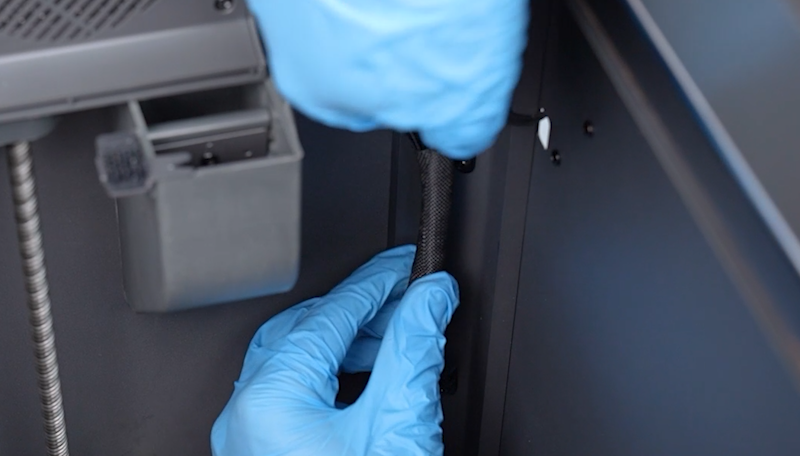
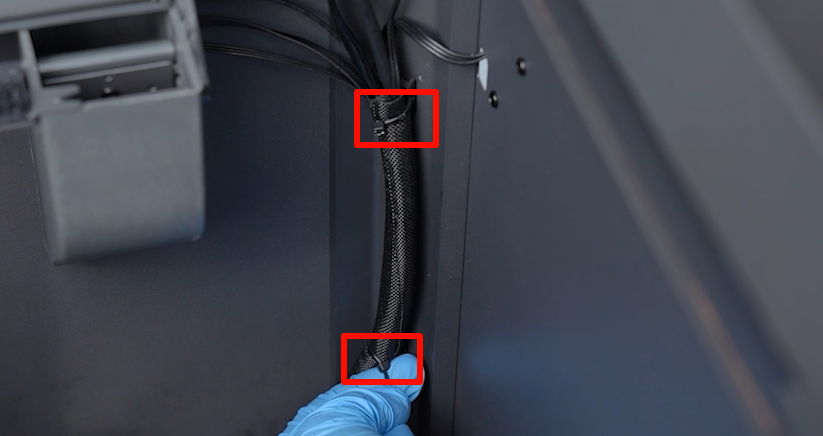
- Put the ribbon cables of the chamber thermistor into the braid sleeving.

- Organize the ribbon cables and use 2 cable ties to secure the ribbon cables on the holder.
- Organize the ribbon cables of the chamber thermistor to put them into the braid sleeving inside the printer.
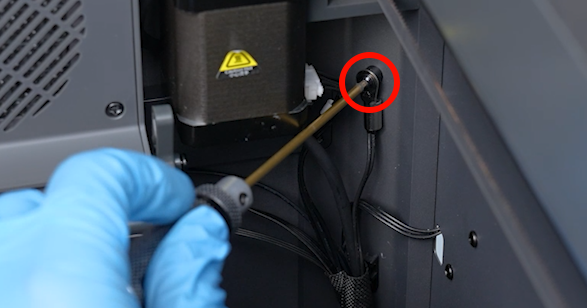
- Remove the screws, then put the thermistor and the round isolation column on the screw. Use a 2.0 mm Allen wrench to tighten the screw by aligning with the screw hole.
- Use 2 cable ties to secure the ribbon cables.
- Put the bottom cover in the installation position by aligning it with the foot pad holes and screw holes. Use a 2.0 mm Allen wrench to tighten the 10 screws securing the bottom cover.
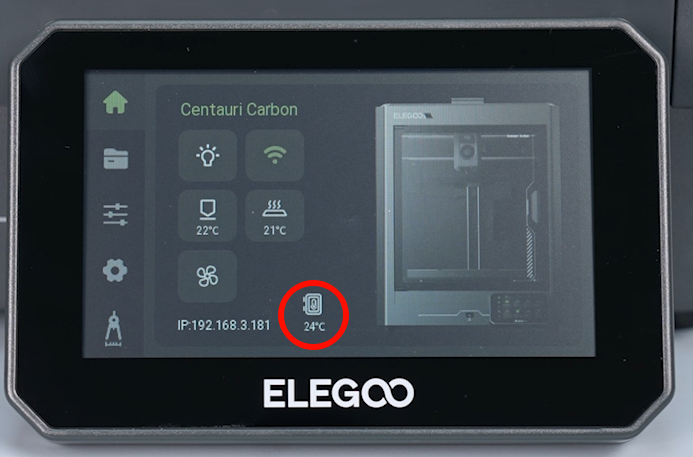
- Plug in the power cord and power on the printer. After checking that the chamber temperature is normal, the printer is ready for use.