¶ Tools and Materials
- A 2.0 mm Allen key
- A Phillips screwdriver
- A pair of tweezers
- A new camera
¶ Tutorial Video
¶ Instruction
¶ Remove the old camera
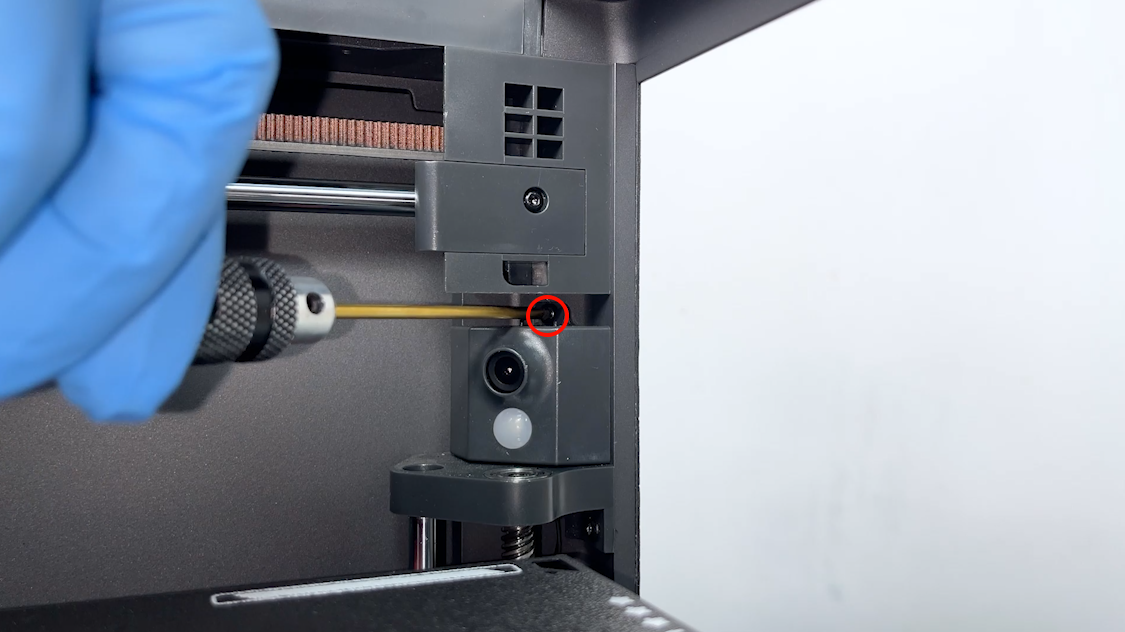
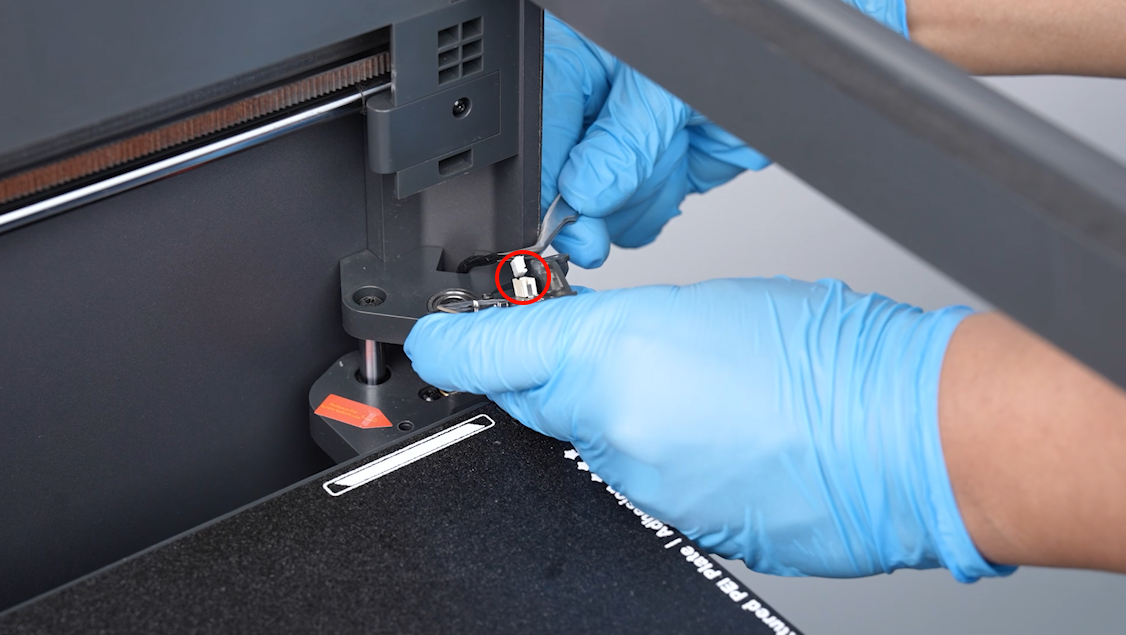
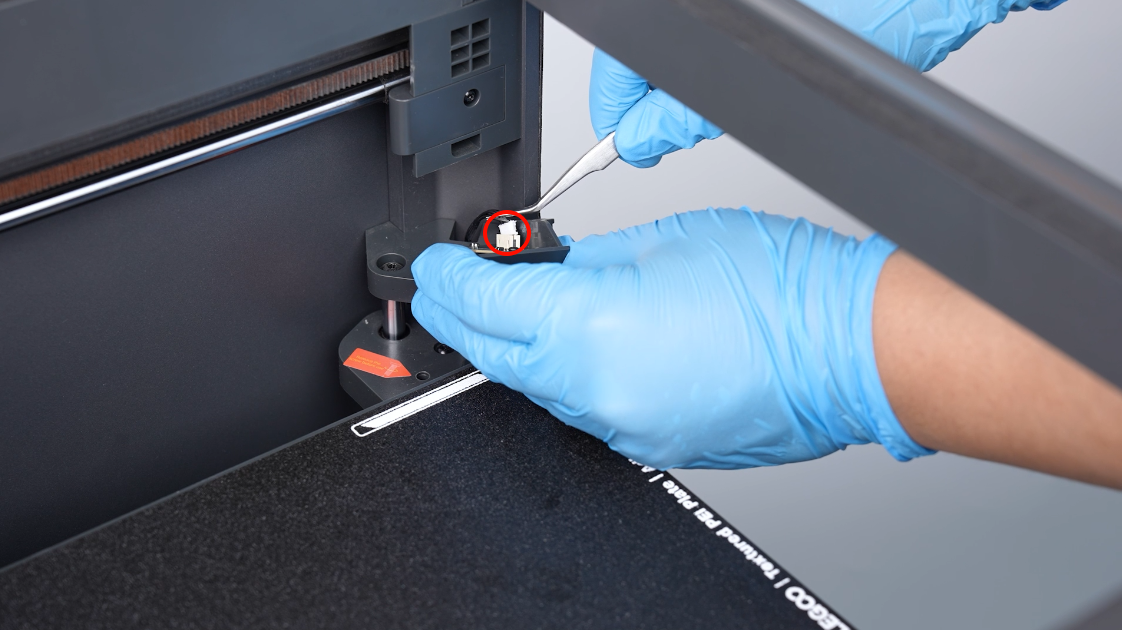
- Power off the printer and unplug the power cord. Use a 2.0 mm Allen key to loosen the screw securing the camera. Disconnect the ribbon cables on the back of the print head.
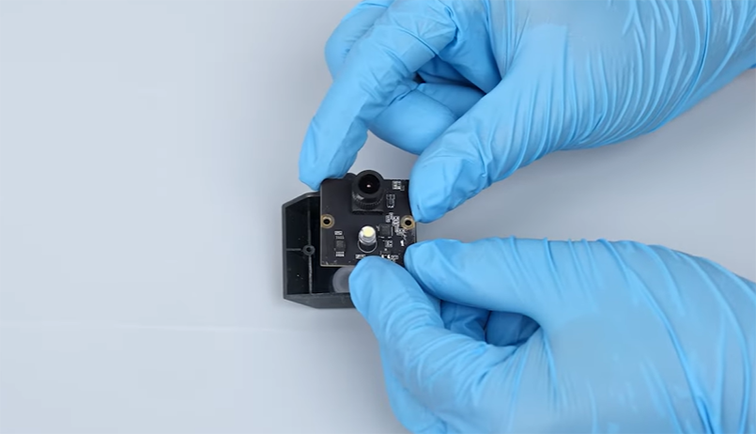
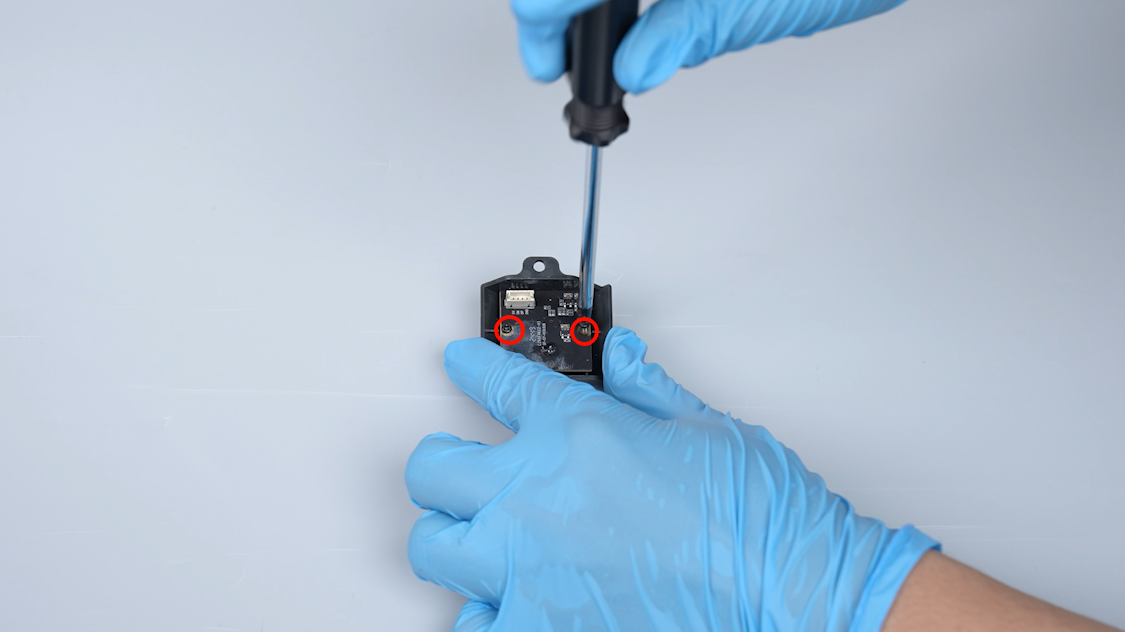
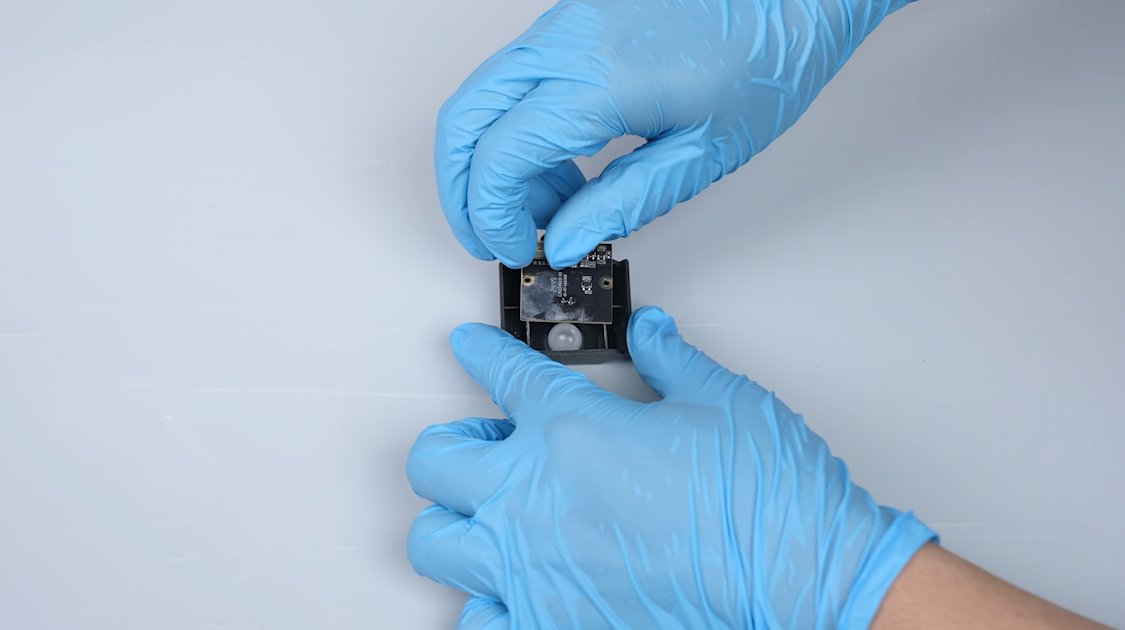
- Remove the camera assembly. Loosen the 2 screws securing the camera using a Phillips screwdriver. Remove the old camera.
¶ Install the new camera
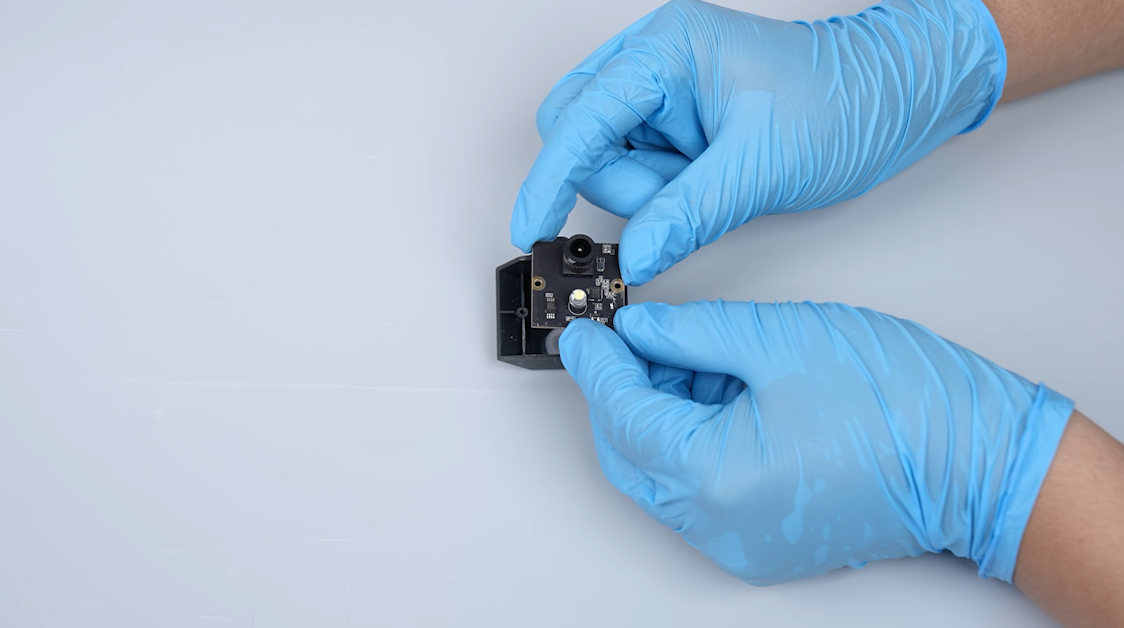
- Prepare the new camera. Put the camera in the installation position by aligning it with the screw holes.

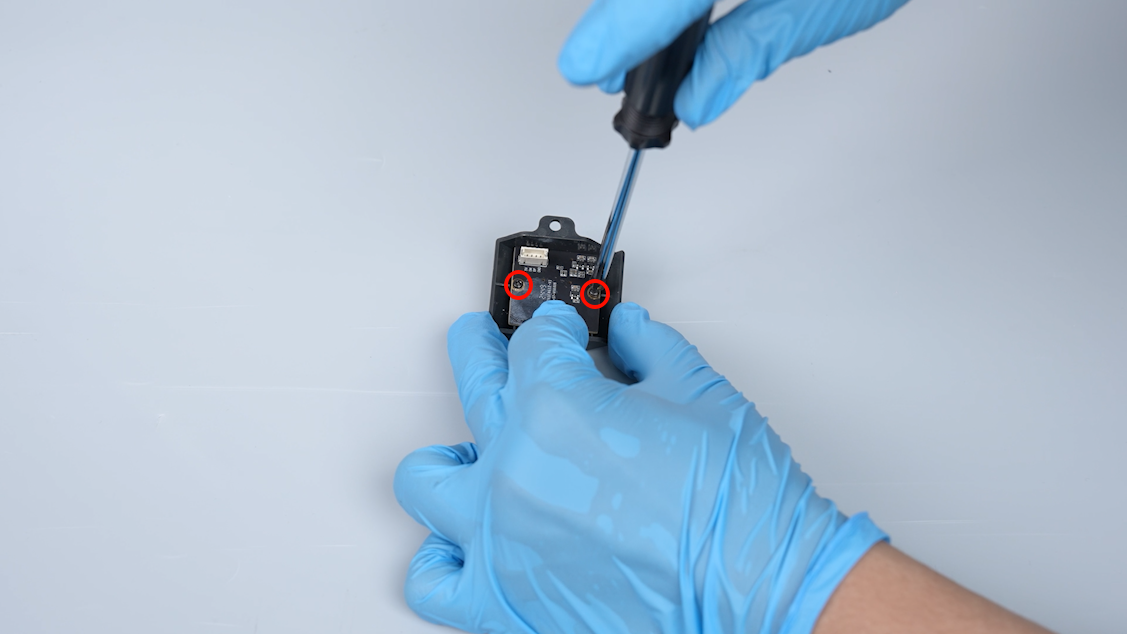
- Tighten the 2 screws securing the camera using a Phillips screwdriver.
- Prepare the camera assembly. Insert the ribbon cables of the camera. Put the camera assembly in the installation position by aligning it with the screw holes.
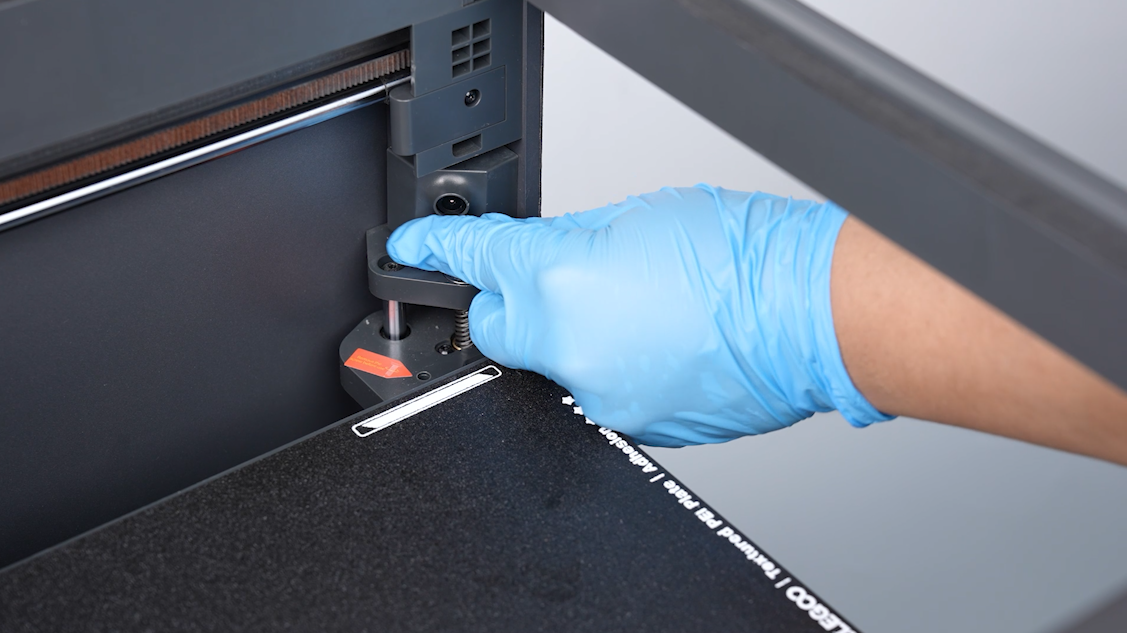
- Tighten the screw securing the camera using a 2.0 mm Allen key.

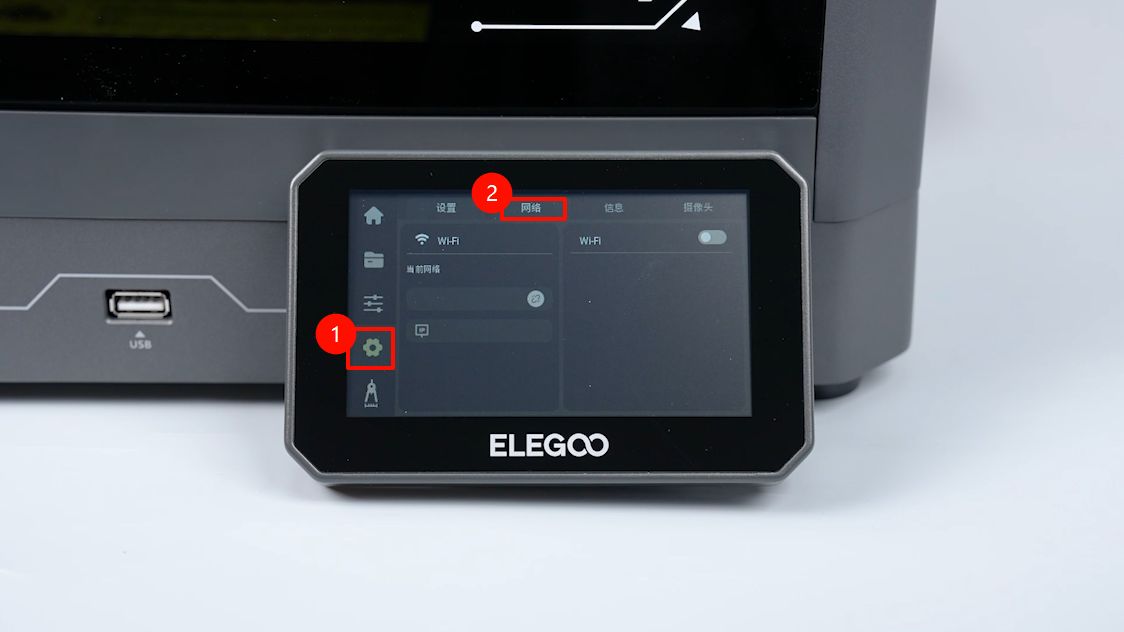
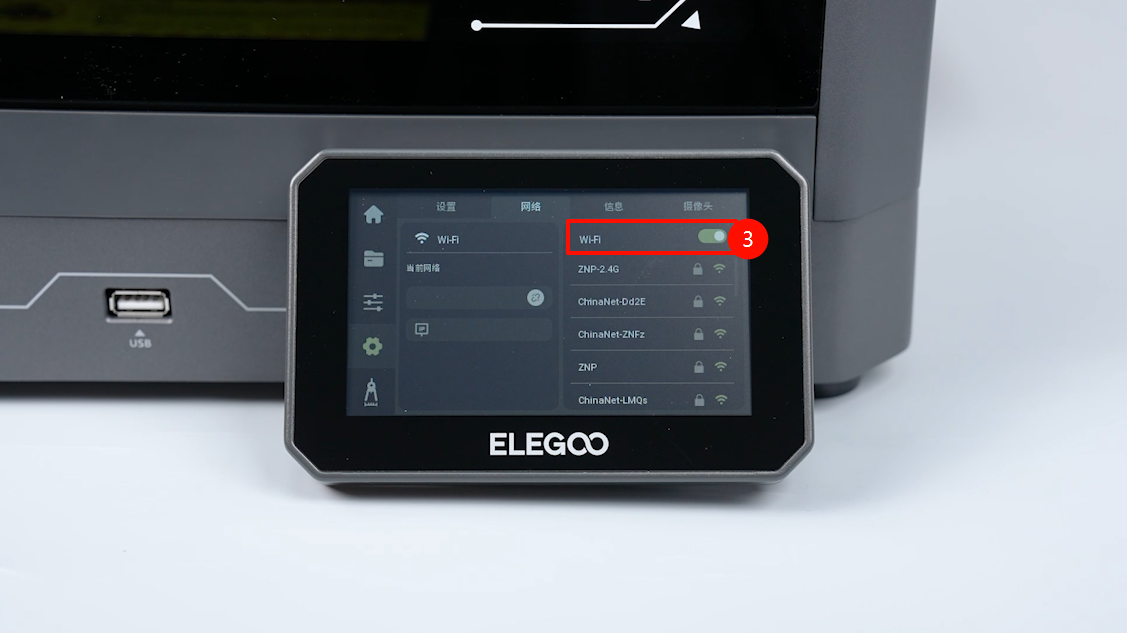
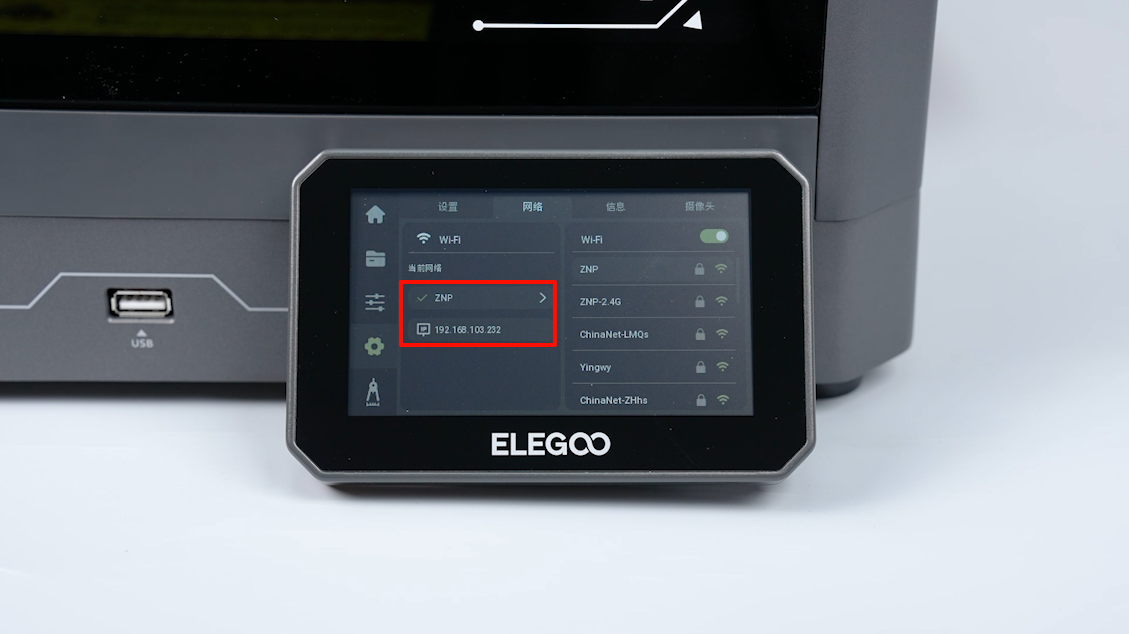
- Plug in the power cord and power on the printer. Navigate to "Setting - Network" on the touchscreen. Turn on the Wi-Fi. Type the password to connect the network. Check the IP information on the touchscreen to ensure that the printer is connected to the LAN.
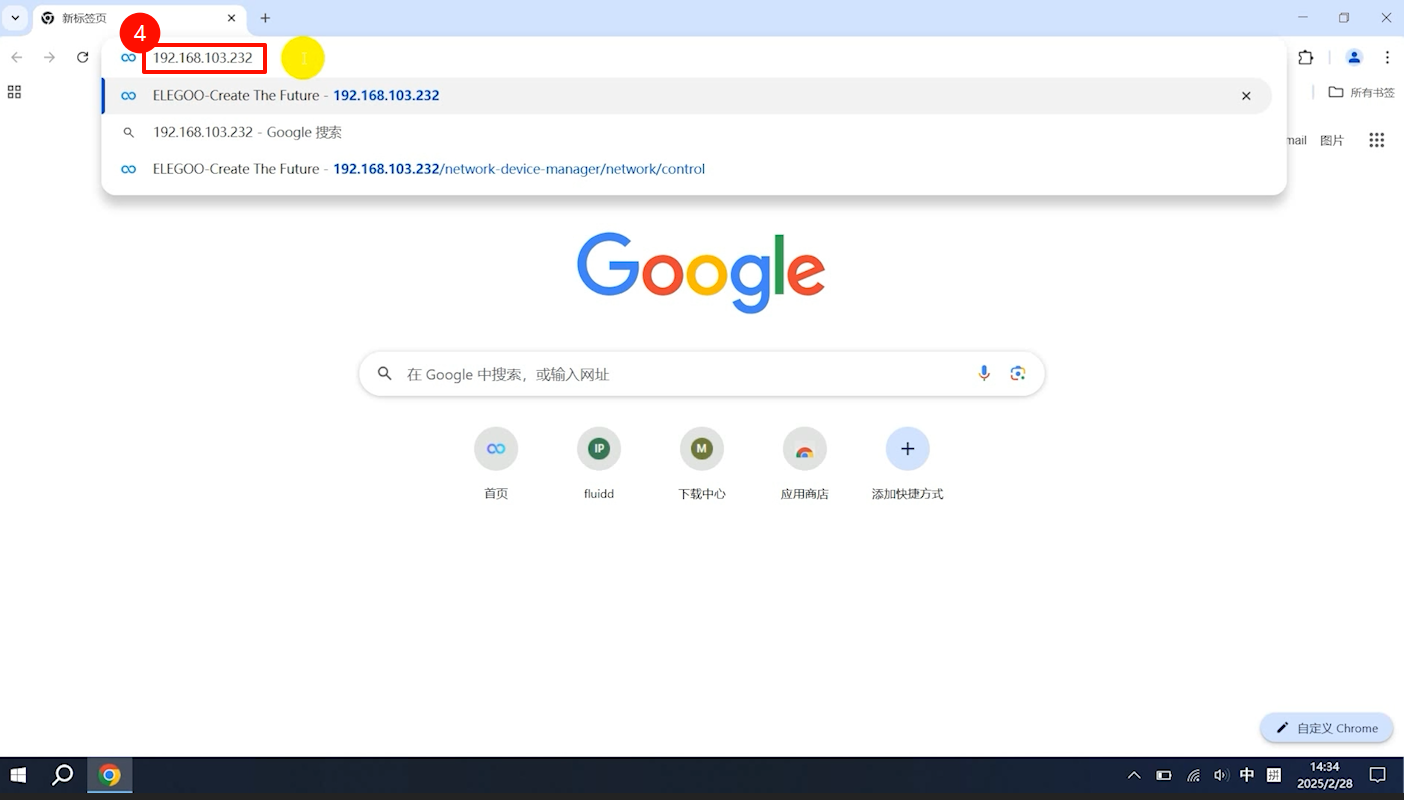
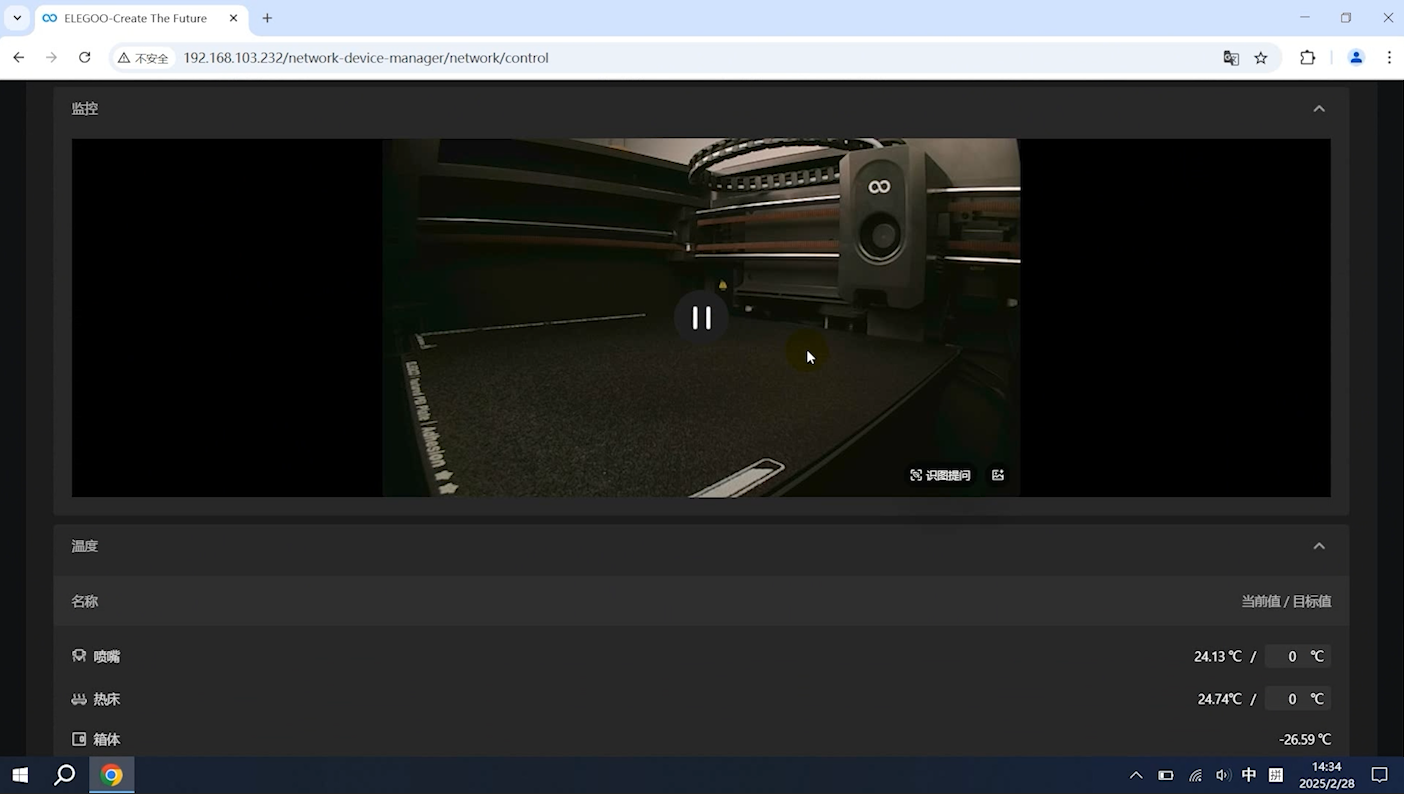
- Connect to the same LAN network as the printer via the computer. Open your browser and enter the printer's IP address in the URL field. The printer is ready for use if the monitor screen can be seen on the PC page.