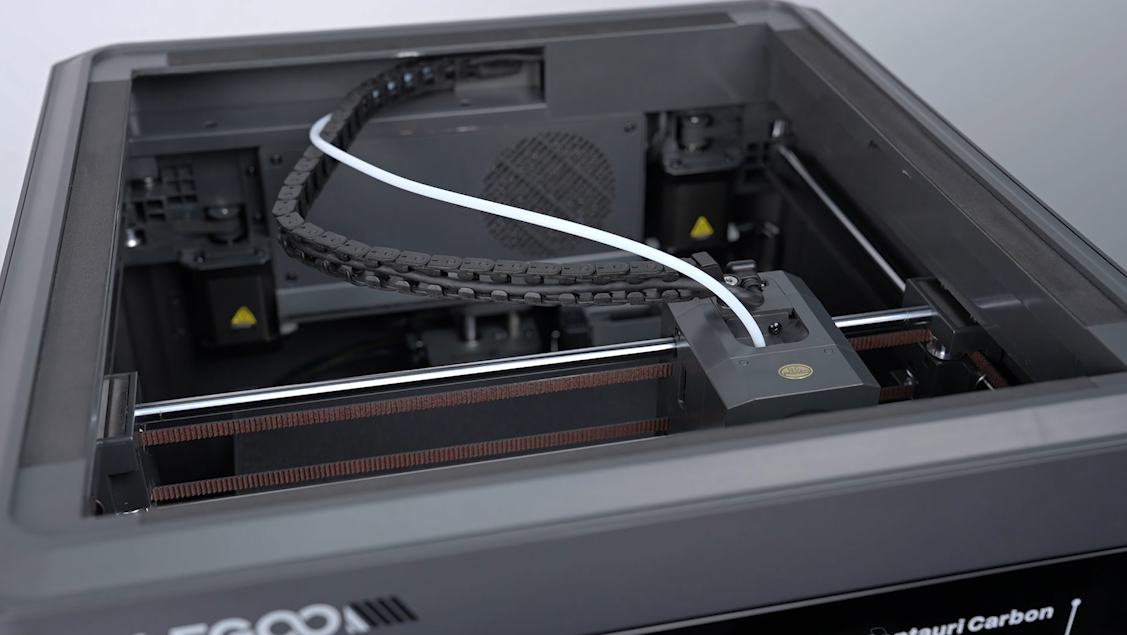
¶ Tools and Materials
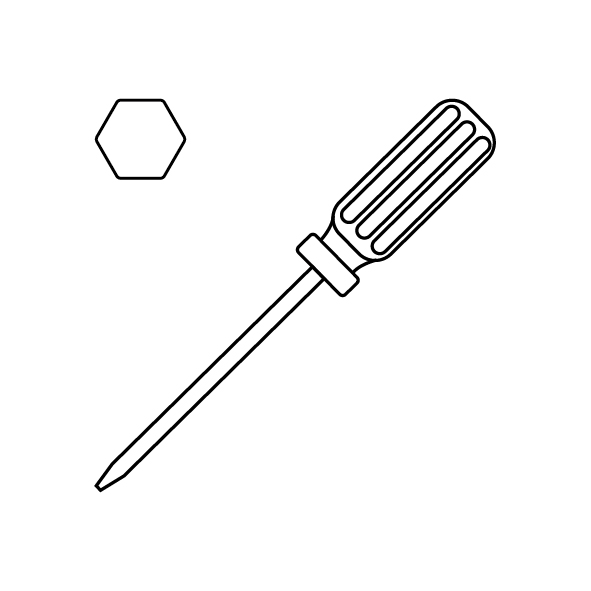
- A 2.5 mm Allen key
- A 2.0 mm Allen key
- A new cable chain
¶ Tutorial Video
Coming soon.
¶ Instruction
¶ Remove the old cable chain
- Power off the printer and unplug the power cord.
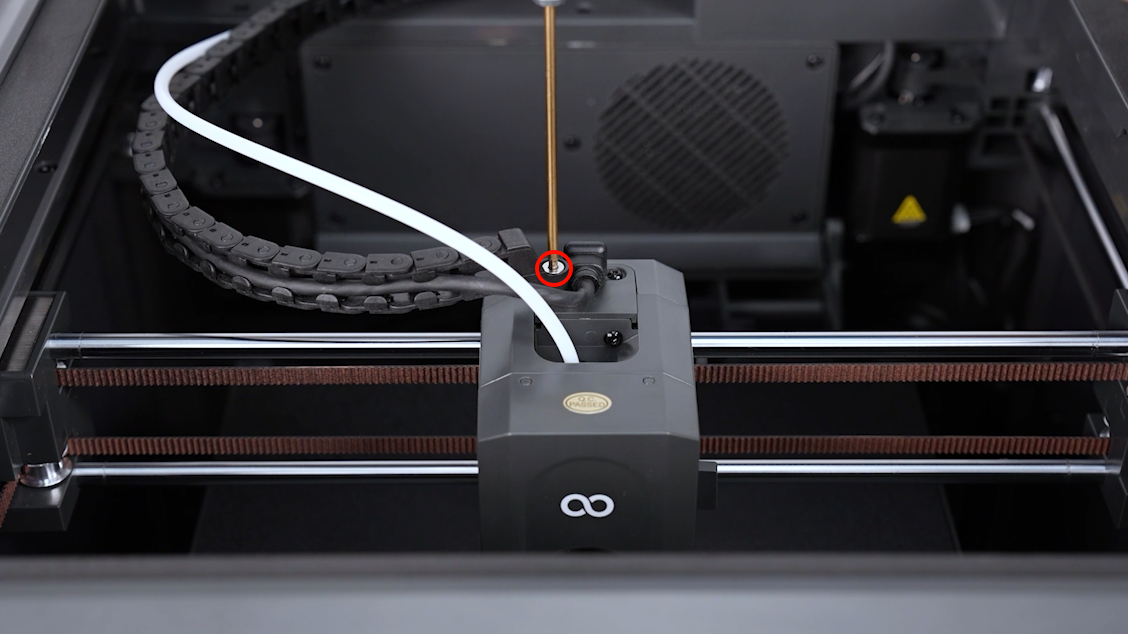
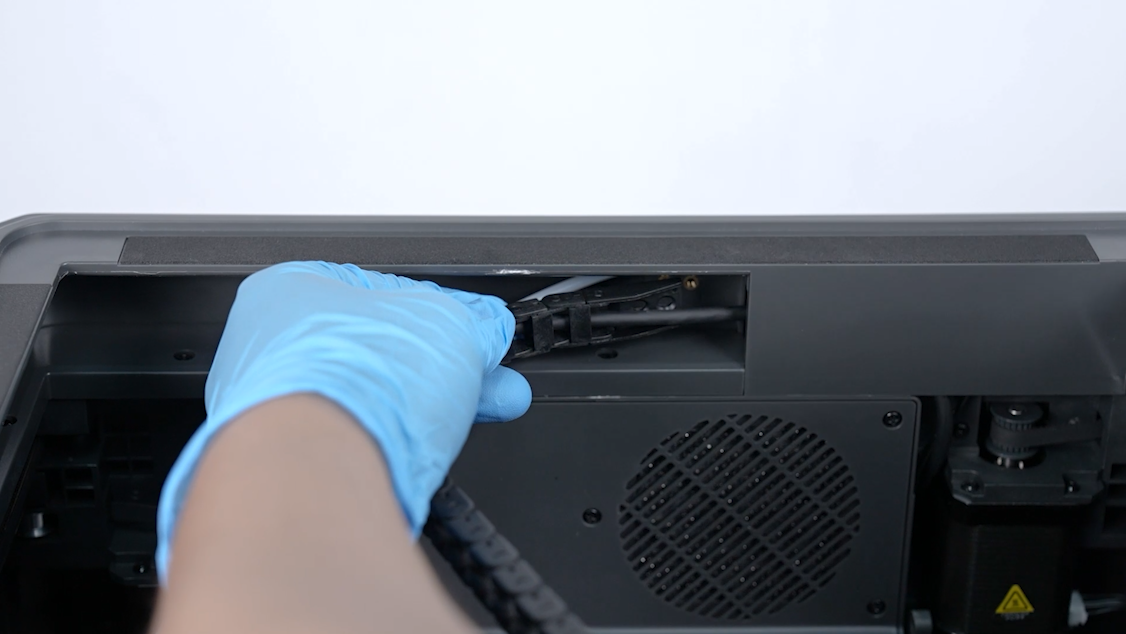
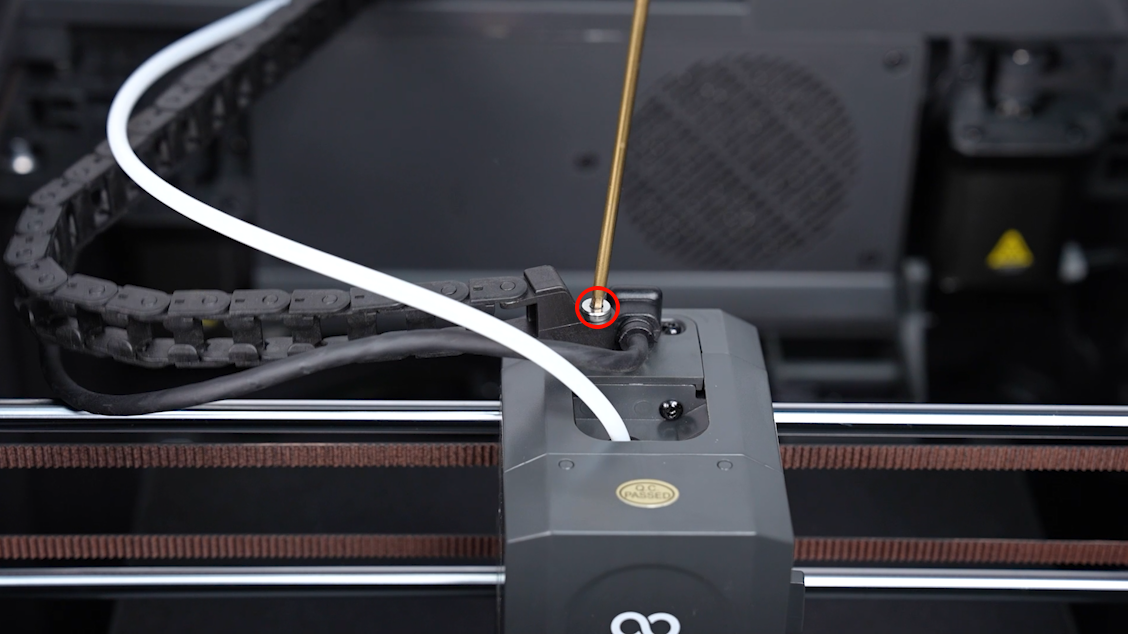
- Loosen the screw securing the front end of the cable chain using a 2.5 mm Allen key.
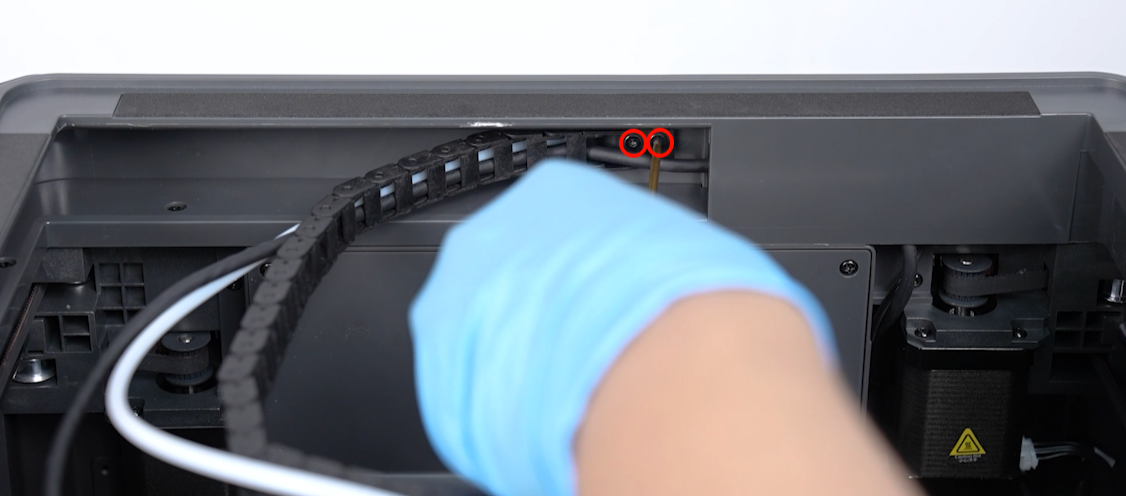
- Loosen the 2 screws securing the other end of the cable chain using a 2.0 mm Allen key.

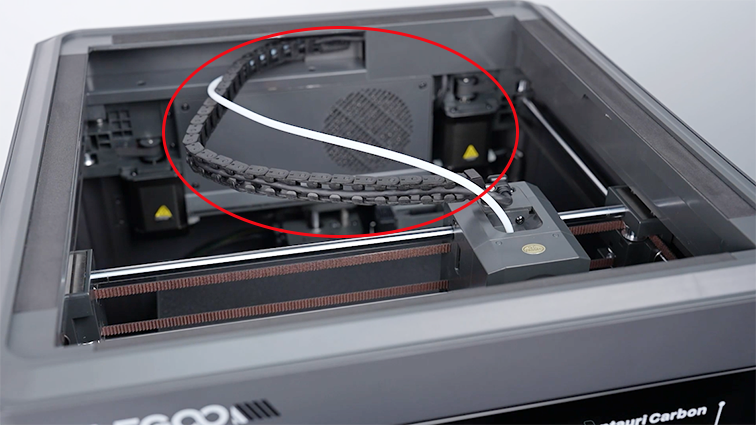
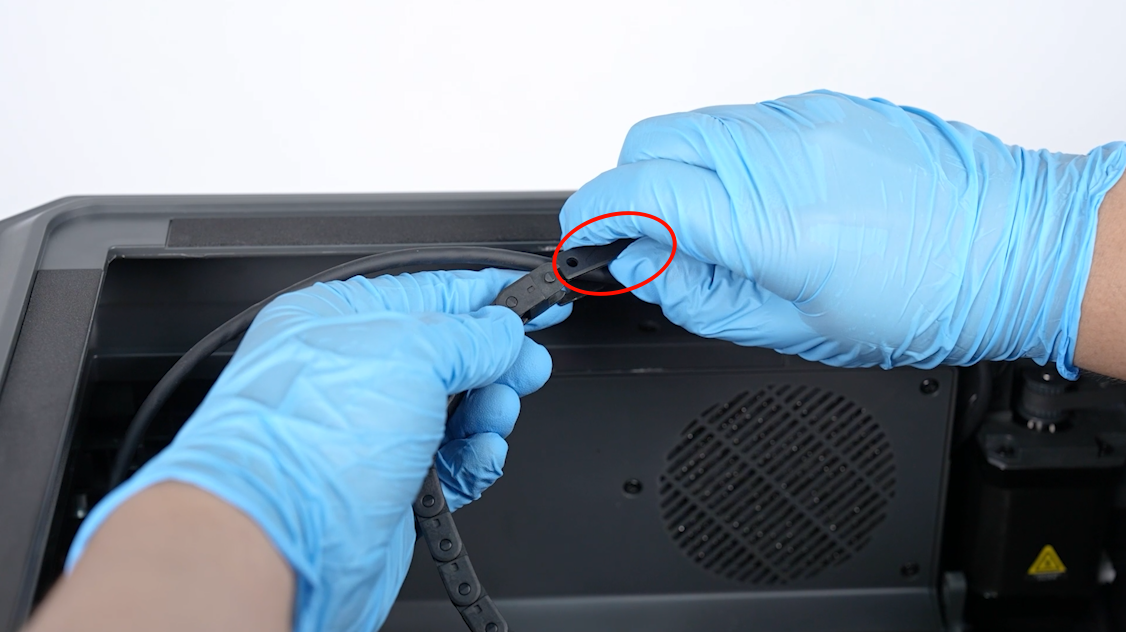
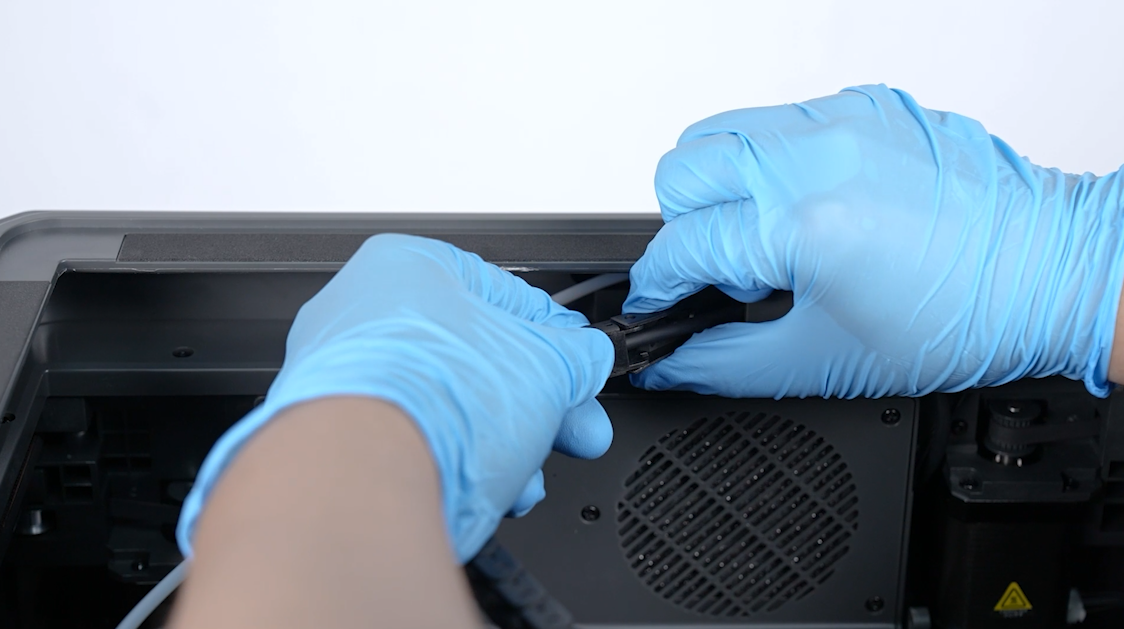
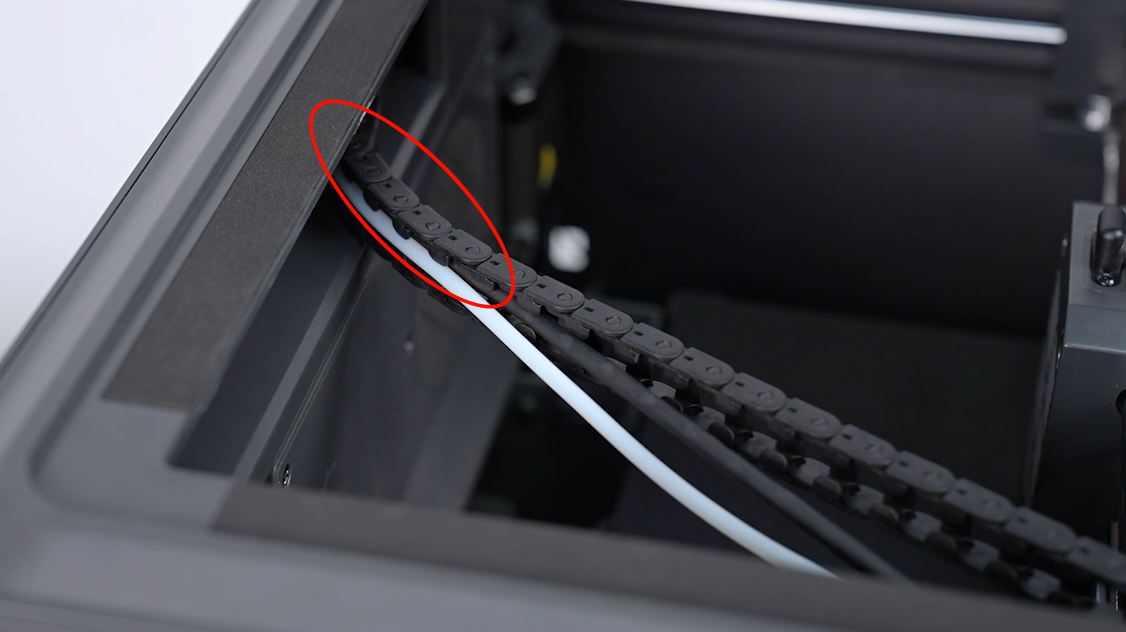
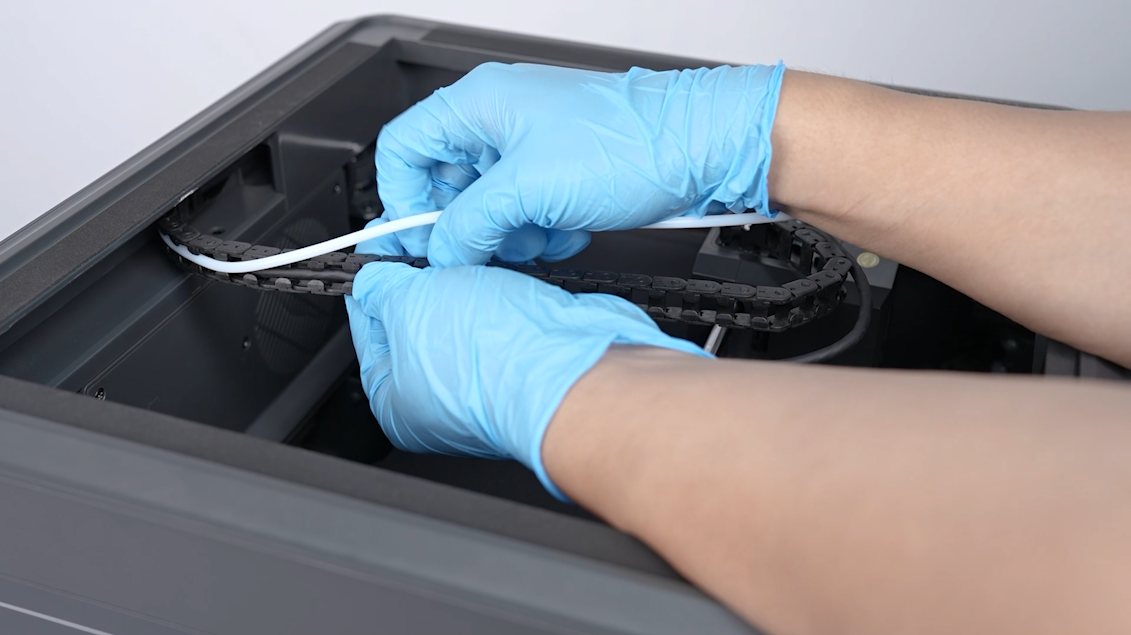
- Pull out the print head connection cable and the PTFE tube from the cable chain. Remove the lask link of the cable chain and remove the print head connection cable. Remove the old cable chain.

¶ Install the new cable chain
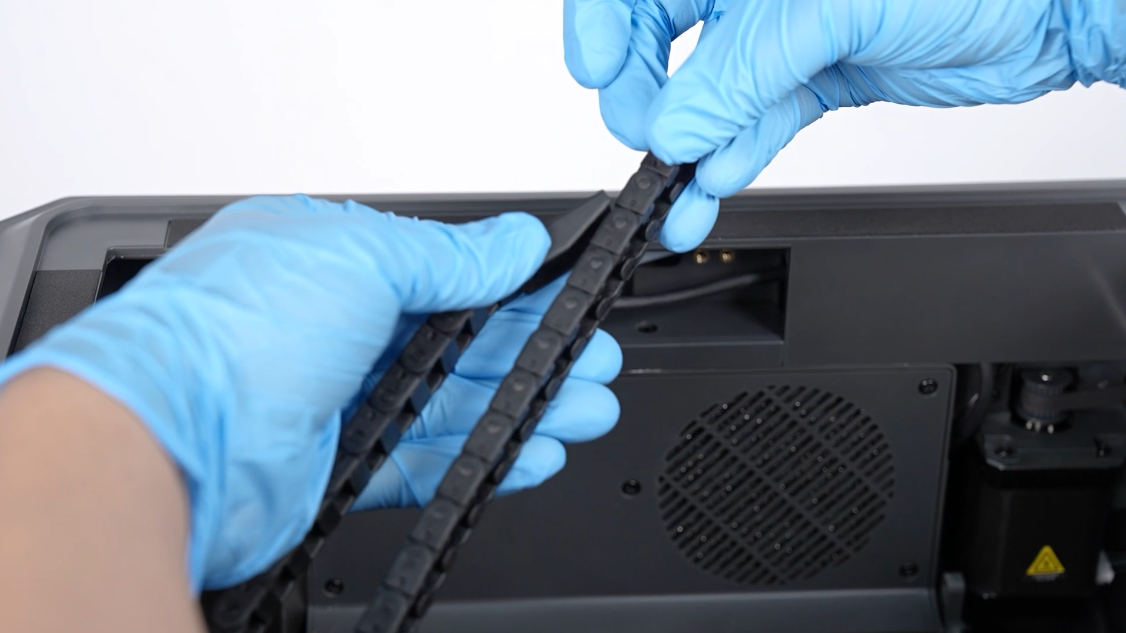
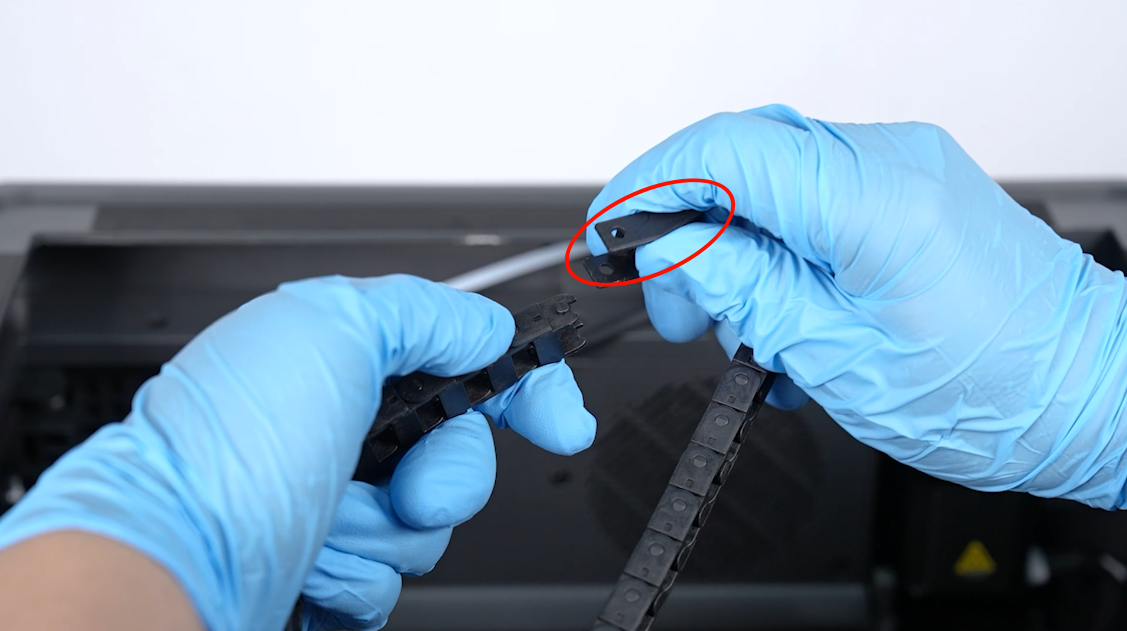
- Preapre the new cable chain. Remove the last link and put the connection cable of the print head in the cable chain. Put the last link of the tank chain in origin place by aligning with the clip holes.
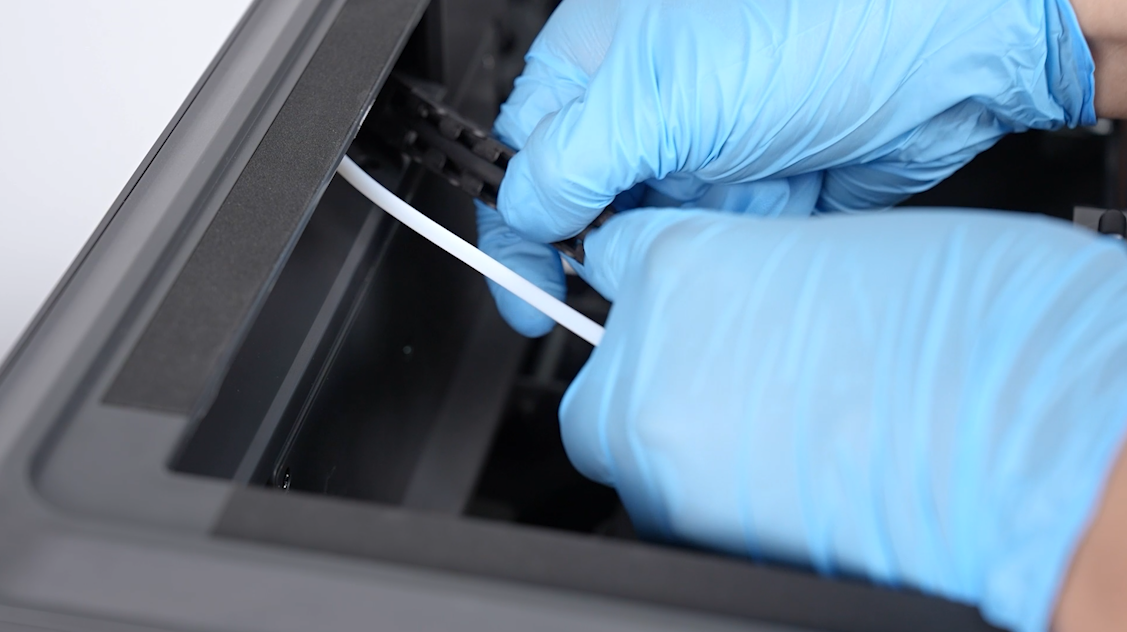
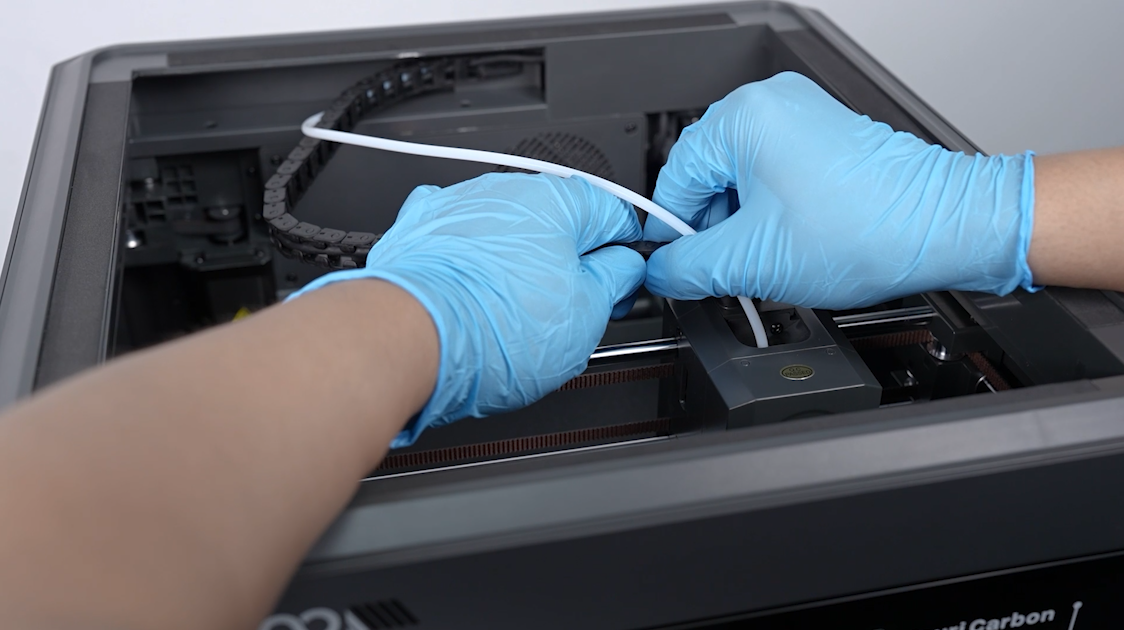
- Press the PTFE tube and the print head connection cable into the cable chain from the terminal of the chain. Install them to the one-third from the terminal of the cable chain.
- Tighten the 2 screws securing the cable chain terminal using a 2.0 mm Allen key.
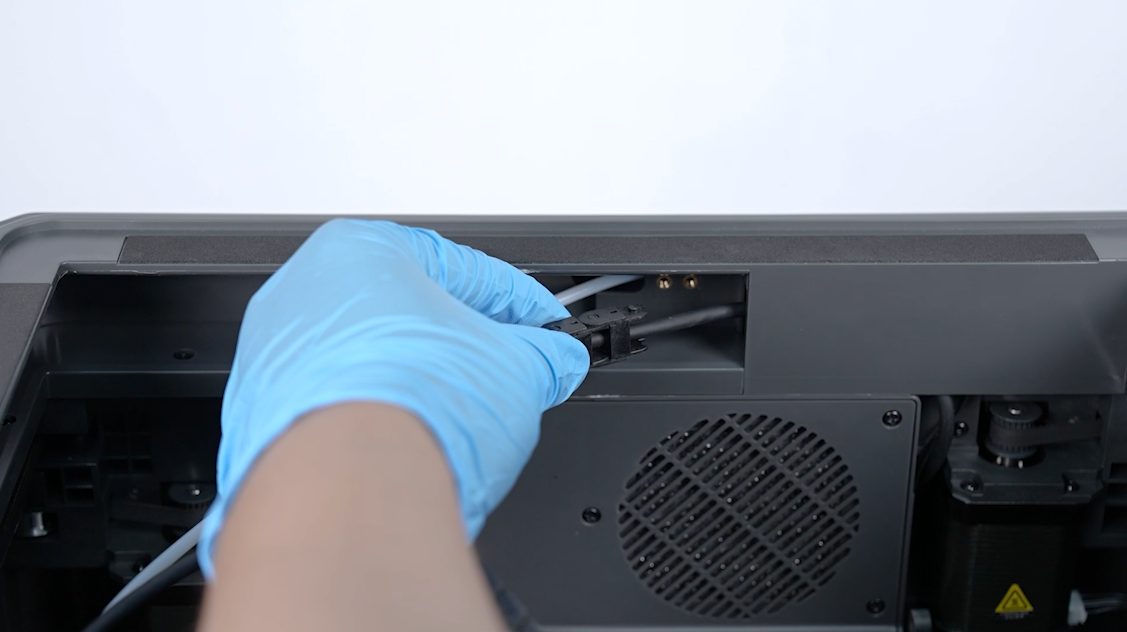
- Put the front part of the cable chain in the installation position by aligning it with the screw holes. Tighten the screw securing the the front part using a 2.5 mm Allen key.
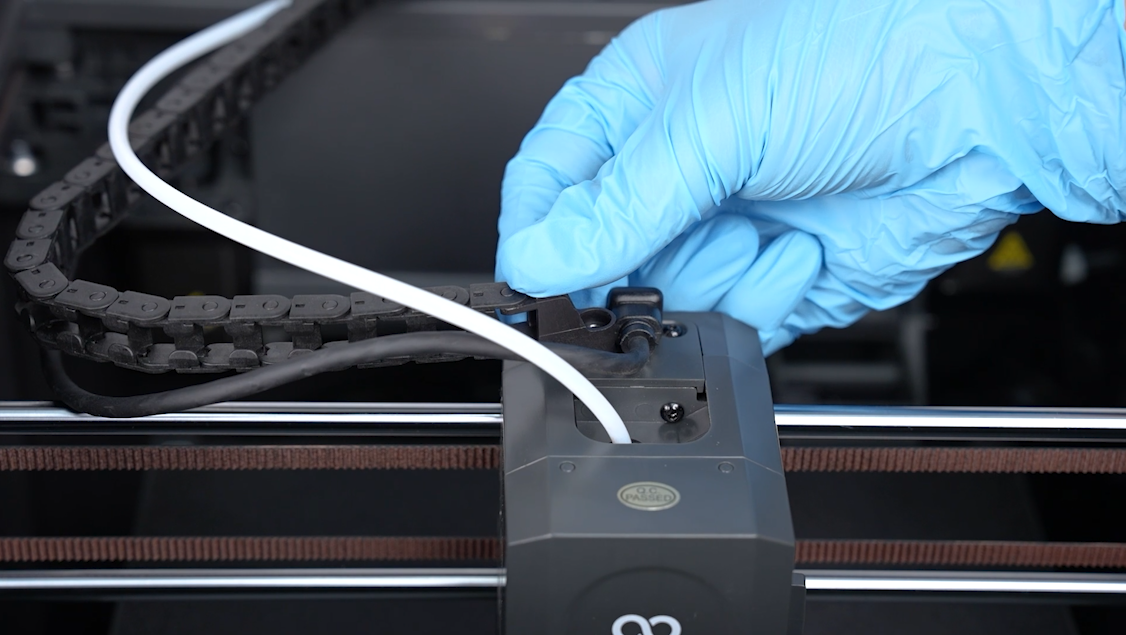
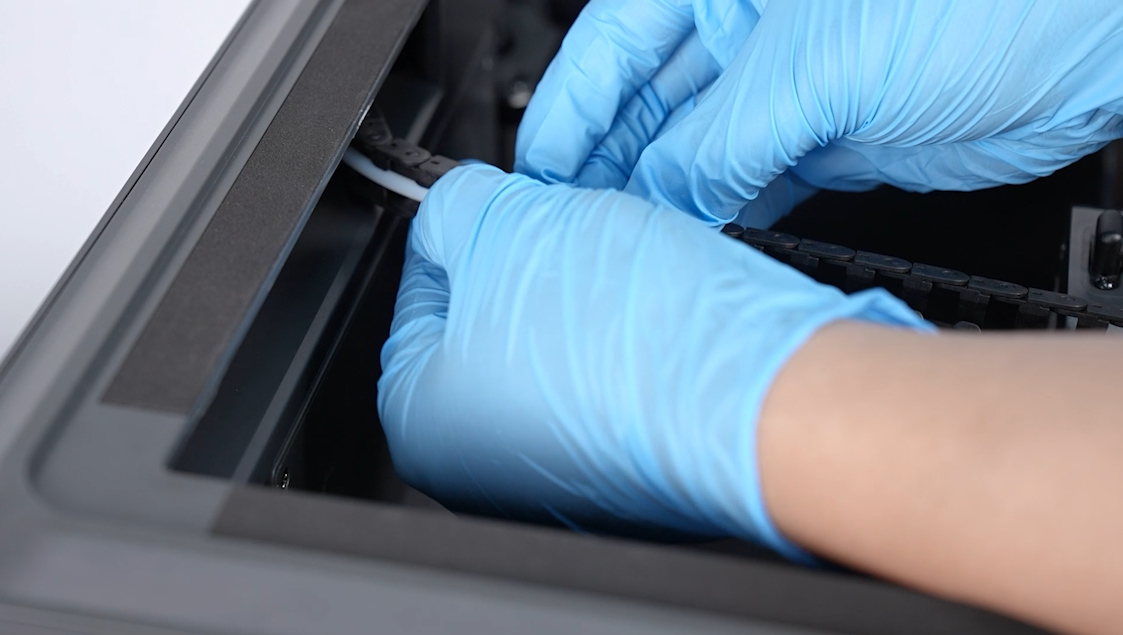
- Press the connection cable of the print head and put the it into the cable chain.
- The printer is ready for use after checking that the cable chain is not deformed.