¶ Tools and Materials
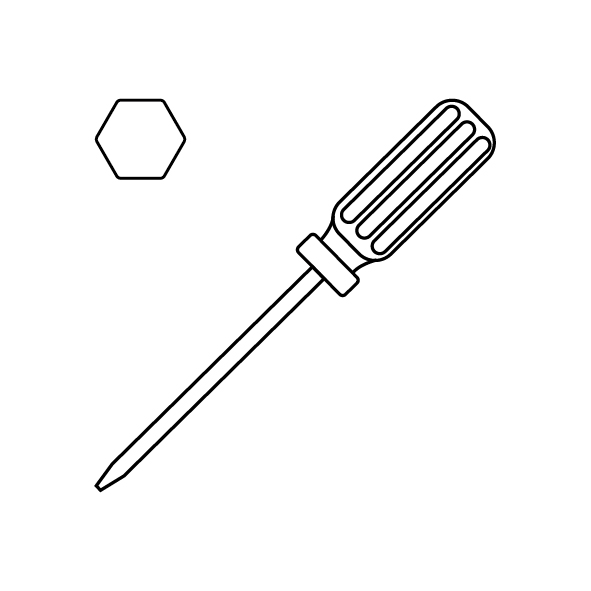
- A 2.0 mm Allen wrench
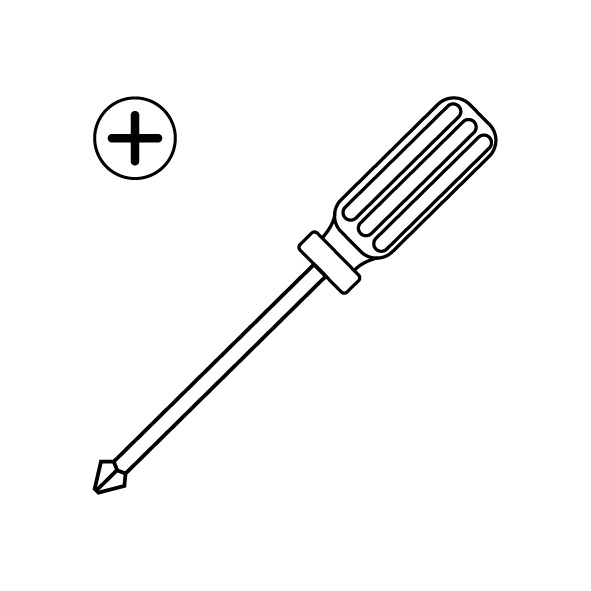
- A Phillips screwdriver
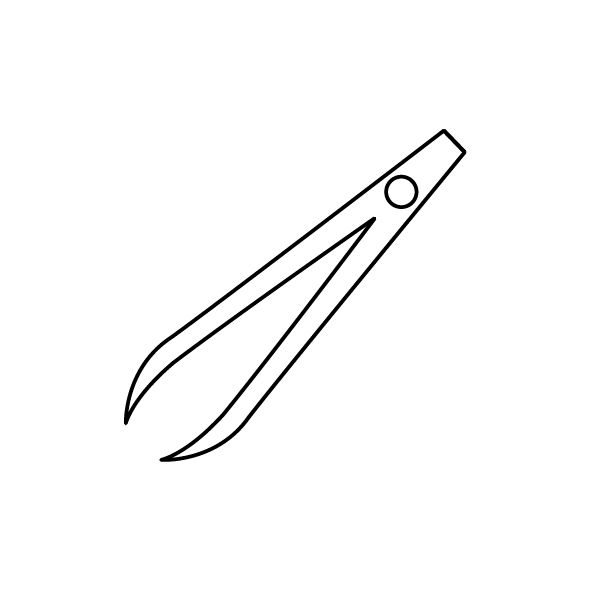
- A pair of tweezers
- A new auxiliary cooling fan
¶ Tutorial Video
https://www.youtube.com/watch?v=NjiFGFVWTtM
¶ Instruction
¶ Remove the old auxiliary cooling fan
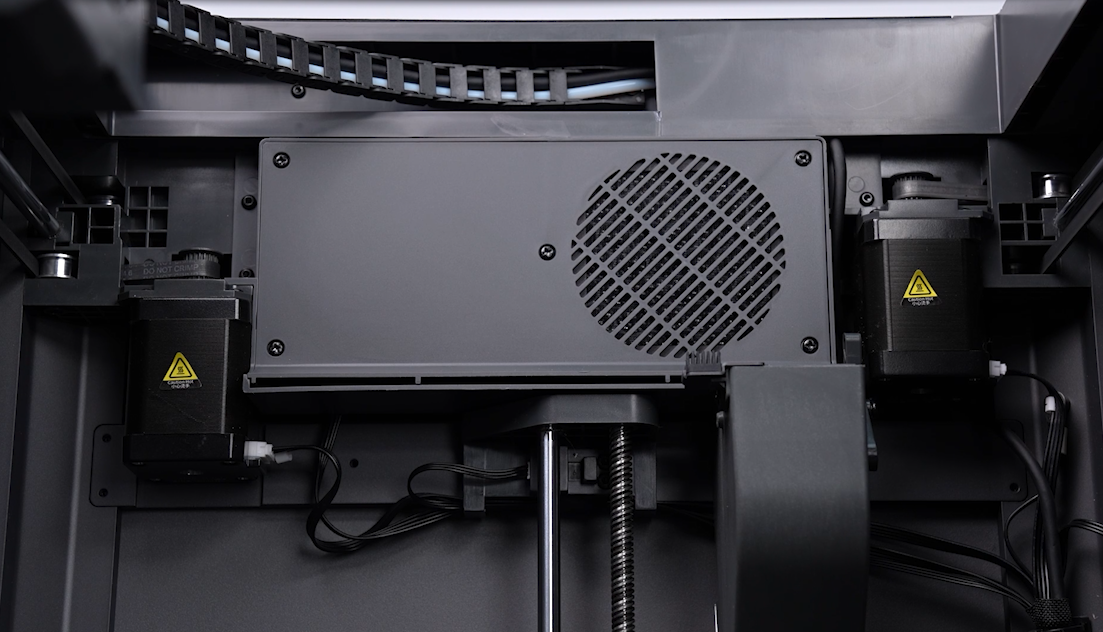
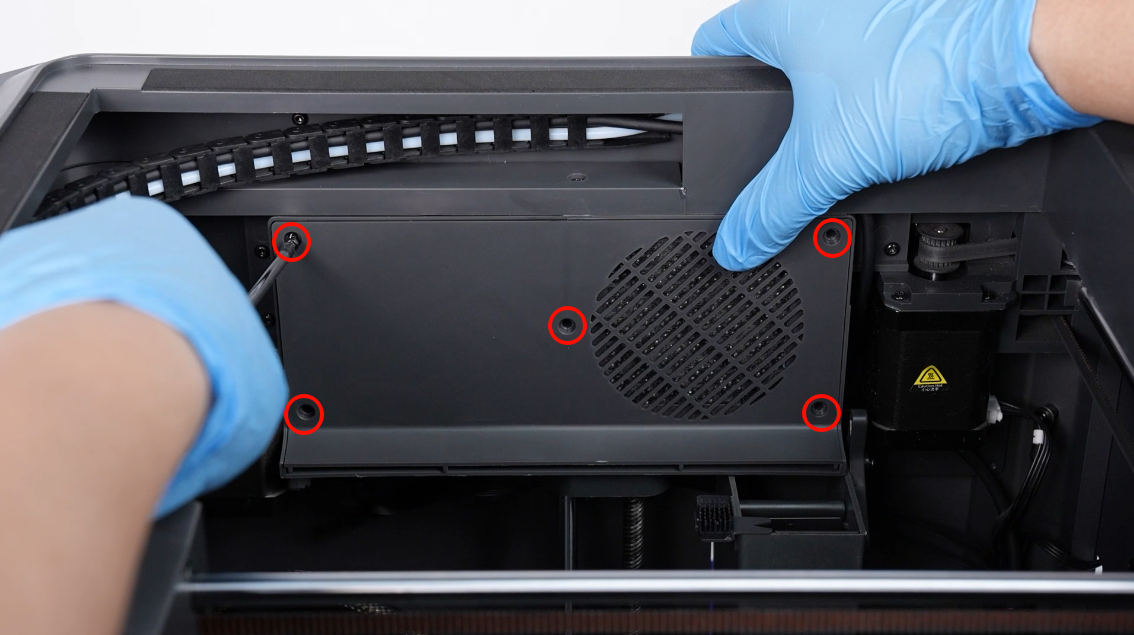
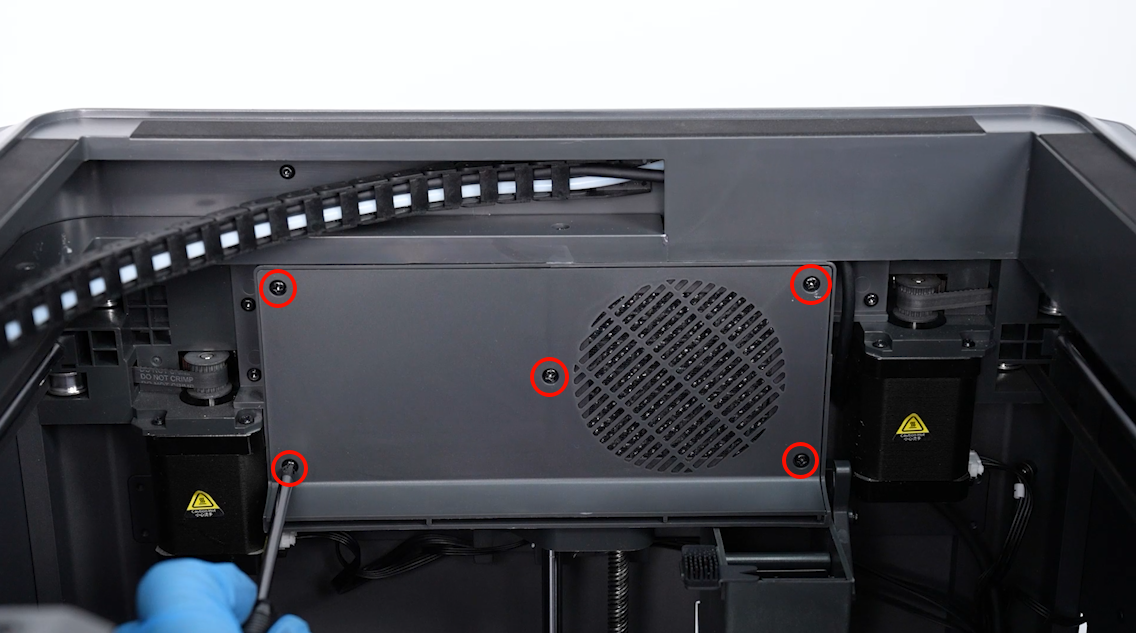
- Power off the printer and unplug the power cord. Loosen the 5 screws securing the front cover of the fan shroud using a Phillips screwdriver.
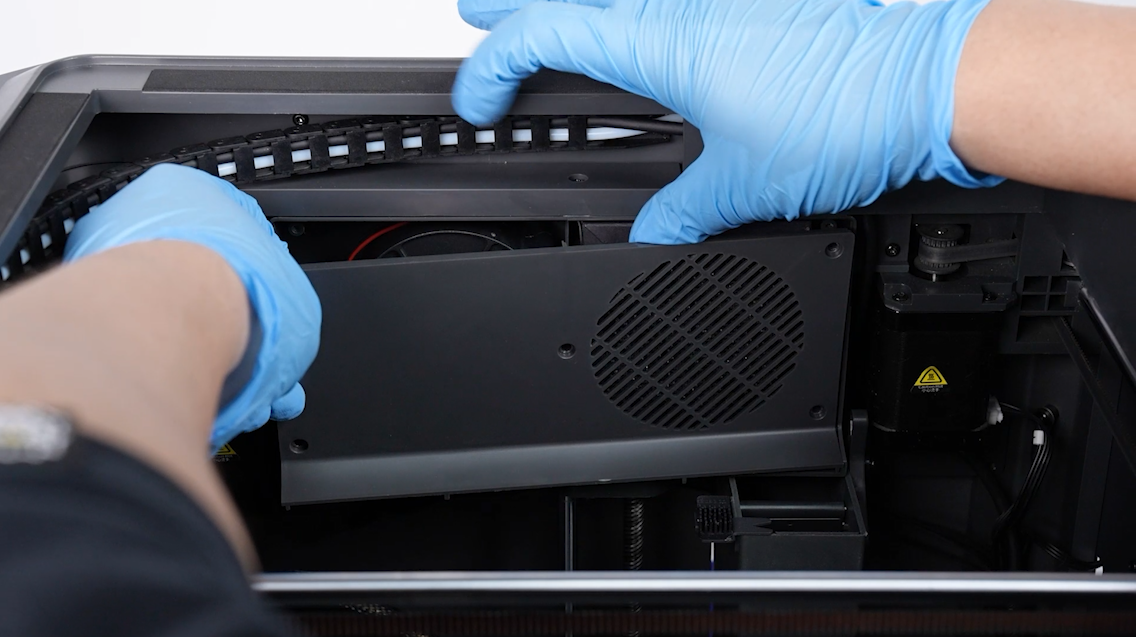
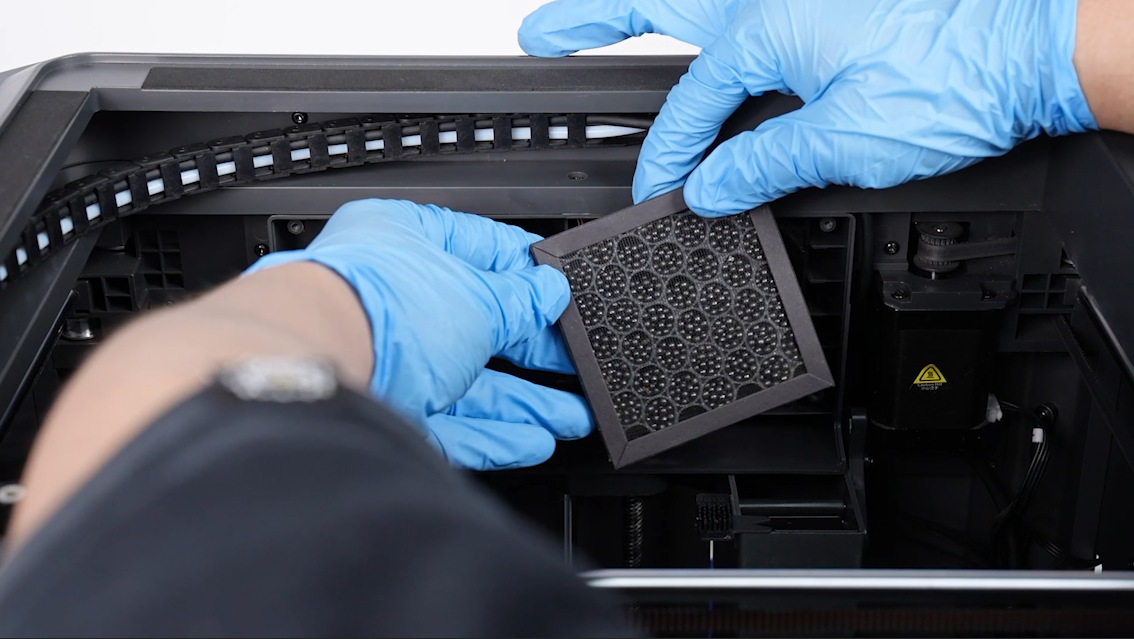
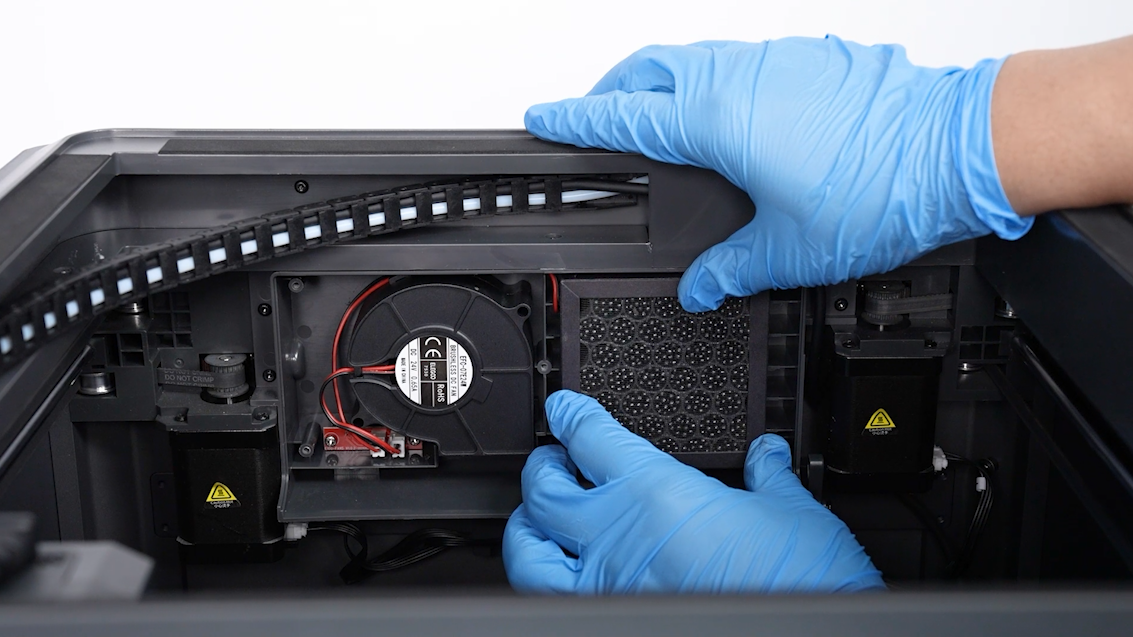
- Remove the fan shroud's front cover and the filter cartridge.
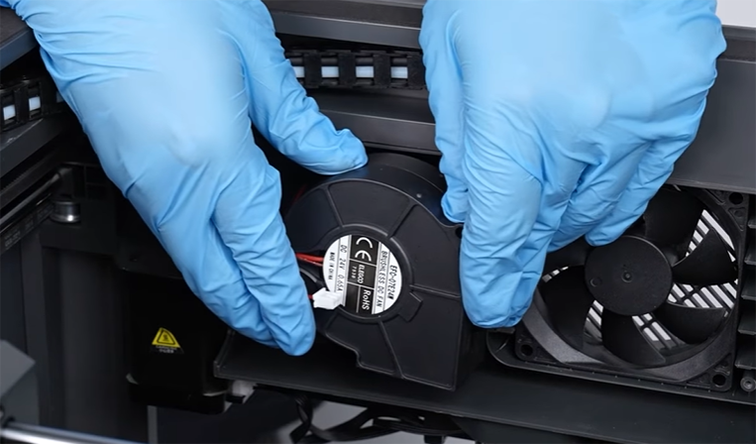
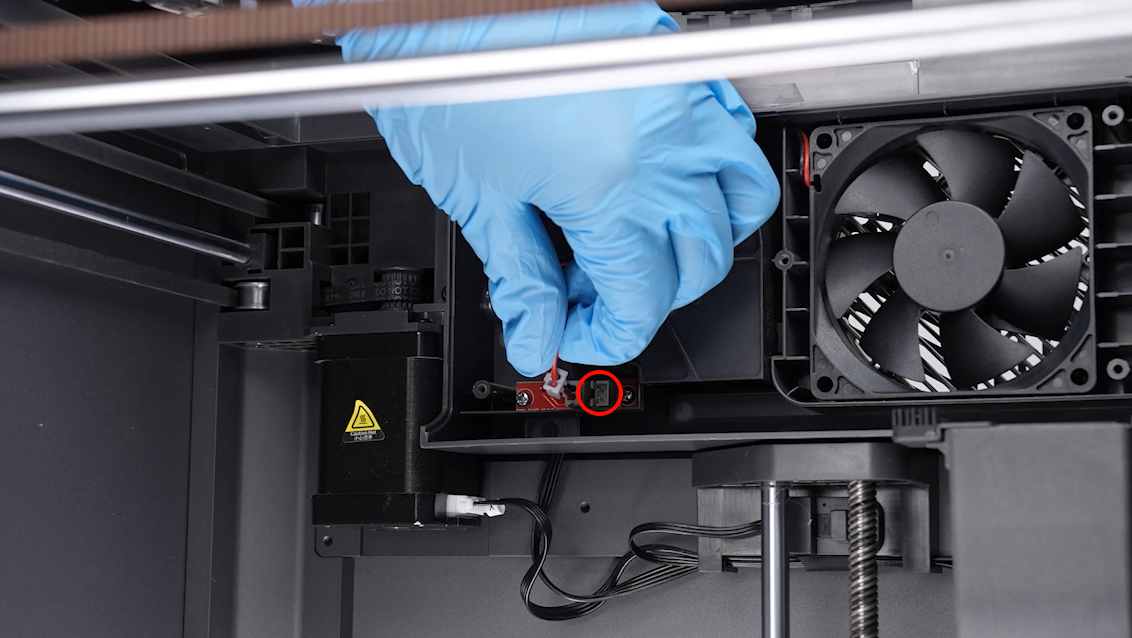
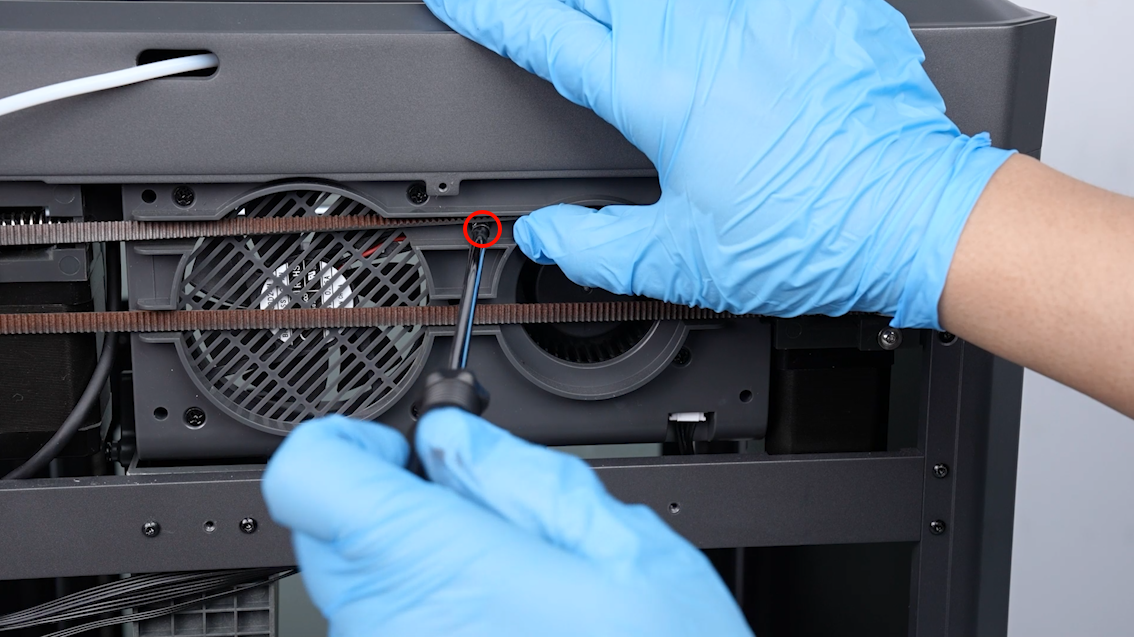
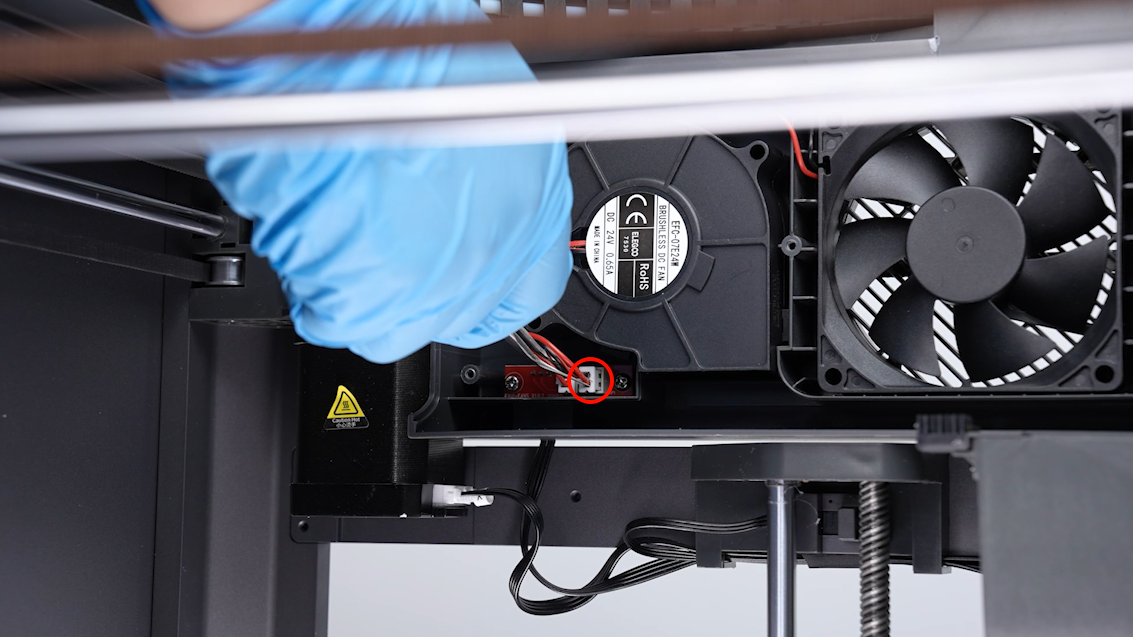
- Unplug the ribbon cables of the auxiliary cooling fan.
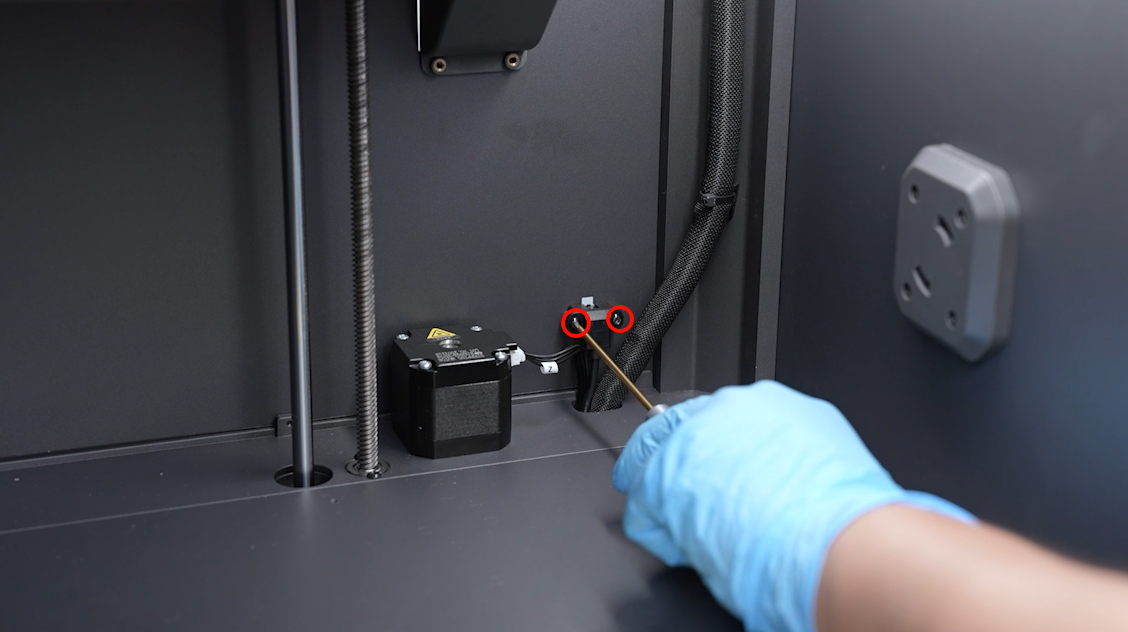
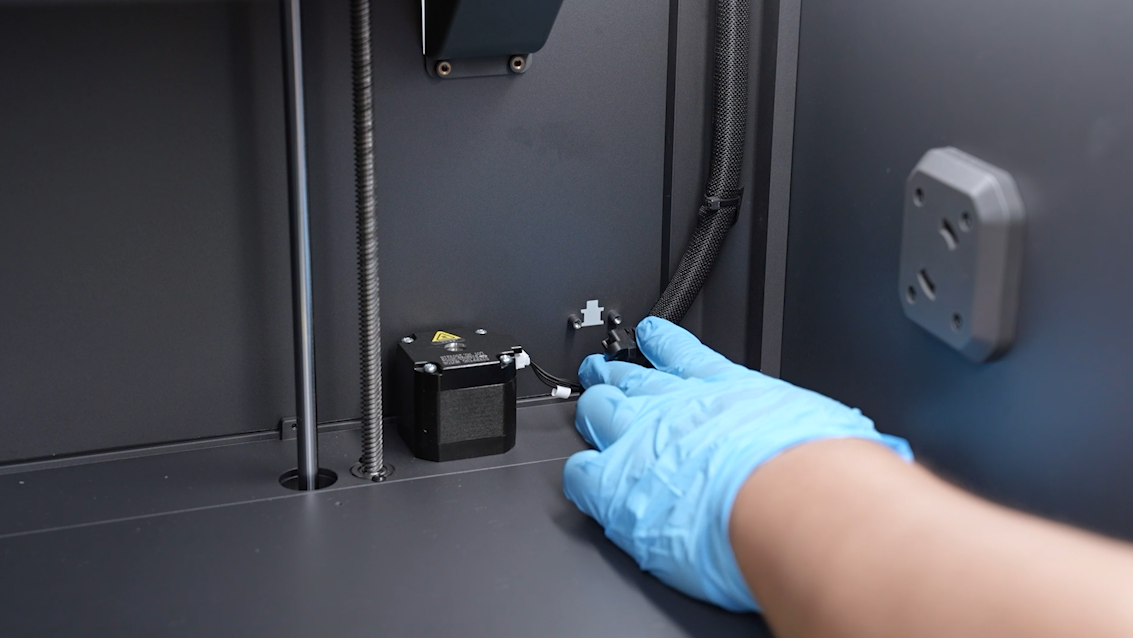
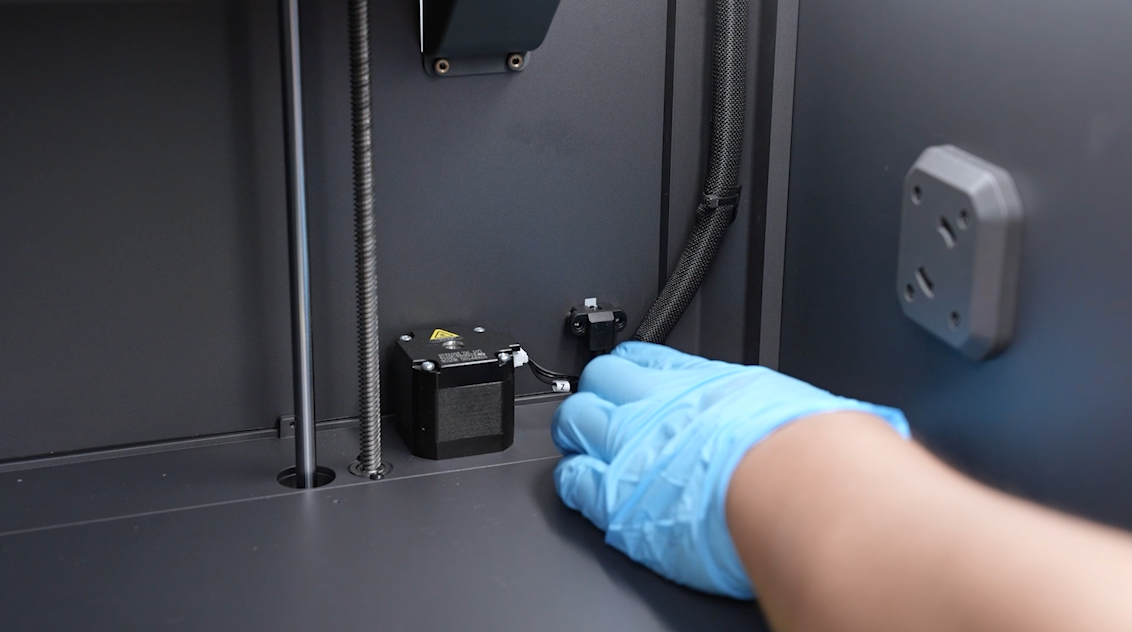
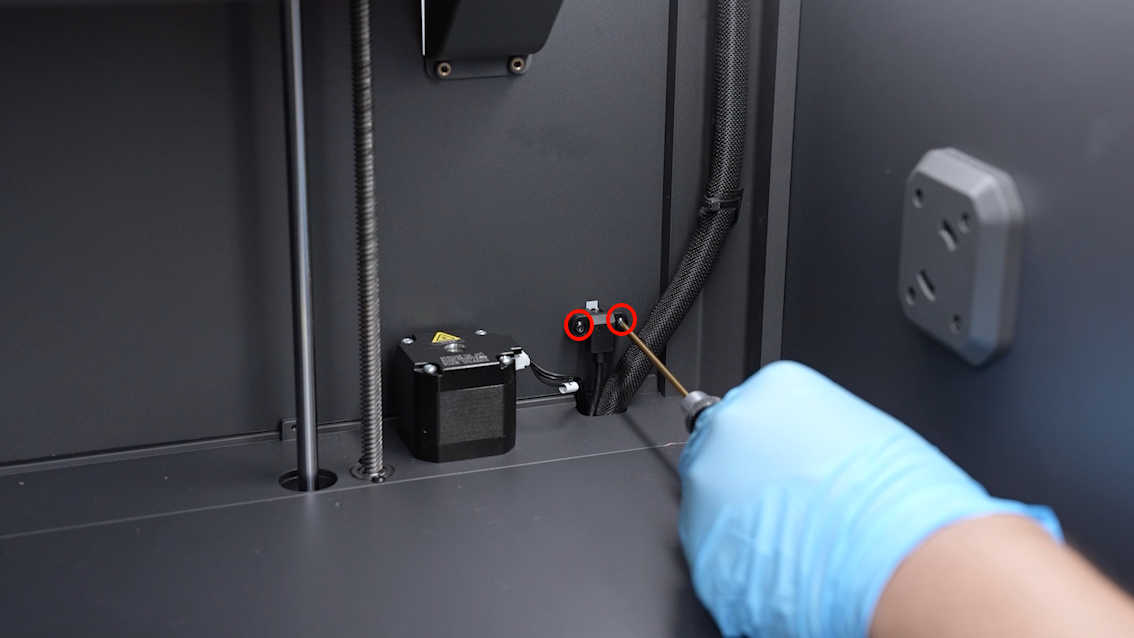
- Loosen the two screws securing the multi-color connector using a 2.0 mm Allen key, then remove connector.
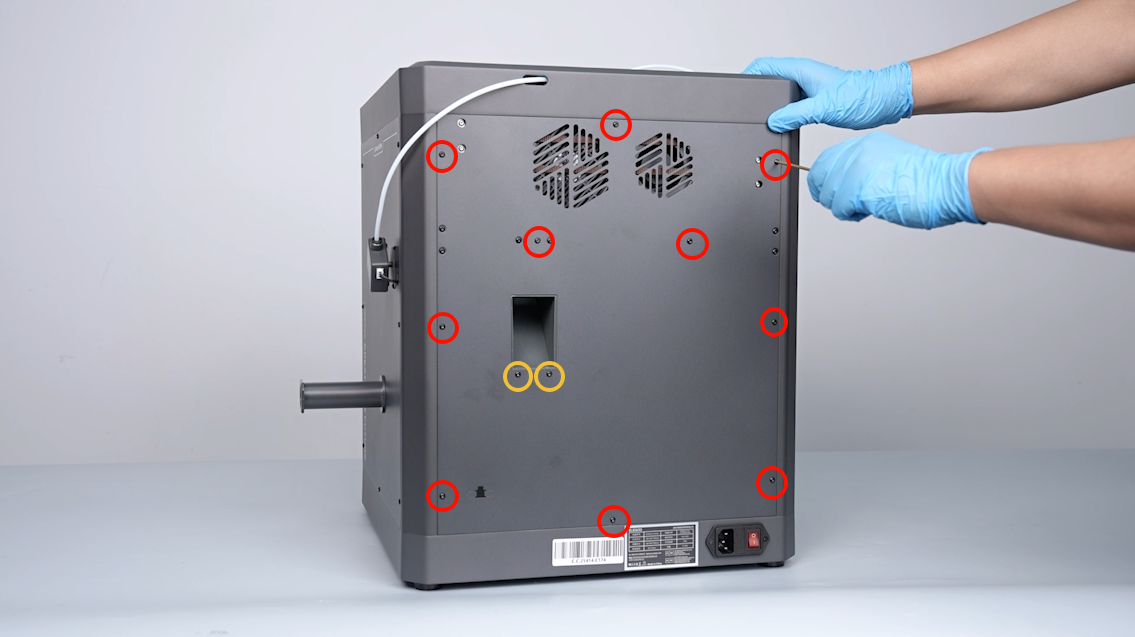
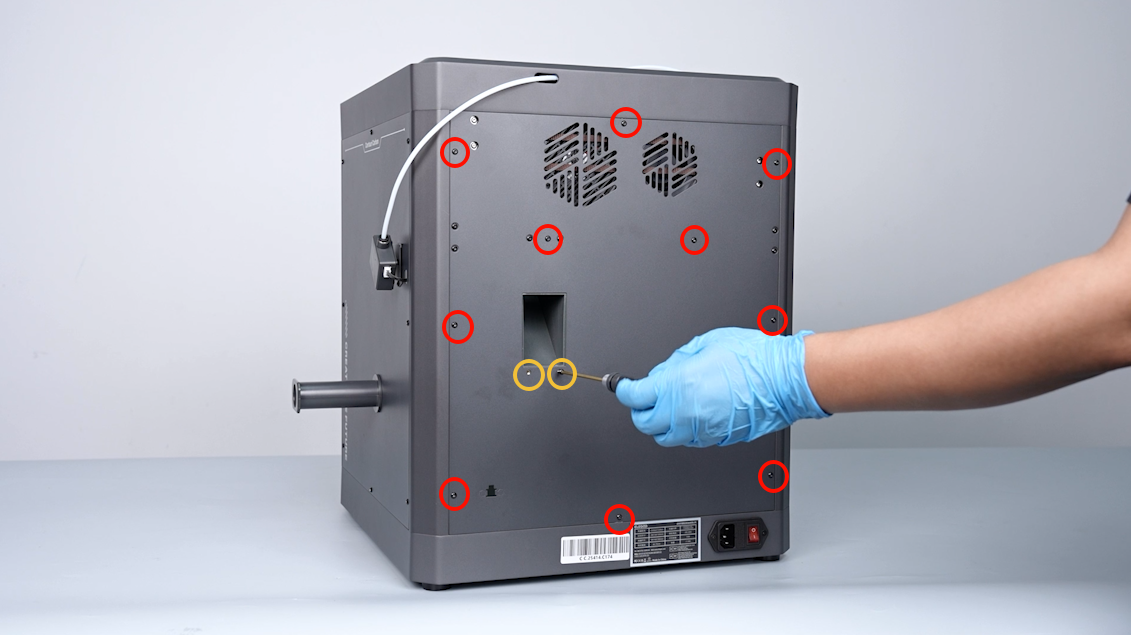
- Loosen the 12 screws securing the back cover of the printer using a 2.0 mm Allen key, then remove the back cover.
Note: Screw holes labeled by the red circle are M3*4, while screw holes labeled by the yellow circle are M3*8.
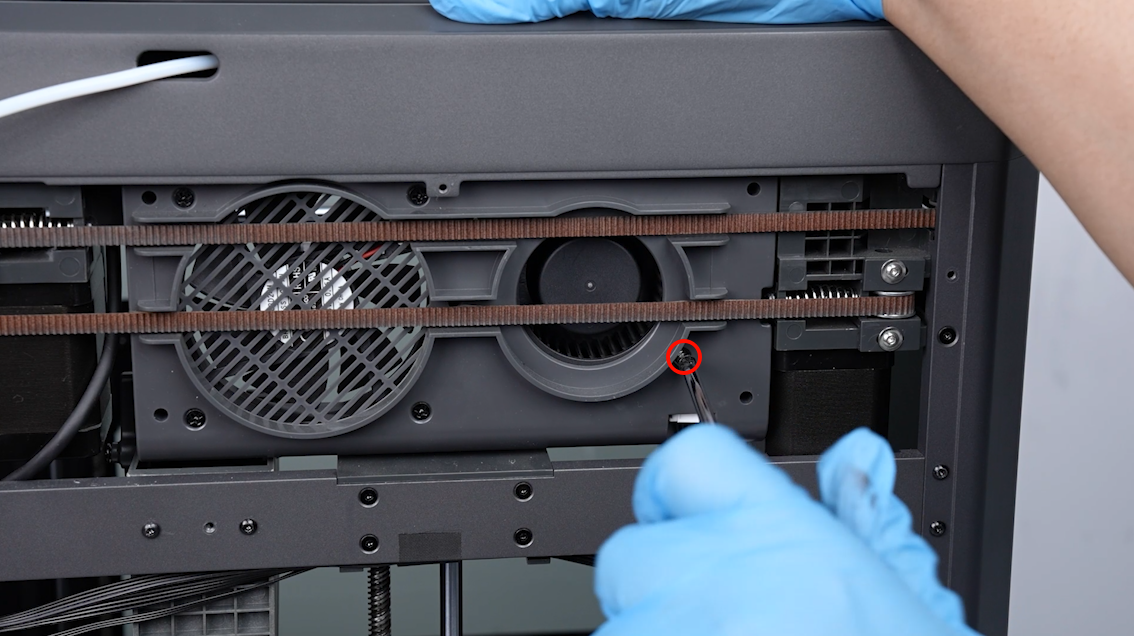
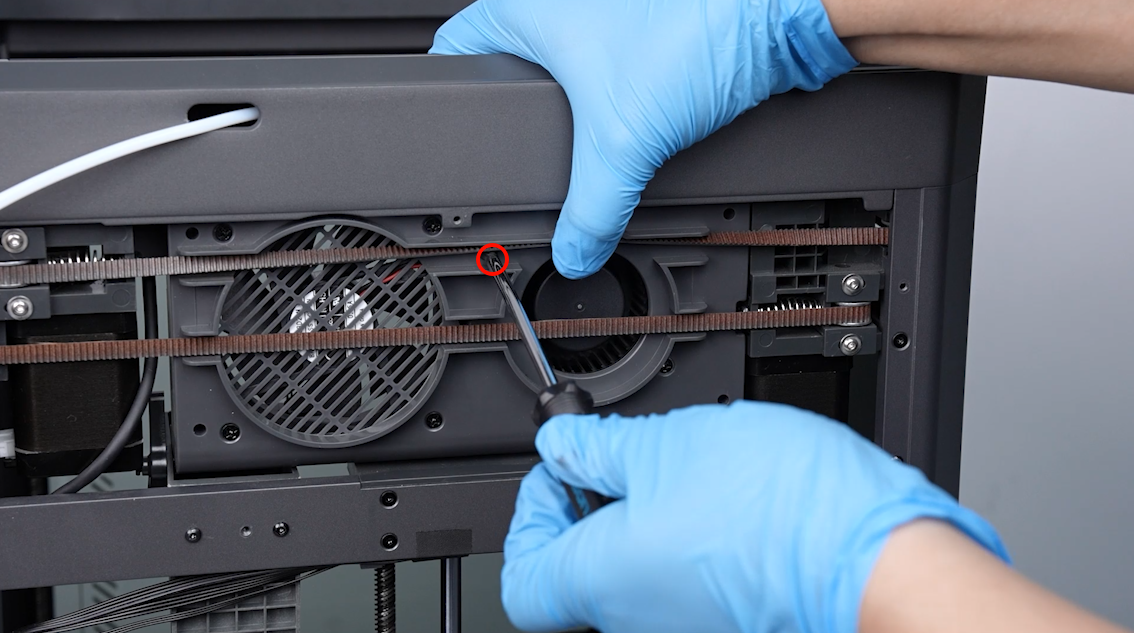
- Loosen the 2 screws securing the auxiliary cooling fan using a Phillips screwdriver, then remove the auxiliary cooling fan.
Note: Hold the auxiliary cooling fan to prevent it from falling while loosening the last screw.

¶ Install the new auxiliary cooling fan
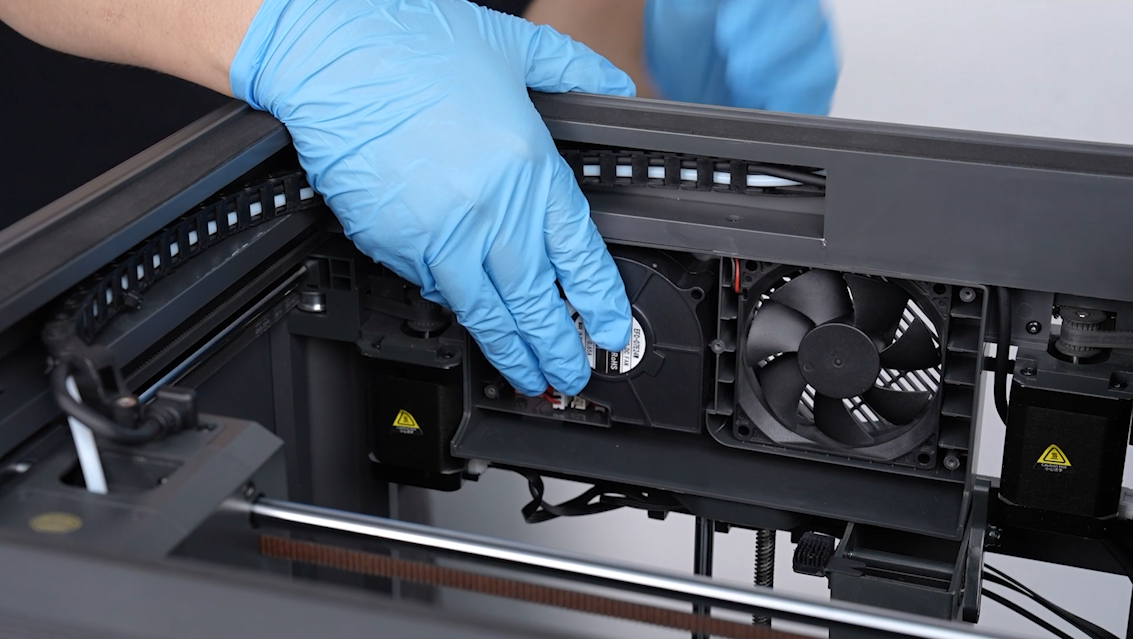
- Prepare the new auxiliary cooling fan. Put the auxiliary cooling fan in the installation position by aligning it with the screw holes. Use a Phillips screwdriver to tighten the 2 screws securing the auxiliary cooling fan.
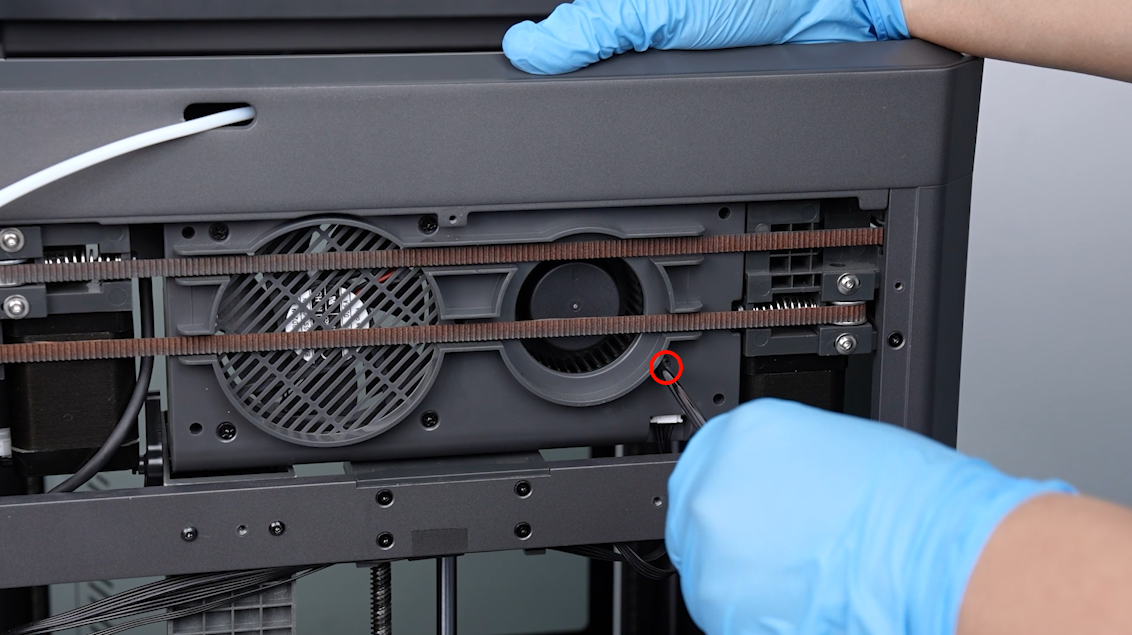
- Insert the ribbon cables of the auxiliary cooling fan into the adapter board port.
- Put the back cover in the installation position by aligning it with the screw holes. Tighten the 12 screws securing the back cover using a 2.0 mm Allen key.
Note: Screw holes labeled by the red circle are M3*4, while screw holes labeled by the yellow circle are M3*8.
- Put the multi-color connector in the installation position by aligning it with the screw holes. Tighten the 2 screws securing the multi-color connector using a 2.0 mm Allen key.
- Put the filter in the installation position.
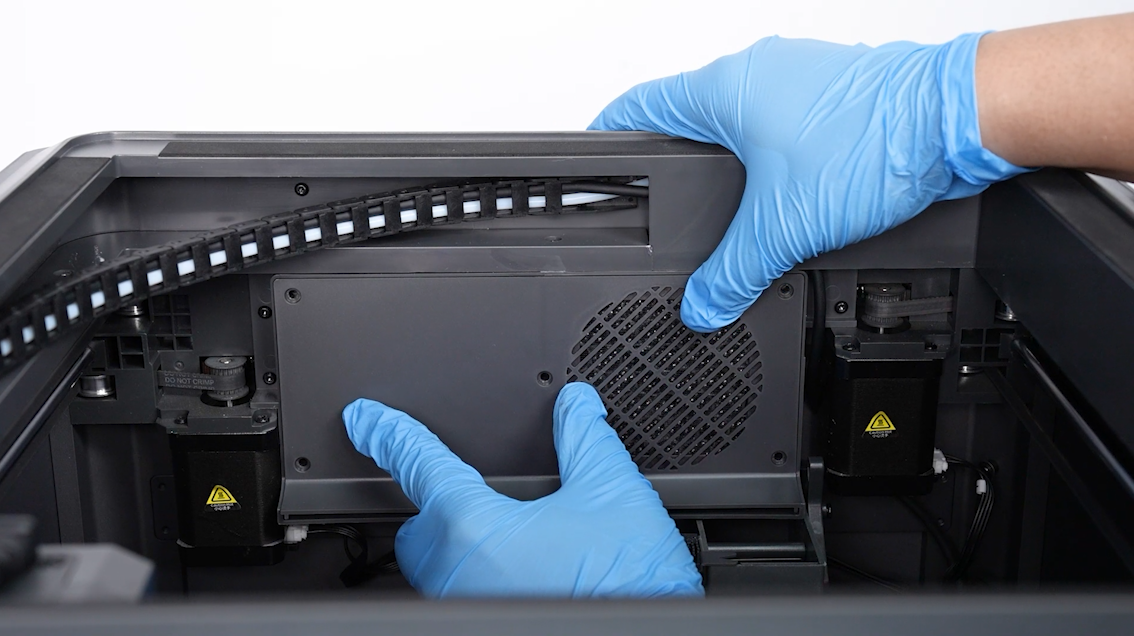
- Put the front cover of the fan shroud in the installation position by aligning it with the screw holes. Use a Phillips screwdriver to tighten the 5 screws securing the front cover of the fan shroud.
- Insert the power cord and power on the printer. Navigate to "Function - Fans - Auxiliary Cooling Fan" on the touchscreen.
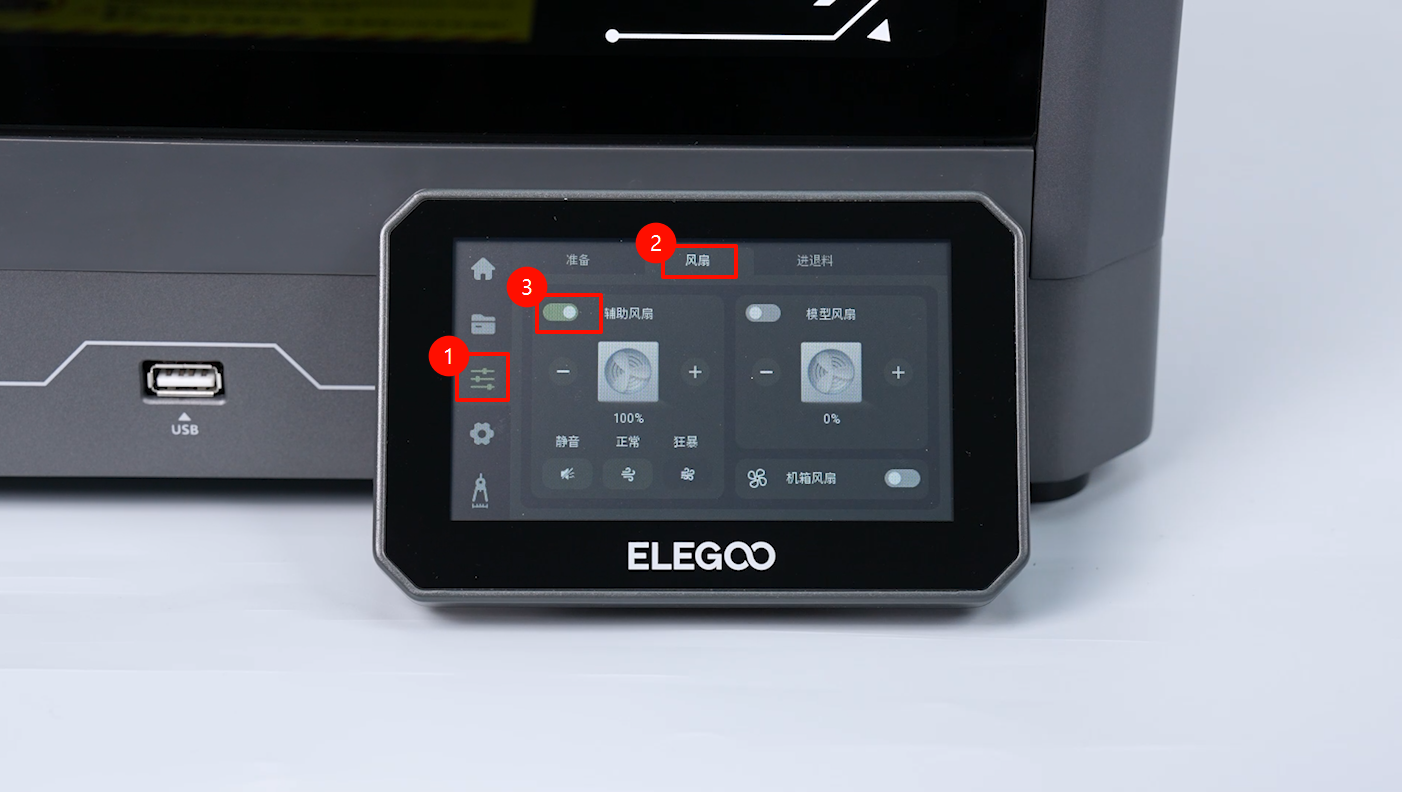
- The printer can be used as usual after the fan rotates normally.