¶ Tools and Materials
- A Phillips screwdriver
- A new model cooling fan
¶ Tutorial Video
https://www.youtube.com/watch?v=_CF17oIDsak
¶ Instruction
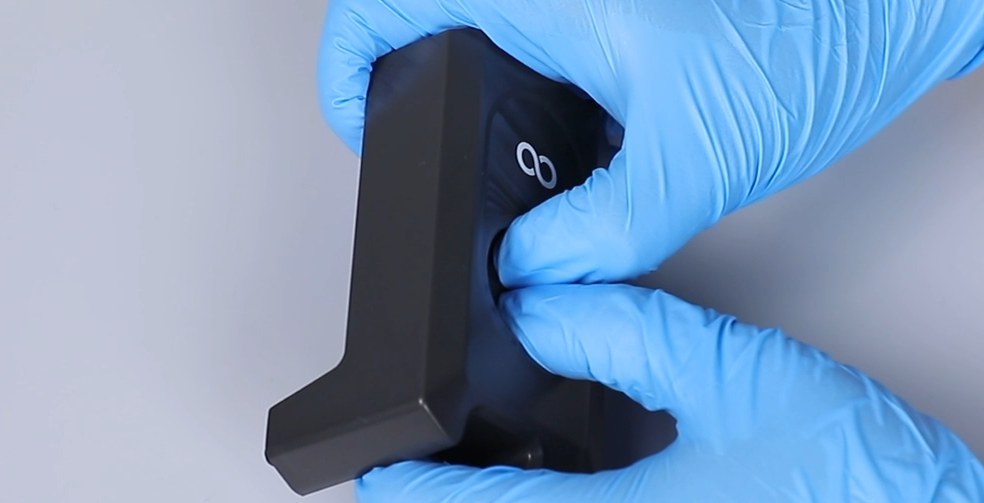
- Power off the printer and unplug the power cord. Lift and remove the front cover of the print head.
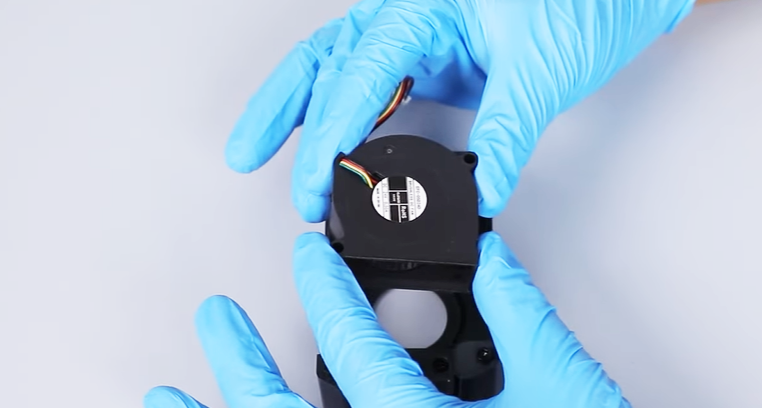
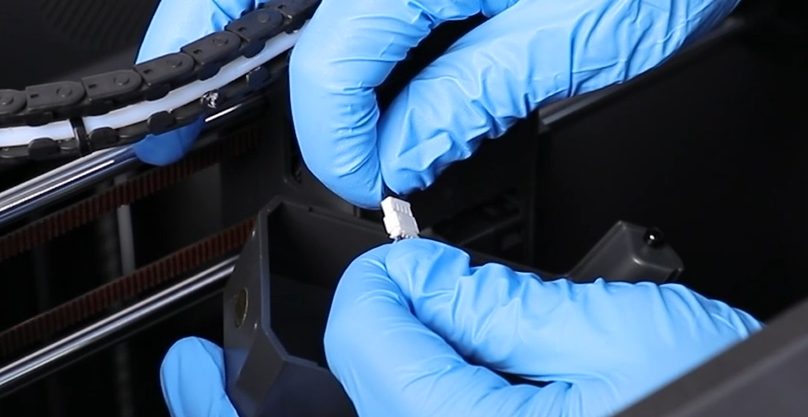
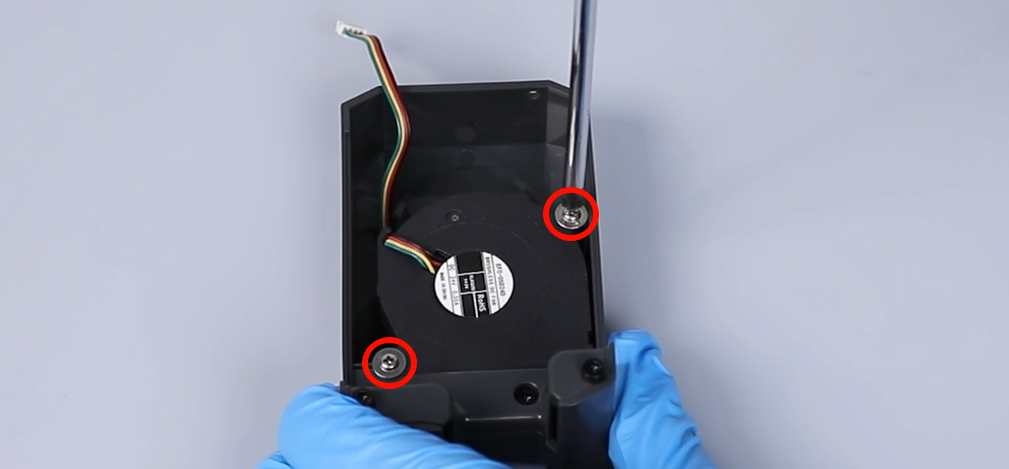
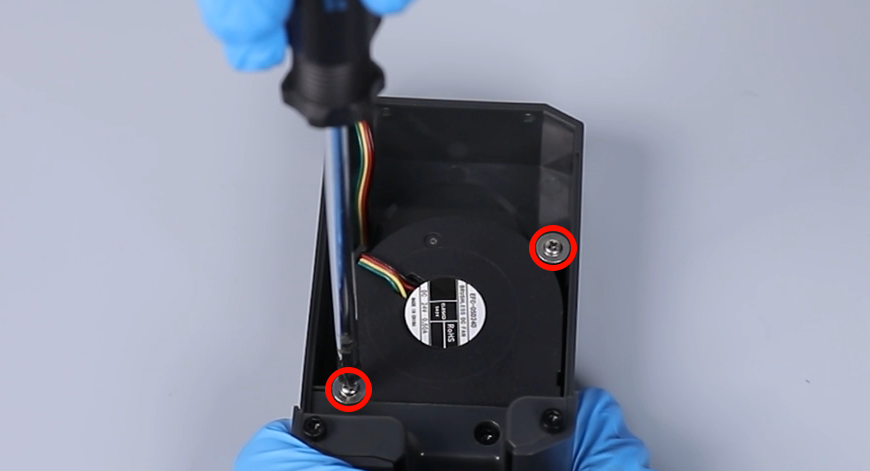
- Unplug the port of the ribbon cables of the cooling fan cable. Use a Phillips screwdriver to loosen the 2 screws securing the model cooling fan.
- Push the fan out from the front side of the cover and remove the old fan.
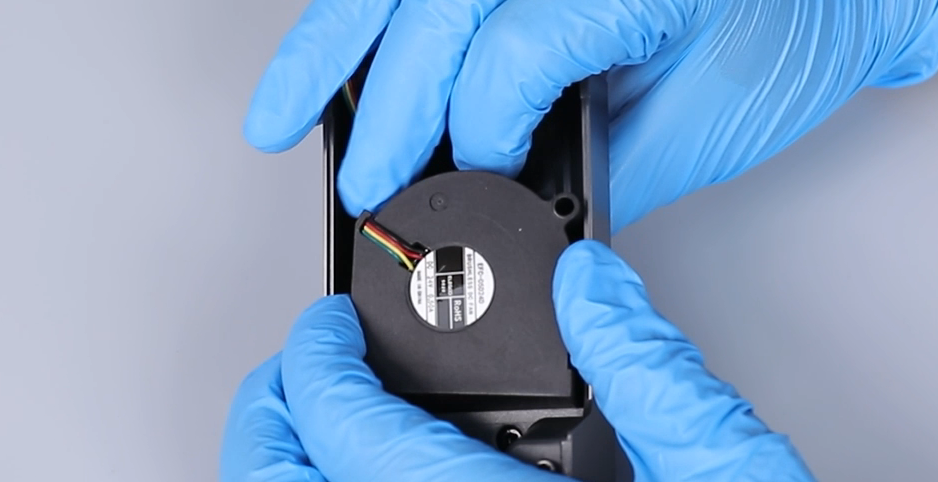
- Align the new fan with the screw holes and place it into position.
Note: The model cooling fan must be installed in the correct orientation.
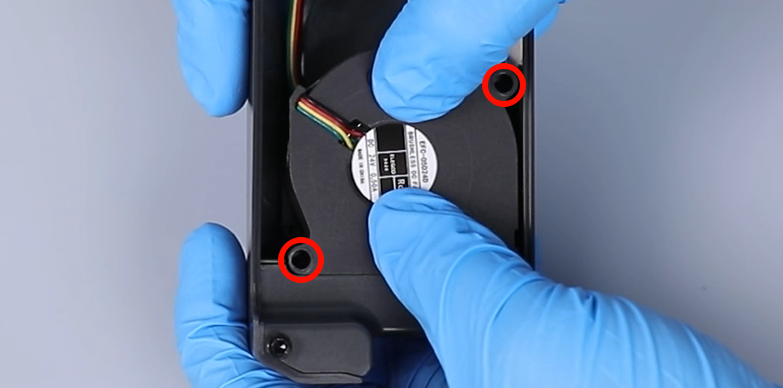
- Use a Phillips screwdriver to tighten the 2 screws securing the model cooling fan.
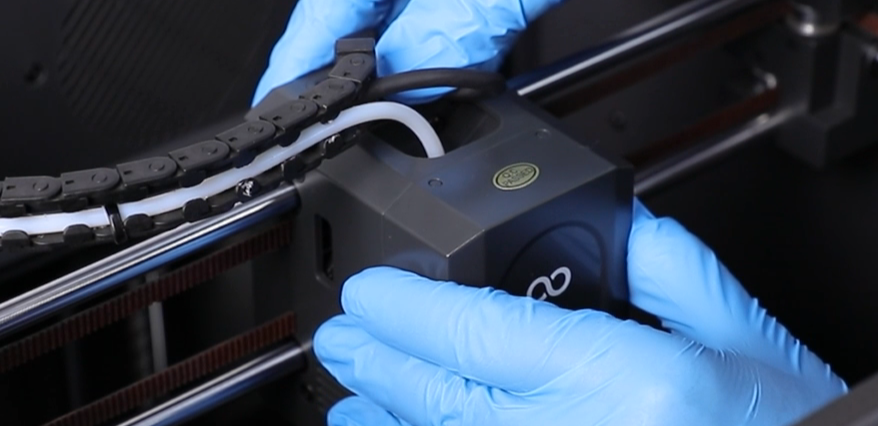
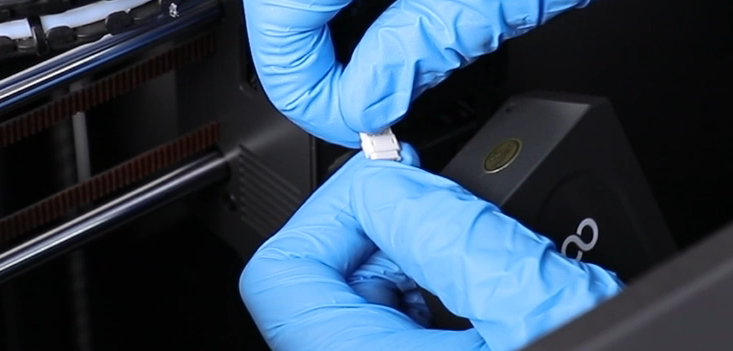
- Prepare the front cover of the print head. Plug in the port of the ribbon cables of the model cooling fan, then organize the ribbon cables.
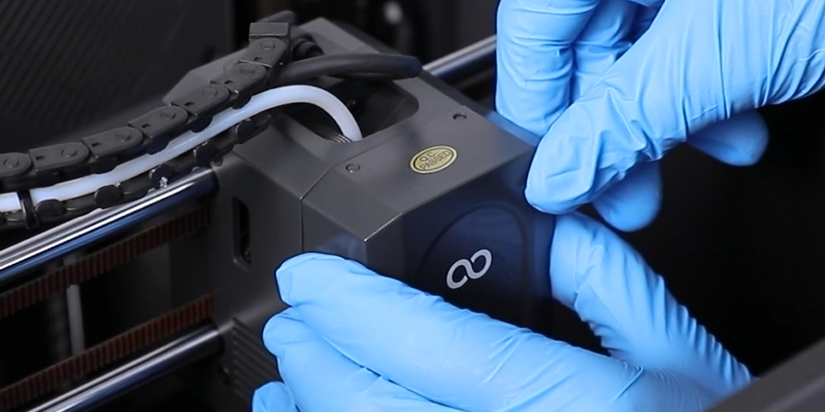
- Put the front cover of the print head in the installation position by aligning it with positioning holes. Align the front cover with the positioning holes and reinstall it onto the print head.
- Power on the printer. Touch "Function - Fan - Model fan" on the touchscreen. If the fan spins normally, the printer is ready to use.

