¶ Tools and Materials
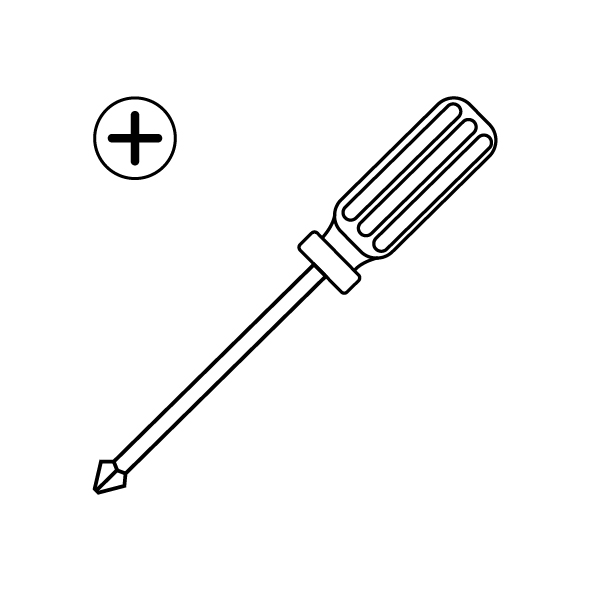
- A Phillips screwdriver
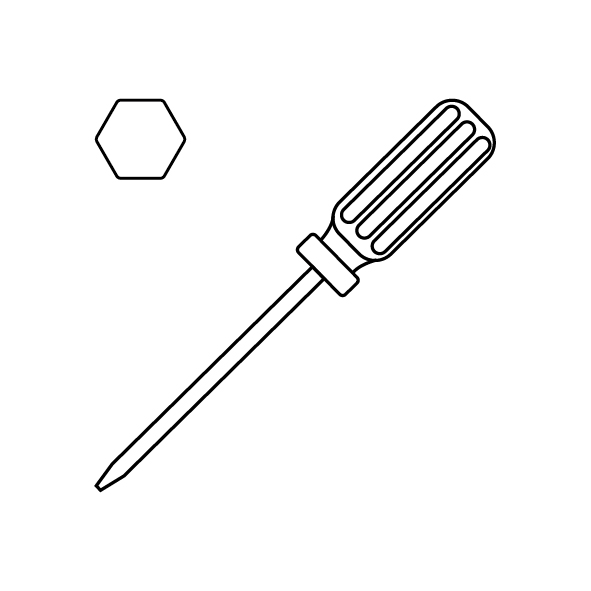
- A 2.0 mm Allen wrench
- A new chamber cooling fan
¶ Tutorial Video
Coming soon.
¶ Instruction
¶ Remove the old chamber cooling fan
- Power off the printer and unplug the power cord.
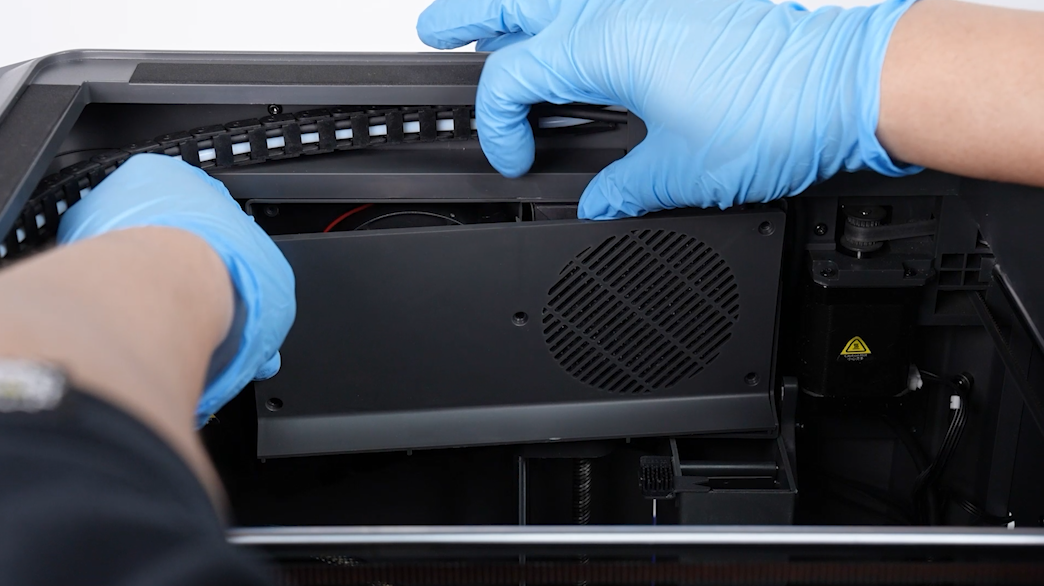
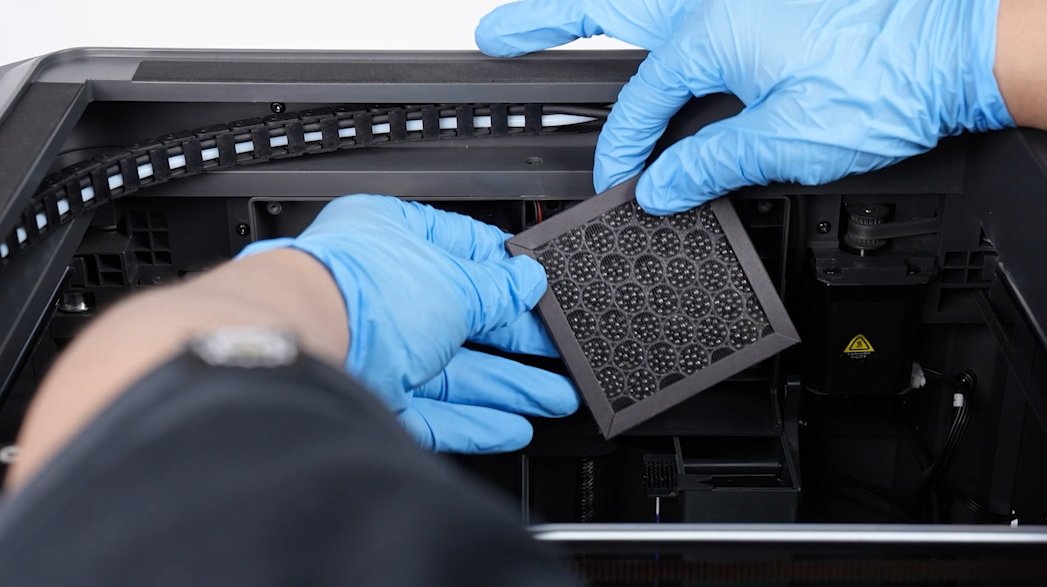
- Use a Phillips screwdriver to loosen the 5 screws securing the front cover of the fan shroud. Remove the front cover of the fan shroud and the filter.
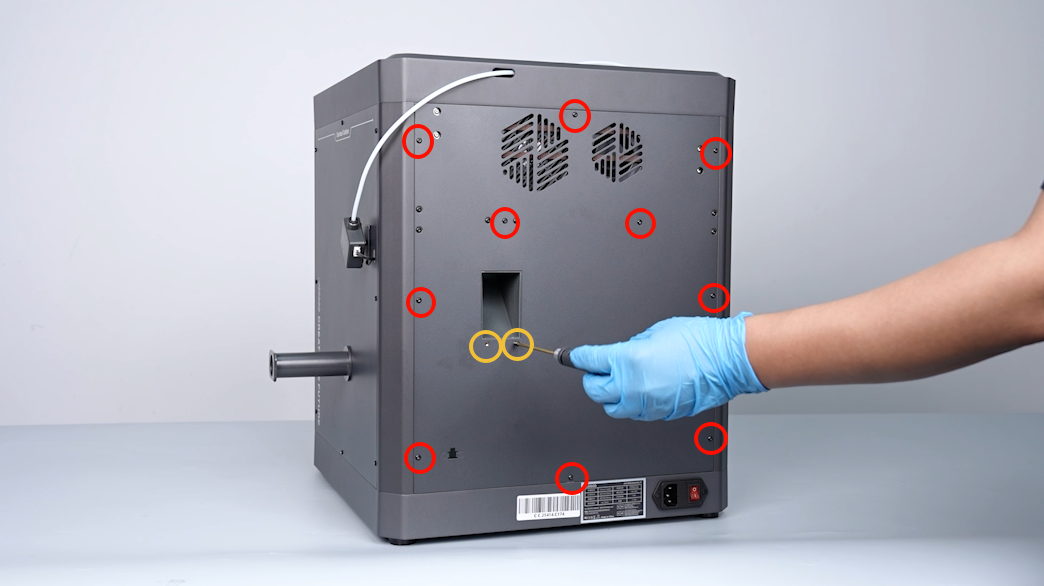
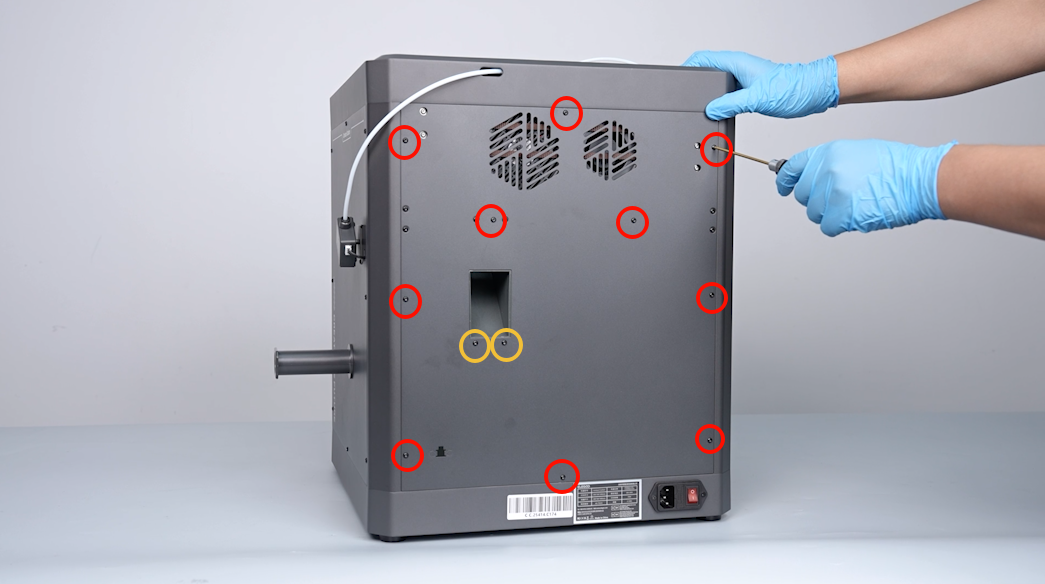
- Use a 2.0 mm Allen wrench to loosen the 12 screws securing the back cover of the printer, then remove the back cover. (Screw holes labeled by the red circle are M3*4, while screw holes labeled by the yellow circle are M3*8.)
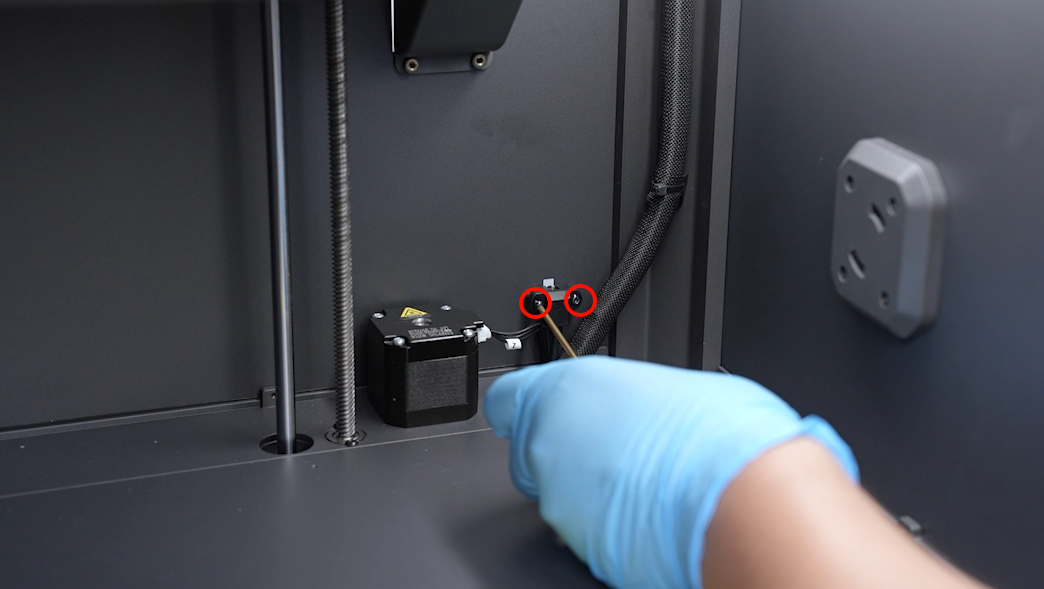
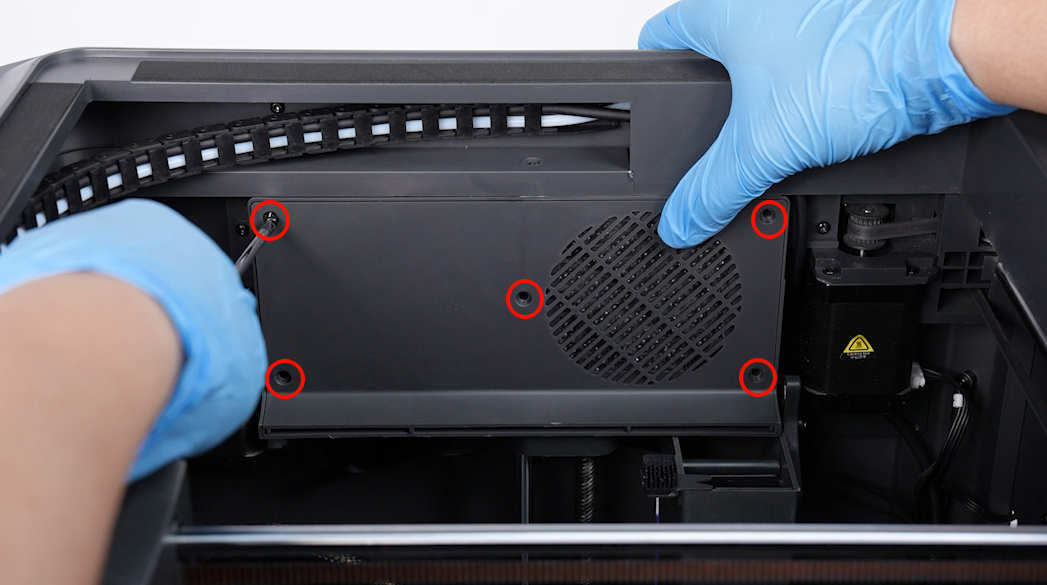
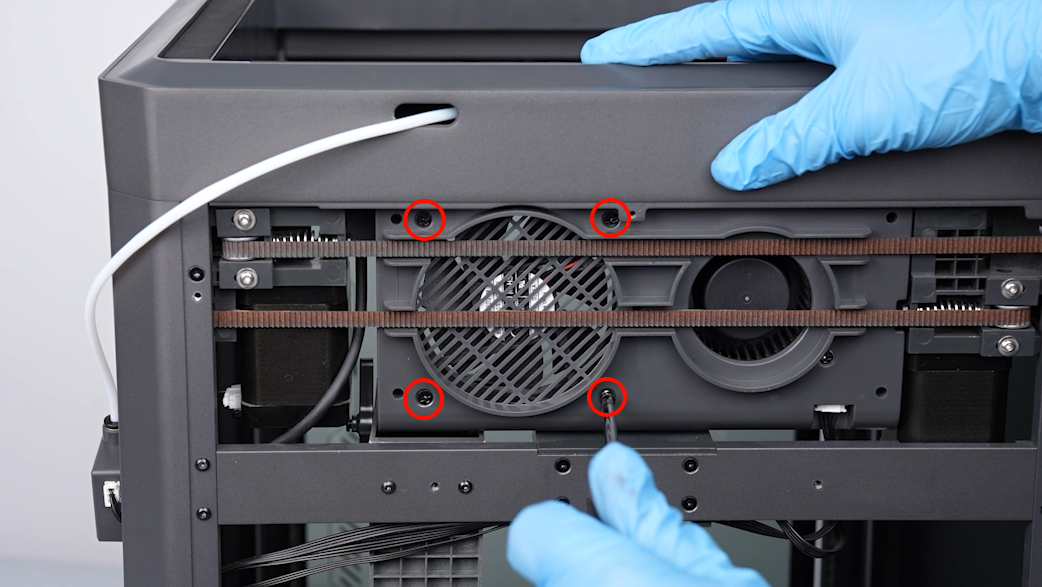
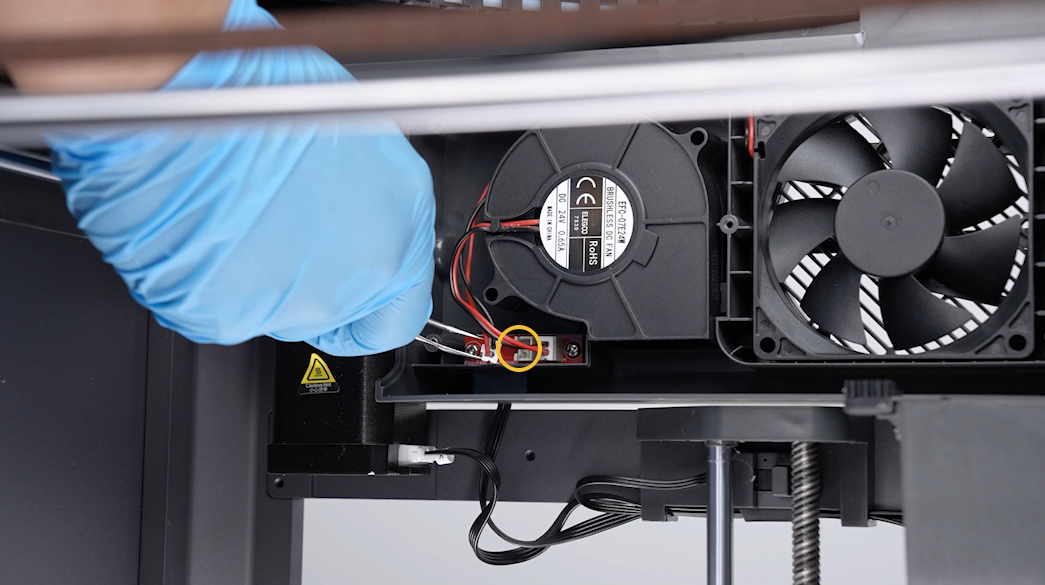
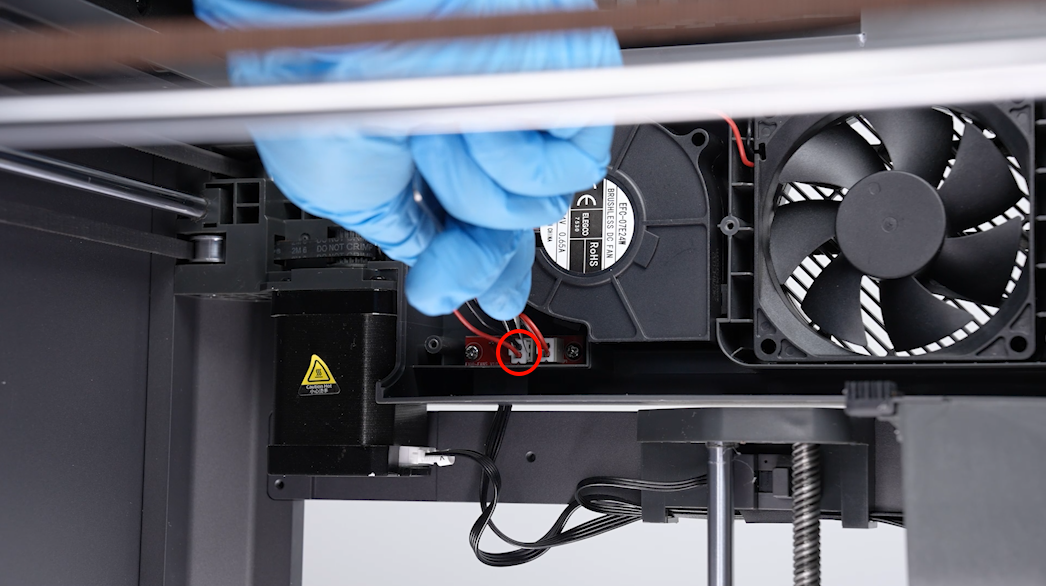
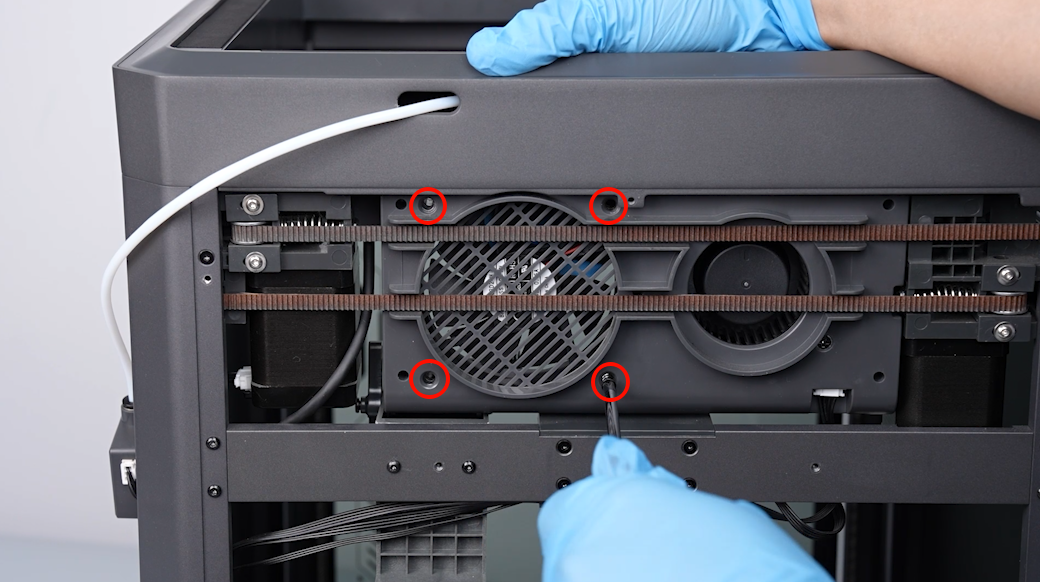
- Use a Phillips screwdriver to loosen the 4 screws securing the chamber cooling fan and unplug the ribbon cables of the chamber cooling fan.
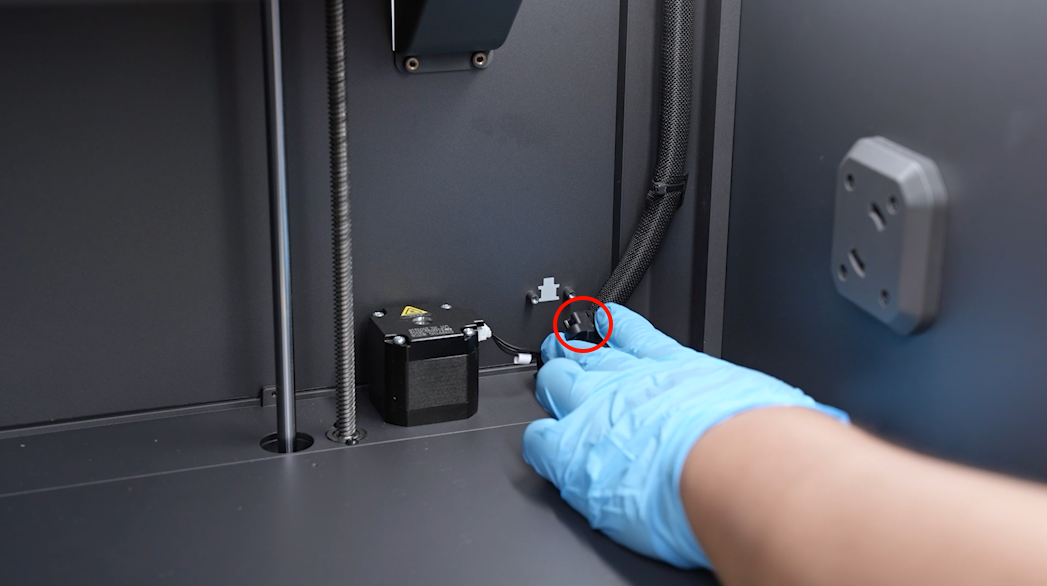
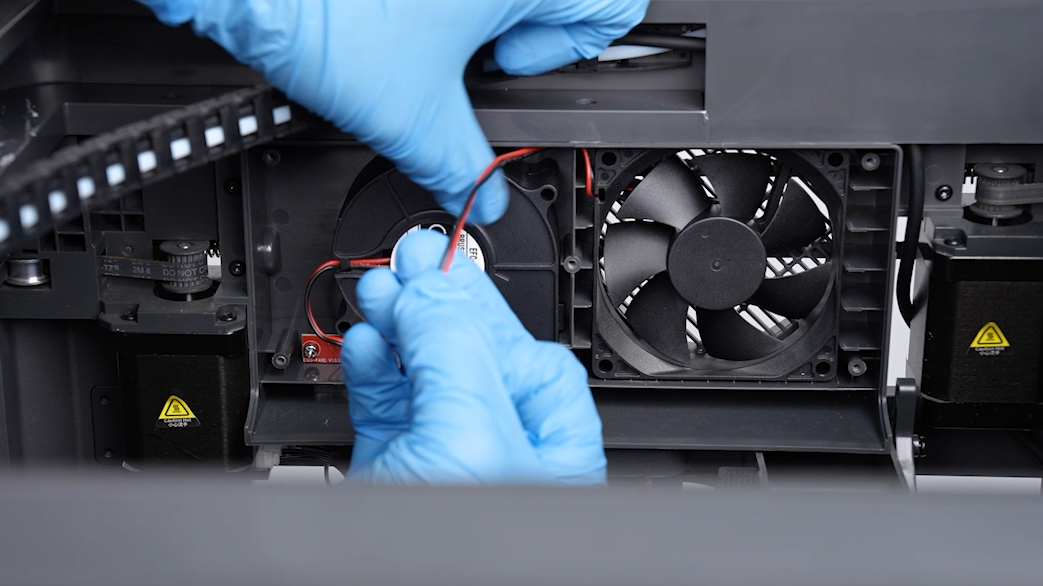
- Organize the ribbon cables, then remove the old chamber cooling fan.
¶ Install the new chamber cooling fan
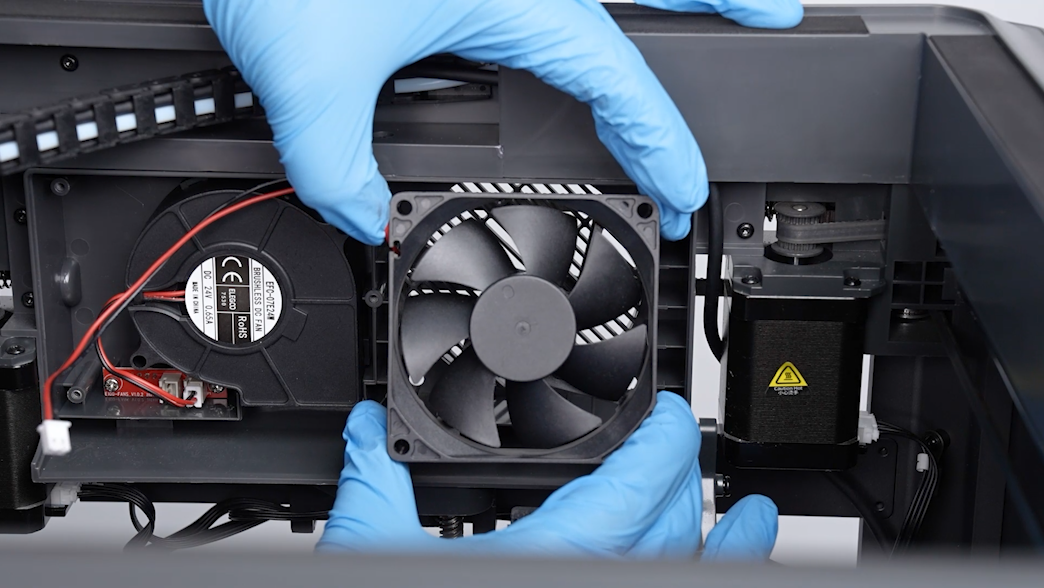
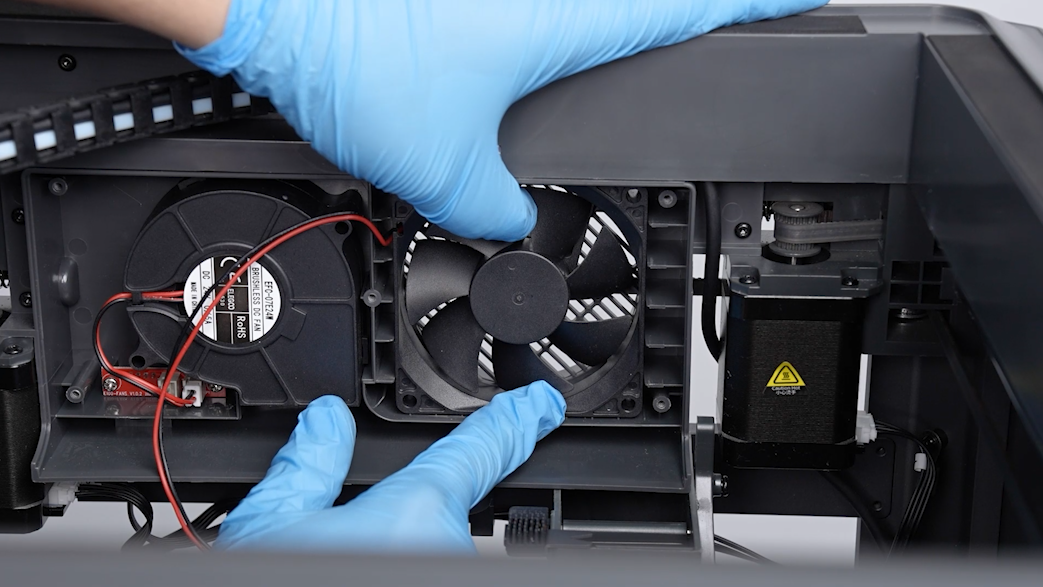
- Prepare the new chamber cooling fan. Put it in the installation position by aligning it with the screw holes.
- Oragnize the ribbon cables of the chamber cooling fan ribbon cables and insert the ribbon cables into the adapter board port.
- Use a Phillips screwdriver to tighten the 4 screws securing the chamber cooling fan.
- Put the back cover of the printer in the installation position by aligning it with the screw holes. Use a 2.0 mm Allen wrench to tighten the 12 screws securing the back cover of the printer. (Screw holes labeled by the red circle are M3*4, while screw holes labeled by the yellow circle are M3*8.)
- Put the filter in the installation position.
- Put the front cover of the fan shroud in the installation position by aligning it with the screw holes. Use a Phillips screwdriver to tighten the 5 screws securing the front cover of the fan shroud.
- Power on the printer. Touch "Function - Fan" on the touchscreen. Open the chamber cooling fan. The printer can be used as usual after the fan rotates normally.