¶ Tools and Materials
- A 2.0 mm Allen wrench

¶ Tutorial Video
Coming soon.
¶ Instruction
- Power off the printer and unplug the power cord.
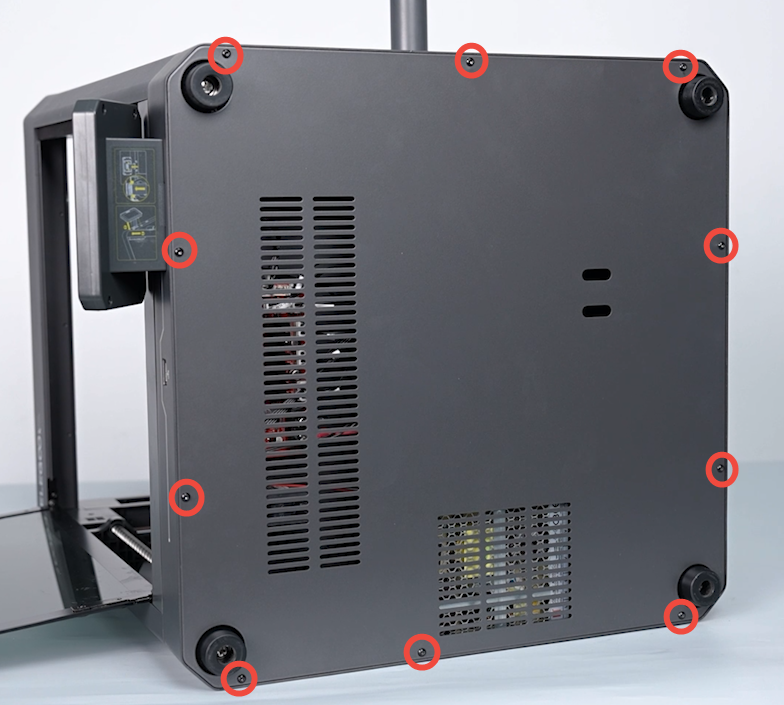
- Put the printer on its side. Use a 2.0 mm Allen wrench to loosen the 10 screws securing the bottom cover of the printer.

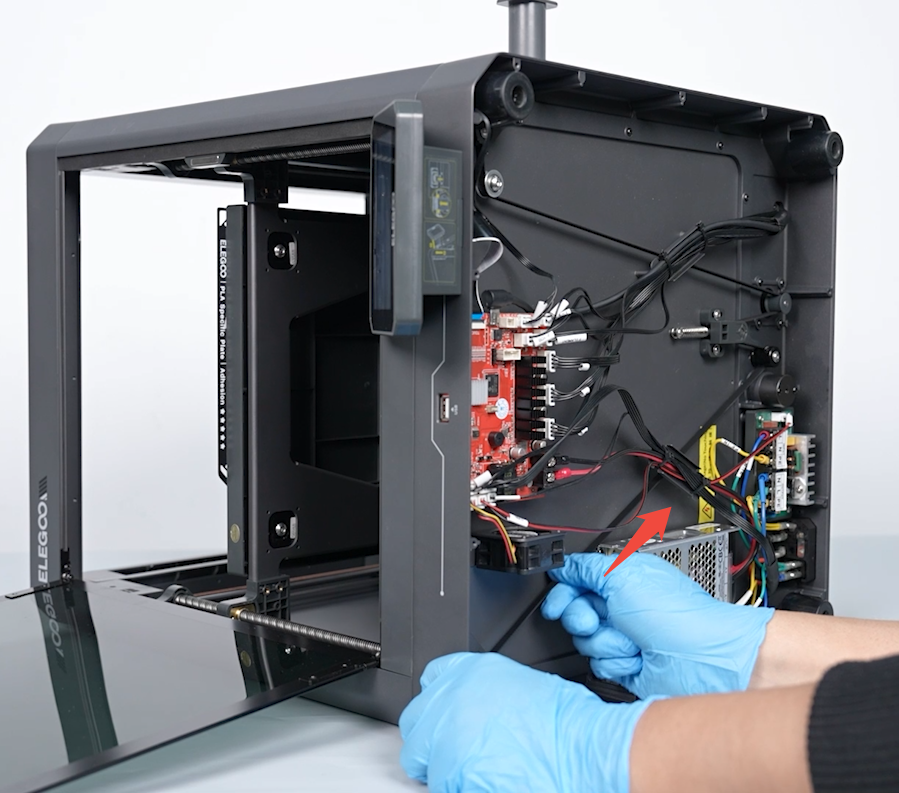
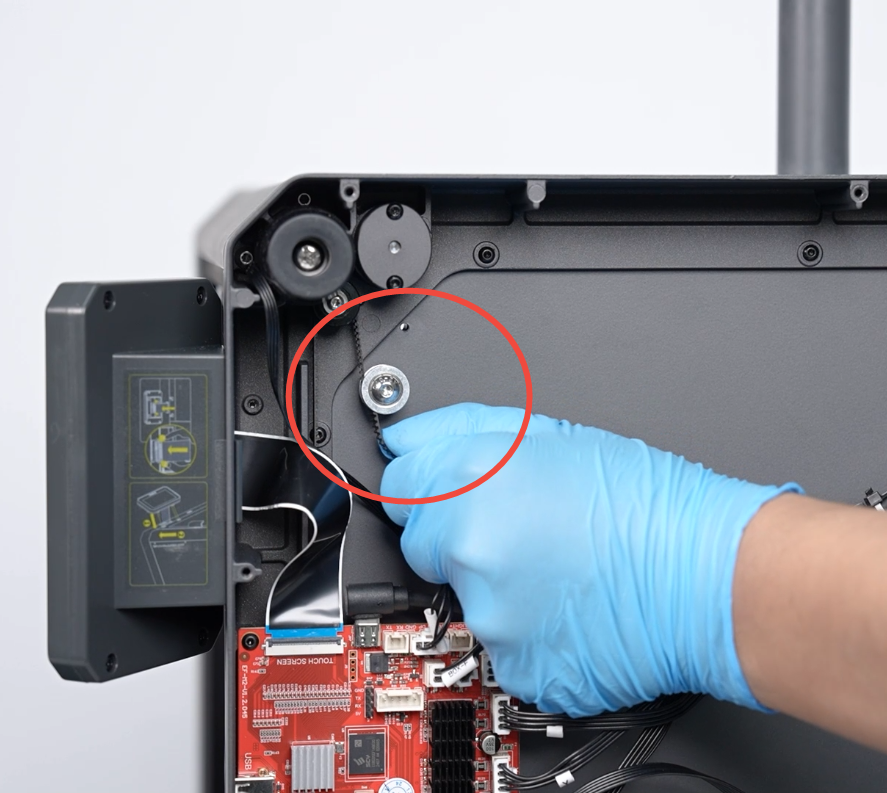
- Pull the timing belt to raise the hotbed to the top.
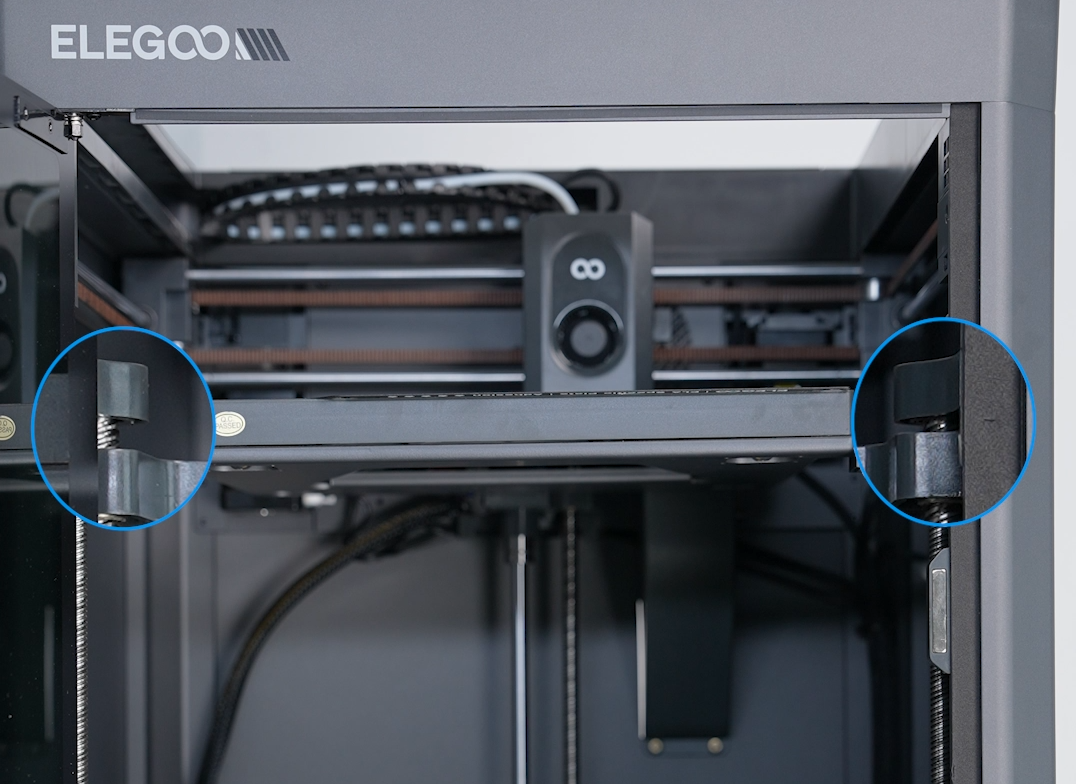
- Observe that the residual length of the Z-axis lead screw is different.
- Check to ensure that there is no foreign matter inside the bearing.

- Pull the timing belt to lower the hotbed to the bottom of the printer.


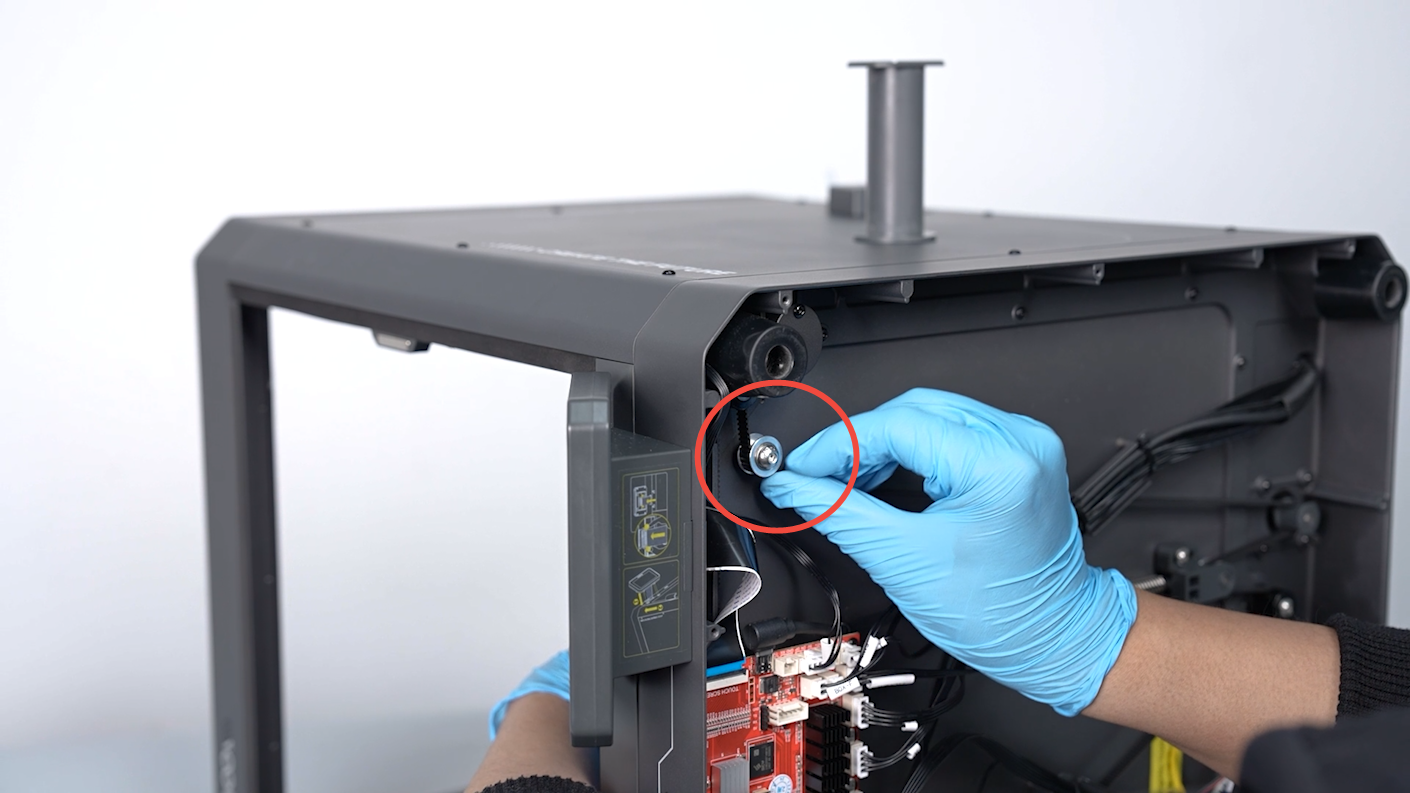
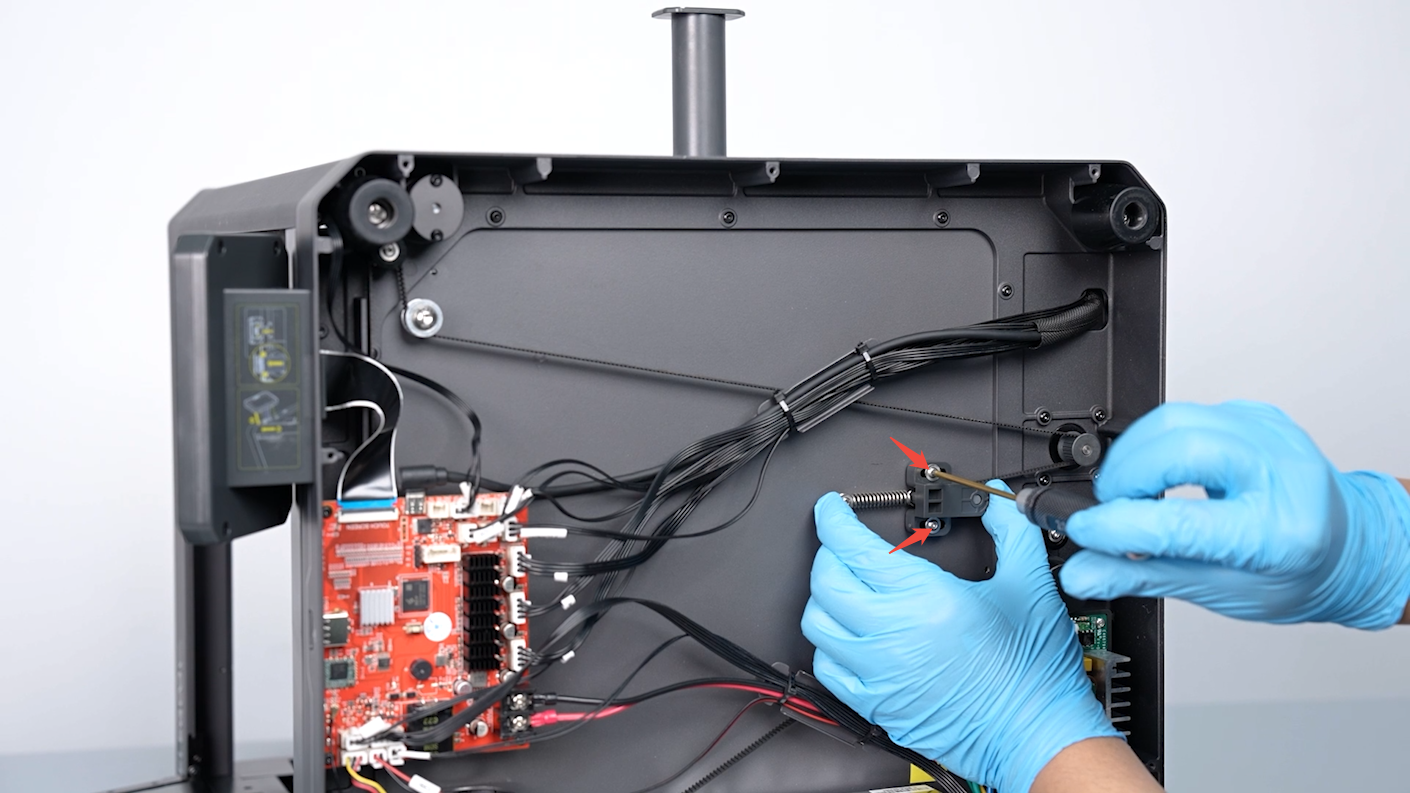
- Use a 2.0 mm Allen wrench to loosen the 2 screws securing the belt tensioner.
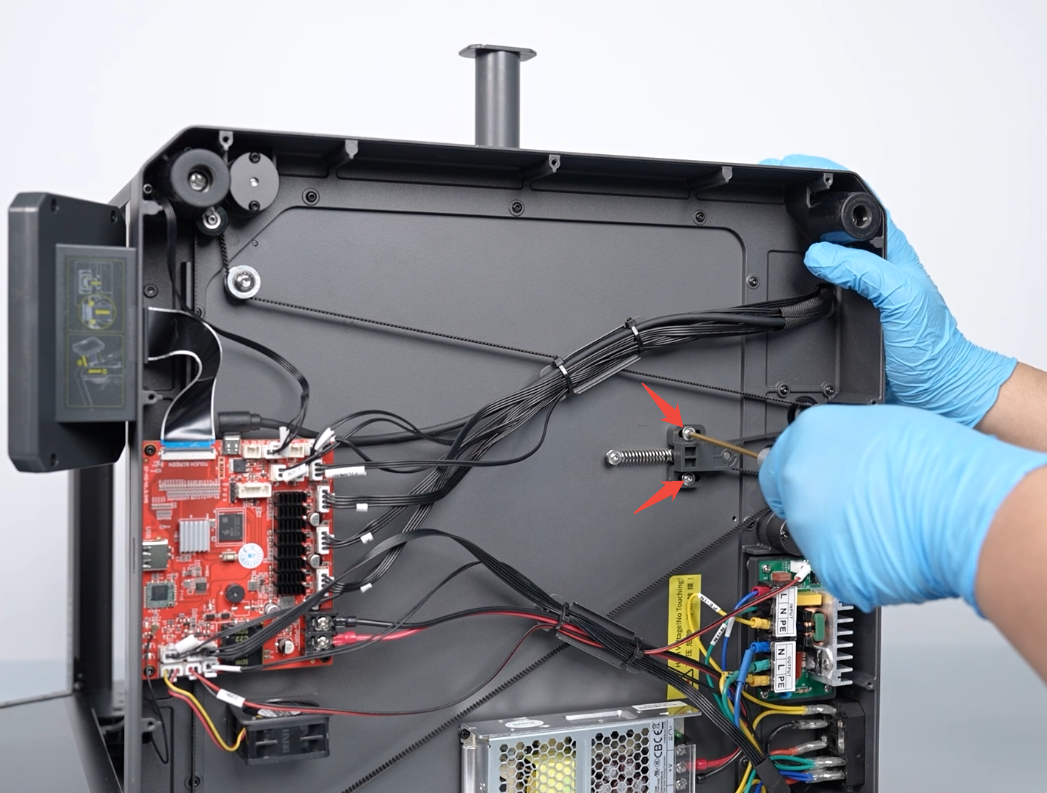
- Remove the timing belt from the timing pulley.
- Press down on the 3 points of the hotbed connecting to the lead screw. Keep the 3 points clinging to the bottom of the printer.

- Press down on the center of the hotbed. Keep the 3 points clinging to the bottom of the printer. Install the timing belt on the timing pulley.

- Press the belt tensioner to the left. Use a 2.0 mm Allen wrench to tighten the 2 screws securing the belt tensioner.
- Put the bottom cover of the printer in the installation position by aligning it with the foot pad holes and screw holes. Use a 2.0 mm Allen wrench to tighten the 10 screws securing the bottom cover of the printer.
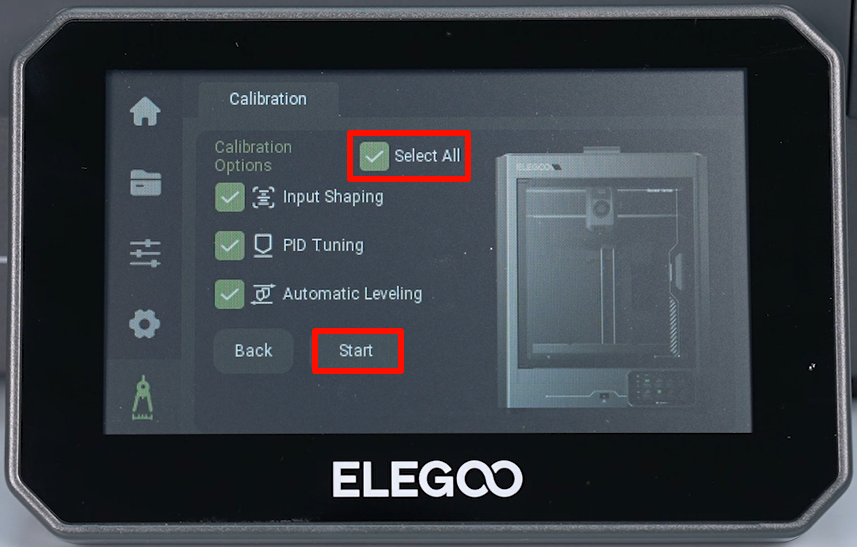
- Power on the printer. Touch "Function - Self check - All - Start" on the touchscreen. The printer is ready for use after the self check.