¶ Tools and Materials
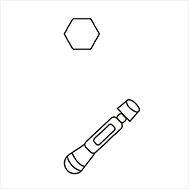
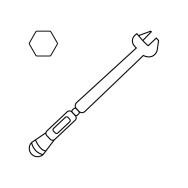
- A 6 mm socket spanner or a 6 mm open spanner
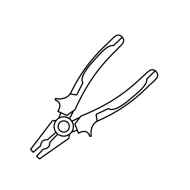
- A pair of pincers
- A new nozzle
¶ Tutorial Video
https://www.youtube.com/watch?v=A8VJrtlcV9o
¶ Instruction
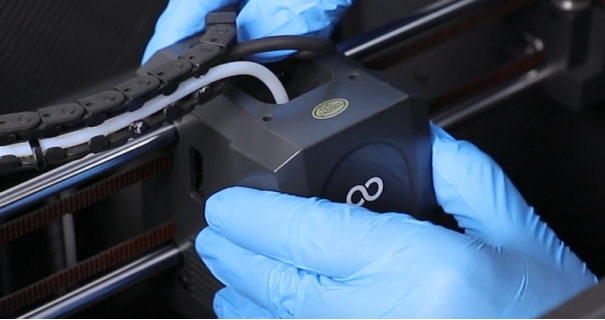
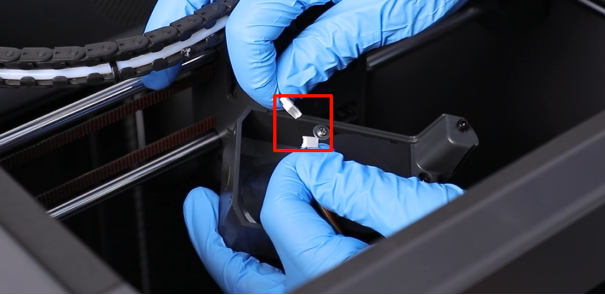
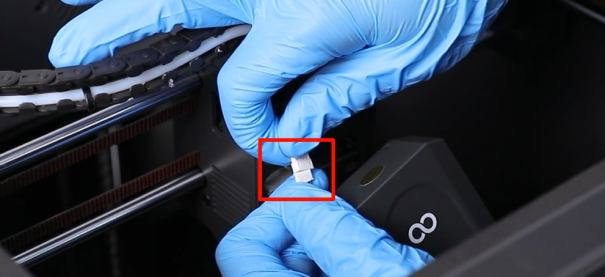
1. Lift the front cover of the printing head to remove it. Unplug the ribbon cable from the model cooling fan port.
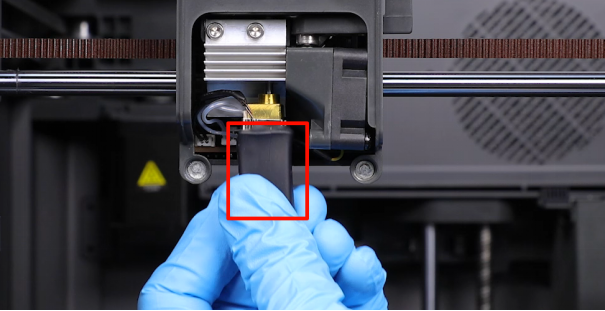
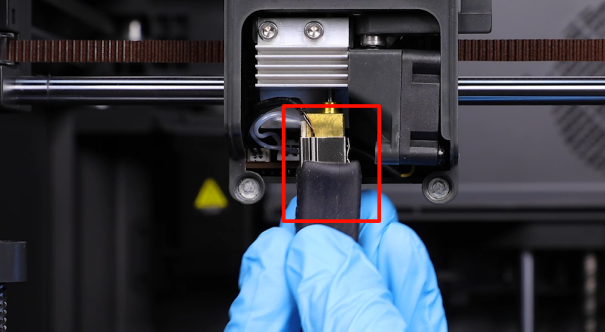
2. Remove the black silicon sleeve from the heating block.
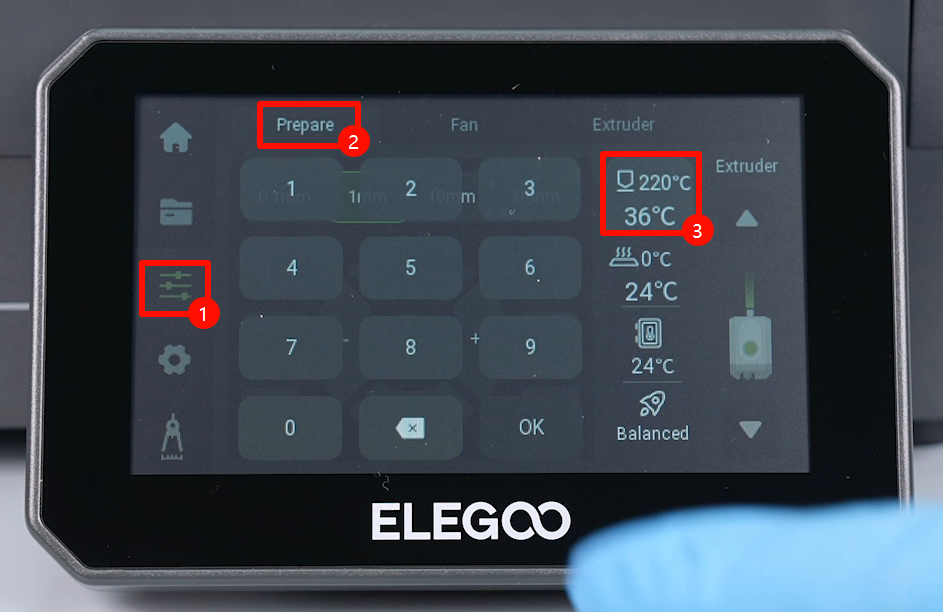
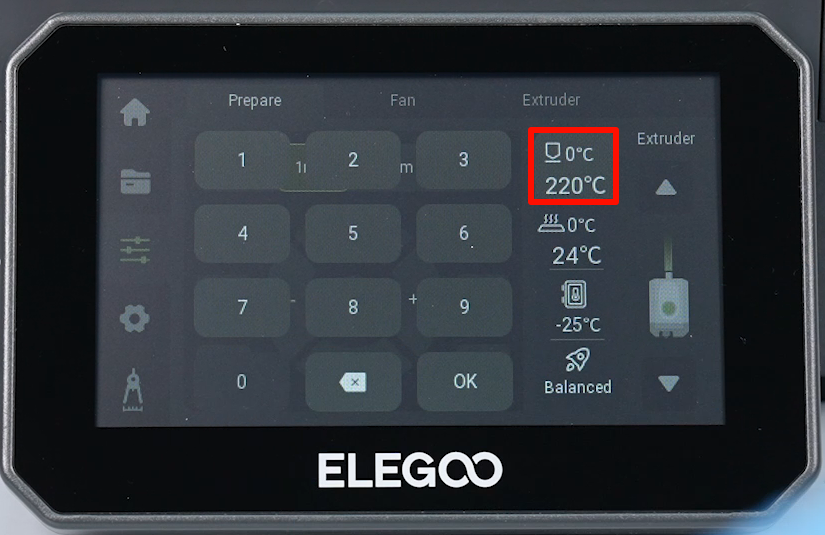
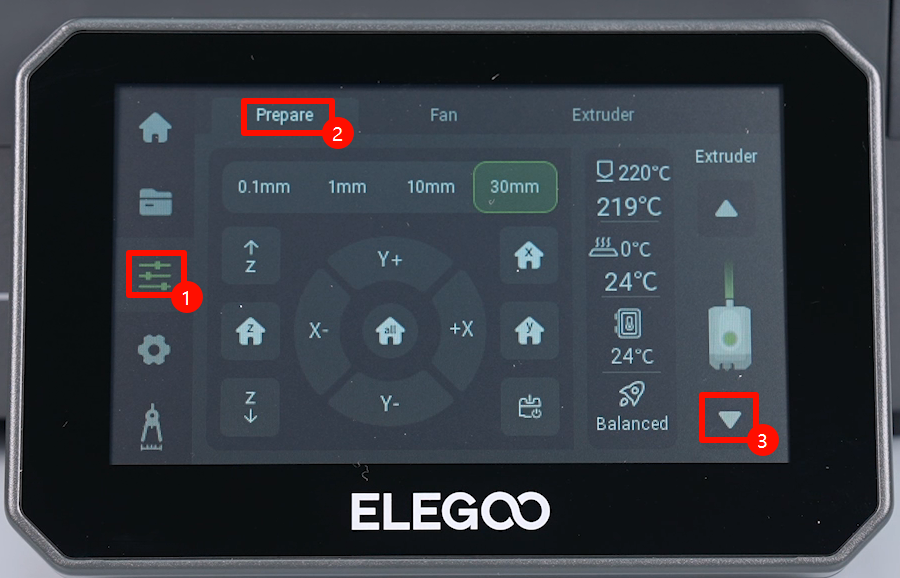
3. Plug in the power cord and turn on the printer. Touch "Function" on the touchscreen to enter the Prepare interface. Set the nozzle temperature to 220 ℃.
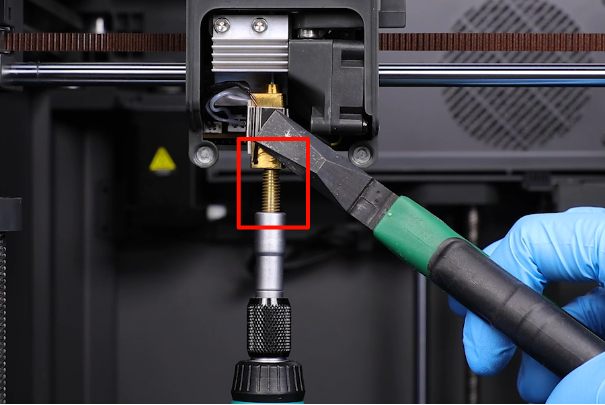
4. Use a pair of plier to hold the hotend and use a 6 mm wrench to loosen the old nozzle.
Note:
- Do not hold the thermistor wires with the pliers.
- Perform these steps while the nozzle is heated.
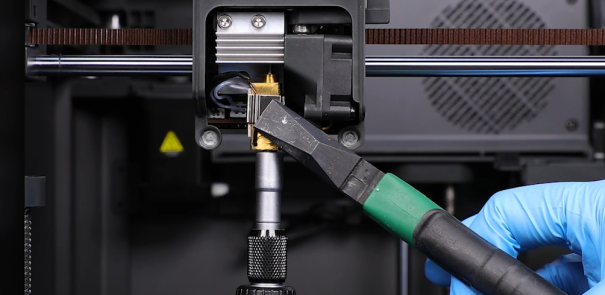
5. Prepare a new nozzle. Use a pair of pliers to hold the hotend, and use a 6 mm wrench to tighten the new nozzle.
Note: Perform these steps while the nozzle is heated.
6. Set the nozzle temperature to 0 ℃ to stop heating the hotend. Wait about 5 minutes for the nozzle to cool down completely.
7. Reinstall the black silicon sleeve in its original position.
Note: Be cautious of the high temperature.
8. Remove the front cover of the printing head. Plug in the port of the ribbon cables of the model cooling fan.
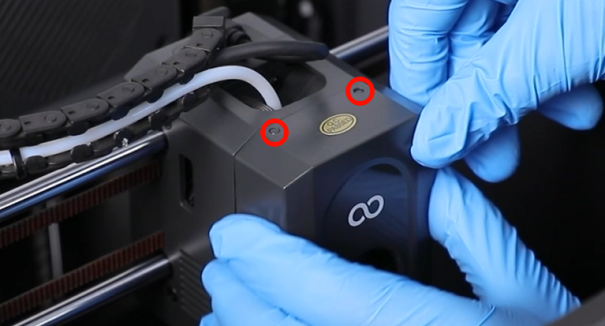
9. Organize the ribbon cables of the model cooling fan. Align the front cover of the printing head with the positioning holes and install it.
10. Set the nozzle temperature to 220 ℃.

11. Tap the "Extrude" button to extrude the filament.
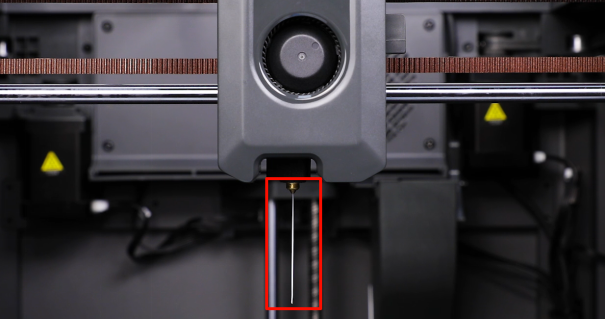
12. Observe that the nozzle is extruding filament properly. The printer is ready for use after it is re-leveled.